Autumn Dress Tutorial by Lou Sheffer from Sew Much to Design
Follow her on Instagram @sewmuchtodesign
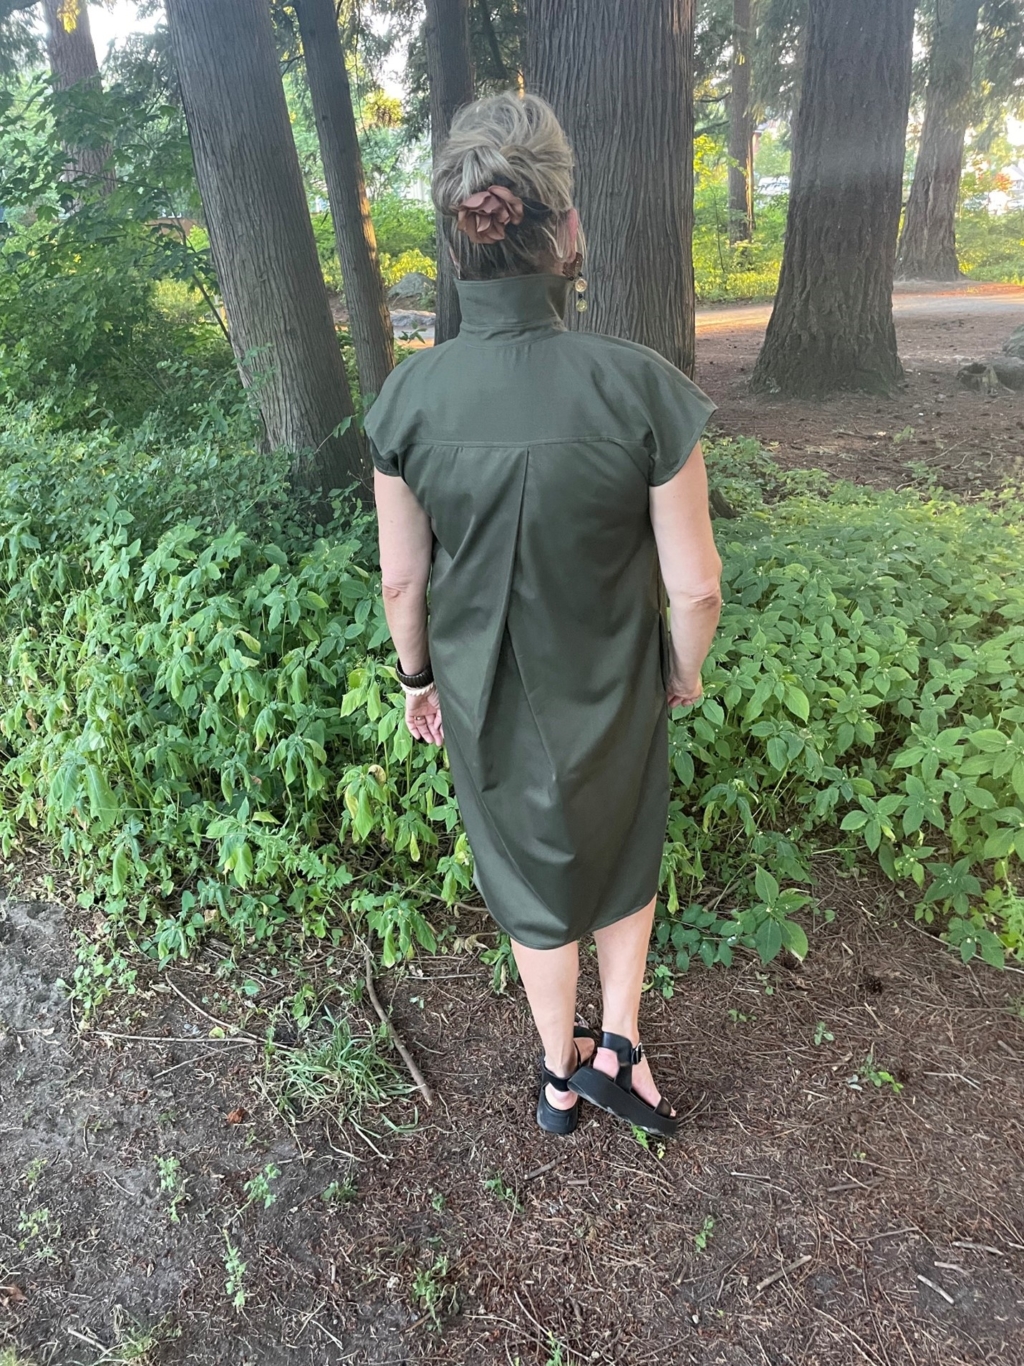
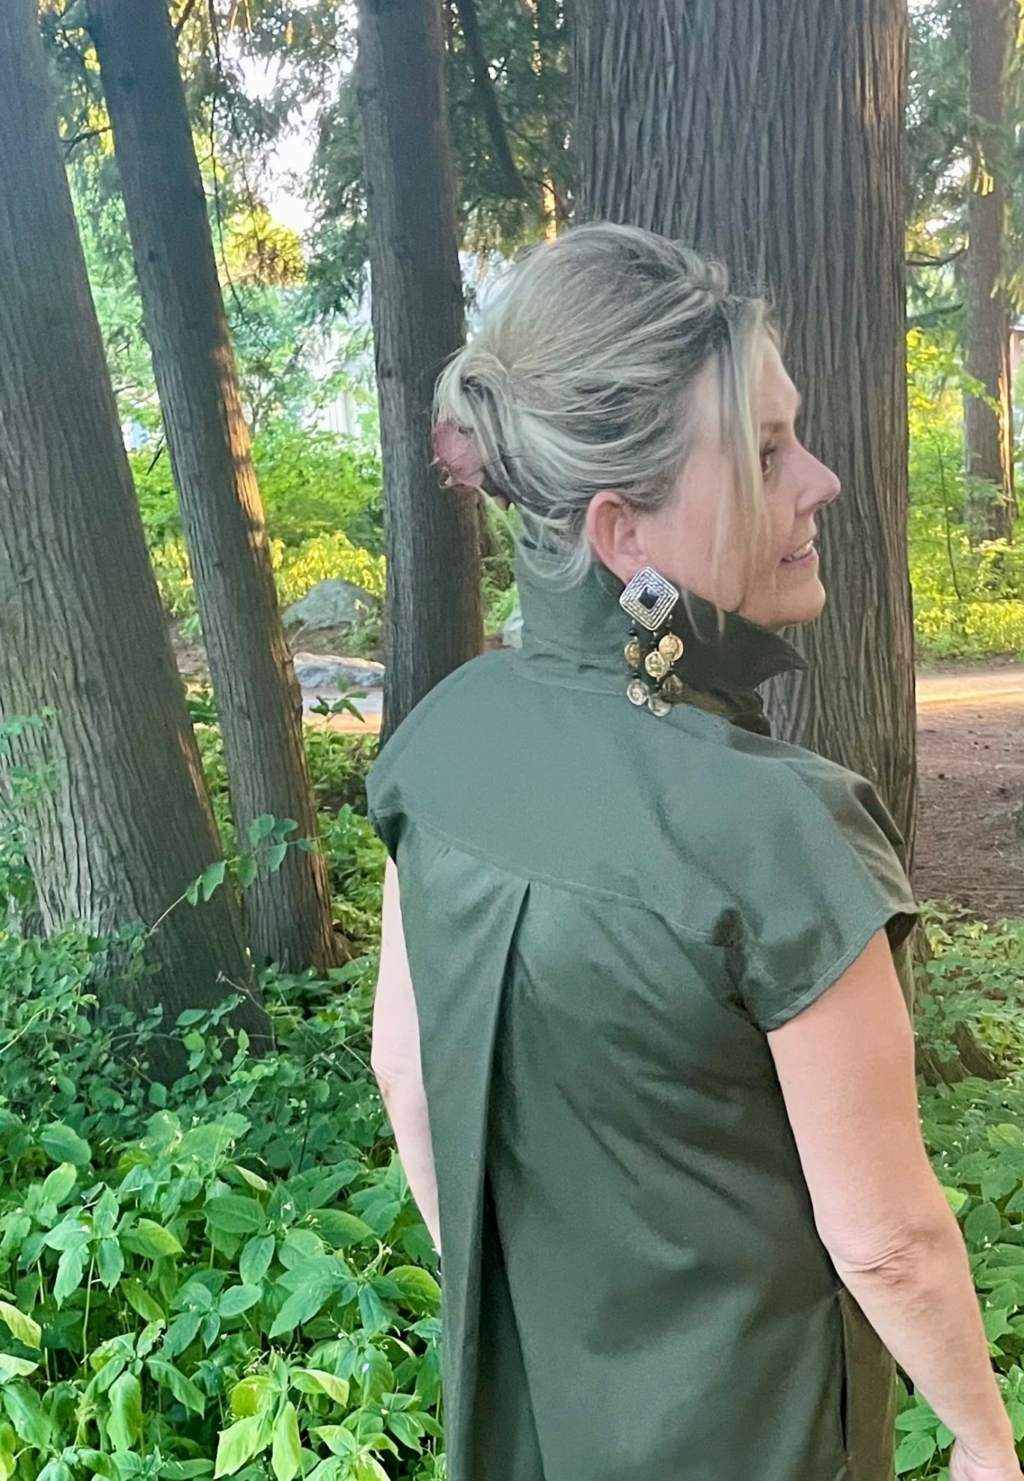
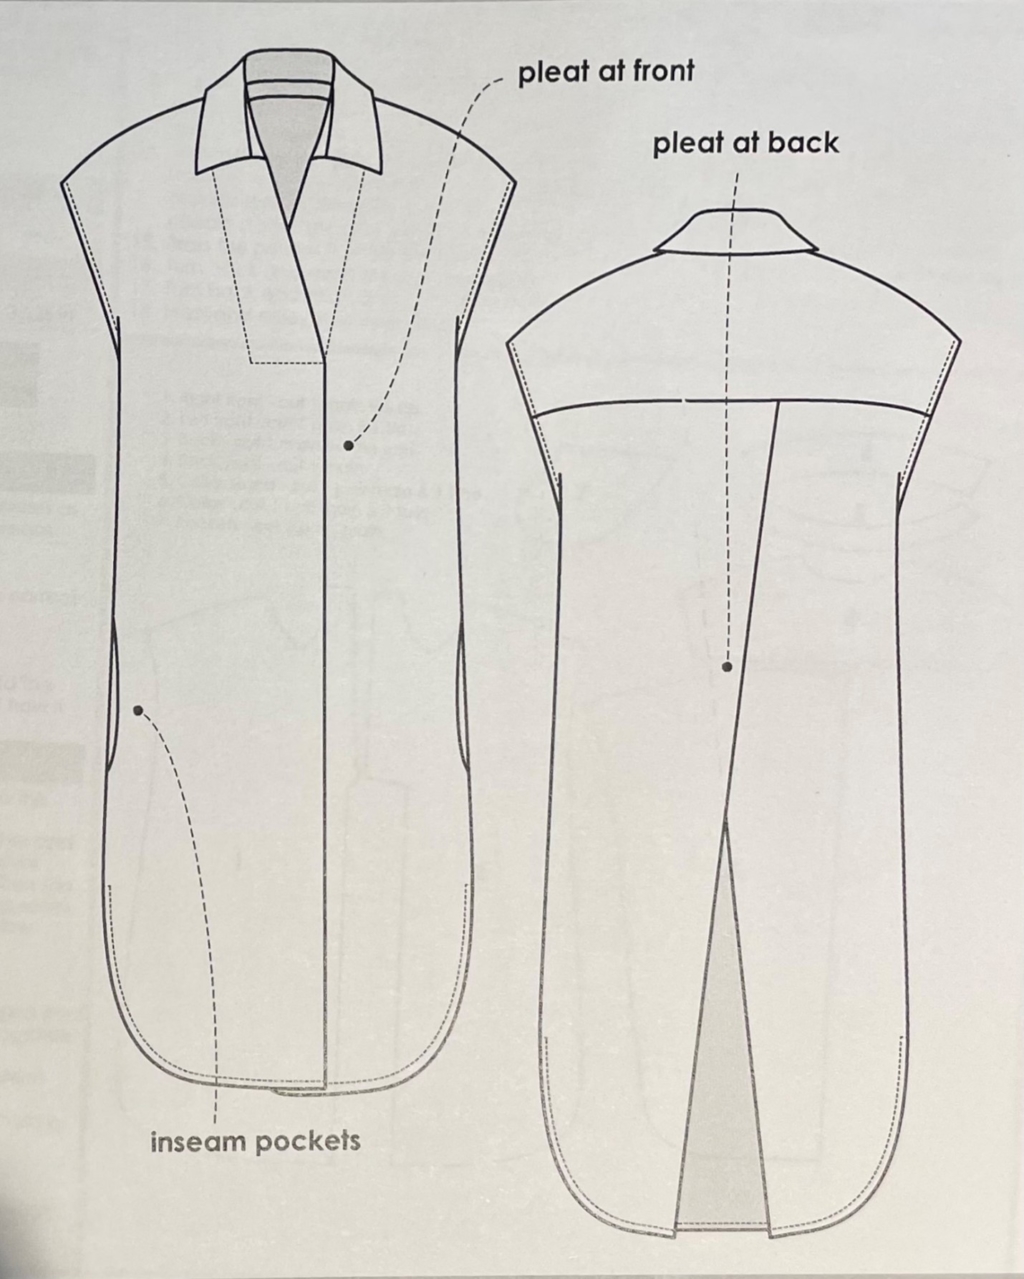
I am in love with the styling of the Autumn Dress by Style Arc. It will be a perfect transition dress as our summer days grow cooler and I am looking for something that is more structured and offers a bit more coverage.

The Autumn Dress has great styling and design options that take some careful thinking through the steps, but hopefully this tutorial will simplify that with the step by step instructions.
Helpful Hints:
- Cut out the pattern taking note of the grains and instructions written on the pattern pieces as this will assist in the construction of your dress.
- Note this is a right side up pattern, this means that the pattern piece marked R.S.U is cut with the fabric and the pattern facing Right Side Up
- Note the angled lines marked on the pattern pieces; follow these lines to achieve the correct direction of the front turn backs, front pleat and the back cross over pleats.
- HINT for pleats: Take a good look at the way the back and front pleats work, fold the pleats using the lines marked on the pattern and pin the paper pattern to understand how it goes
Seam Allowance: 1cm (3/8”) seams and 6mm (1/4″) internal seams (e.g. neck, collar, etc.) allowed.
CONSTRUCTION:
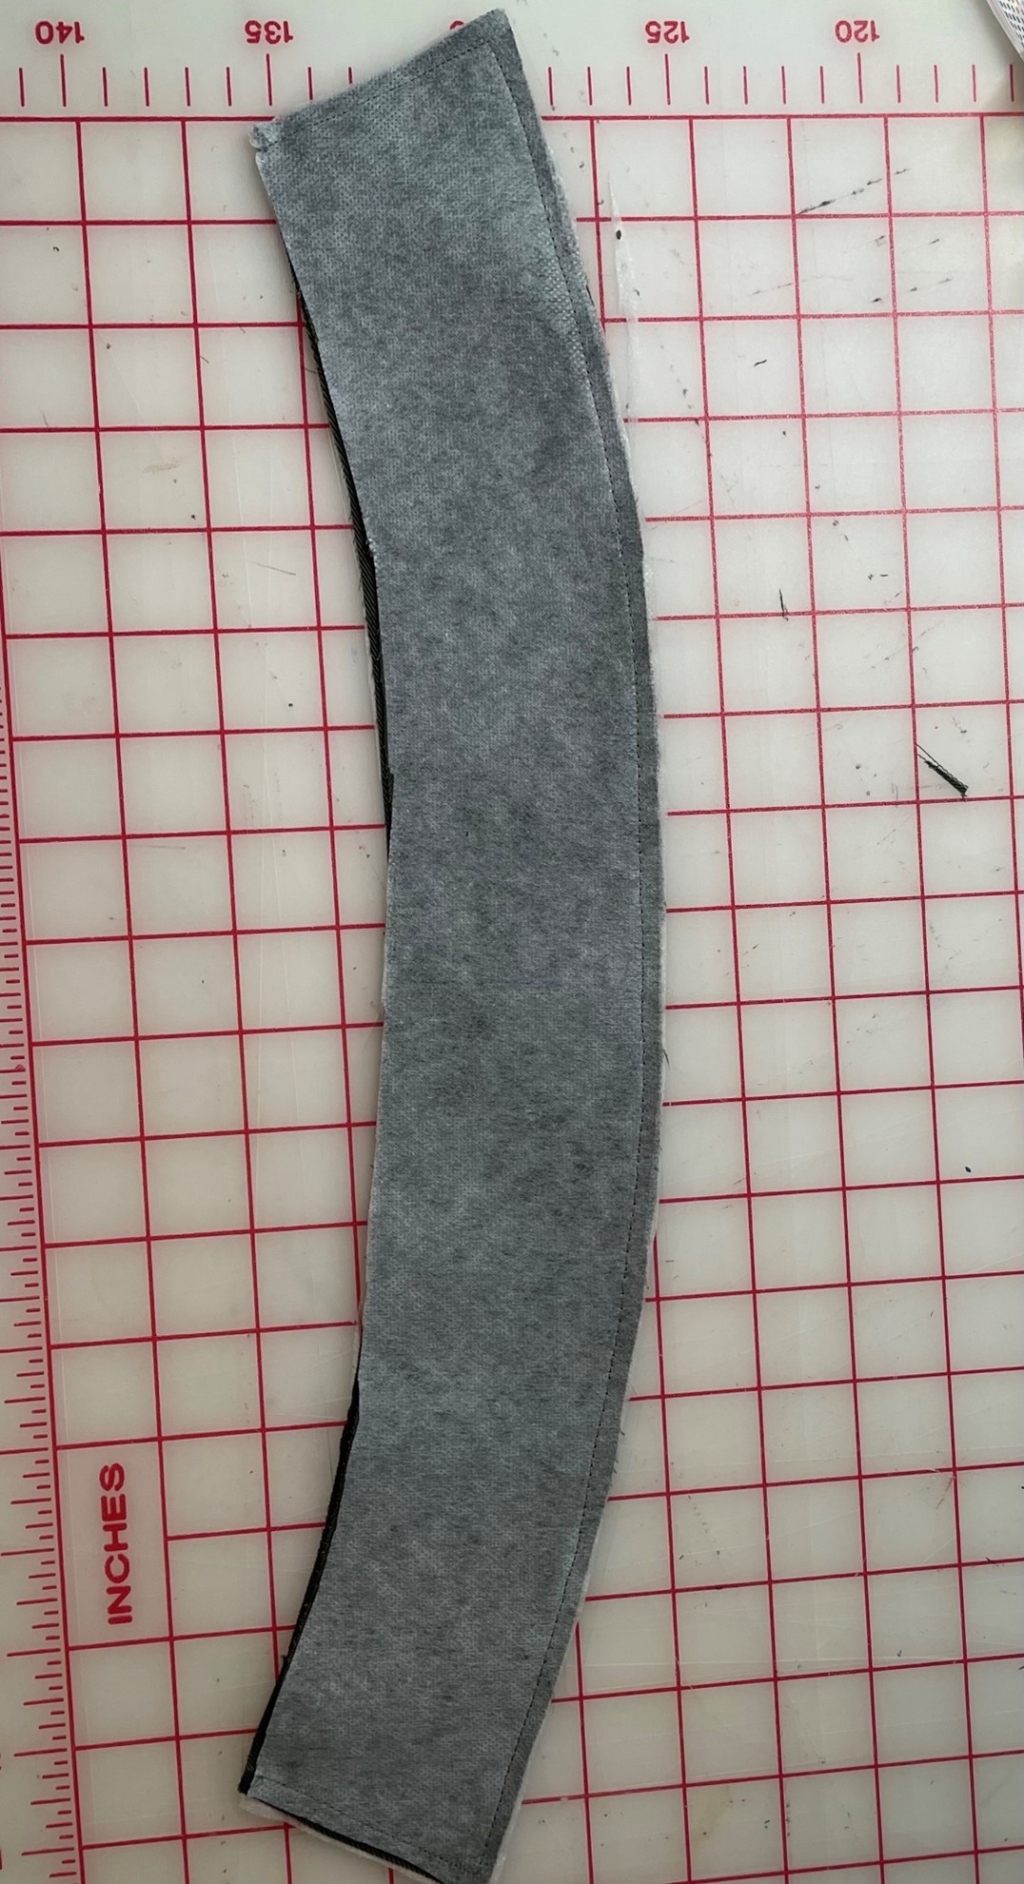

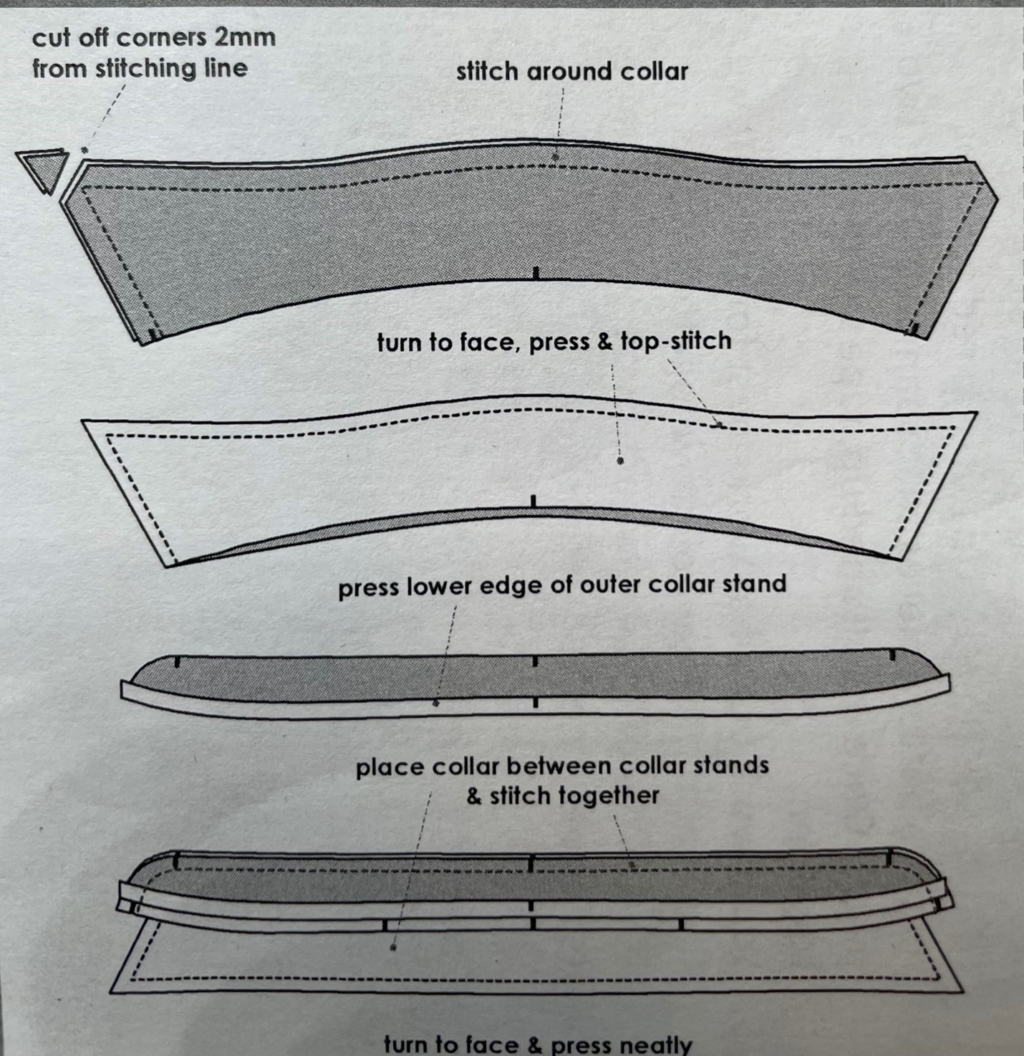
COLLAR:
With right sides together sew the top edge and the points of the collar, turn to the right side and sew a flat stitch close to the seam on the side of the under collar.
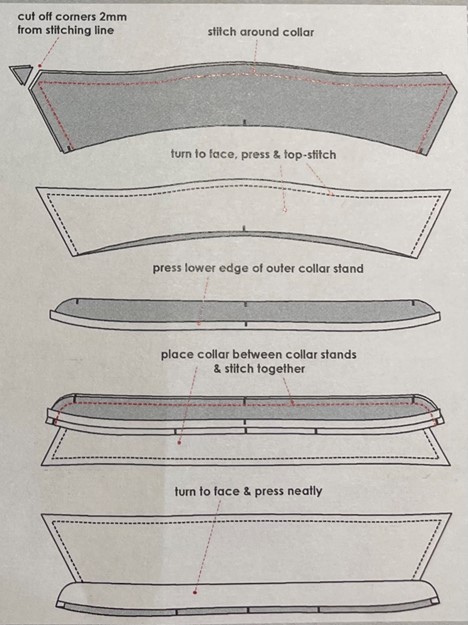
Pin the collar sandwiching it between the two collar stands, once in place stitch it together then sew down the two short ends.
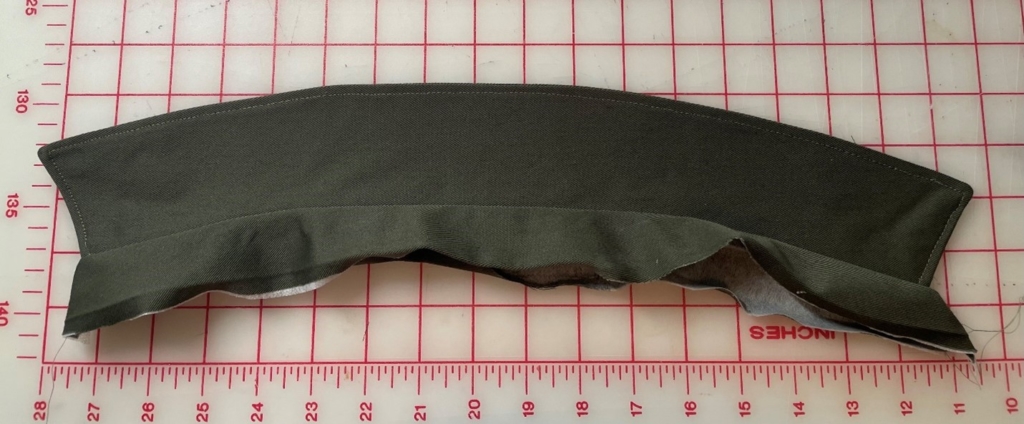
BACK BODY:
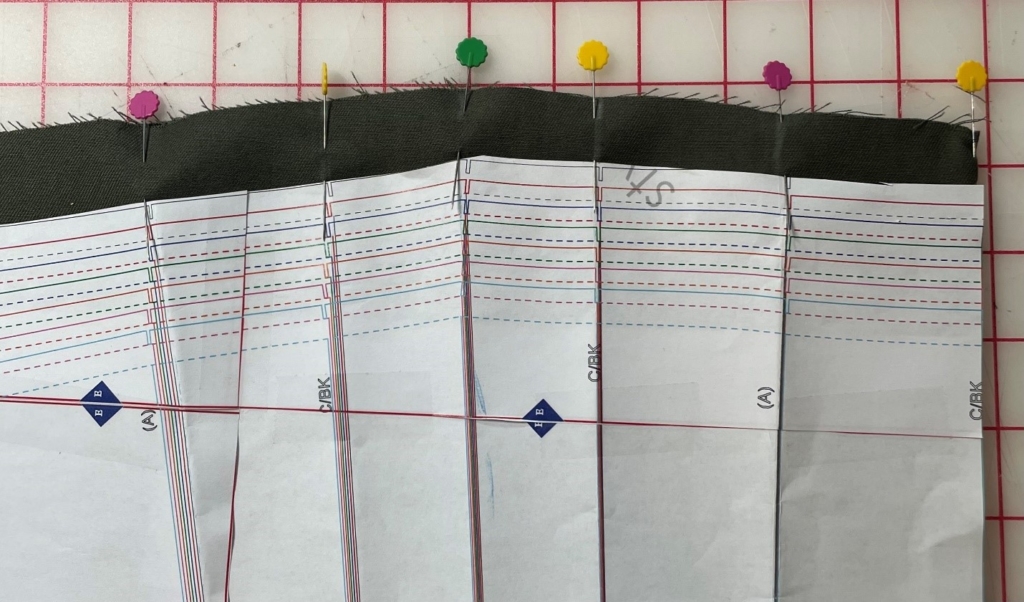
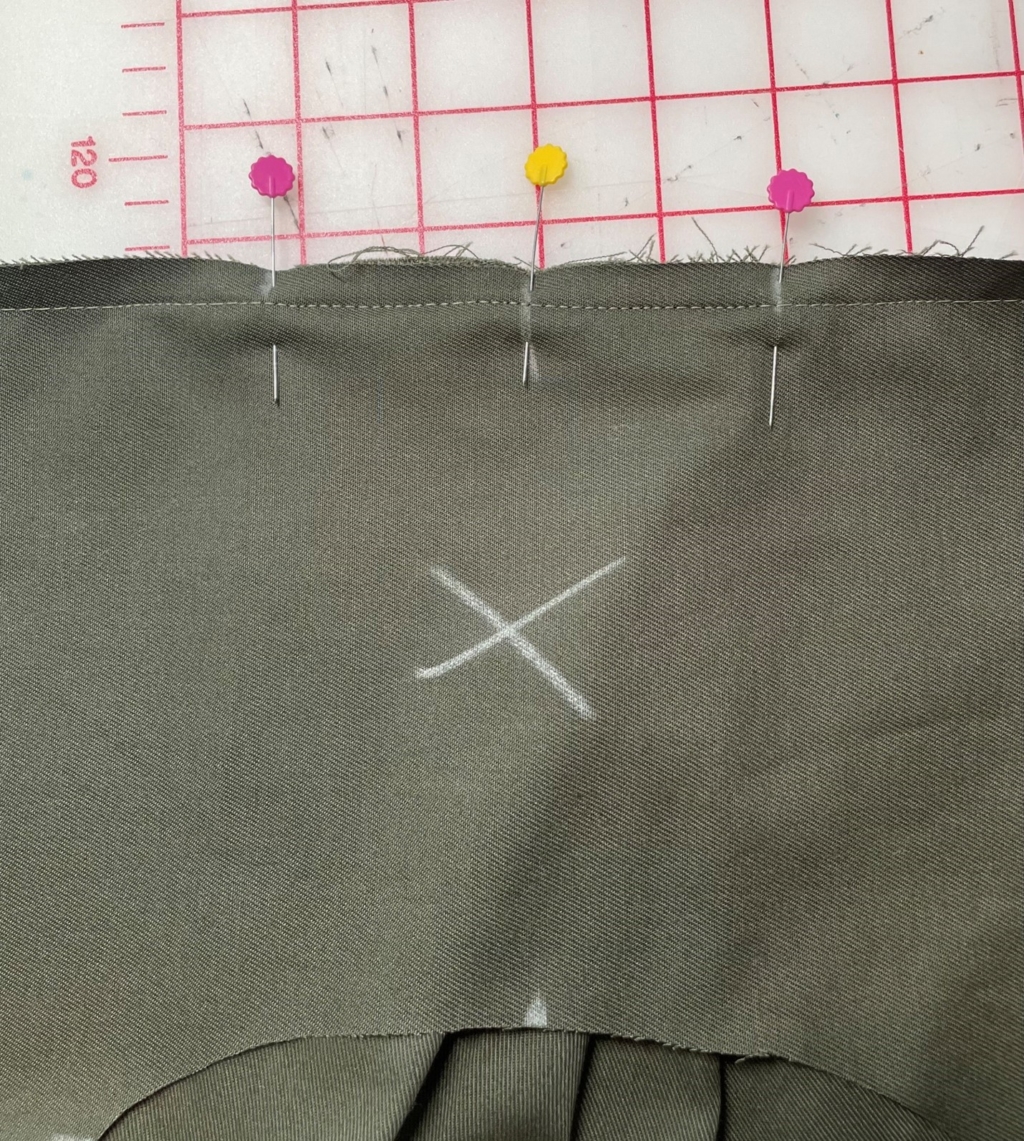
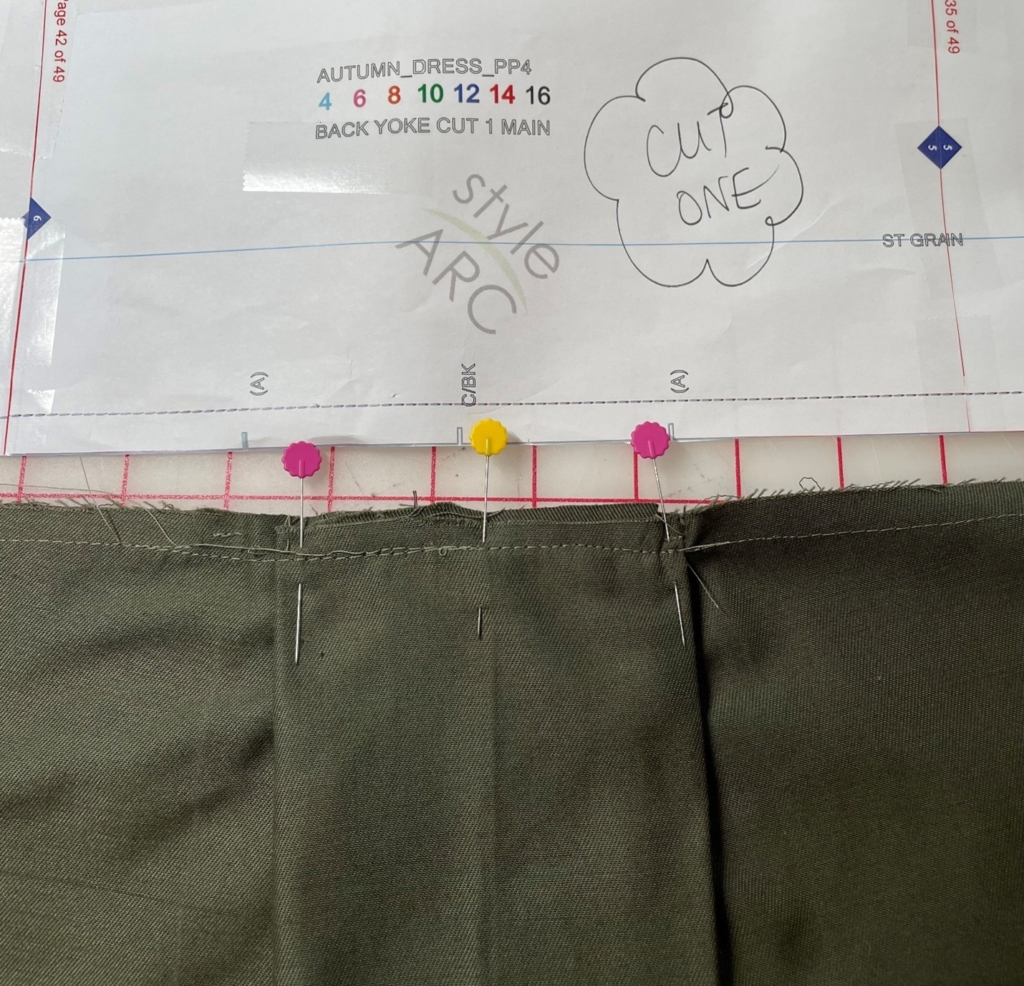
Pin the back pleats following the markings on the pattern. I found it helpful to colour code the pins so that you can see which folds to match with which folds.
Join “A” to “A” then line up all the centre back notches, right pleats over the left.
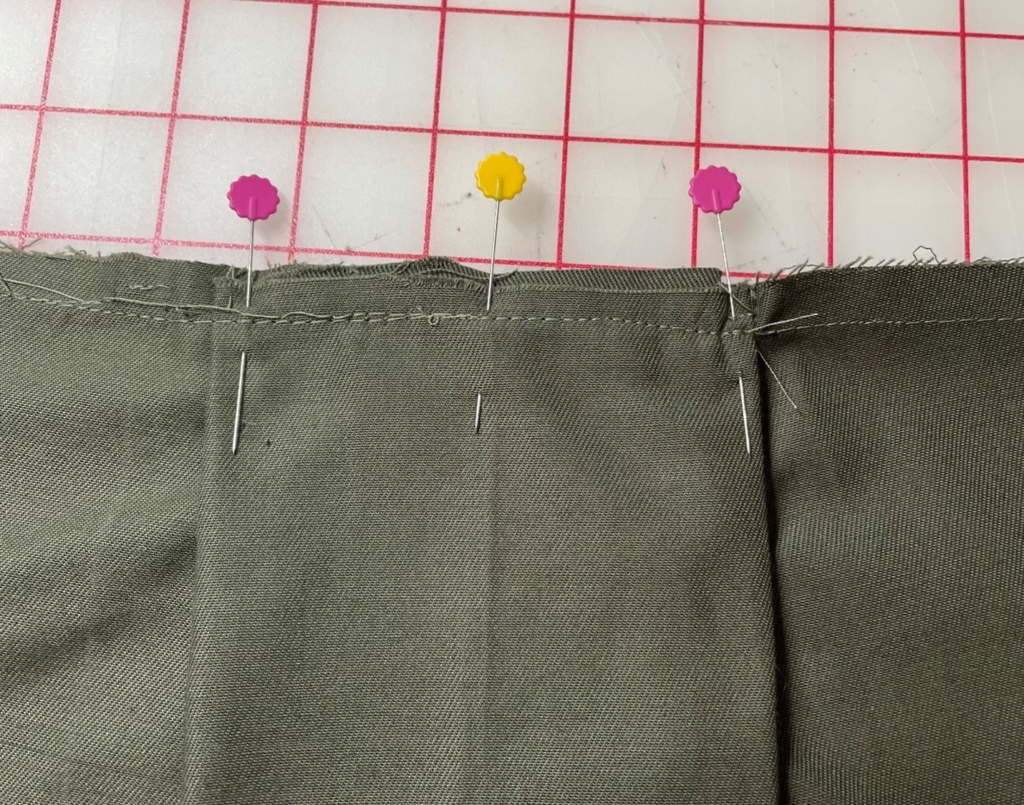
Sew a stay stitch along the top seam to hold the pleat in place.
Only press the very top of the pleat so the rest could flow freely.
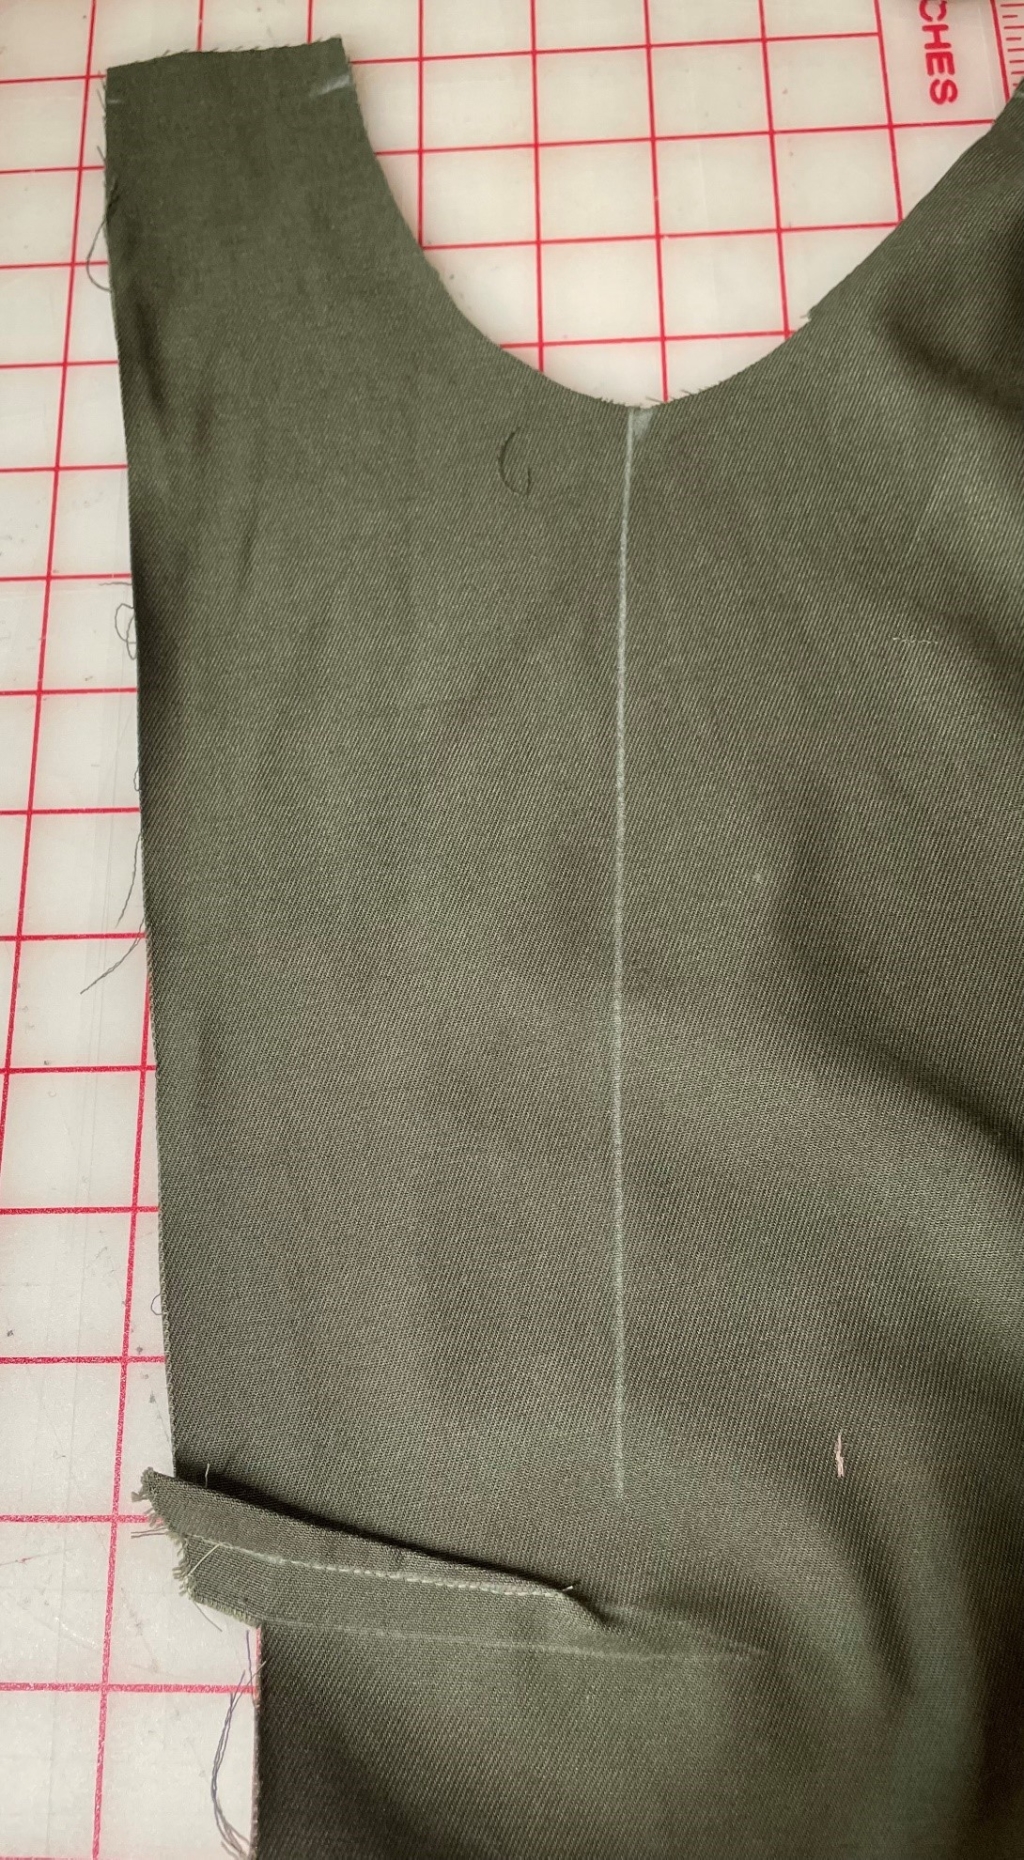
With right sides together sew the back yoke to the back body, matching the centre back notches.
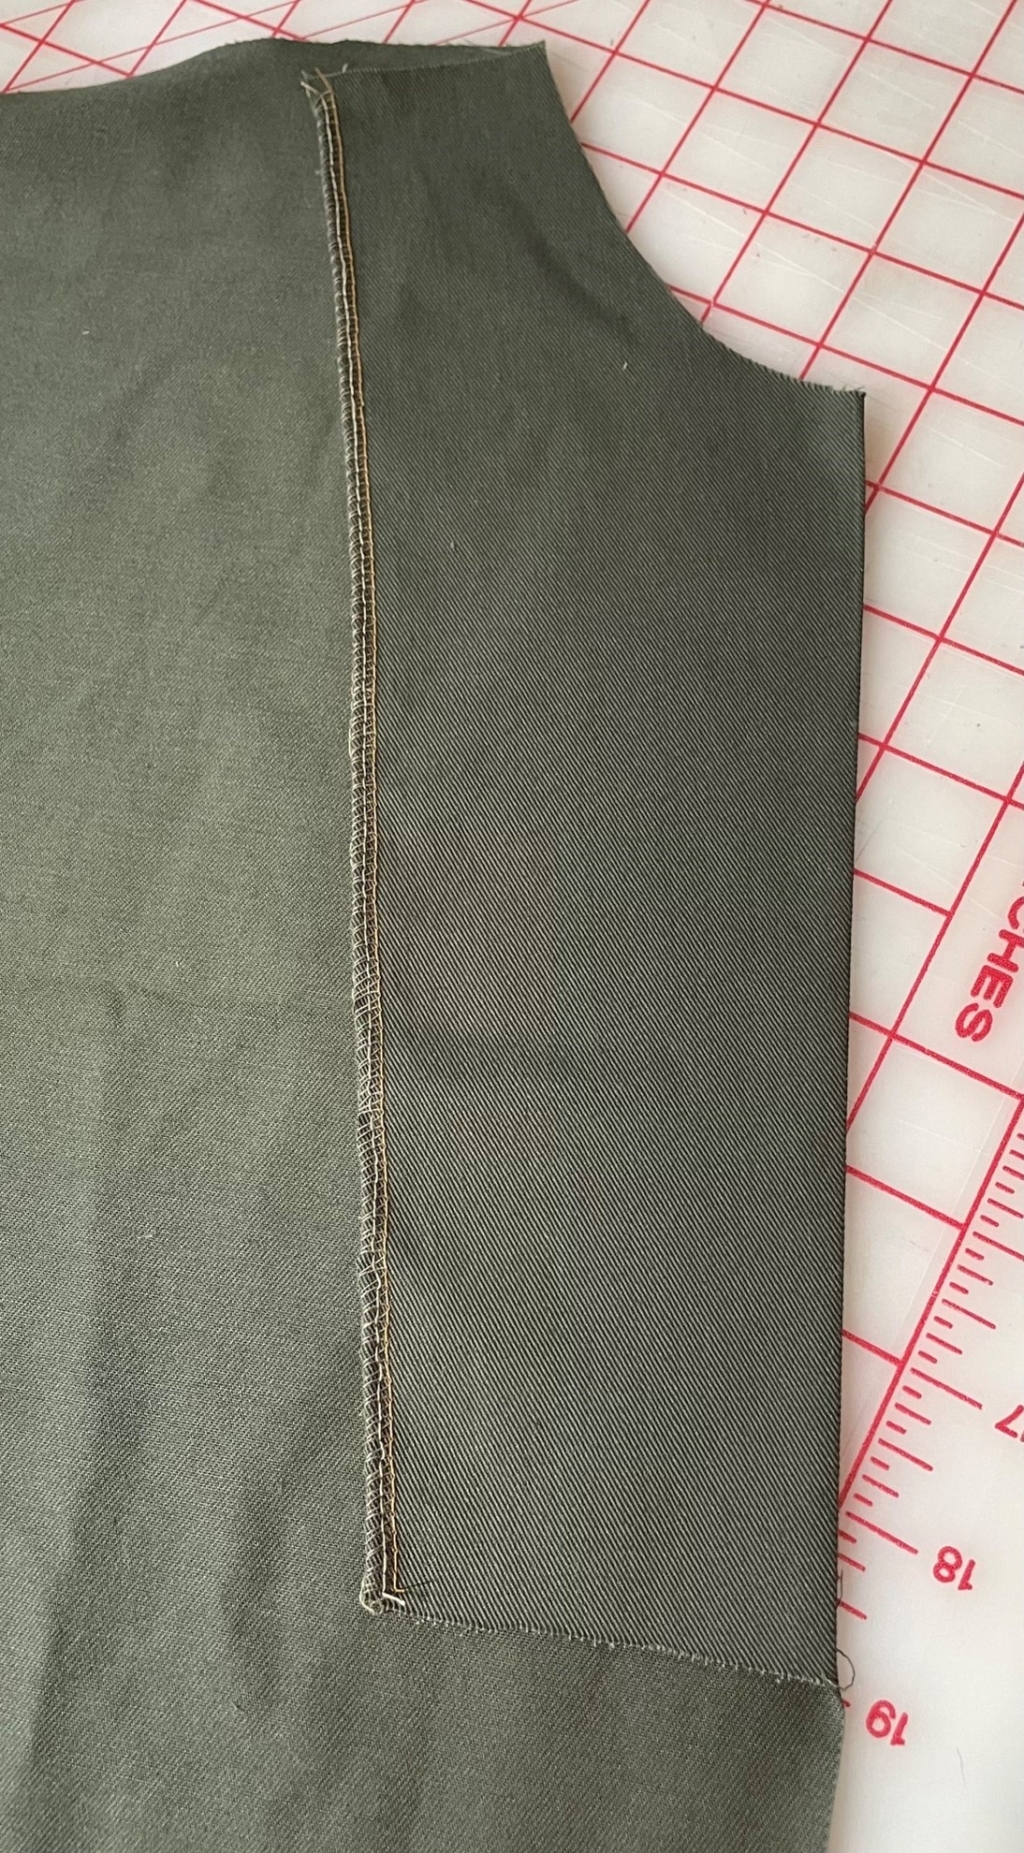
FRONT BODY:
Right front body; sew the small front dart and press upward.
Press the angled front facing to the inside; note the markings on the pattern.
Stitch the neckline and facing together.
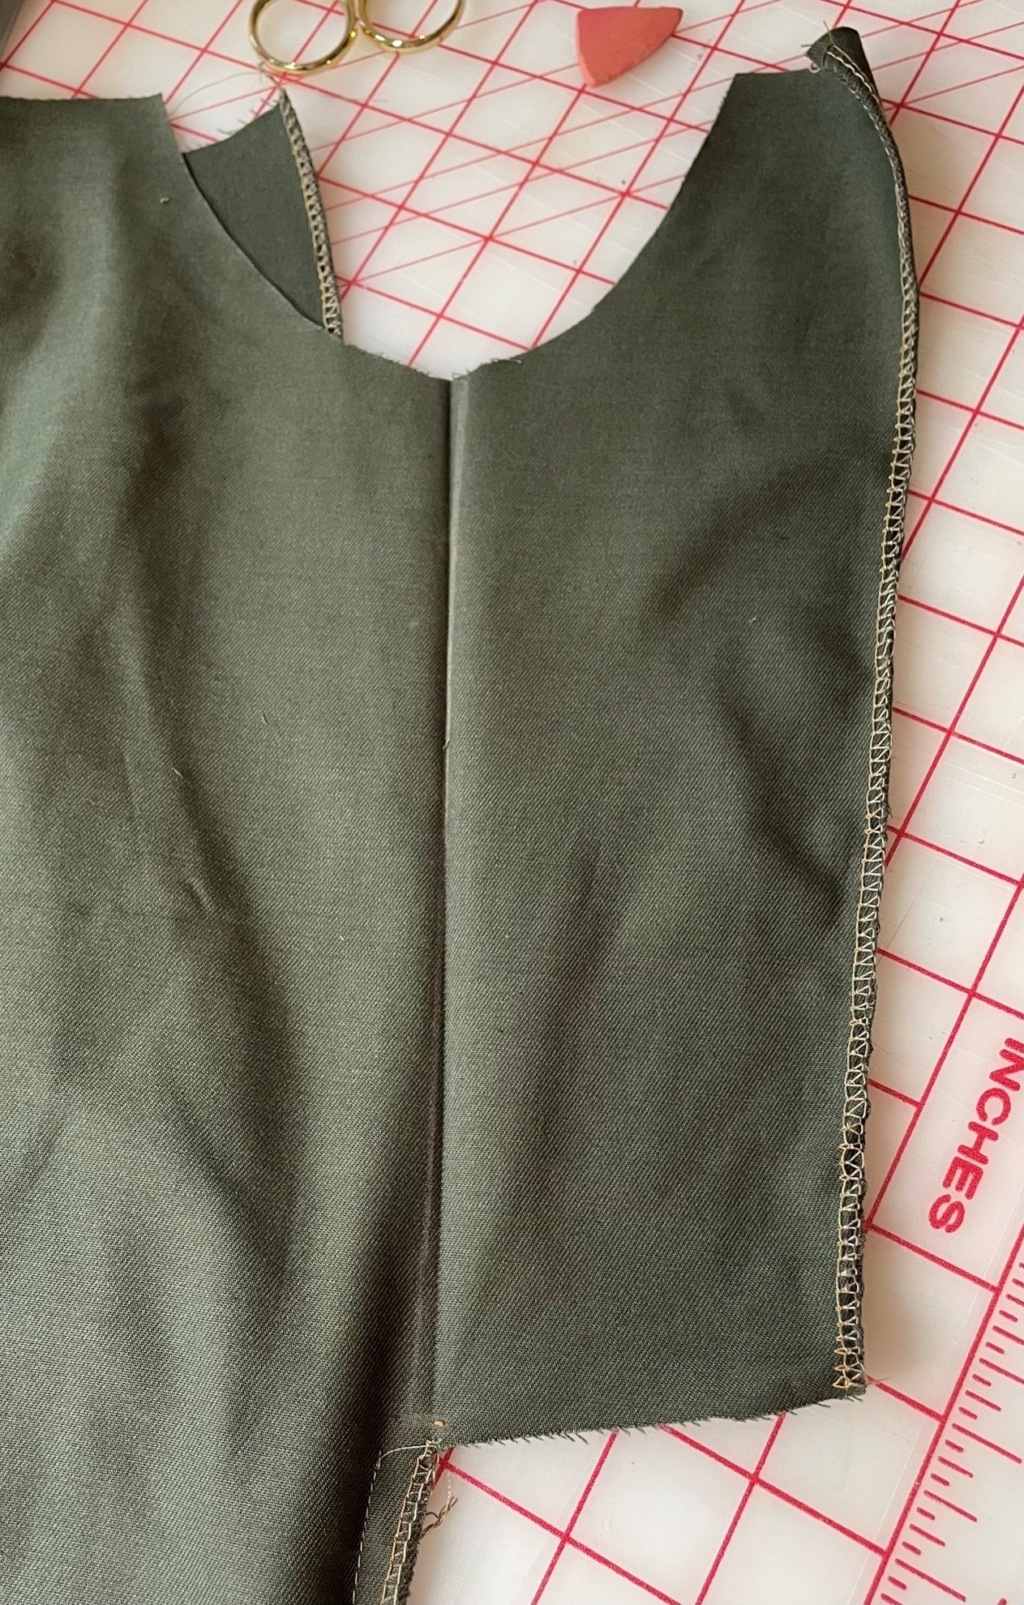
Left front body; press the angled front facing to the inside. See marking on the pattern.
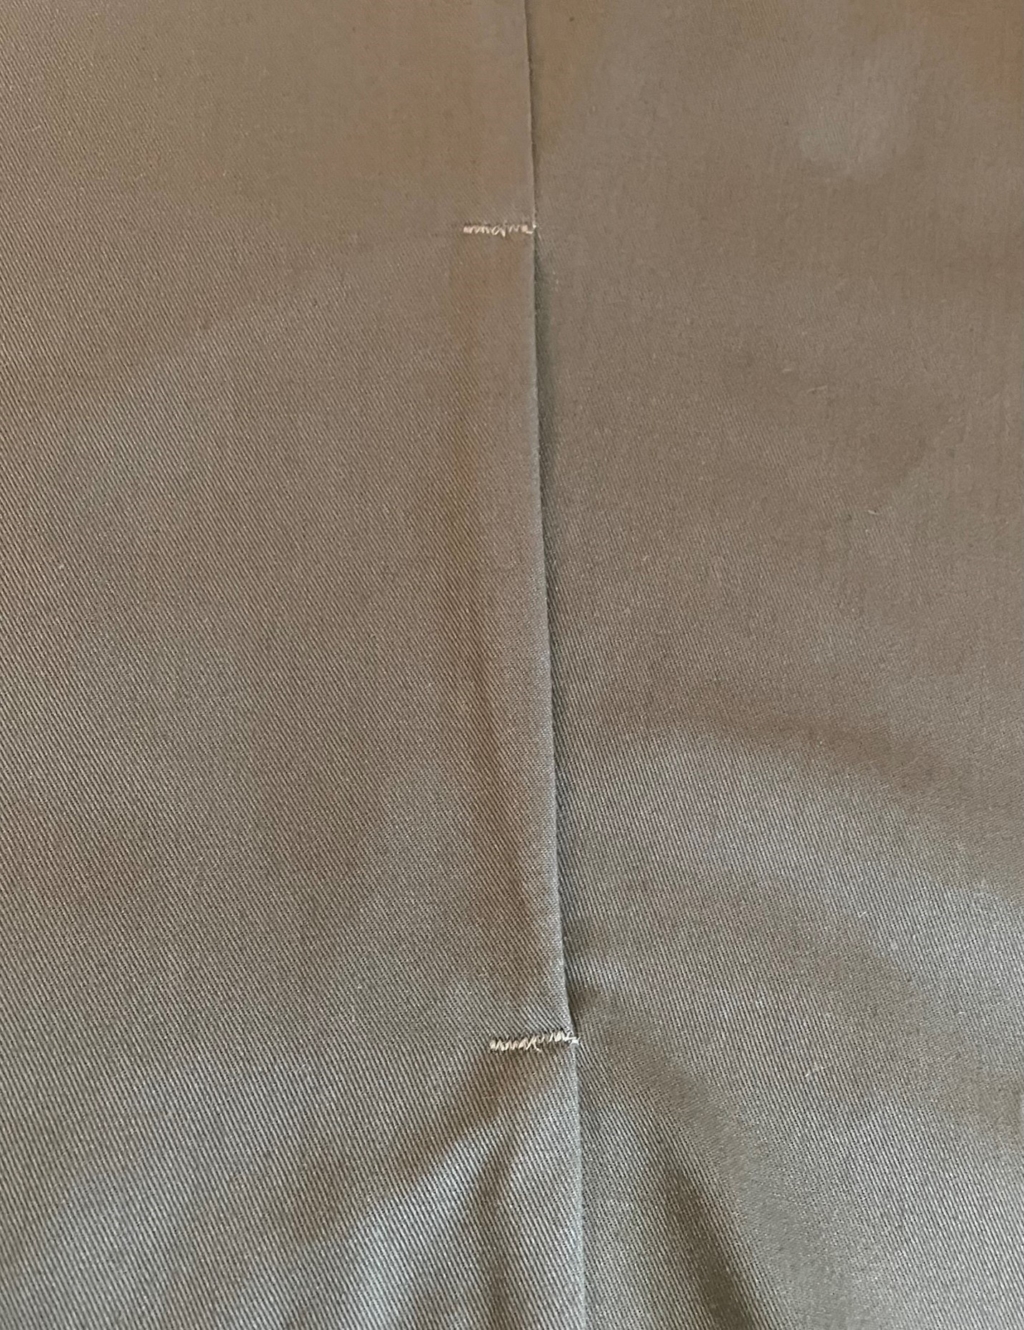
With right sides together sew the centre front seams together, start at the hemline and stitch up to the base of the centre front turn back.
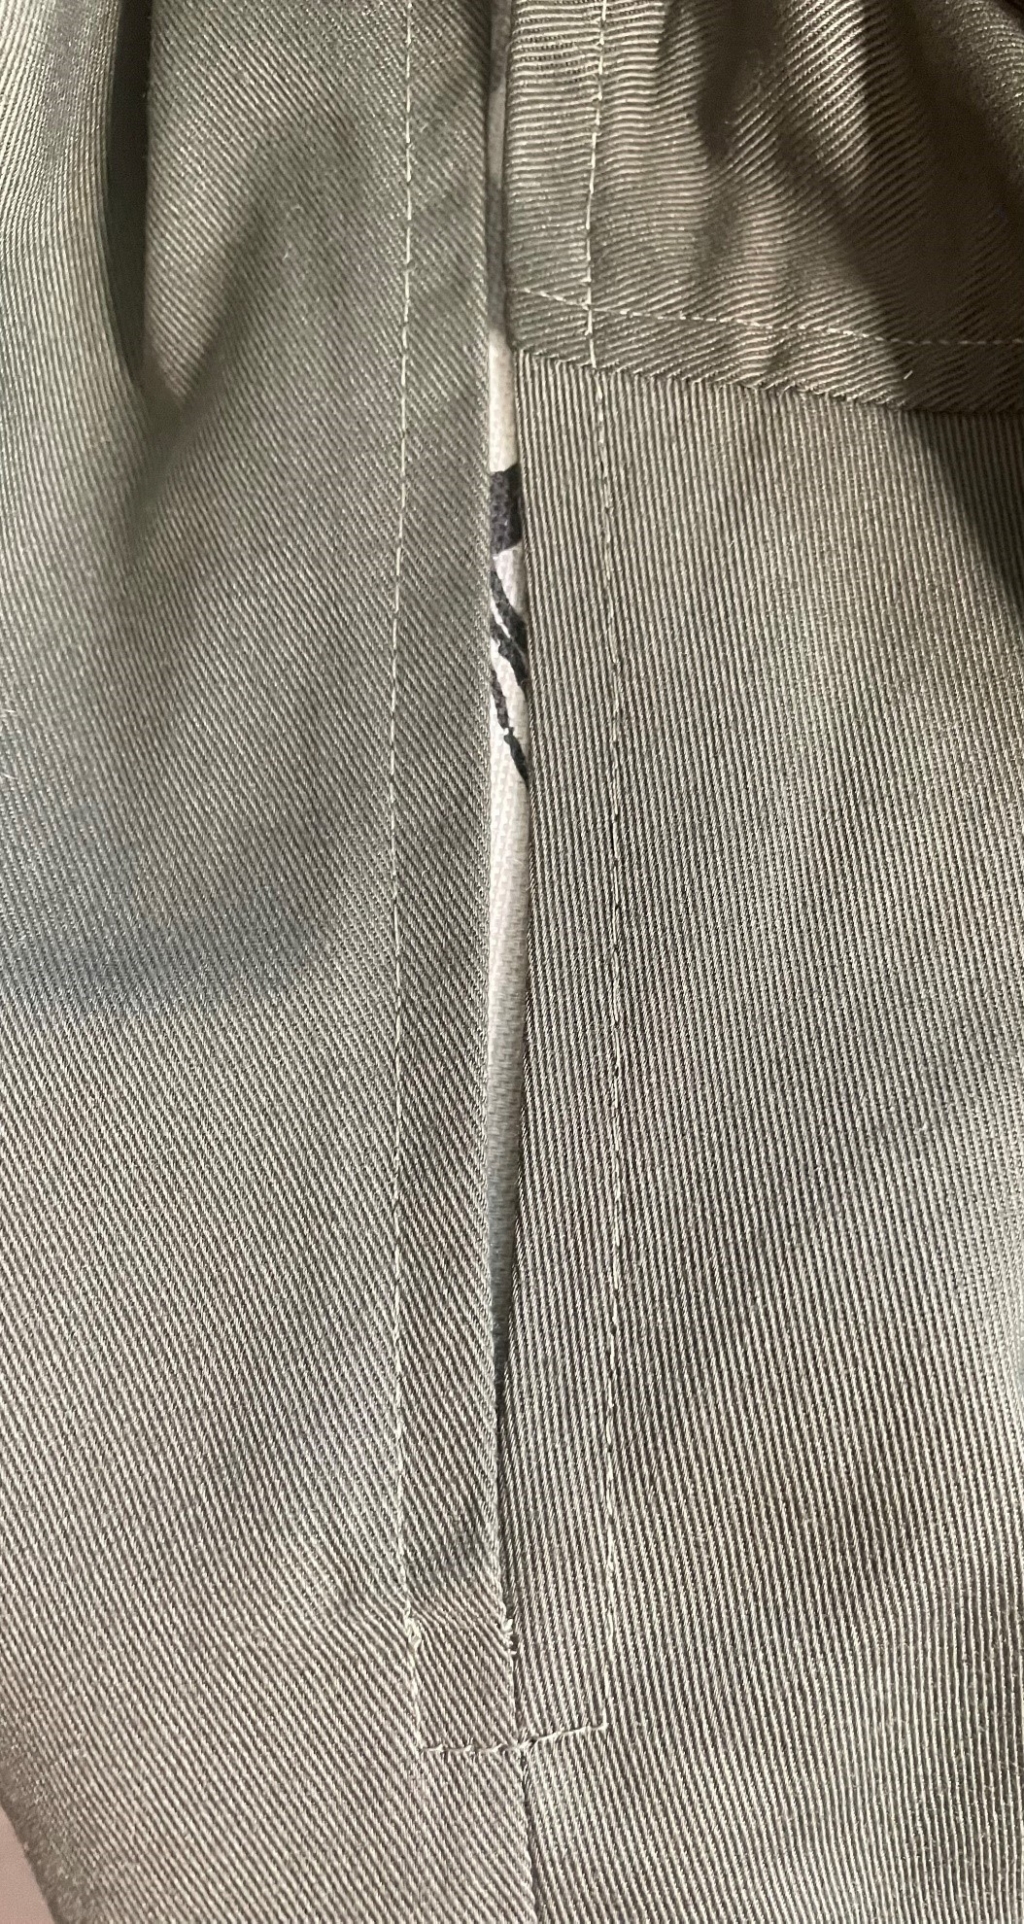
Fold back the right front pleat along the vertical line marked on the pattern and pin to hold in place. This will create a 6cm (2.25″) pleat.
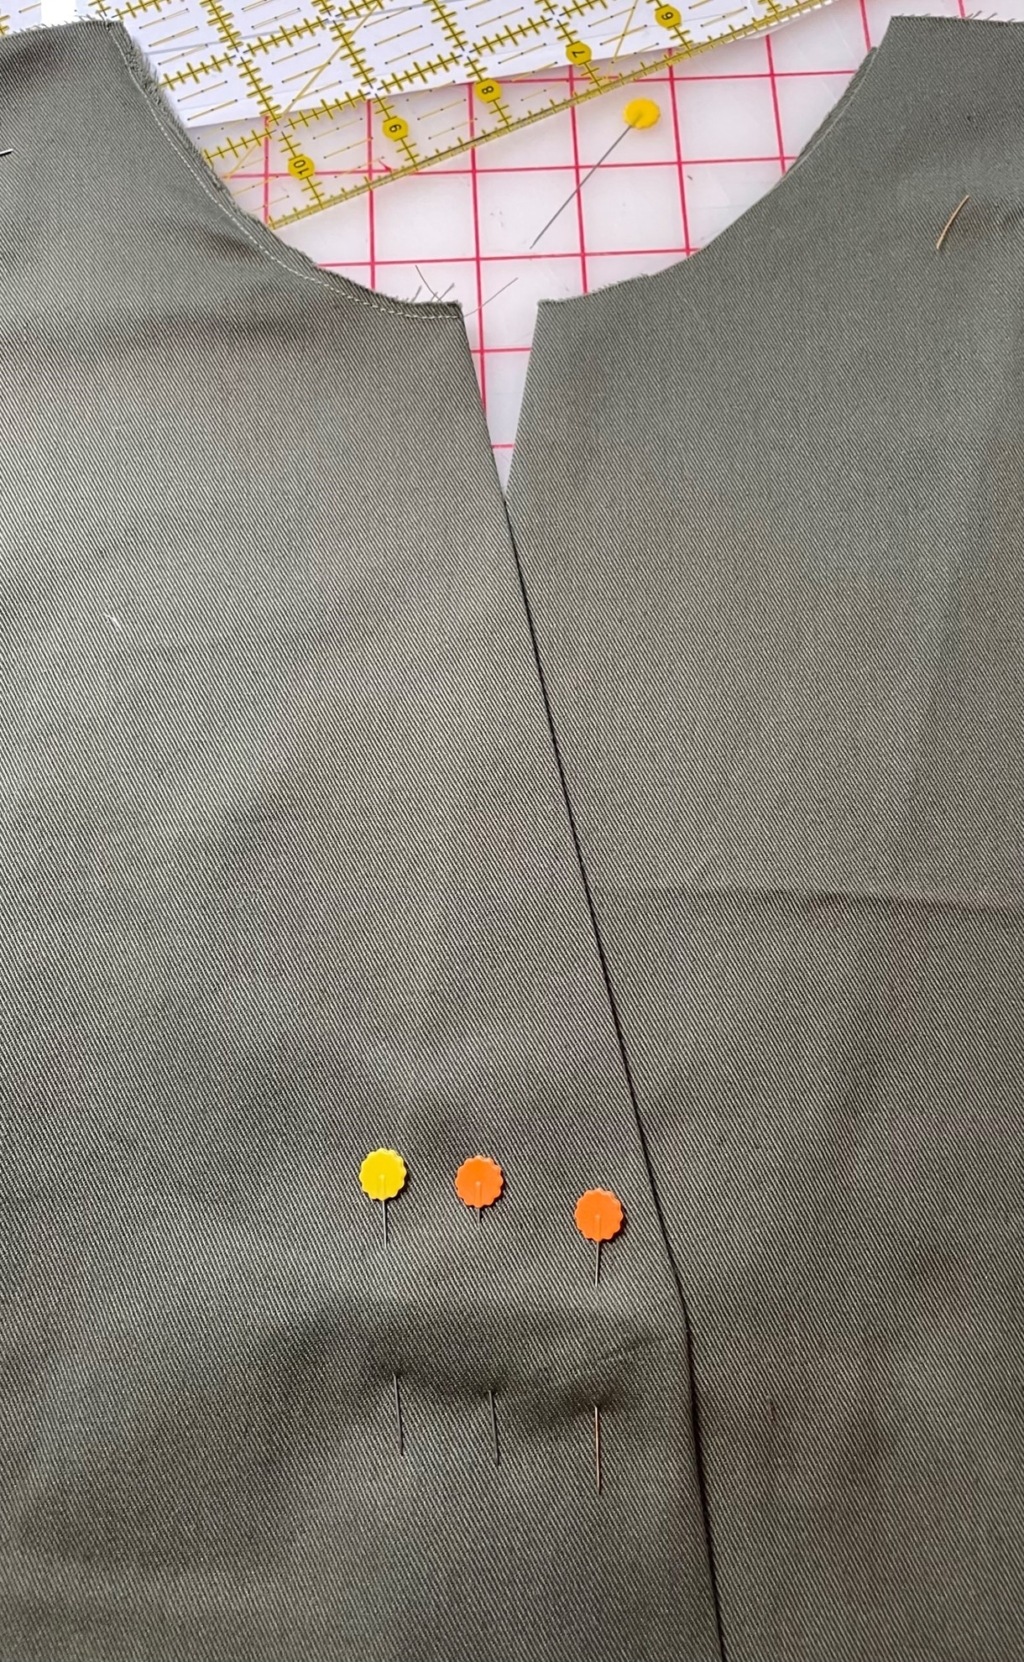
Lay the right front pleat on top of the left front and pin in place.
With right sides together sew the front and back shoulder seams together.
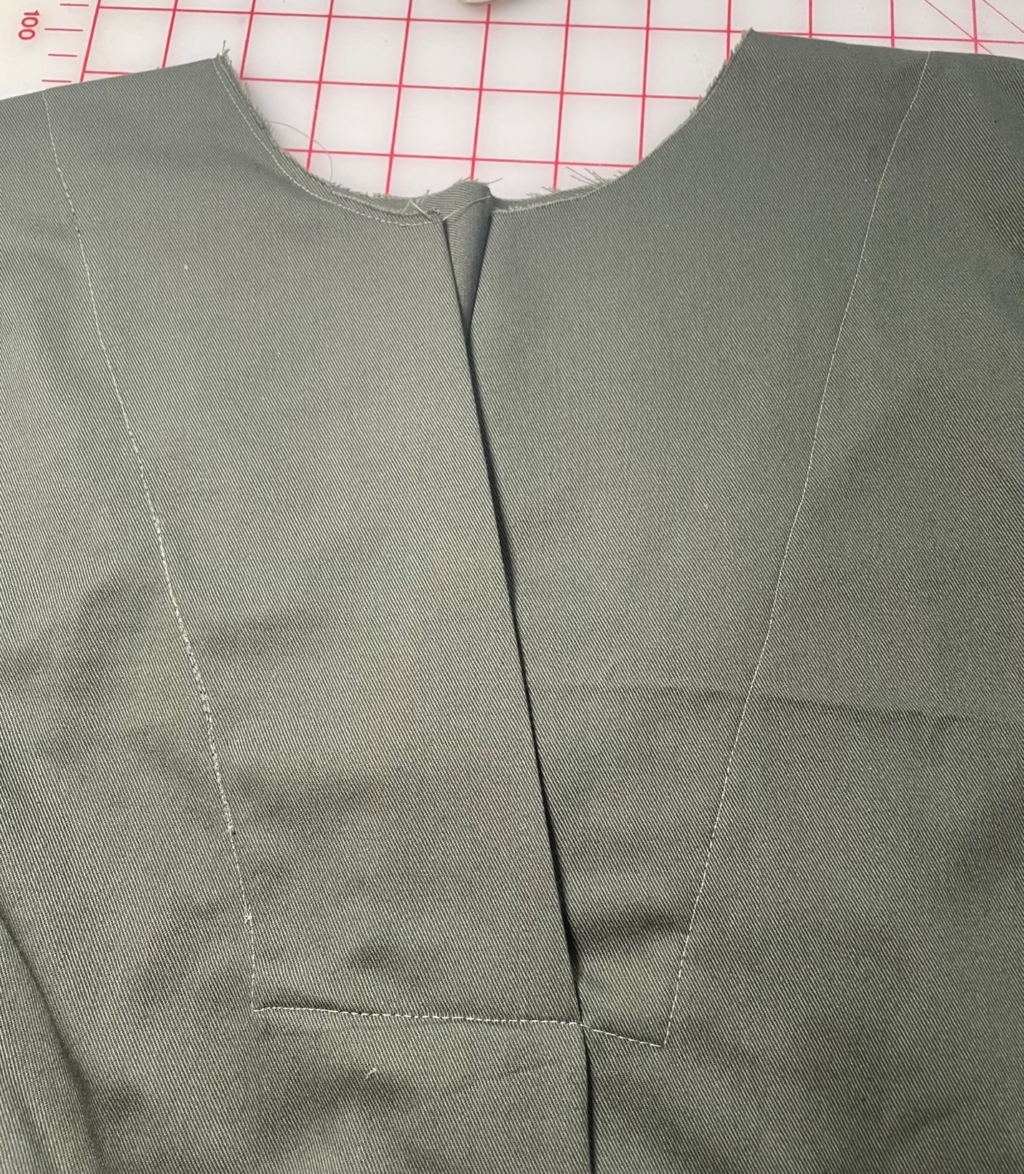
Sew a top stitch around the front facings.
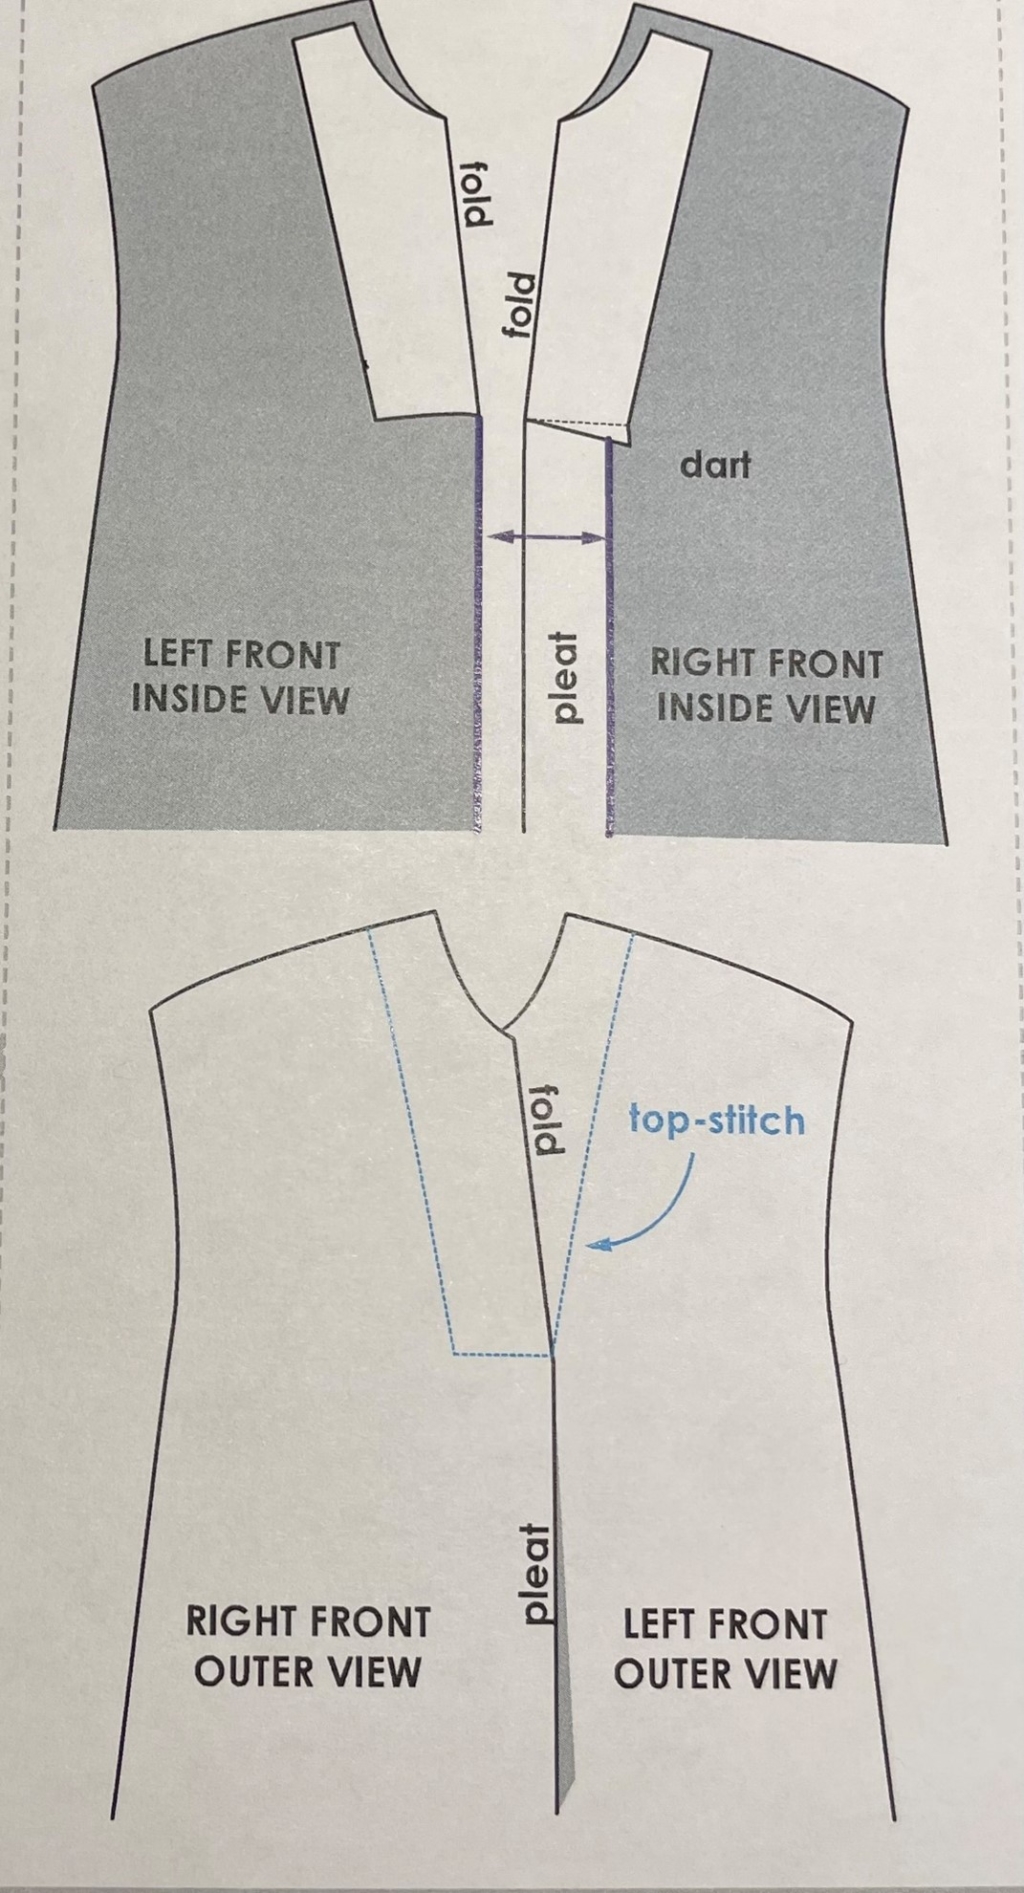
Stitch from the shoulder seam down the outer edge of the facing, with the needle down turn and stitch across the base of the folded front.
Continue sewing up the left facing, finishing at the shoulder seam.
COLLAR:
Sew the outer lower edge of the collar stand to the neckline, follow the notches.
Turn the inside collar stand inward and edge stitch the base of the collar stand down.
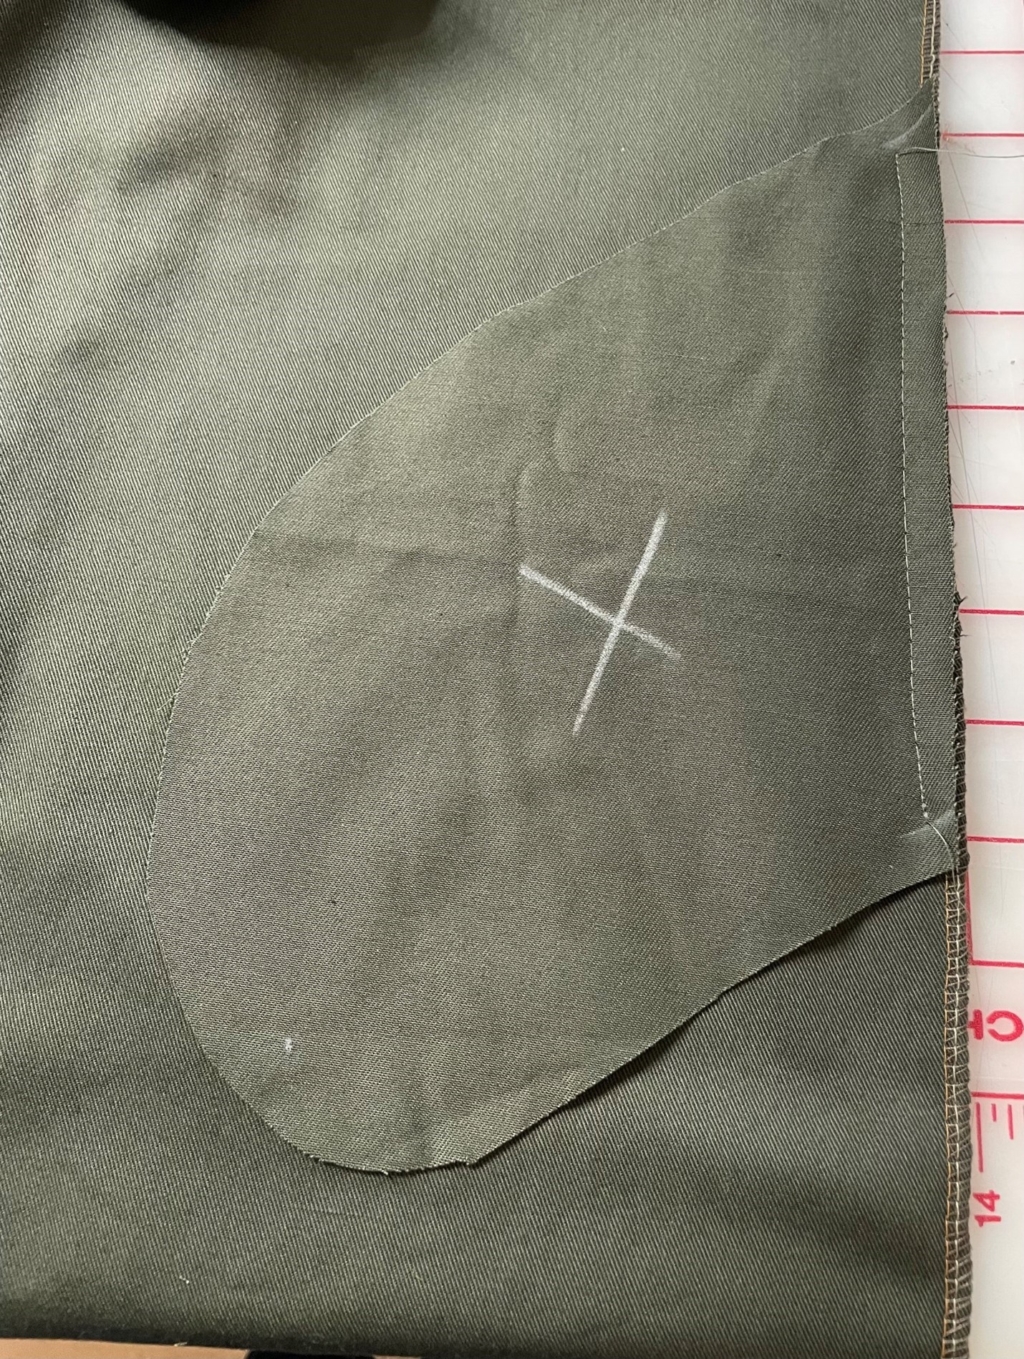
POCKETS:
With right sides together sew one set of pocket bags to the front side seam where marked on the pattern. Repeat for pockets on the side seam of the back body.
(Note: this style does not need a pocket facing as noted in the tutorial)
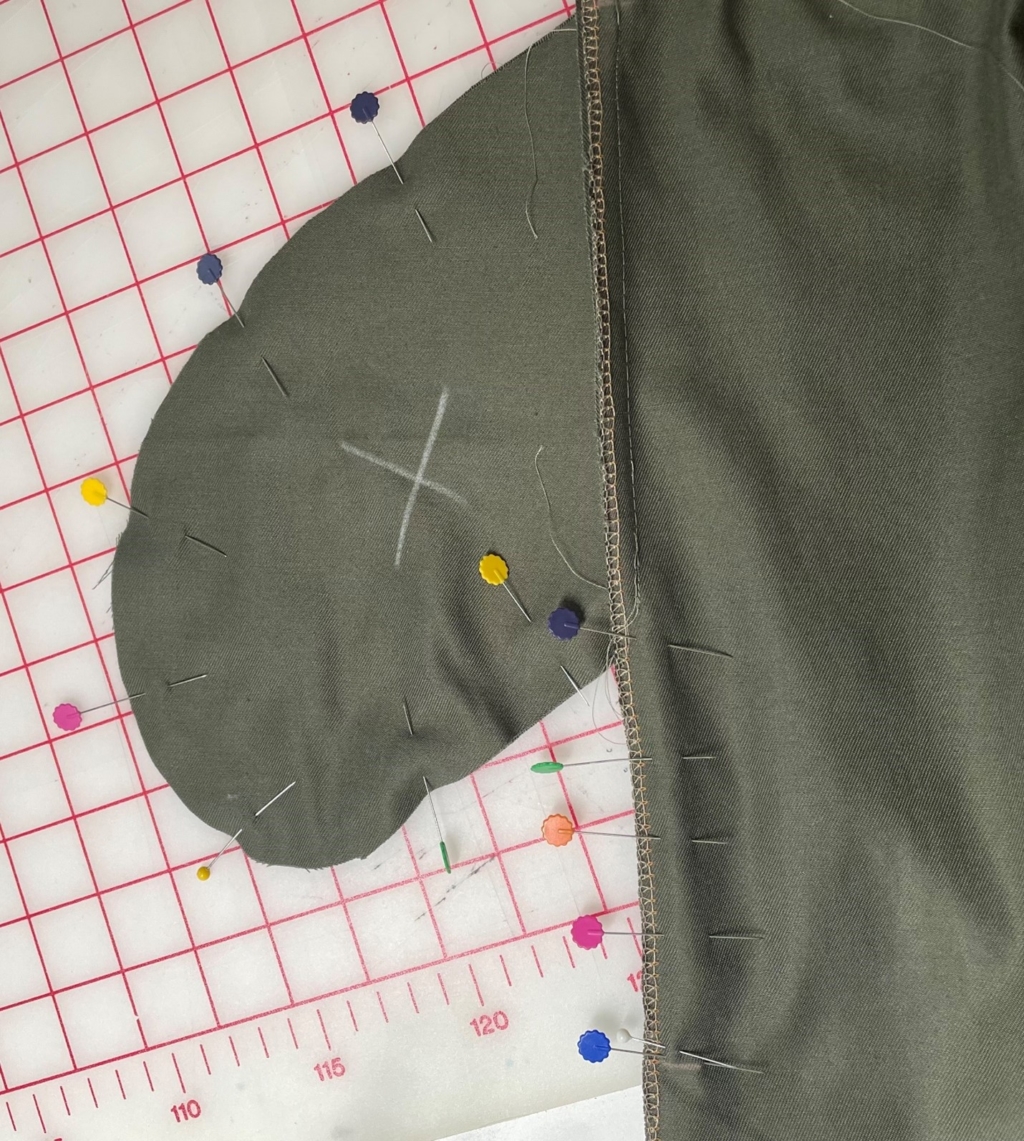
With right sides together sew the front and back side seams together.
Sew around the pockets joining them together. Start sewing at the underarm notch, sew down to the top of the pocket.
With the needle down, turn and sew around the pockets joining them together.
Once arriving back at the side seam keep the needle down, turn your fabric and continue sewing down the side seam arriving at the lower notch.
Press the pocket toward the front and sew bar tack to each end of the pocket to secure it.
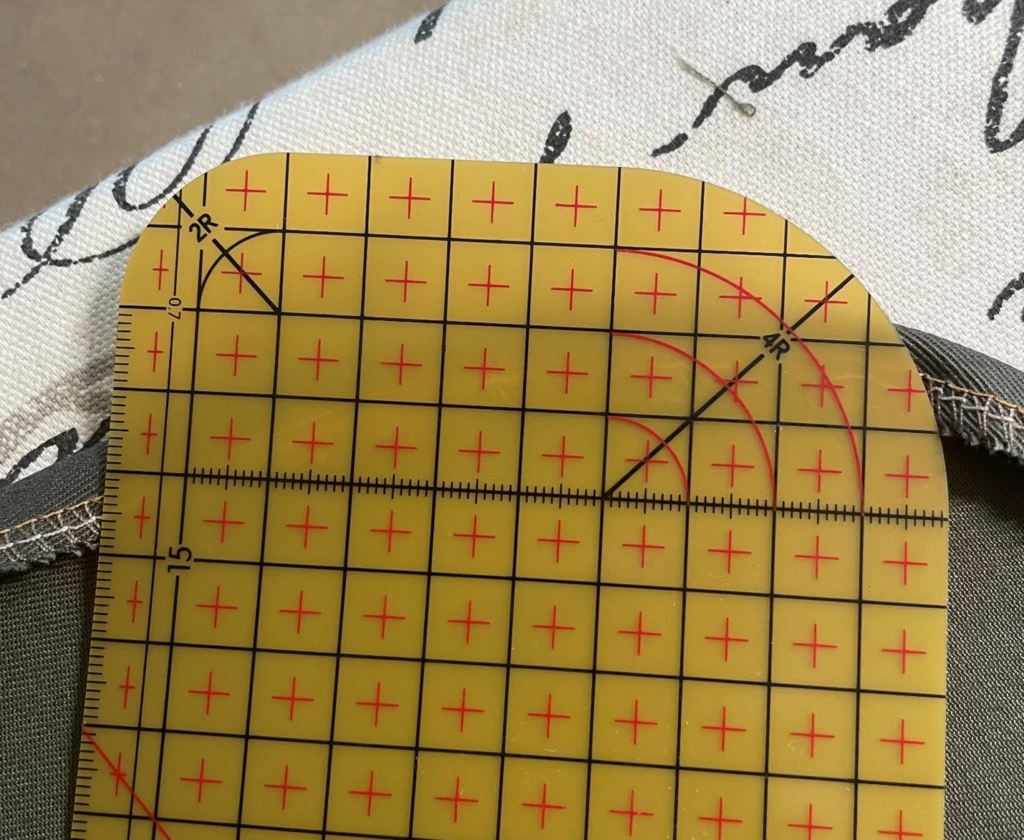
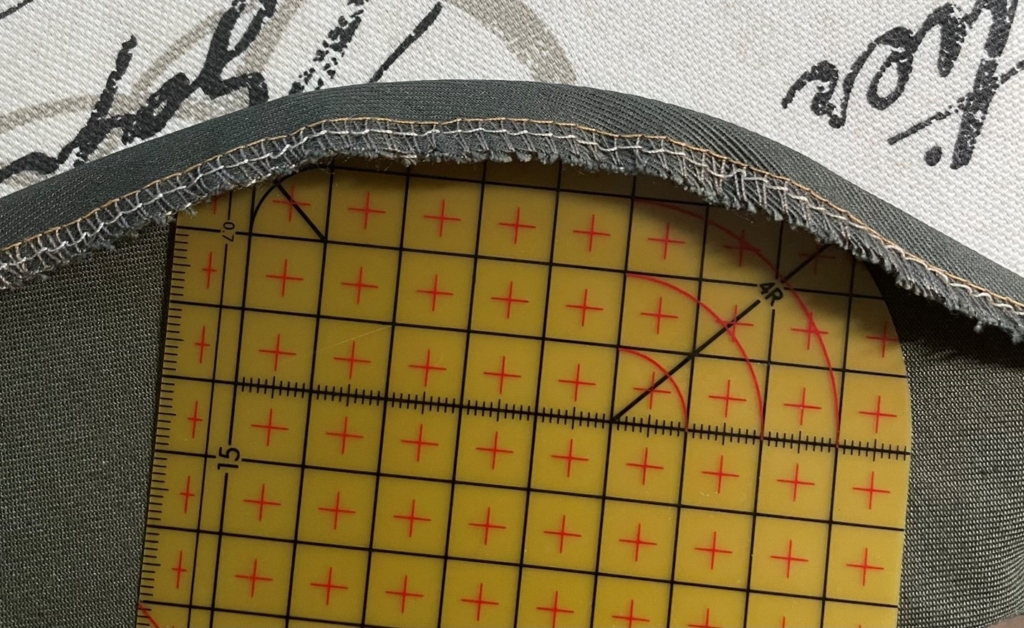
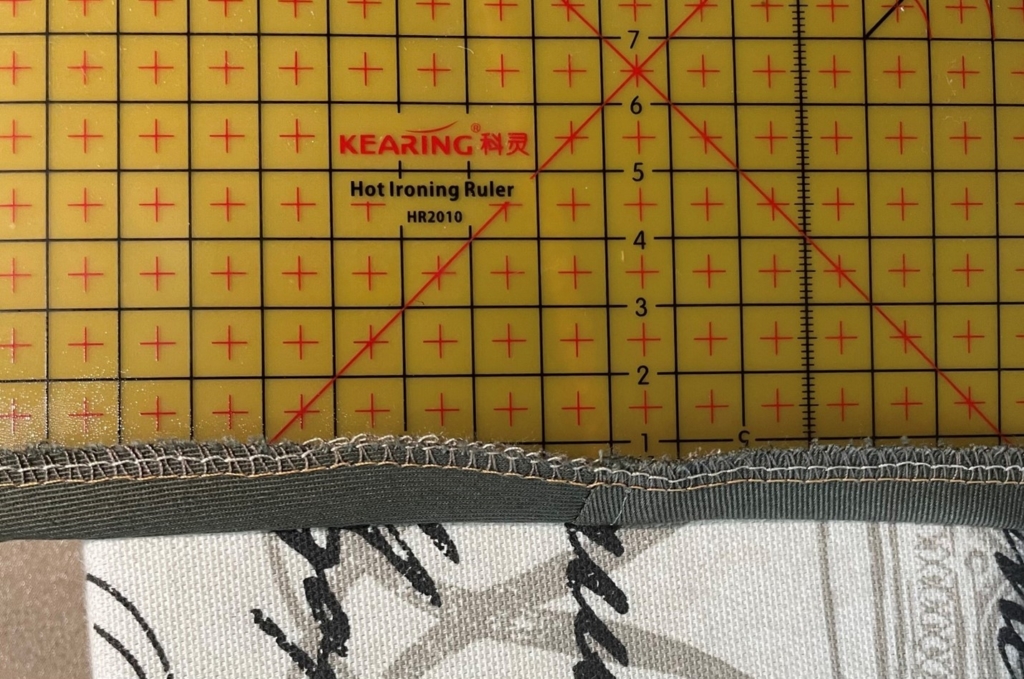
Press the hemline back to make stitching easier and more even. I really like to use a heat resistant curved ruler for this. It gives you a perfect curved hemline to follow. Stitch the rounded hem.
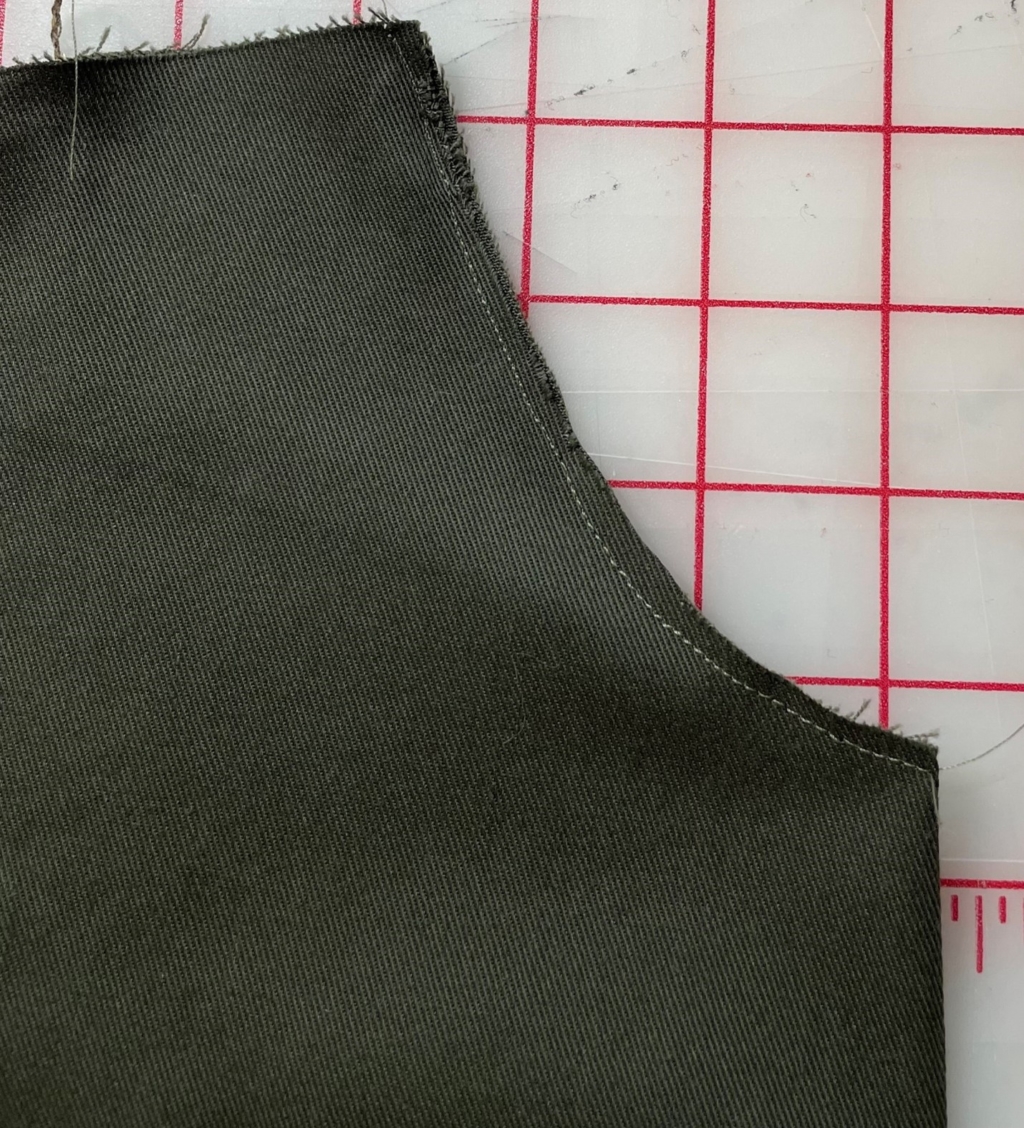
Press back and stitch around the armhole. Stop at the lower corner to turn fabric around your needle to create a nice square finish.
Press your new dress, you are finished!!
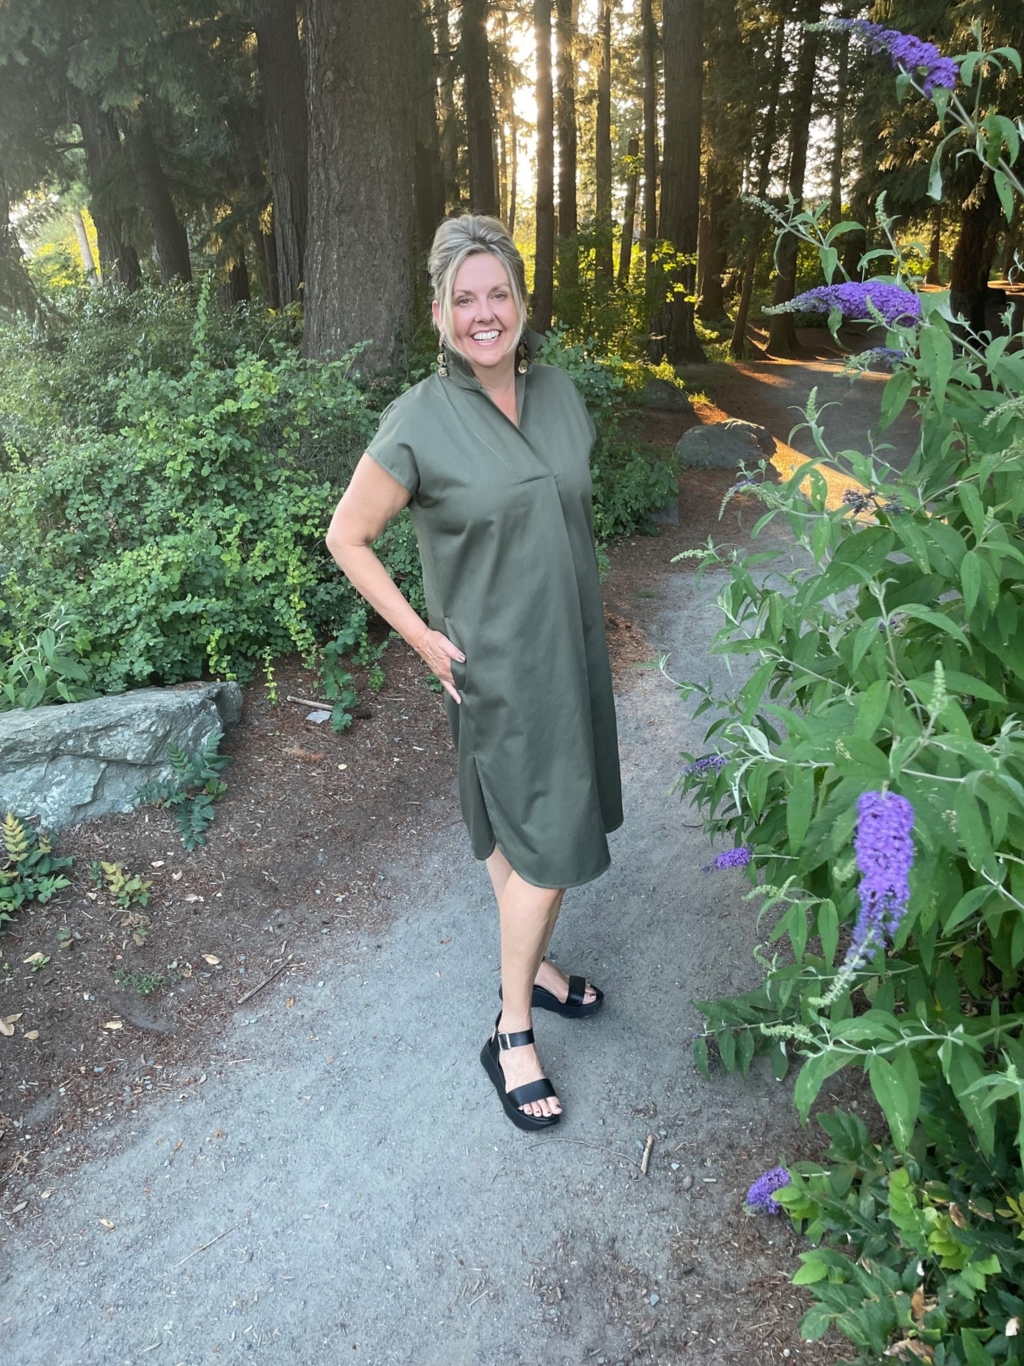
This is a fun and fashionable dress to make. It will transition you perfectly into cooler weather after the summer and with a layered long sleeve, tights and boots it will be perfect for your winter wardrobe.