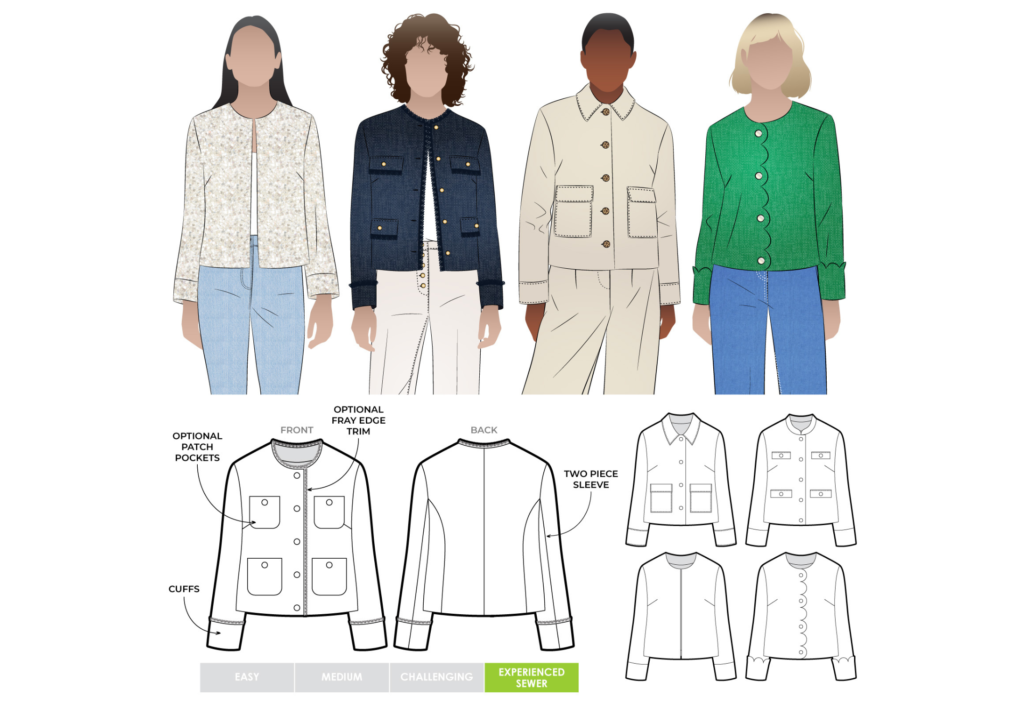
CONSTRUCTION:
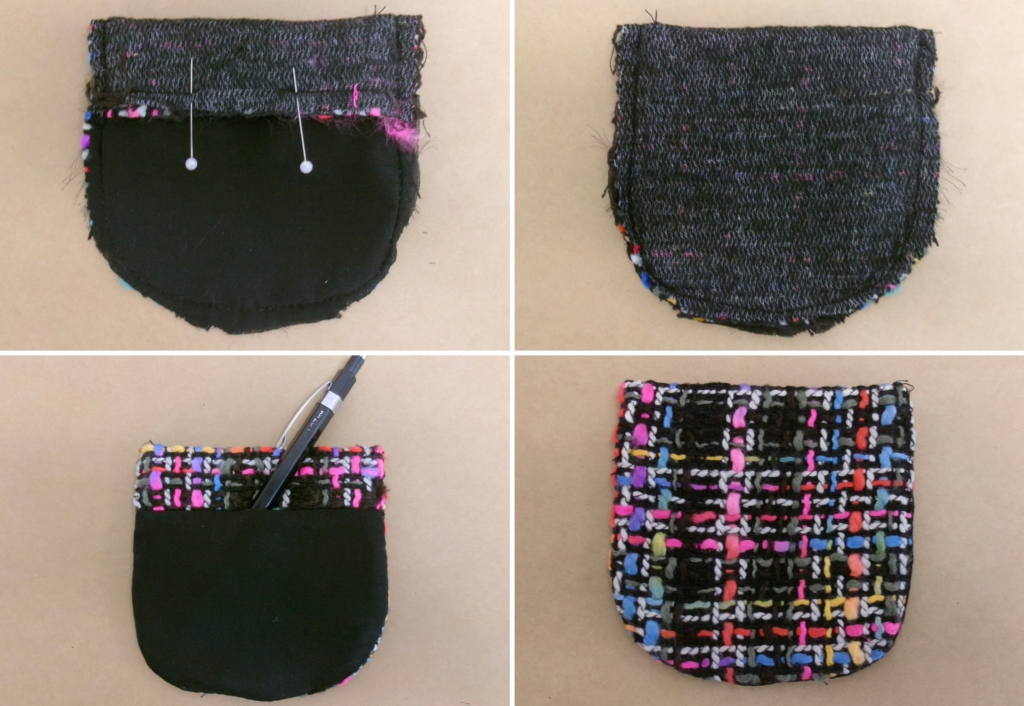
POCKETS (round pocket version; PP16 and 17 for the top pocket, PP18 and 19 for the lower pocket):
With RST sew the top edge of the pocket lining to the rounded patch pocket, leaving a small gap in the middle to turn the pocket through. Press seam towards the pocket lining.
Fold and press the patch pocket, along the fold line, with right sides facing, matching the bottom rounded edges together.
Sew the two pockets together around the outer rounded edge (6mm). Turn the pocket through to the right side and press. Neatly hand stitch the opening to close.
Matching the corners to the markings on the front of the main jacket, carefully pin the pocket into place and top stitch down. Repeat with all other pocket flaps.
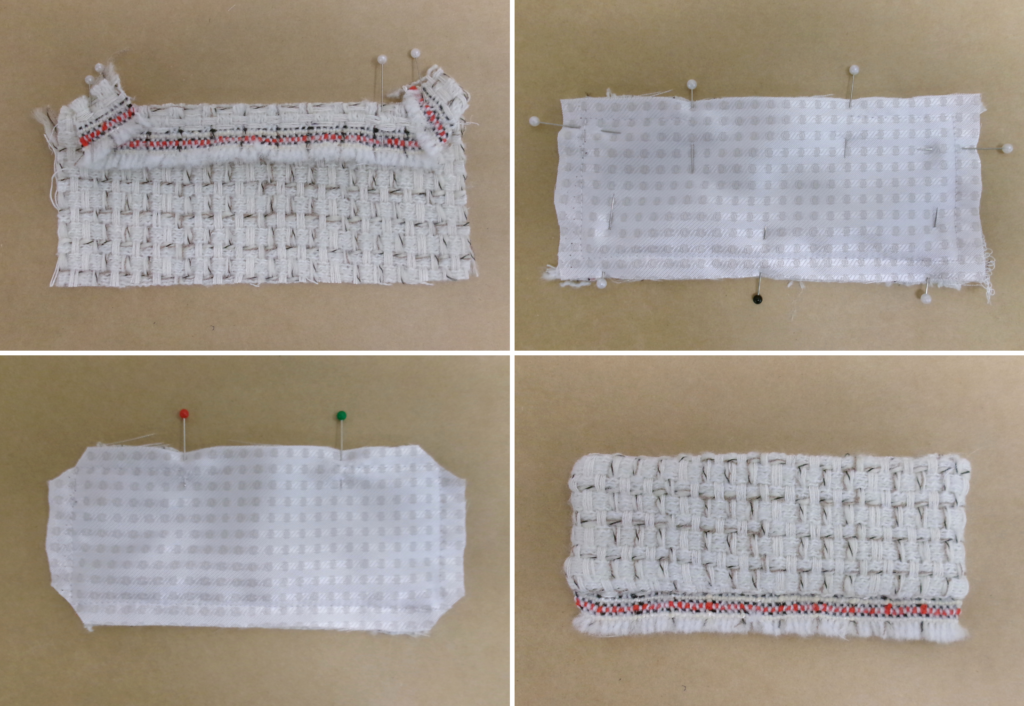
POCKETS (pocket flap version PP20 and 21):
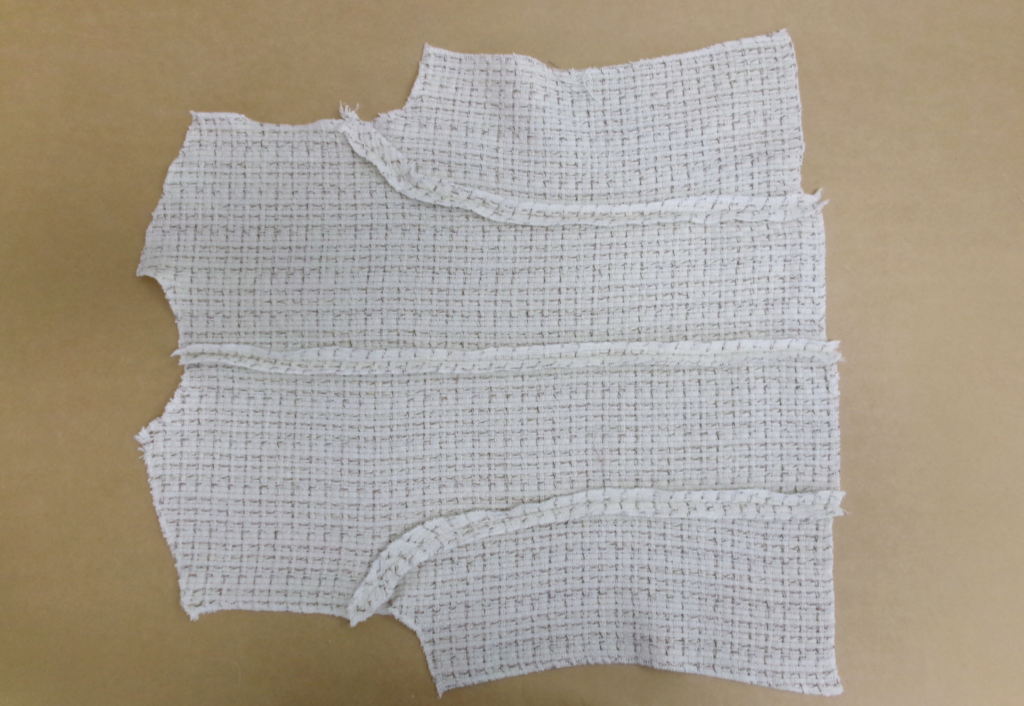
If using frayed trim, cut as required and baste along one edge of the pocket. Fold the corners in.
Place the lining on top, RST, sandwiching the frayed trim in between, sew around, leaving a gap in the top. Clip the corners and excess fabric, turn out, neatly hand sew the gap closed and press.
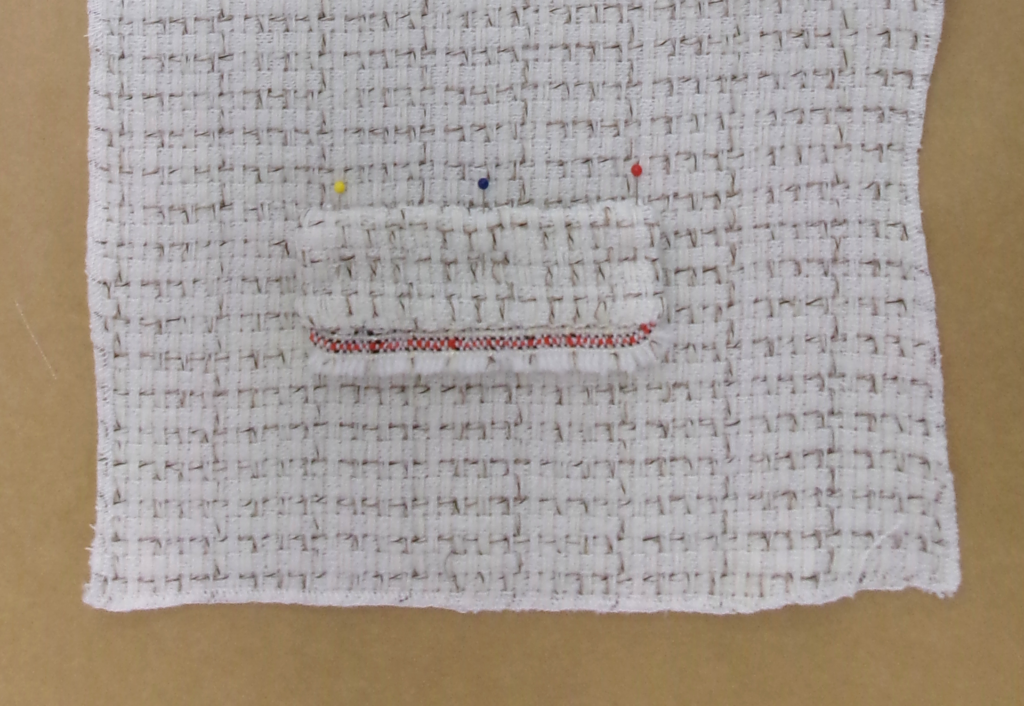
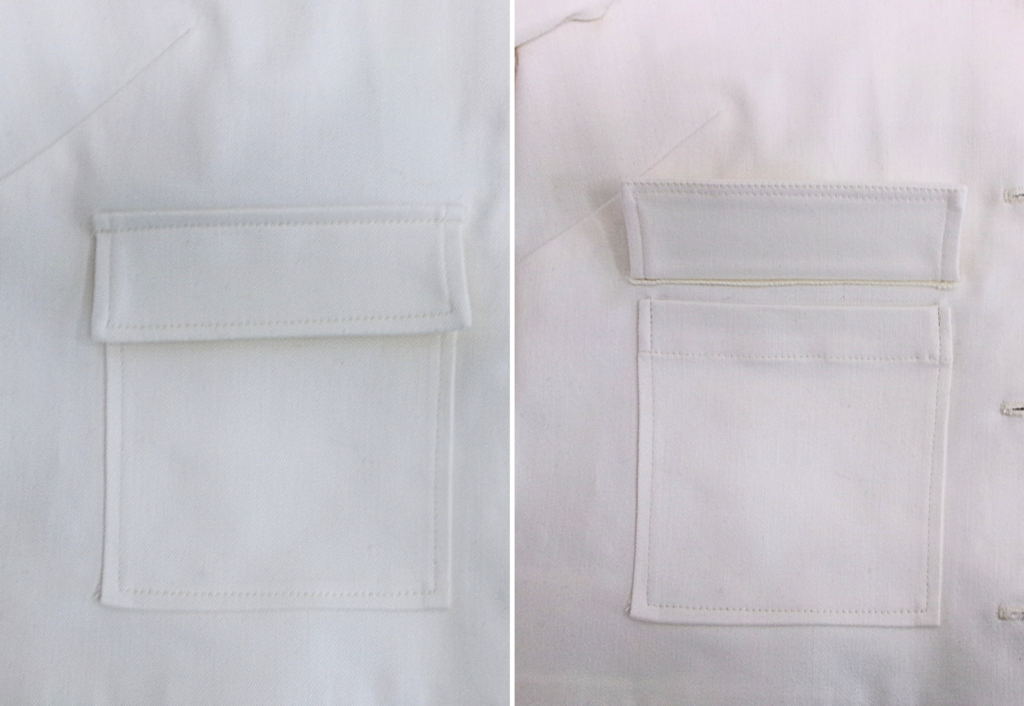
Matching the corners to the markings on the front of the main jacket, carefully pin the pocket into place and edge stitch around the outer edge of the pocket. Repeat with all other pocket flaps.
POCKETS (large patch pocket version PP22 and 23):
Neaten the four edges of the pockets with an overlocker or serger. Fold under the top of the pocket 1cm (3/8”), and press. Fold over the top of the pocket again at notch with right side on the inside and sew down the sides of the folded turn back, clip the corners and turn out to the right side. Press the edges under 1cm (3/8”) and top stitch across the pocket turnback, close to the inside edge.
Matching corner of pockets to the markings on the front of the main jacket, carefully pin the pocket into place and top stitch down.
To make the flaps, place a pair of pocket flap pieces RST and sew three sides, leaving the top edge open.
Clip the corners, turn out and press. Edge stitch around the three sides.
Neaten the open edge with an overlocker or serger, then match the corners RST with the markings on the front of the main jacket. Sew the pocket flap facing up, then secure it facing down.
Fold the pocket flap down and top stitch along the top.
COLLAR (mandarin collar version PP27):
With RST sew the pair of collar pieces collar around front curve and top edge. Clip seam and turn out. Under stitch close to the seam on the inside. Press then stay stitch the bottom of collar.
COLLAR (collar version PP 30):
With RST, sew the two collar pieces together around the outer edge. Clip corners, turn out and press. Understitch on the side of the undercollar. Top stitch around the three edges.
COLLAR /NECKLINE (frayed version):
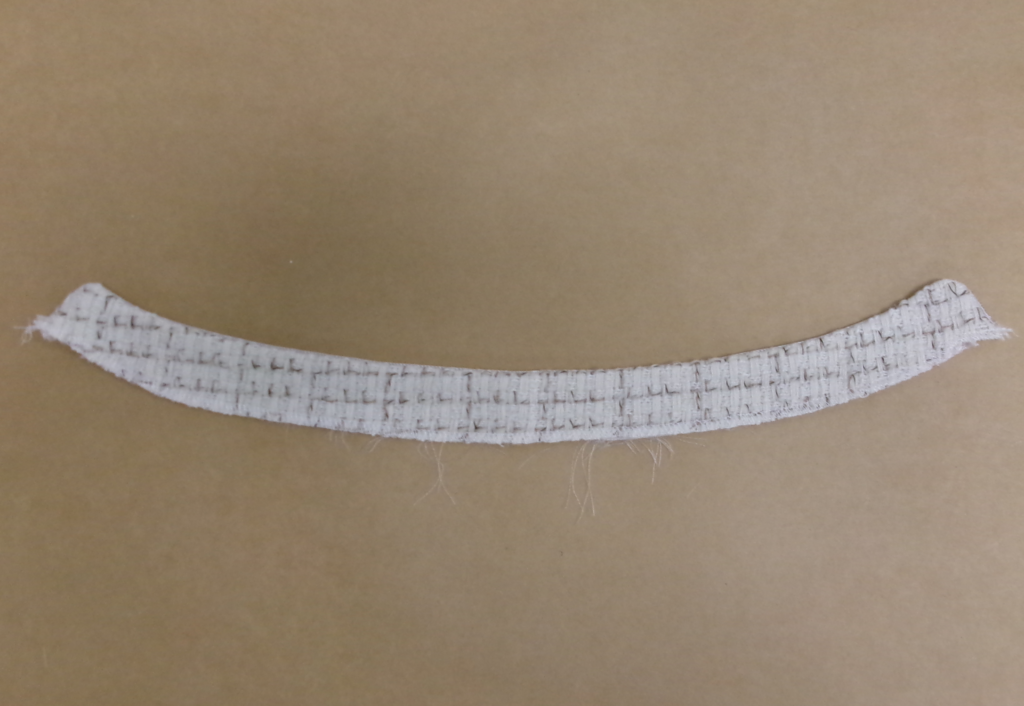
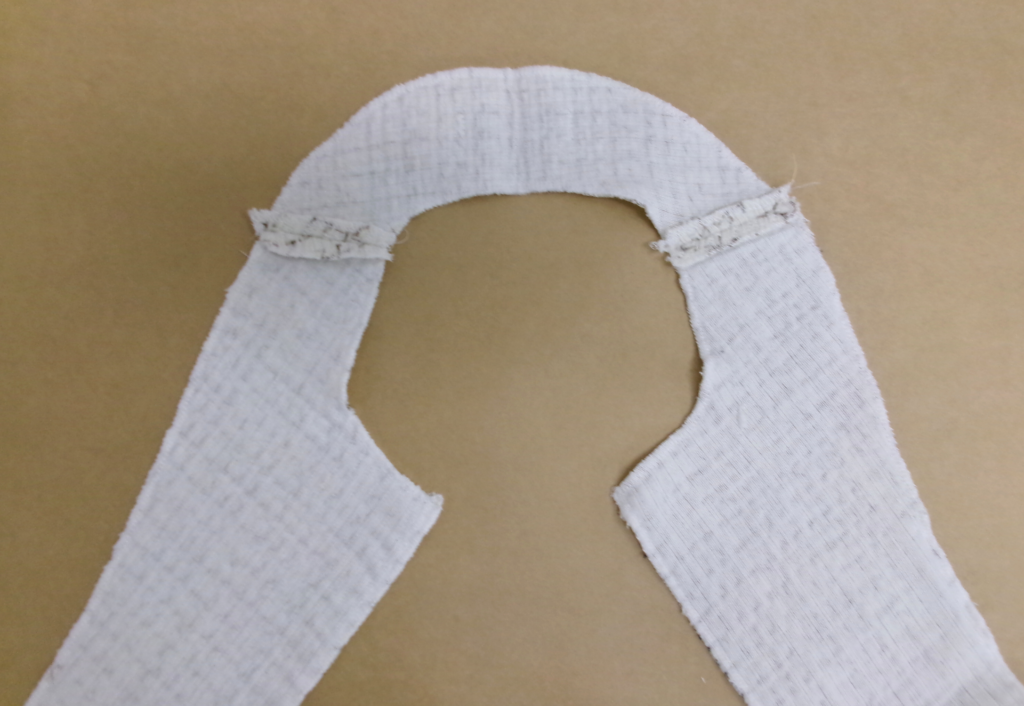
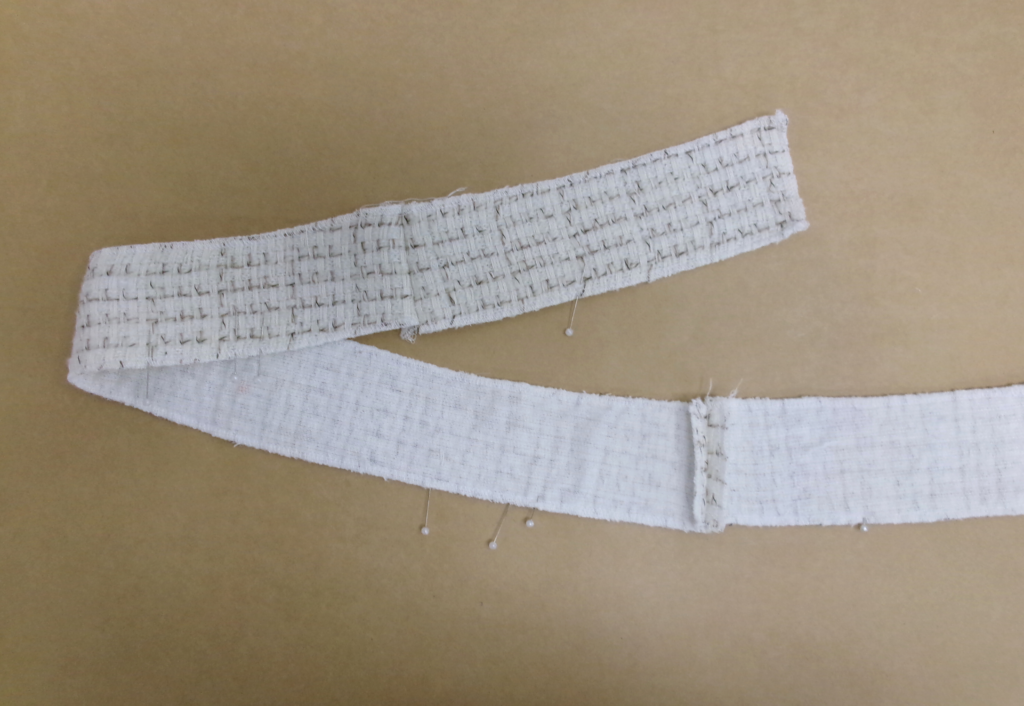
Cut the required amount using PP24, set aside.
FACINGS:
With RST, sew front facings (PP5) to back facing (PP4) at the shoulders. Press open.
With RST, sew front hem facings (PP7) to back hem facing (PP6) at the side seams. Press open.
BODY:
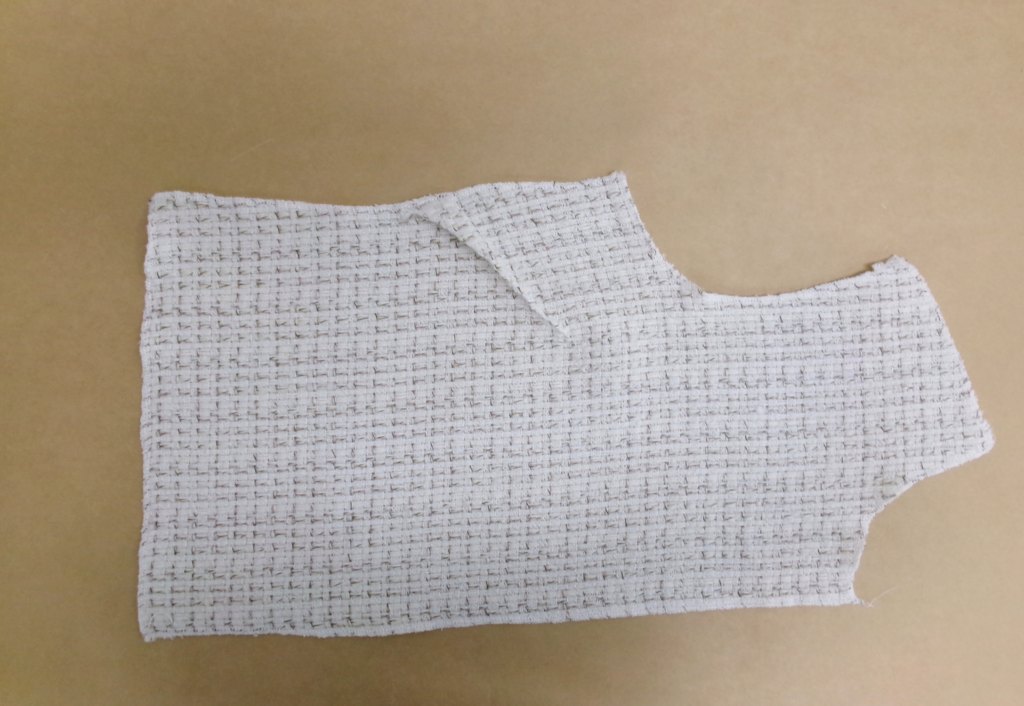
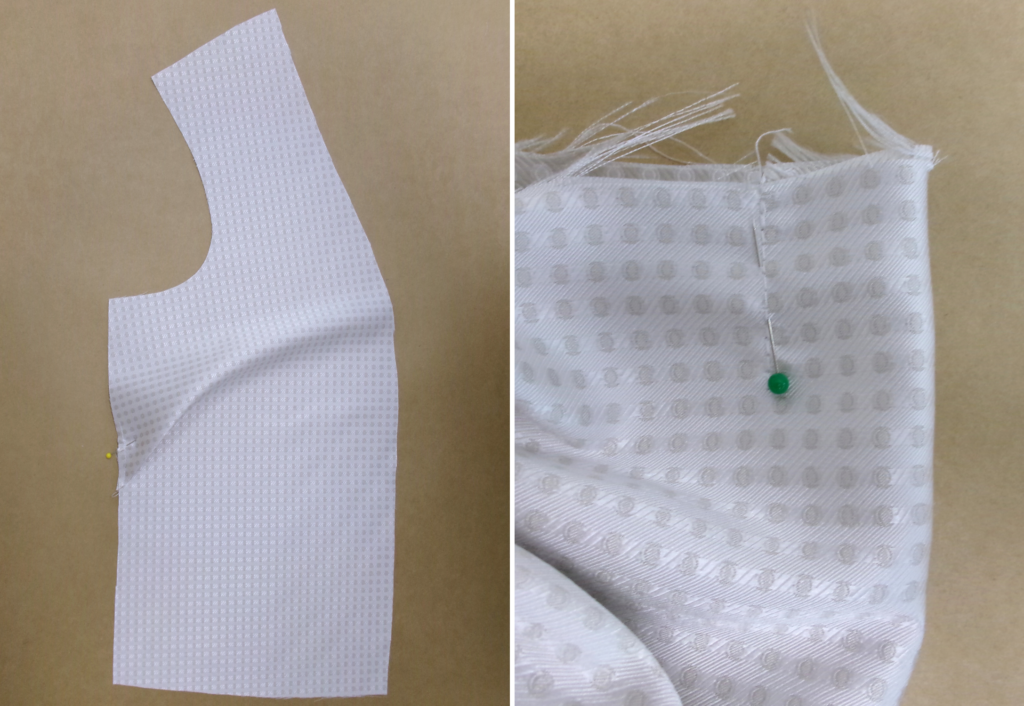
Sew the front bust darts and press downwards
With RST, sew the centre back seam and side back panel to centre back panel (PP2 &3) press the seams open
With RST together sew the front and back shoulder seams. Press open, stay stitch the neckline to prevent the neckline from stretching.
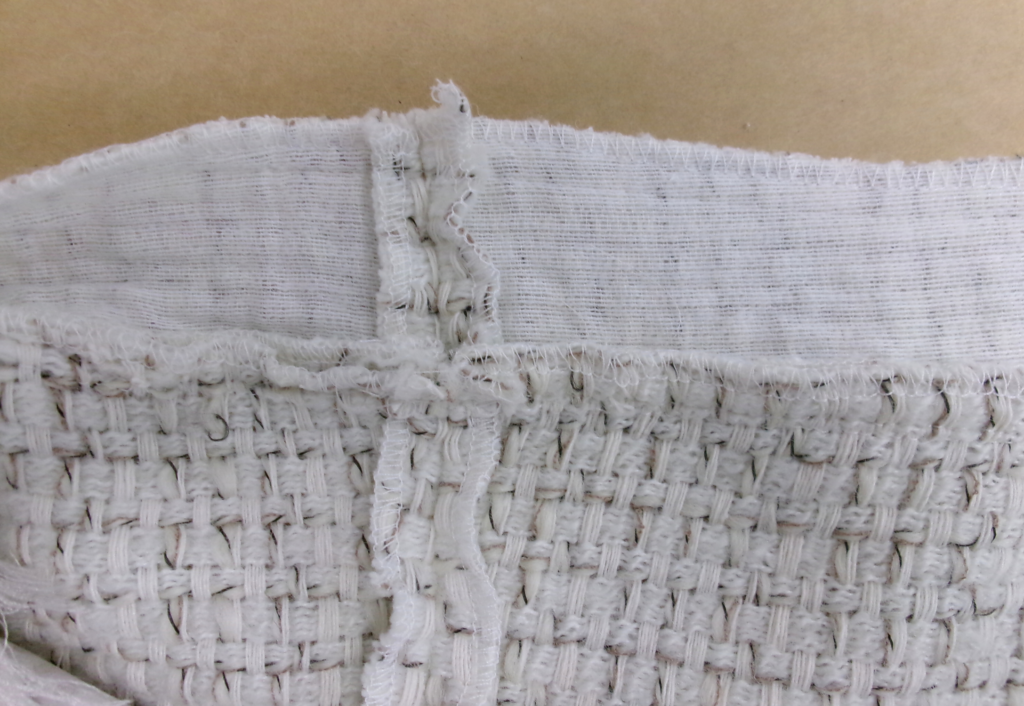
If using a collar – with RST, sew the collar to the neck of the main fabric starting and finishing at the centre front notch.
With RST sew the front facing to the front main body, stopping at the C/FR hemline. Press the seam toward the facing and understitch on the side of the facing. (NB sewing the lower facing to the front hem facing will be sewn later in the process.)
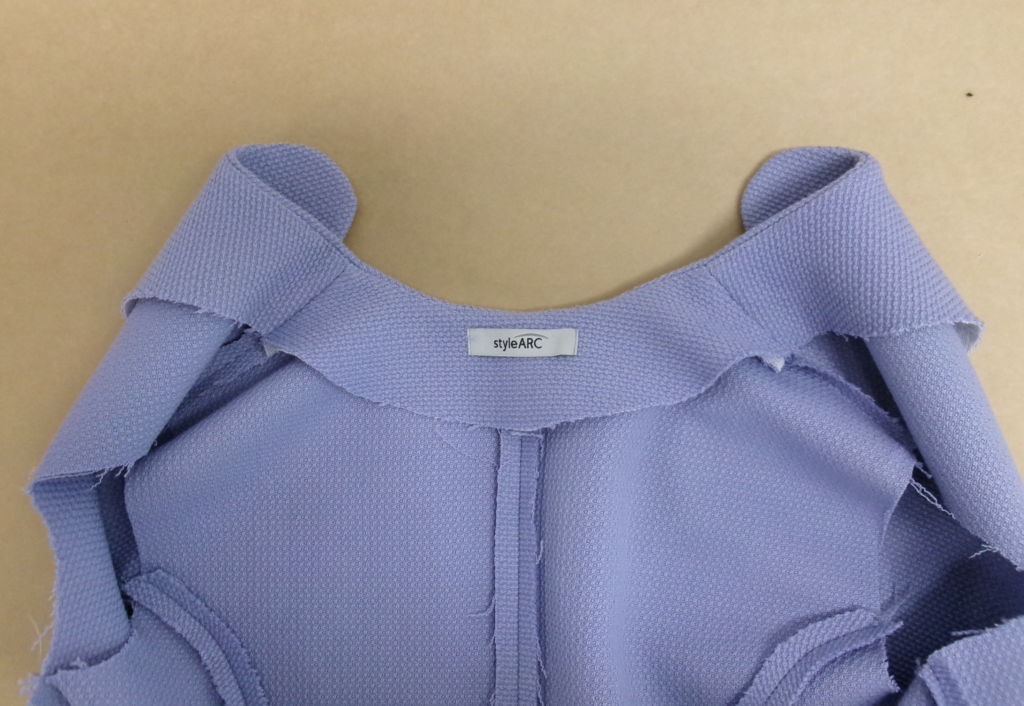
With RST, sew the neck facing to the neck of the jacket sandwiching the collar (if using) in between. Clip the corners of the neckline, turn out to the right side and press the seam towards the facing and understitch on the side of the facing.
With RST sew the front and back side seams and press open.
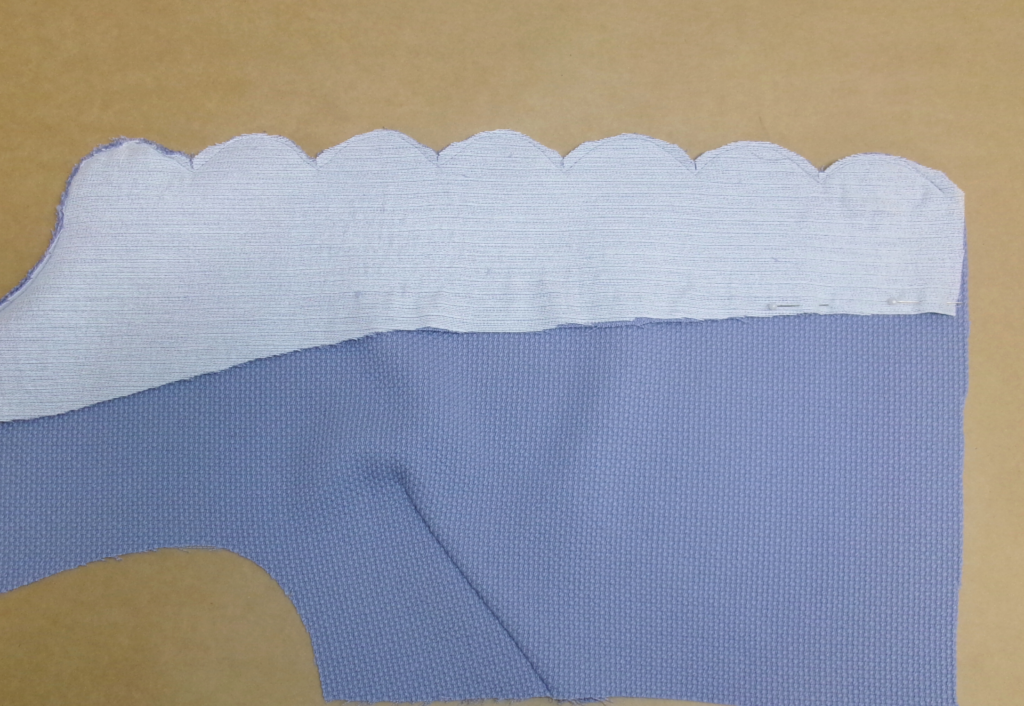
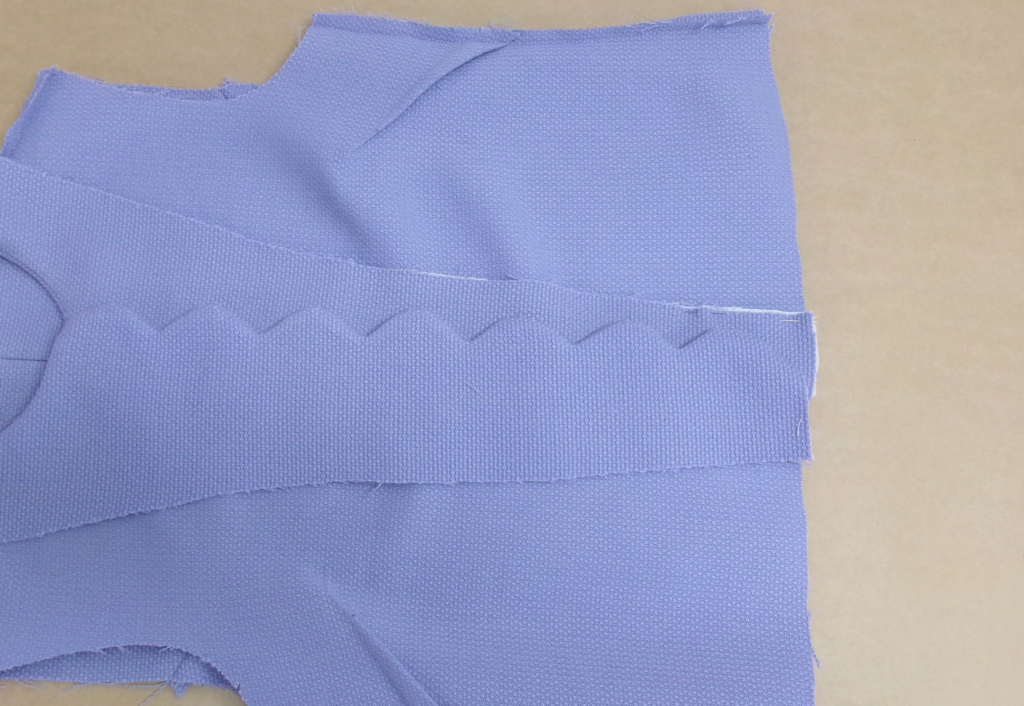
If making the scalloped version, clip into the centre of the scallop seam and trim away excess fabric. (The scalloped seam cannot be understitched) turn out to the right side.
SLEEVES AND CUFFS (PP8, 9, 15):
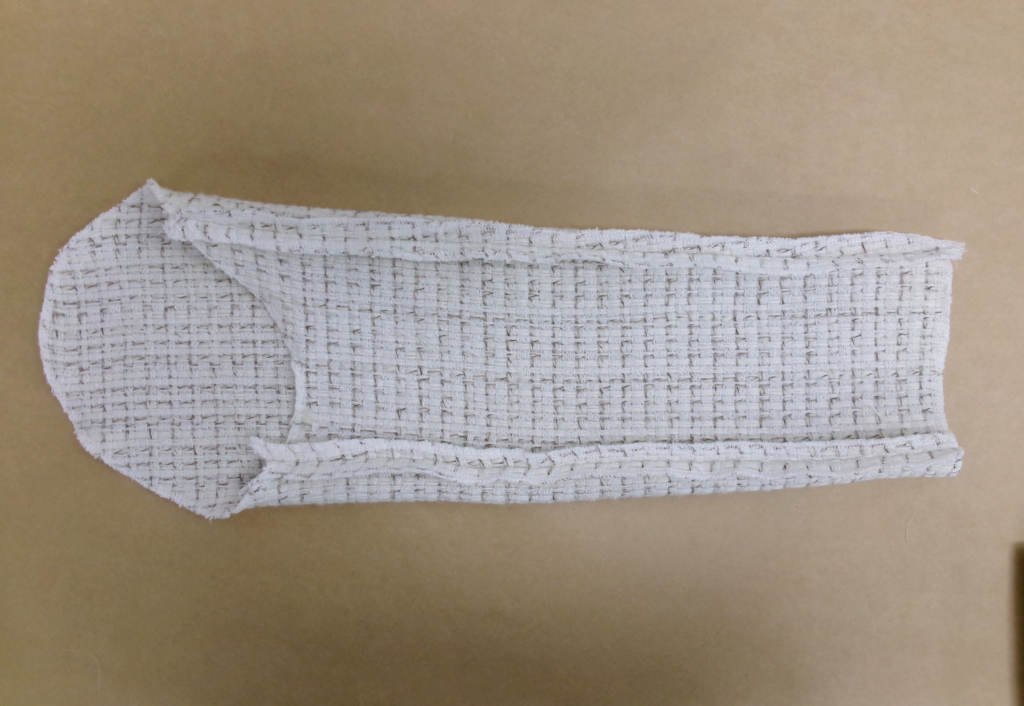
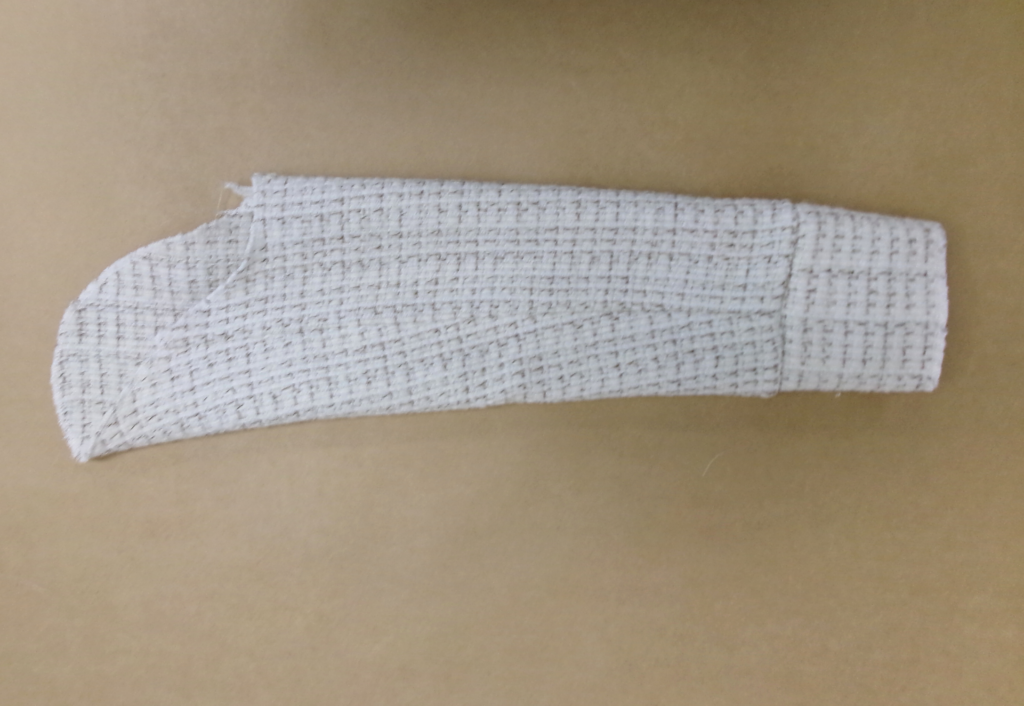
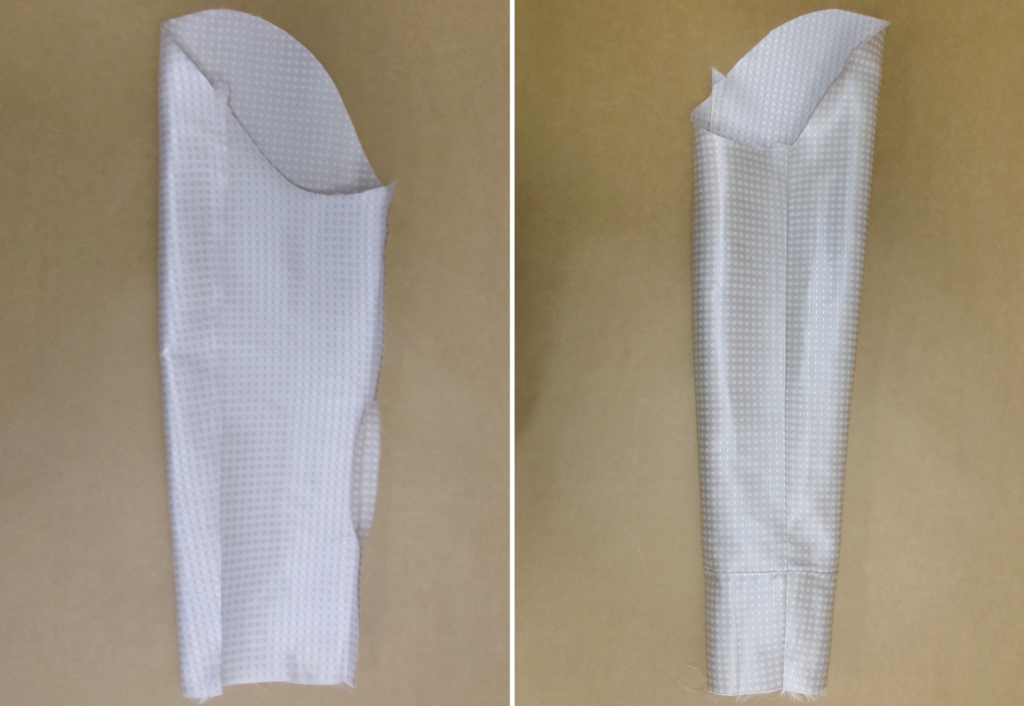
With RST and matching the notches sew the top sleeve to the undersleeve (2 seams). Press the seams open.
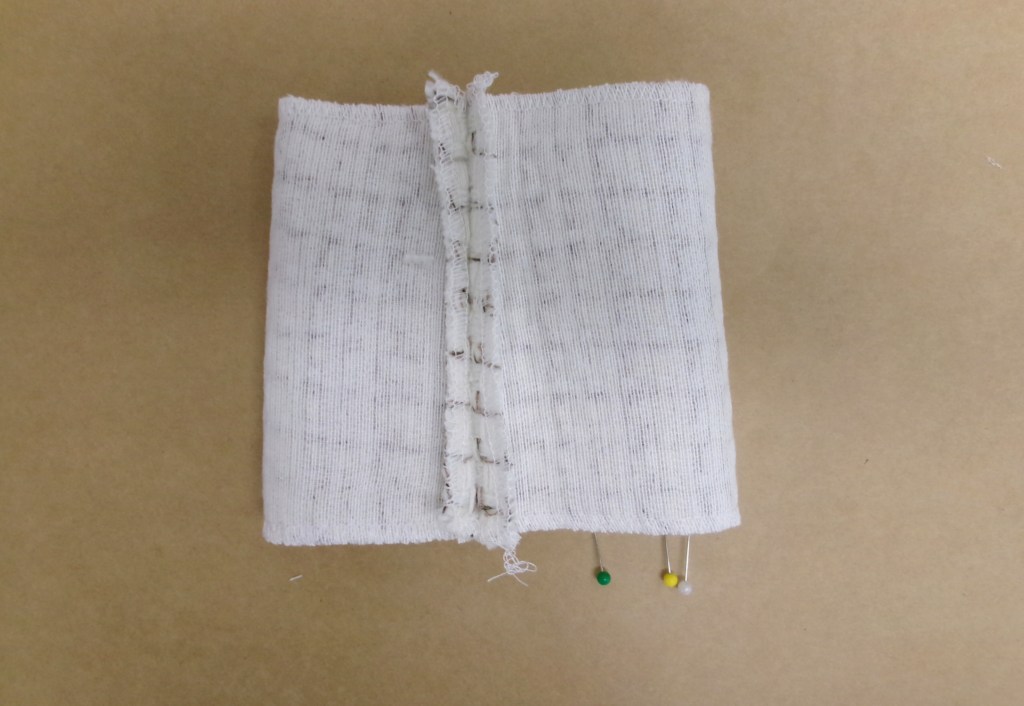
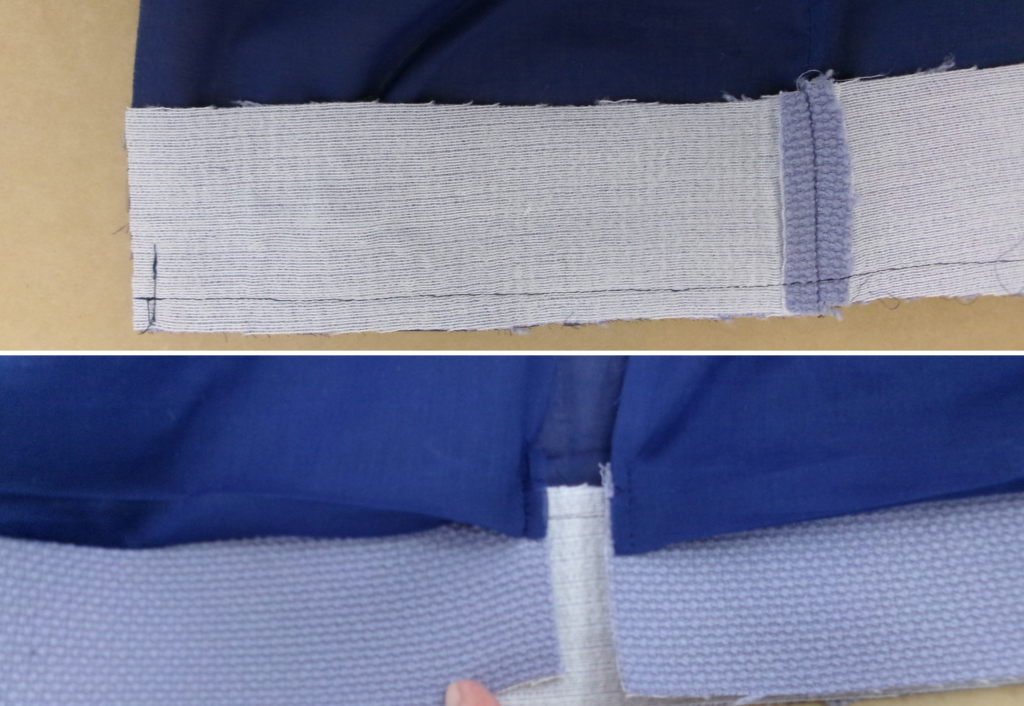
With RST together sew the short ends of the cuff. Repeat for the cuff facing (you should have 4 cuffs). Press the seams open.
With RST, and matching the notches, sew one set of cuffs to the sleeve opening, press the seam down and sew a top stitch on the side of the cuff. Top stitching is optional (if using a frayed edge, sandwich between the sleeve opening and the top edge of the cuff).
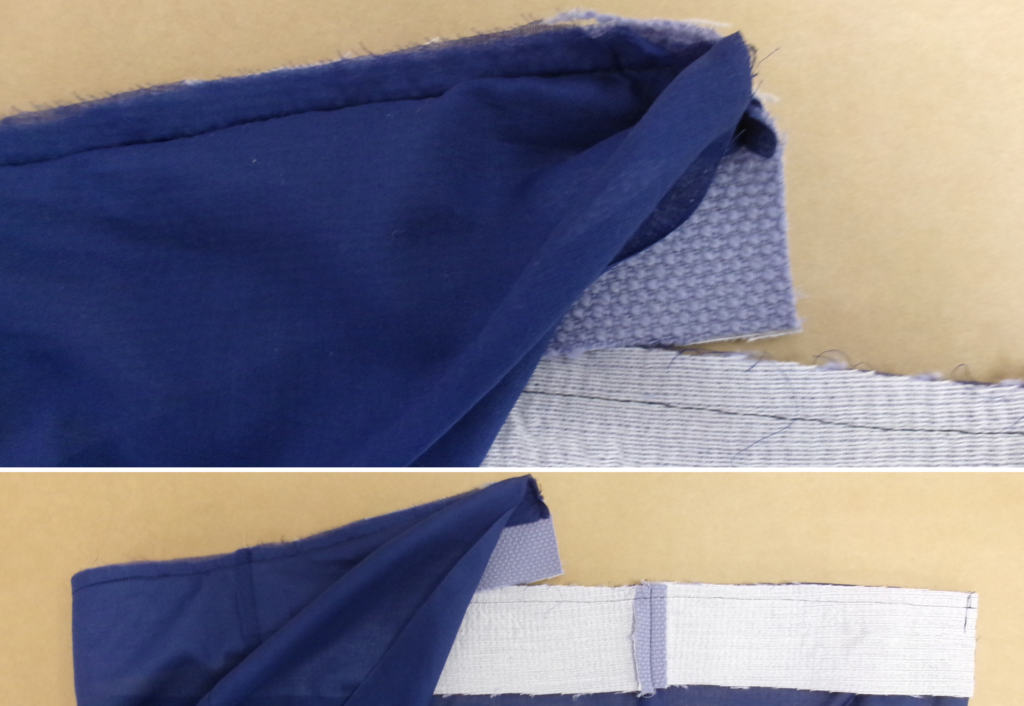
With RST, sew the cuff facing to the cuff you have already sewn to the sleeve. Press the seam toward the cuff facing and understitch on top of the seam.
Sew a large stitch around the head of the sleeve and then slightly draw in the stitch to reduce the length without creating tucks.
With RST, sew the sleeve into the armhole, matching the notches as you sew. Once in place, press the seam toward the sleeve.
LINING:
Fold the bust tuck up as marked on the pattern and sew a stay stitch along the side seam to keep in place.
Pin the centre back tuck at the neckline; once in place stitch the tuck and press to one side.
With RST sew the front and back shoulder seams and press open.
With RST sew the front and back side seams together and press open.
Sleeve: With RST and matching the notches, sew the top sleeve lining to the under-sleeve lining both seams, leaving a gap in the left side sleeve as indicated on the pattern. Press the seams open.
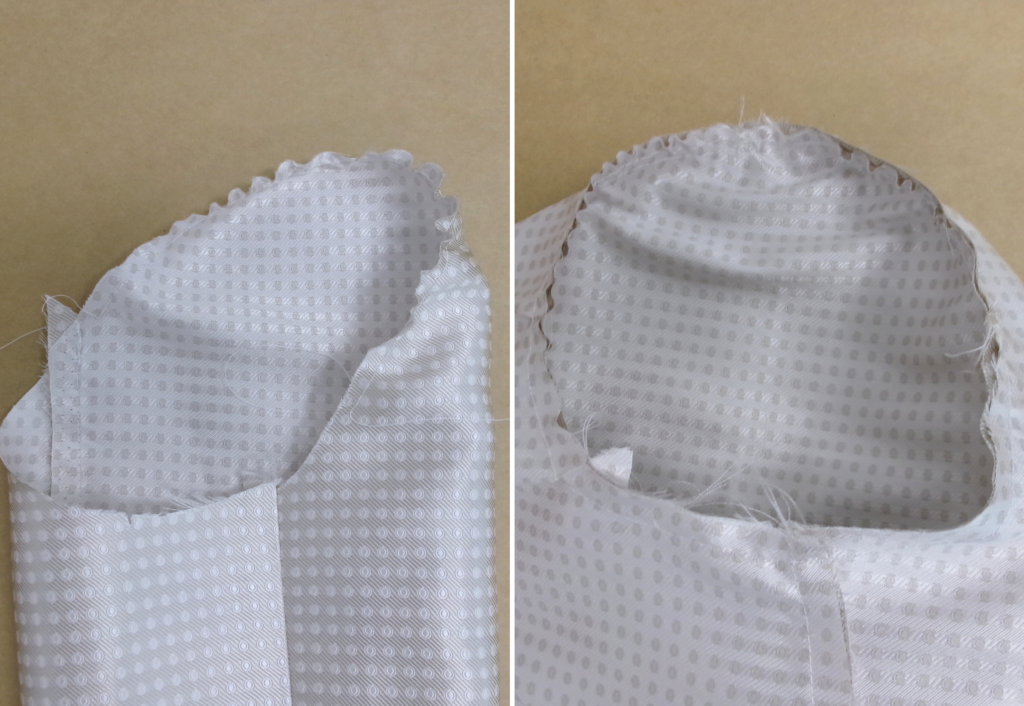
Then sew a large stitch to the head of the sleeve and slightly draw the stitch in to reduce the length without creating tucks.
With RST sew the sleeves into the armhole, matching the notches as you sew. Press towards the sleeve.
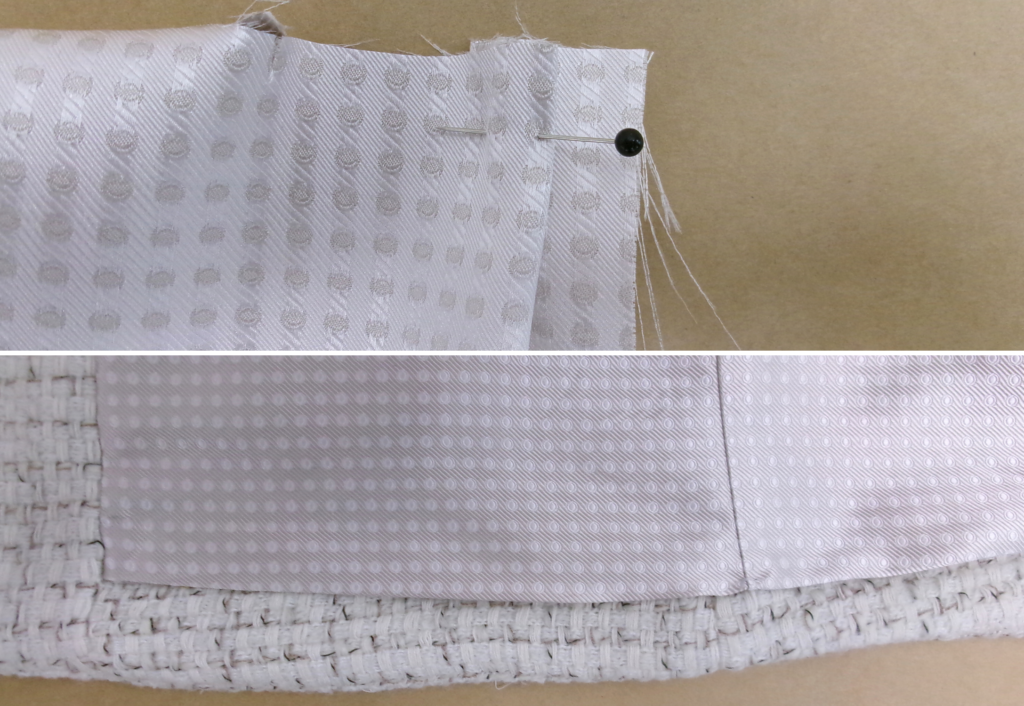
With RST sew the top edge of the hem facing to the hem of the lining. Press the seam upwards
Fold the hem tuck over the front hem facing and staystitch the tuck to the facing.
ATTACH MAIN BODY TO THE LINING:
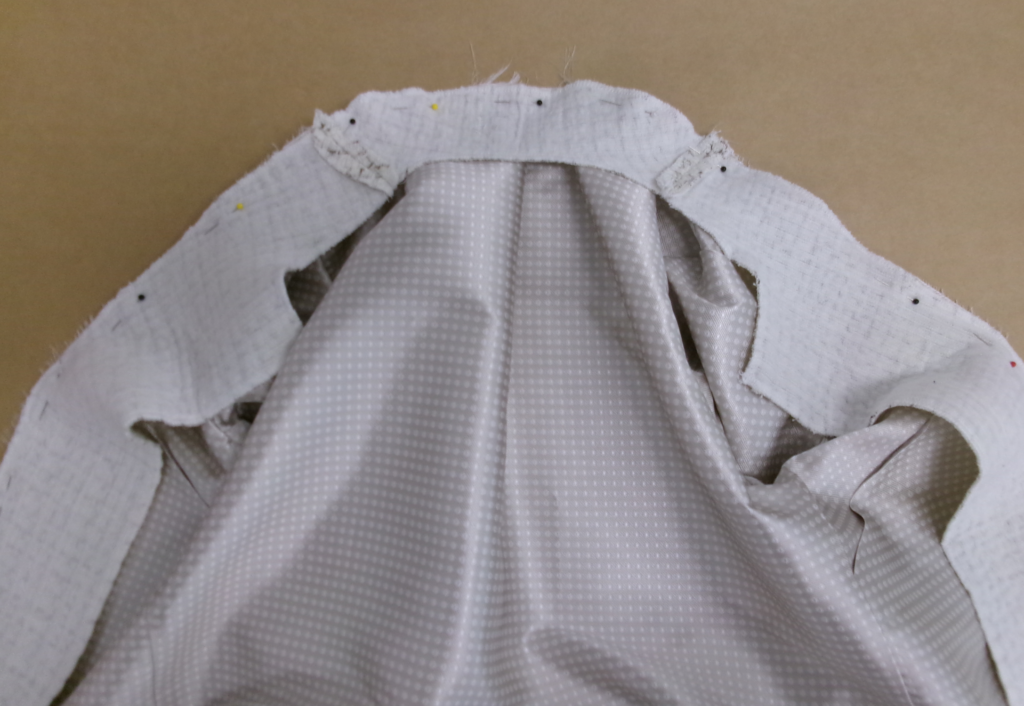
With RST sew the small front edge of the hem facing and lining to the inner edge of the front facing, continue up and around the back neck facing, matching the shoulder seams and finishing back at the opposite front hemline, press the seam towards the lining.
With RST, sew the hem of the main body, to the hem of the front facing and the hem facing, starting and ending at the centre front hem.
Press the seam towards the hem facing and understitch on top of the seam.
Turn the sleeves of the main and the lining inside out and with RST matching the notches and seams, pin the cuff facing to the main cuff.
Turn the right way out and test the sleeves to make sure they are not twisted.
Once checked and all OK turn inside out again and sew the cuff facing to the sleeve lining.
Sew a small hand stitch to the lining and the main fabric at the under arm to hold the lining in place.
Turn out to the right side and sew up the turn-out sleeve opening with a hand stitch.
SCALLOP SLEEVE VERSION ONLY
With RST sew the main sleeve to the undersleeve along the back seams only (the sleeve is open at this stage), matching the notches. Press the seam open.
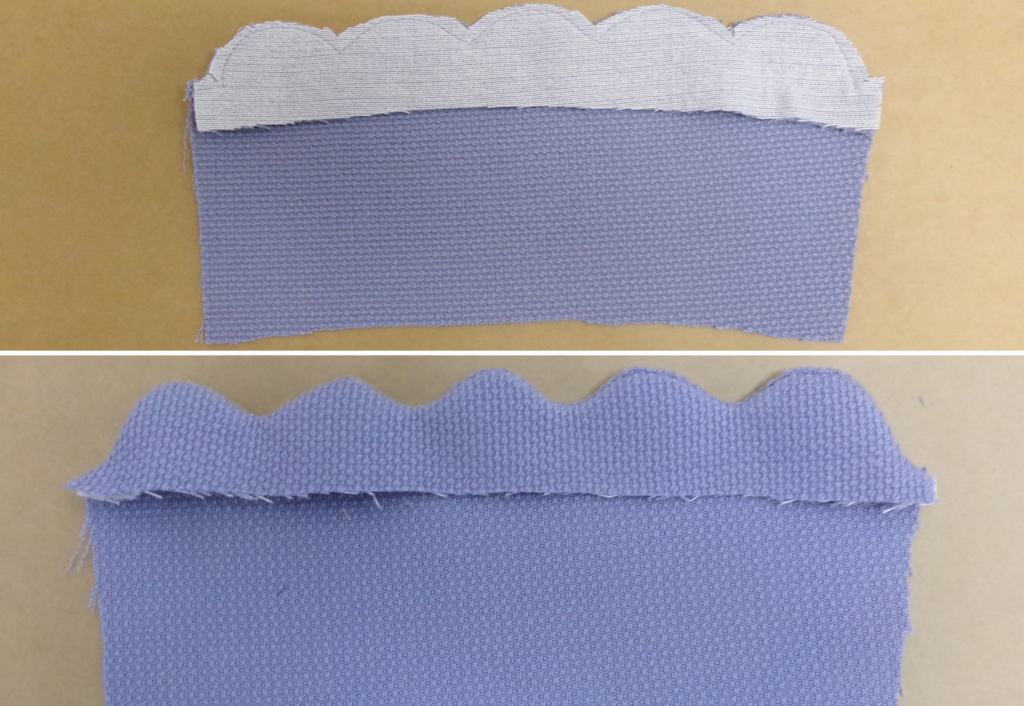
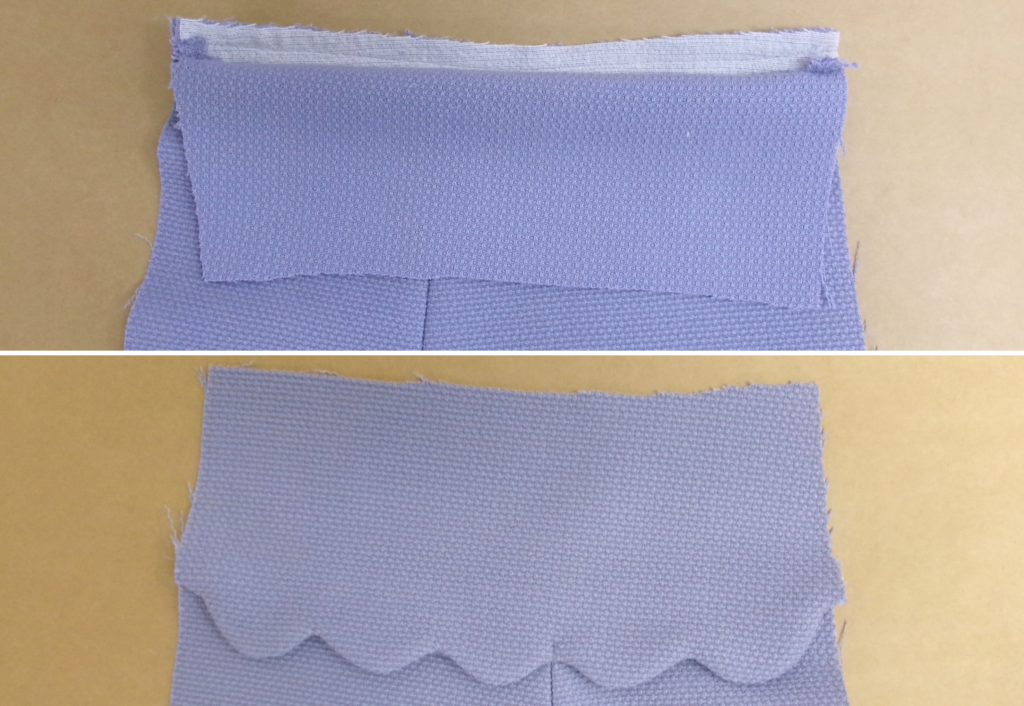
Take the scallop cuff (28) and the scallop facing (29) with RST and sew the scallops with a 6mm (1/4”) seam
Carefully clip into the corners and trim off the excess fabric in the seam allowance – this will allow a flat, smooth edge. Turn out and press (the cuff is open at this stage).
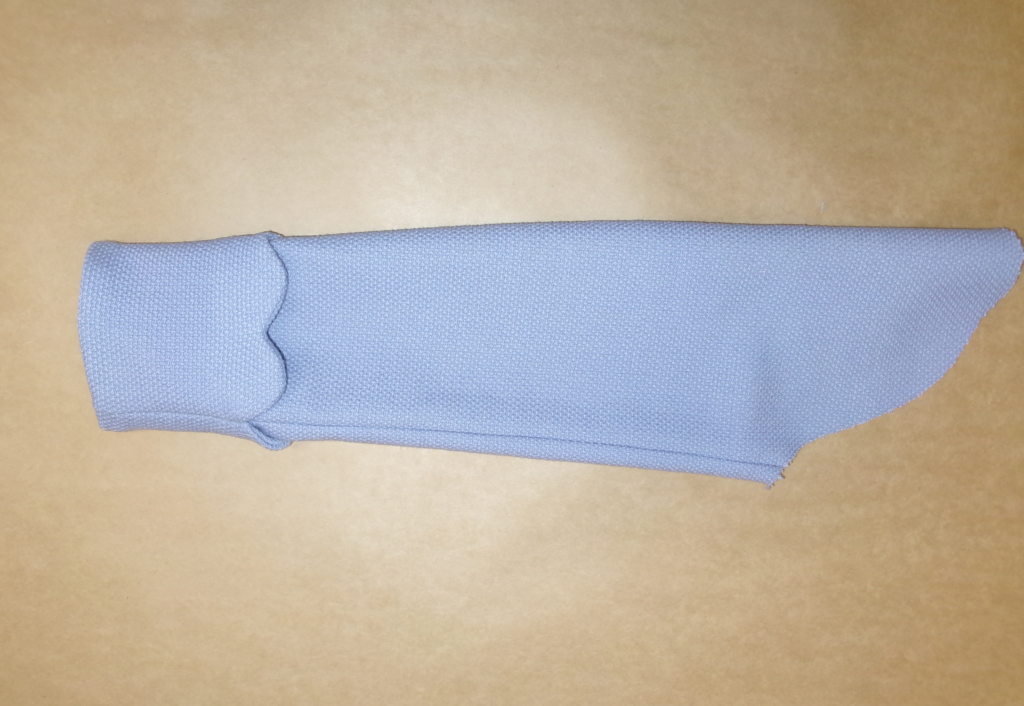
With RST sew the scallop cuff facing edge (29) to the bottom main sleeve opening and press the seam down.
With RST sew the cuff facing (15) to the scallop cuff (28)
Press the seam towards the cuff facing and sew an understitch on top of the seam
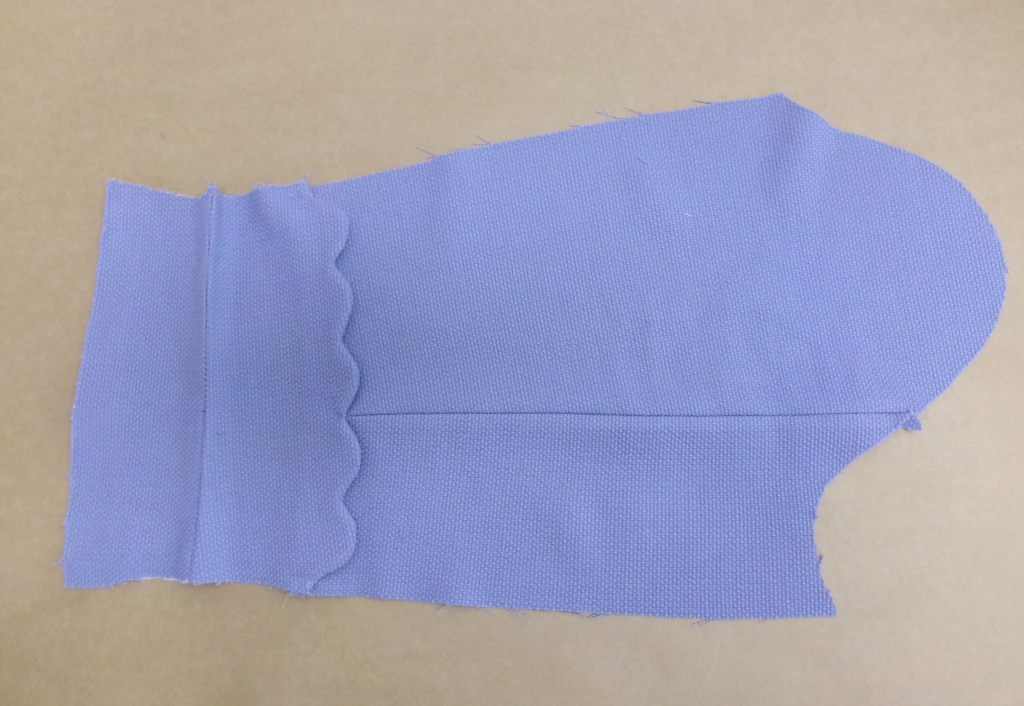
With RST sew the top sleeve to the undersleeve; start sewing at the underarm and stitch through the scallop cuff finishing at the end of the cuff facing.
Sew a large stitch around the head of the sleeve, slightly draw in the stitch to reduce the length without creating tuck
With RST sew the sleeve into the arm hole match the notches as you sew.
Attach sleeve to the body as the main steps 16 & 17.
Fold the cuff facing to the inside and sew a small hand stitch to the inside scallop facing to hold in place.
FINISHING
Press the completed garment and carefully press the lining hem tuck so the value of the tuck continues around the hemline.
Hand stitch the lining securely to the hem facing in line with the side seams to hold in place.
Mark the positions buttonholes using PP 12 (if using) and stitch; sew the buttons to correspond with the buttonholes.
Sew the buttons to the pocket/pocket flaps if you choose to.
Finally press your new jacket.

