Harmony Woven Top Tutorial by Lou Sheffer from Sew Much to Design
Follow her on Instagram @sewmuchtodesign
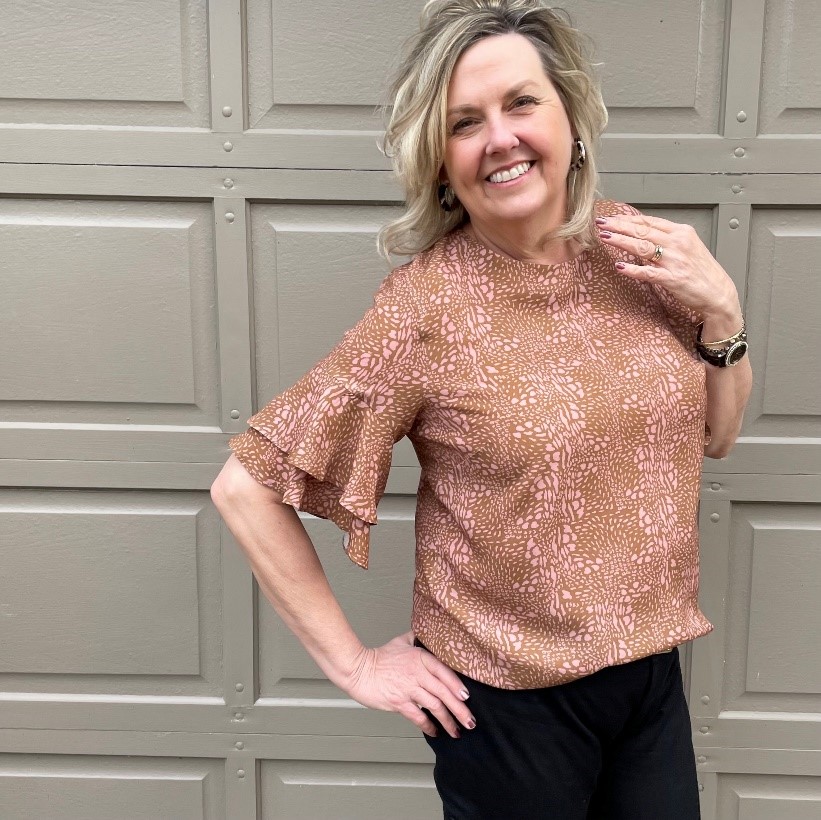
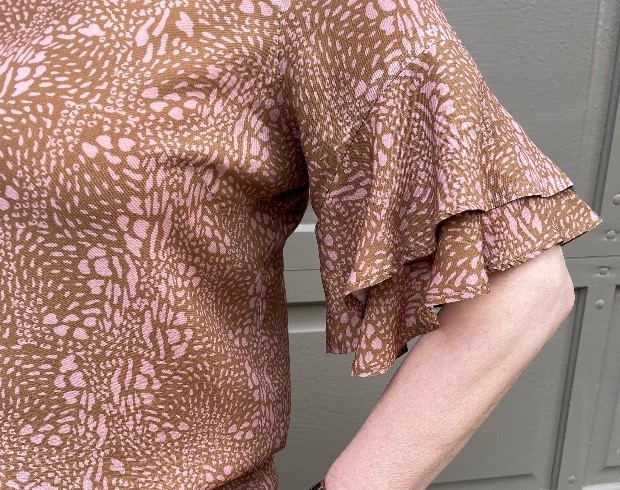
The Harmony woven top by Style Arc is the perfect way to welcome Spring. It offers chic styling in and easy to wear design. Boasting gorgeous flounced sleeves, this top offers effortless feminine vibes for your wardrobe.
I sewed a size 14 top based on bust measurements. As the top has 4″ of positive ease, I graded down to a size 12 through the waist and hips. Style Arc includes the finished measurements for a size 10 so you simply add the size grade to the size 10 until you reach your bust measurements, this determines the size you will need.
Example: Size 10 Bust 39 in. Size 12: 39 + 2″=41 in Size 14: 41 + 2″ – 43″
To prep the pattern pieces use light weight iron on interfacing on your front and back neck facing pieces. Stay stitch along the neck line of the facing pieces and the neck opening of the front and back bodice pieces. Staystitching will stop the pattern pieces from stretching.
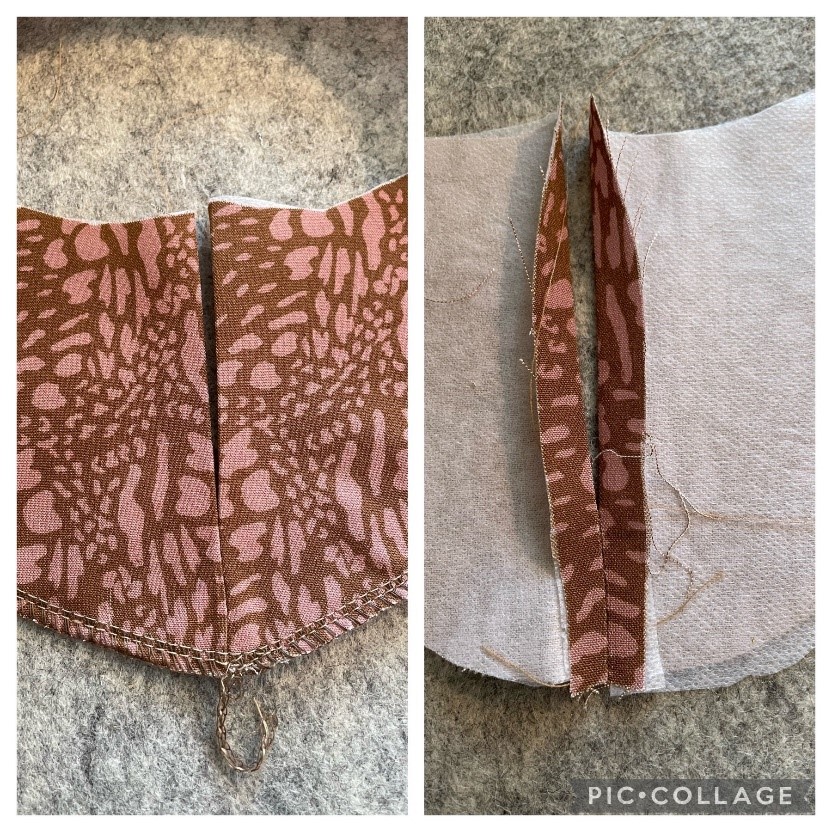
Begin by sewing the bust darts and pressing them down toward the hemline. When sewing bust darts, finish sewing at the point of the bust. Instead of stitching backwards at the point leave a long thread and tie the ends together. This allows for a smoother point and no extra bulk from backstitching.
With right sides facing, sew the front and back shoulder seams together. I prefer to overlock a shoulder seam and press it towards the back.
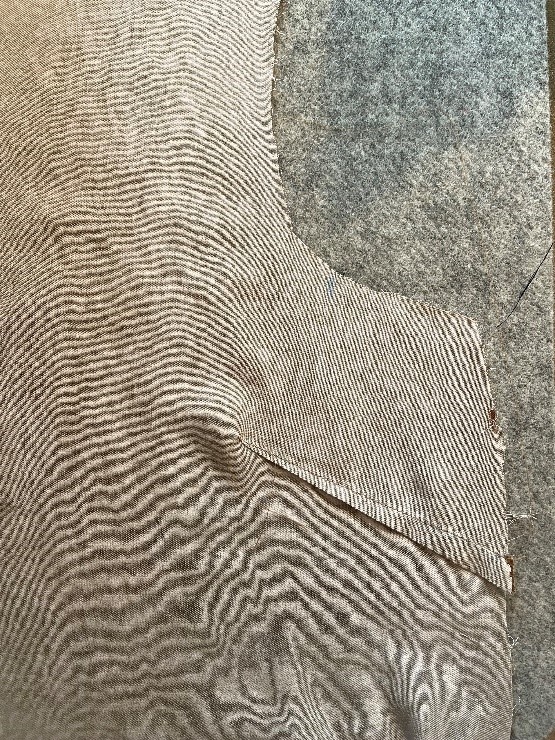
To sew the center back seam, stitch from the hemline up to the notch that indicates the neck opening. Press the center seam open.

I like to mark the notch with a double pin as an extra reminder to stop sewing.
 Sew the shoulder seams of the front and back neck facings together. Stitch the lower centre back seam of the back neck facing. Press this seam open.
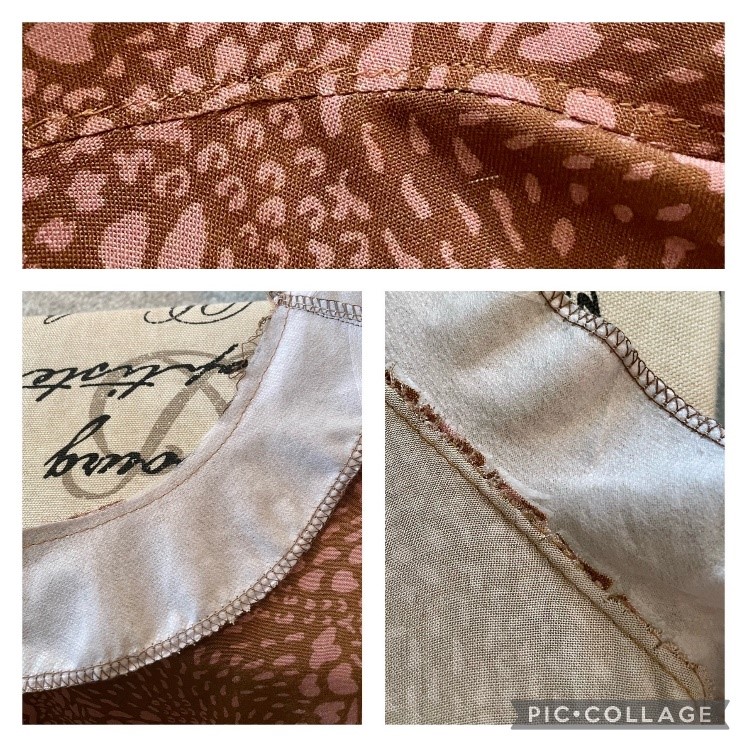 With right sides together, pin the neck facing to the neck of the body. Stitch then turn to the right side and stitch close to the seam on the side of the facing. This is called understitching. It helps the facing to lie flat.
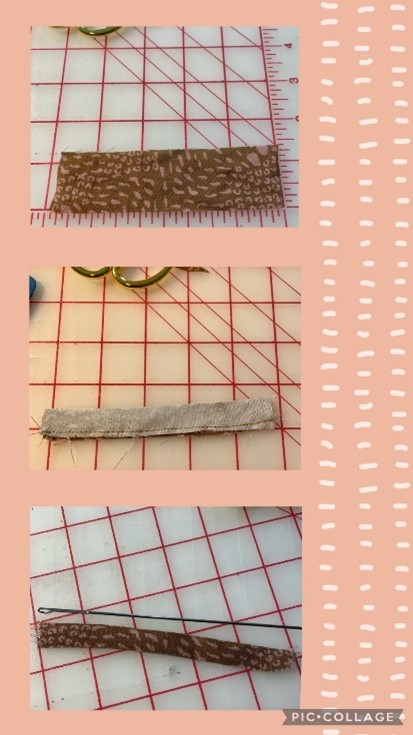
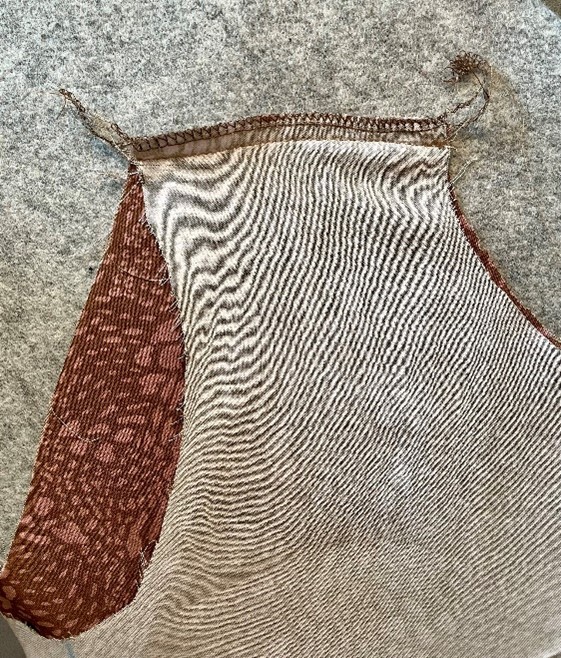
With right sides together, stitch along the long edge of the rouleau loop. Turn it right side out using a loop turner. Baste stitch the loop to the left back between the facing and the back where noted on the pattern.
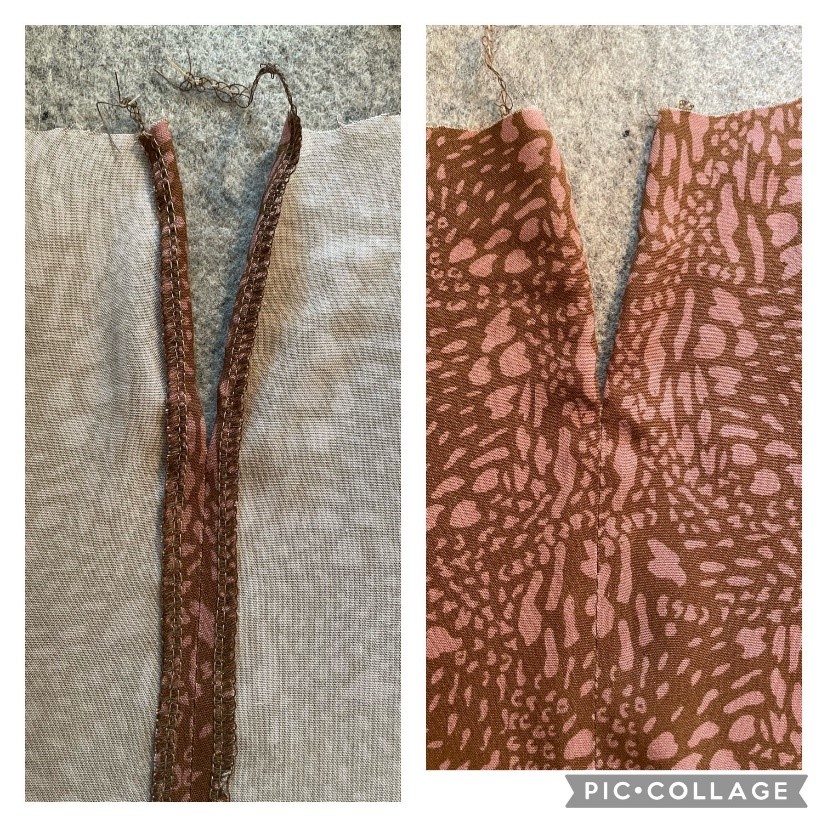
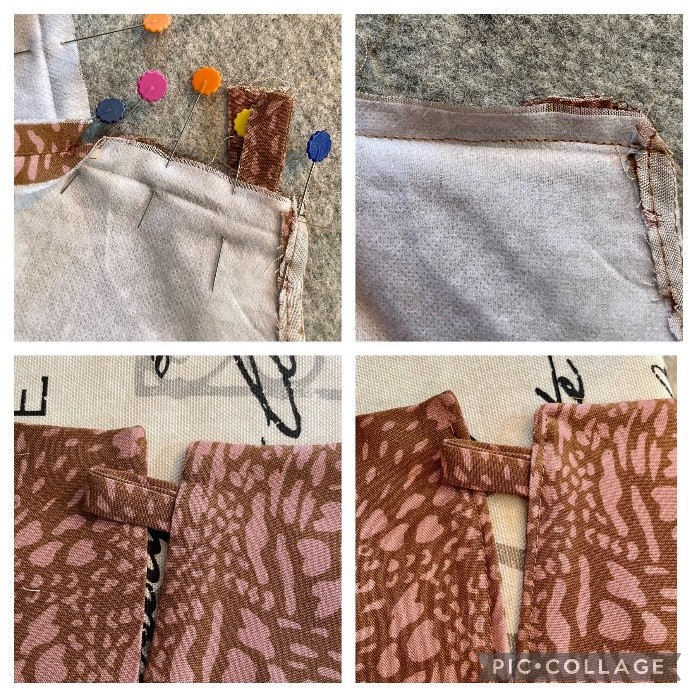 From the inside, sew the back opening of the bodice to the back facing. Sew from the neckline down to the base of the opening. Repeat for the opposite side. From the right side sew an edge stitch around the back opening.
With RST, sew the front to back at side seams. Neaten with an overlocker/serger and press toward the back.
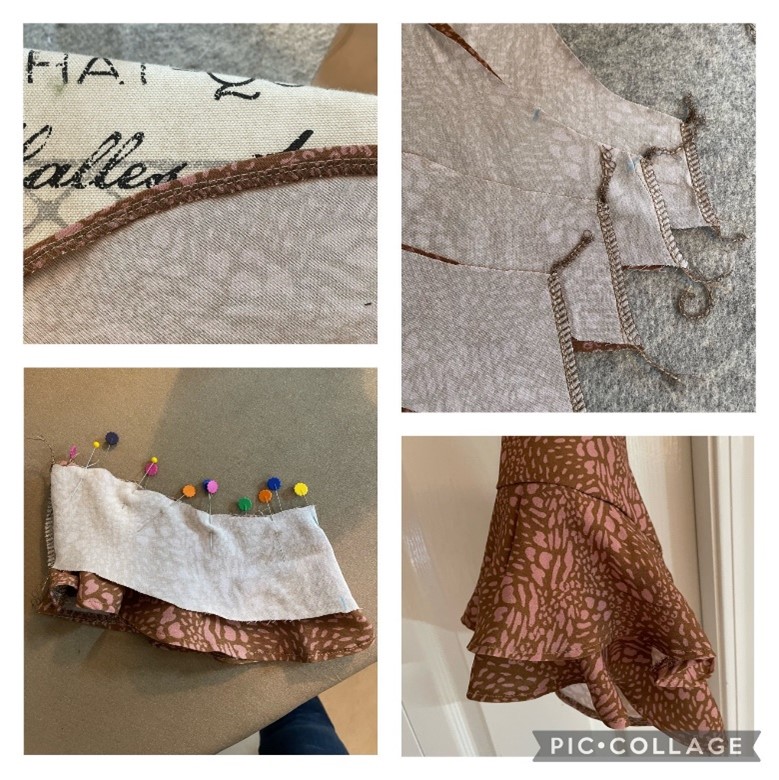
With RST, sew the short underarm seams of the top flounce (6). Turn up the flounce hems and stitch with a fine double turn or overlock/serge the flounce hem and turn up and stitch with a 6mm (1/4”) topstitch. Press.
Repeat with lower flounce (5). Press.
With RST, sew the underarm seam of sleeve (3) together. Neaten with an overlocker/serger and press towards the back. Repeat with middle sleeve (4).
With RST, sew the bottom edge of the middle sleeve (4) to the top edge of the lower flounce (5), match B to B. Neaten with an overlocker/serger and press upwards.
With the middle sleeve (4) inside matching the right side to wrong side baste the top edge of the middle sleeve (4) to the top edge of the top flounce (6), match A to A.
With RST, sew the bottom edge of the sleeve (3) to the top edges of your flounces, sandwiching (6) in between (match A to A). Neaten with an overlocker/ serger, press.
Use a basting stitch along the head of the sleeve curve. Gather the sleeve to ease it slightly into the armhole matching all notches. Don’t be afraid to use lots of pins so that your gathers are even. With RST, set the sleeve into the armhole, aligning the notches as you sew. Neaten with an overlocker/serger and press seam toward the sleeve).
Neaten the hem of the body with an overlocker/serger. Turn to the inside at the notch and topstitch.
Sew a small button on the opposite side of the back neck in line with your button loop.
Now you too can enjoy a lovely top with fun flounce sleeves! They are a wonderful way to add fun and flare to a top with simple chic lines. I am looking forward to styling my Harmony with a variety of spring and summer basics.
After all….. there is Sew Much To Design
Happy Harmony Sewing,
Lou Sheffer