This is a quick tutorial on how to sew corner seams, it will come in handy for the following patterns:
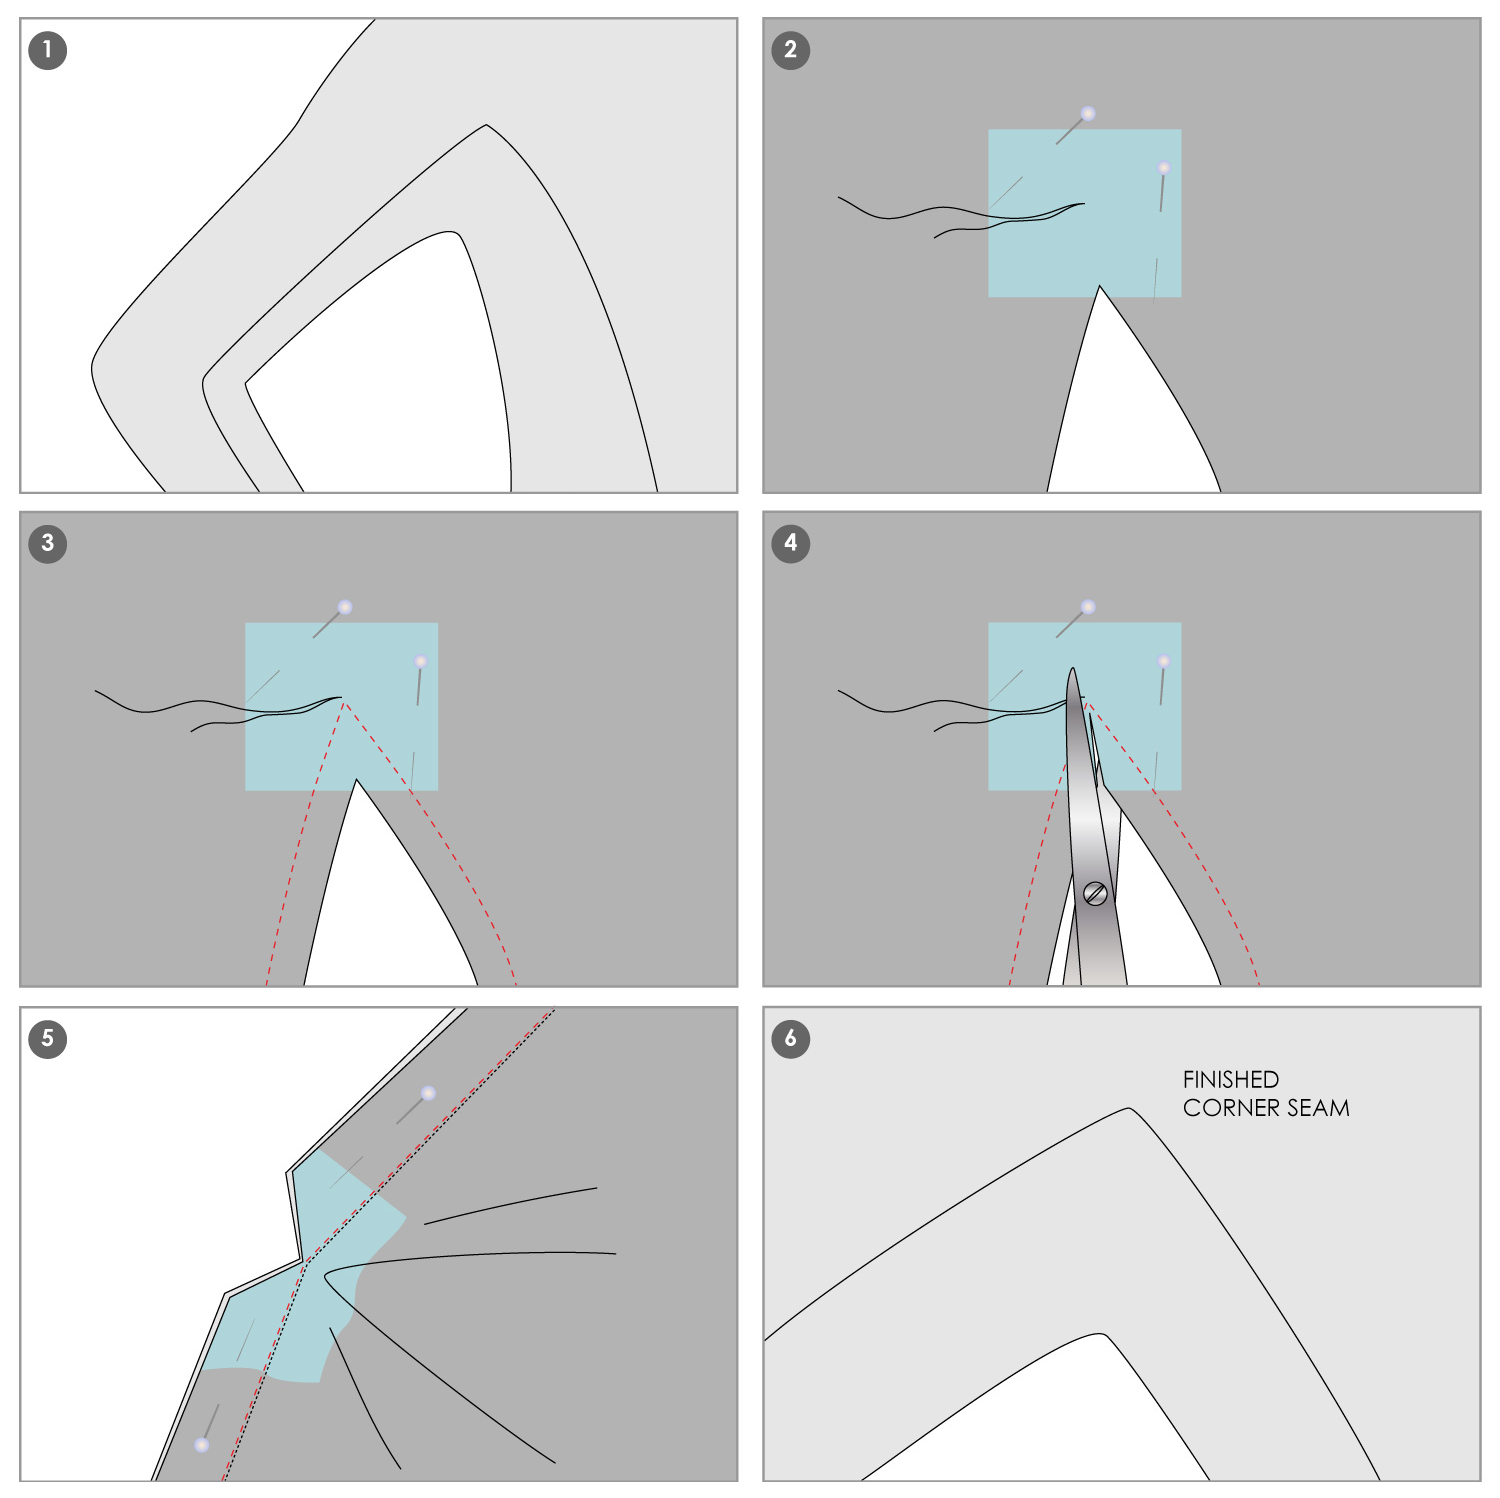
Step 1.
The acuteness of the angle will vary, depending on the design. The execution of the corner is the same, regardless of the angle.
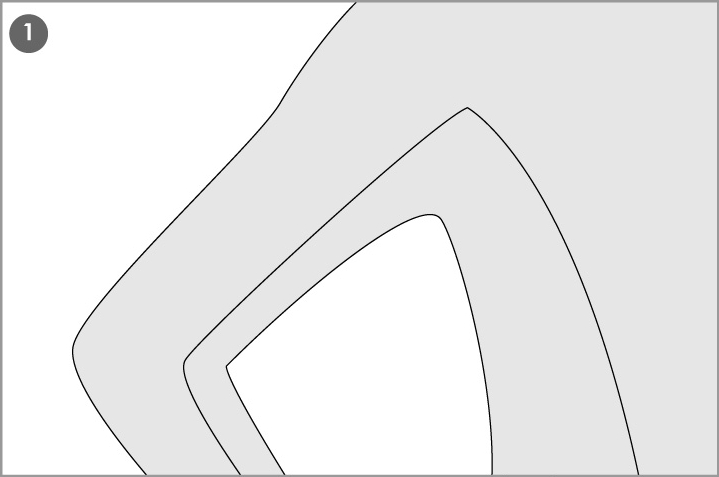
Step 2.
Cut the garment & accurately thread-mark the large dots. For each corner cut a 5cm / 2in bias square sheer but stable lightweight fabric or lightweight fuse.
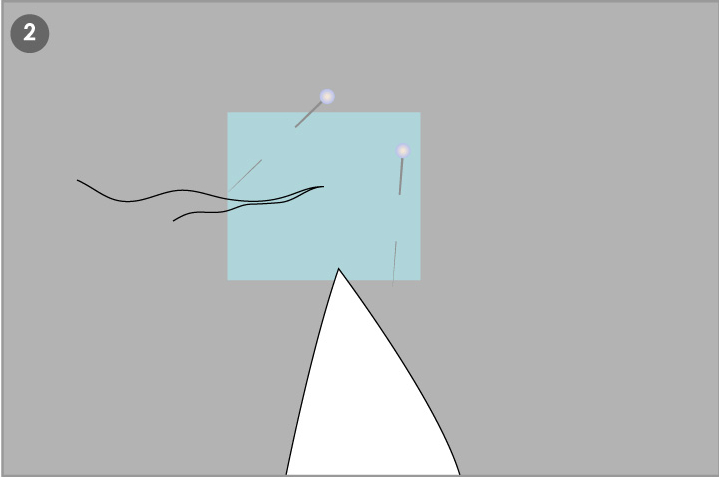
Step 3.
Position the reinforcement on the right side of the garment. Stay-stitch the corner through the reinforcement. Do not stitch through the knot of the thread-mark.
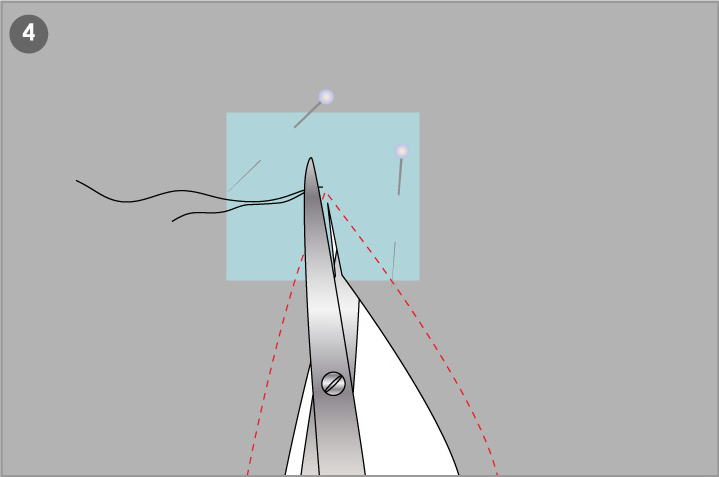
Step 4.
Cutting through both the fabric and reinforcement, clip into the corner. It is a must to clip right into the corner. The reinforcement is to lay over the stay stitching, toward the seam allowance.
TIP: Use only 1 pin at the pivot point to prevent puckers and allow the fabric to be more easily manipulated.
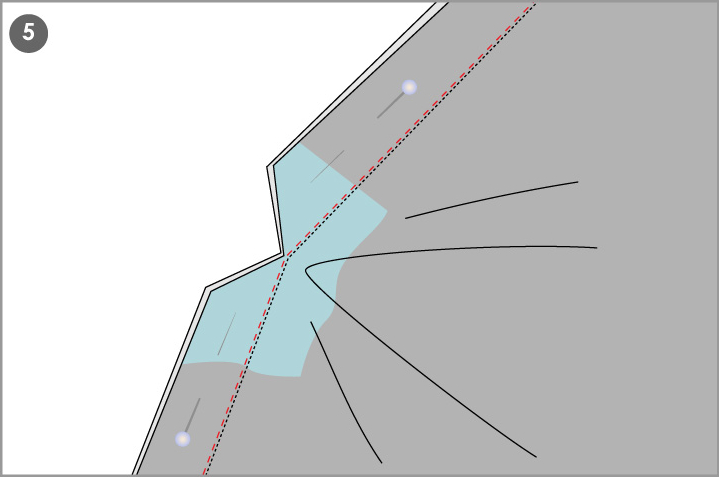
Step 5.
Using your sewing machine, and working a millimetre inside the stay stitching, stitch toward the point. When you reach the corner, place the needle down, lift the foot and pivot the garment, checking the under layer of fabric is not puckering. Lower the foot and stitch the remainder of the seam.
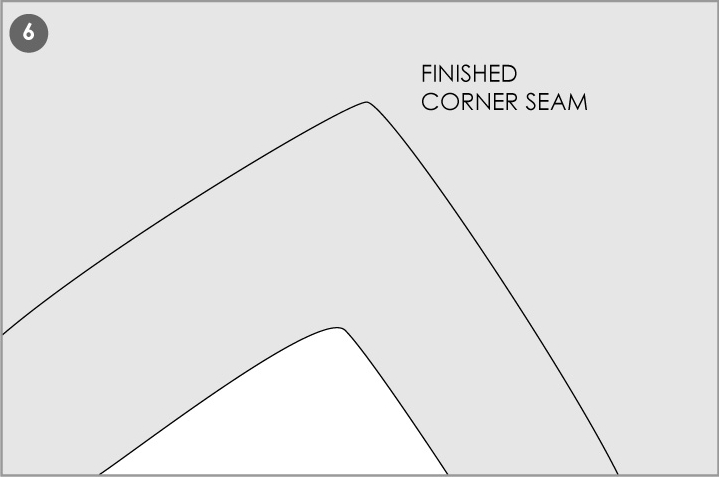
Step 6.
The right side of completed corner will have a strong, sharp seam finish.