STEP-BY-STEP TUTORIAL – By Nicole @nic_combi_naait
Please note this tutorial differs slightly from the “Style Arc” constructions sheet
#SARhysKidsOvershirt
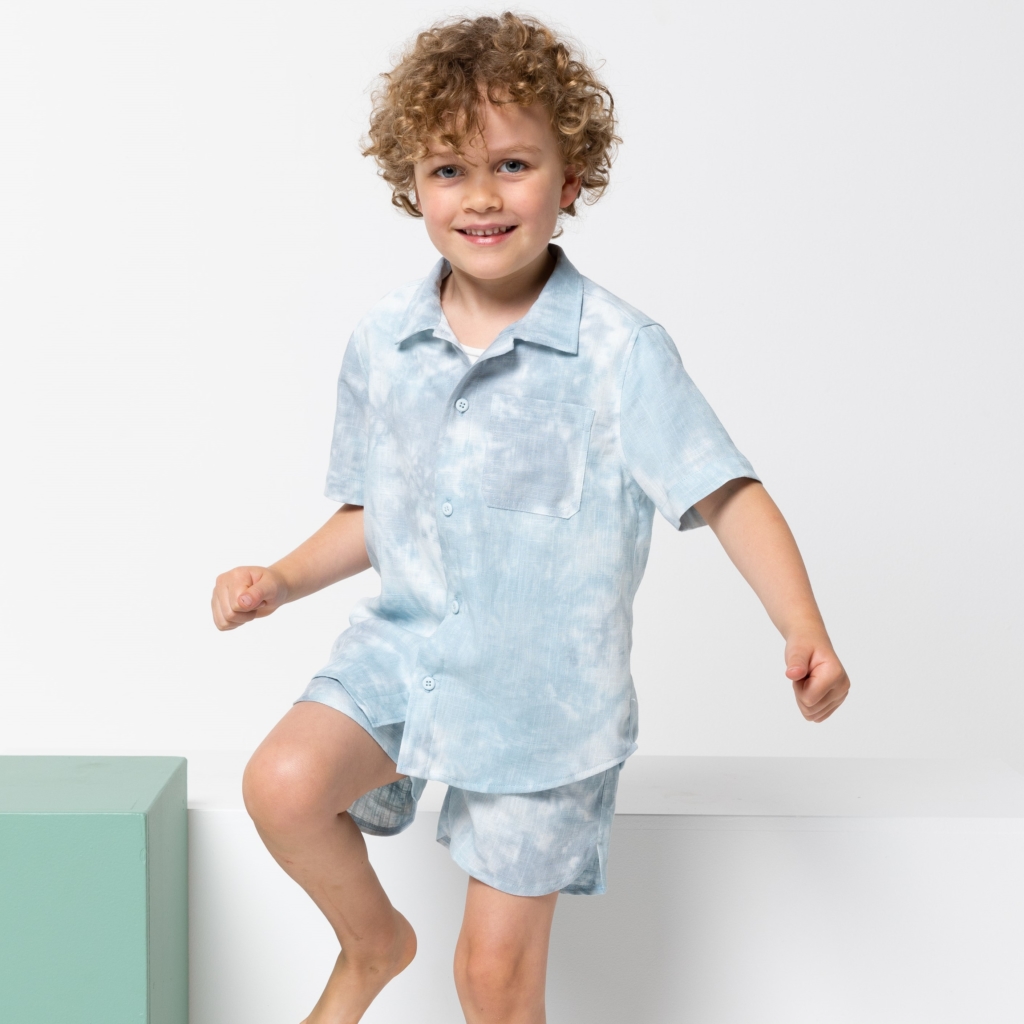

For this over shirt I used a double gauze fabric. This kind of fabric is iron free (and I love that) and light enough to be used as an over shirt, but also suitable to be used as a regular blouse. The darkest side is the right side of the fabric, the lighter is the wrong side of the fabric.
Preparations
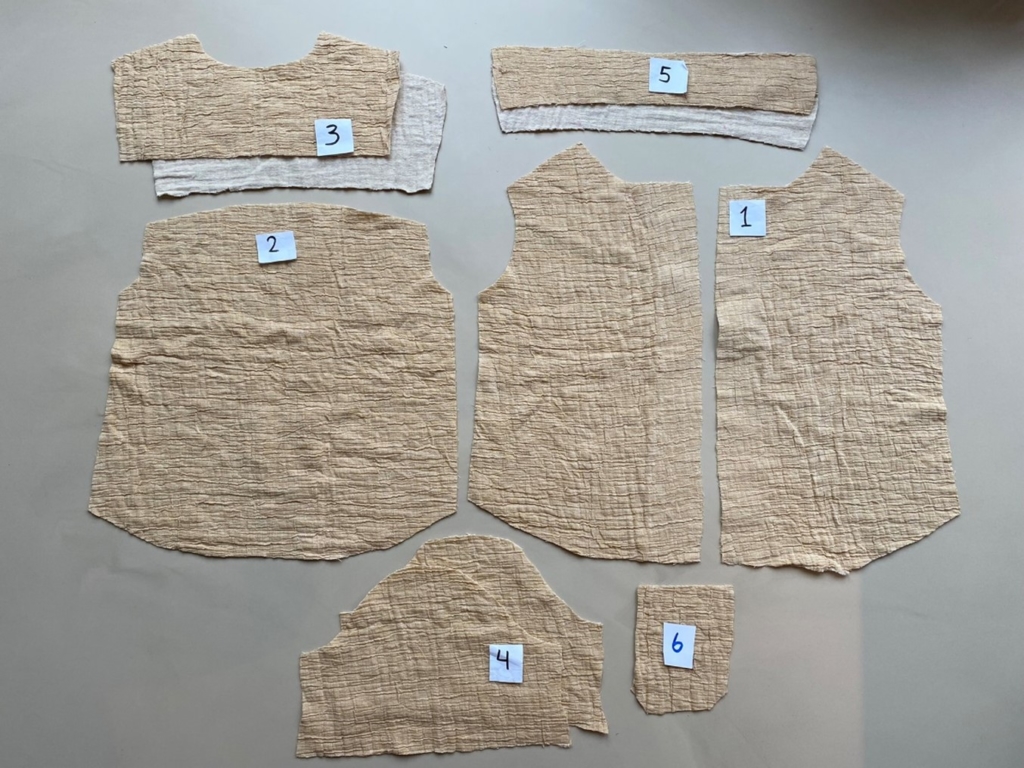
– Cut out all pattern pieces taking note of the grain line and marks as indicated on the pattern.
– When finished, you should have 10 fabric pieces (6 pattern pieces)
– Finish the bottom of the front- and back (pattern pieces no 1 and 2)
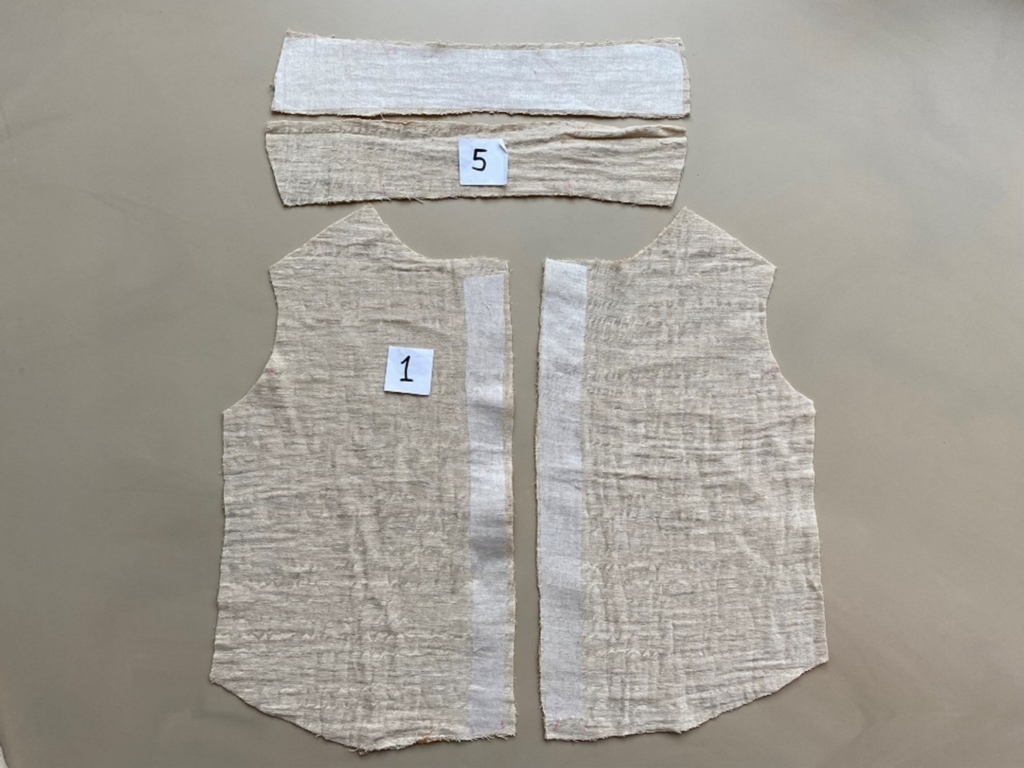
Interface
I used some interface to strengthen the front (pattern piece no 1) at the place where the buttons and buttonholes will be placed. I also used interface at one of the 2 collar fabric pieces (pattern piece no 5).
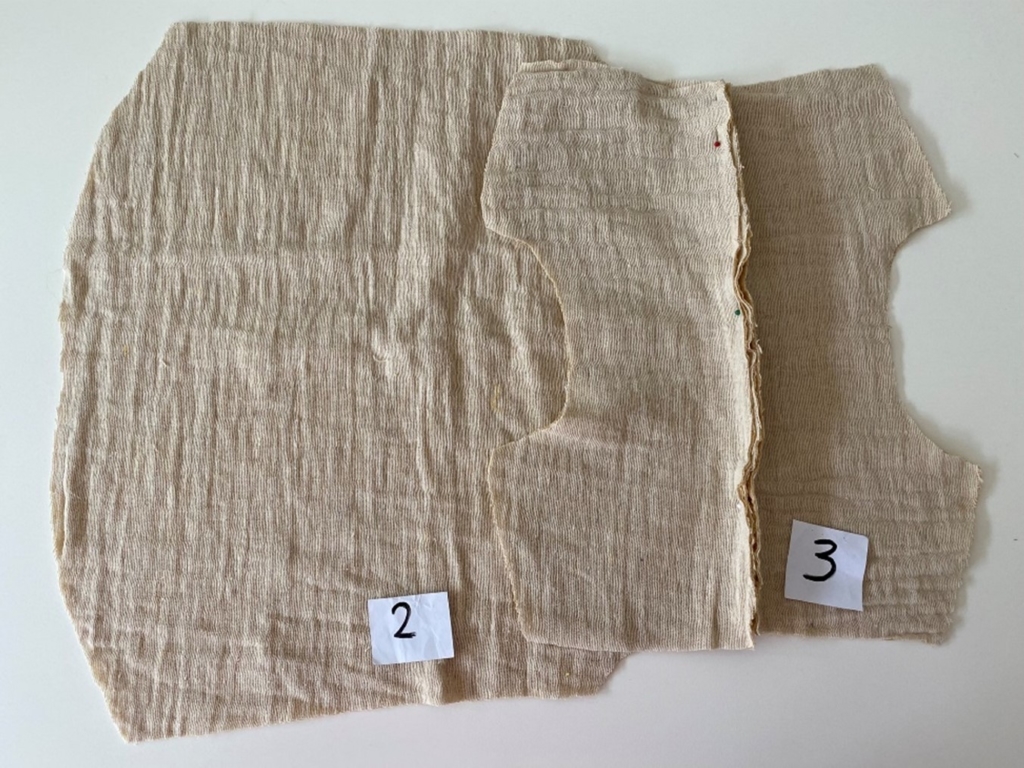
- Back
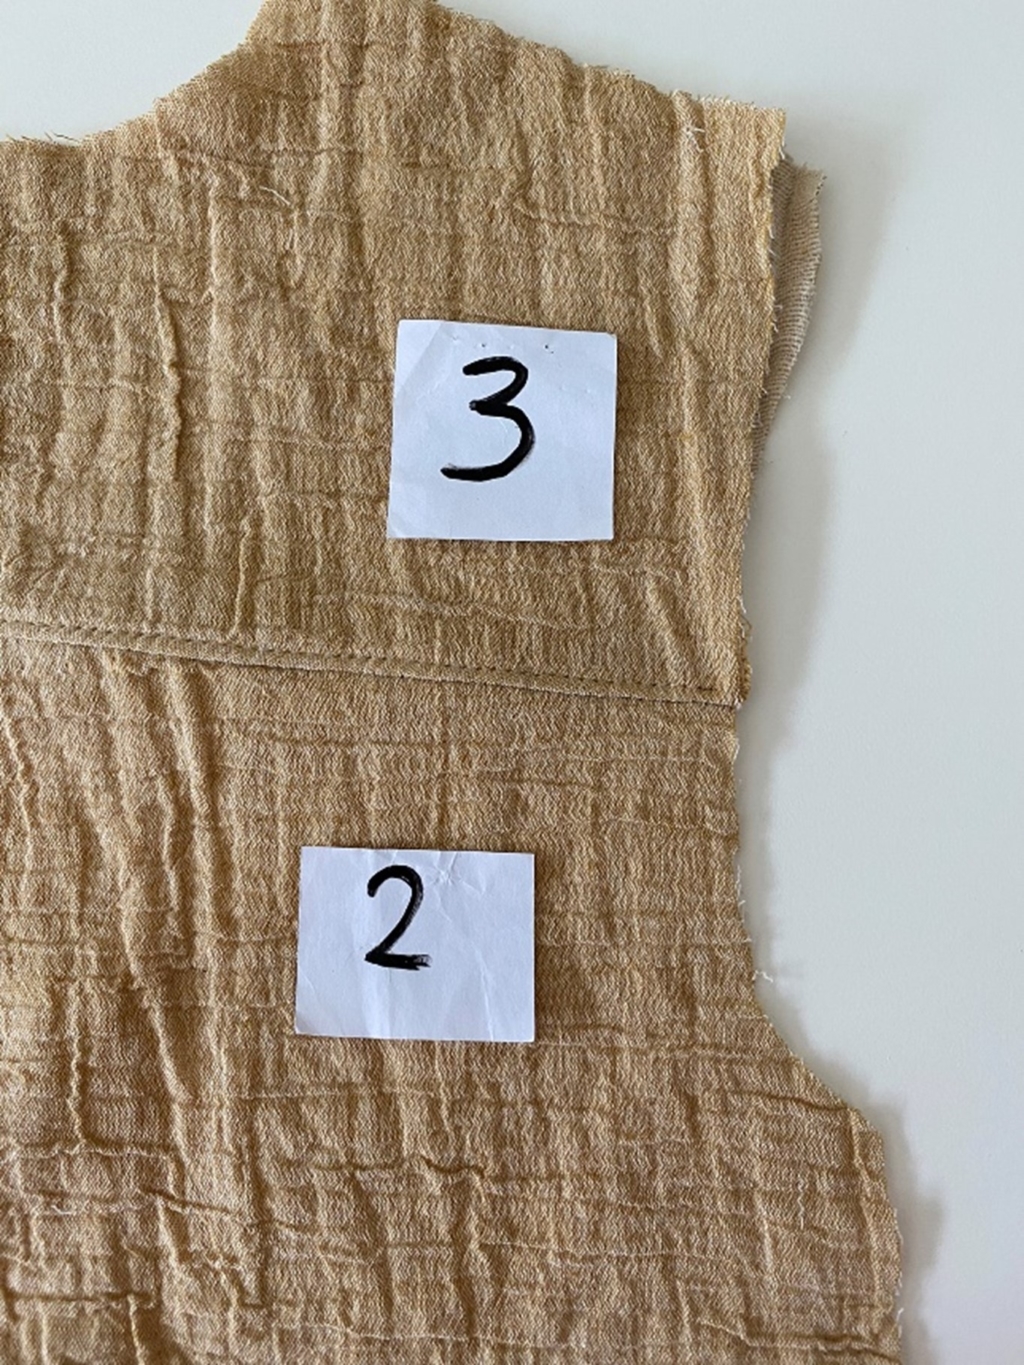
– Take pattern pieces no 2 and 3.
– Sandwich the back bodice (no 2) between the two yokes (no 3).
– Pin and sew.
– Finish the seam and press. Topstitch across the back yoke seam.
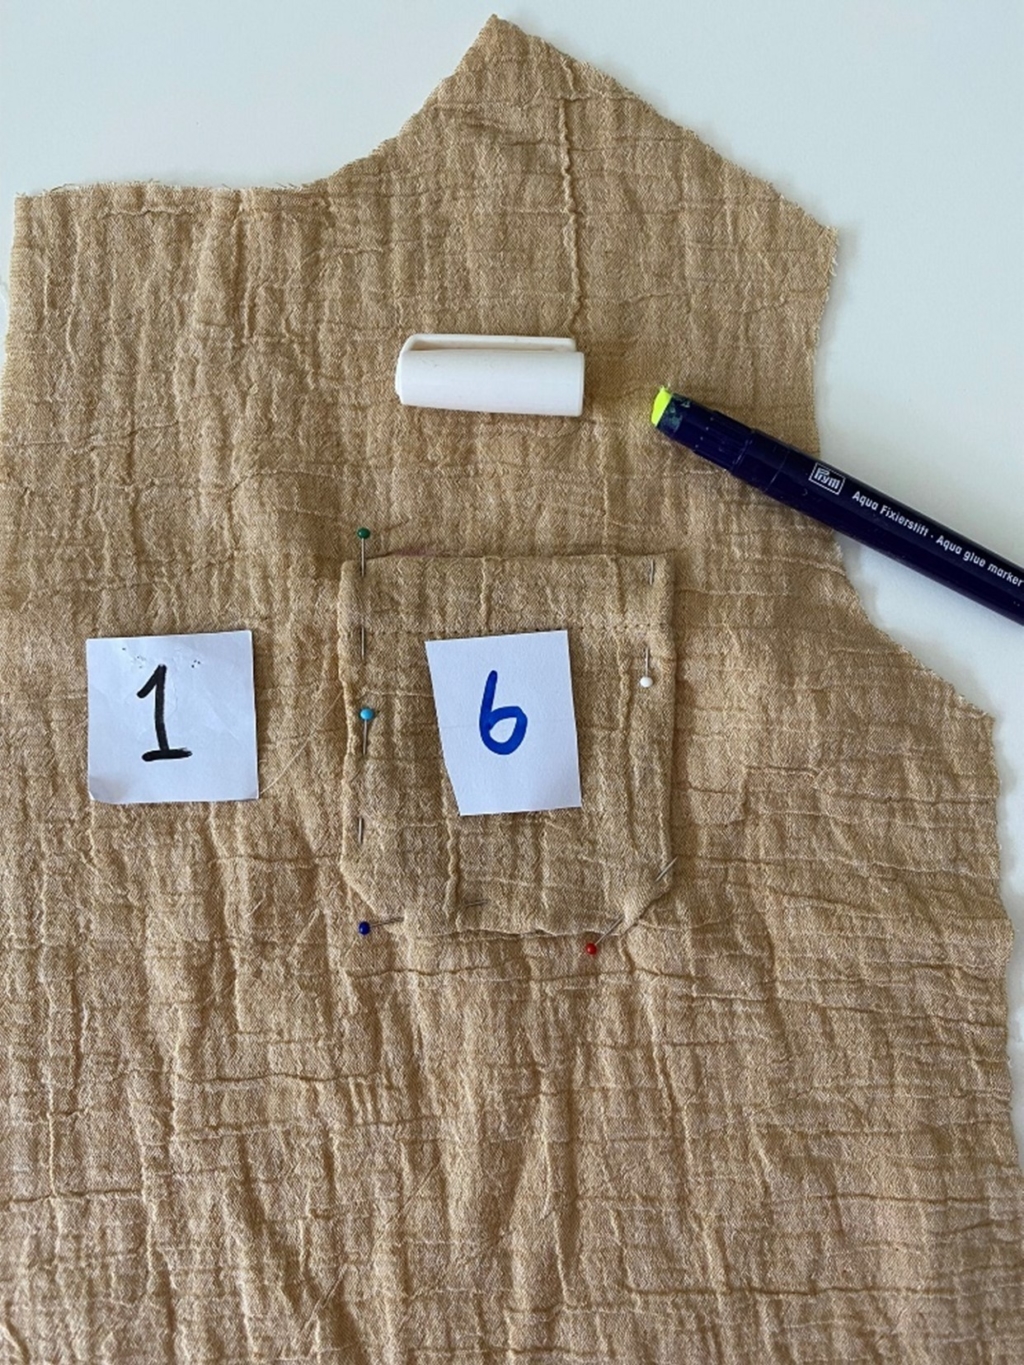
– Take one of the two pattern pieces no 1.
– If you haven’t done it yet; now is the time to mark the exact location of the pocket on the right side of pattern piece no 1. ADVICE: I usually cut out the pocket from the paper pattern so I can easily mark it on my fabric piece.

– Fold the top of the pocket (pattern piece no 6) twice, press and stitch.
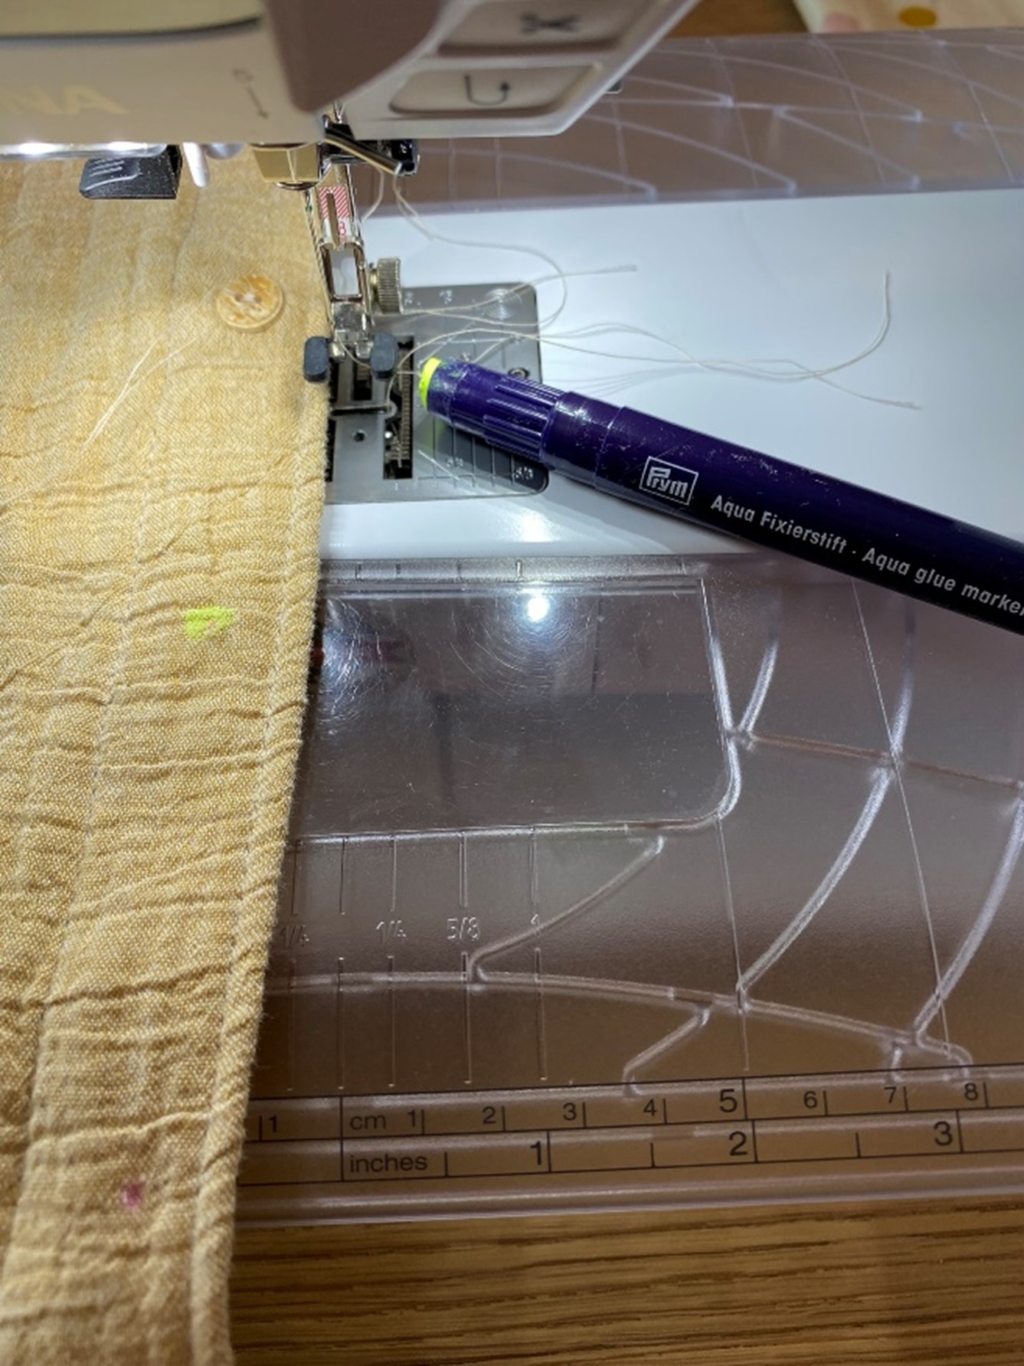
– Press the seam allowance from the pocket and sew the pocket to the front. ADVICE: I often use an glue marker that vanishes in water to glue the pocket to the fabric. This way you avoid your pocket moving from the desired position while sewing and you don’t have to pin too much.
- Front and back
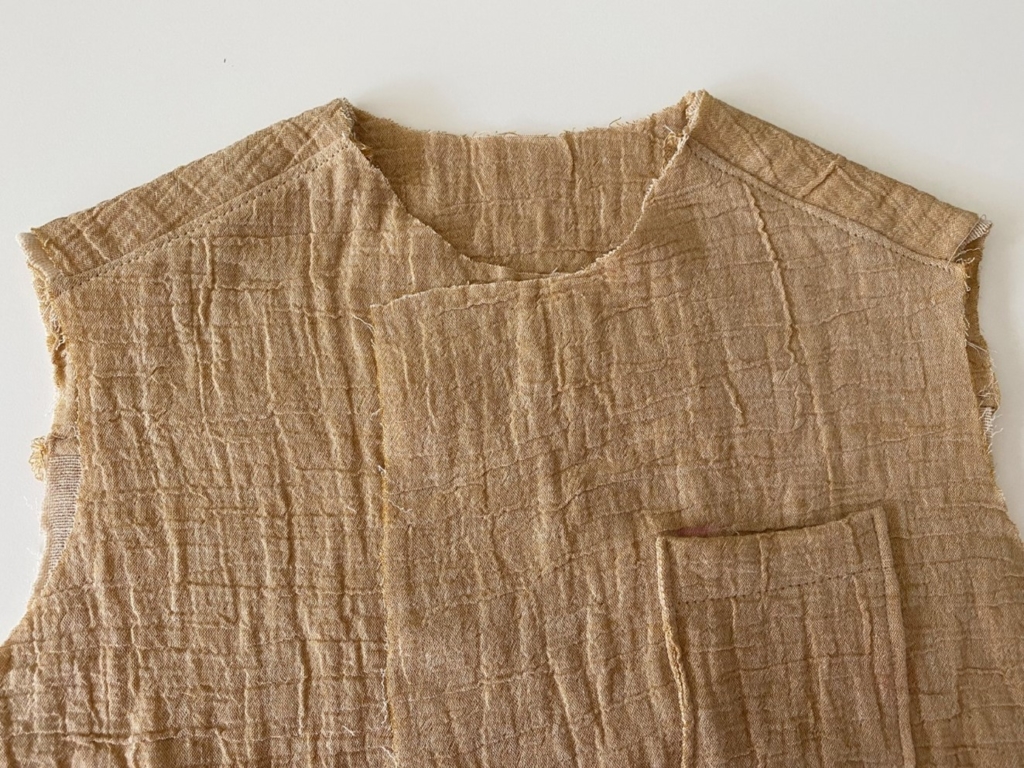
– Take the two fabric pieces (no 1) and sew them to the shoulder parts of pattern piece no 3.
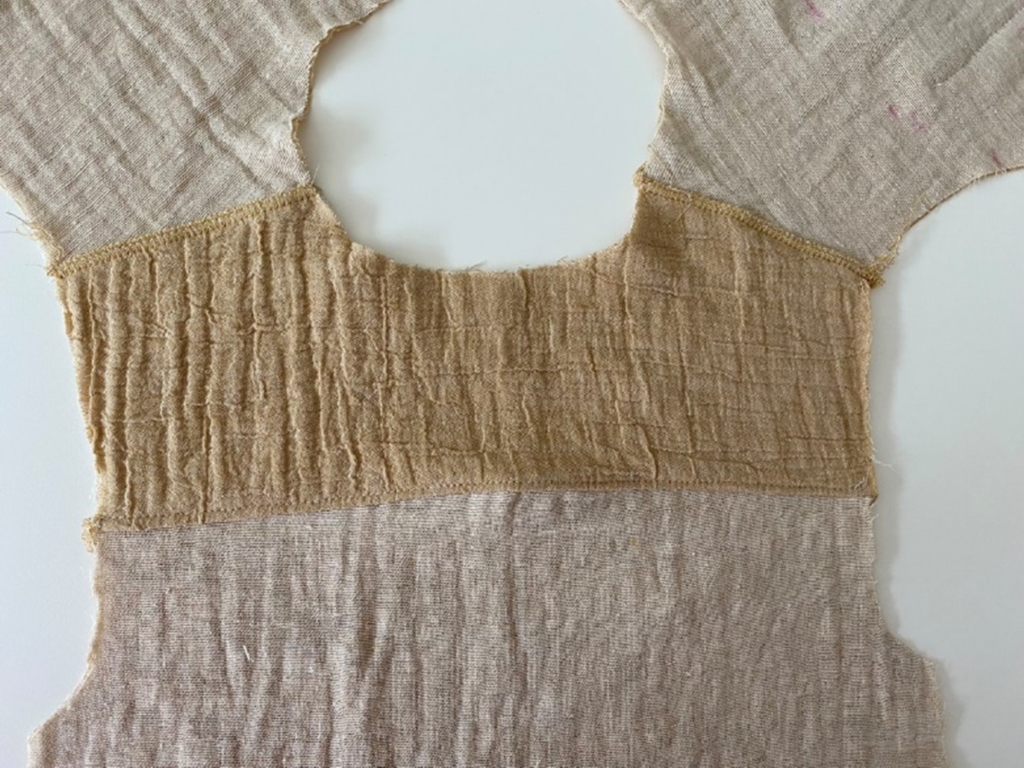
– Finish the seam on the inside and press upwards.
– Topstitch the seam.
- Buttons (for detailed pictures see step 7-9 on the pattern guide)
– On pattern pieces no 1 (2 times), fold the seam allowance under and press towards the wrong side of the fabric. Fold again on the indicated notch and press.
– Make sure right sides are facing. Fold a neck step as explained detailed at number 8-9 of the pattern guide.
- Collar
– Take pattern piece no 5 ( 2 times) and put wrong sides together. Sew, clip the corners and fold the right side out.

– Pin and sew the long side of the undercollar to the back of the over shirt. Take notice of the indicated notches.
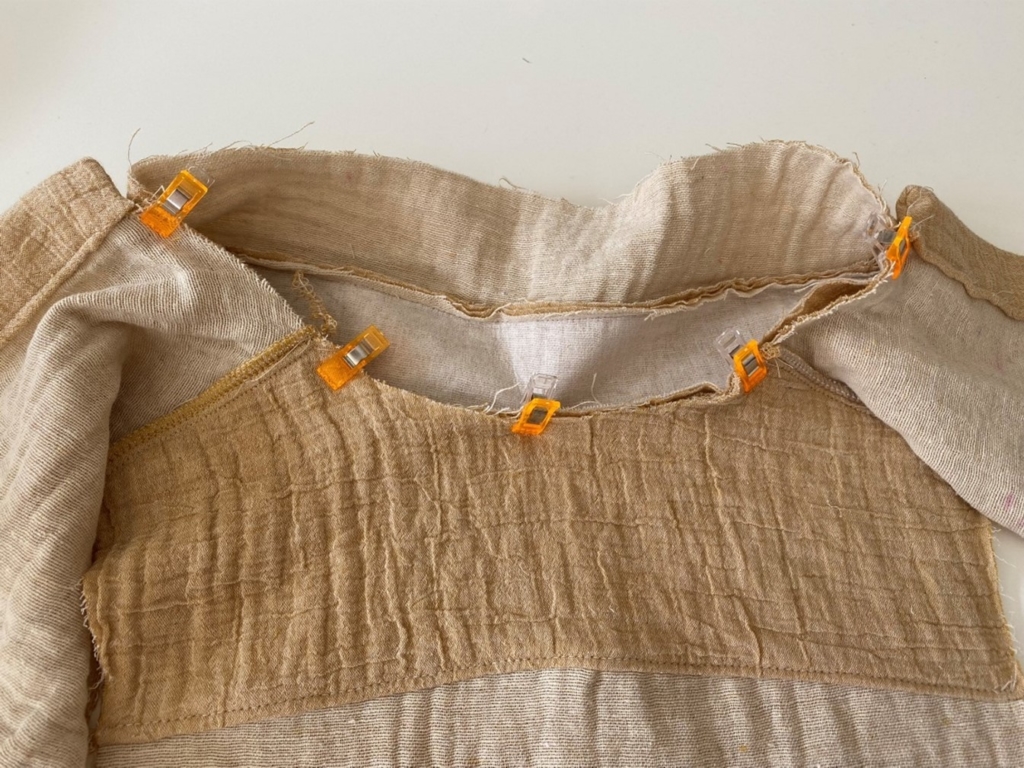
– Fold the upper collar so you cant see the edge anymore, pin precisely and sew in place. You won’t see the stitch line at the back as it is covered under the collar.
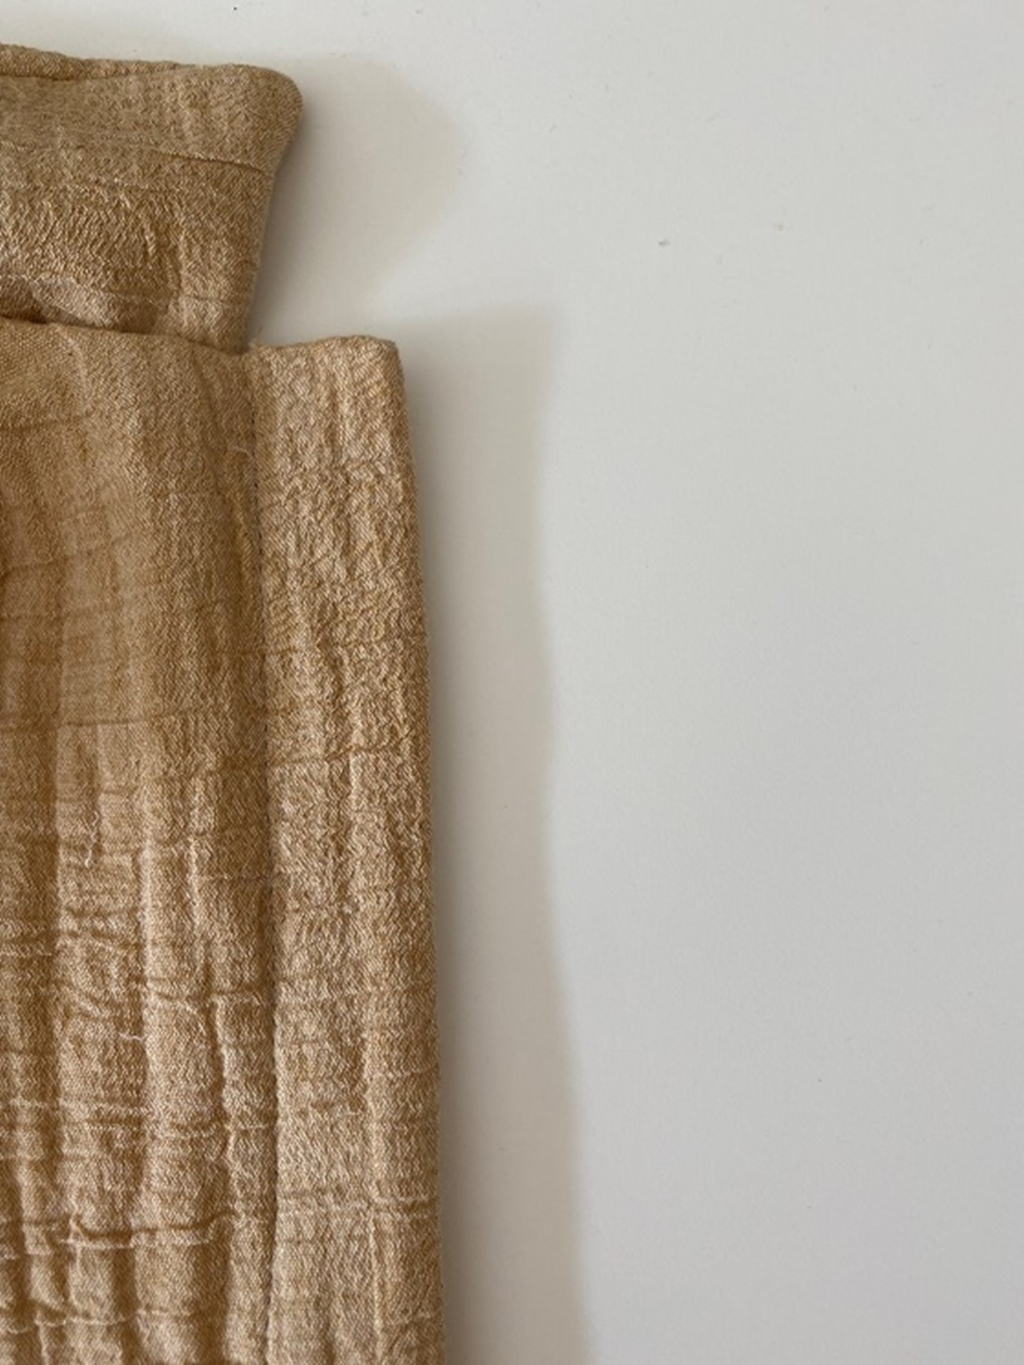
- Sleeves
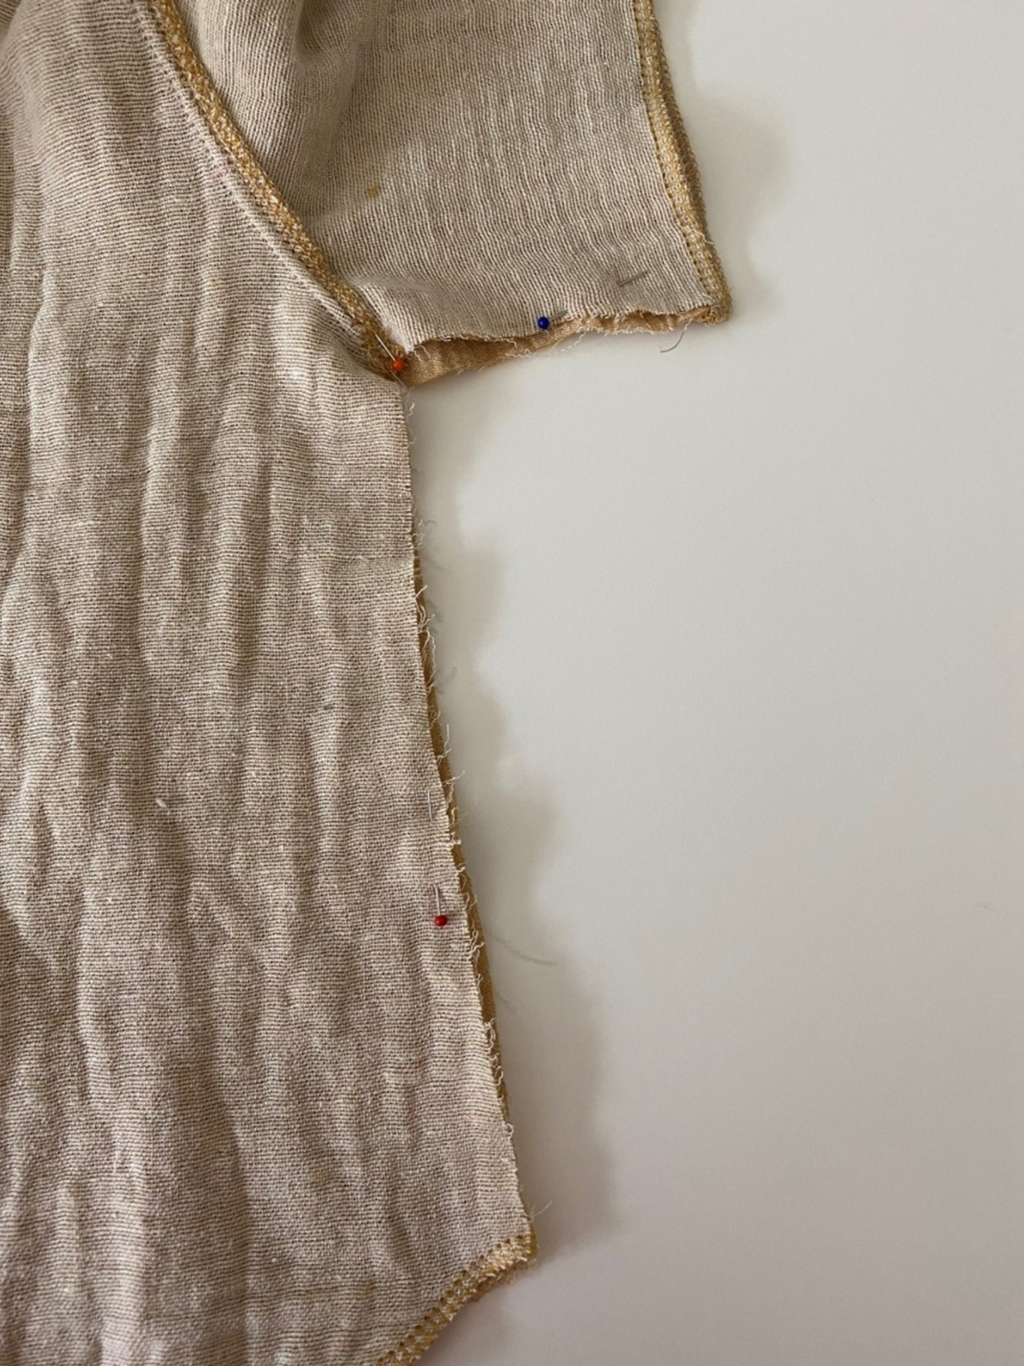
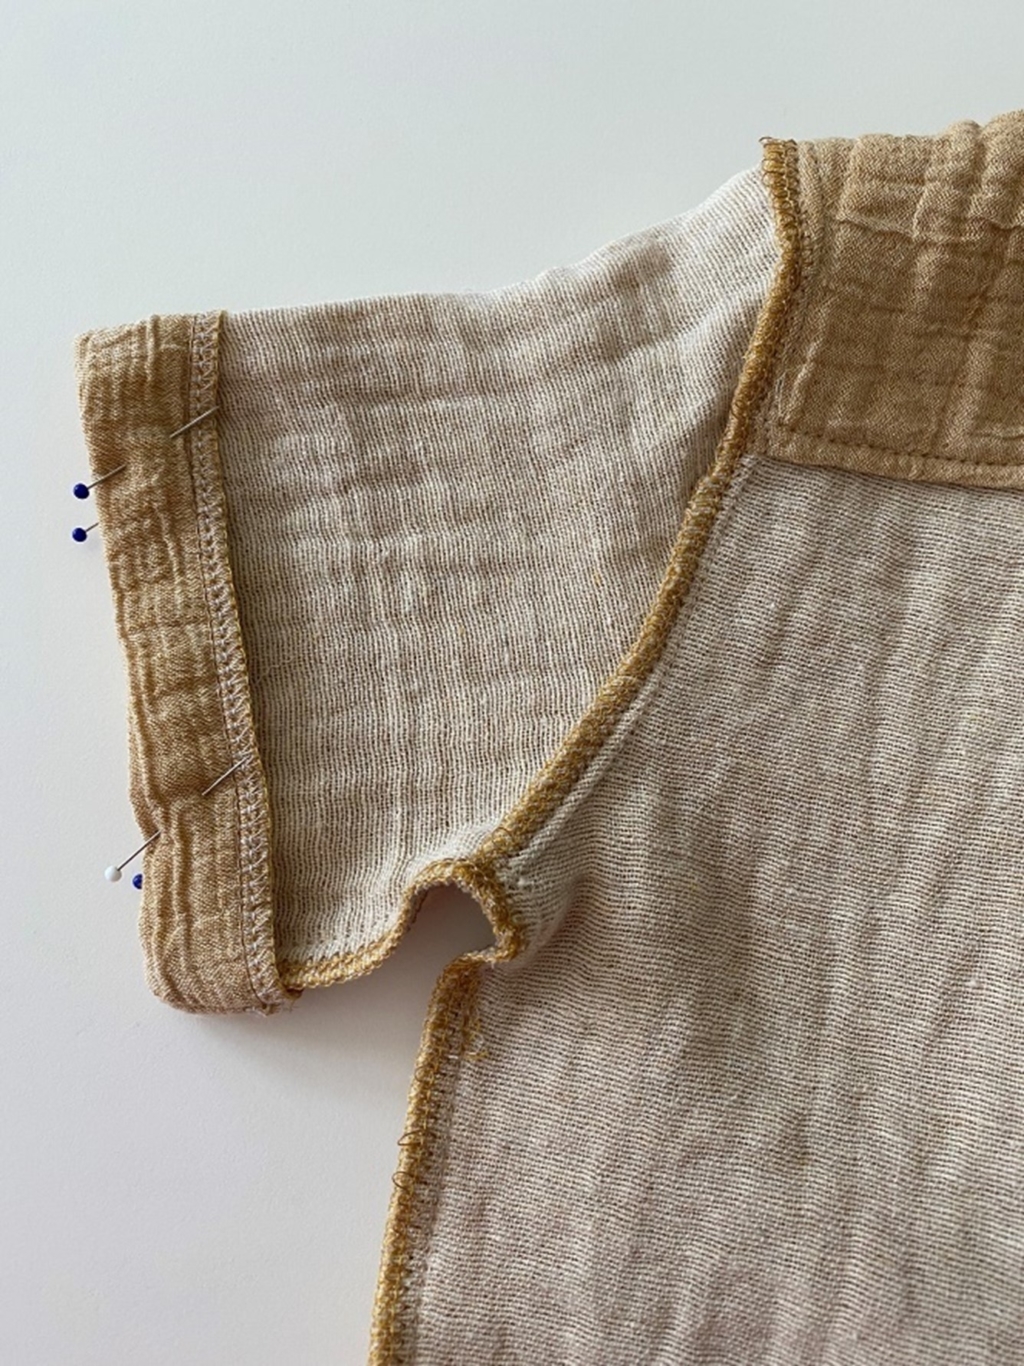
– Take pattern piece no 4 ( 2 times). Pair the sleeve notches to the notches on the front and back, and pin in place.
– Sew the sleeve into the arm opening. Finish the seam and also finish the end of the sleeve.
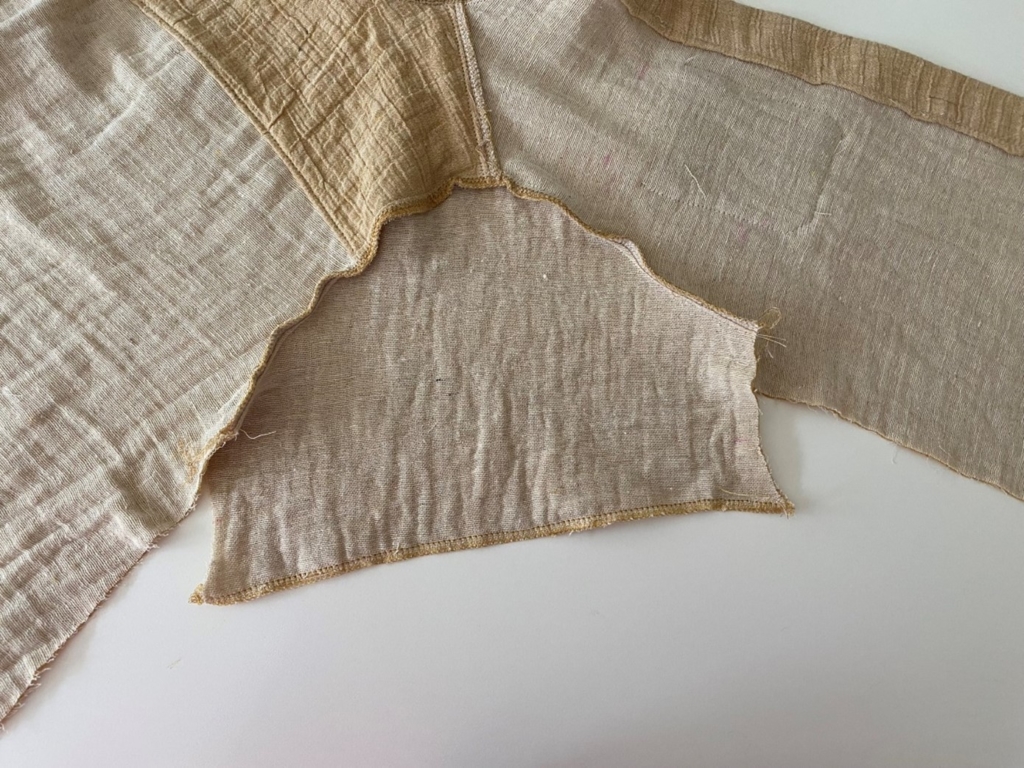
– Topstitch the sleeve, sewing the inside seam with it.
- Closing the sides
– Put the front and back right sides facing. Pin and sew, starting from the sleeve, to the bodice hem. Finish the seam.
– Fold the seam allowance of the end of the sleeve and press. Fold again at the indicated fold line, press and stitch.
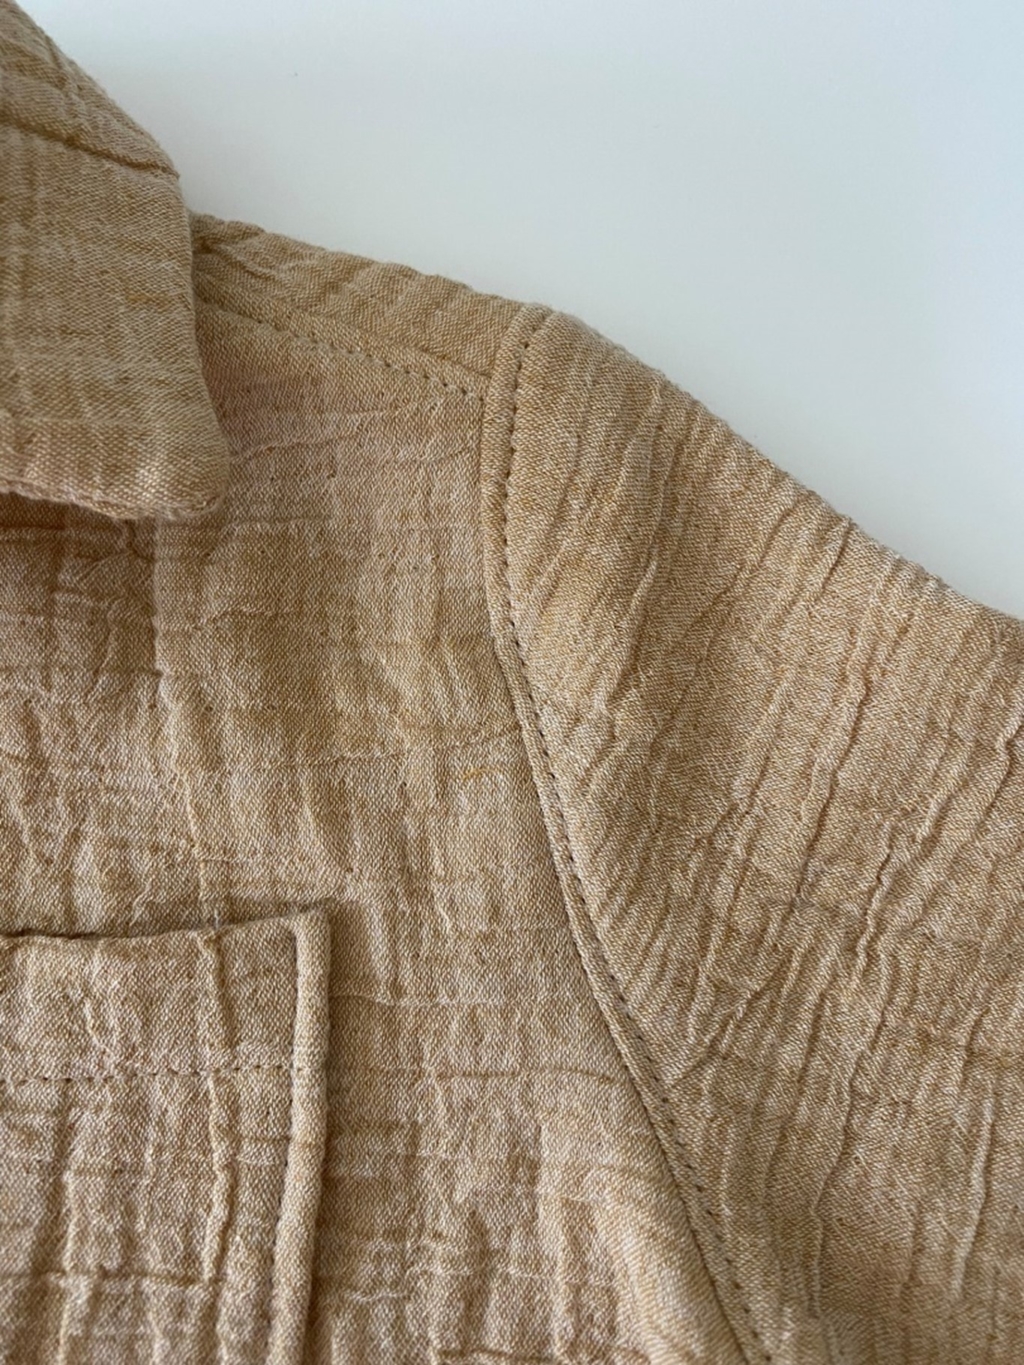
- Bottom seam and topstitch
There are two options to finish the shirt with a curved hem. If you have a fabric which is a bit ‘messy’, you could follow these steps. If your fabric is not forgiving, I recommend to double the curved hem with a 4 cm inside finish.
– Press the seam very accurately, and sew slow and precisely following the curve.

– Stitch a long topstitch, starting at the bottom, to the collar, and finish at the other bottom of the frontside of the over shirt.
- Buttons and buttonholes
– Sew the buttonholes at the indicated places you marked from you pattern piece no 1. The buttons will be at the right front, the buttonholes on the left front.
– ADVICE: I always use a little piece of soluble interface to strengthen the sewing area and make sure the machine can smoothly move on the fabric.

– Next, sew the buttons.
ADVICE: I glue the buttons at the indicated place to make sure they won’t move while I’m sewing them on the fabric.
– Press one last time and your Rhys Overshirt is done!

Congratulations on sewing your own beautiful Rhys Overshirt! We would love to see your version, so please use #sarhyskidsovershirt when sharing it.