Step 1
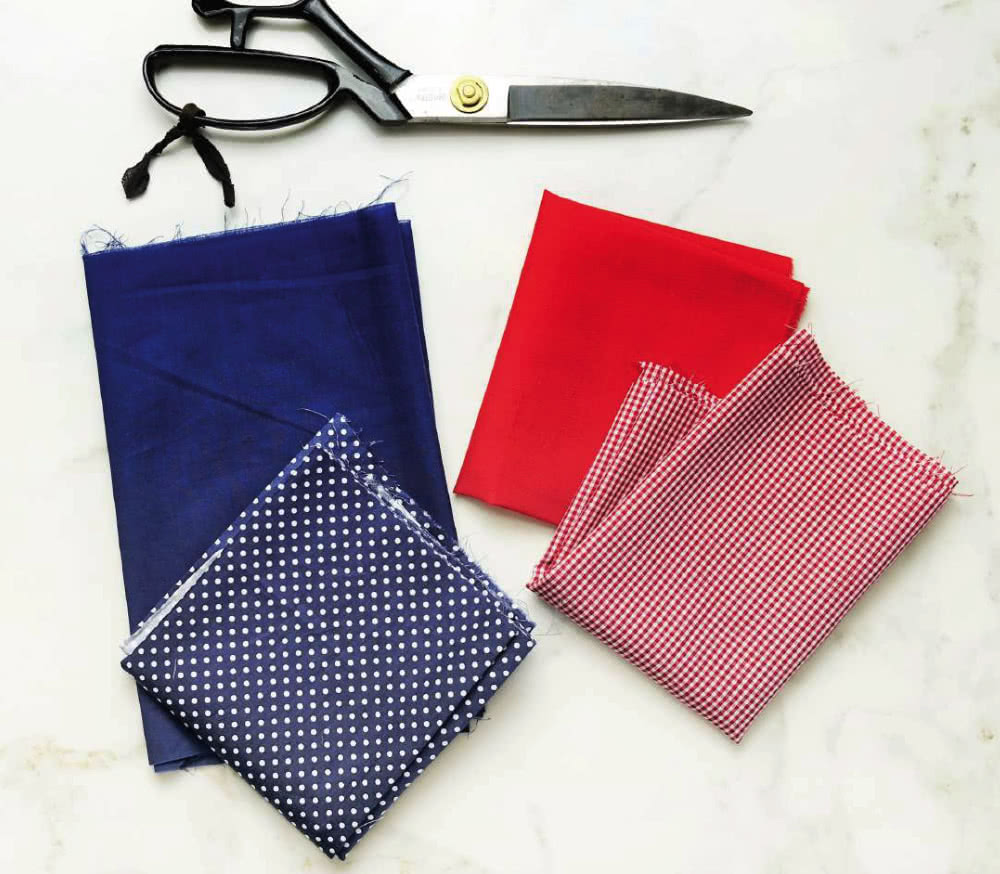
Select your applique fabric/s and play around with layering them to see if the colours and or prints work well together and are to your liking.
Next you will need to pre-wash your fabrics and iron them before you start working with them. This will eliminate shrinkage and colour fastness issues down the track.
Step 2
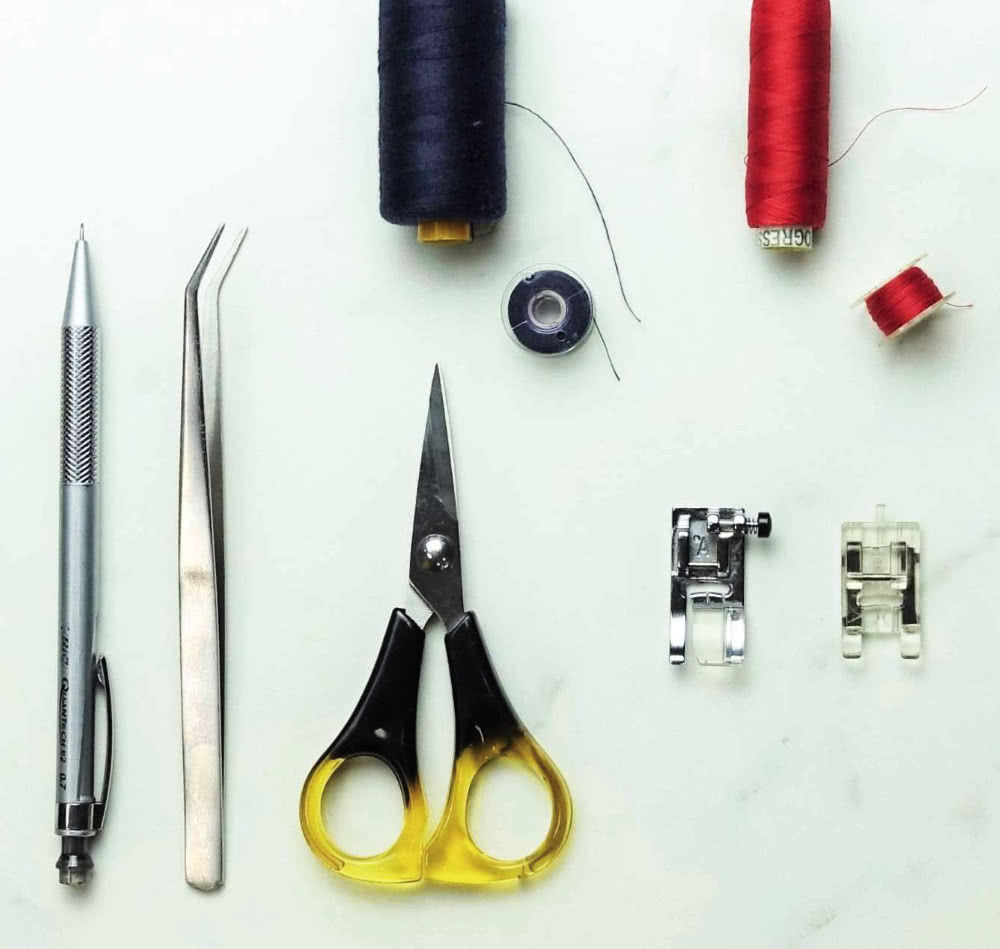
Gather all the tools you require for the project. You can refer to the materials required list on your applique pattern.
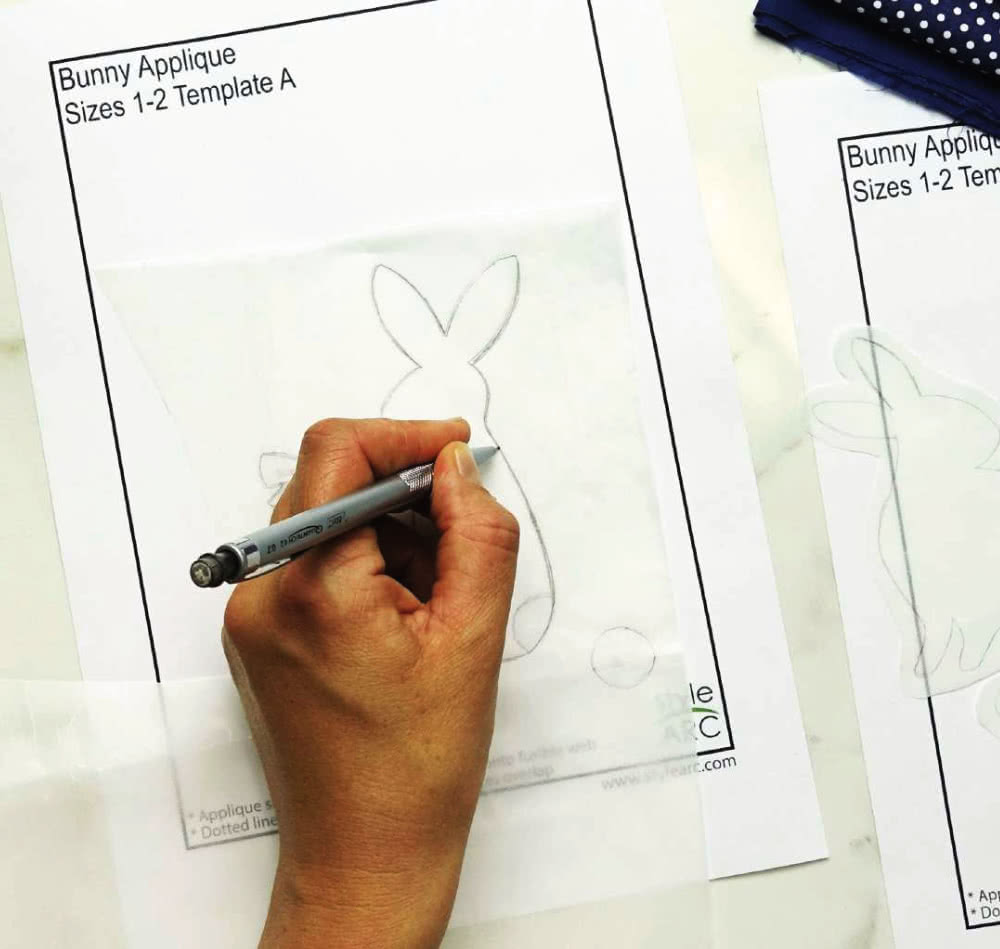
Step 3
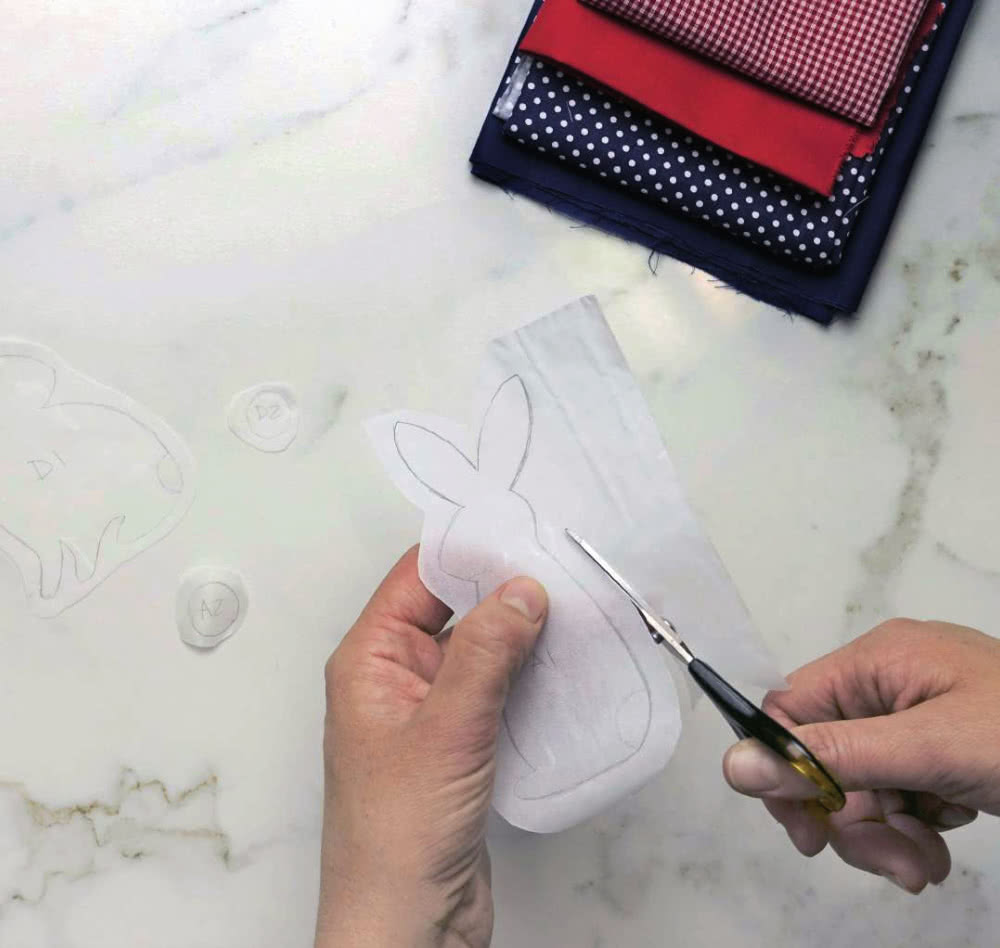
Take your printed template and place the fusible web on top ensuring the paper side of the fusible web is facing upwards.
Take a sharp pencil and trace out the shapes.
Leave a 2 cm (3/4″) gap between each traced shape.
Step 4
Take your fusible web and roughly cut out the shapes leaving 1 cm (3/8″) around each shape.
Step 5
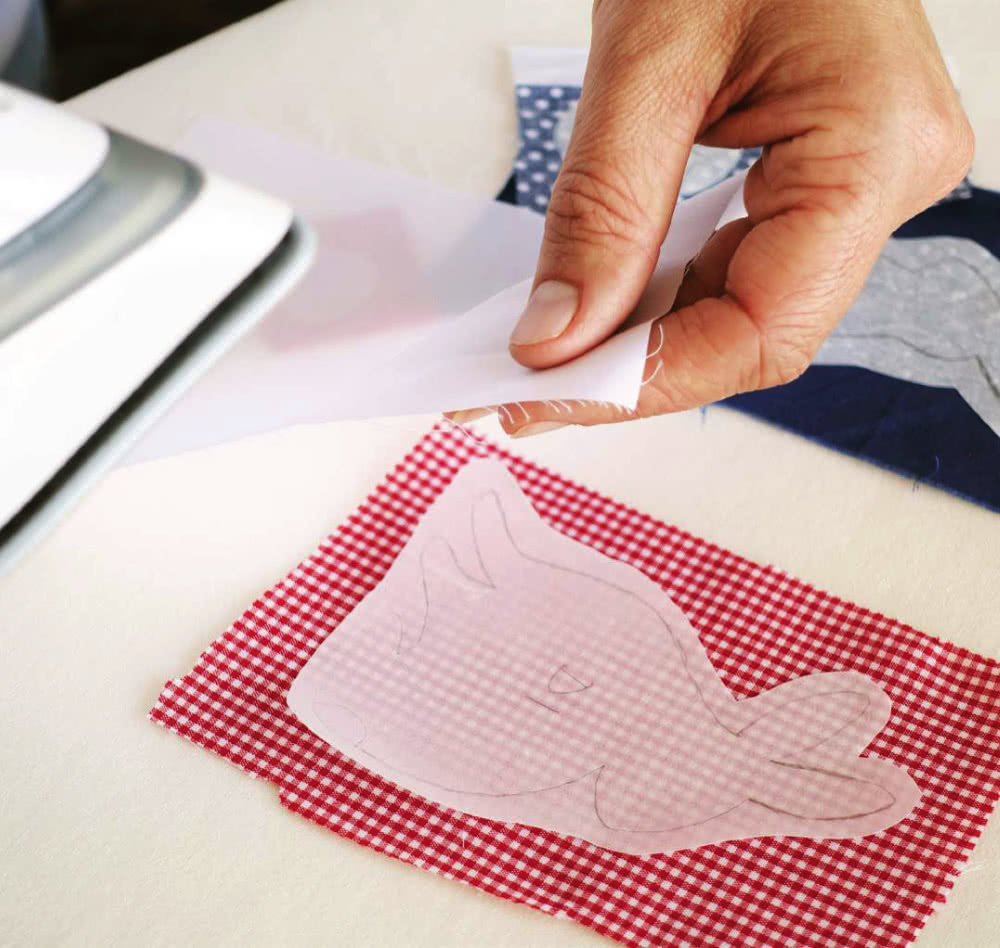
Place the cut fusible web shapes on the wrong side of the chosen fabrics.
Step 6
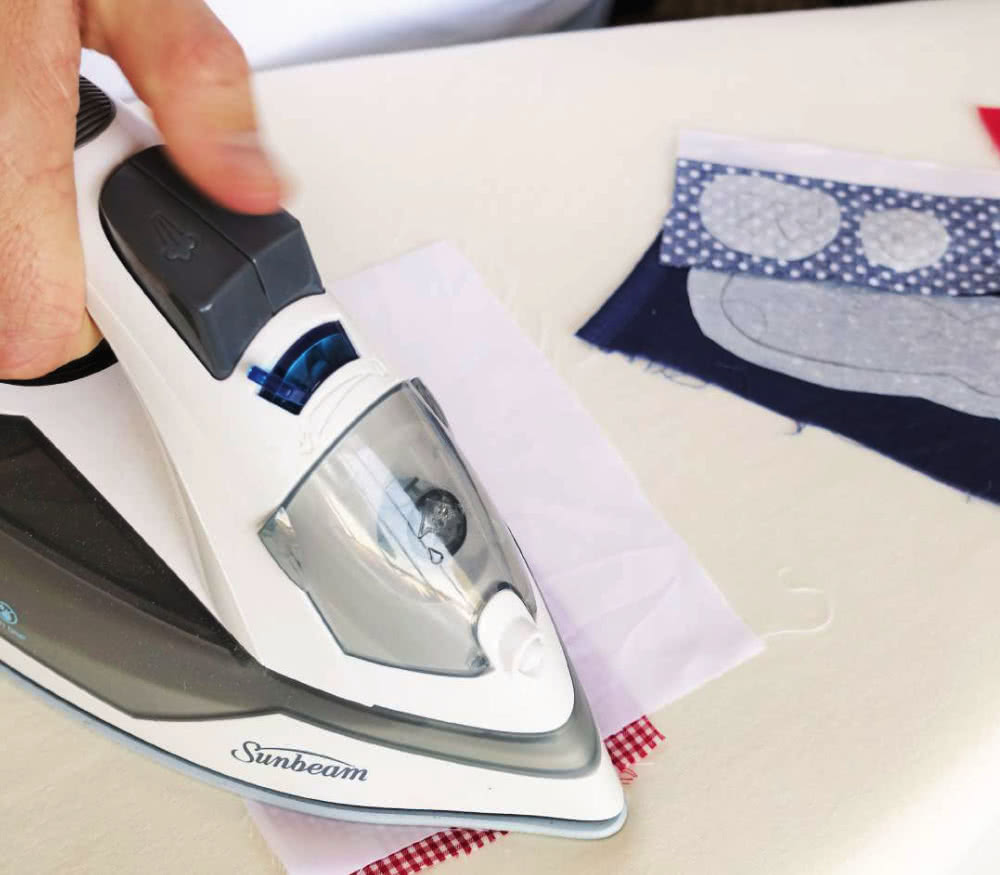
Now we need to stick the fusible web to the fabric.
Take your cover cloth and place it over the fusible web shape (paper side up) and press down firmly with the iron. Remember to follow the instructions on your fusible webbing.
Repeat this process until all the shapes have been ironed.
Step 7
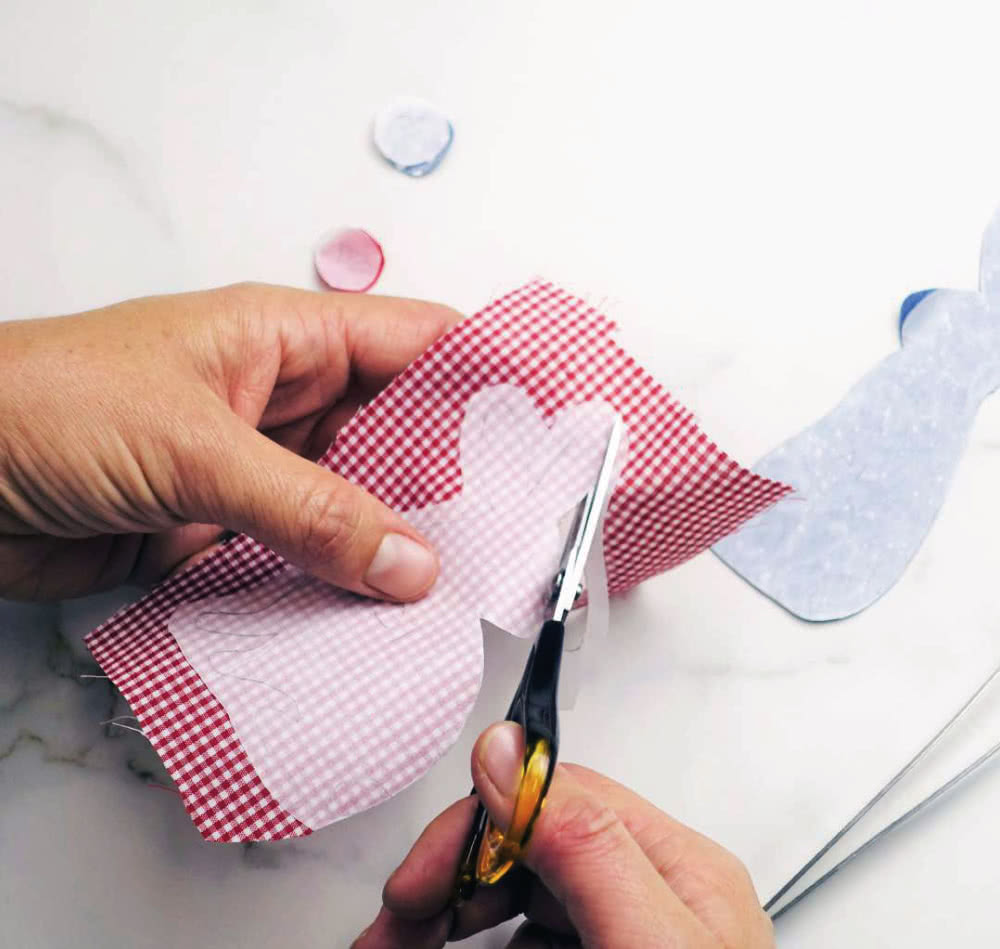
Taking your sharp scissors, cut out the traced applique shapes along the lines.
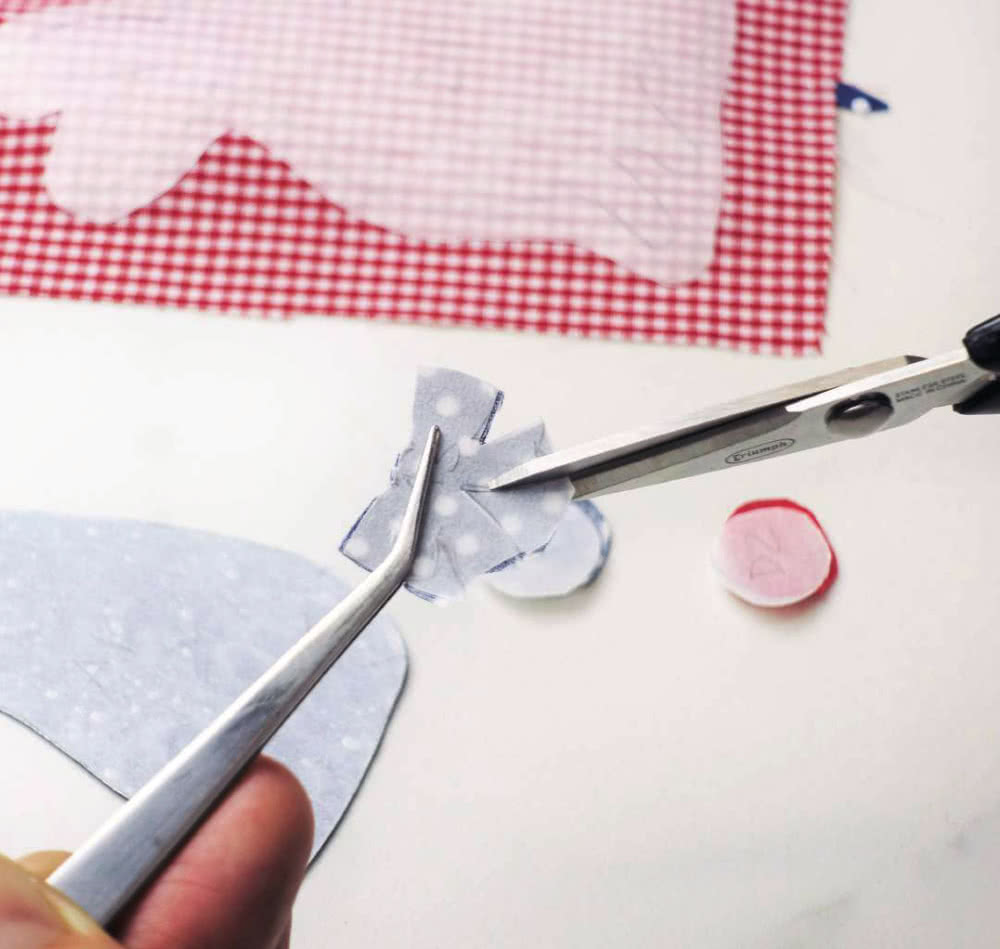
Step 8
In some cases, applique pieces can be small and fiddly. We suggest using tweezers to hold these pieces while you cut.

Step 9
Take your cut shapes and project, tee shirt, dress, bag, art smock you are attaching the applique to, to the ironing board.
Following the numbers, take the first applique piece and peel off the paper side of the fusible web.
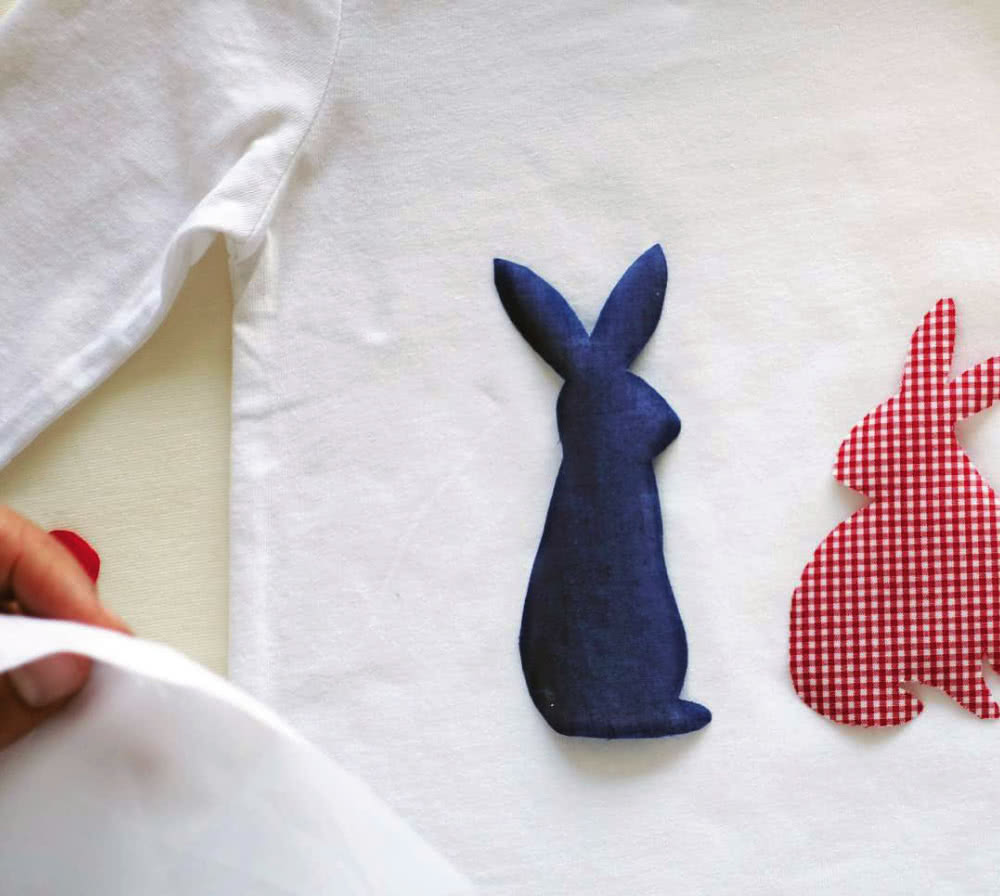
Step 10
Flip the applique over and put it into position on your project.

Step 11
Take your cover cloth and place it over the fusible web shape and fabric and press down firmly with the iron.
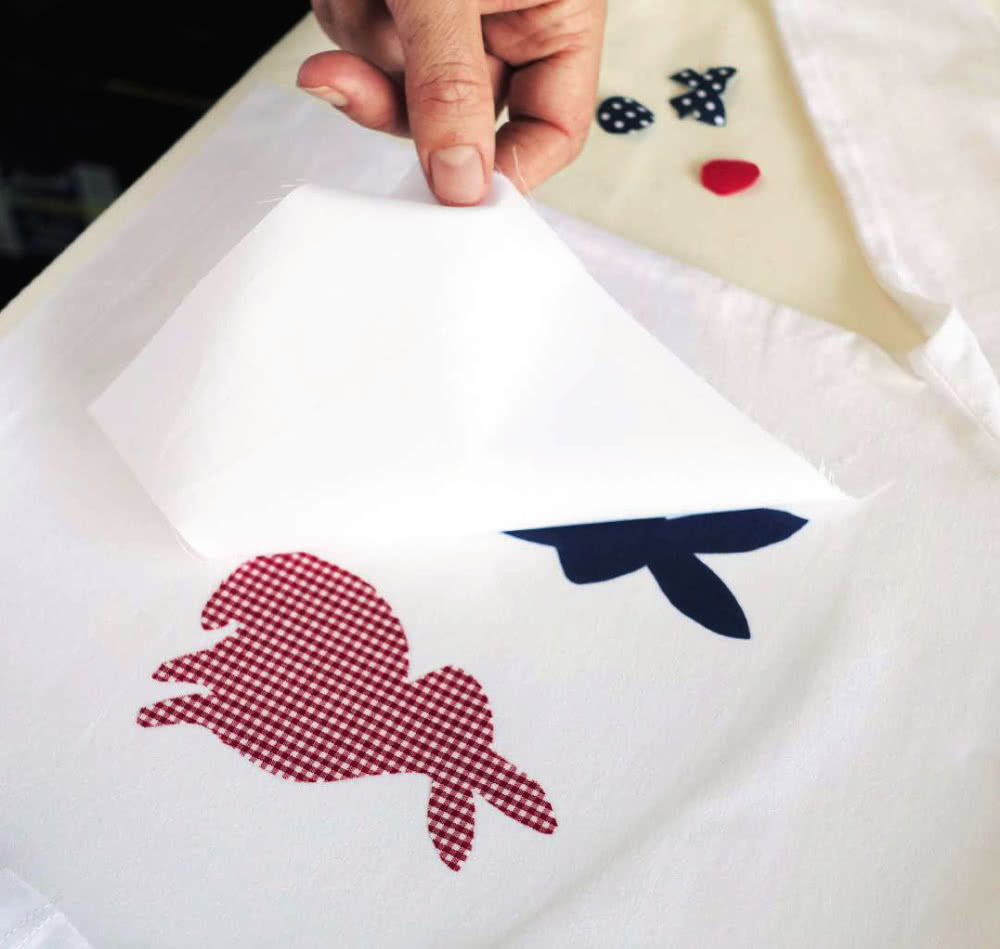
Step 12
Remove the cover cloth. The applique piece is now stuck to your project (in this case a tee shirt).
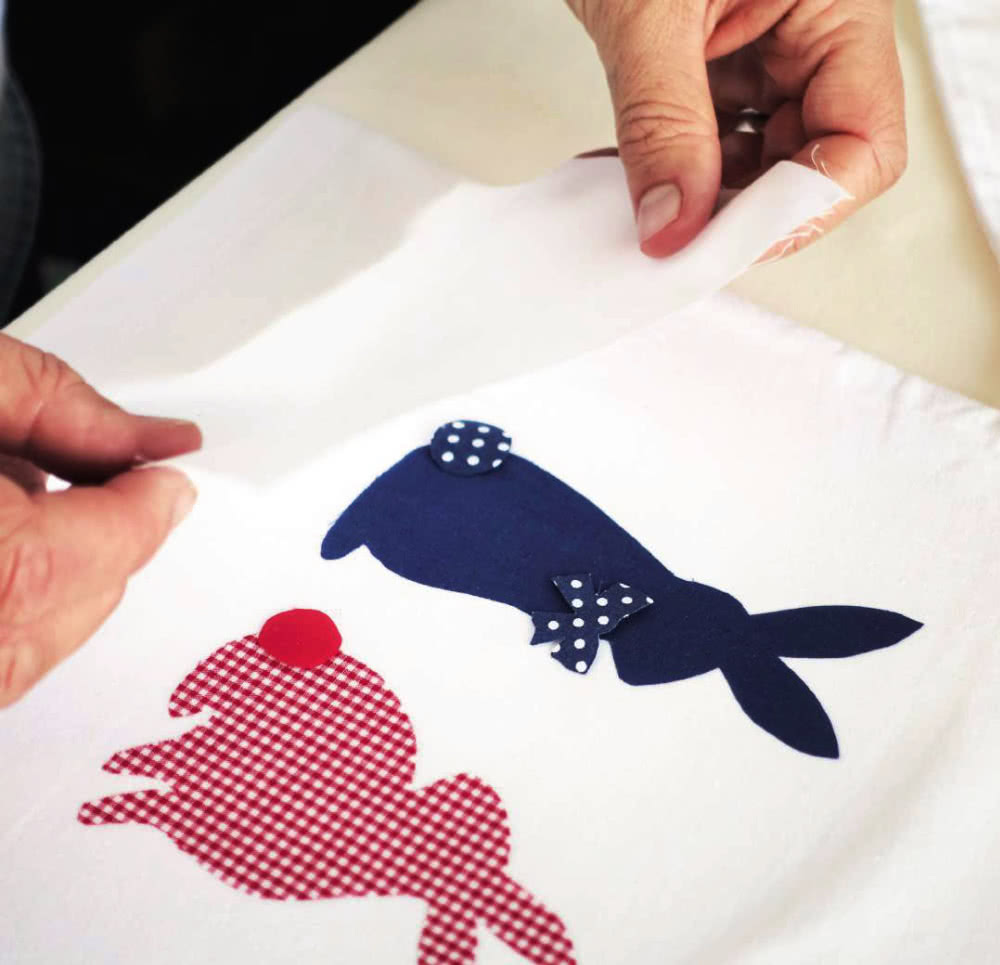
Step 13
Following the numbers, layer the next piece repeating steps 9, 10, 11, and 12.
Step 14
Once your applique is secured on your project by fusible web, you can take it to the sewing machine.
You now need to sew the applique pieces to the project.
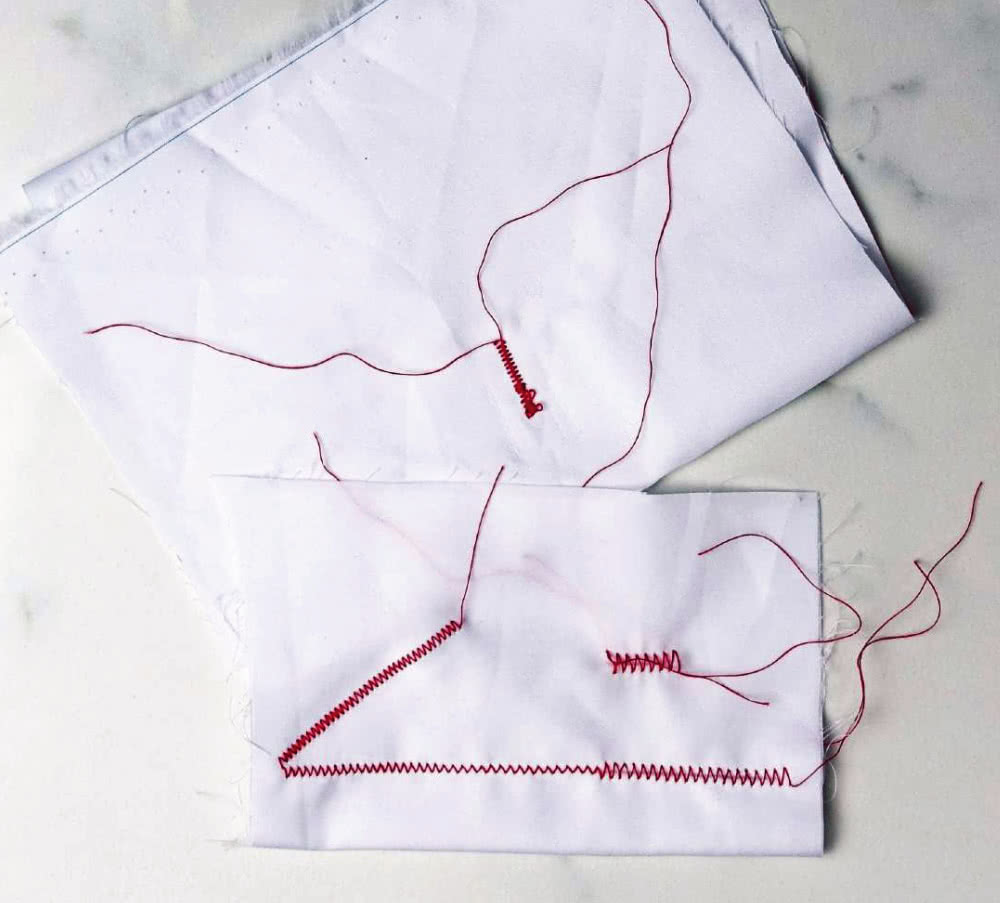
Step 15
It is a good idea to do some test stitching until you are happy with the look of the stitch before you start, remember every sewing machine is different.
You can play around with the zig zag length and spacing.
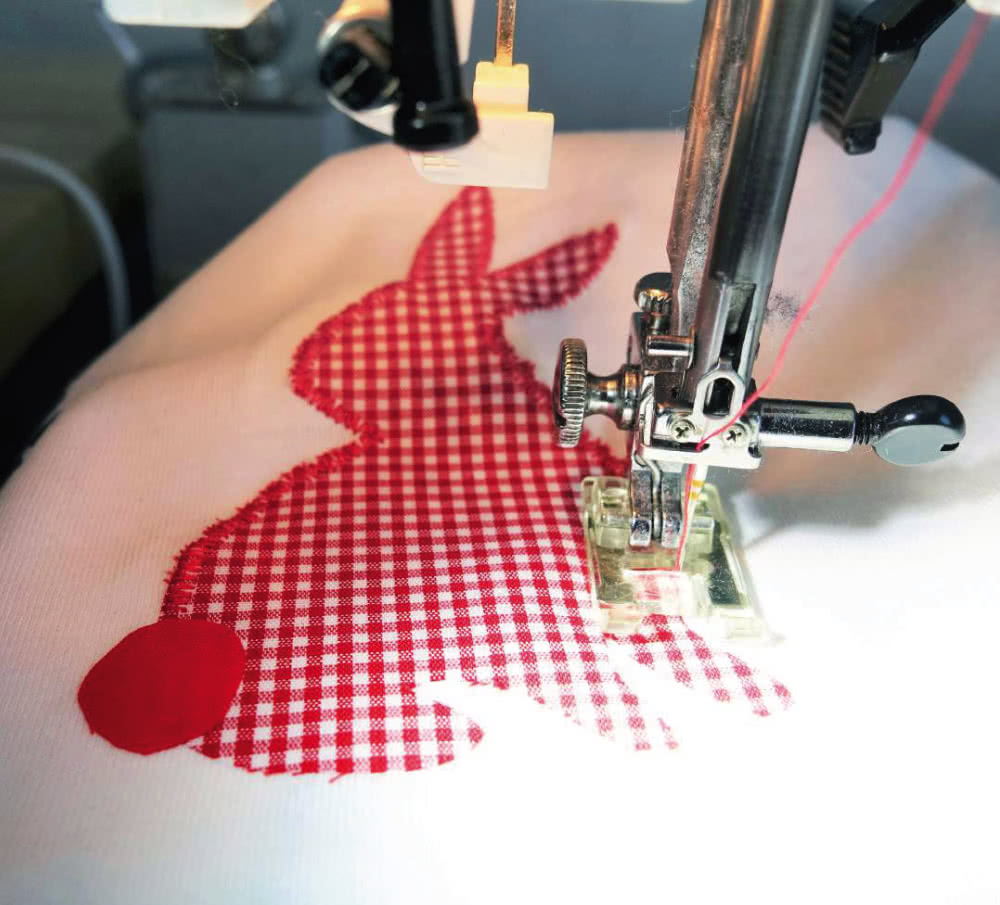
Step 16
Once you have chosen your stitch, you will need to stitch around the perimeter of the applique, one shape at a time.
We used a zig zag stitch in this applique.
Step 17
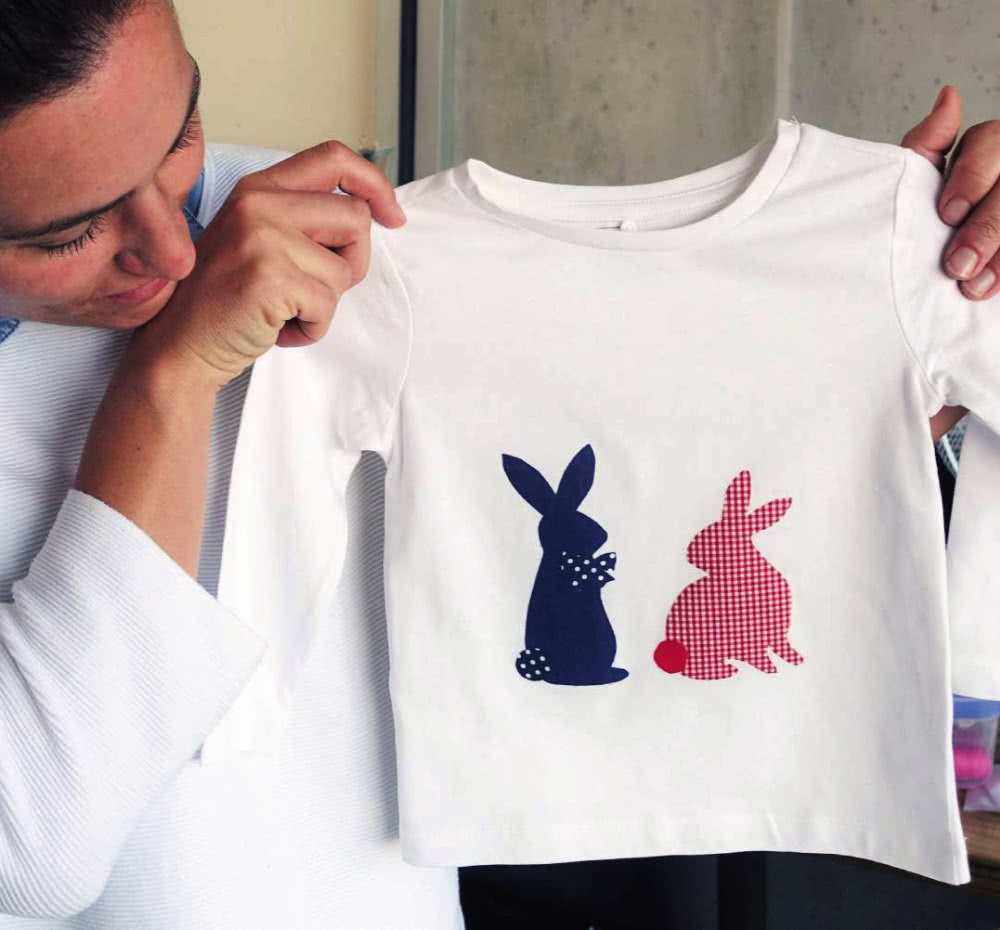
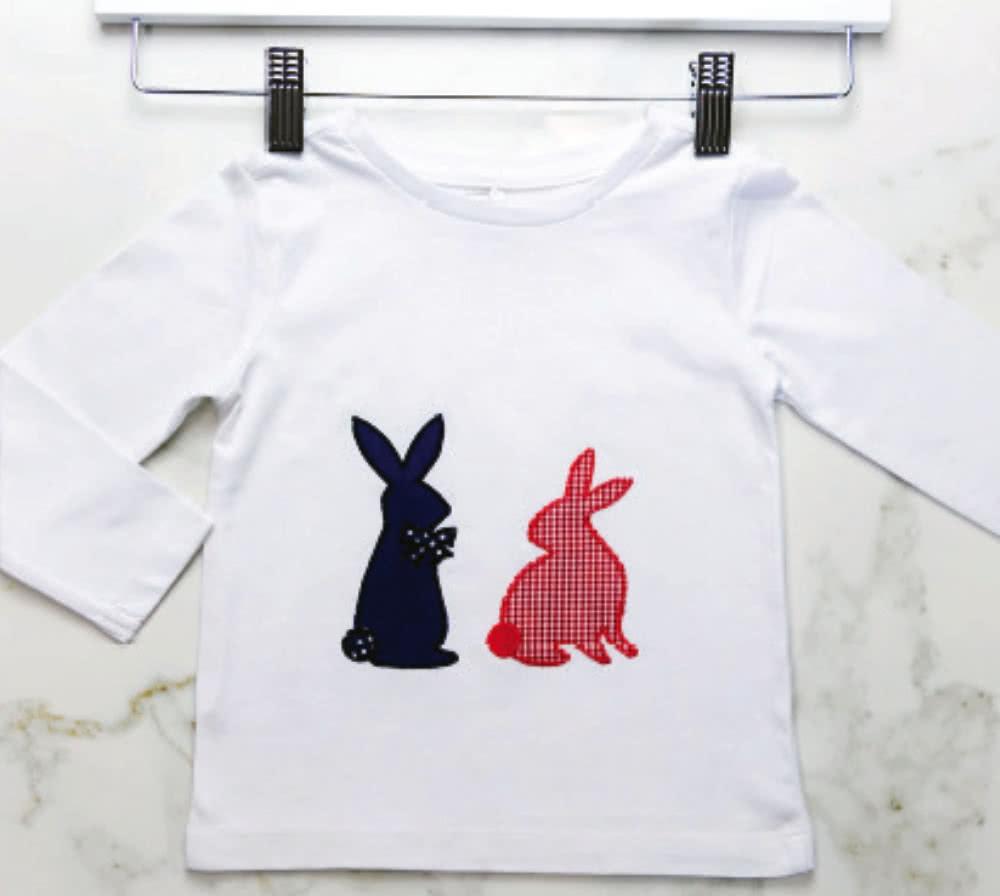
Your Applique is complete
Always remember practice makes perfect!