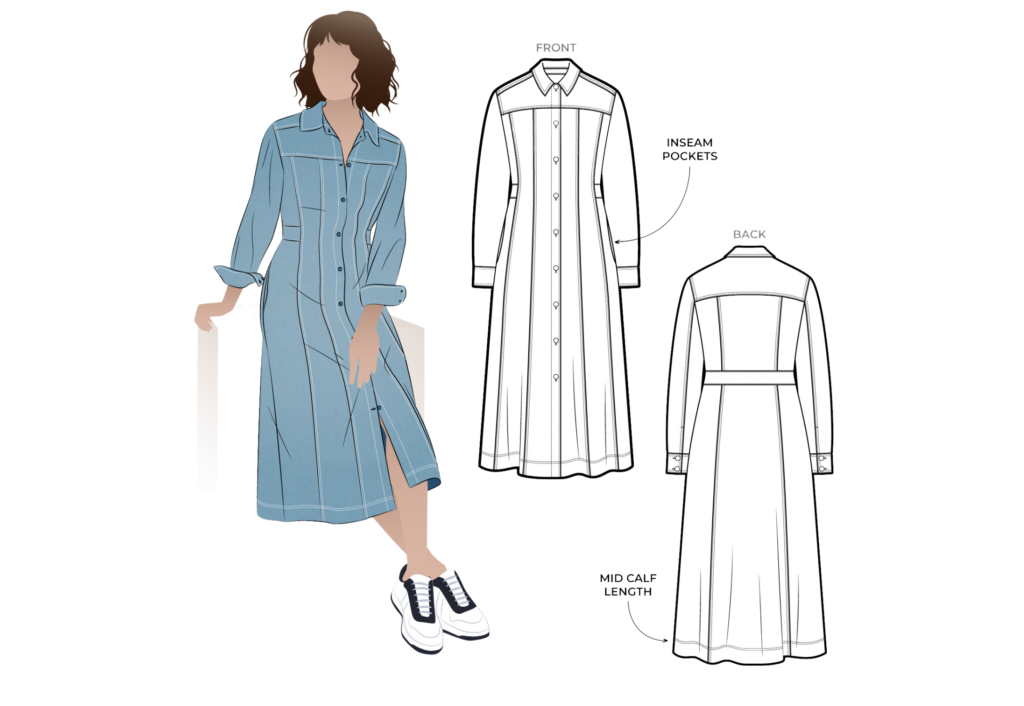
CONSTRUCTION
BODY:
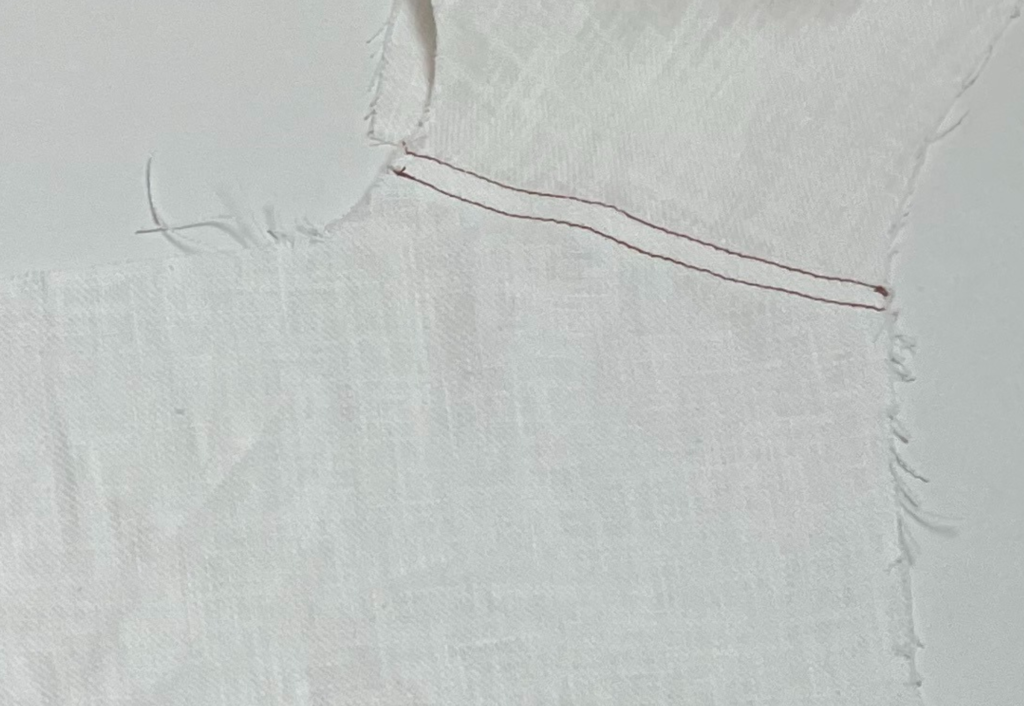
With right sides together sew the front and back shoulder seams. Overlock/serge the edges and press towards the back.
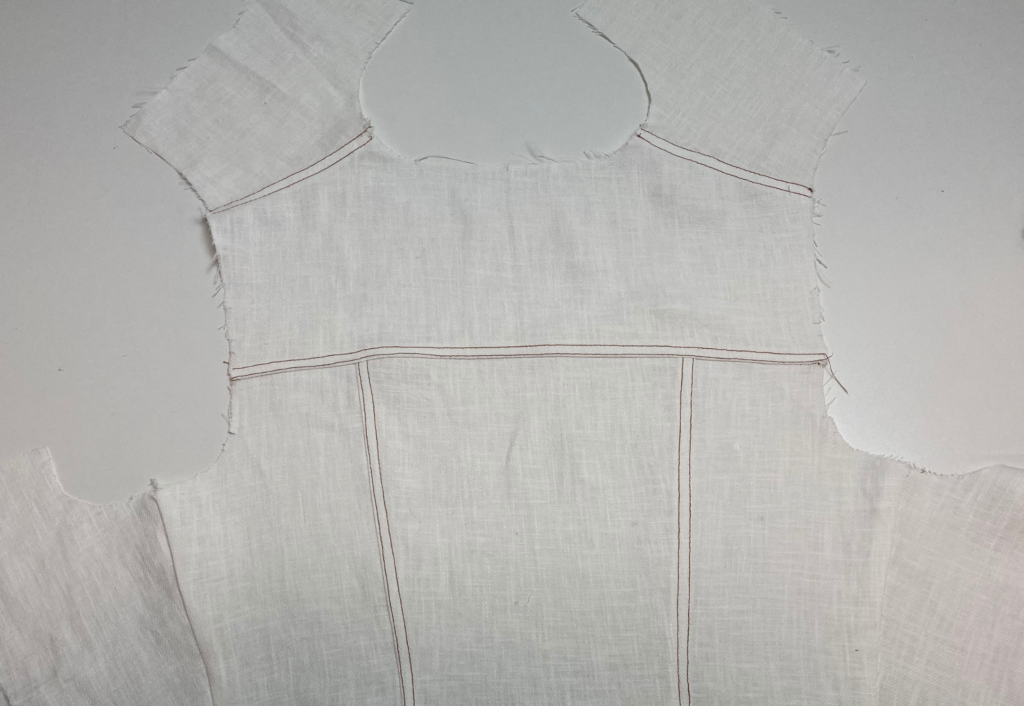
With right sides together sew the centre back CB Bodice, Side Back and Side Front Bodice seams. Overlock/serge the edges and press towards the CB.
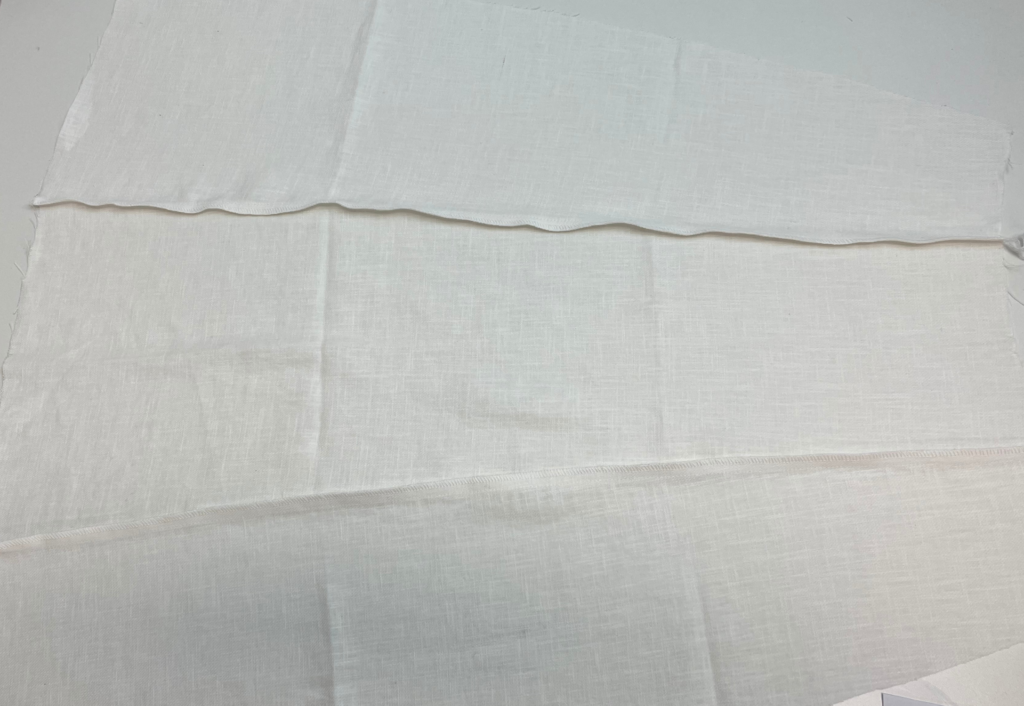
Repeat for CB Skirt and Side Back Skirt panels.
With right sides together sew the Centre Front and Mid Front panel together. Overlock/serge the edges and press towards the CF.
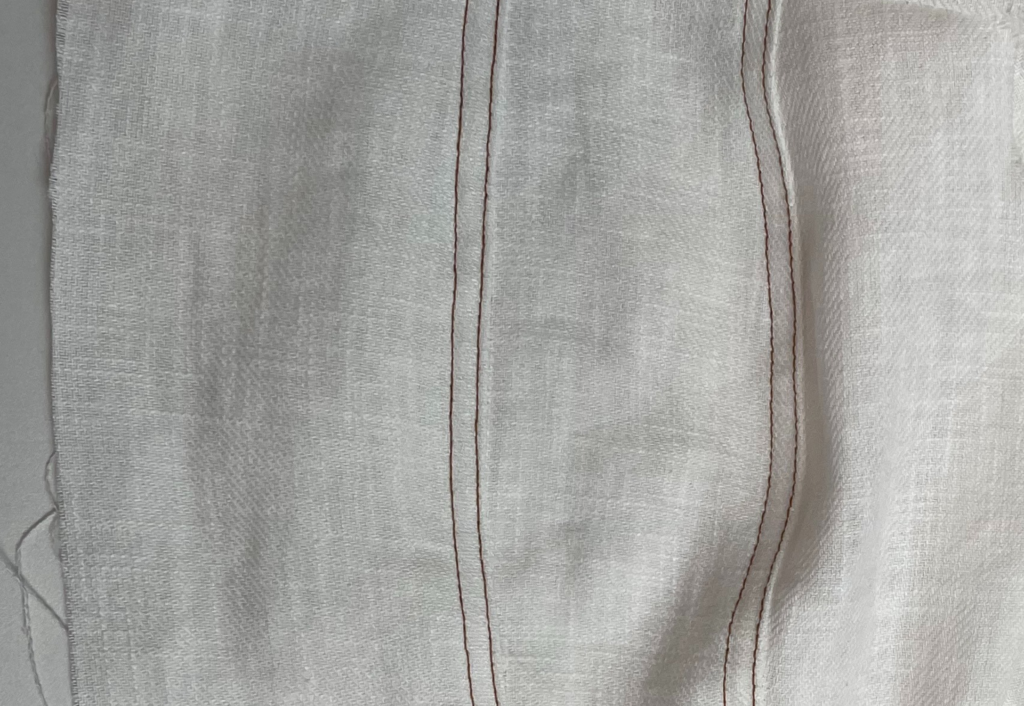
Topstitch all the seams you have sewn so far with one or 2 rows as preferred, except for the side seam. Keep the seam in the direction of pressing.
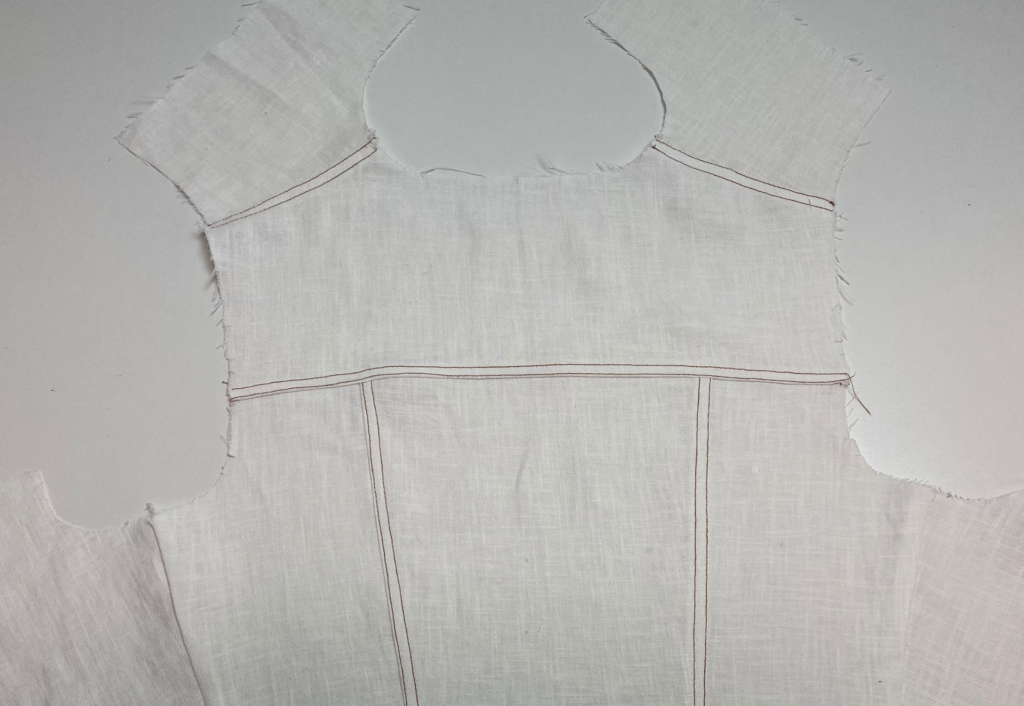
With right sides together sew the Back Yoke seam to the back body, overlock/serge and press up. Topstitch with one or 2 rows as preferred.
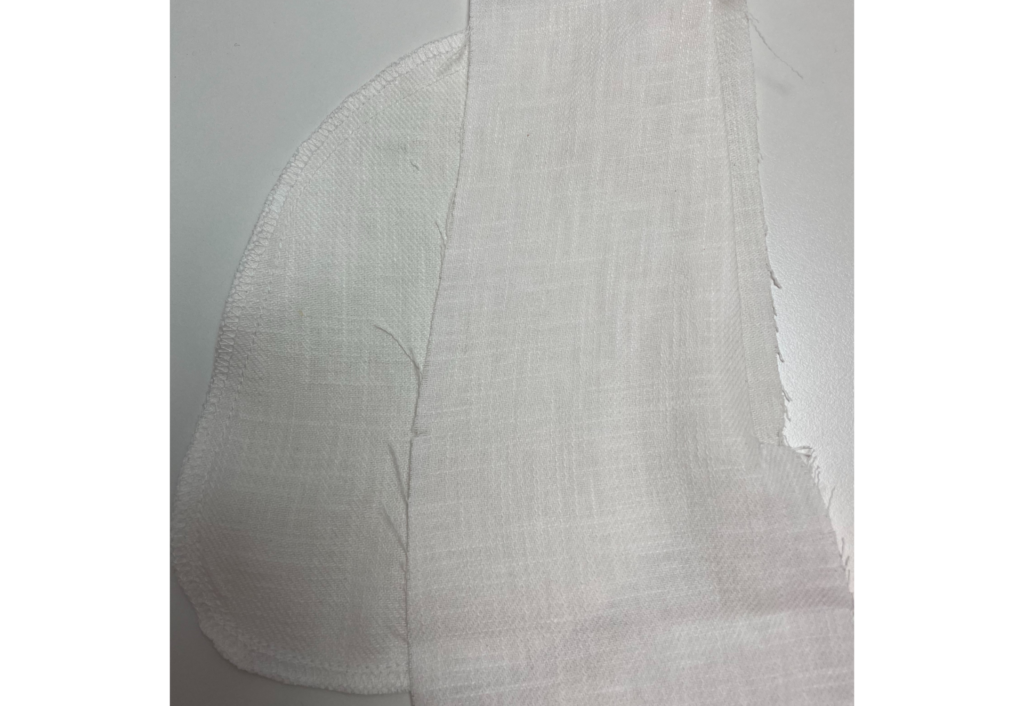
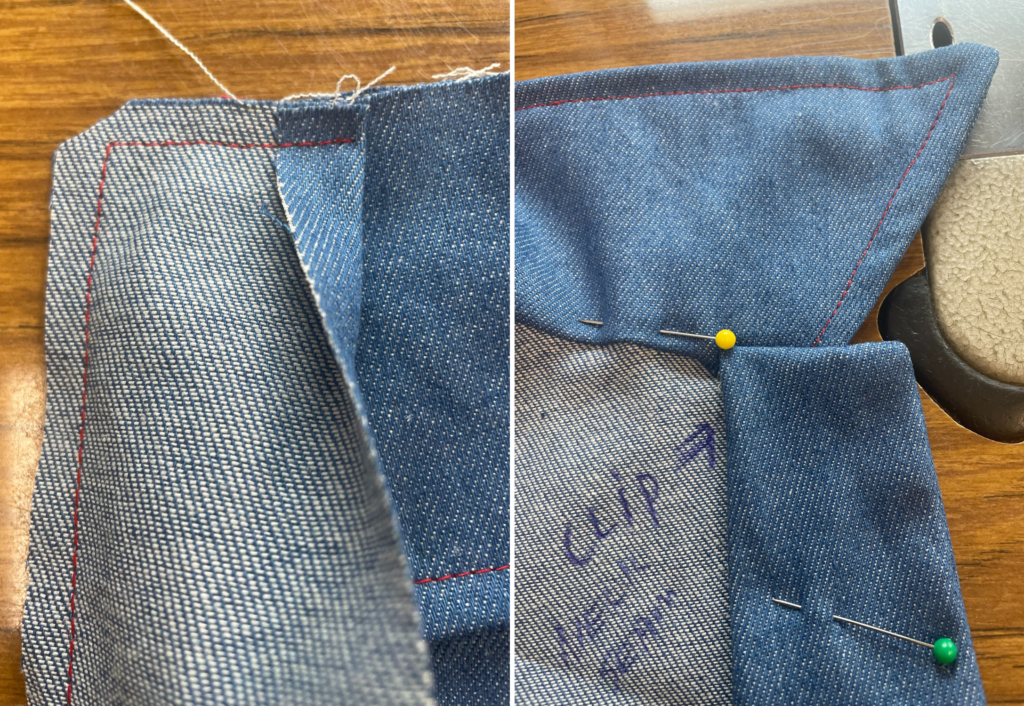
With right sides together, sew one set of the Pocket Bags to the front side seam along the pocket opening (A). Clip the seam at the notches, fold over the pocket bag, press and understitch close to the seam on the side of the pocket.
With right sides together lay another pocket bag on top and stitch the round outer edges together. Leave the straight sections that join to the side seams. Overlock/serge the edges.
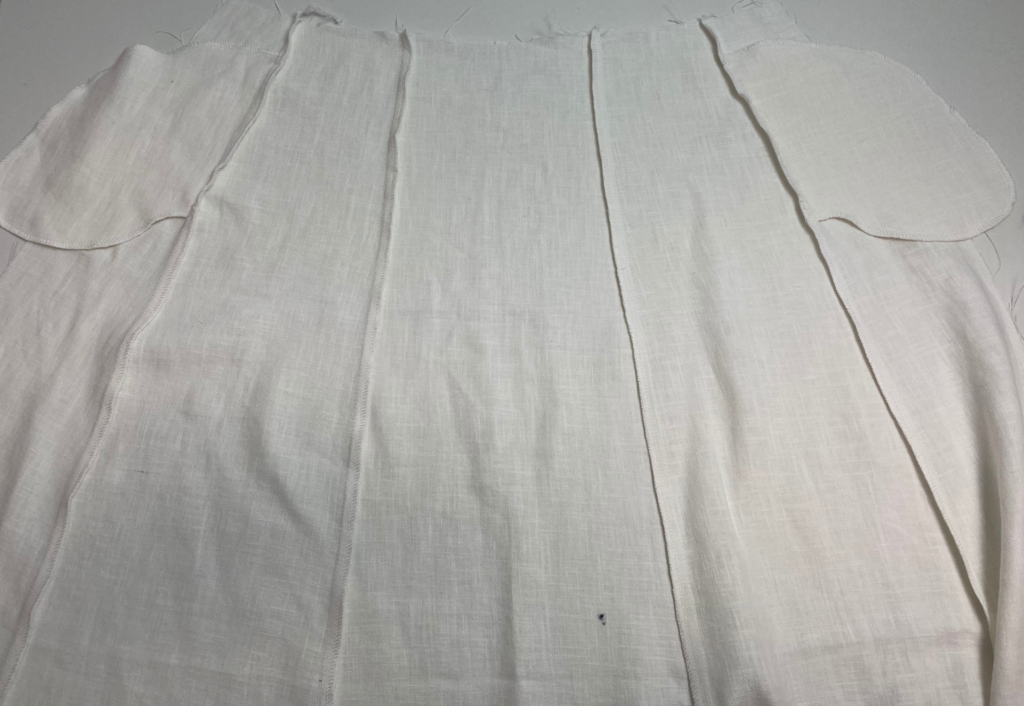
With right sides together sew the Skirt Side seams, taking care not to catch the pocket opening. Overlock/serge and press towards the back.
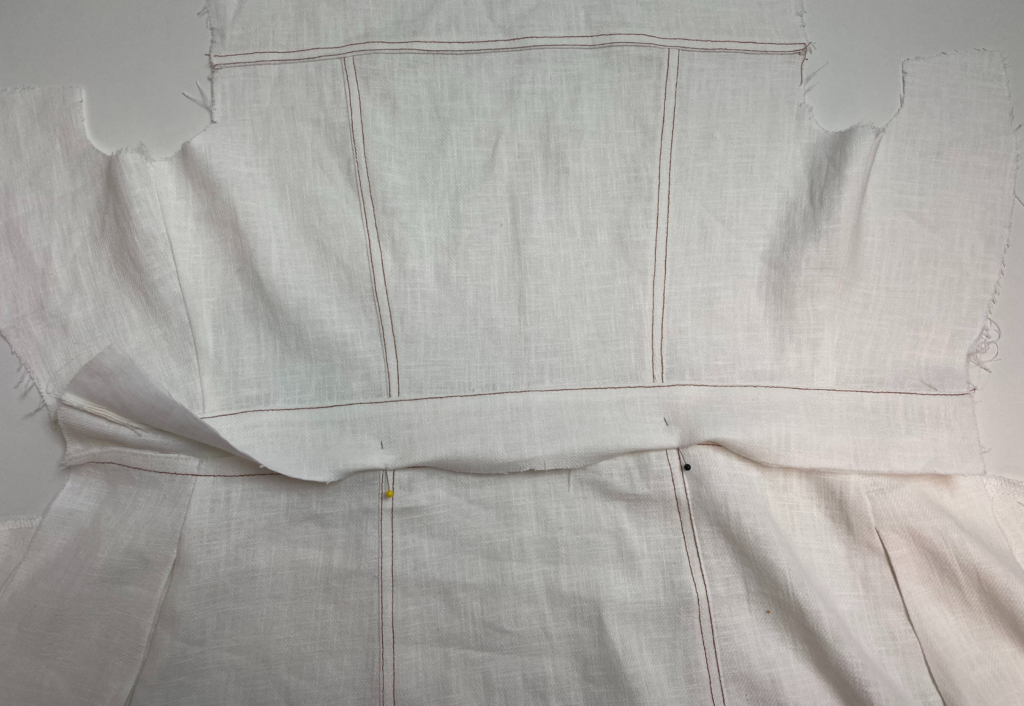
Sandwich the bodice waistline with the two layers of Waistband panel. Stitch together, fold over and press. Edge stitch the seam on the waistband.
Sew the inner waistband to the wrong side of the skirt. Press the seam upwards. Press the seam allowance of the outer waistband upwards and sandwich the skirt in between both bands, edge stitch from the outside (use your topstitching thread).
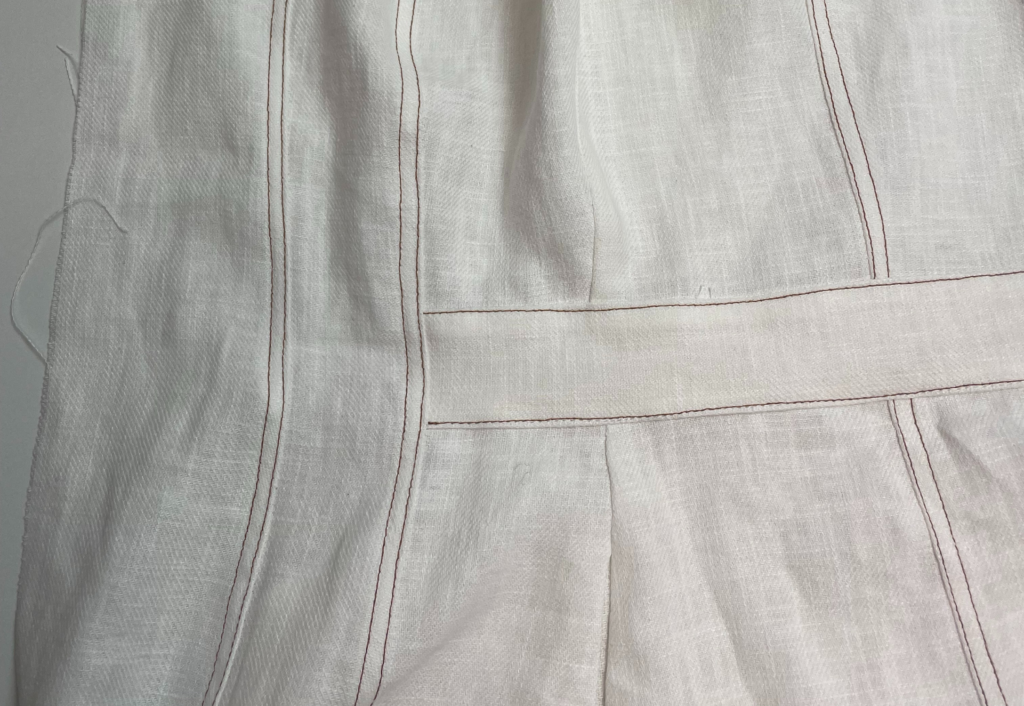
With right sides together sew the Front Mid panel to the Front Side panels matching waistband to notches, overlock/serge the seam and press towards the CF, finish with twin needle topstitch.
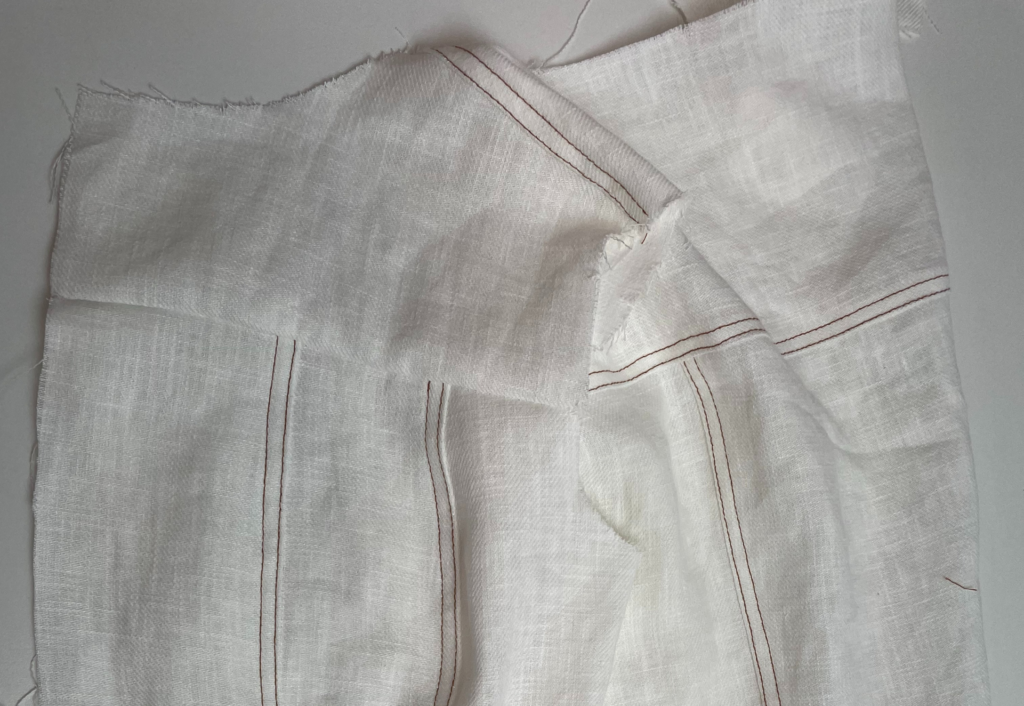
With right sides facing sew the front yoke to the front, overlock/serge and press the seams up. Finish with a twin needle topstitch.
COLLAR:
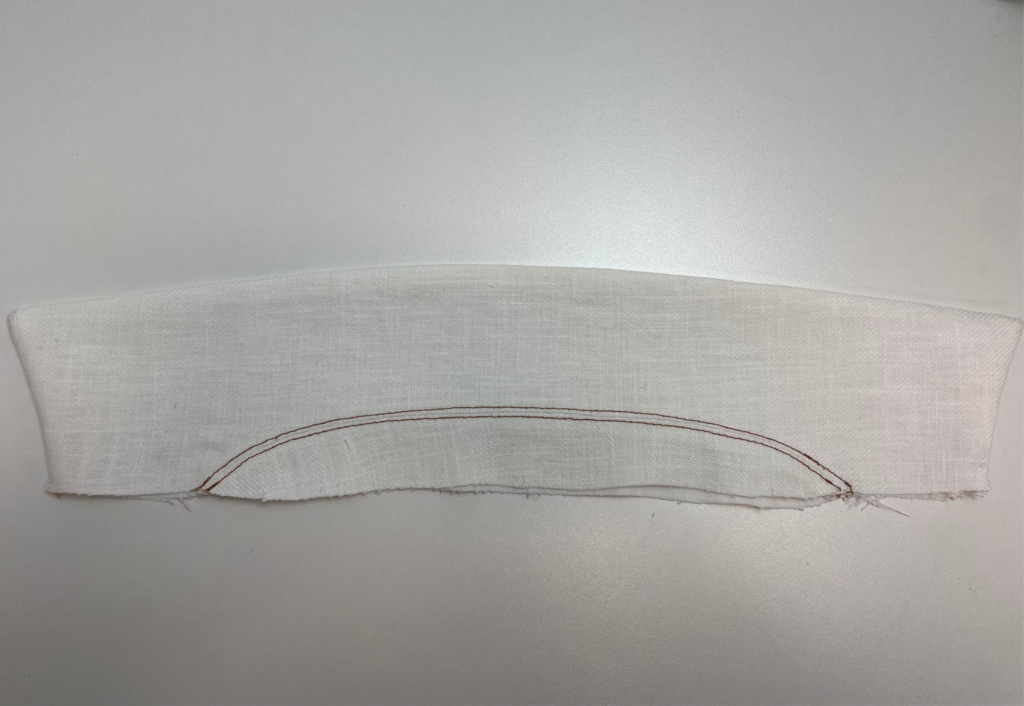
With right sides together sew the inside curved edge of the Collars to the Collar Stands. Press the seams open and edge stitch both sides of the seams.
With right sides together, join the 3 outside edges of the collar keeping the corners pointed (keep the needle down and lift the foot to turn the corner). Clip the seam allowance at the points, turn through and press the edges. Sew a stay stitch to the raw edges of the collar to hold in place.
Sew a twin needle topstitch around the three edges of the turned-out collar.
Sew a stay stitch around the neckline to prevent the neck from stretching. Match seams and notches of the main neckline to the collar. With the right sides together, stitch the under collar to the neckline. Note the stand seam will finish past the shoulder seam and the CF collar edge will finish at the CF notch. Press the neck seam towards the collar.
Press the seam allowance of the front facing to the inside. With right sides facing, sandwich both collar pieces between the front facing and the body. Stitch from the pressed edge of the facing to the corner, with the needle down, turn the corner and sew down the front facing to the hemline. Understitch close to the seam on the side of the facing. Trim the corner of the front facing and turn to the right side.
Clip into the seam allowance of the inner collar and under collar at the edge of the front facing so that you can fold the seam allowance upwards. Turn the seam allowance of the inner collar to the inside covering the stitch line and edge stitch along the inner collar to secure.
With right sides together join side seams of Hem Facings and press open followed by sewing the centre front vertical edge of the hem facing to the lower edge of the front facing.
With right sides together, pin the hem facing to the hem of the body, once in place stitch together. Clip the corners and turn out to the right side and understitch close to the seam on the side of the facing.
Pin the front facing to the body and sew in place with a topstitch.
Press the outer facing seam of the hem facing to the inside followed by pinning the hem facing to the hem of the skirt, once in place stitch down with a topstitch.
Sew a loose stitch around the sleeve head and pull threads lightly to ease in, this makes it easier to sew the sleeve into the armhole.
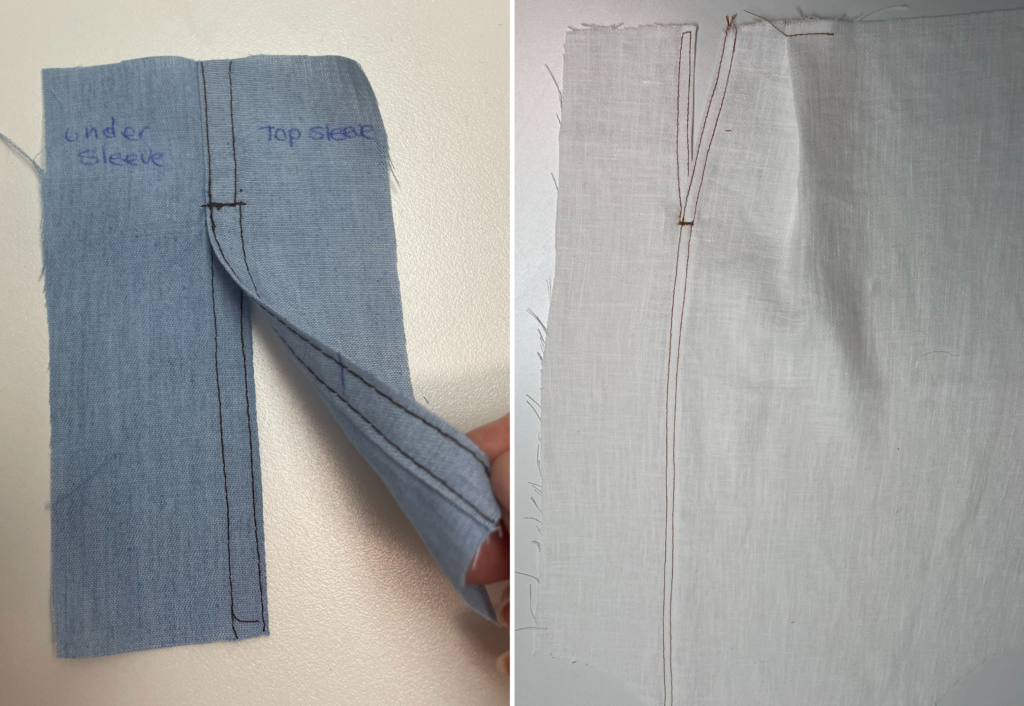
Double turn and press the front and back sleeve split openings. Cut into the notch at the top of the split opening.
With right sides facing sew the seams of the front sleeve and back sleeves above the split together.
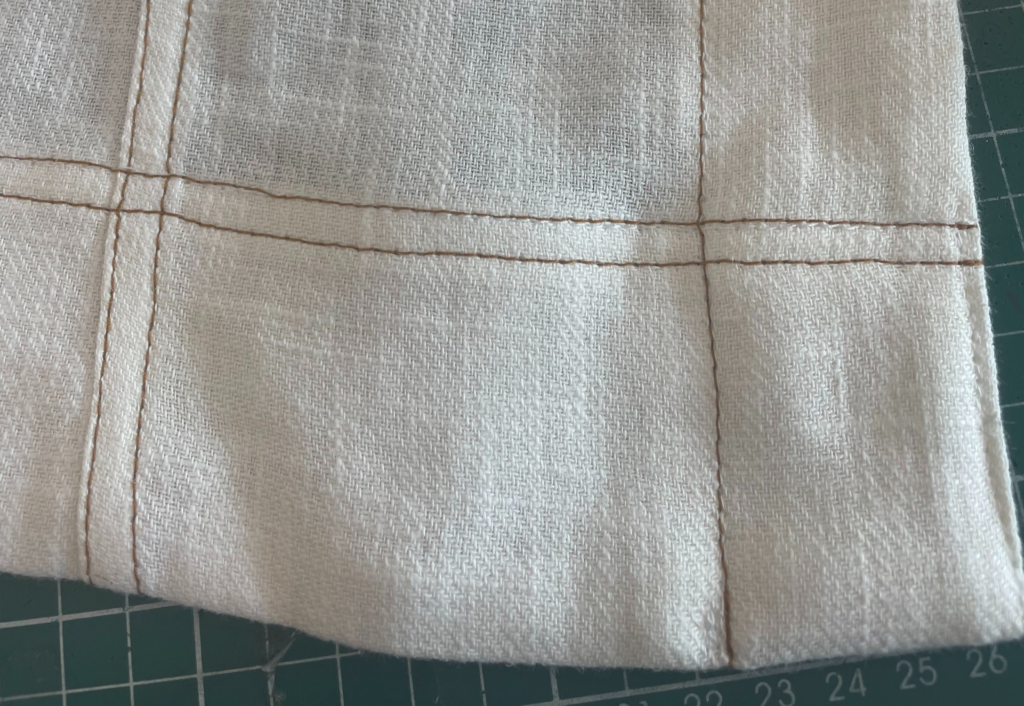
Sew a twin needle topstitch down the split on the front sleeve.
Sew a twin needle topstitch down the split opening on the back sleeve.
Sew a twin needle topstitch down the sleeve seam.
Sew a bar tack across the top of the split.
Fold and tack the sleeve pleat into place.
With the right sides together sew the underarm seams. Overlock/serge and press towards the back.
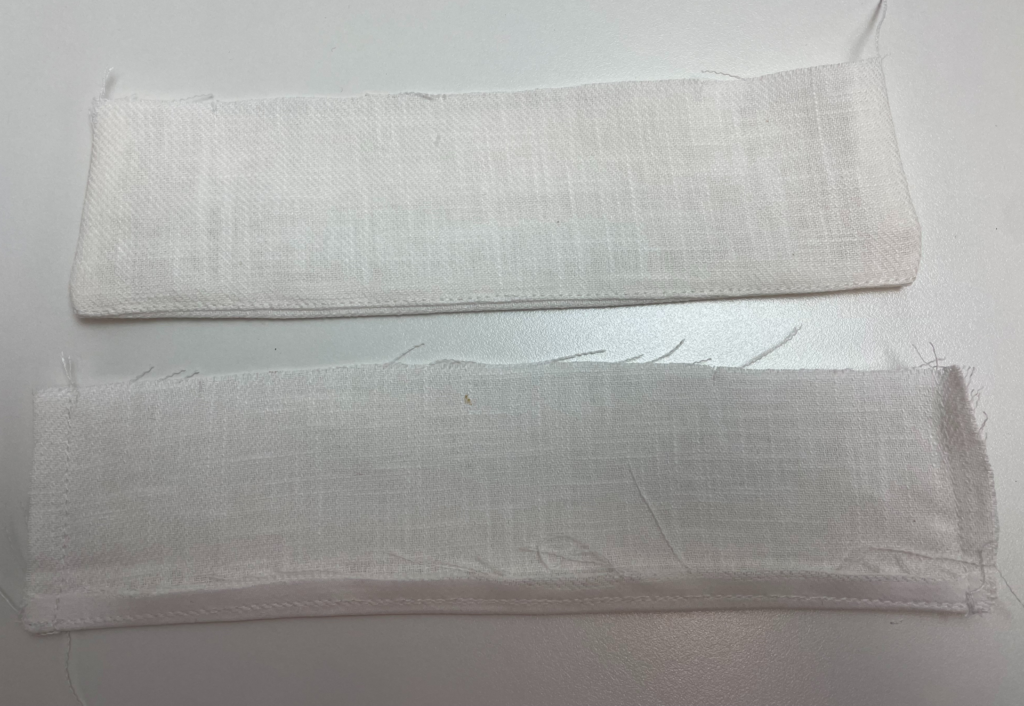
With right sides together sew around two short sides and one long side of the cuff. Keep the corners square. Turn through and press firmly.
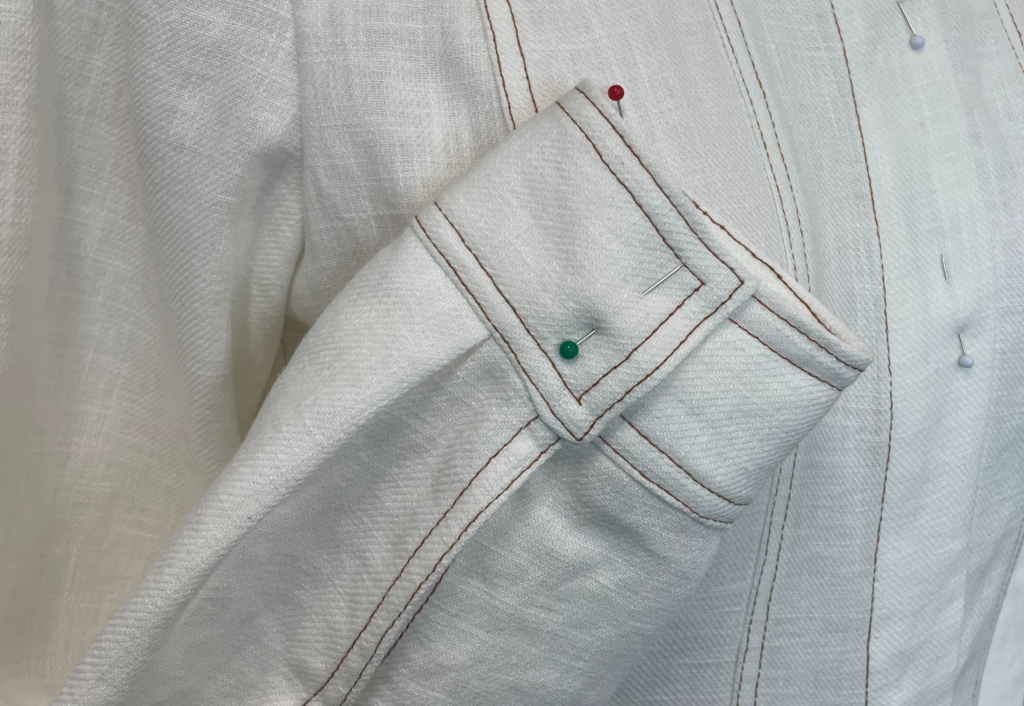
Sew the inner cuff to the sleeve opening. The ends of the cuff will start and finish at the split opening.
Press the seam allowance of the outside cuff under and pin to the sleeve opening. Once in place, twin needle topstitch around all the edges of the cuff, securing the outside cuff to the sleeve in the process.

With right sides together, place the sleeve inside the bodice armhole. Line up the underarms, armhole notches/yoke seams and shoulder point. Sew the sleeve to the armhole and overlock/serge the edge. The sleeve head on either side of shoulder should be eased lightly, not gathered. Press towards the body and topstitch on the yoke sections.
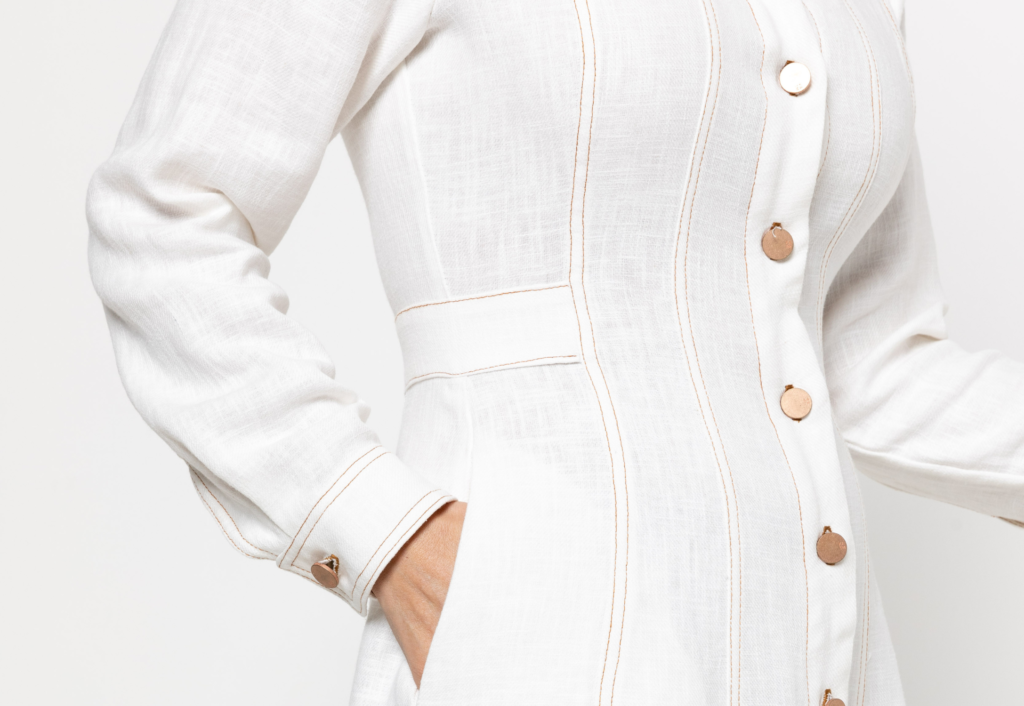
Sew and cut the CF buttonholes on the wearers RHS layer. Check the position and spacing first. Note the top buttonhole should be horizontal. Sew and cut one buttonhole on the top side of each cuff.
Sew the buttons to the left front and to the cuffs to correspond with the buttonholes.
Give the dress a final press!