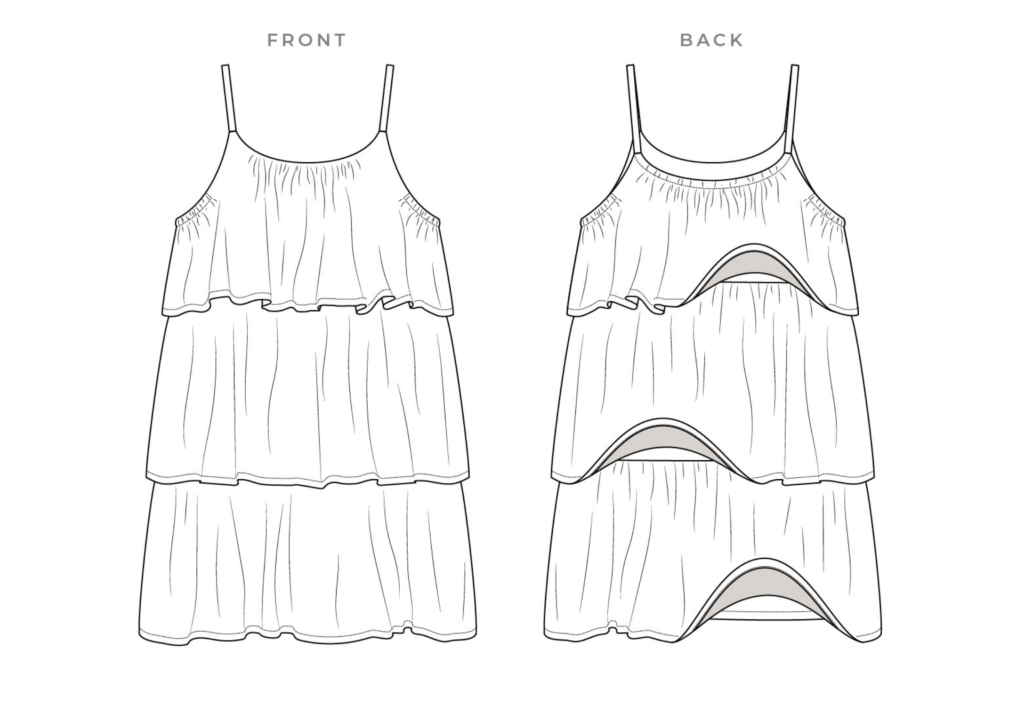
STEP-BY-STEP TUTORIAL on sewing the Wilma Teens Dress
#SAWilmaTeensDress
BODICE & STRAPS:
- With right sides facing sew the front and back bodice lining pieces together, down the side seam. Neaten seam with overlocker/serger and press to the back. Repeat for the main bodice pieces.
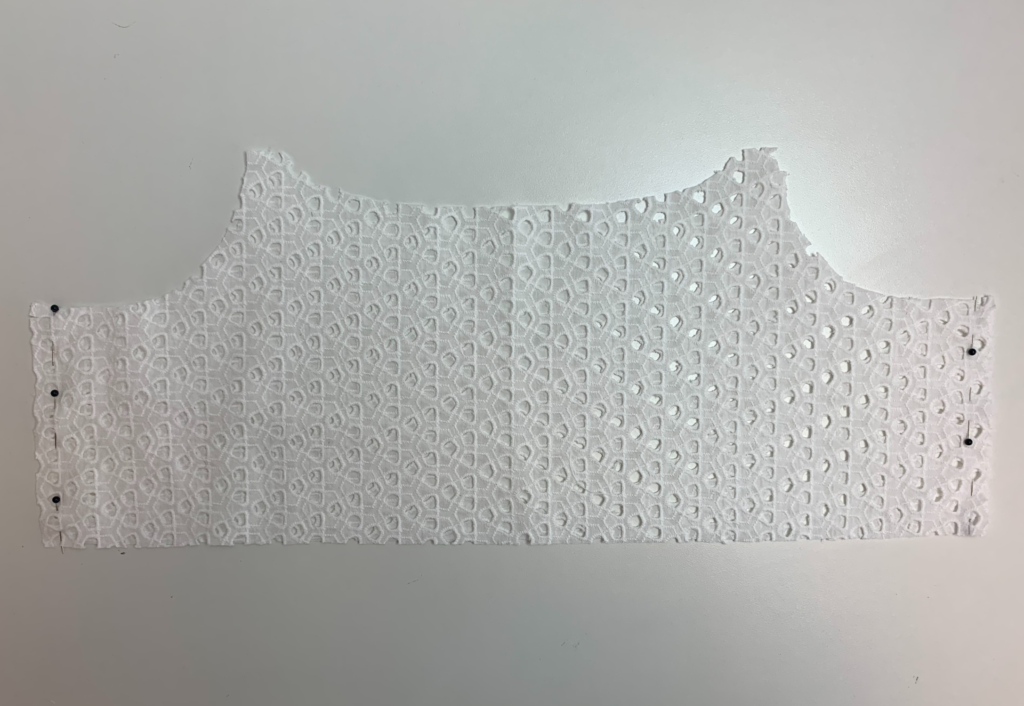
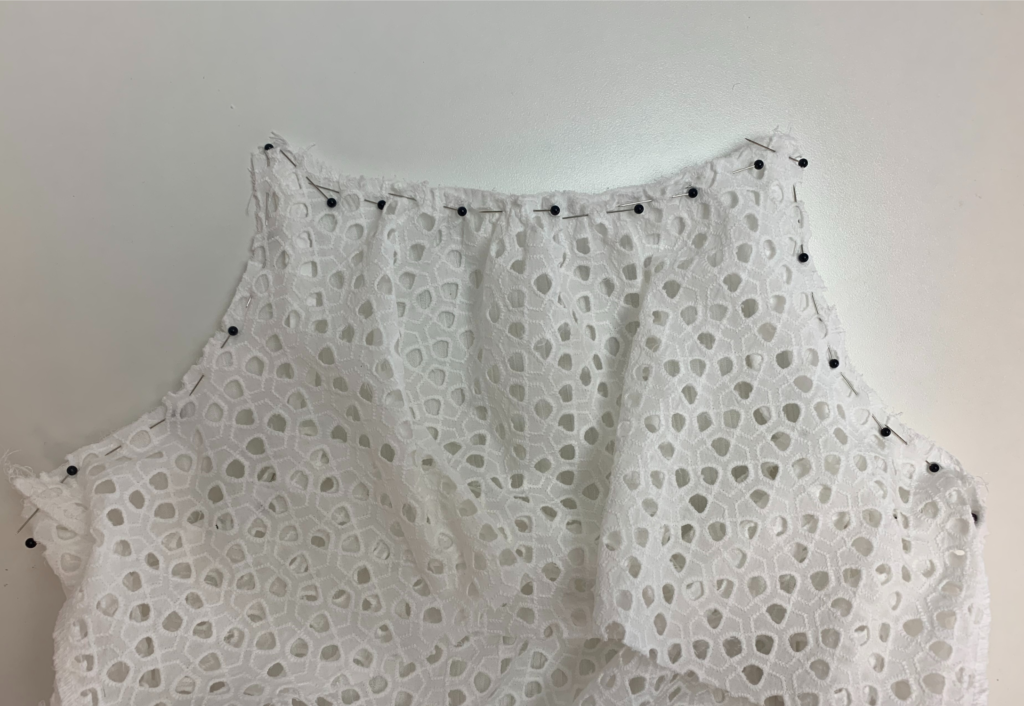
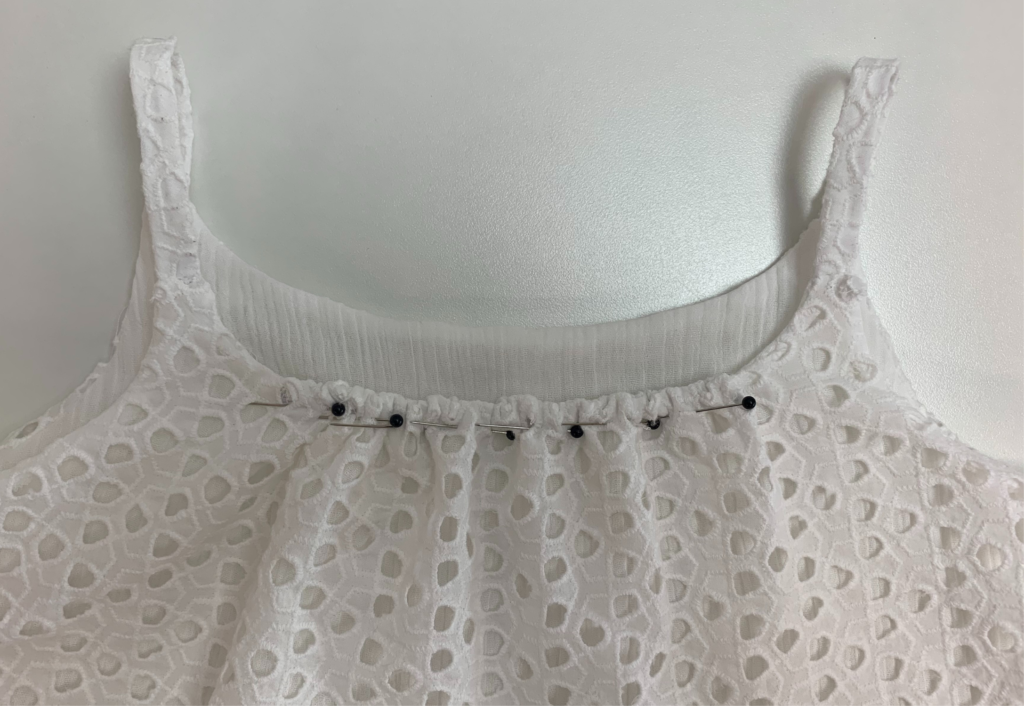
2. Sew two rows of a large gathering stitch to the top of the front bodice piece. Draw in gathering to match the front neckline stabiliser piece, once matching sew the two pieces together, to hold the gathers in place.
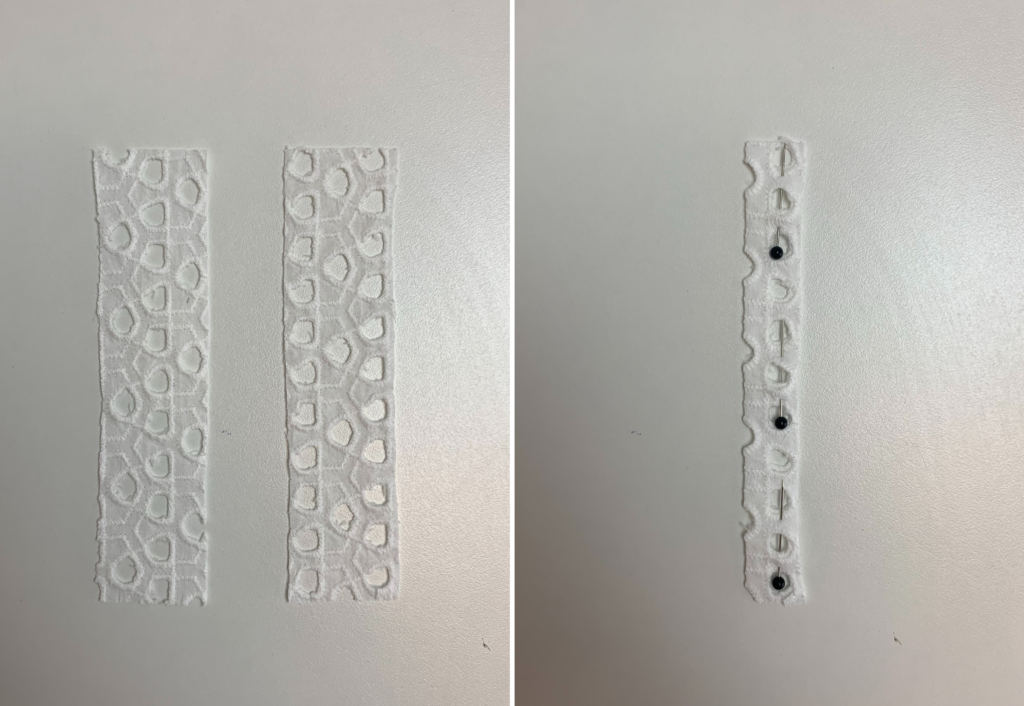
3. With right sides facing fold the strap in half lengthways. Sew down the long edge, turn out and press.
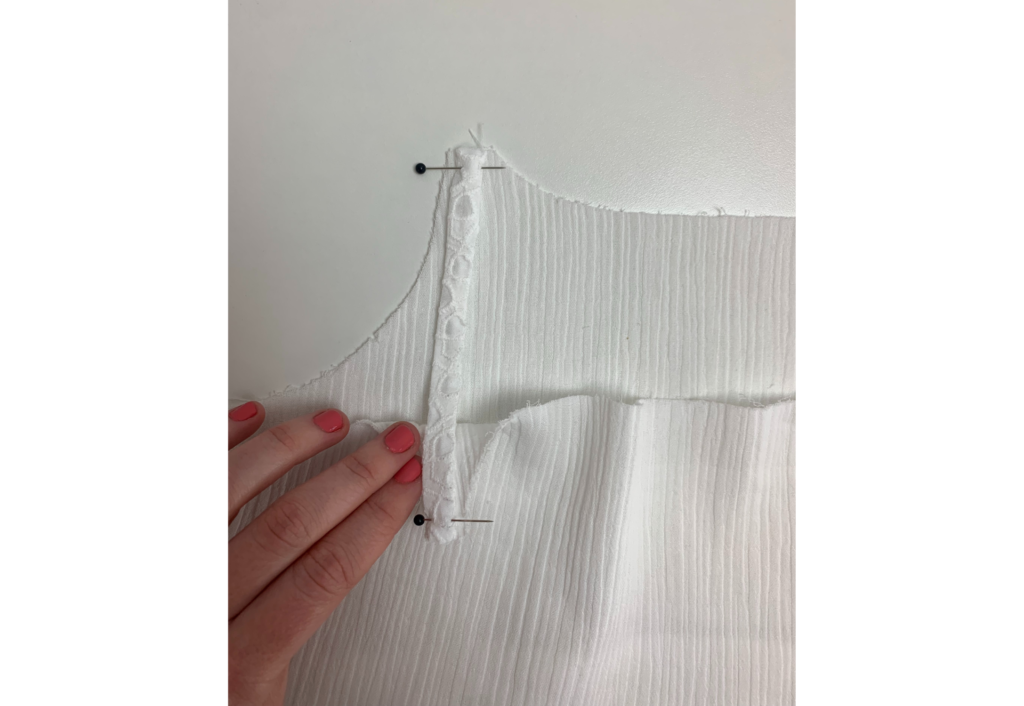
4. With right sides facing place each strap on the lining pieces, where indicated on the pattern, once in place stitch down.
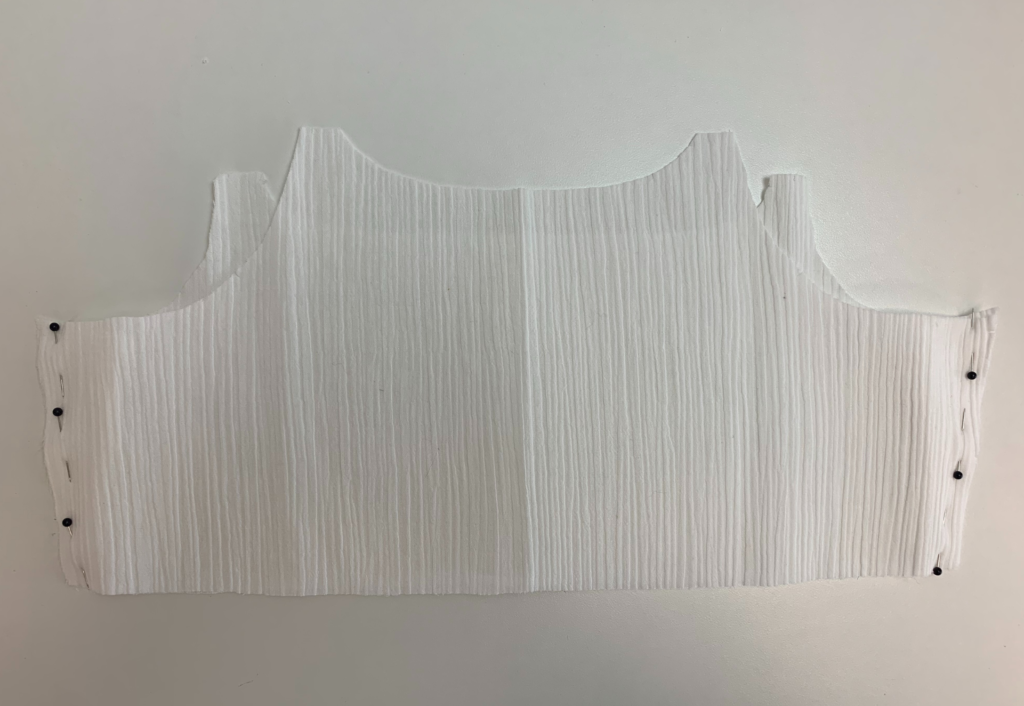
5. With right sides facing pin the main bodice to the lining bodice, matching underarm seams and notches. Once in place sew together all the way around the neckline and armholes. Turn out to the right side and press flat, you may need to trim excess fabric away, where straps have been sewn.
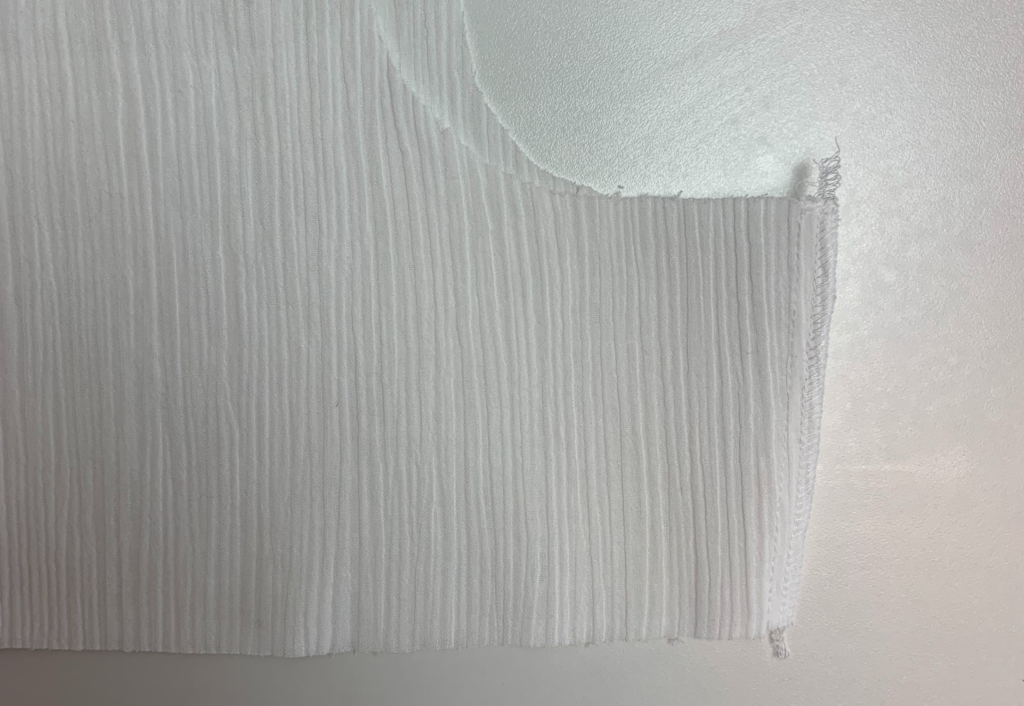
6. Insert the back elastic into the back neckline, where indicated on the pattern. Once in place, stitch to the lining at each end.
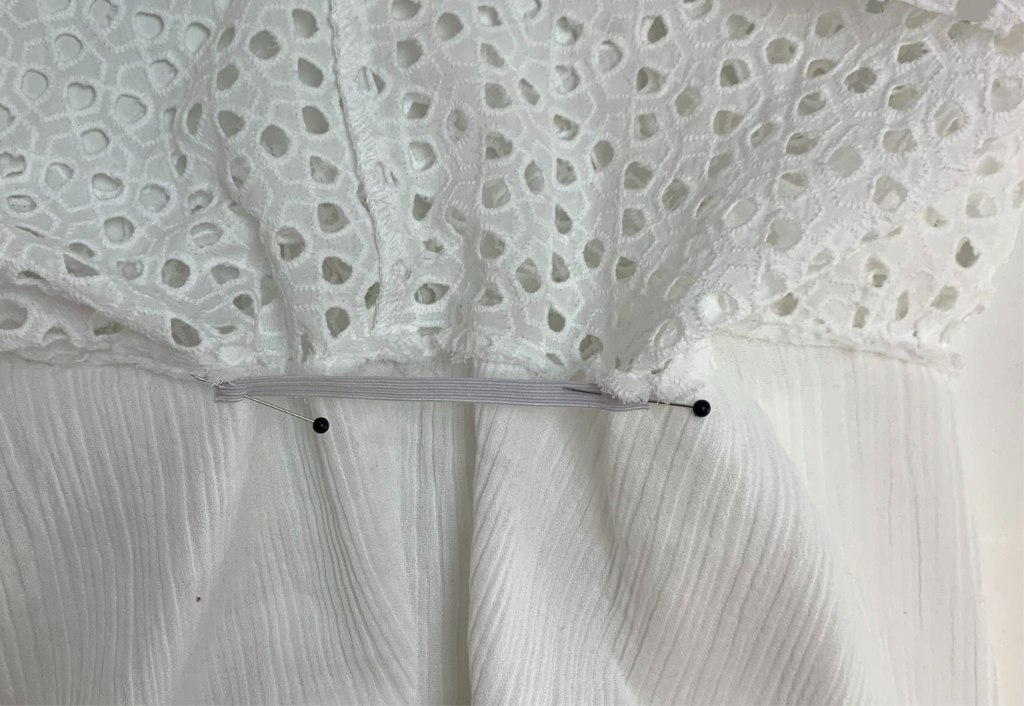
From the right side of the main fabric sew a casing for the elastic to sit in, slightly wider than the elastic. You may need to use a zipper foot for this, and you’ll need to stretch the fabric as you sew through both the main and lining layers.
7. Repeat step 6 for each of the armholes.
TIERS:
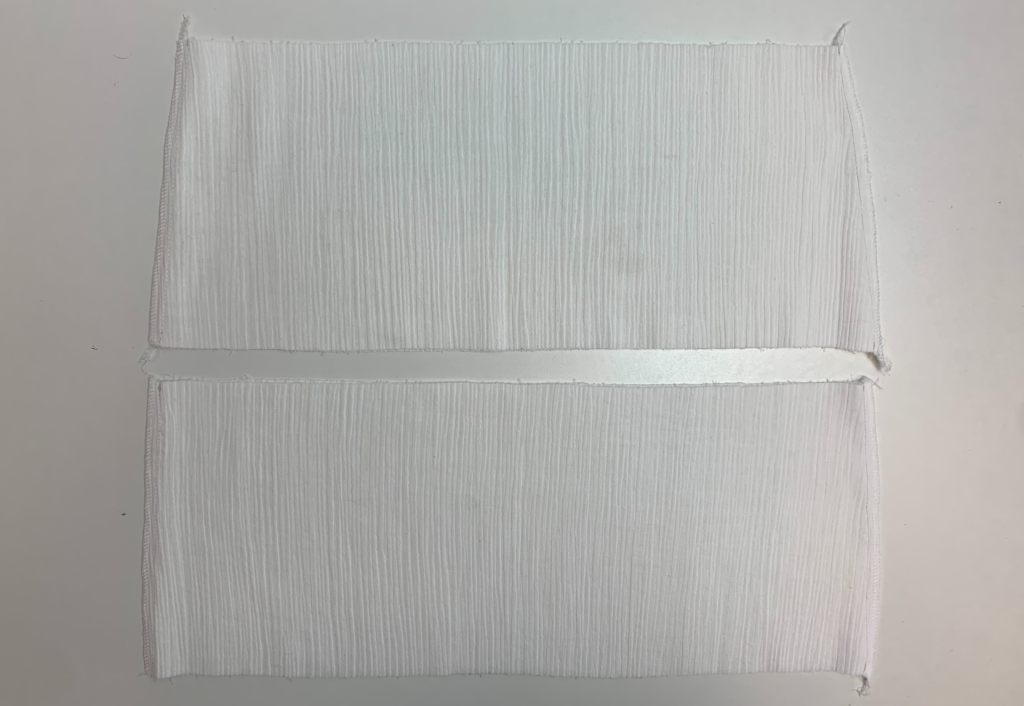
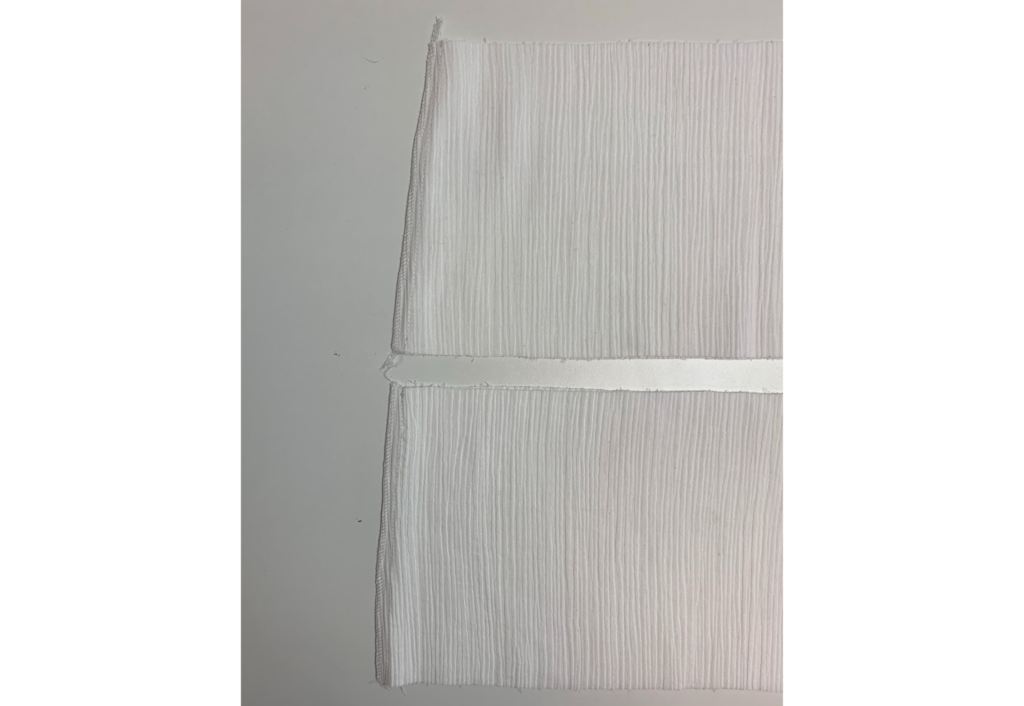
8. With right sides facing sew the lower underskirt pieces together at the side seams. Neaten seam with overlocker/serger and press to the back.
9. With right sides facing sew the middle underskirt pieces together at the side seams. Neaten seam with overlocker/serger and press to the back.
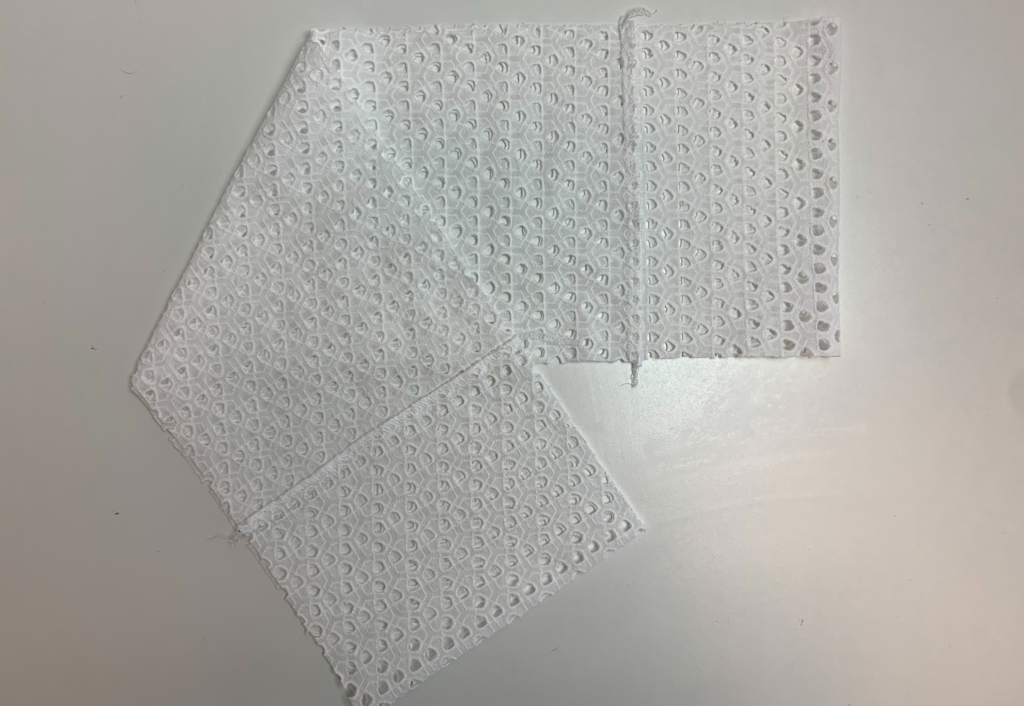
10. Repeat steps 8 and 9 for the middle and lower tiers of the main fabric.
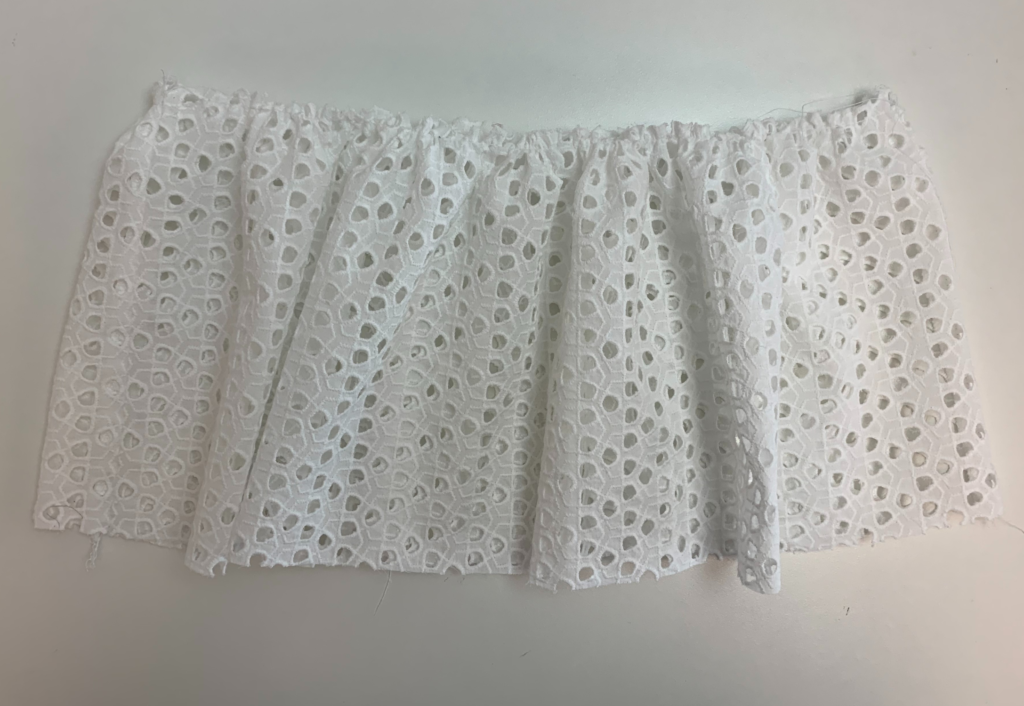
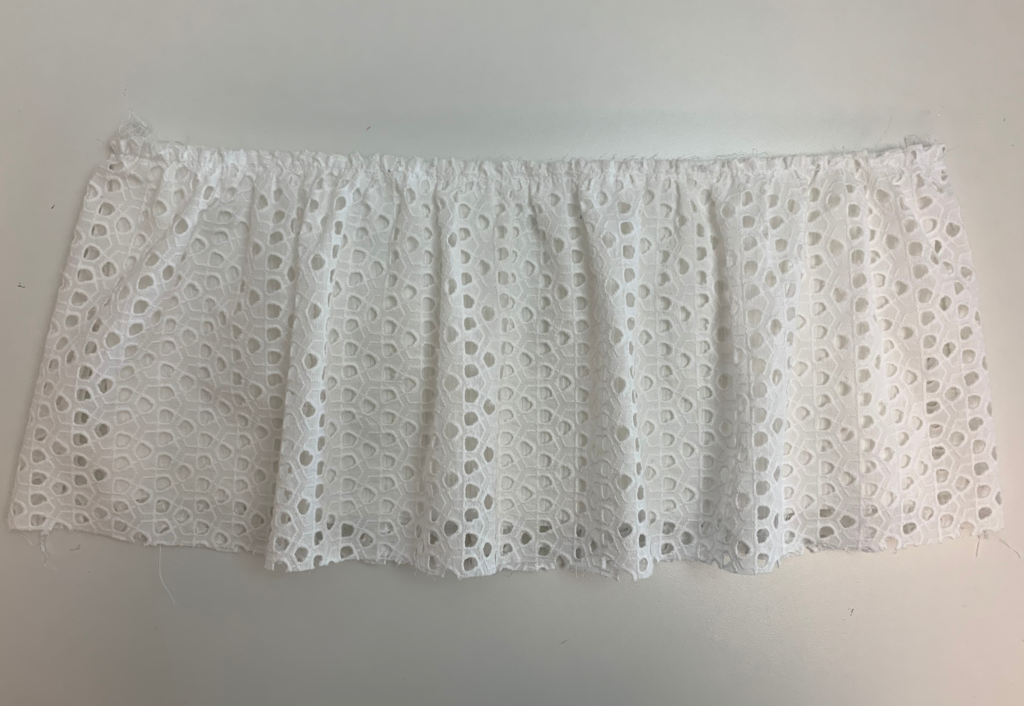
11. Sew two rows of a large gathering stitch to the top of the lower and middle tiers. Draw in gathering stitches to match the corresponding lining pieces.
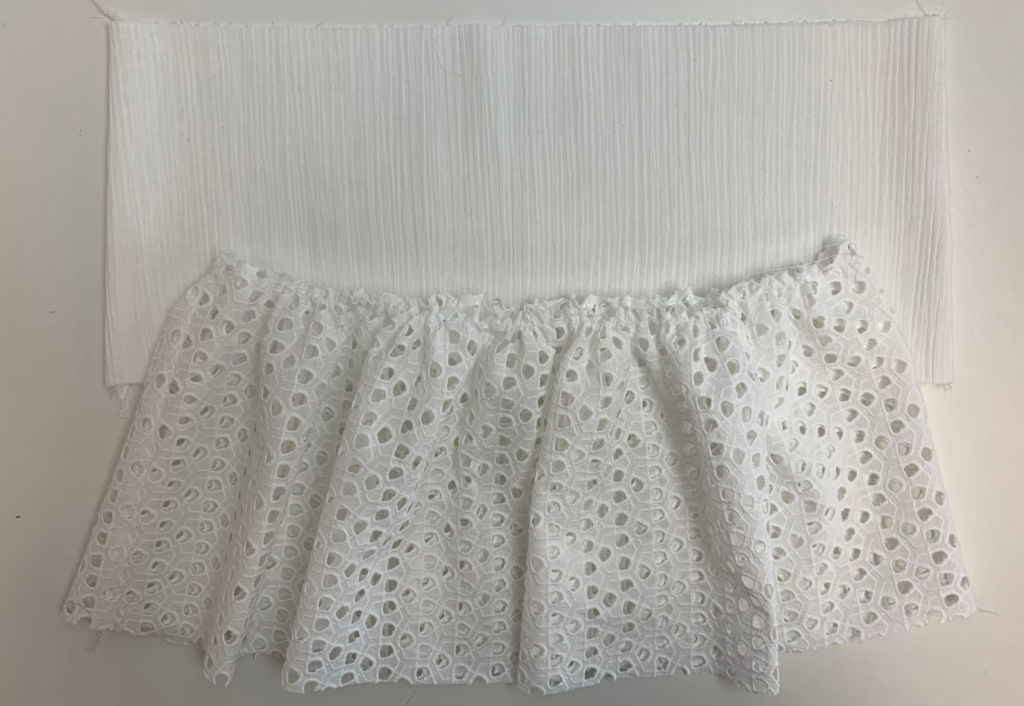
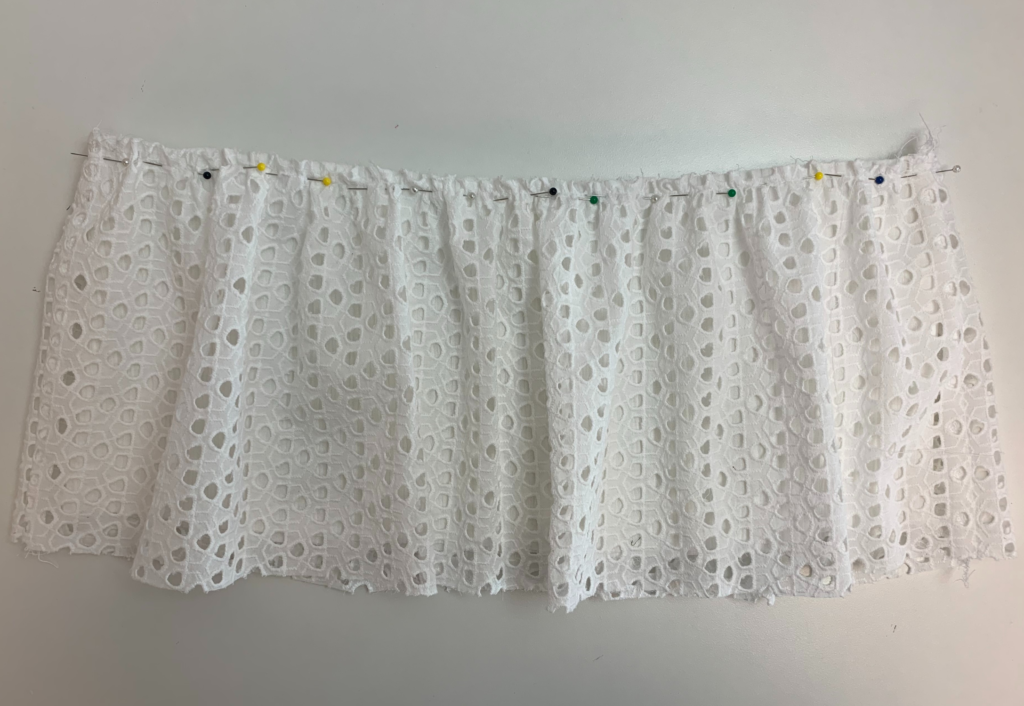
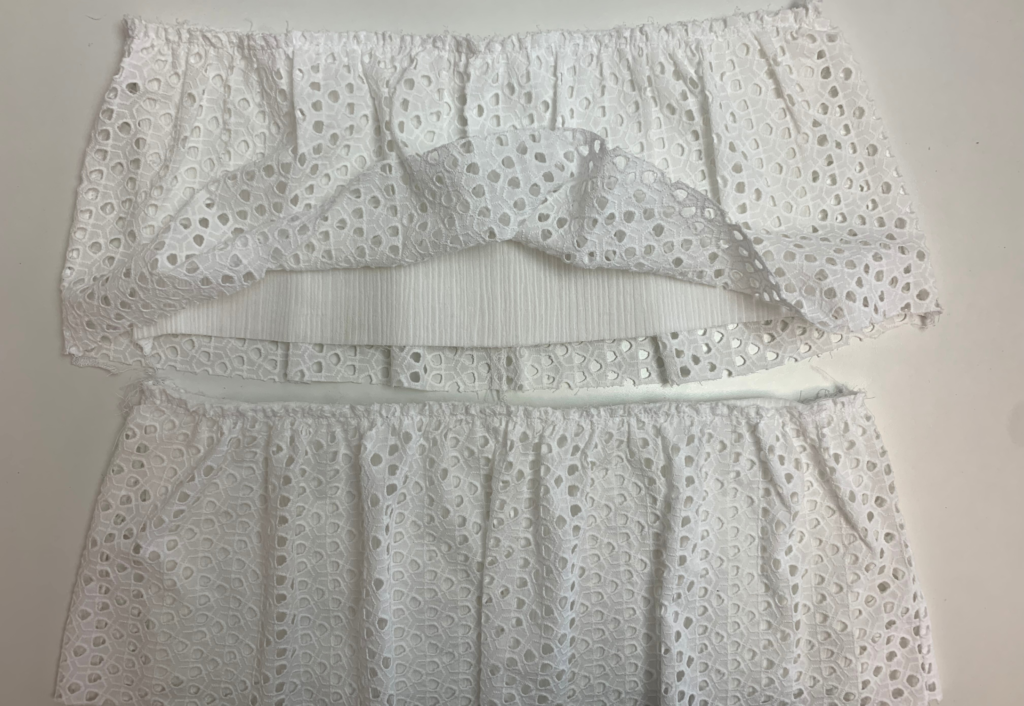
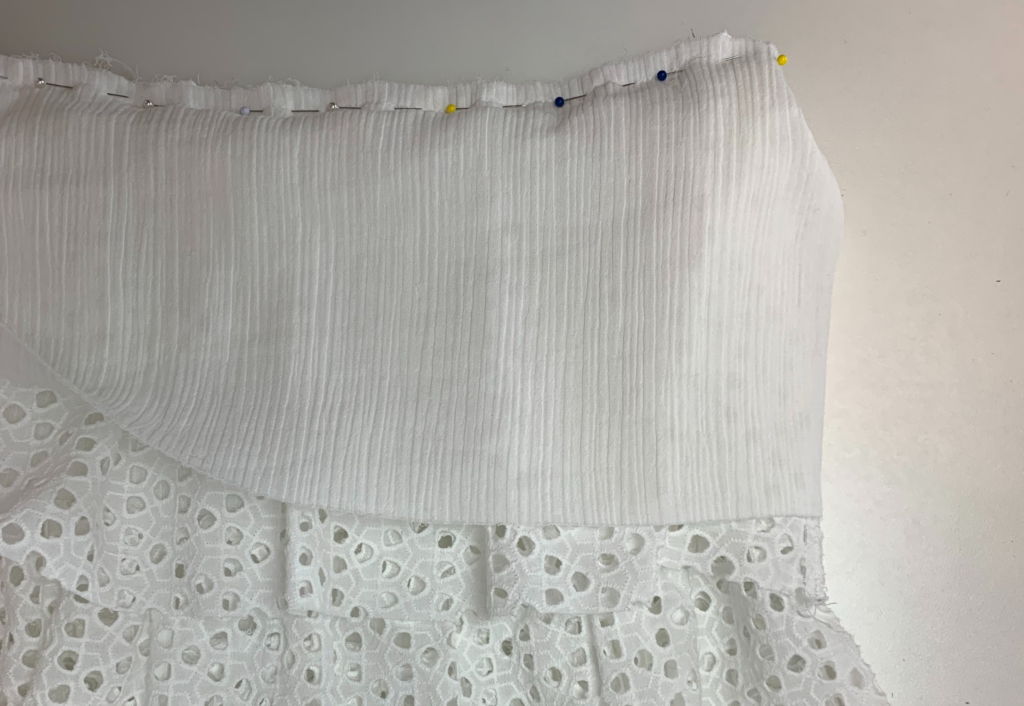
12. Place the lower tier on top of the lower underskirt and stay stitch together around the top. Repeat for the middle tier.
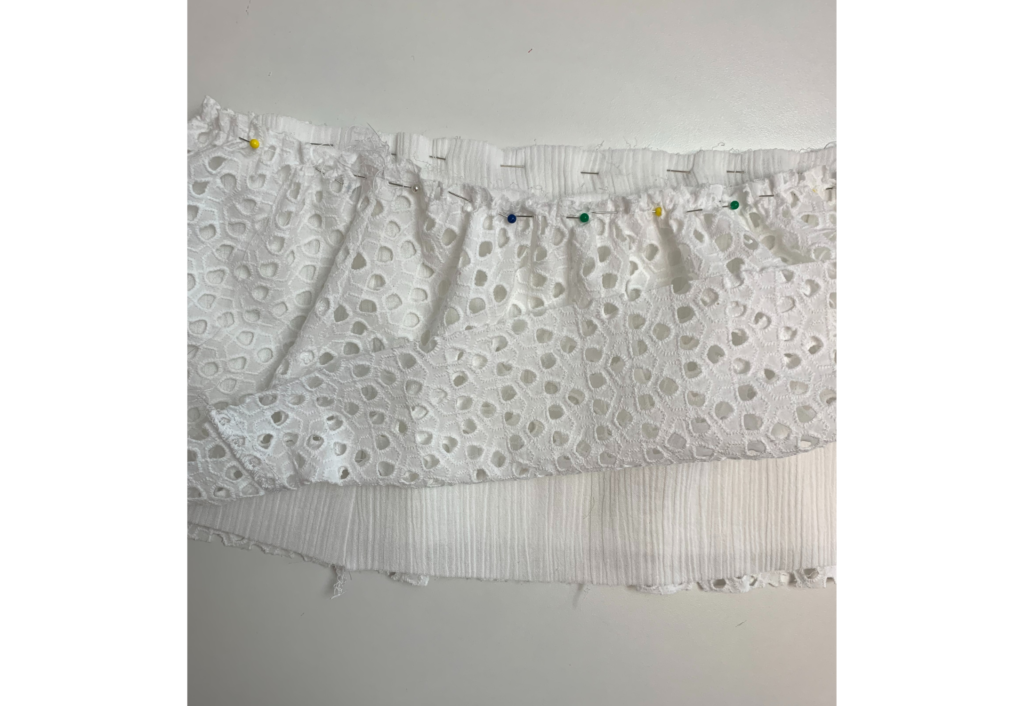
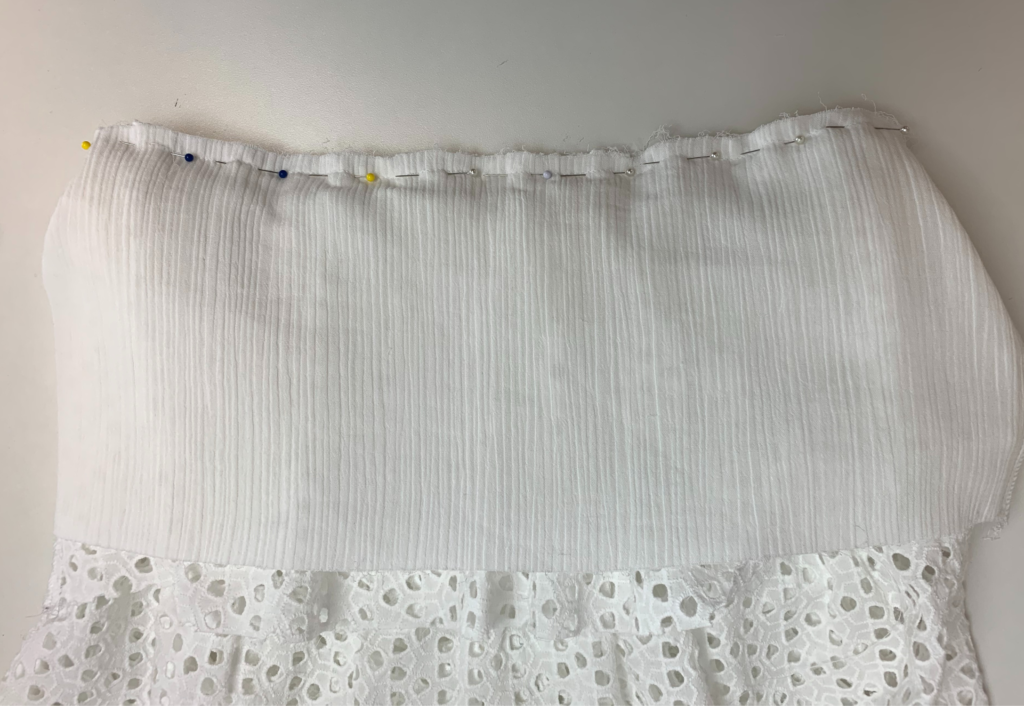
13. With right sides facing attach the lower tiers to the bottom of the middle underskirt. Neaten with overlocker/serger and press to the middle underskirt.
14. With right sides facing attach the middle tiers to the bottom of the lining bodice. Neaten with overlocker/serger and press towards the top.
15. Double turn the hem of each tier the inside, to finish. Or if desired neaten with overlocker/serger and topstitch.
16. Lightly press your new dress.