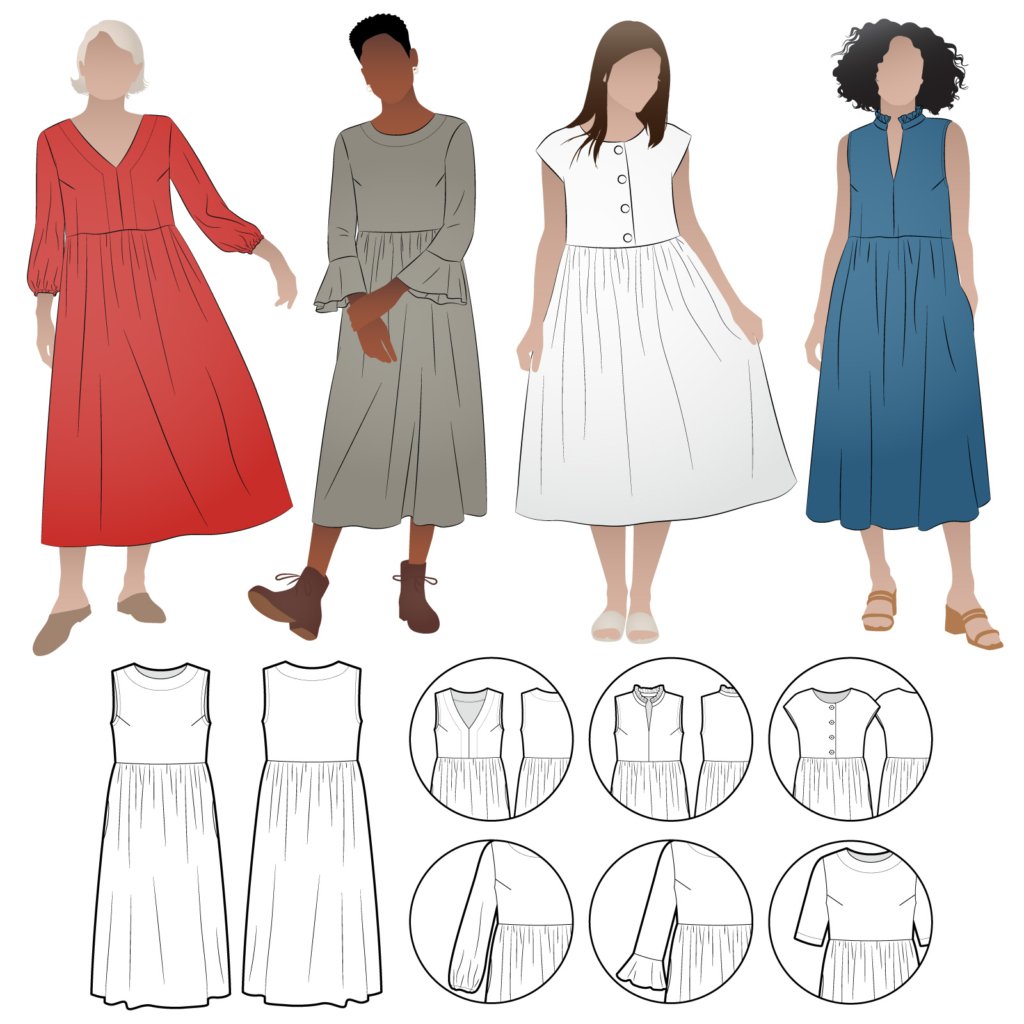
BODICES
BODICE A:
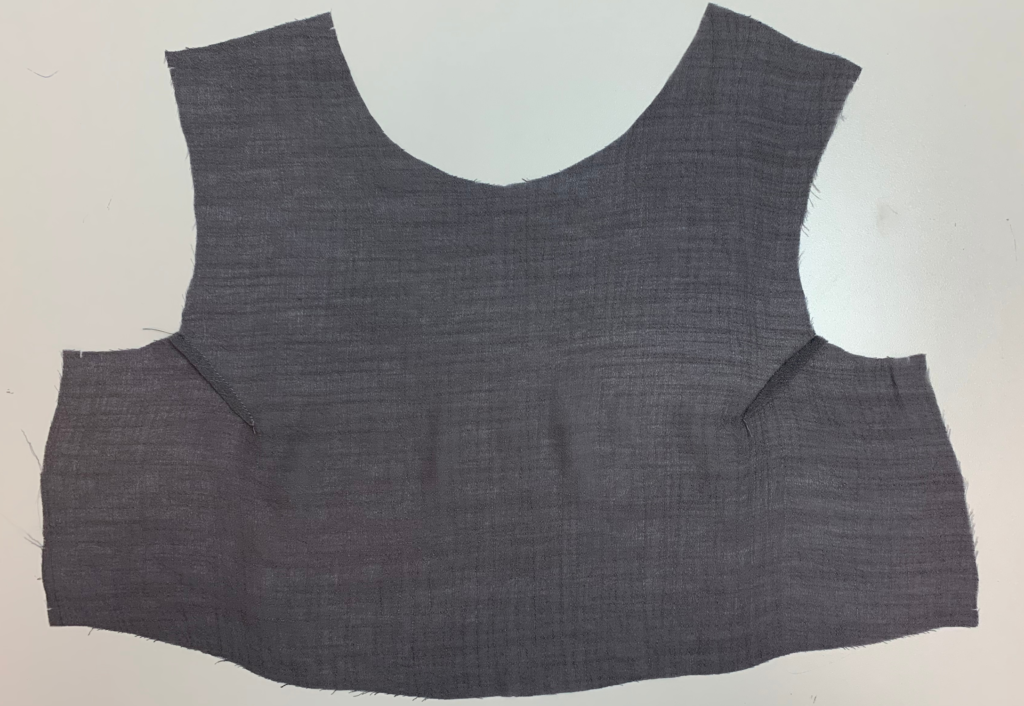
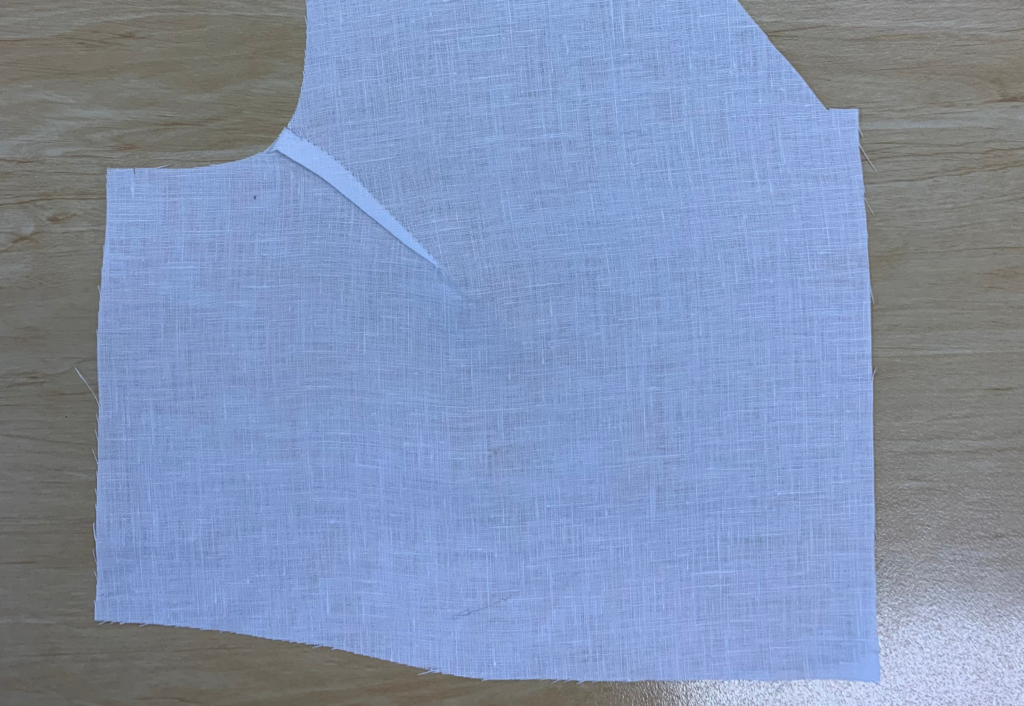
Sew the bust darts and press down.
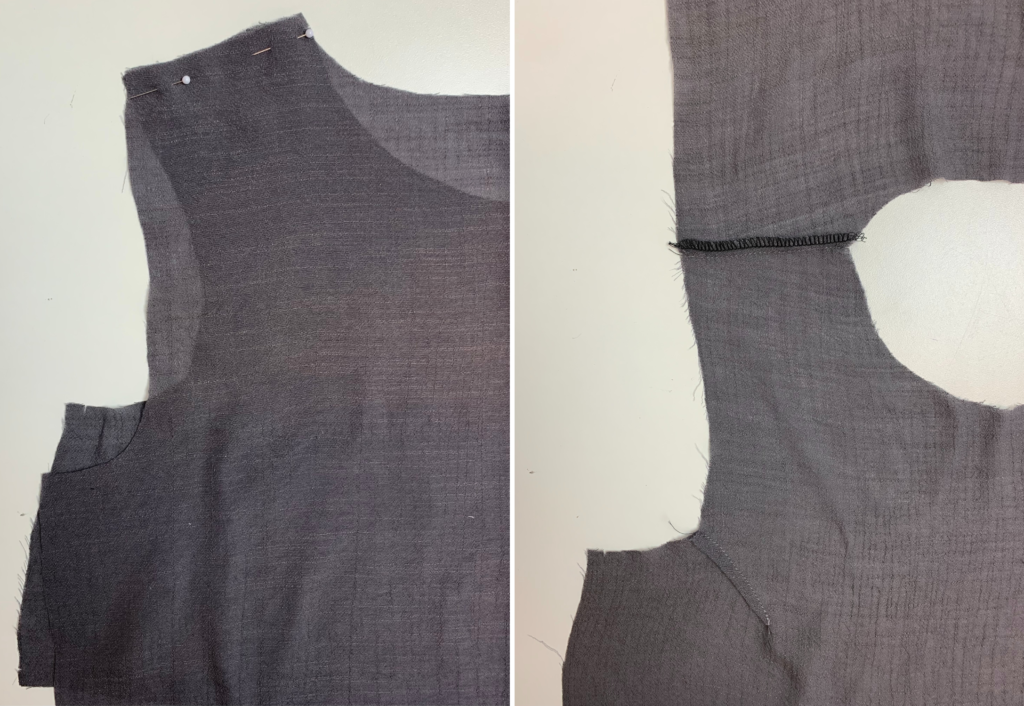
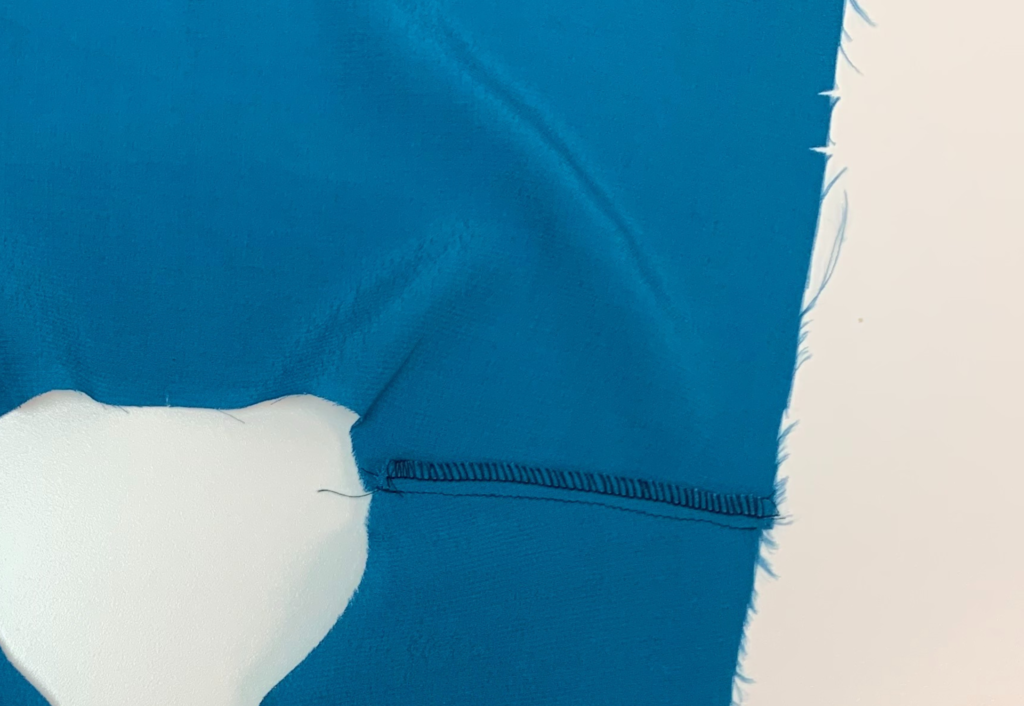
With right sides together sew the front and back shoulder seams together overlock/serge and press toward the back.
With right sides together sew the front and back shoulder seams of the fused facing pieces together and press the seams open.
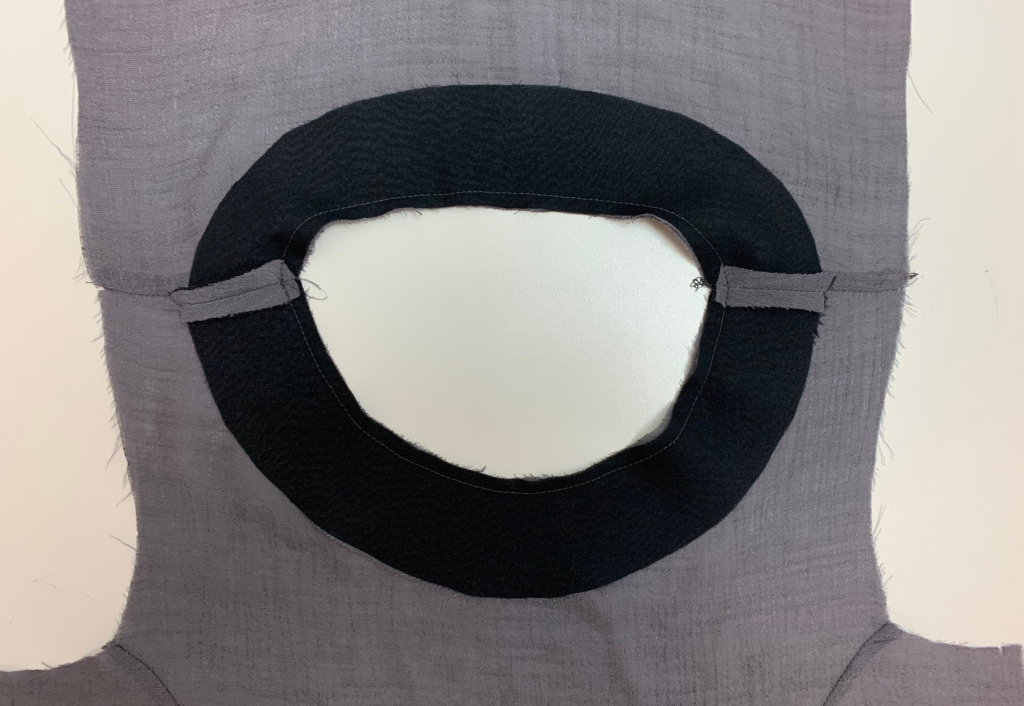
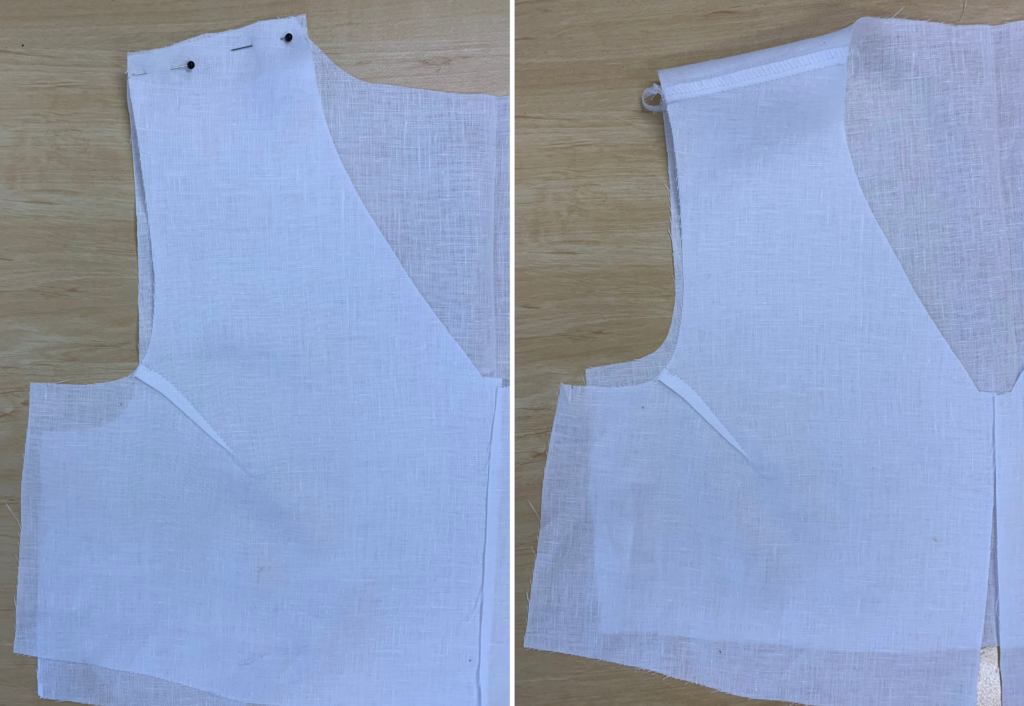
With right sides together pin the neck facing to the neckline of the bodice, once in place stitch on.
Understitch close to the seam on the side of the facing.
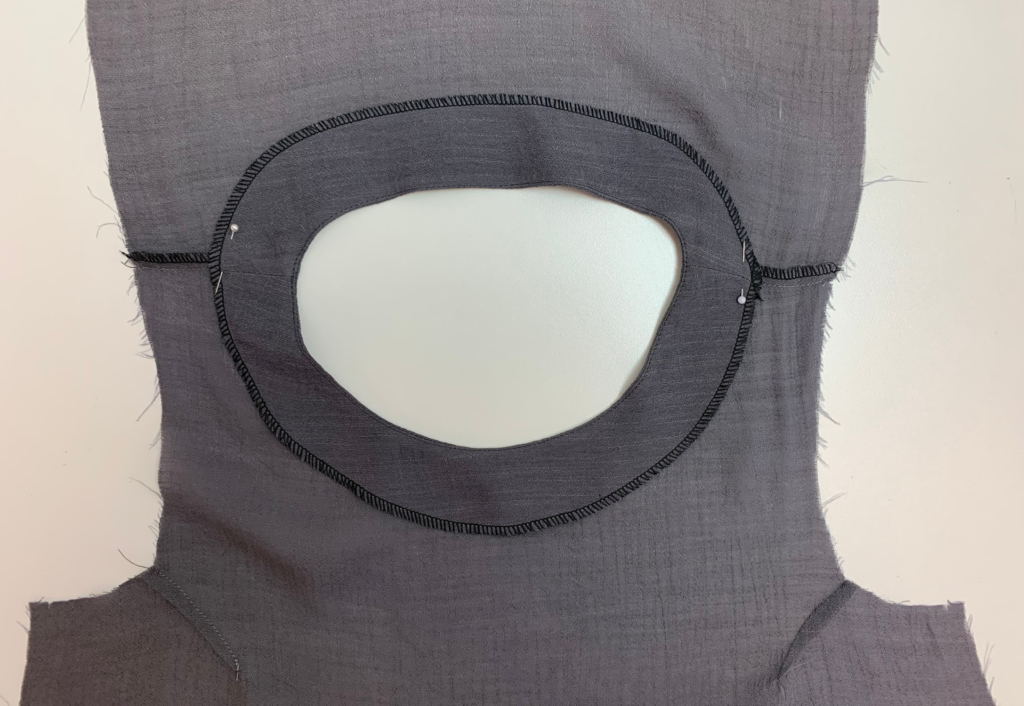
Overlock/serge around the outer edge of the neck facing.
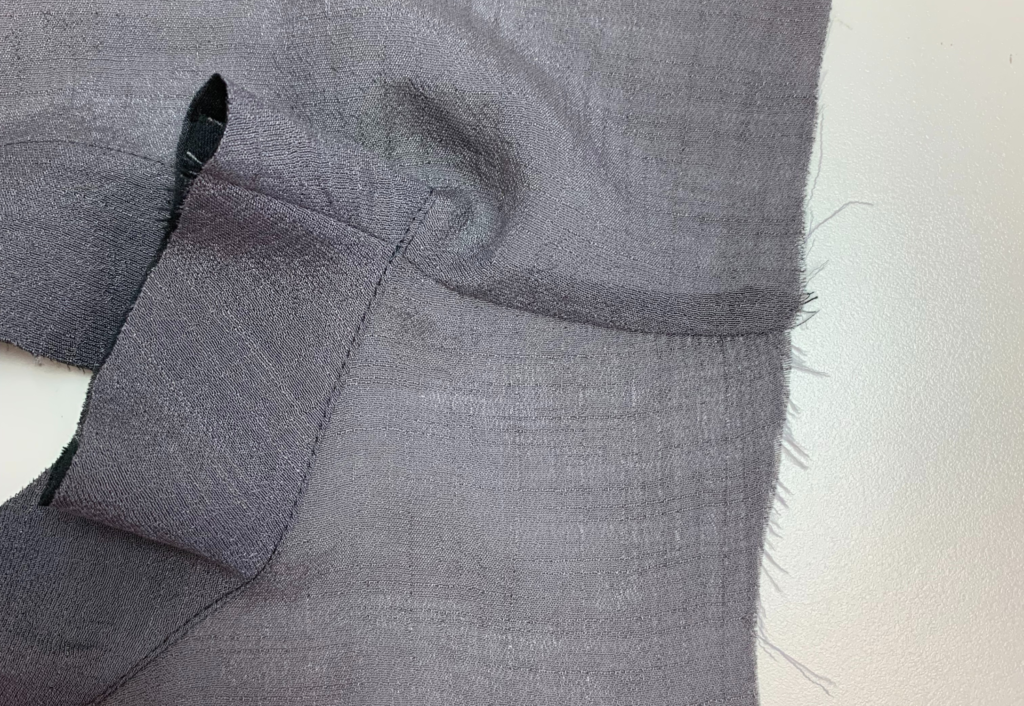
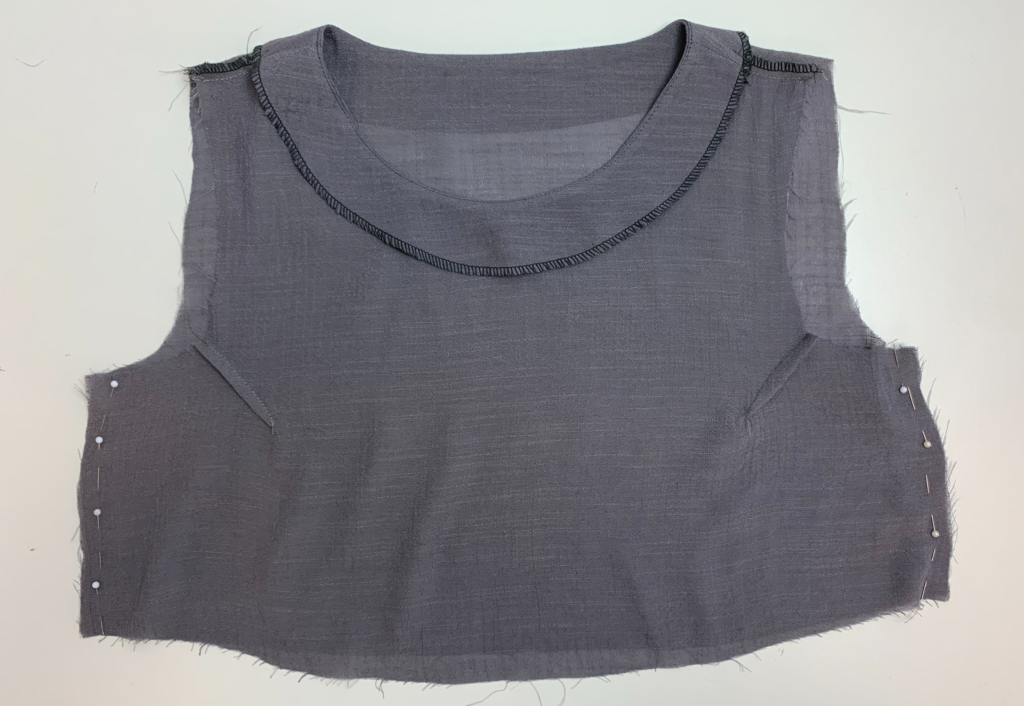
Pin the facing to the bodice at the shoulder seam, once in place sew a stitch to the shoulder seam of the facing and the body to hold in place or sew a feature top stitch around the outer edges of the neck facing.
Decide if you want to have a sleeveless dress with bound armholes (see BOUND ARMHOLE section of this tutorial) or select the sleeve option and scroll down for the relevant SLEEVE tutorial.
If using a sleeve option, with right sides together sew the side seams at this point then set in the sleeve.
Sew the completed bodice to the Montana gathered skirt and overlock/serge the waist seams.
BODICE B:
Sew the bust darts and press down.
With right sides together sew the front and back shoulder seams together overlock/serge and press toward the back.
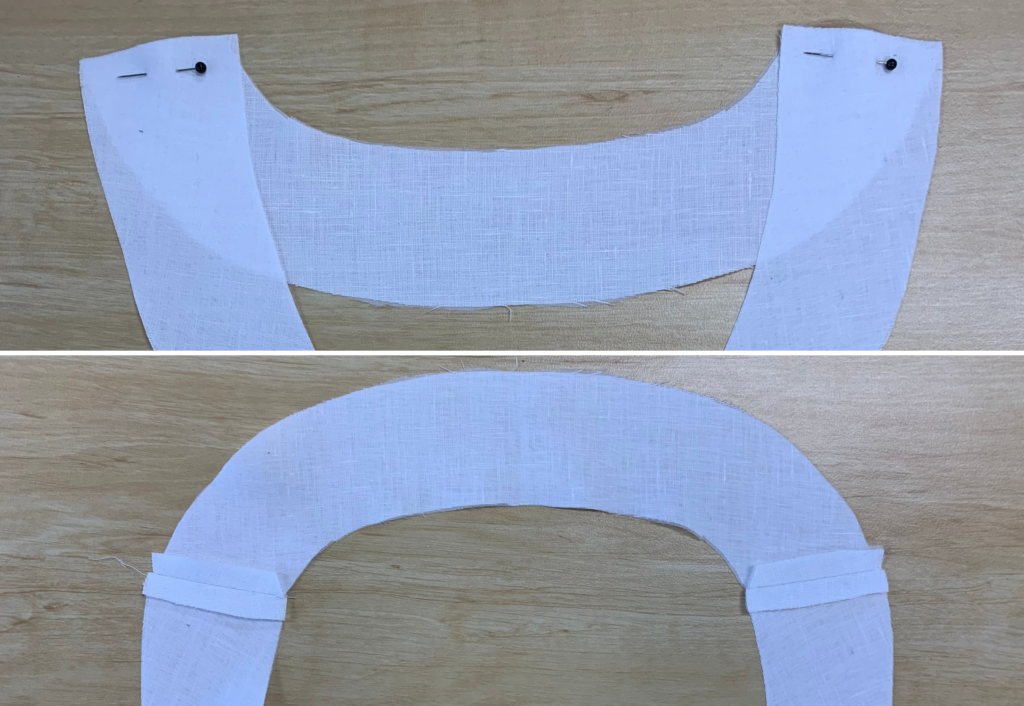
With right sides together sew the fused front and back facing shoulder seams together and press the seams open.
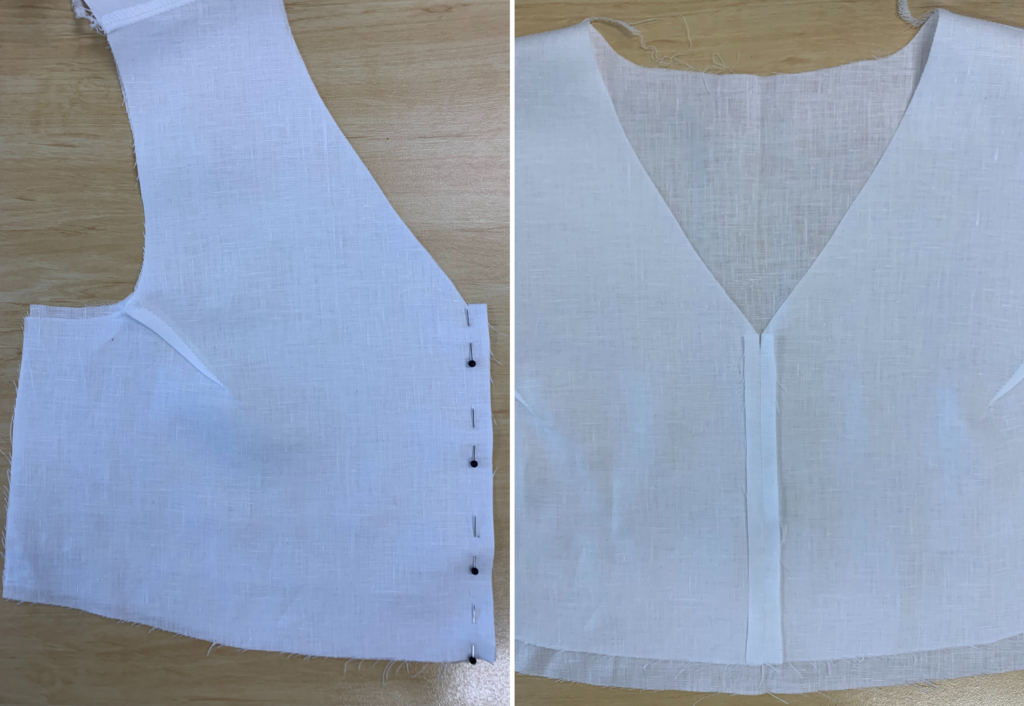
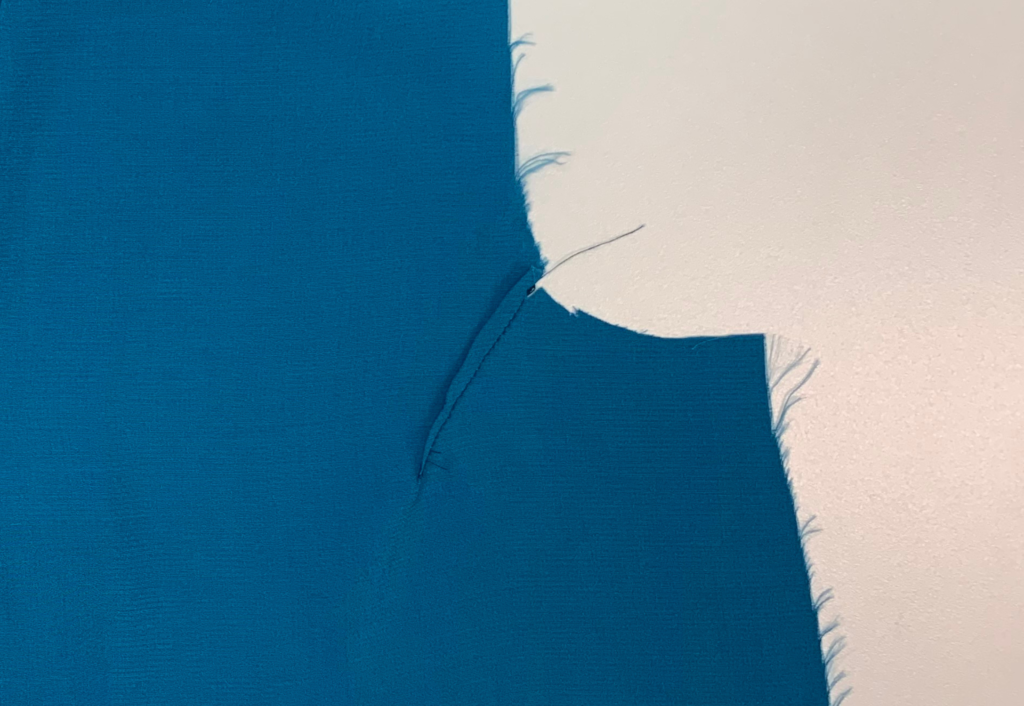
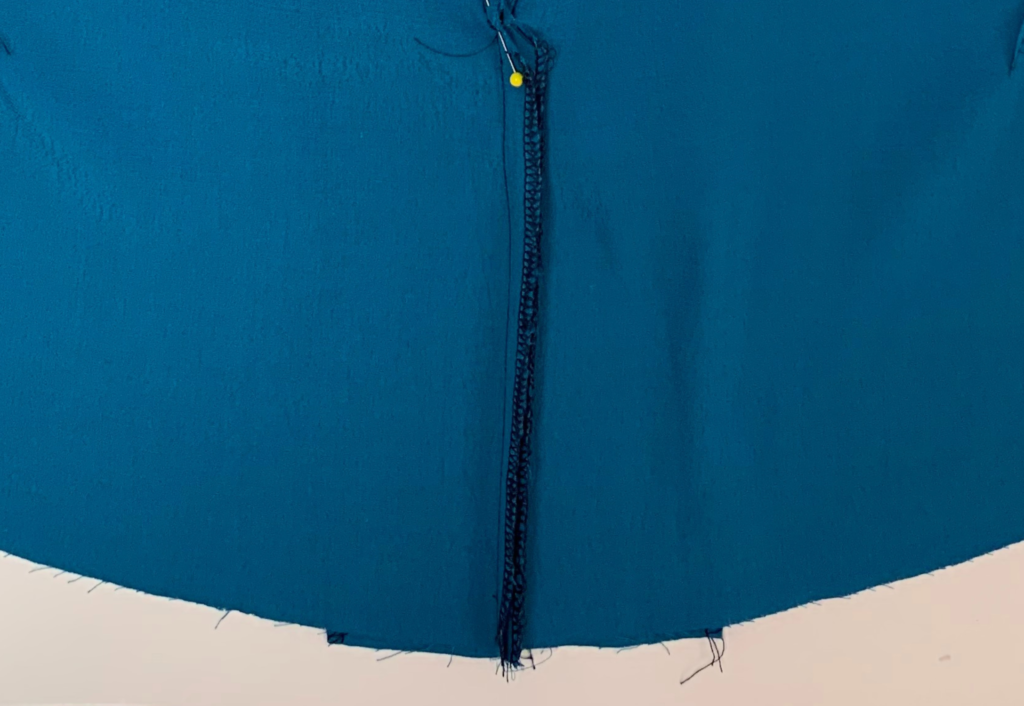
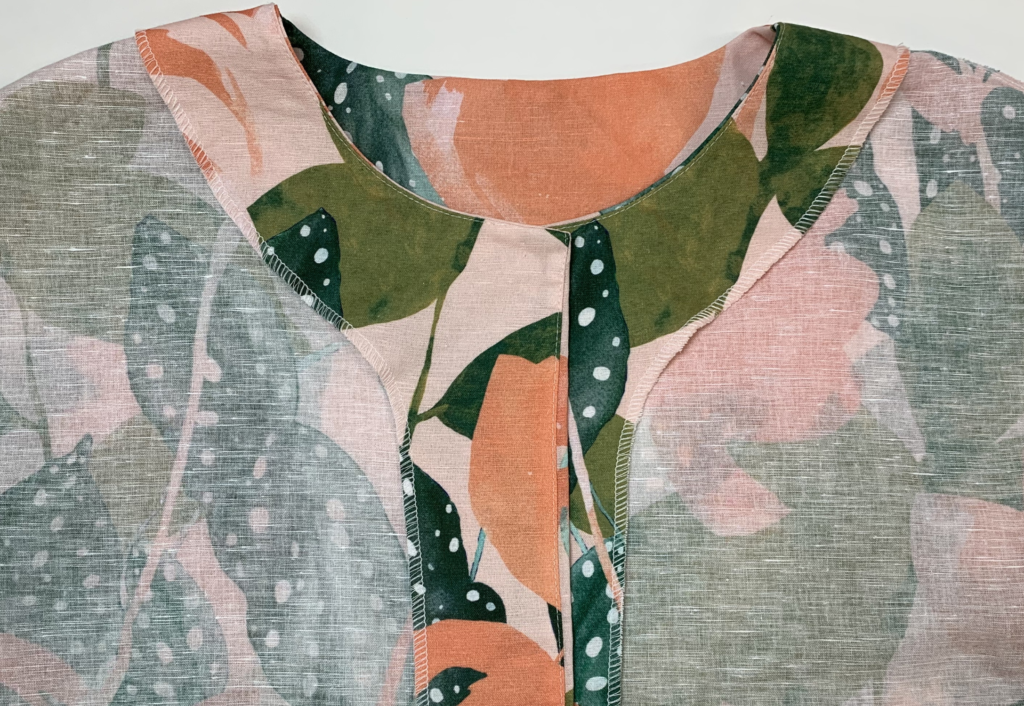
With right sides together sew the centre front bodice seams together stopping at star notch 6mm (¼”) before the neck edge then press open.
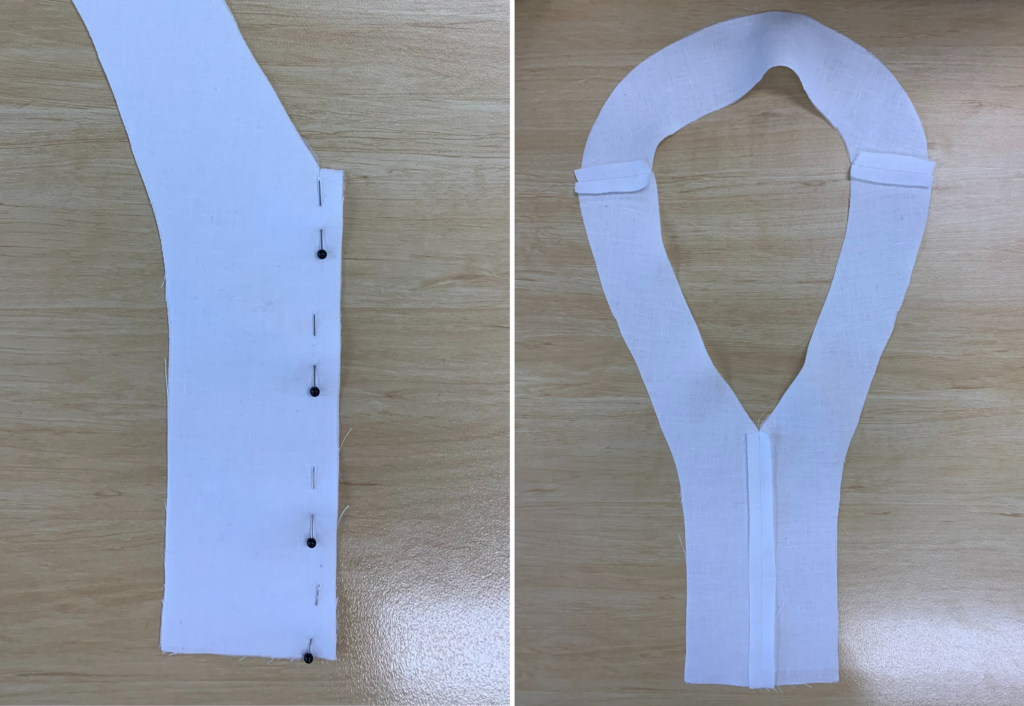
With right sides together sew the centre front facing seams together stopping at star notch 6mm (¼”) before the neck edge then press open.
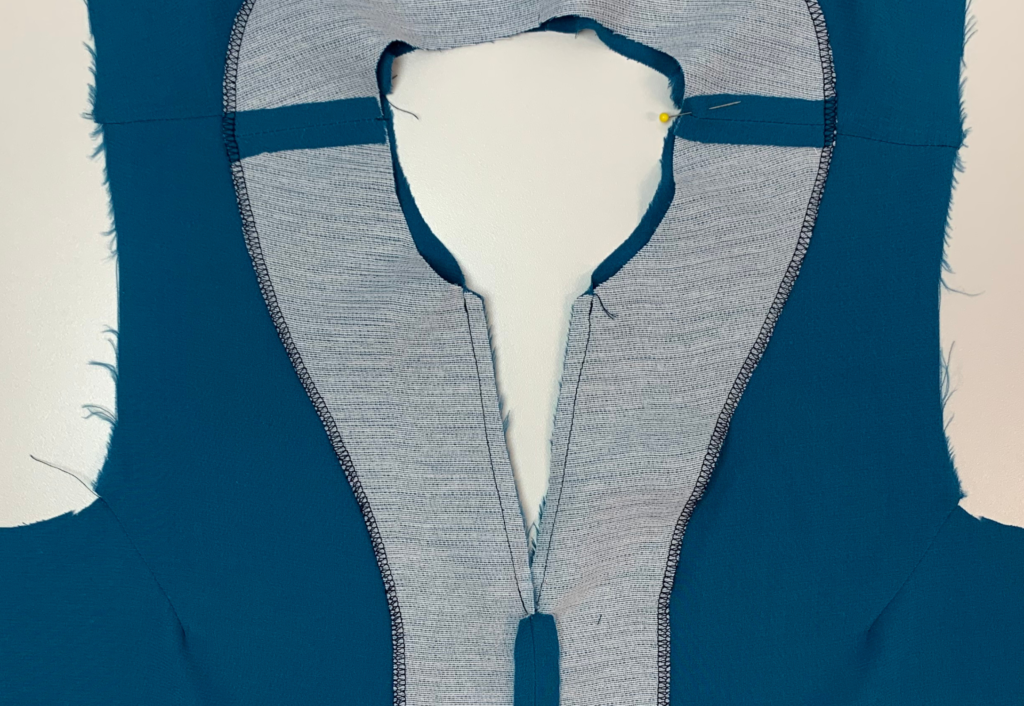
With right sides together pin the fused neck facing to the neckline of the bodice, once in place start sewing at the centre front neck, sew around the neckline matching the shoulders seams and notches, when arriving back at the centre front clip into the centre front of the facing to create a nice ‘V’ point.
Overlock/serge around the outer edge of the neck facing.
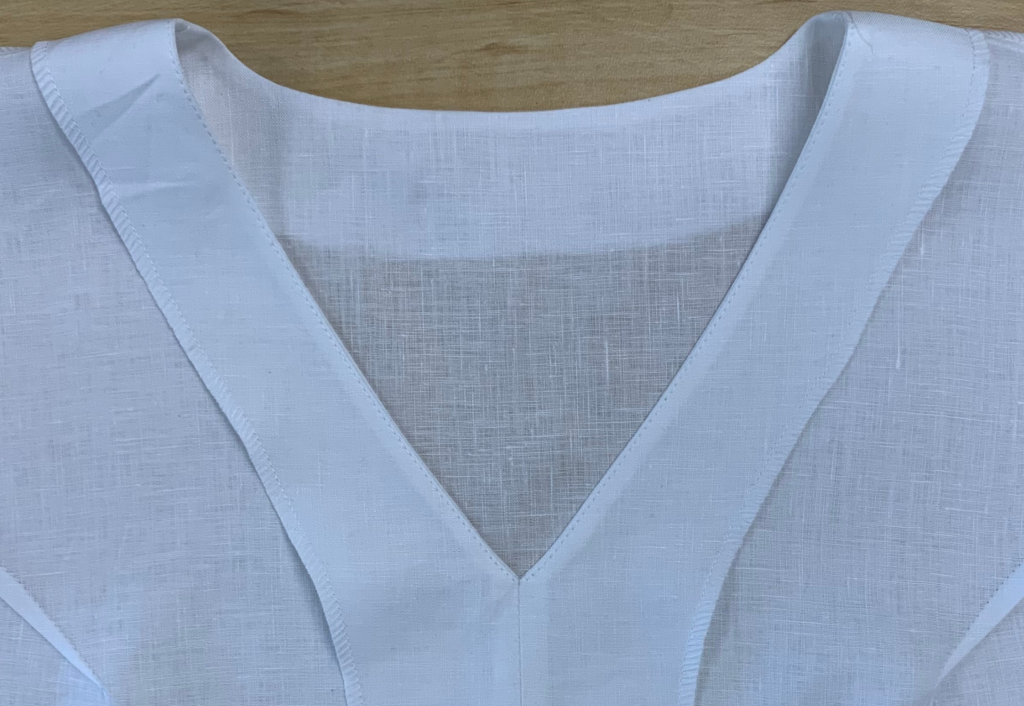
Understitch close to the neck seam on the side of the facing.
Decide if you want to have a sleeveless dress with bound armholes (see BOUND ARMHOLE section of this tutorial) or select the sleeve option and scroll down for the relevant SLEEVE tutorial.
If using a sleeve option, with right sides together sew the side seams at this point then set in the sleeve.
Sew the completed bodice to the Montana gathered skirt and overlock/serge the waist seams.
BODICE C:
Sew the bust darts and press down.
With right sides together sew the front and back shoulder seams together, overlock/serge and press toward the back.
With right sides together sew the front and back shoulder seams of the fused neck facings together and press the seams open (not pictured).
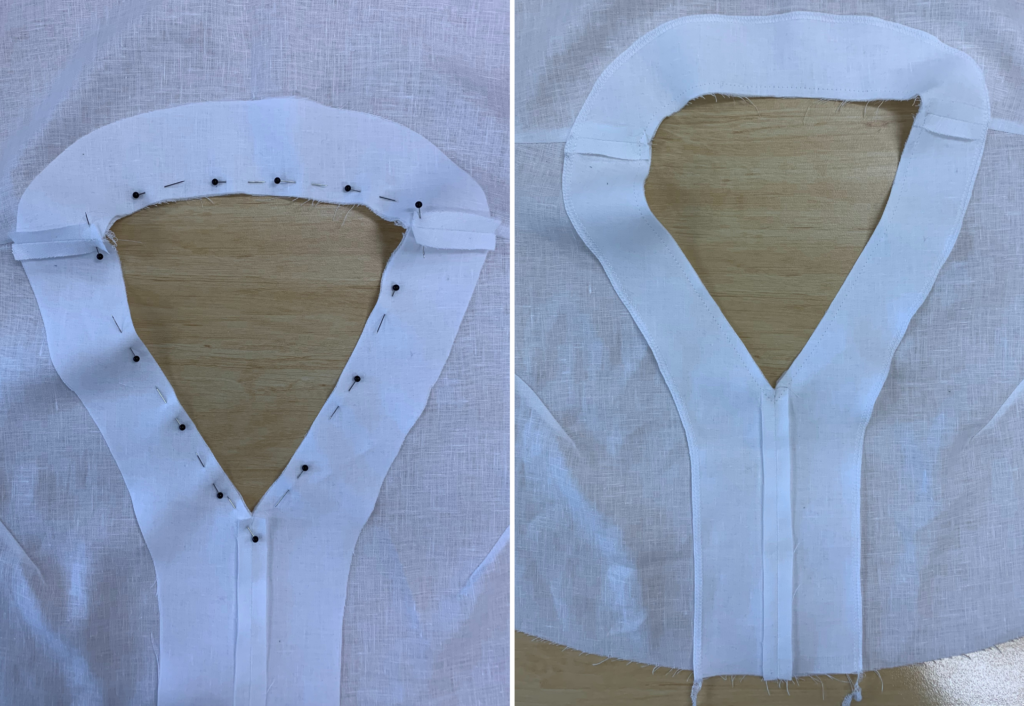
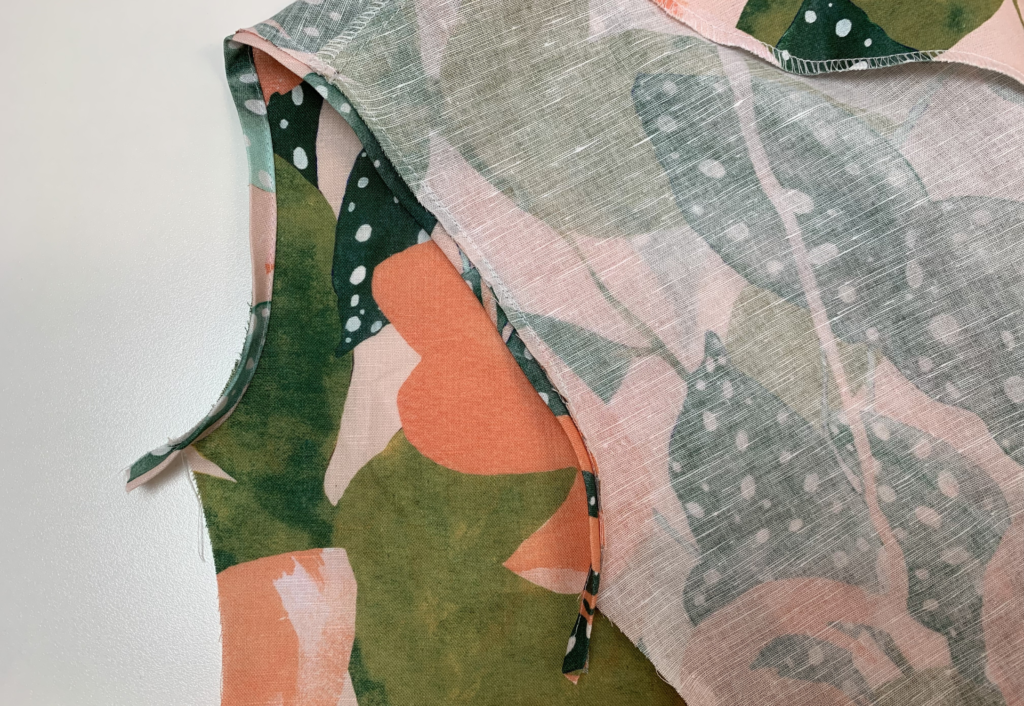
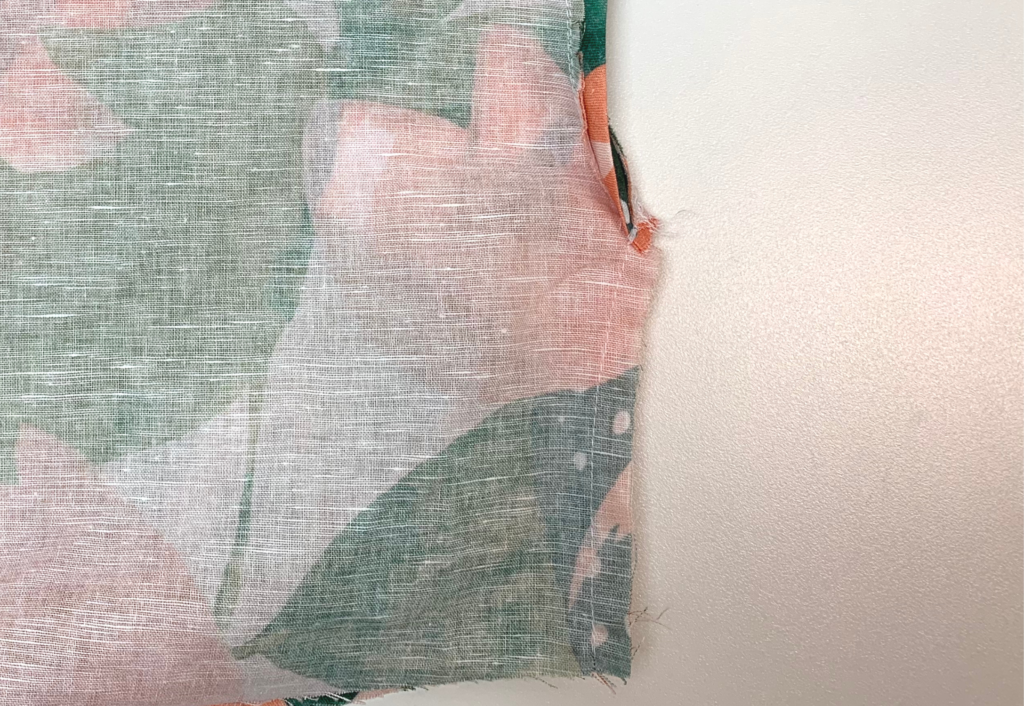
With right sides together sew the centre front bodice seams together, stop sewing at star notch 6mm (¼”) before the start of the V-neck and press open.

With right side together sew the centre front facing seams together stopping at star notch 6mm (¼”) before the start of the V-neck and press open.
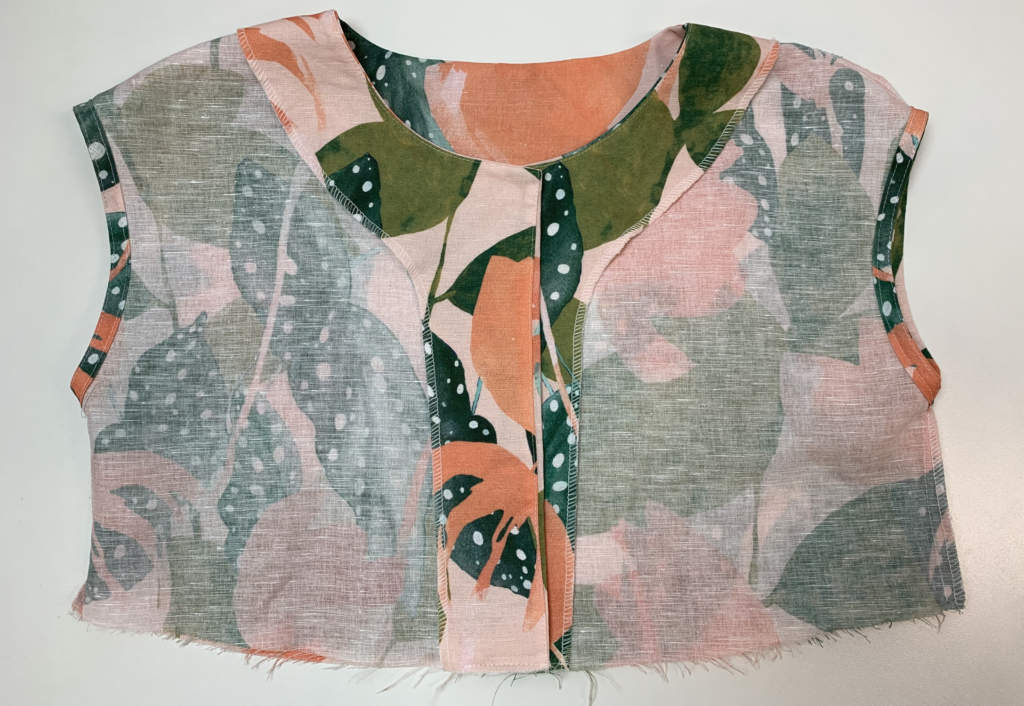
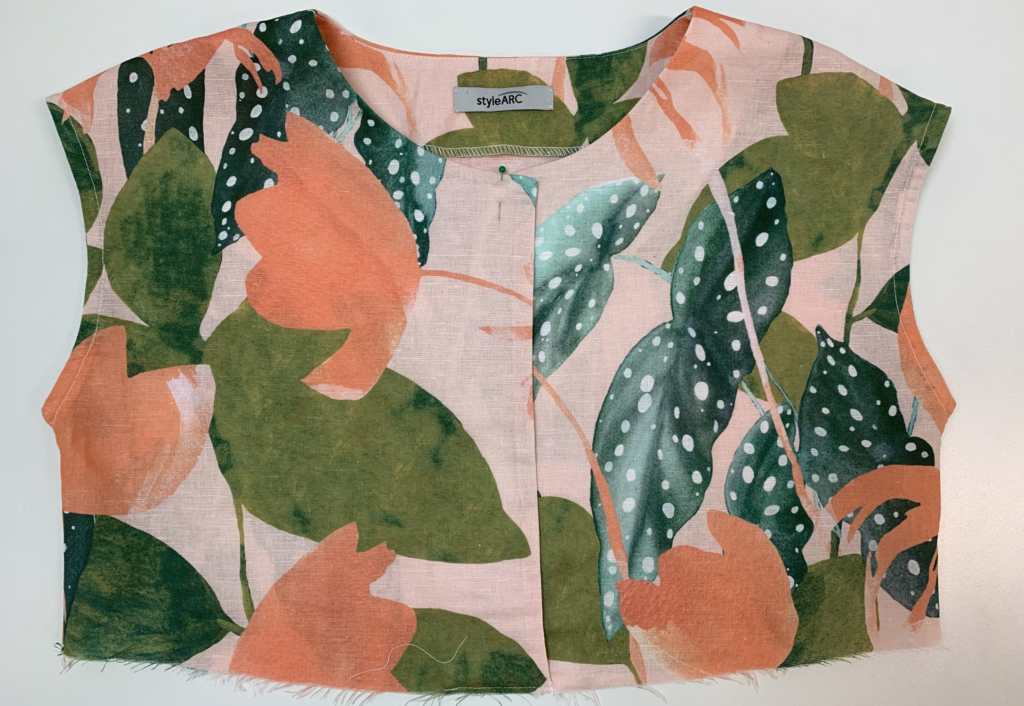
With right sides together pin the facing to the V-neck of the bodice, once in place start sewing at the centre front ‘V’ (the seam where the stitch was previously stopped) as this allows for a nice sharp ‘V’. Stitch straight up to the neckline on both sides of the ‘V’, leaving the rounded neck of the facing and the neck of the body open to enable the collar to be sandwiched in between the two in step 9. Turn to the right side and understitch close to the seam on the side of the neck facing.
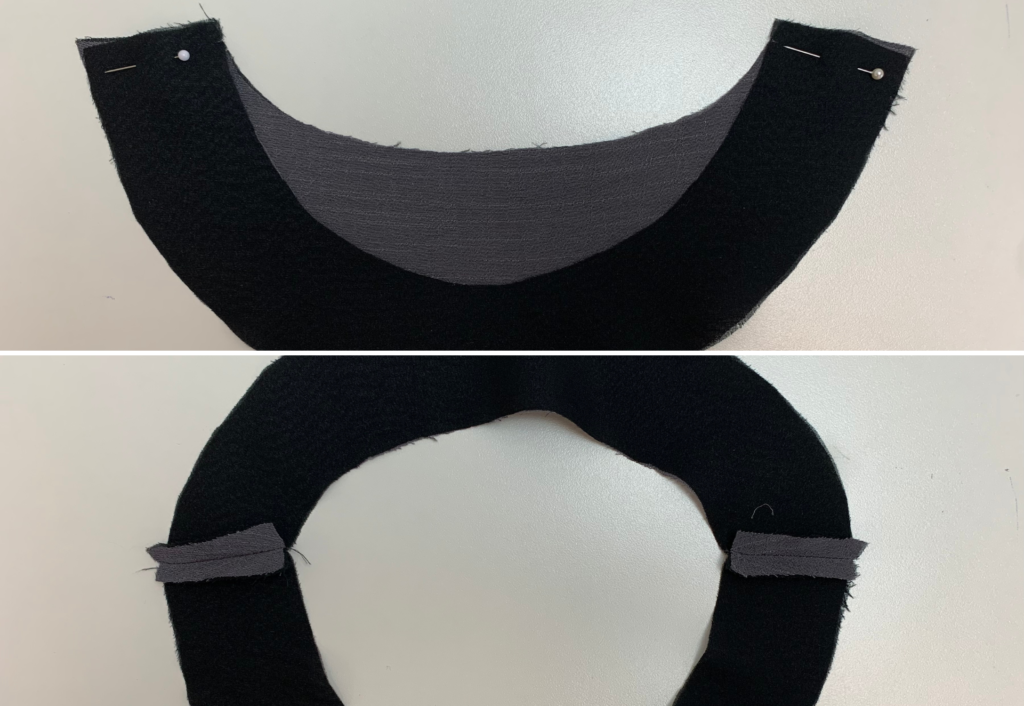
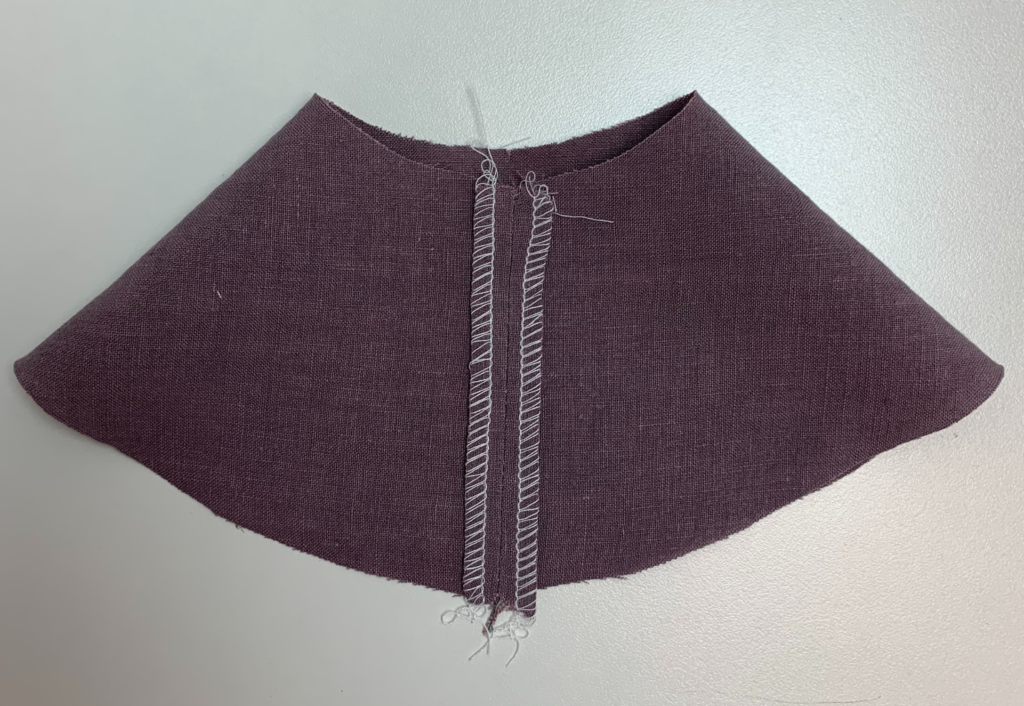
With right sides together fold the neck frill in half lengthways and sew down each short end, clip the corners and turn out to the right side and press.
Sew a large gathering stitch along the long raw edge of the frill and draw in to be the same length as the collar, between the marked notches 6mm (¼”) from the collar edge.
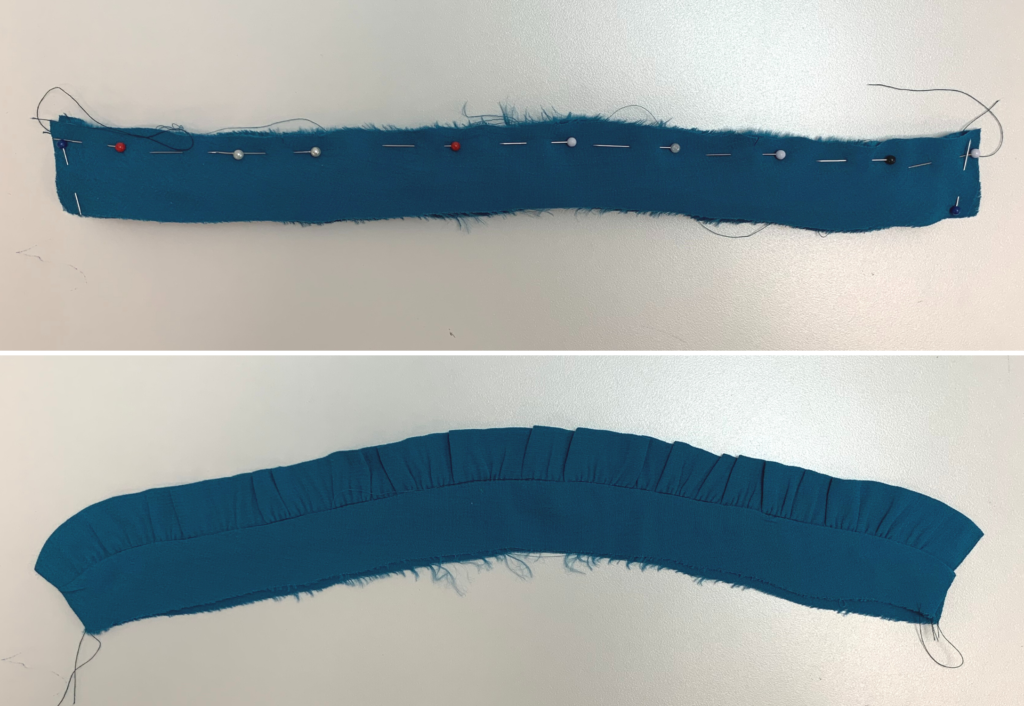
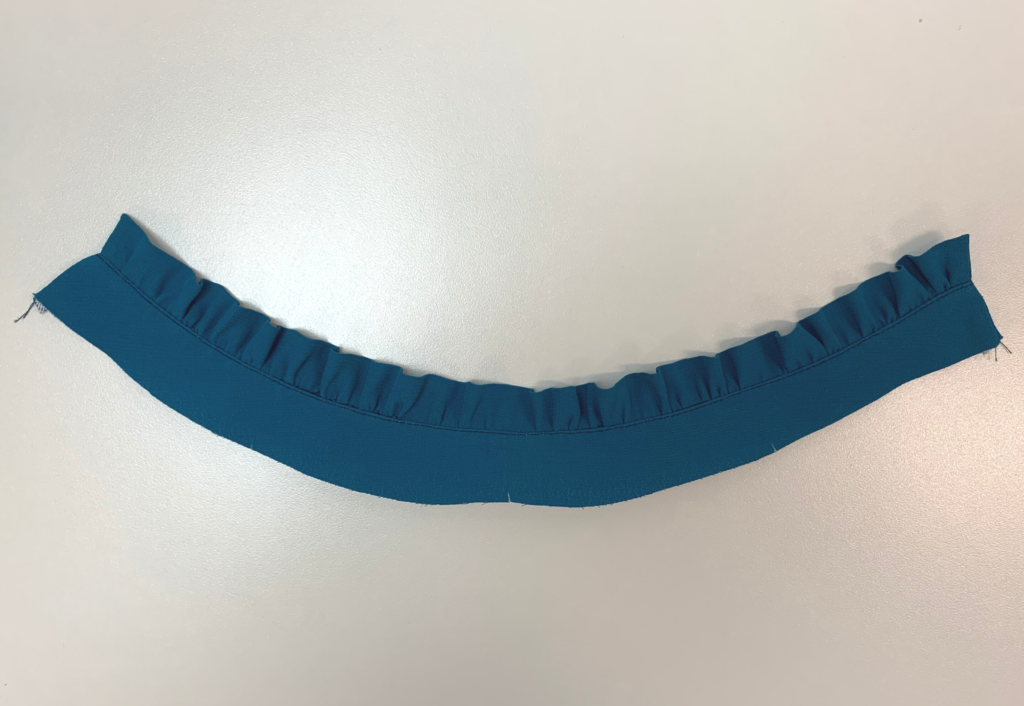
With right sides together sandwich the frill between the top edges of both collar pieces. Once in place stitch the top edge together, turn to the right side and understitch close to the seam on the side of the under collar.
If you prefer not to have the frill, make up the collar in the same manner skipping steps 7, 8 & 9 and sew the top edge of the collar without the frill.
With right sides together sew down the two short ends of the collar, clip the corners and turn out to the right side.
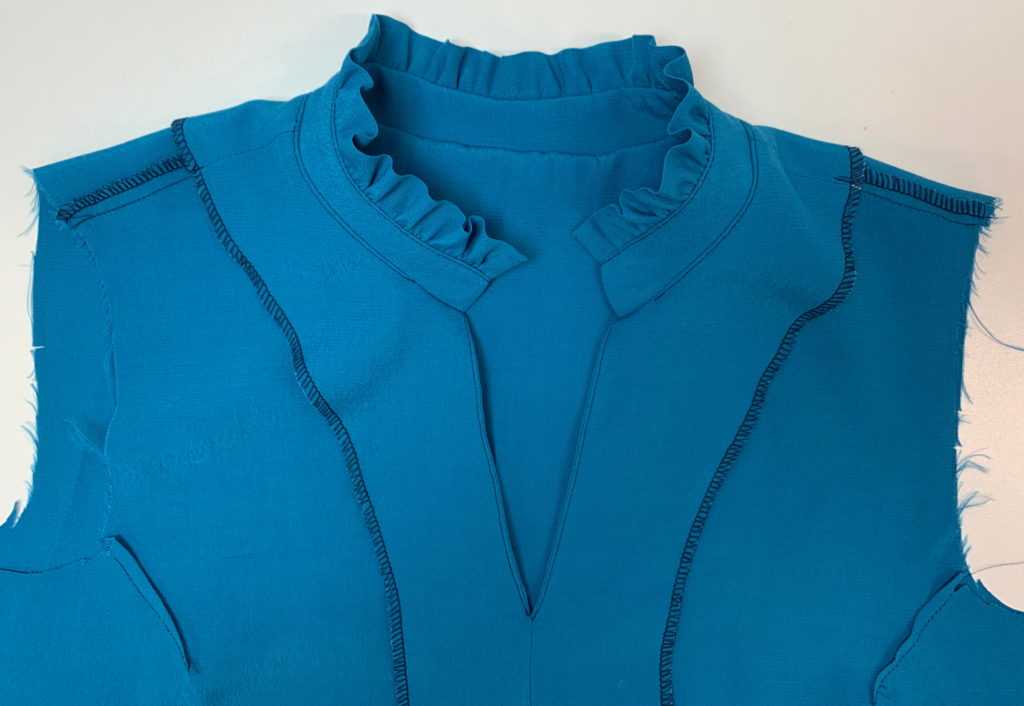
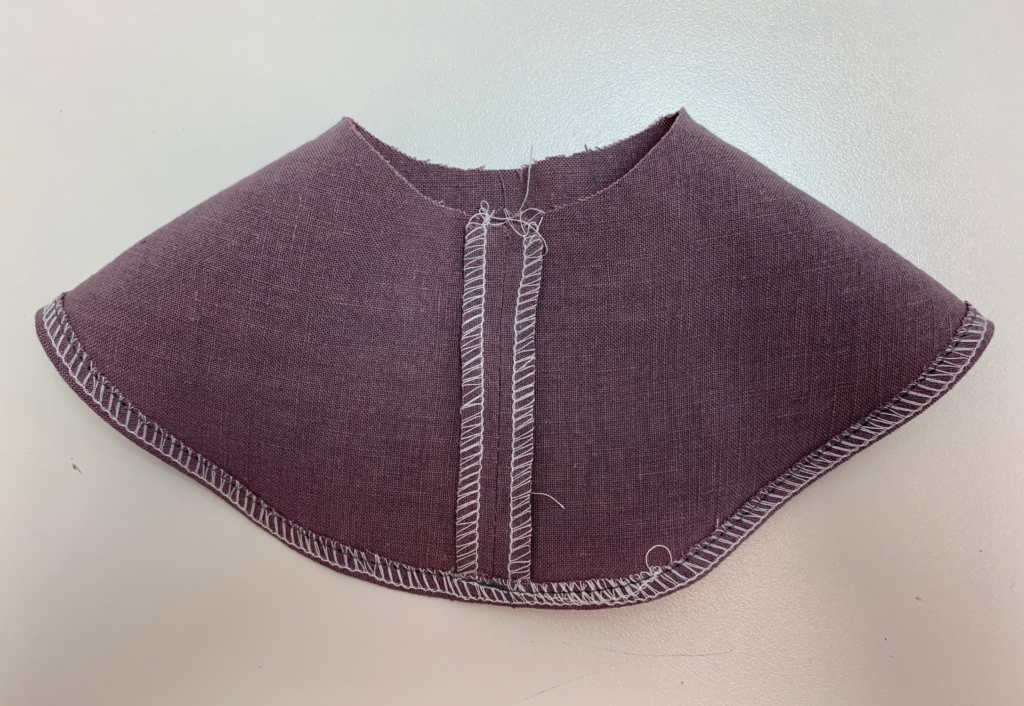
With right sides together sandwich the lower edge of the made-up collar between the neck and the neck facing, pin in place then sew around the neckline matching the shoulders seams as you sew. Turn to the right side and understitch (as far as you can) close to the seam on the side of the neck facing.
Sew the base of the front facing to the waist of the bodice and sew a small stitch to the facings at the shoulder seams to hold the facings in place to the bodice.
Decide if you want to have a sleeveless dress with bound armholes (see BOUND ARMHOLE section of this tutorial) or select the sleeve option and scroll down for the relevant SLEEVE tutorial.
If using a sleeve option, with right sides together sew the side seams at this point then set in the sleeve.
Sew the completed bodice to the Montana gathered skirt and overlock/serge the waist seams.
BODICE D:
With right sides together sew the front and back shoulder seams together, overlock/serge and press the seam toward the back.
With right sides together sew the front and back shoulder seam of the fused facings together, press the seams open and overlock/serge the outer edge of the facing.
With right sides together sew the vertical edge of the centre front facing to the centre front bodice, turn to the right side and understitch close to the seam on the side of the facing.
With right sides together sew the neck facing to the neckline of the bodice, matching the shoulder seams, clip the front corner. Turn to the right side and understitch close to the seam on the side of the neck facing.
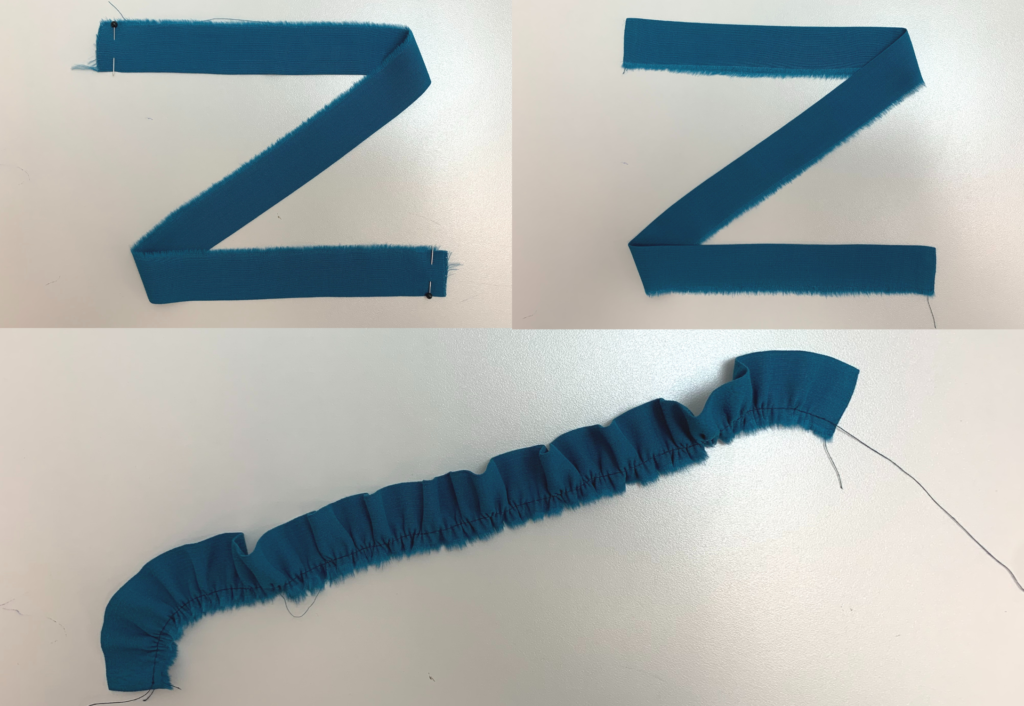
With right sides on the outer fold the binding in half lengthways and sew a stay stitch to the two raw edges. With right sides together sew the binding to the armholes, turn to the right side and understitch close to the seam on the side of the binding. Do not stitch the binding to the inside at this point.
With right sides facing sew the front and back side seams together, sewing through the binding. Overlock/serge the seams and press toward the back.
Turn the binding to the inside and stitch down with a top stitch.
To make the button and buttonhole placements, overlap the bottom of the wearers right over the left at the waist matching the centre front notches and sew a stay stitch along the waist edge to hold in place.
Sew the buttonholes to the right front following the markings on the pattern.
Sew the buttons to the left front in line with the buttonholes.
Sew the completed bodice to the Montana gathered skirt seam and overlock/serge the waist seams.
BOUND ARMHOLES:
With right sides on the outer fold the binding in half lengthways and sew a stay stitch to the two raw edges, with right sides together sew the binding to the armholes, turn to the right side and understitch close to the seam on the side of the binding. Do not stitch the binding to the inside at this point.
With right sides together sew the front and back side seams together, sewing through the binding. Overlock/serge the side seams and press toward the back.
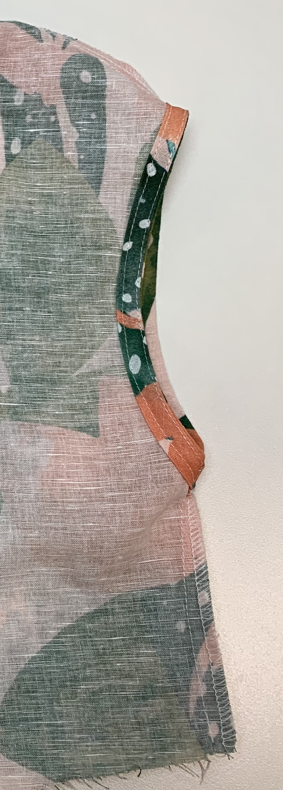
Turn the armhole binding to the inside and stitch down with a top stitch.
SLEEVES
SLEEVE 1:
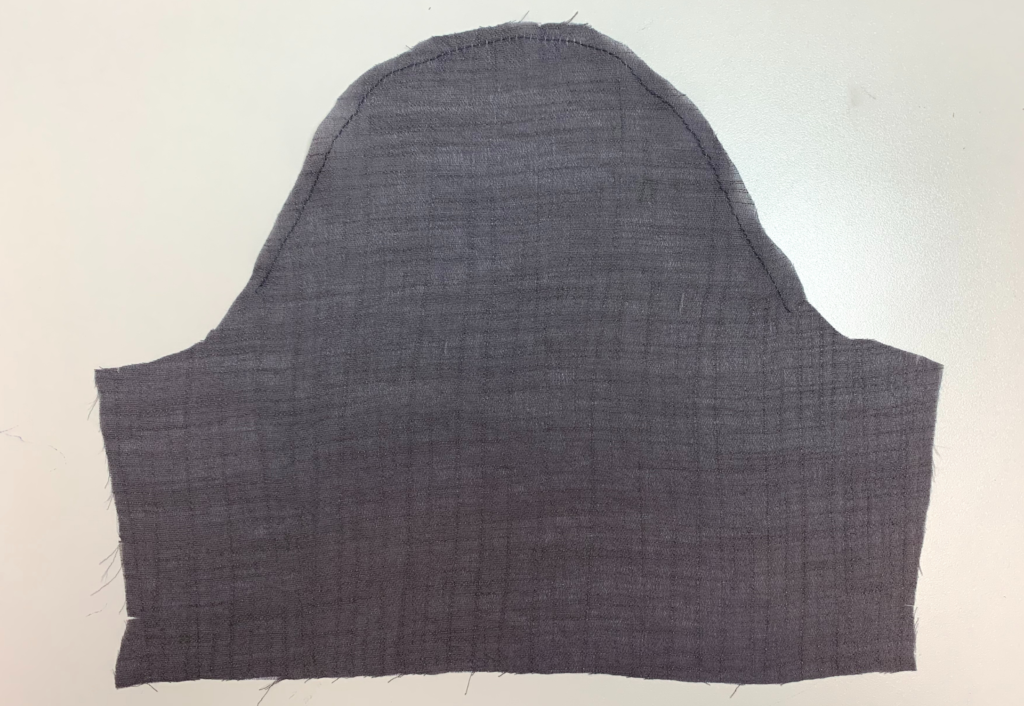
Sew a large stitch to the head of the sleeve and slightly ease in.
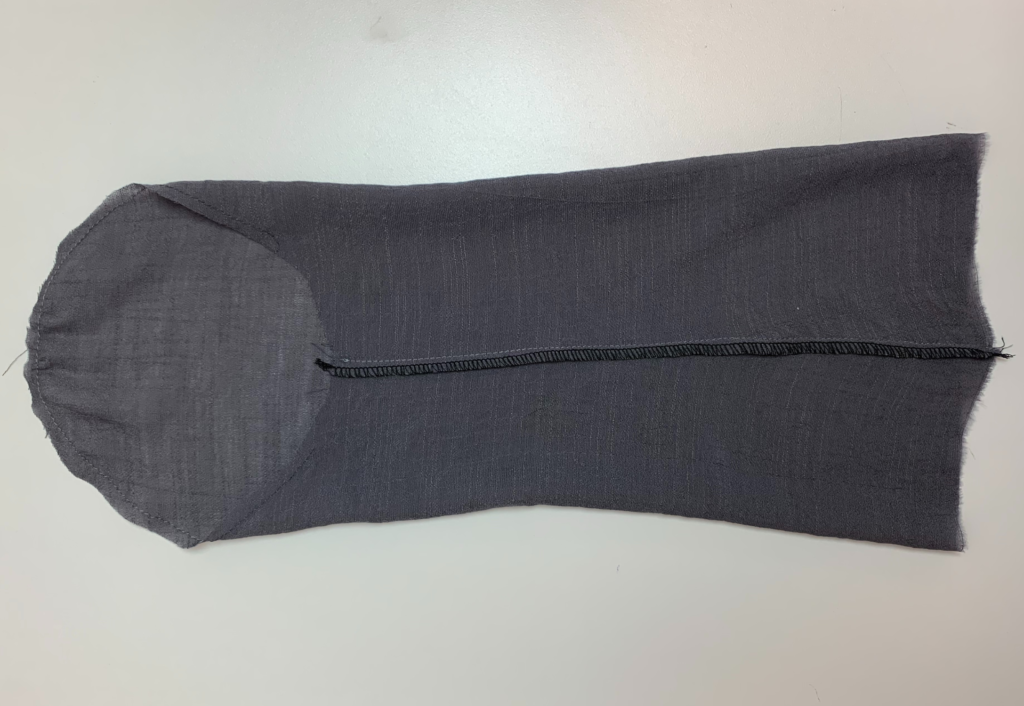
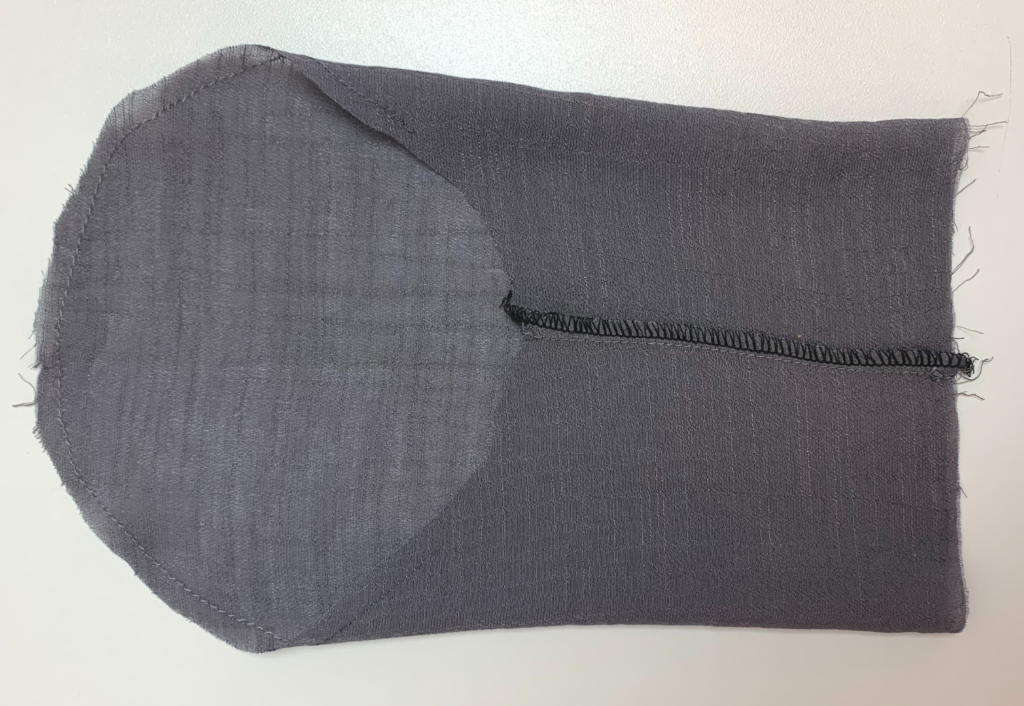
With right sides facing sew the under-arm sleeve seam, overlock/serge and press toward the back.
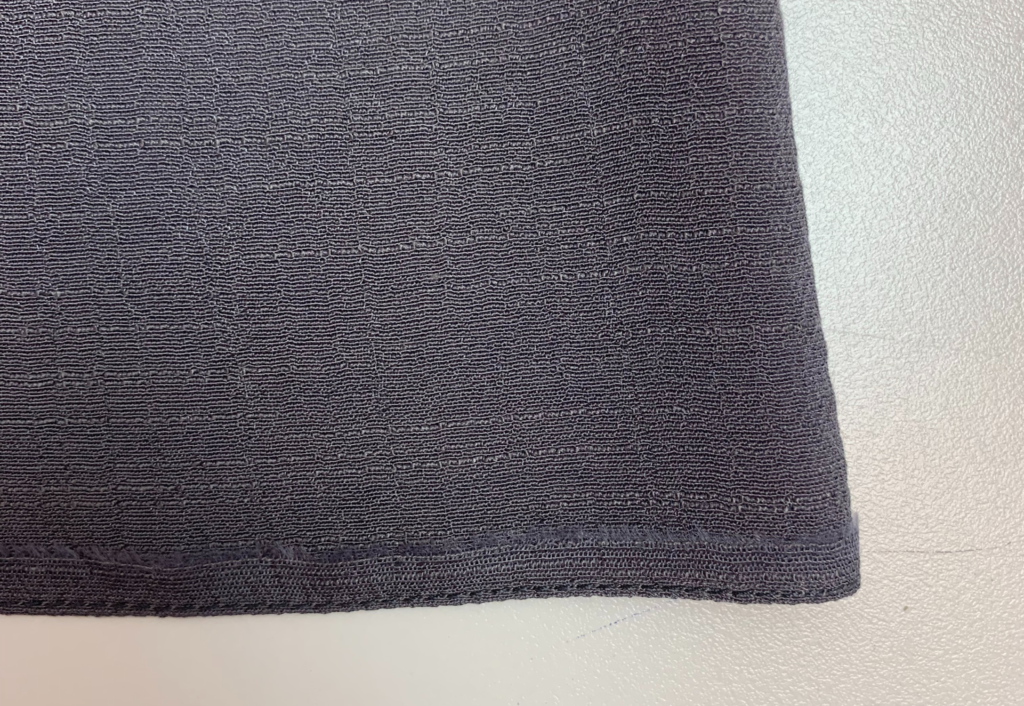
Turn up the sleeve opening 6mm (1/4”) and press, then stay stitch, this will make it easier to sew the elastic in.
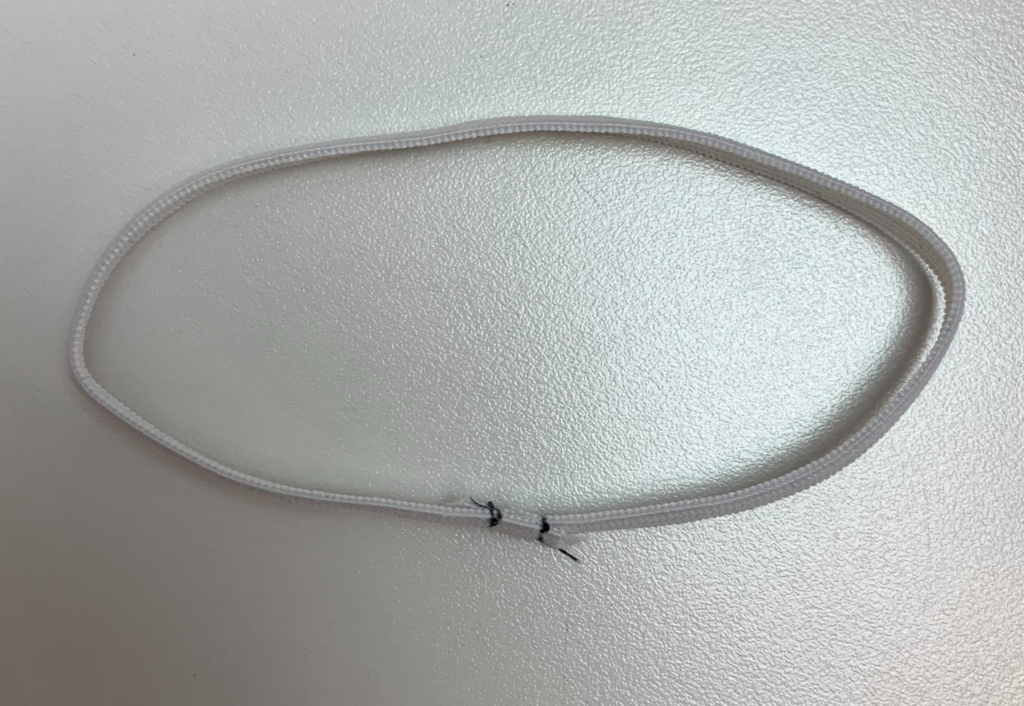
Cut the elastic to your personal length and stitch the short ends together securely.
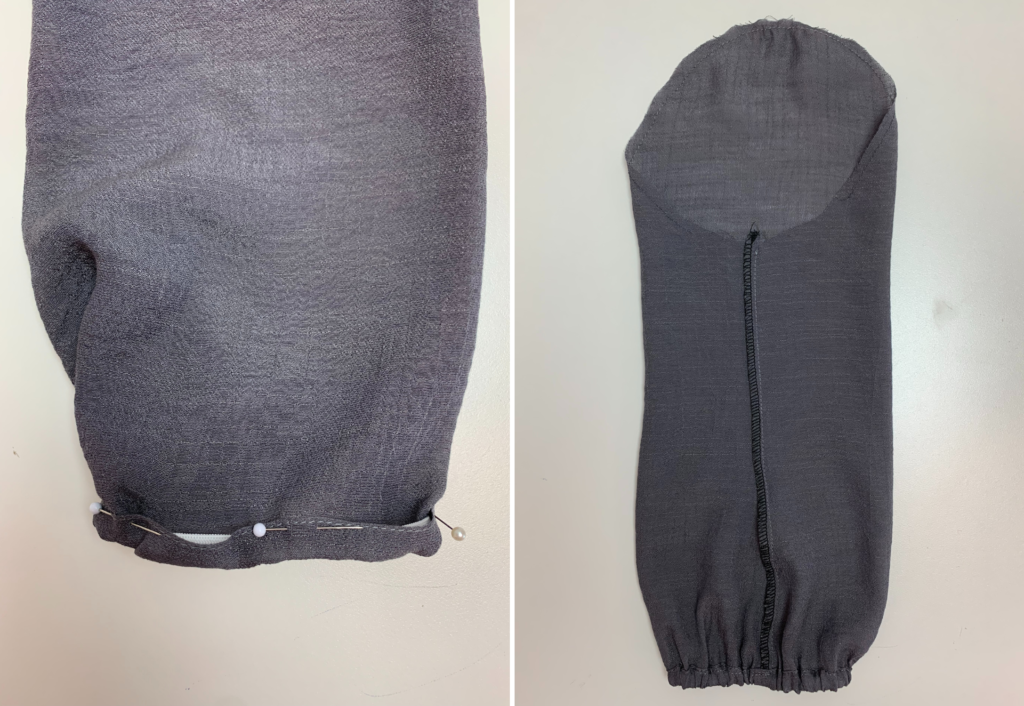
Press the seam allowance up at the notch and encase the elastic as you sew, sewing on top of the stay stitch, ensure not to catch the elastic as you sew.
With right sides facing sew the sleeve into the armhole, overlock/serge and press towards the sleeve.
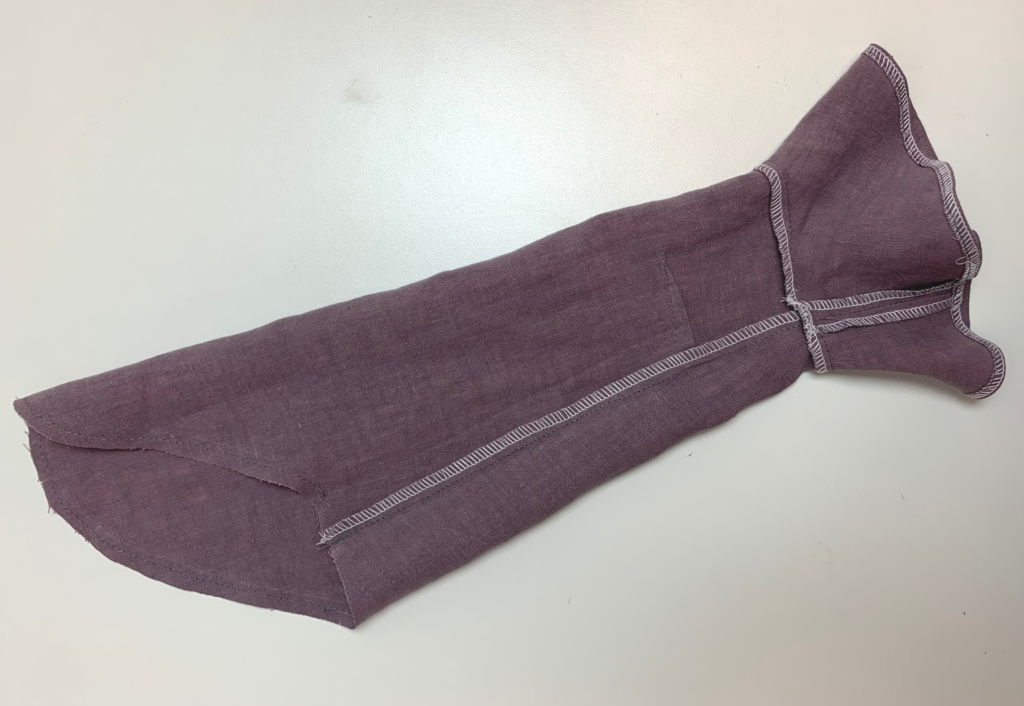
SLEEVE 2:
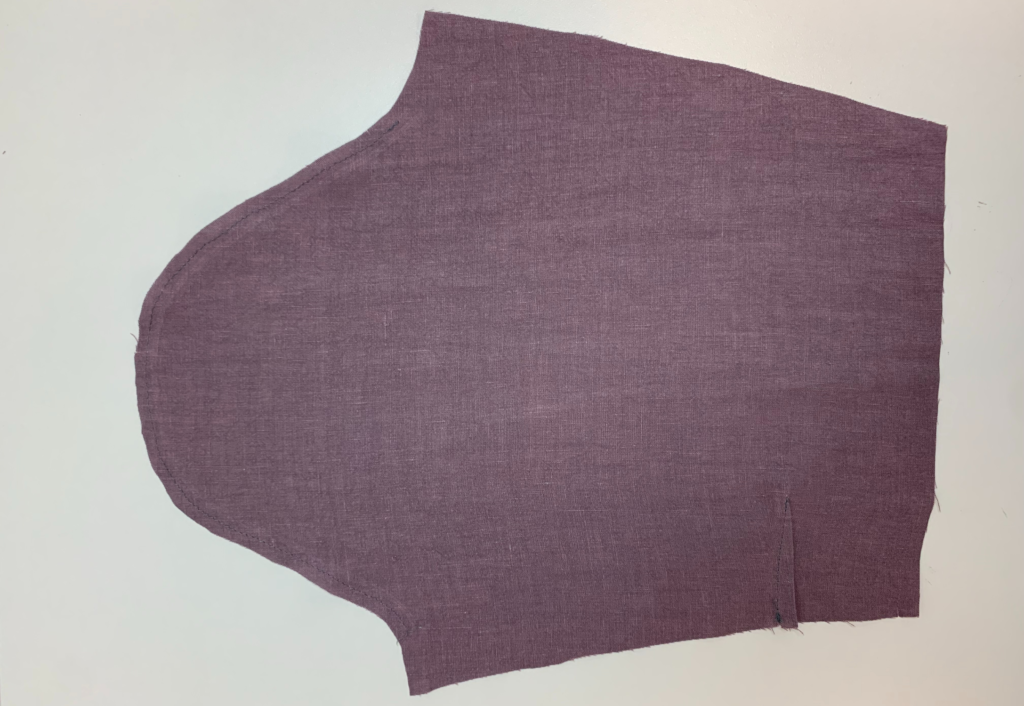
Sew the elbow darts and press downward.
Sew a large stitch to the head of the sleeve and slightly ease in.
With right sides facing sew the under-arm sleeve seam, overlock/serge and press toward the back.
Overlock/serge each short end of the flounce. With right sides together sew the short ends of the flounce together, press open.
Overlock/serge the longer edge of the flounce and turn up the hem once and stitch. Alternatively, double turn the hem of the flounce.
With right sides facing sew the remaining raw edge of the flounce to the sleeve opening followed by overlocking/serging the seam together and press up.
With right sides facing sew the sleeve into the armhole, overlock/serge and press towards the sleeve.
SLEEVE 3:
Sew a large stitch to the head of the sleeve and slightly ease in.
With right sides facing sew the under-arm sleeve seam, overlock/serge and press toward the back.
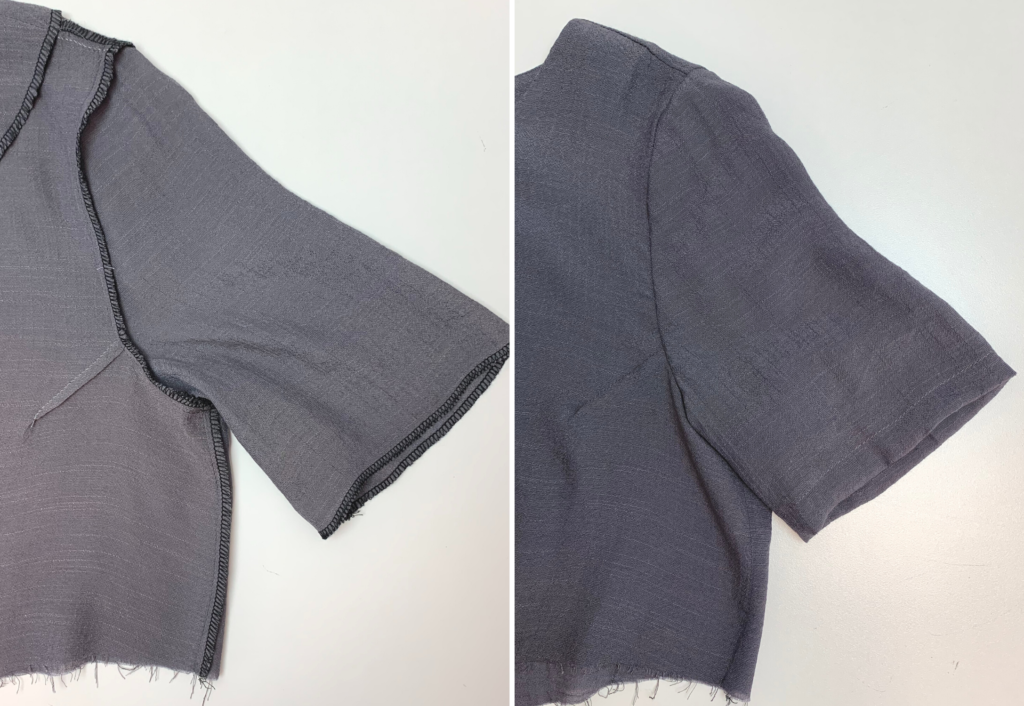
With right sides facing sew the sleeve into the armhole, overlock/serge and press towards the sleeve.
Overlock/serge the hem edge of the sleeve, turn the sleeve hem to the inside and stitch with a hand or machine stitch.