Shop the Mila Designer Dress
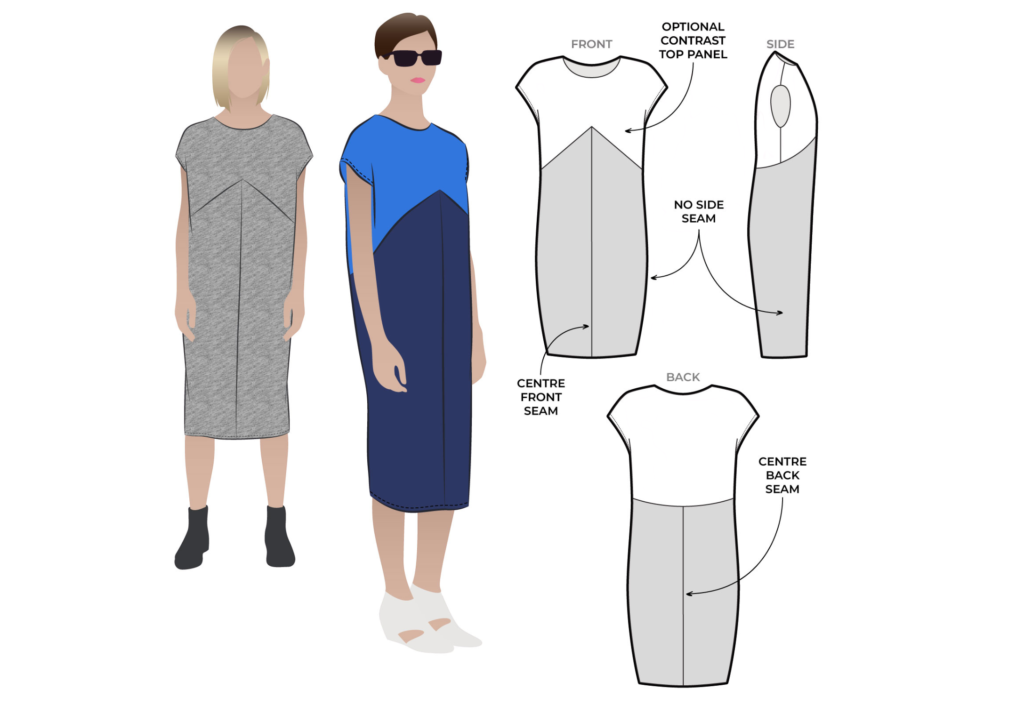
Before you start sewing, you might want to rummage through your fabric scraps/stash and plan a colour/print layout for the different panels of the Mila Designer Dress.
Click the link below to download the Mila Designer Dress Colour It Your Way PDF and have some fun!
✏️Colour It Your Way PDF Download✏️
CONSTRUCTION:
Prepare the facing by cutting and then fusing the Front Facing (5) and Back Facing (4) using a fusing of suitable weight for your fabric. We suggest block fusing the facings (the process of fusing a piece of fabric first, followed by cutting out the facings. This helps to prevent shrinkage).
With RST, sew the Front Neck Facing (5) to Back Neck Facing (4) together at the shoulder seams. Press the seams open and neaten the outer edge with an overlocker/serger.
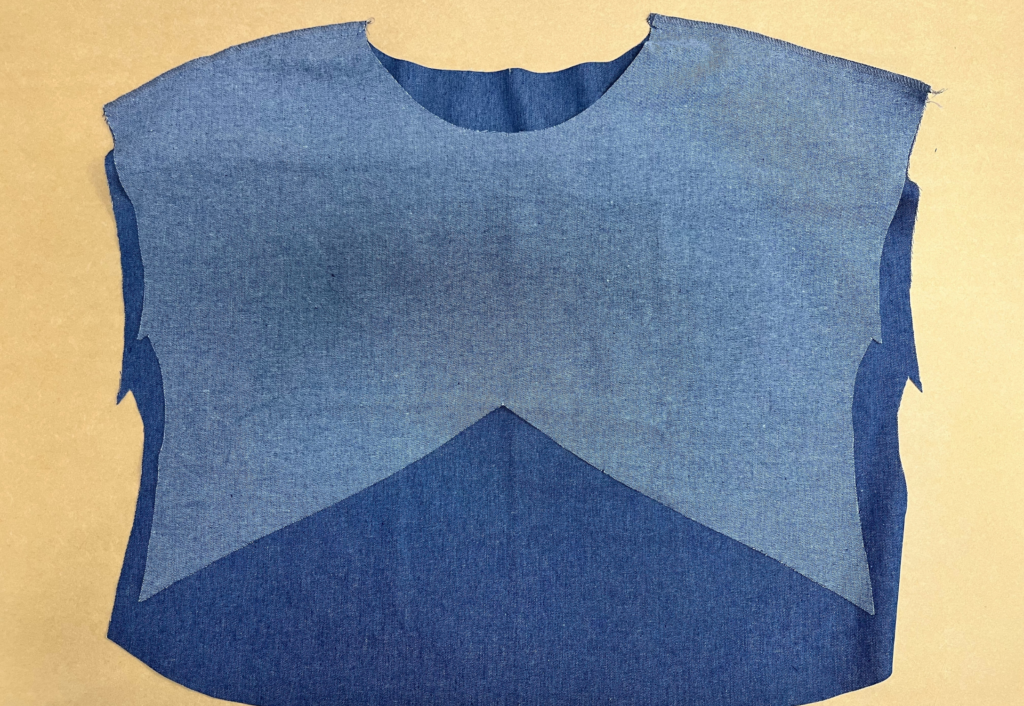
With RST, sew the Front Bodice (2) to Back Bodice (1) at the shoulder seams.
Neaten with an overlocker/serger and press toward the back. Sew a stay stitch to the neckline and the angled seams at the bust seam.
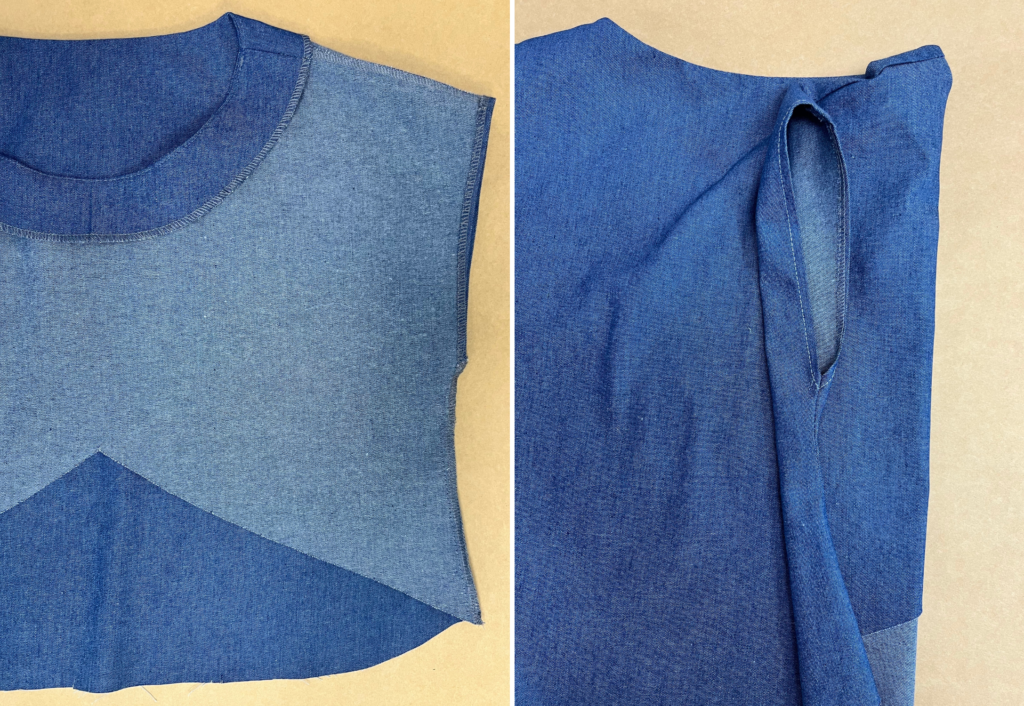
Neaten each armhole with an overlocker/serger. Turn the armhole seam allowance under (6mm or ¼”) to the wrong side (inside), press and topstitch into place.

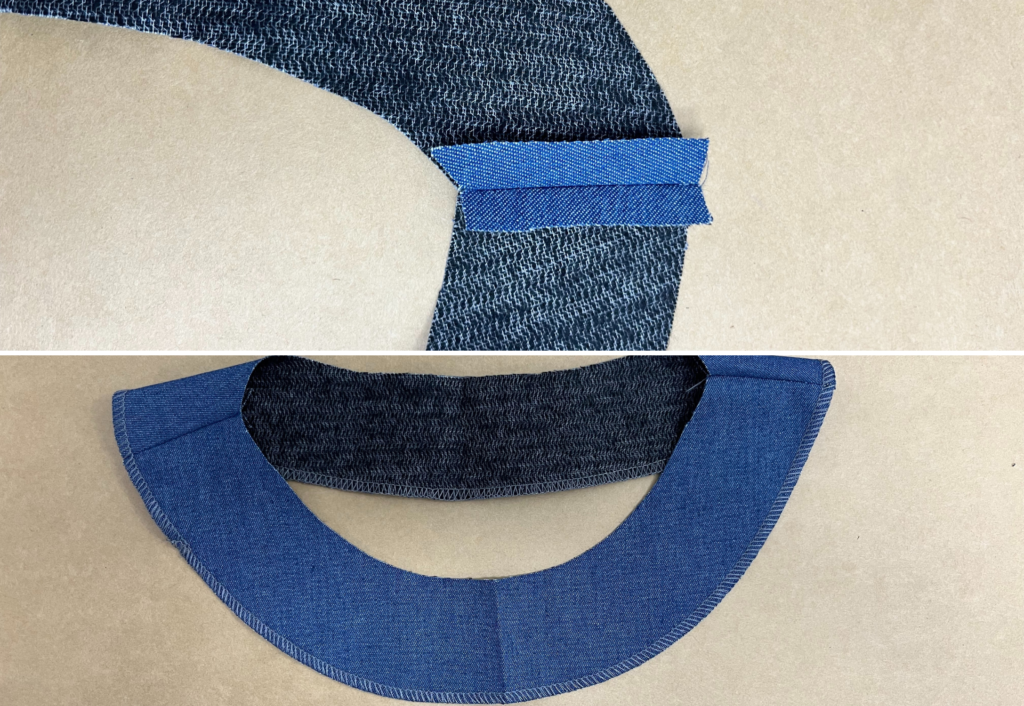
With RST, pin and then sew the neck facing to the neckline of the body using a 6mm (1/4”) seam allowance. Clip the seam.
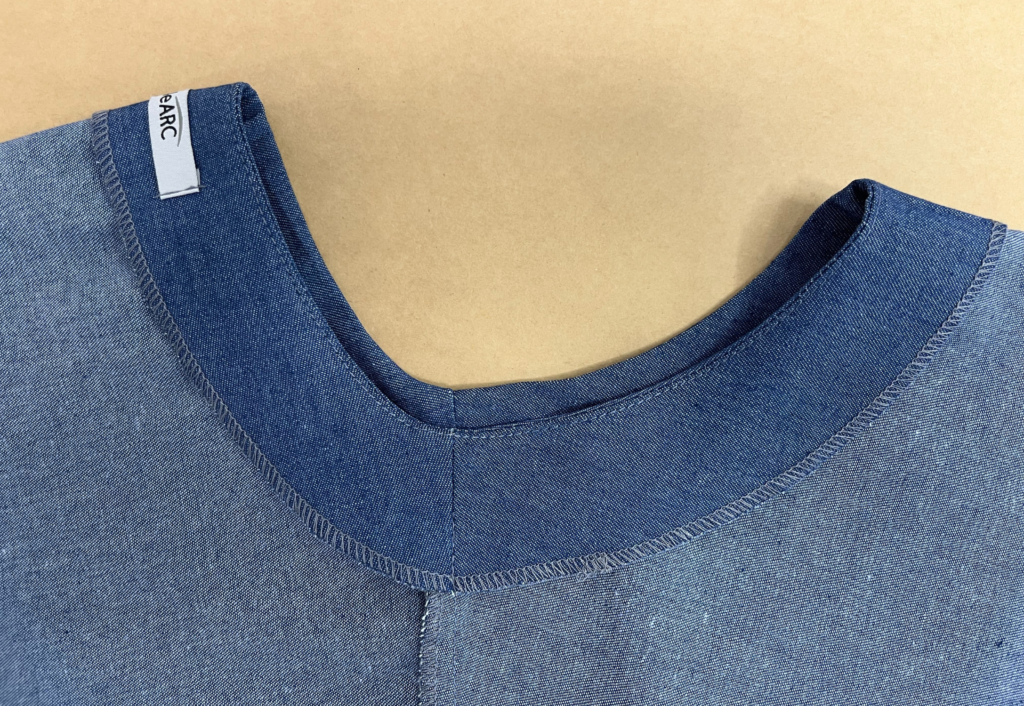
Understitch the neckline on the side of the facing. Catch the facings to the bodice at the shoulder seams by using a ditch stitch, or small stitch by hand.
With RST, sew the back and front bodice together at the side seams. Neaten with an overlocker/serger and press toward the back. Sew a stitch to the side seam at the underarm to reinforce the base of the armhole.
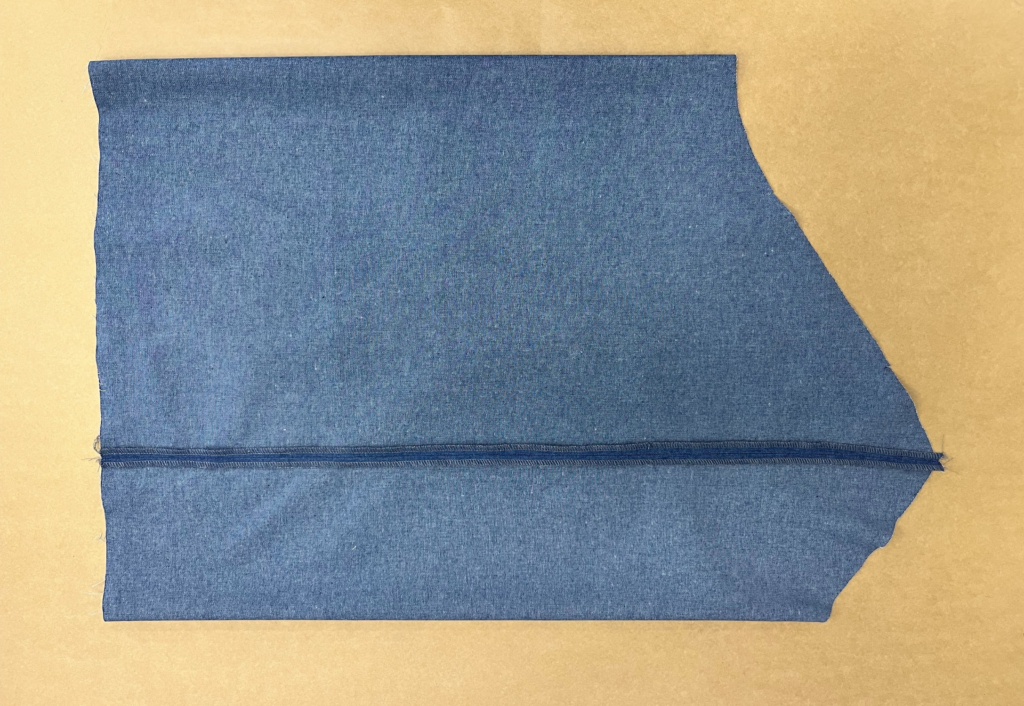
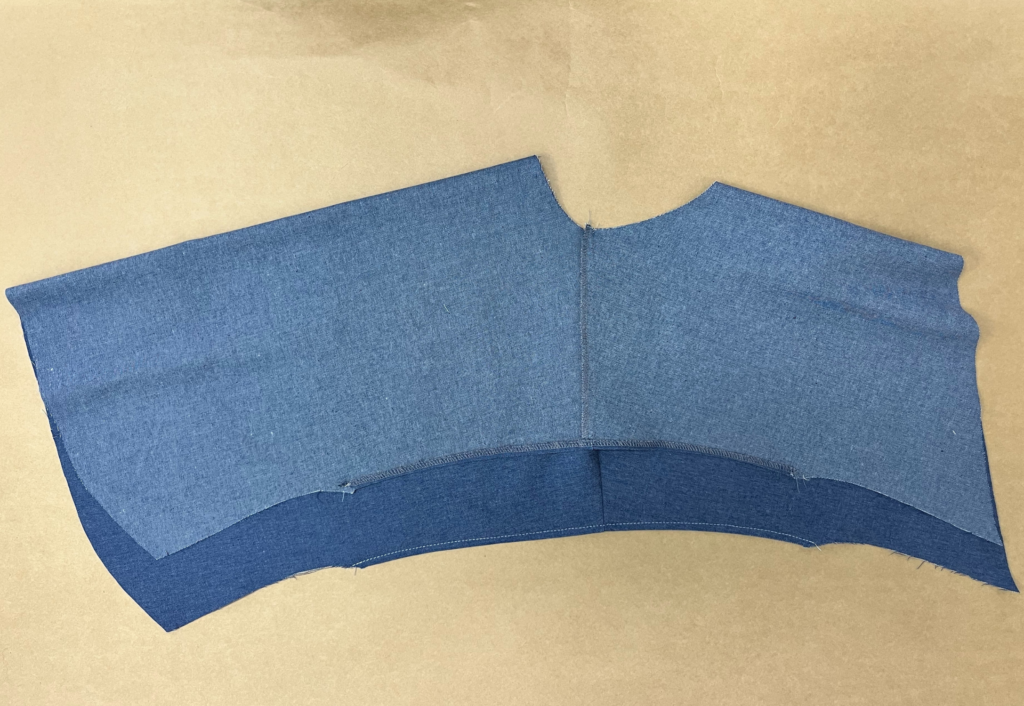
Neaten each centre front and centre back Skirt (3) seam separately with an overlocker/serger.
With RST, sew the centre front Skirt seams together and press the seam open. Repeat for the back Skirt. You may choose to sew a top stitch along each side of the
seam.

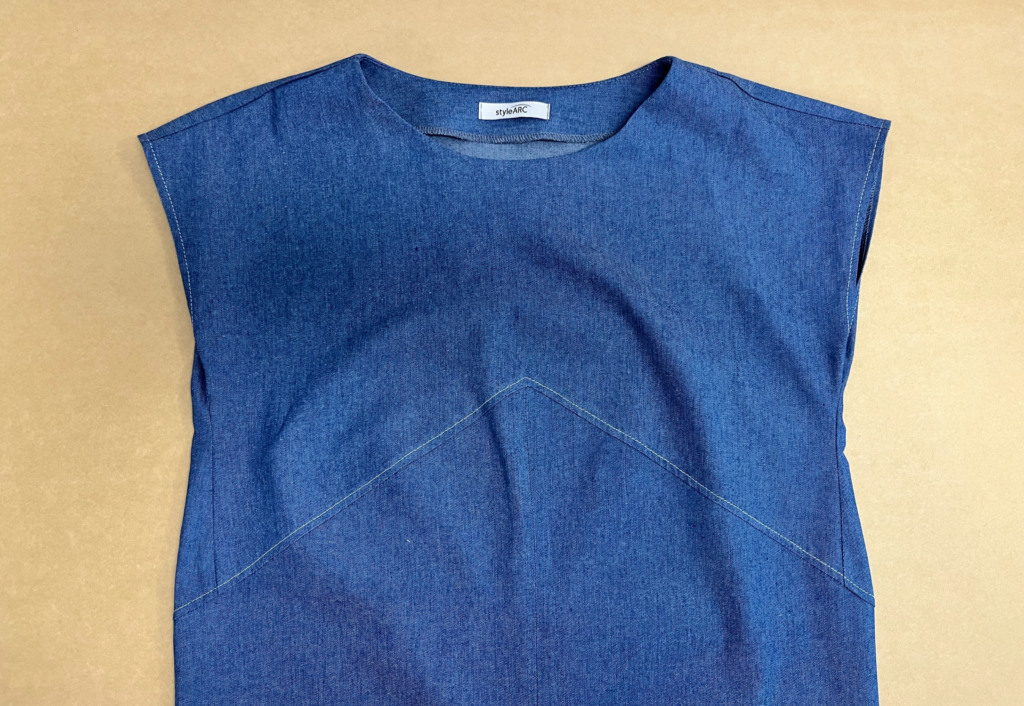
With RST, pin the skirt to the bodice, matching the notches and carefully aligning the centre front seam of the skirt with the centre front of the bodice. Note there are no side seams on the skirt.
Starting at the front bodice side seam, sew the bodice to the skirt. When you arrive at the centre front point, keep the needle down, raise the presser foot and carefully clip into the “^” on the bodice. Pivot and now continue to sew along the opposite side seam, sewing the back bodice to the back skirt, aligning at the notches as marked.
Neaten with an overlocker/serger and press the seam up toward the bodice. You may choose to sew a top stitch to the seam (optional).
Neaten the skirt hem with an overlocker/serger. Turn the hem to the inside at the notch and topstitch.
Trim any loose thread and press your new dress.
