Shop the Avon Woven Shirt and Dress
#SAAvonWovenShirtand Dress
Click below to watch a sew along on YouTube of the dress version with pointed collar and short sleeves, or scroll down for the photo tutorial.

CONSTRUCTION
COLLAR (8) or (12):
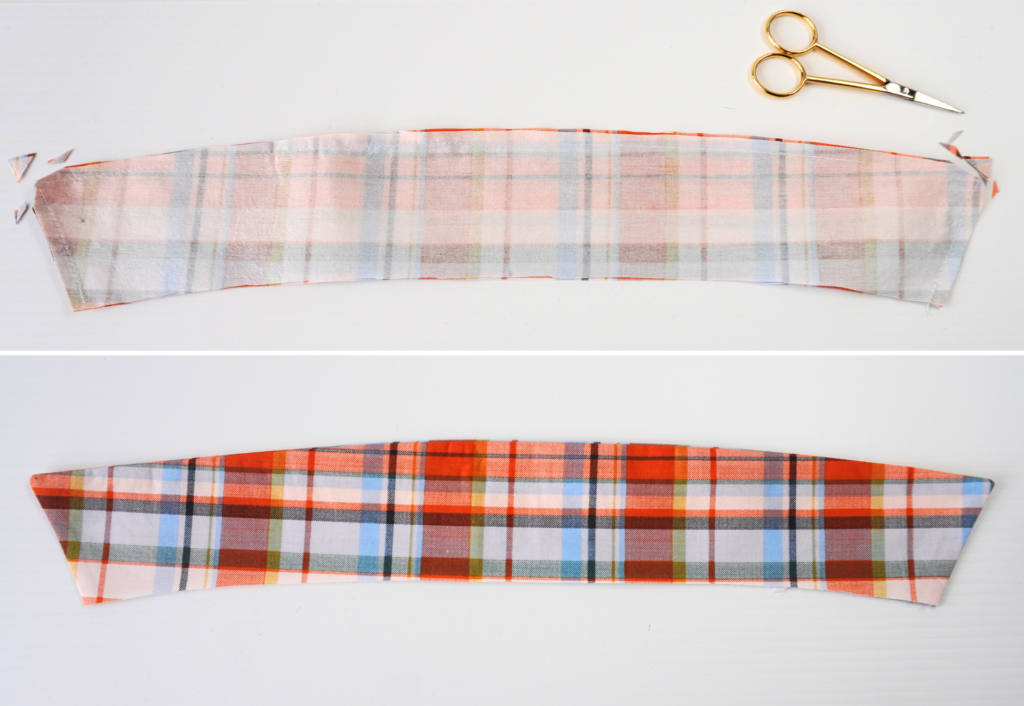
With RST, sew the outer and short ends of the regular Collar (8) OR Long Point Collar (12) together using a 6mm (1/4”) seam allowance. Clip the corners, turn out to the right side and press.
Press the 6mm (1/4”) seam allowance of the lower edge of one collar Stand (9) to the wrong side of fabric. This will be the outer stand. Place the collar between the right sides of the collar stands and stitch together, sandwiching the collar between the two collar stands.
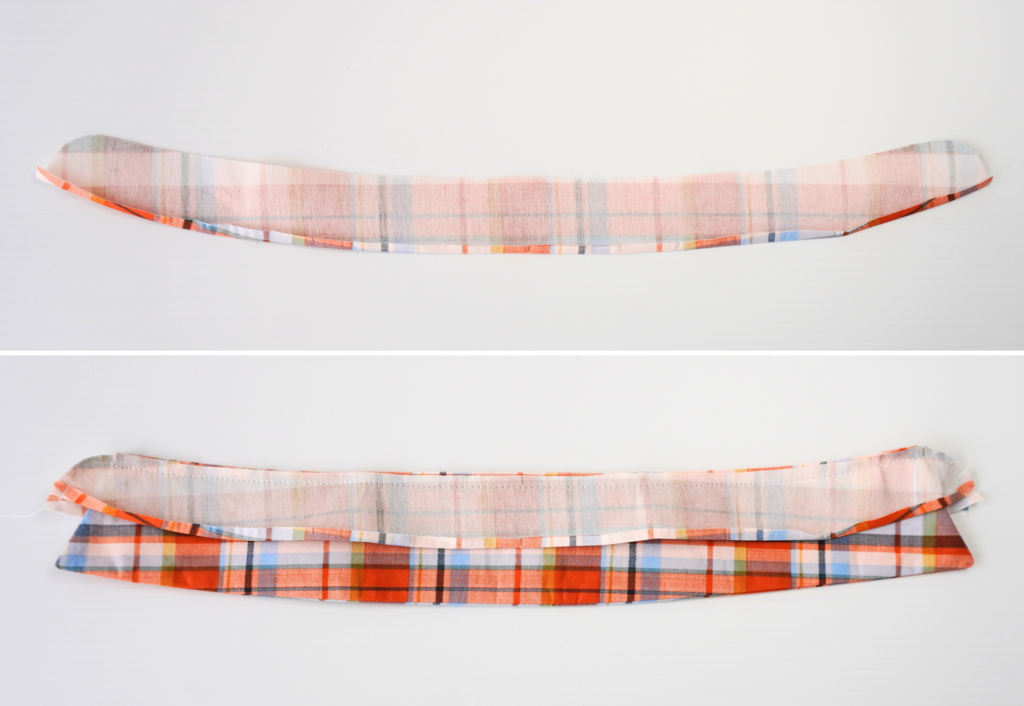
Clip into the curved seam, turn out to the right side
Press and put aside until Attaching The Collar section.
STAND COLLAR (9):
Press the 6mm (1/4”) seam allowance of the lower edge of one collar Stand (9) to the wrong side of the fabric. This will be the outer stand.
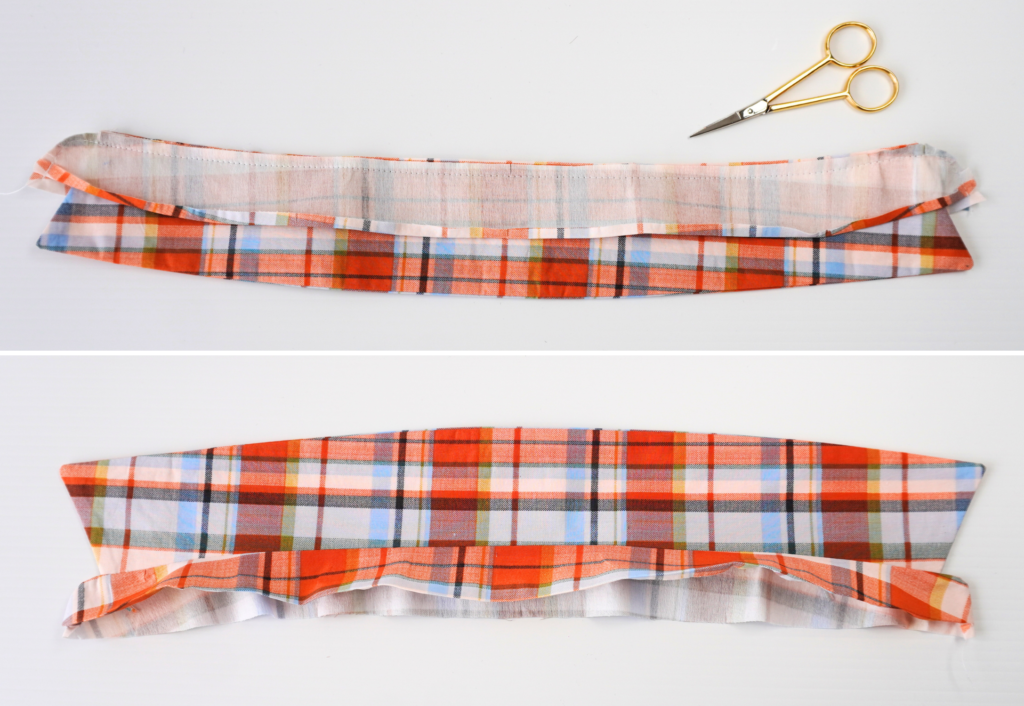
With RST, pin the pair of stands together then sew using a 6mm (1/4”) seam.
Clip into the curved seam, turn out to the right side.
Press and put aside until Attaching The Collar section.
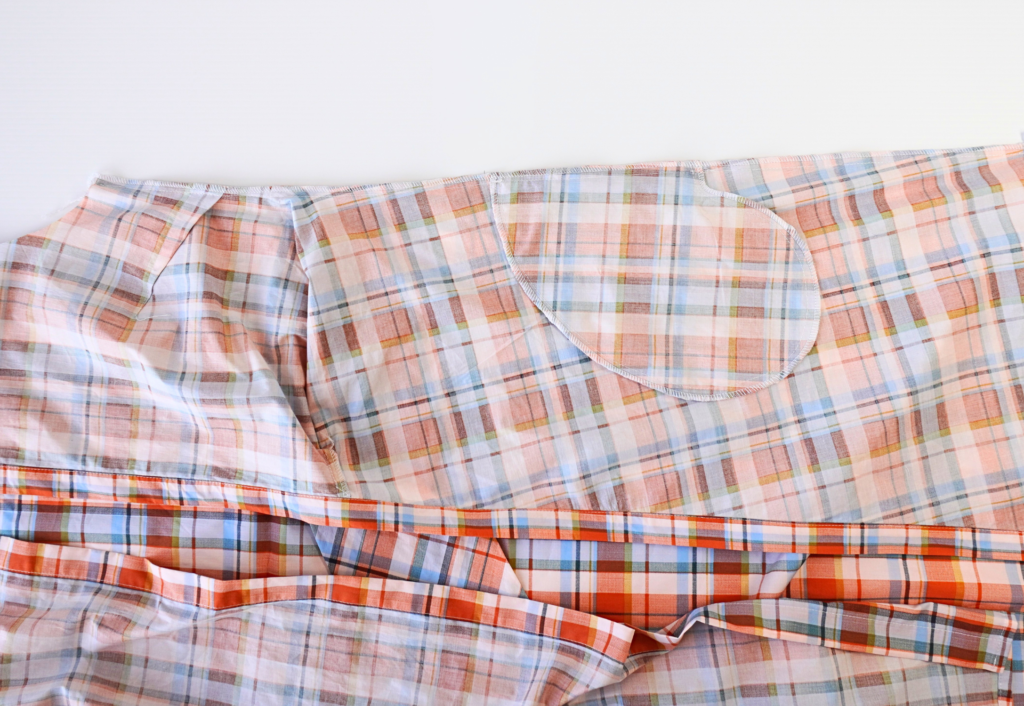
OPTIONAL INSEAM POCKETS – DRESS ONLY:
Please click here to see our Inseam Pockets tutorial.
With RST and notches aligned, sew one set of Pockets (12) to the Front Dress (1 and 2) at the side seam (seamline marked ‘A’ on the pattern). Stitch only between the notches. Clip the seam at the notches and sew an understitch on the side of the pocket bag. This is pocket bag 1.
With RST, lay pocket bag 2 on top of pocket bag 1, align and sew both pocket bags together (seamline marked ‘B’ on the pattern). Note that the straight edge of pocket bag 2 is left free to sew to the back skirt side seam. Neaten around the pockets using an overlocker/serger. Secure stitch each end of the pocket opening.
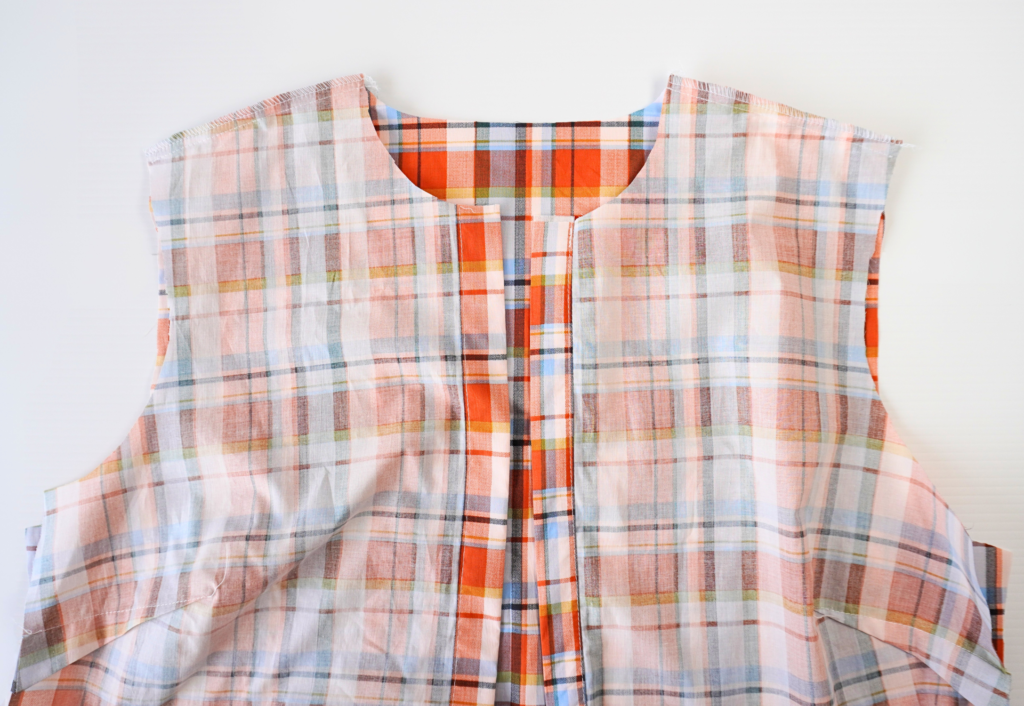
BODY:
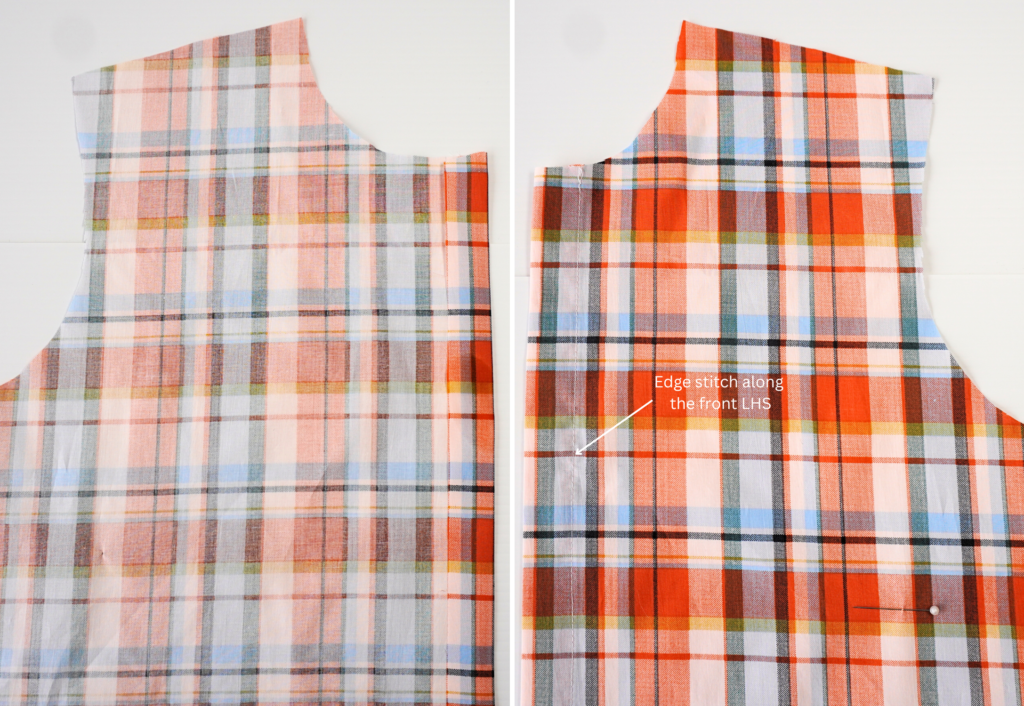
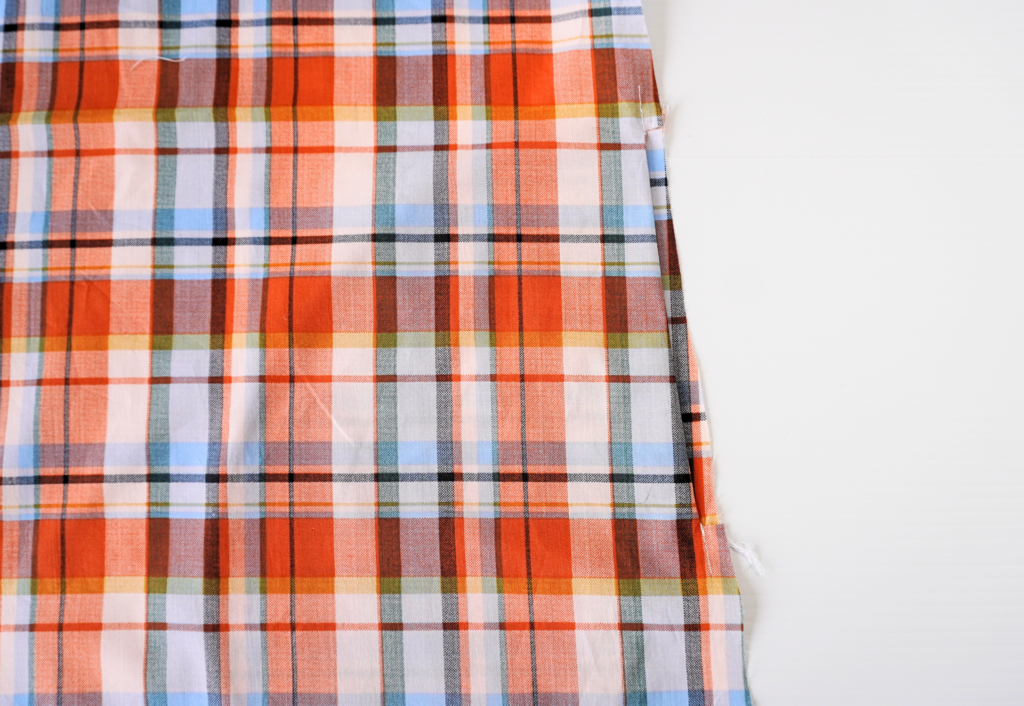
Double turn the fused centre front of the LHS Front (2) to the inside at the notches and press. Edge stitch into place.
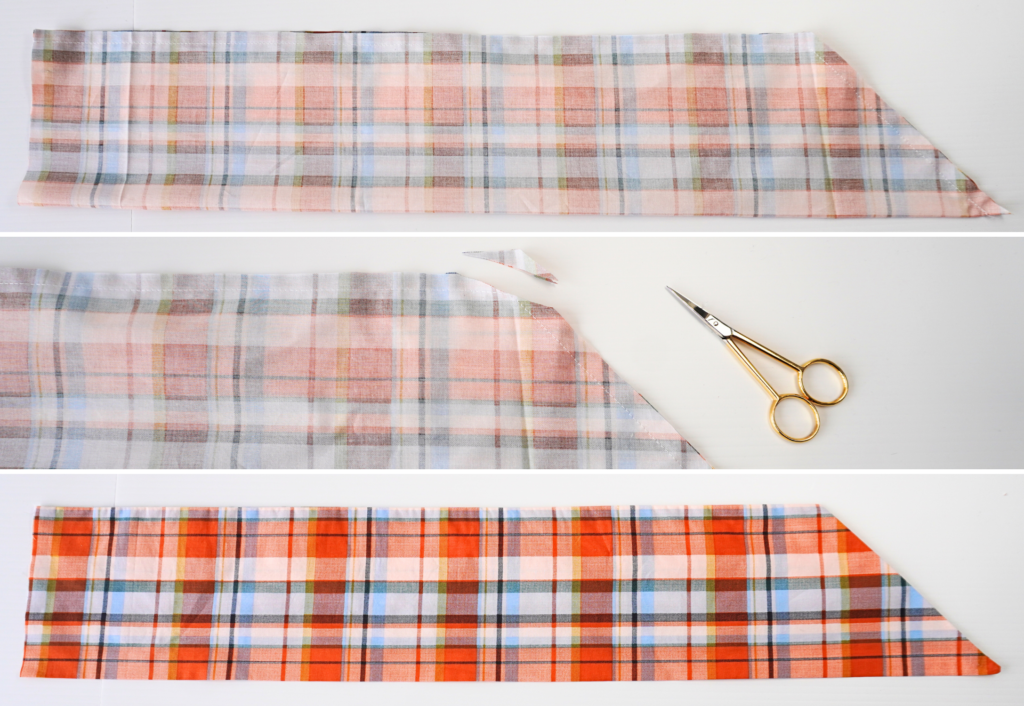
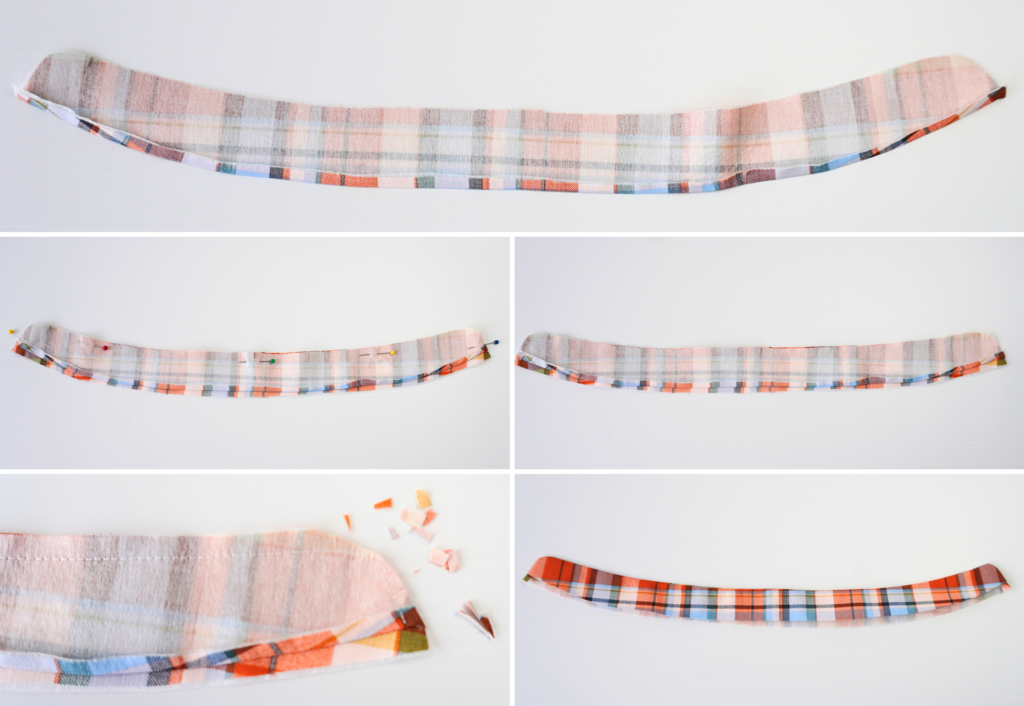
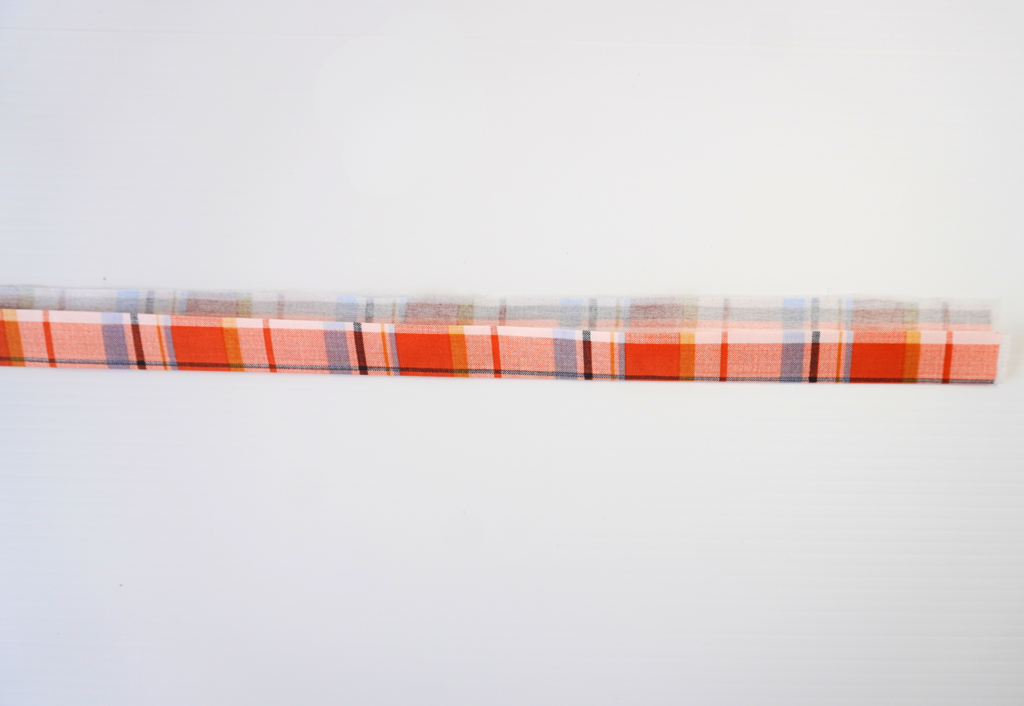
With RST, fold the Left Side Tie (7) in half lengthwise and sew the long and angled edges together. Clip the corners, turn out to the right side and press.
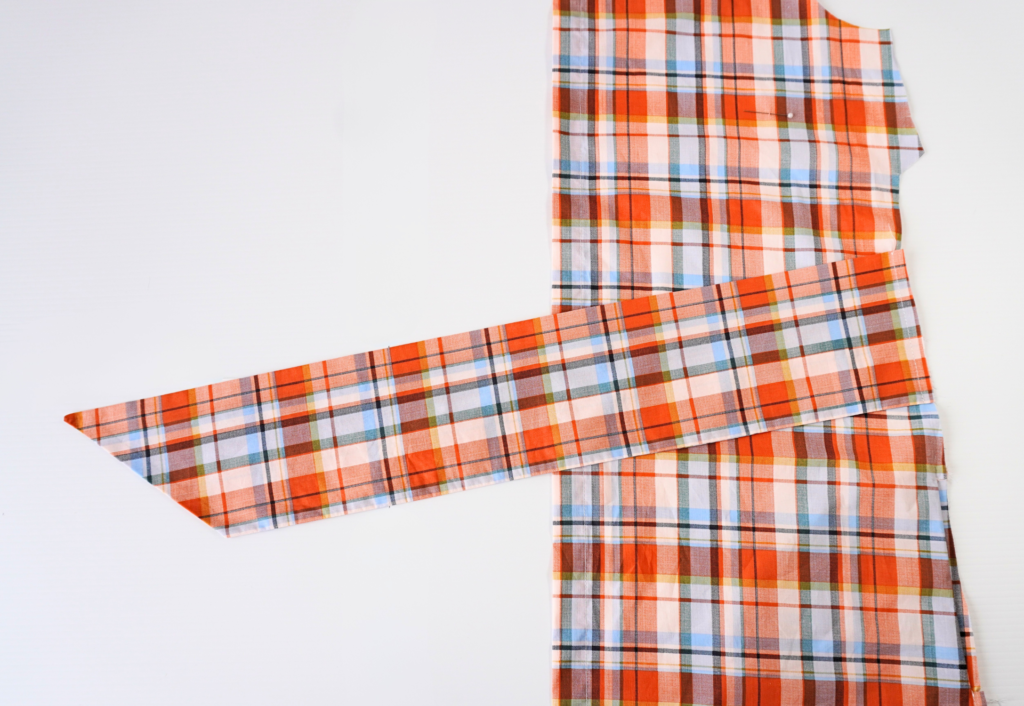
Sew the tie to the left front side seam between the notches as marked on the pattern (see the diagram on page 6 for point direction).
With RST, sew RHS Front Bodice (1A) to RHS Front Skirt (1B) as shown on the pattern. Neaten using an overlocker/serger and press the seam toward the bodice.
Sew the bust darts on the left and right fronts and press downward.

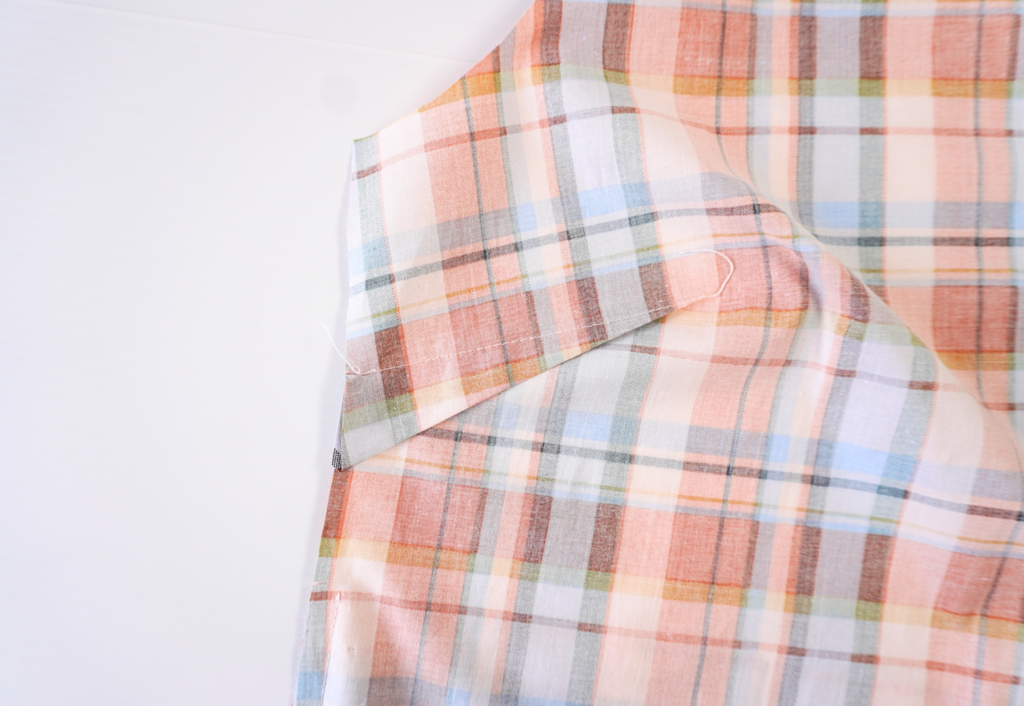
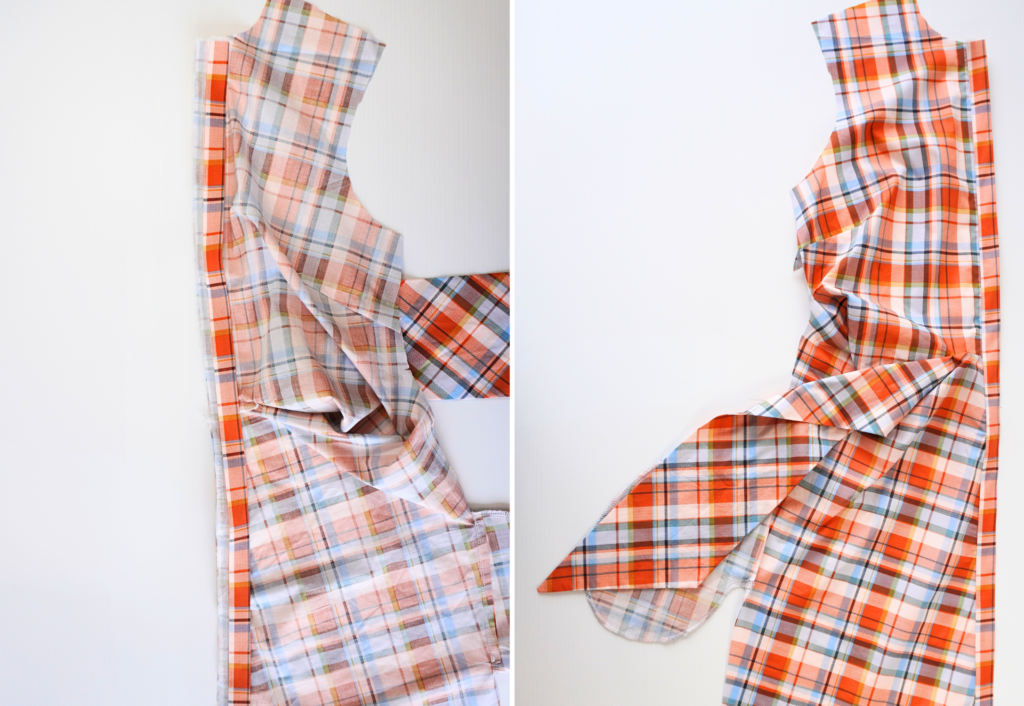
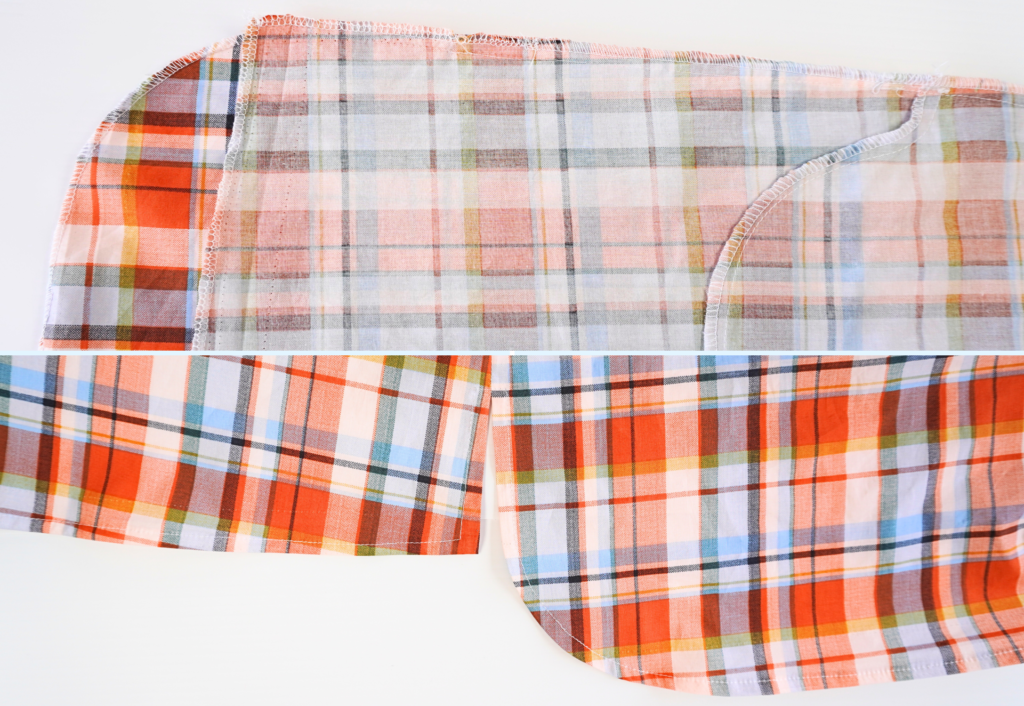
With RST, sew the right front darted cut-out seams together, B to B. Clip into the corner & continue sewing along the tie, pivot at the corner and sew the end of the tie.
Neaten the darted cut-out seam using an overlocker/serger.
Clip the corners of the tie and turn out to the right side and press. See diagram.

With WST, fold the RHS Placket (6) in half lengthways and press.
Fold the 1cm (3/8”) seam allowance of one long edge of the placket to the inside and press. This is the outer placket.
Pin the right side of the inner edge of the placket to the wrong side of the centre front of the right front and sew. Press the seam toward the placket. Pin the placket outer edge into place to the right side of the right front and edge stitch into place. Match “A” “B” & “C” notches marked on the front and front placket.
Dress hemline:
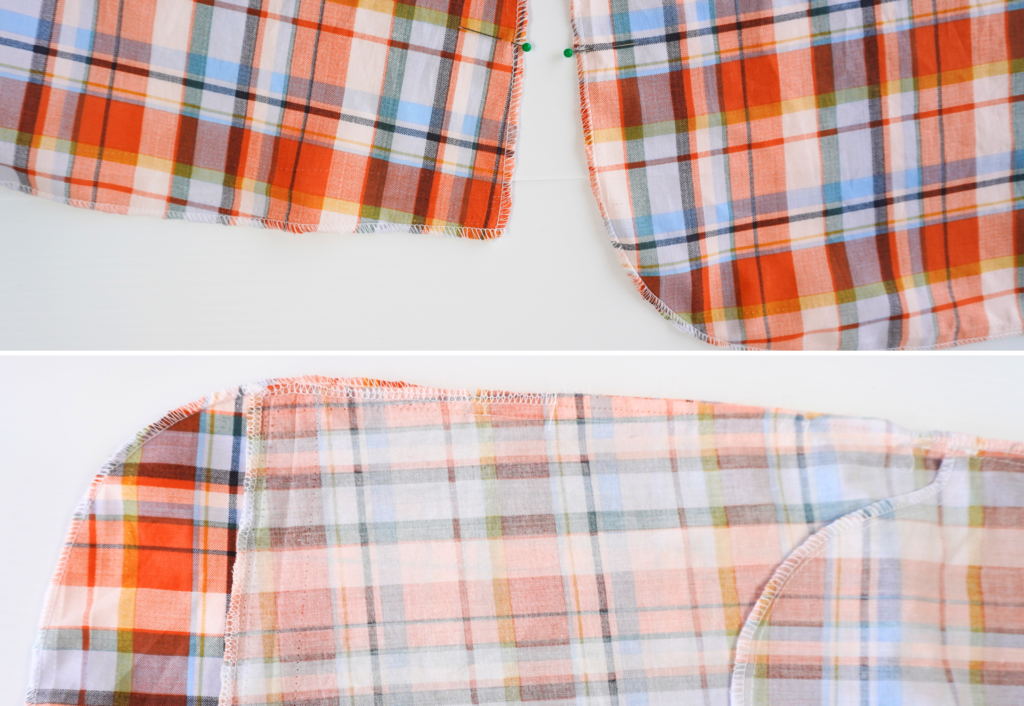
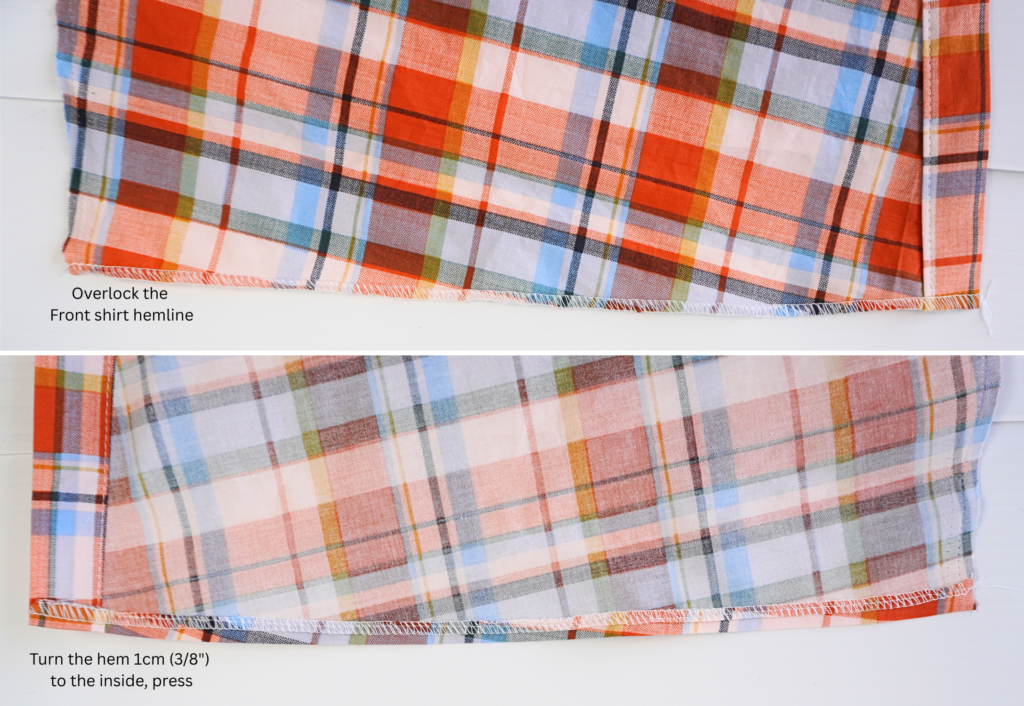
Using an overlocker/serger, neaten along the lower side seams and hem of the fronts. Start approximately 2.5 cm (1”) above the split notch on the wearer’s left, then neaten along the hem of each front and up to approximately 2.5 (1”) above the split notch on the wearer’s right. Note the front hemline is shorter than the back hemline.
Repeat the previous step to neaten the Back (3) hem.
Sew the back darts and press toward the centre back.
With RST, sew the front to Back (3) at the shoulder seams. Neaten using an overlocker/serger and press toward the back.
Sew a stay stitch to the neck opening to prevent stretching.
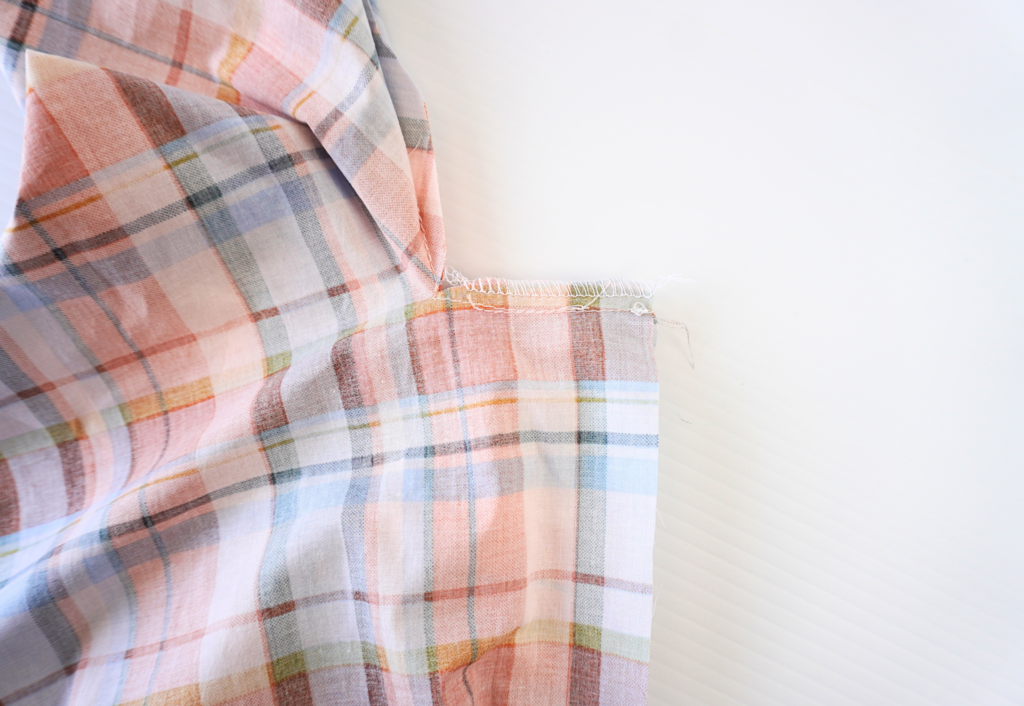
With RST, sew the front to back at the side seams. Start at the under arm and finish at the split notch, sandwiching the left side tie into the seam. Take care not to sew the pocket closed (if using).
Neaten using an overlocker/serger as far as the previously neatened section and press toward the back.
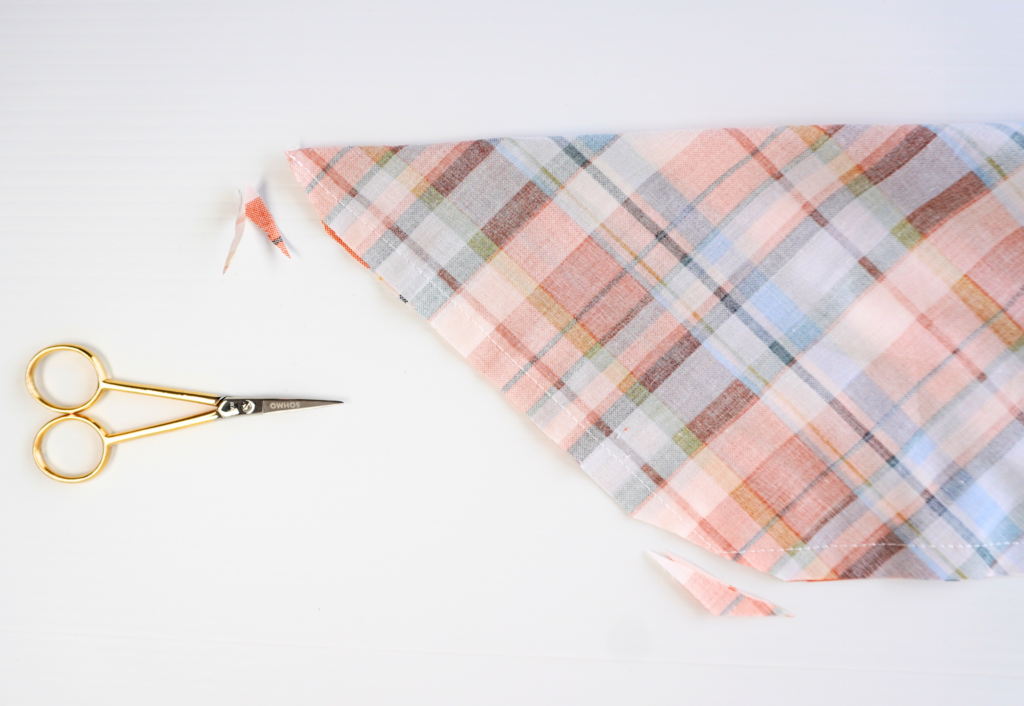
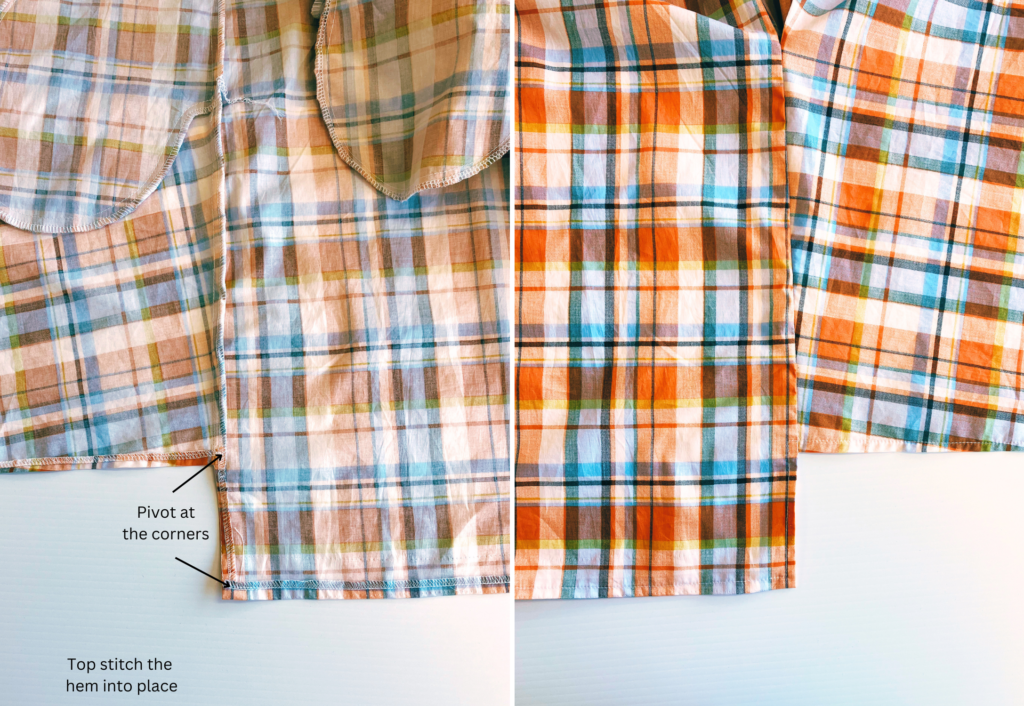
Turn the front hem, back hem and side splits 1cm (3/8”) to the inside, press and top stitch into place. Take care not to “rope” (twist) the hem as you sew.
Sew a bar tack to the top of the split by hand or machine.
Shirt hemline:
Sew the back darts and press toward the centre back.

ATTACHING THE COLLAR:
Pin the right side of the inner collar stand to the wrong side of the neck opening, aligning notches.
Sew using a 6mm (1/4”) seam. Press the seam toward the collar stand. Turn to the right side.
Pin, then sew the pressed edge of the outer collar stand to the neckline with an edge stitch on the side of the collar stand, continue the edge stitch completely around the collar stand.
SHORT SLEEVE WITH BAND:
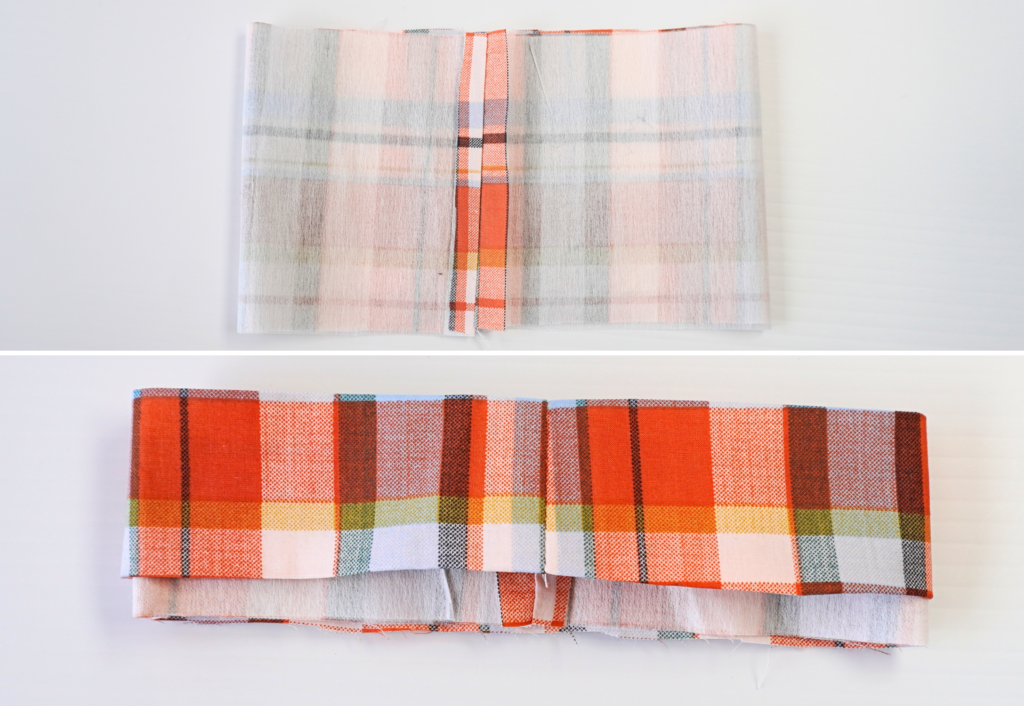
With RST, sew the shorts ends of Short Sleeve Cuff (11) together, creating a loop. Press the seam open.
With WST fold the cuff in half lengthways and press. Press the 1cm (3/8”) seam allowance of one edge to the inside and press. This is the outer edge.
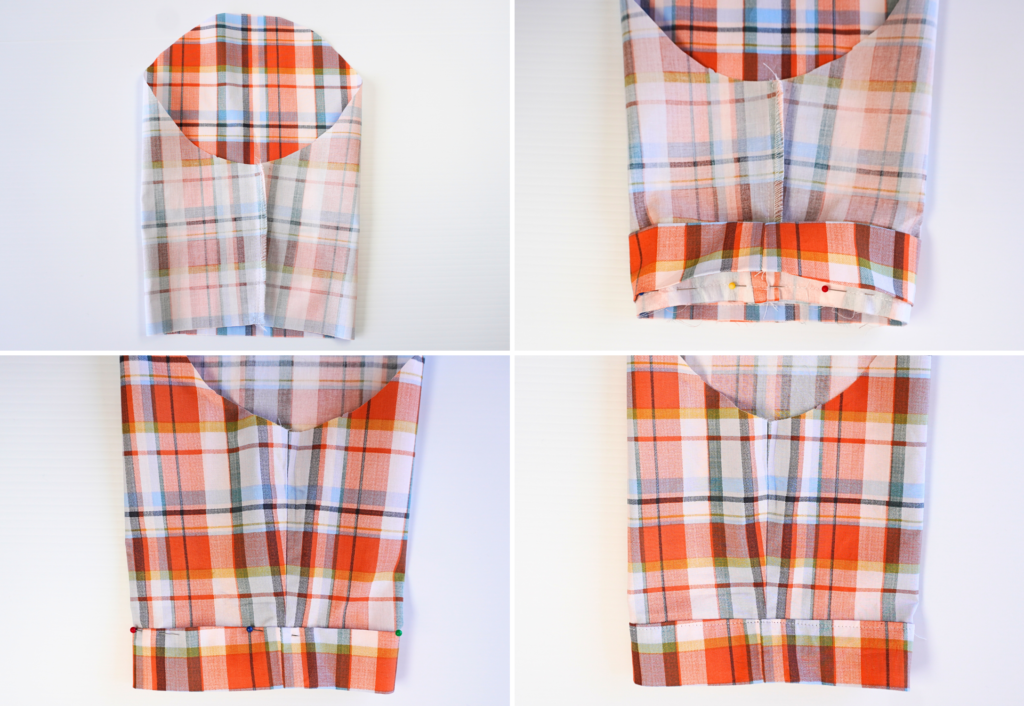
With RST, sew the under-sleeve seam of the Sleeve (4). Neaten using an overlocker/serger and press toward the back.
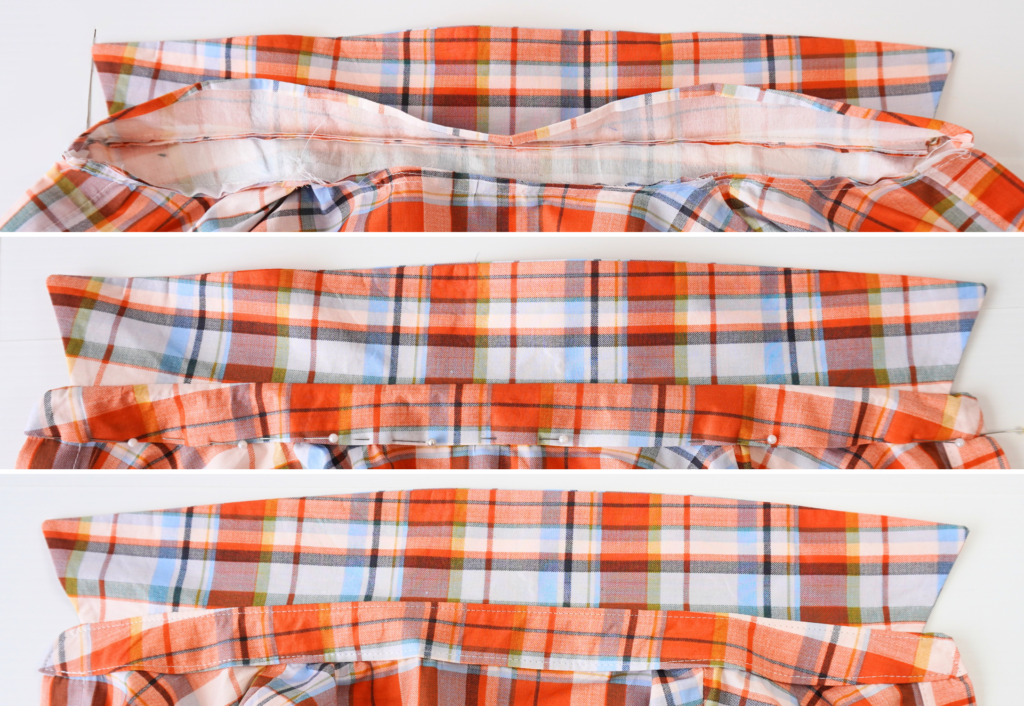
Pin the right side of the inner edge of the cuff to the wrong side of the sleeve opening. Sew the seam, then press the seam toward the cuff. Turn to the right side.
Pin the pressed outer cuff to the right side of the sleeve opening and top stitch into place.
Sew a long ease stitch to the head of the sleeve and draw in slightly. This will make it easier to fit the sleeve into the armhole.
With RST and notches aligned, sew the sleeves into the armholes. Neaten using an overlocker/serger and press toward the sleeve.
LONG SLEEVE WITH CUFF:
With WST, fold the Long Sleeve Cuff (5) in half lengthways and press. Fold the 1cm (3/8”) seam allowance of the cuff to the inside (wrong side) and press. This is the outer cuff.
With RST, fold the cuff in half lengthways and sew the short ends. Clip the corners, turn out to the right side and press.
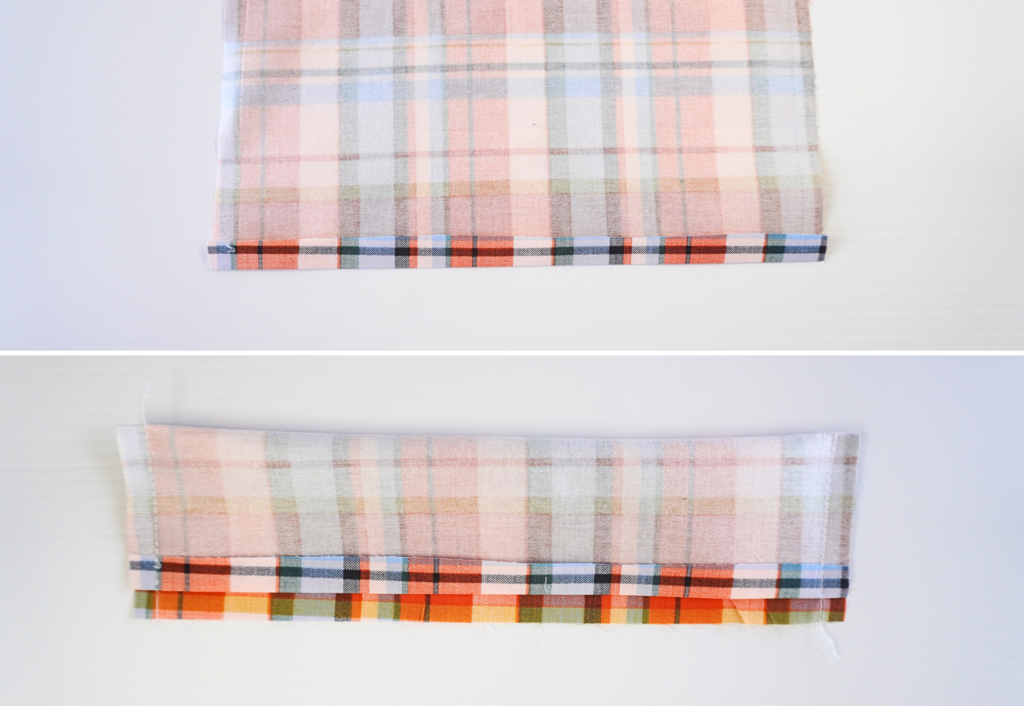
With WST, press the Sleeve Bind (10) in half lengthways and press.
Carefully cut into the sleeve split at the cut line shown on the pattern.

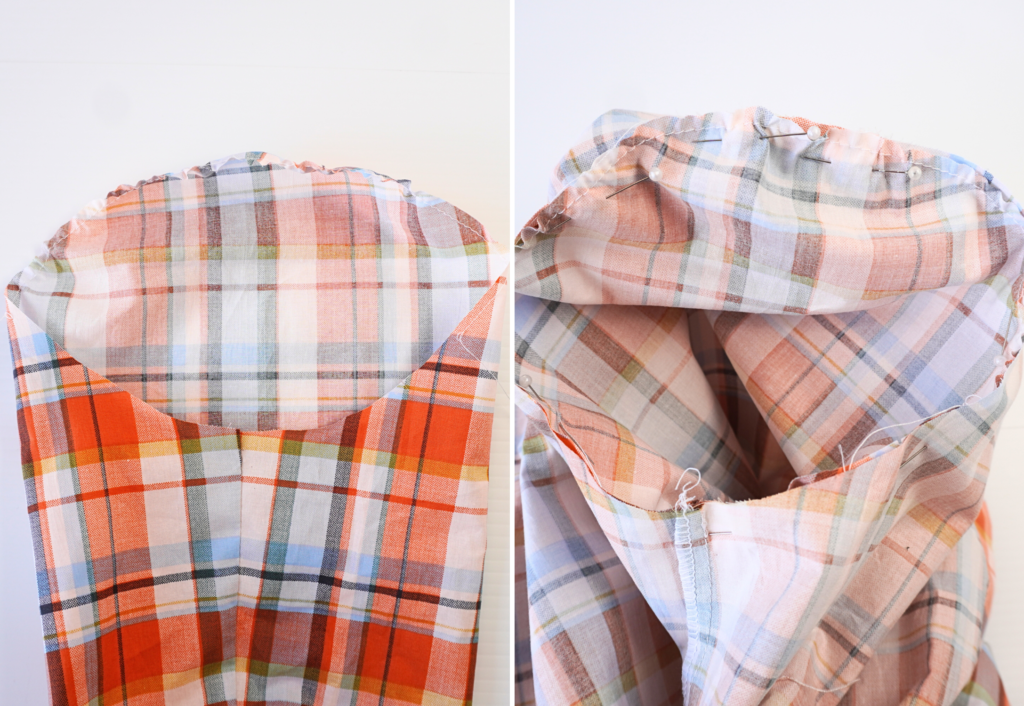
With the right side of the Sleeve Bind (10) facing to the wrong side of the sleeve, pin the cut edge of the sleeve split to the binding.
Following the stitch line shown on the pattern, sew the binding to the split. Note the seam allowance on the sleeve starts at 6mm (1/4”) at the sleeve opening, and 2mm at the top of the split, and the seam allowance of the binding is 6mm (1/4”) only.
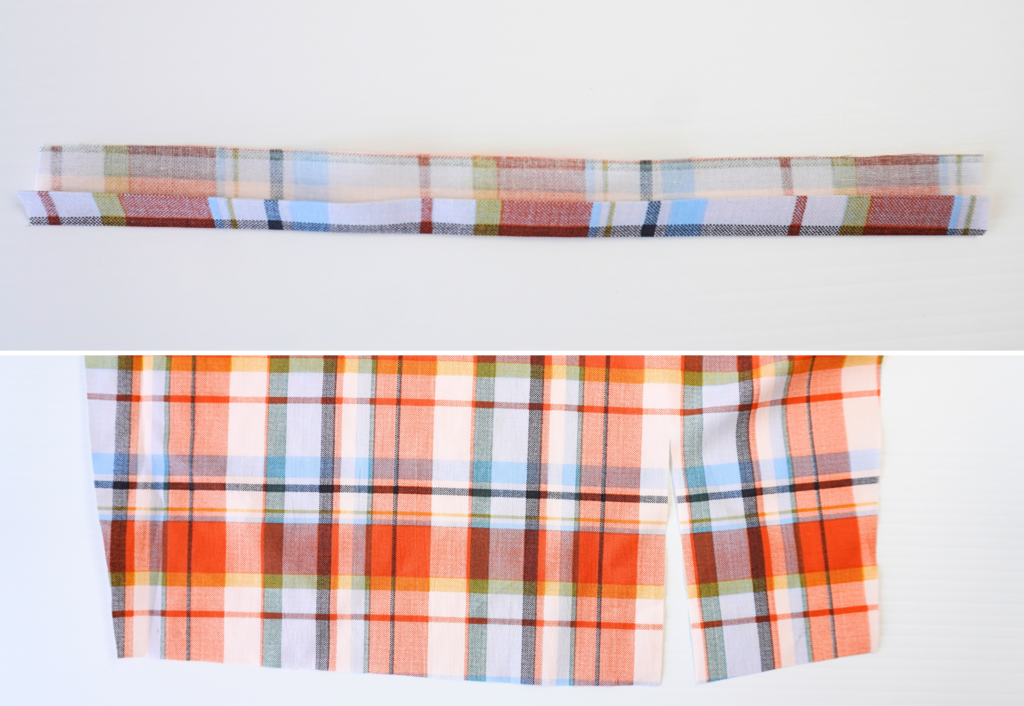
Fold the other edge of the binding over, encasing the seam. Tuck the cut edge under, and pin into place. Edge stitch the binding into place.
Finish the top of the binding with a small dart, see diagram.
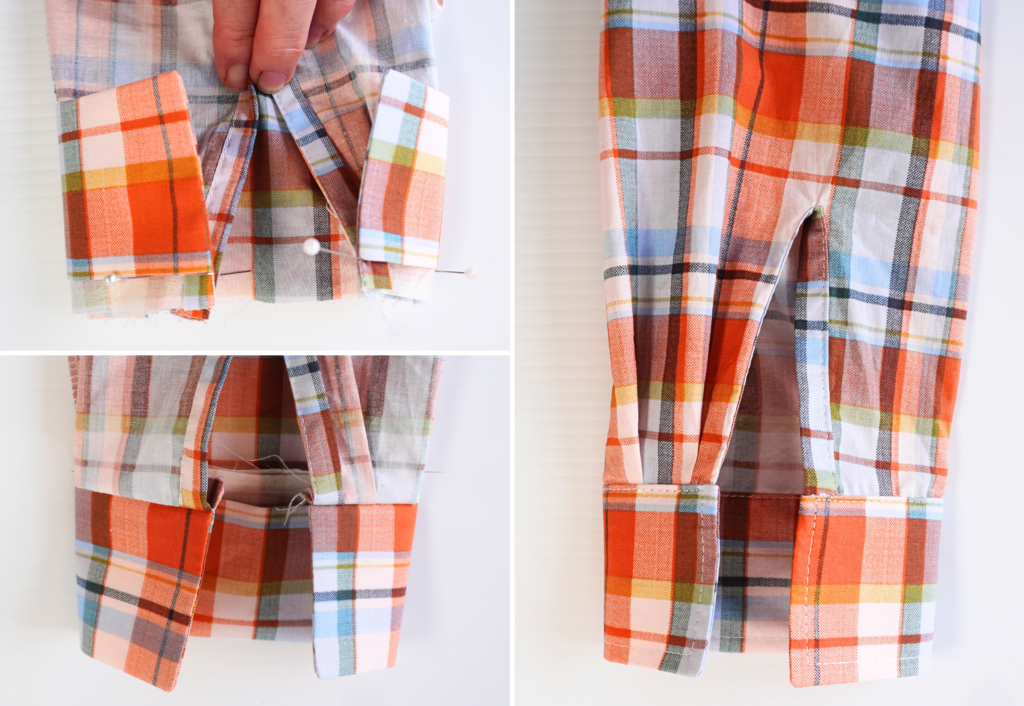
Take note of the front and back of the sleeve at the opening – when buttoned, the back cuff will sit under the front cuff, and you will position the bind this way.
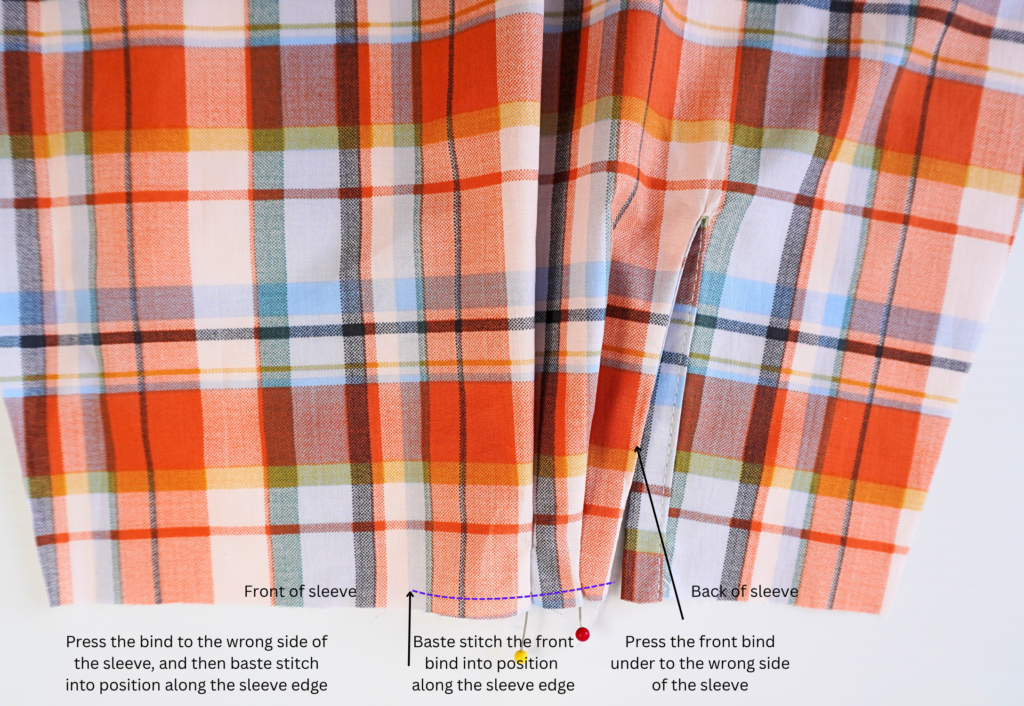
Press the sleeve binding into place – the binding attached to front side of the split should be folded to the inside (wrong side) of the sleeve.
Baste stitch the bind into position along the sleeve edge. The binding attached to the back sleeve split is not turned to the inside. See diagram.
Pin the sleeve tucks in the direction indicated on the pattern and baste into place along the sleeve hem. Lightly press the tucks.
Pin the right side of the inner cuff to the wrong side of the sleeve. Sew, then press the seam toward the cuff. Turn to the right side.
Pin the pressed outer cuff to the right side of the sleeve opening and top stitch into place.
Sew a long ease stitch to the head of the sleeve and draw in slightly. This will make it easier to fit the sleeve into the armhole.
37. With RST and notches aligned, sew the sleeves into the armholes. Neaten using an overlocker/serger and press toward the sleeve.
COMPLETION:
Mark the button and buttonhole placement on the front placket, collar stand and long sleeve cuffs (if using) as indicated on the pattern. Make the buttonholes using your preferred method and attach the buttons.
Trim any loose threads and carefully press your new dress!