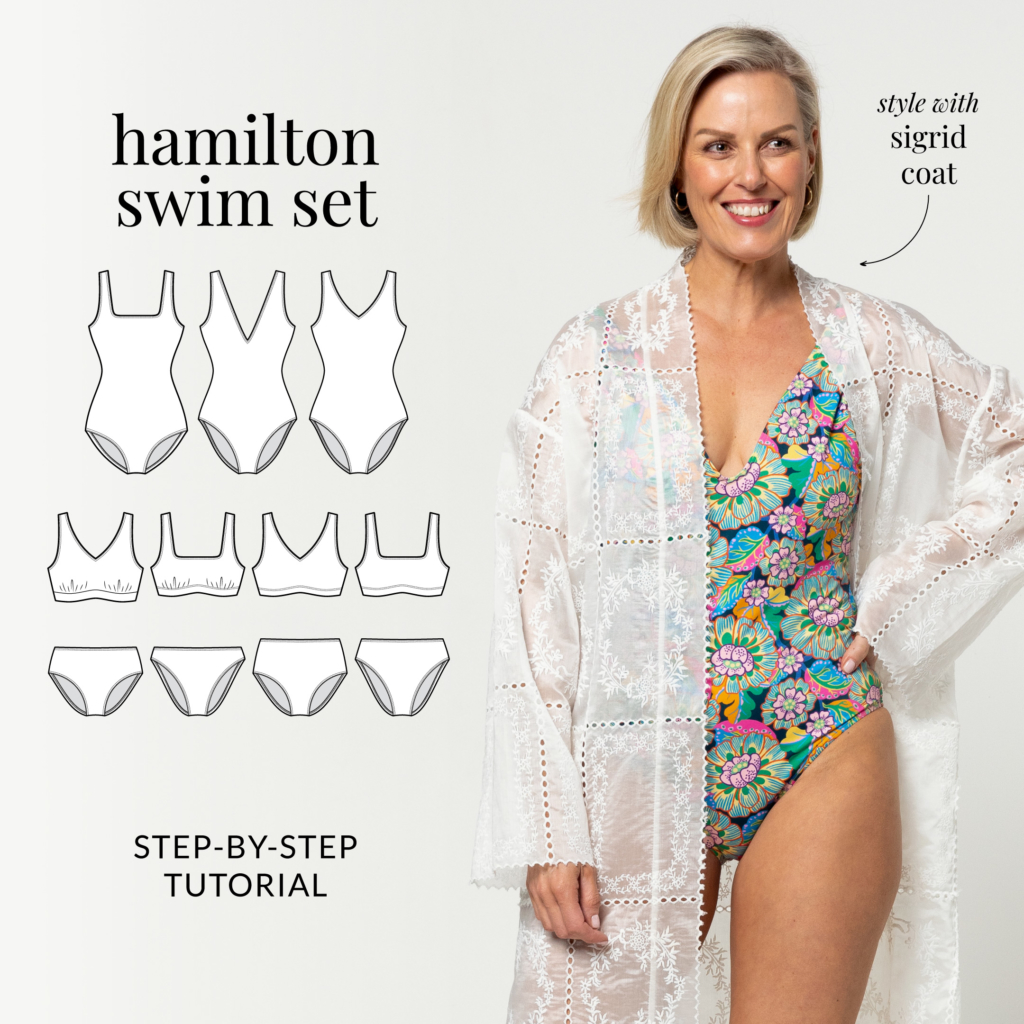
Shop the Hamilton Swim Set
#SAHamiltonSwimSet
VIDEO TUTORIAL
Click here to watch a step by step video sew along on YouTube:

PHOTO TUTORIAL
CONSTRUCTION
Please note all seams are 6mm (1/4”) and are suitable for a four-thread overlocker/serger, zig zag stitch or stretch stitch.
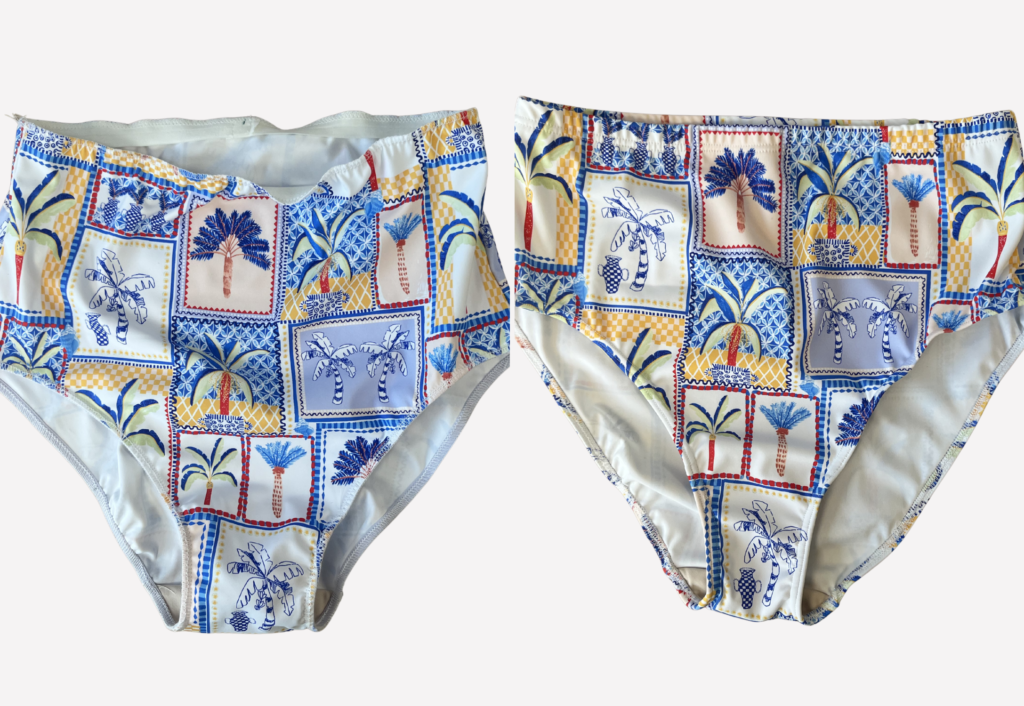
BIKINI BOTTOMS – UNLINED WITH GUSSET (1, 2, 4 OR 5, 6, 9):
Please note – You may choose to line your bikini bottoms. If so, omit the gusset and take note of the steps for the bikini top and adapt for the bottoms.
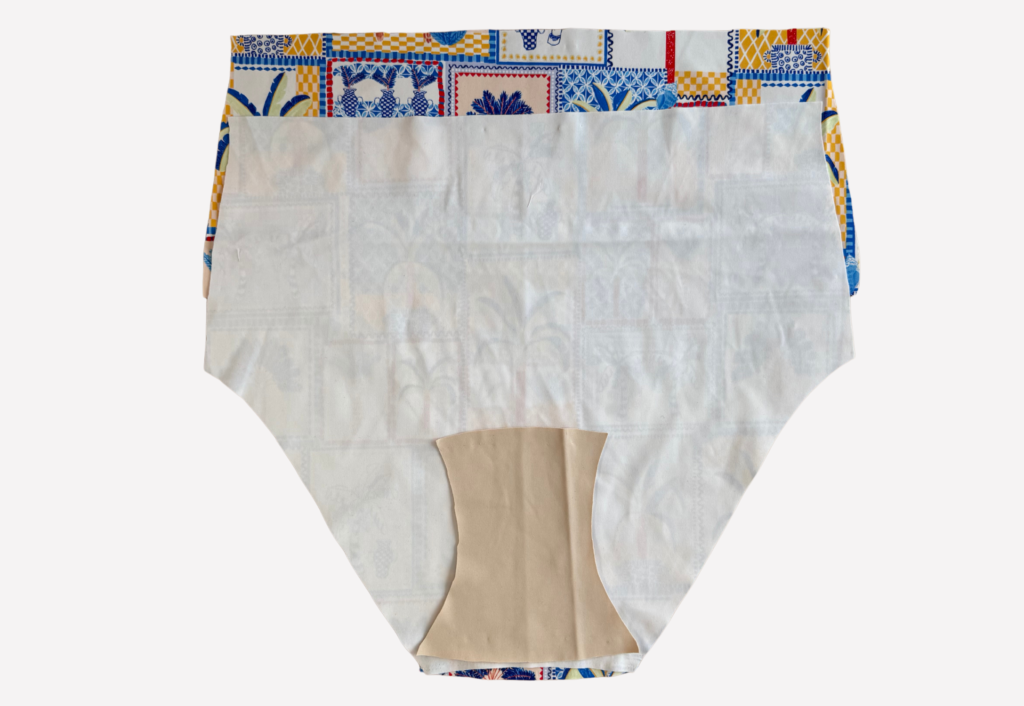
With RST, align the Back to the Front at the crotch with the back on top. Place the Gusset on top with the right side facing down and pin the three layers together, sandwiching the back crotch in between.
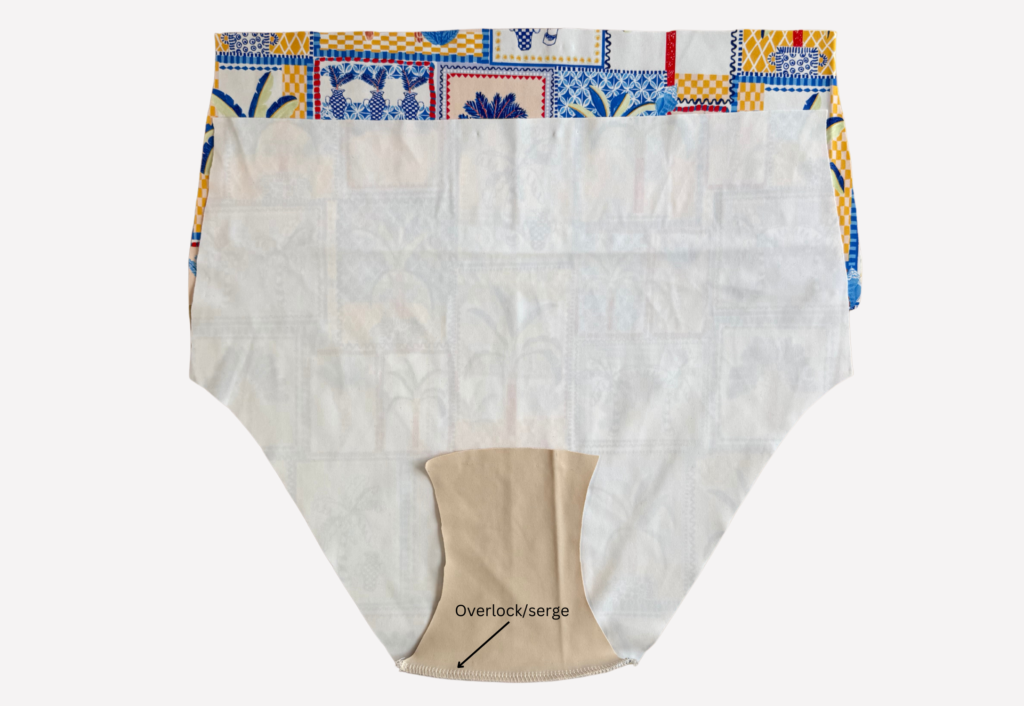
Sew using an overlocker/serger or zig zag stitch.
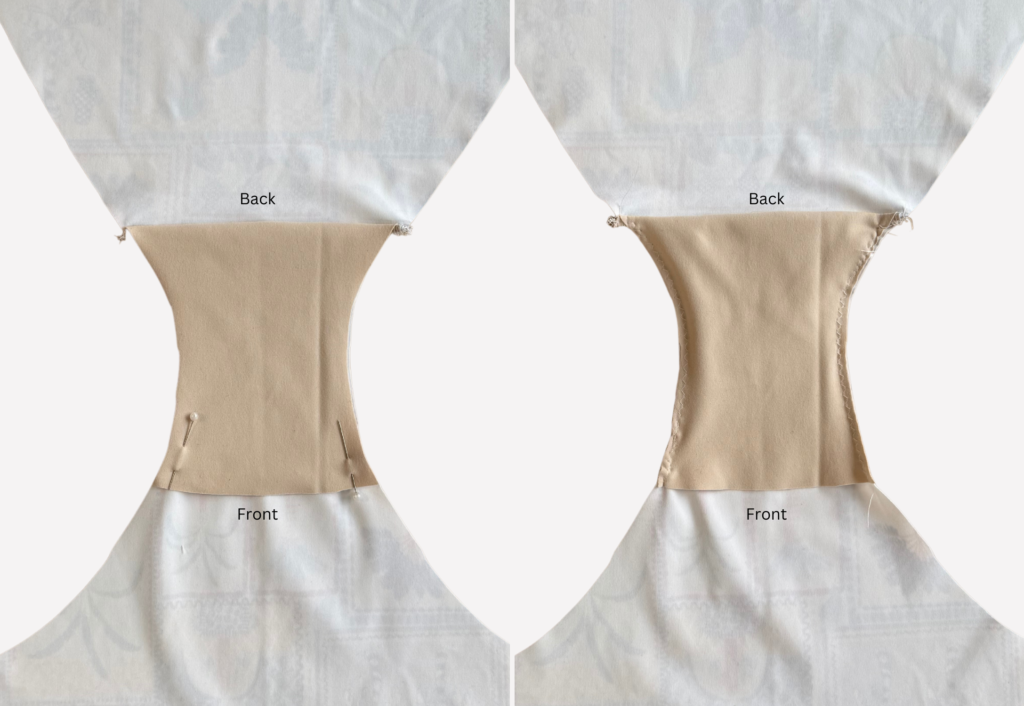
Fold the gusset toward the front so the right side is facing out.
Baste the outer edges to the leg openings of the main body using a zig zag stitch. The front of the gusset can be left raw.
With RST, sew the Front to Back at the side seams. Press the seam toward the back.
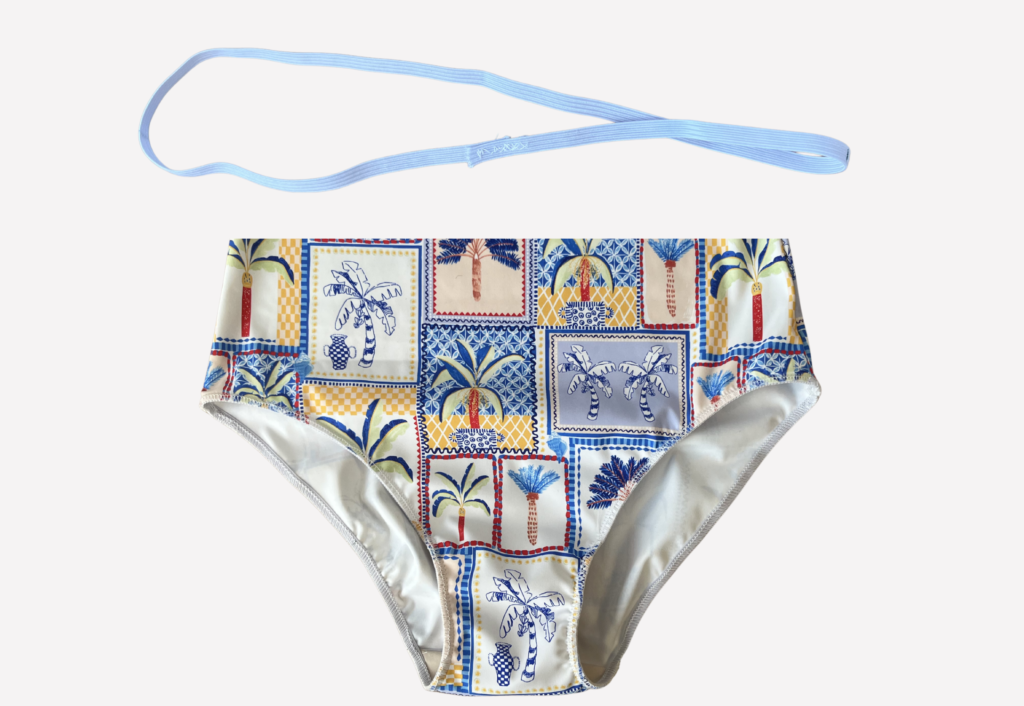
Overlap the cut ends of the leg elastic by 2cm (¾”) and securely stitch together, creating a loop. Using pins, erasable pen or chalk, mark the quarter points.
Mark the quarter points on the leg openings on the main body. You can do this by folding the openings in half and marking, then fold in half again and marking (not following notches). This is to ensure the elastic is sewn evenly to your openings.
Aligning the marks, pin the elastic to the wrong side of the openings and sew into place using a zig zag stitch, stretching the elastic as you sew. Make sure to sew with the elastic on the top. Lightly press the elastic using steam as this will help shrink the elastic back into place.
Turn the seam to the inside, pin into place and topstitch using a twin needle.
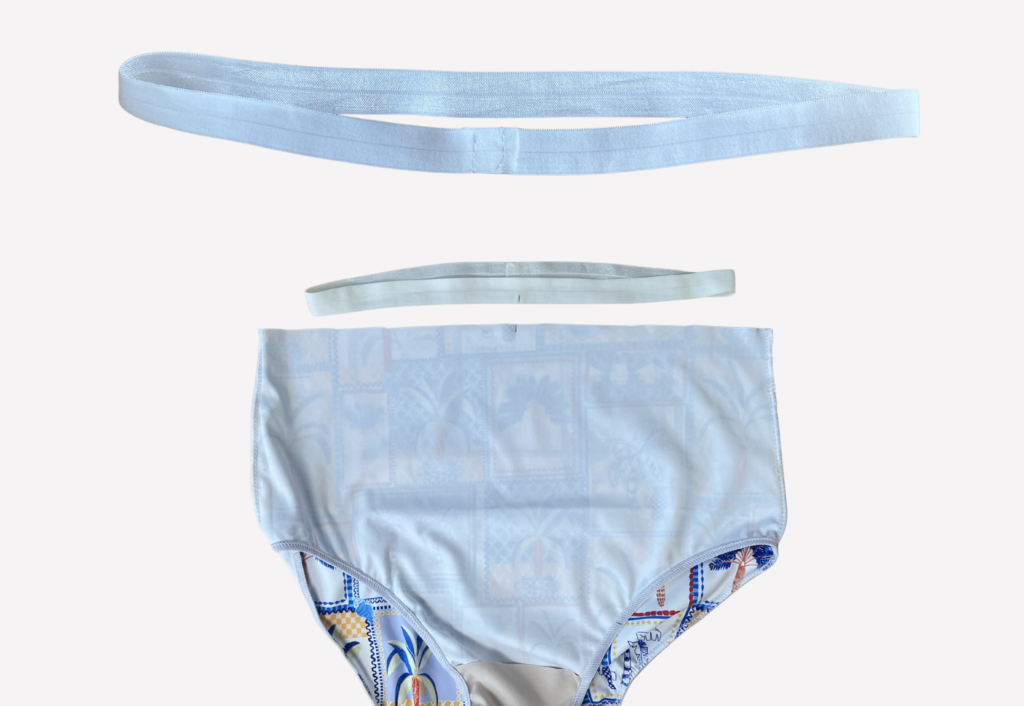
Overlap the cut ends of the waist elastic by 2cm (¾”) and securely stitch together, creating a loop. Using pins, erasable pen or chalk, mark the quarter points.
Mark the quarter points on the waist opening on the main body. You can do this by folding the openings in half and marking, then fold in half again and marking (not following notches). This is to ensure the elastic is sewn evenly to your openings.
Aligning the marks, pin the elastic to the wrong side of the openings and sew into place using a zig zag stitch, stretching the elastic as you sew. Make sure to sew with the elastic on the top. Lightly press the elastic using steam as this will help shrink the elastic back into place.
Turn the seam to the inside, pin into place and topstitch using a twin needle.
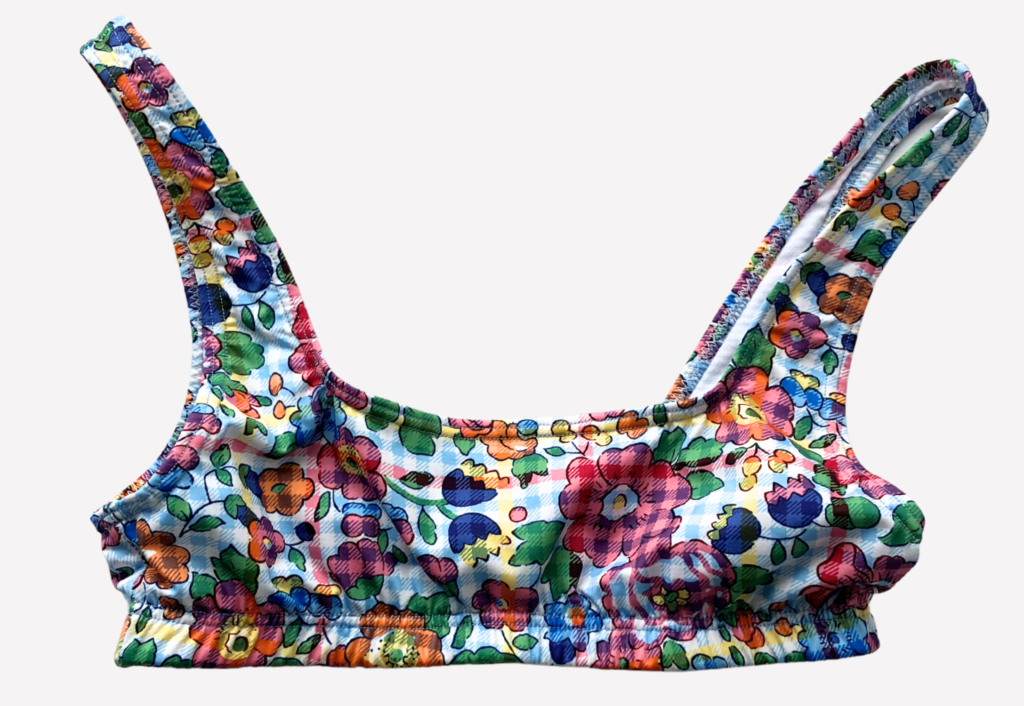
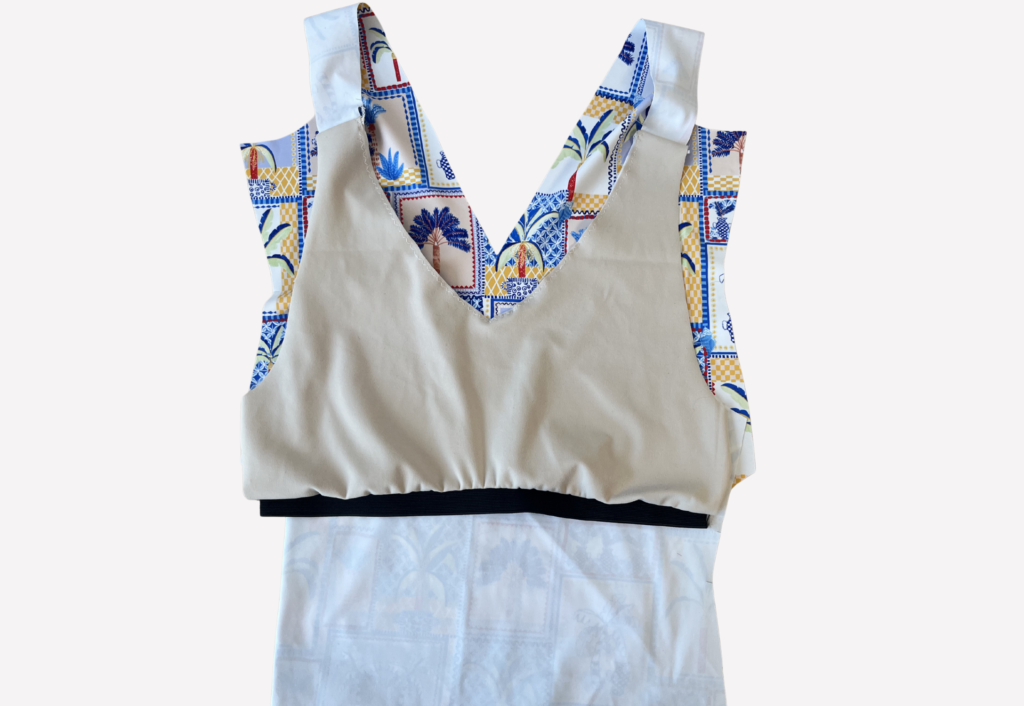
BIKINI TOP, SQUARE OR V-NECK – LINED (3 & 8 OR 7 & 8 OR 10 & 8 OR 11 & 8):
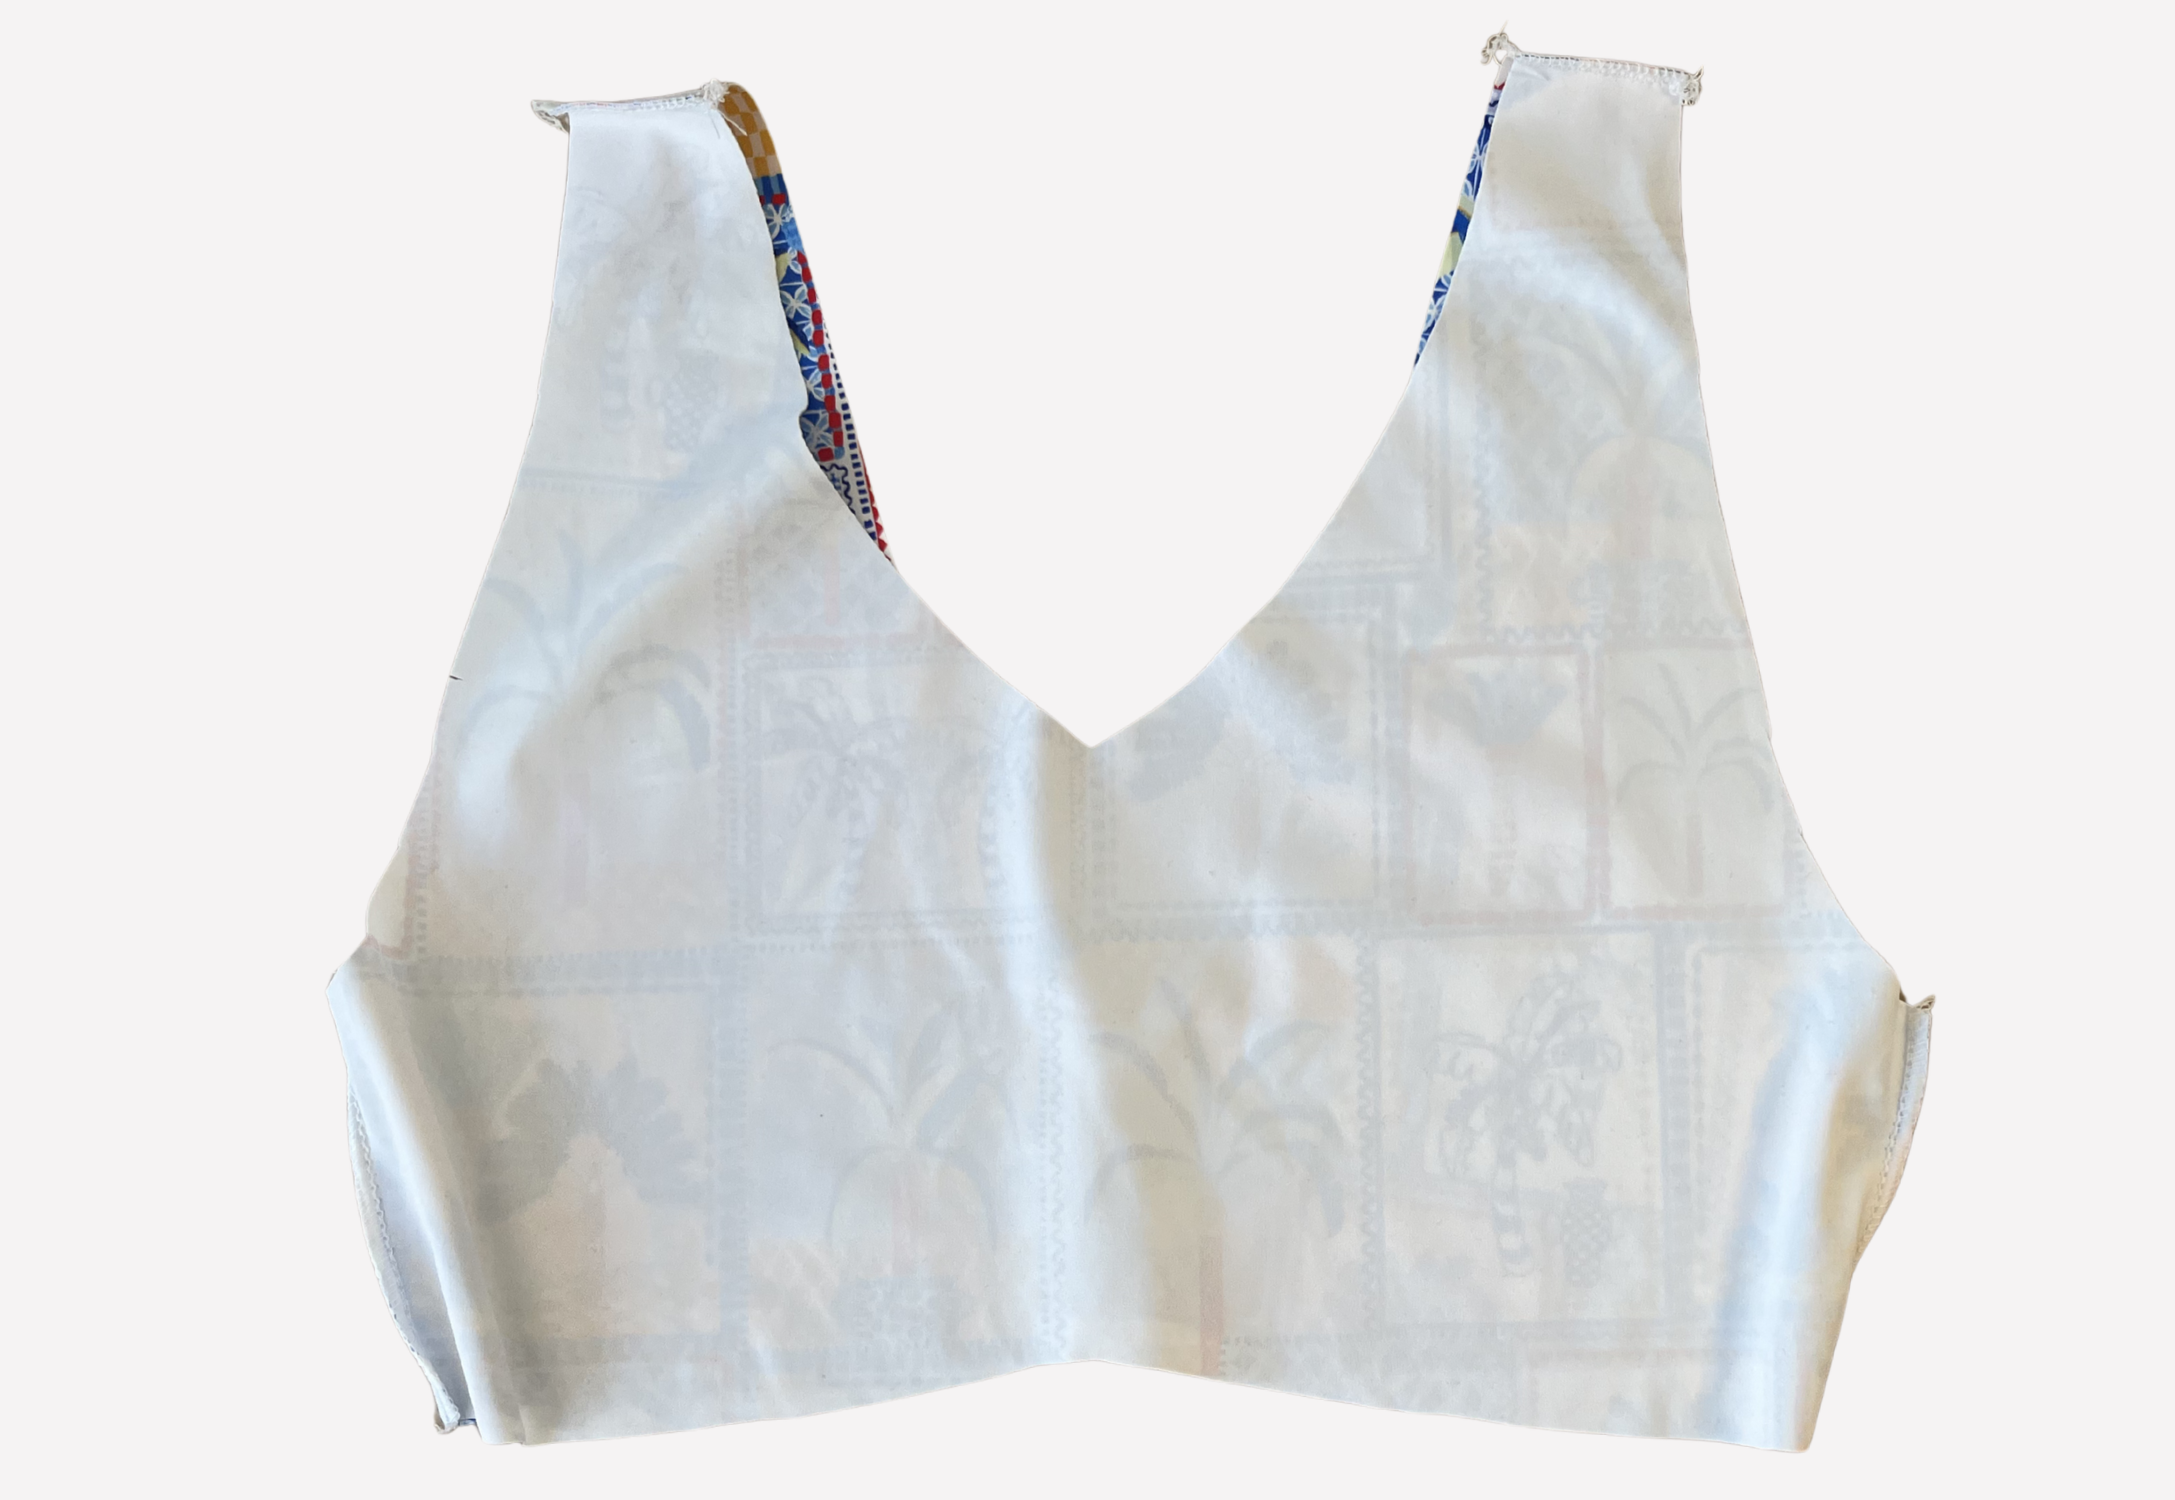
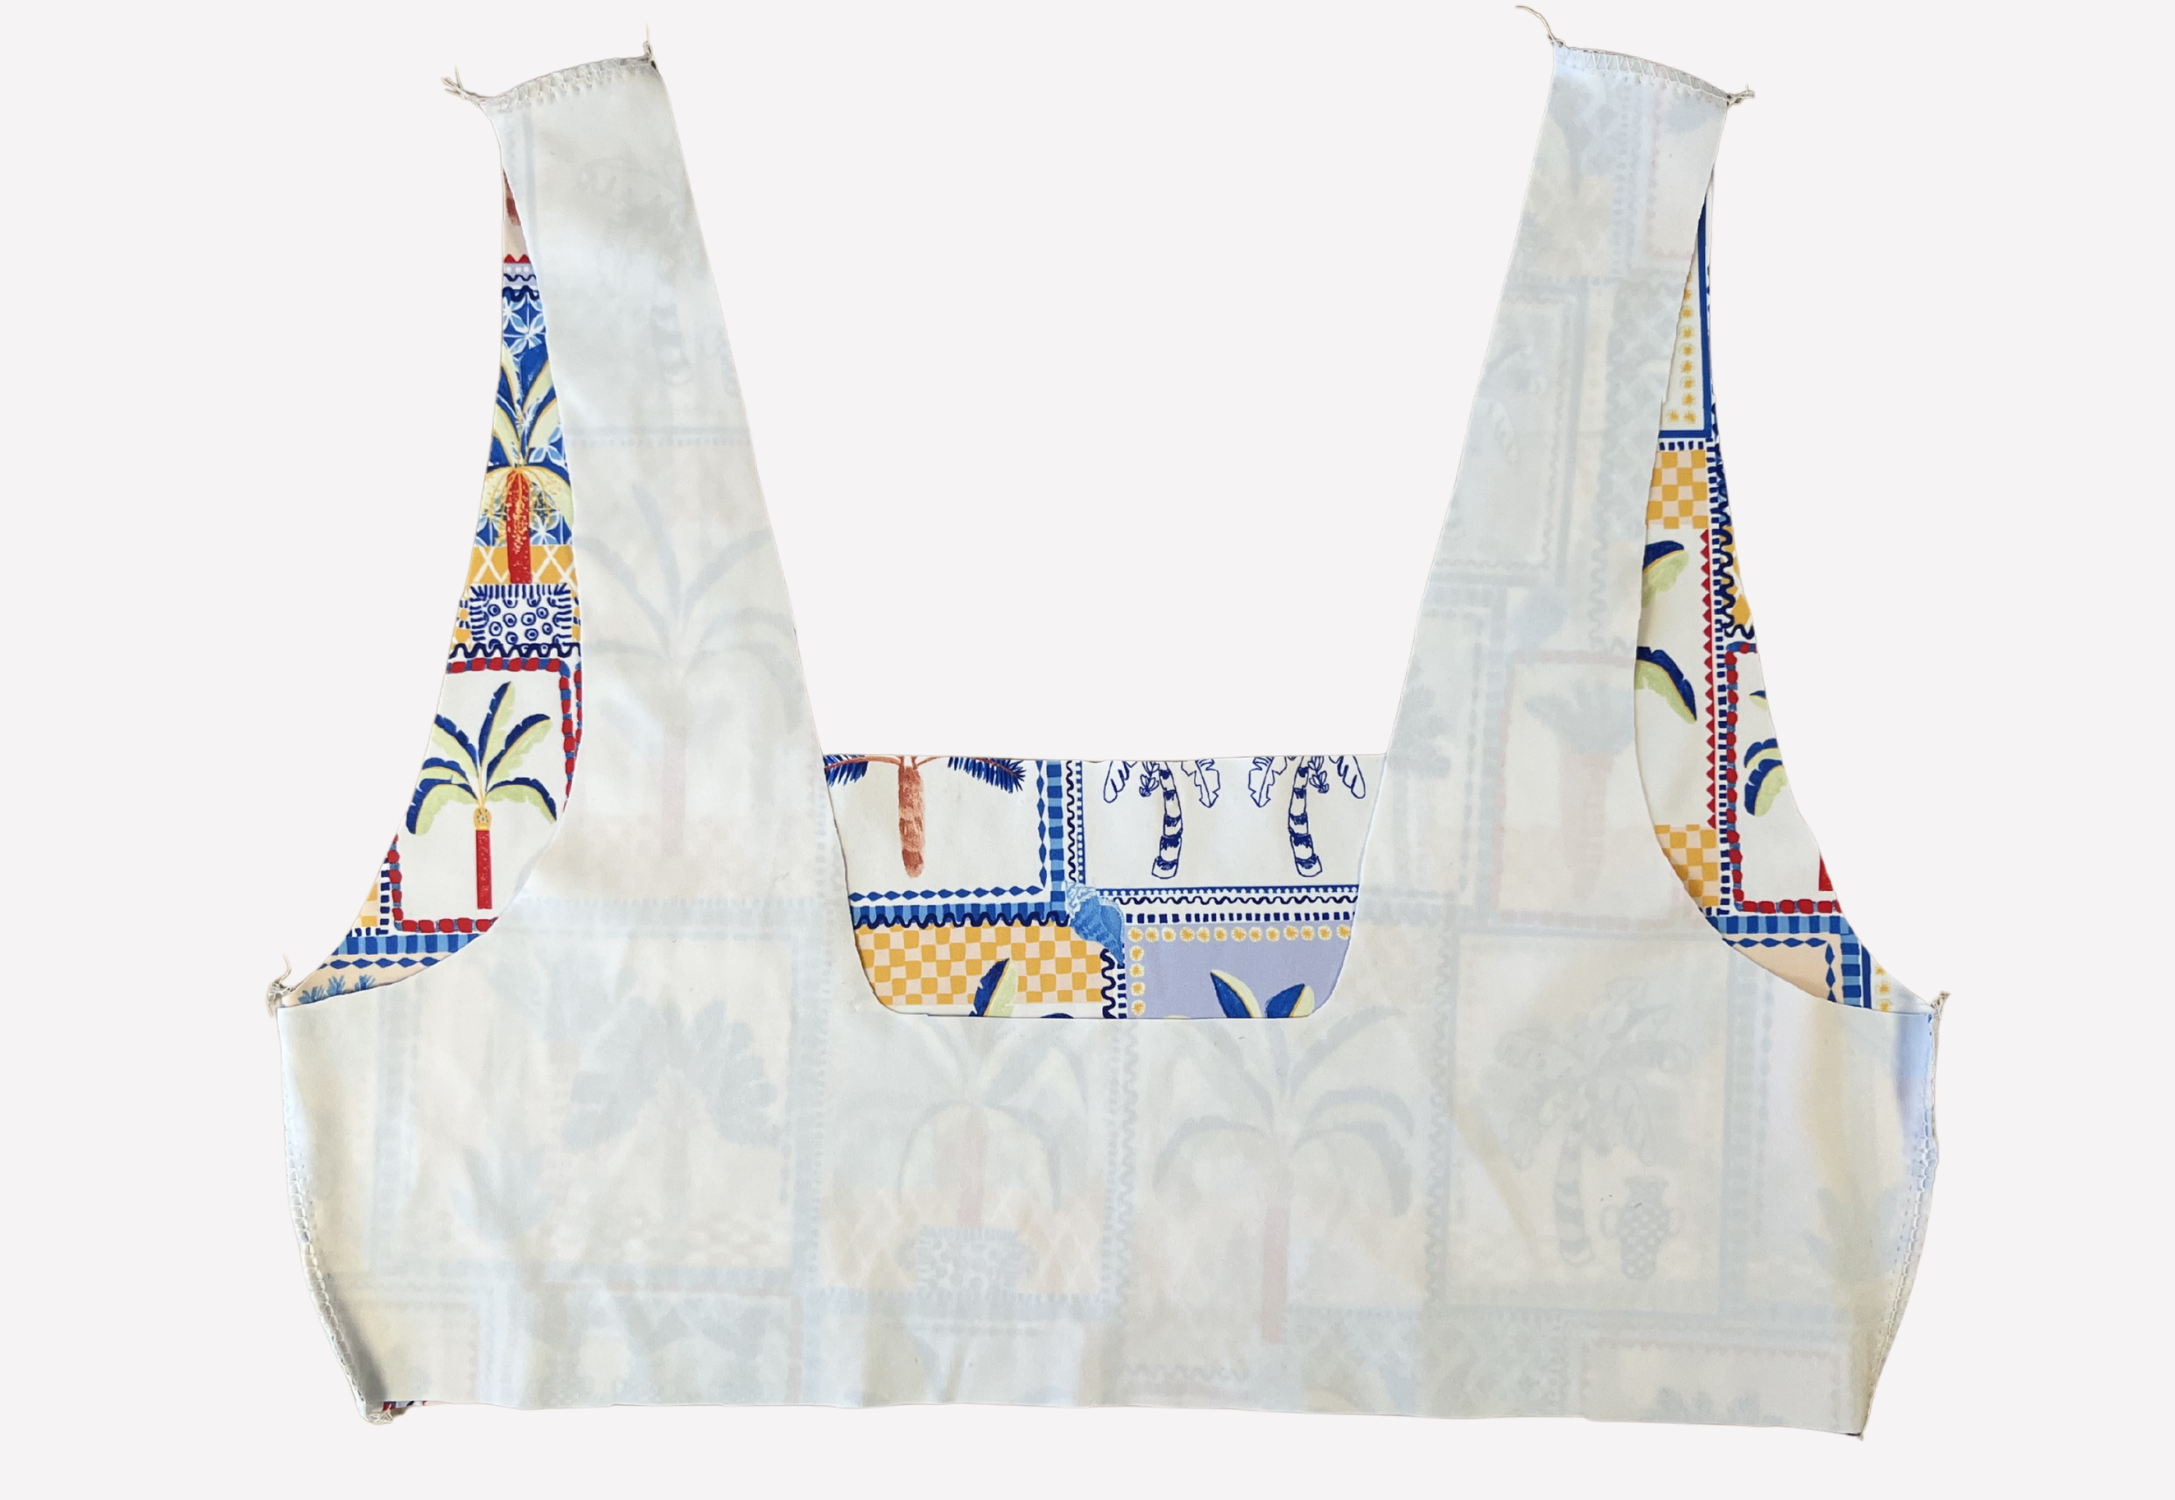
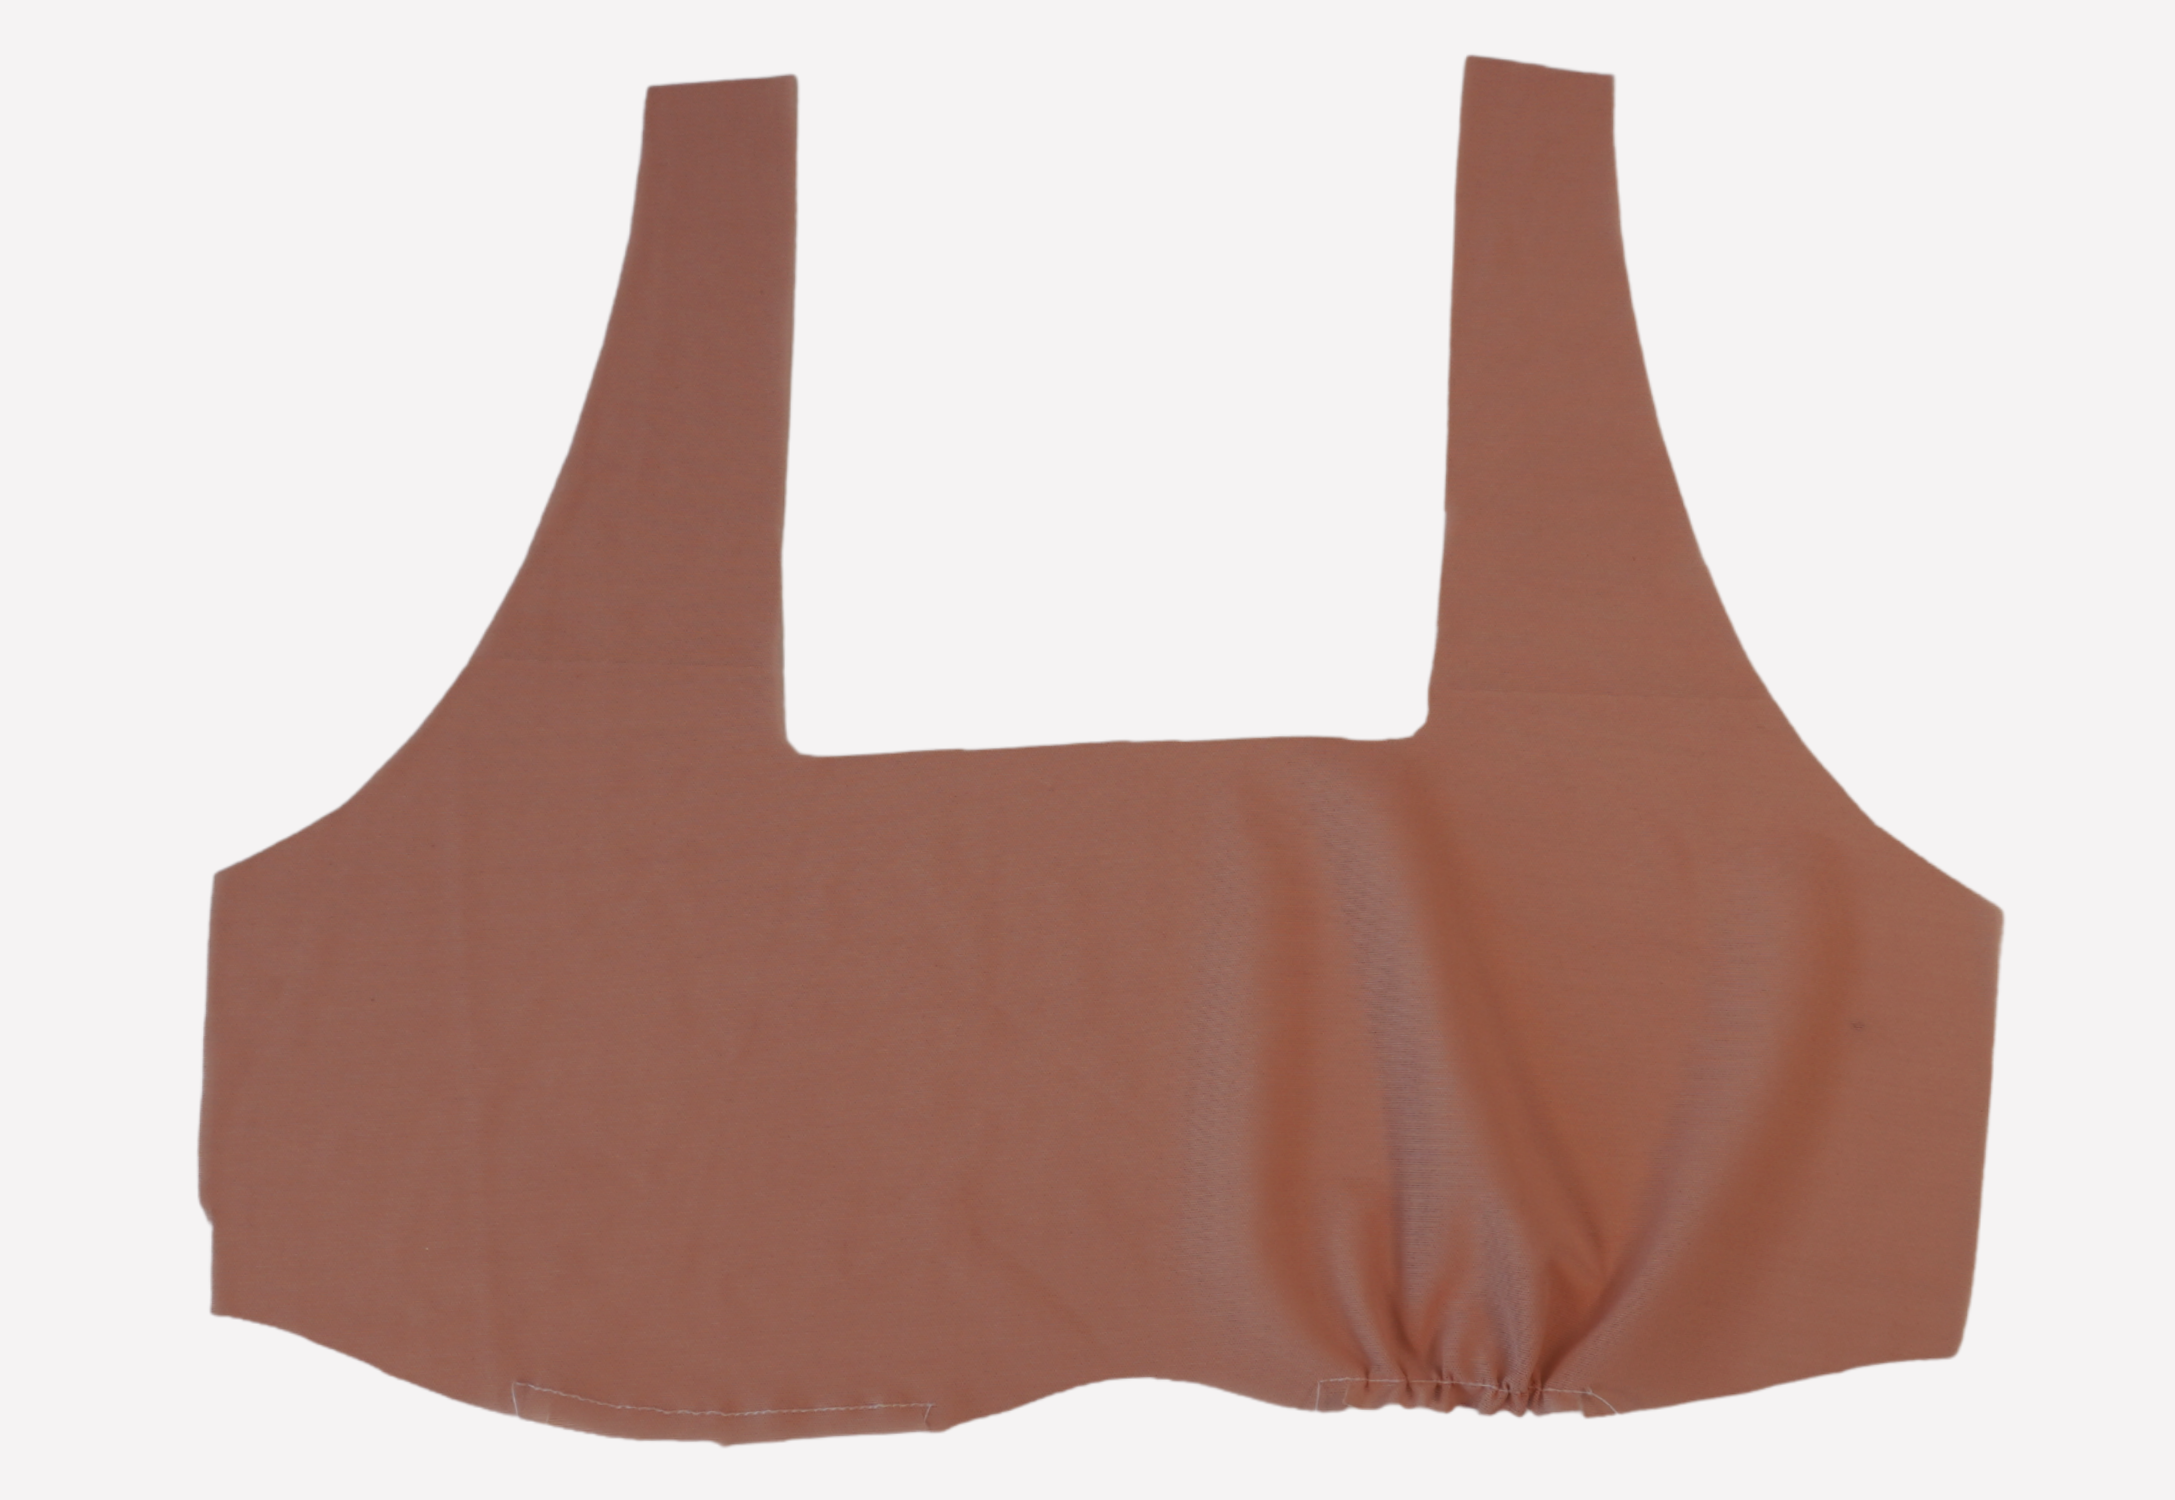
With RST, sew the Front to the Back at the shoulder seams and side seams using an overlocker/serger or zig zag stitch. Press toward the back.
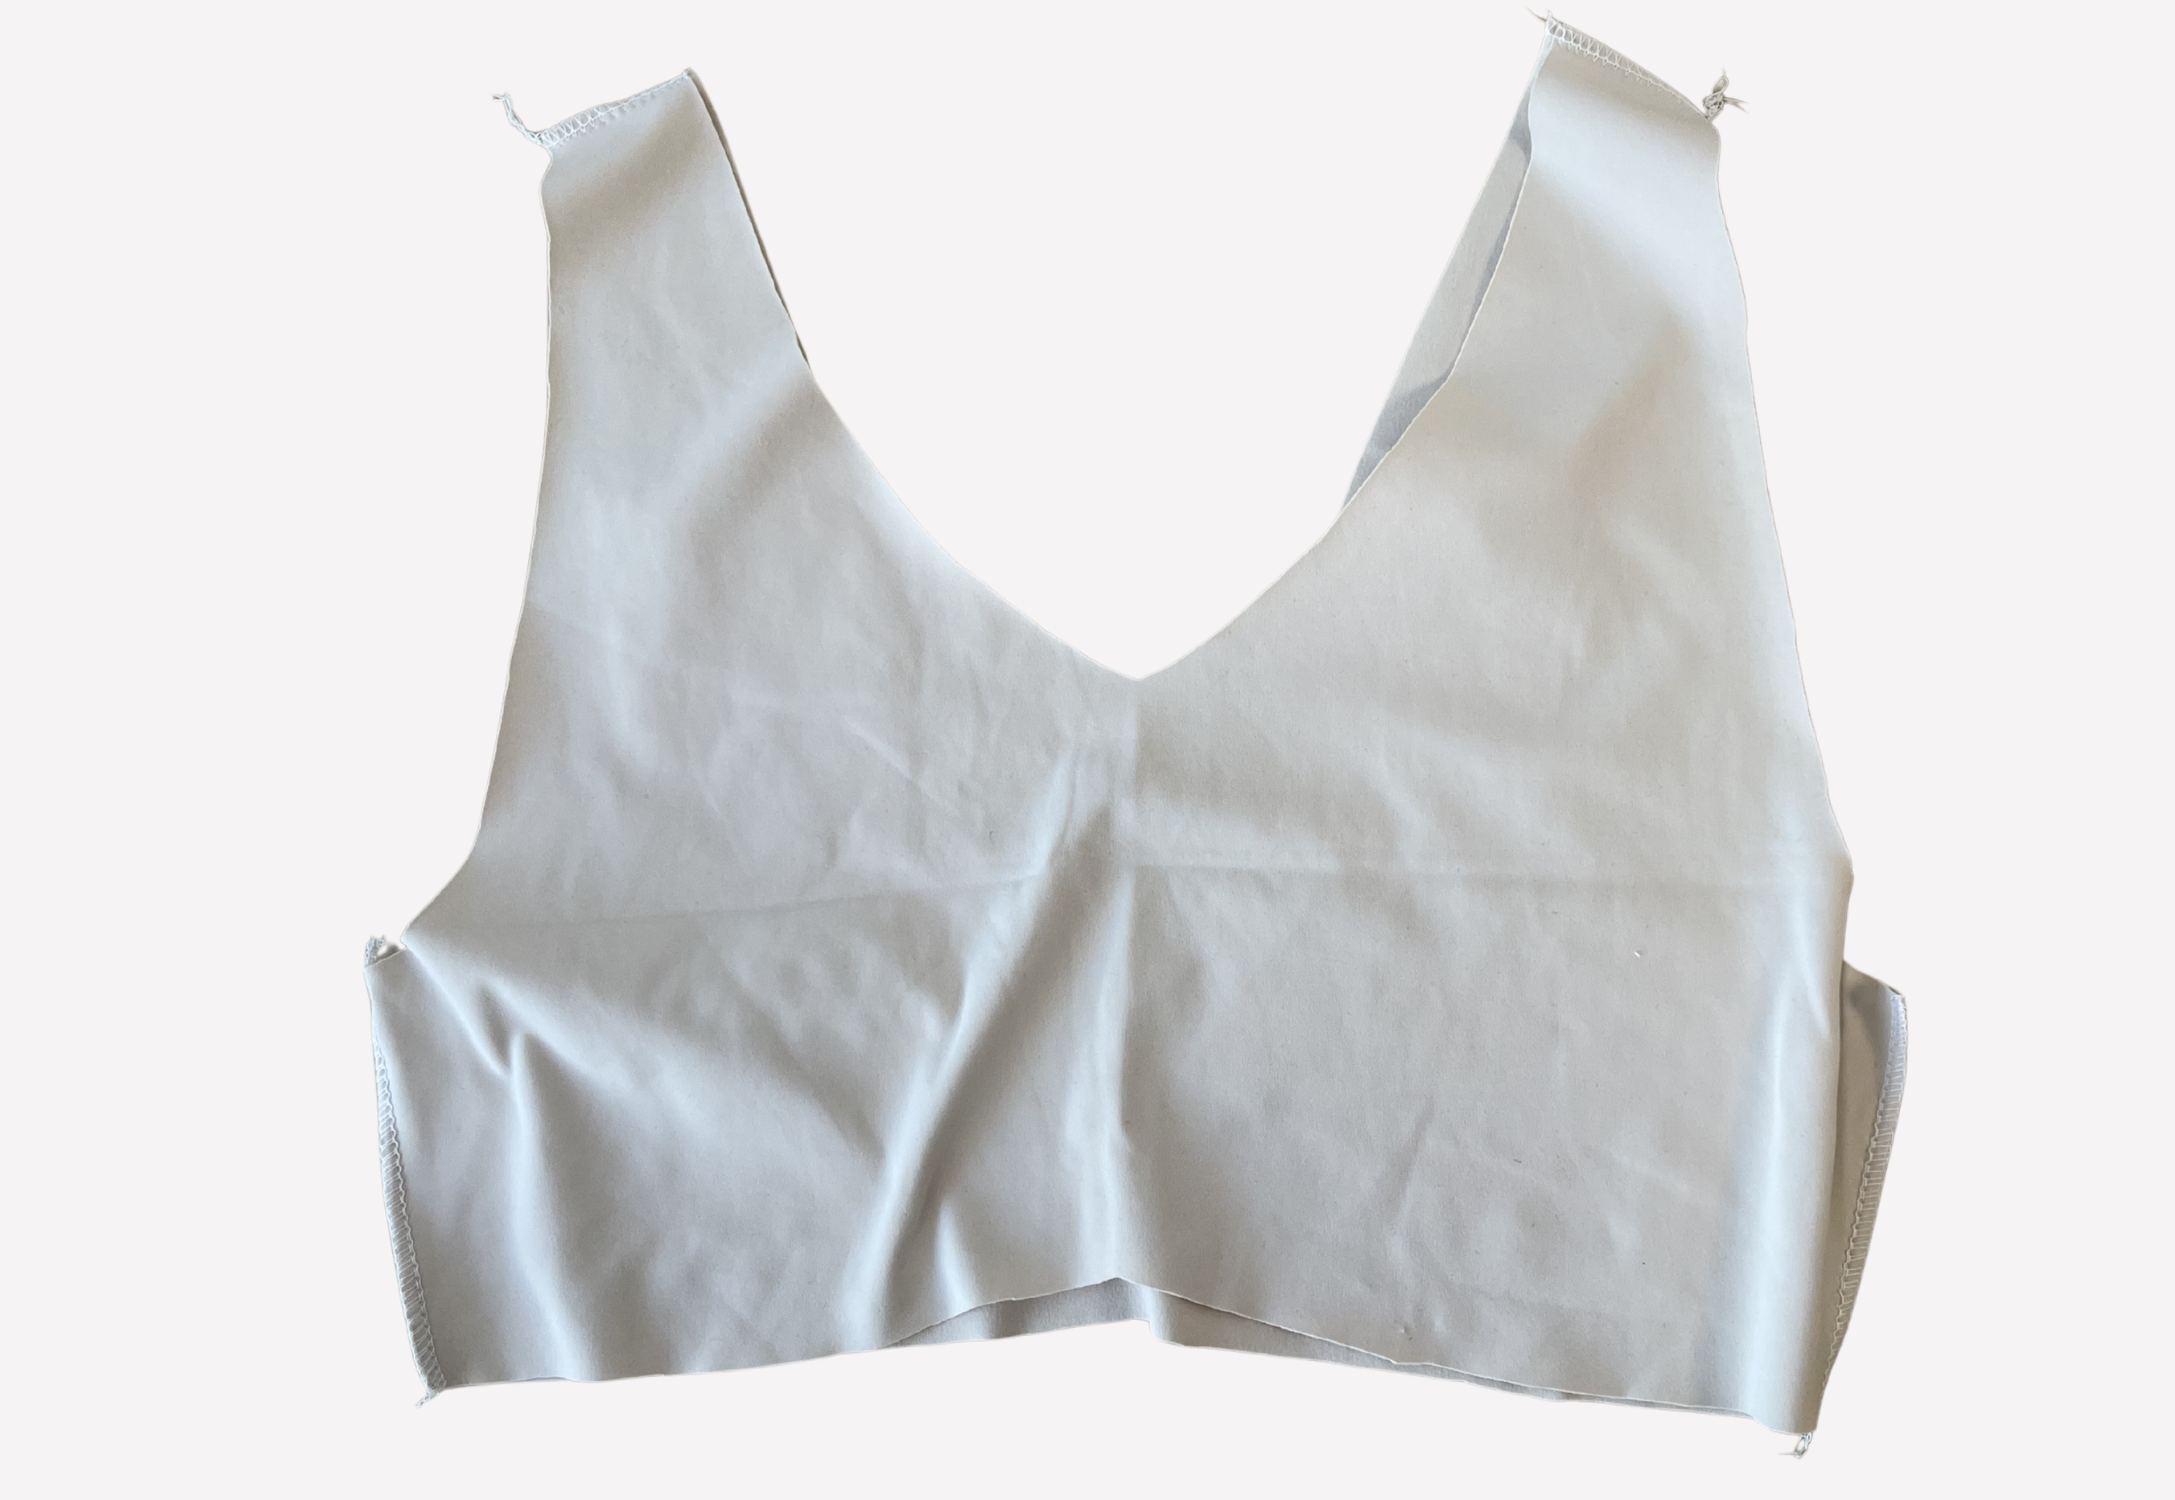
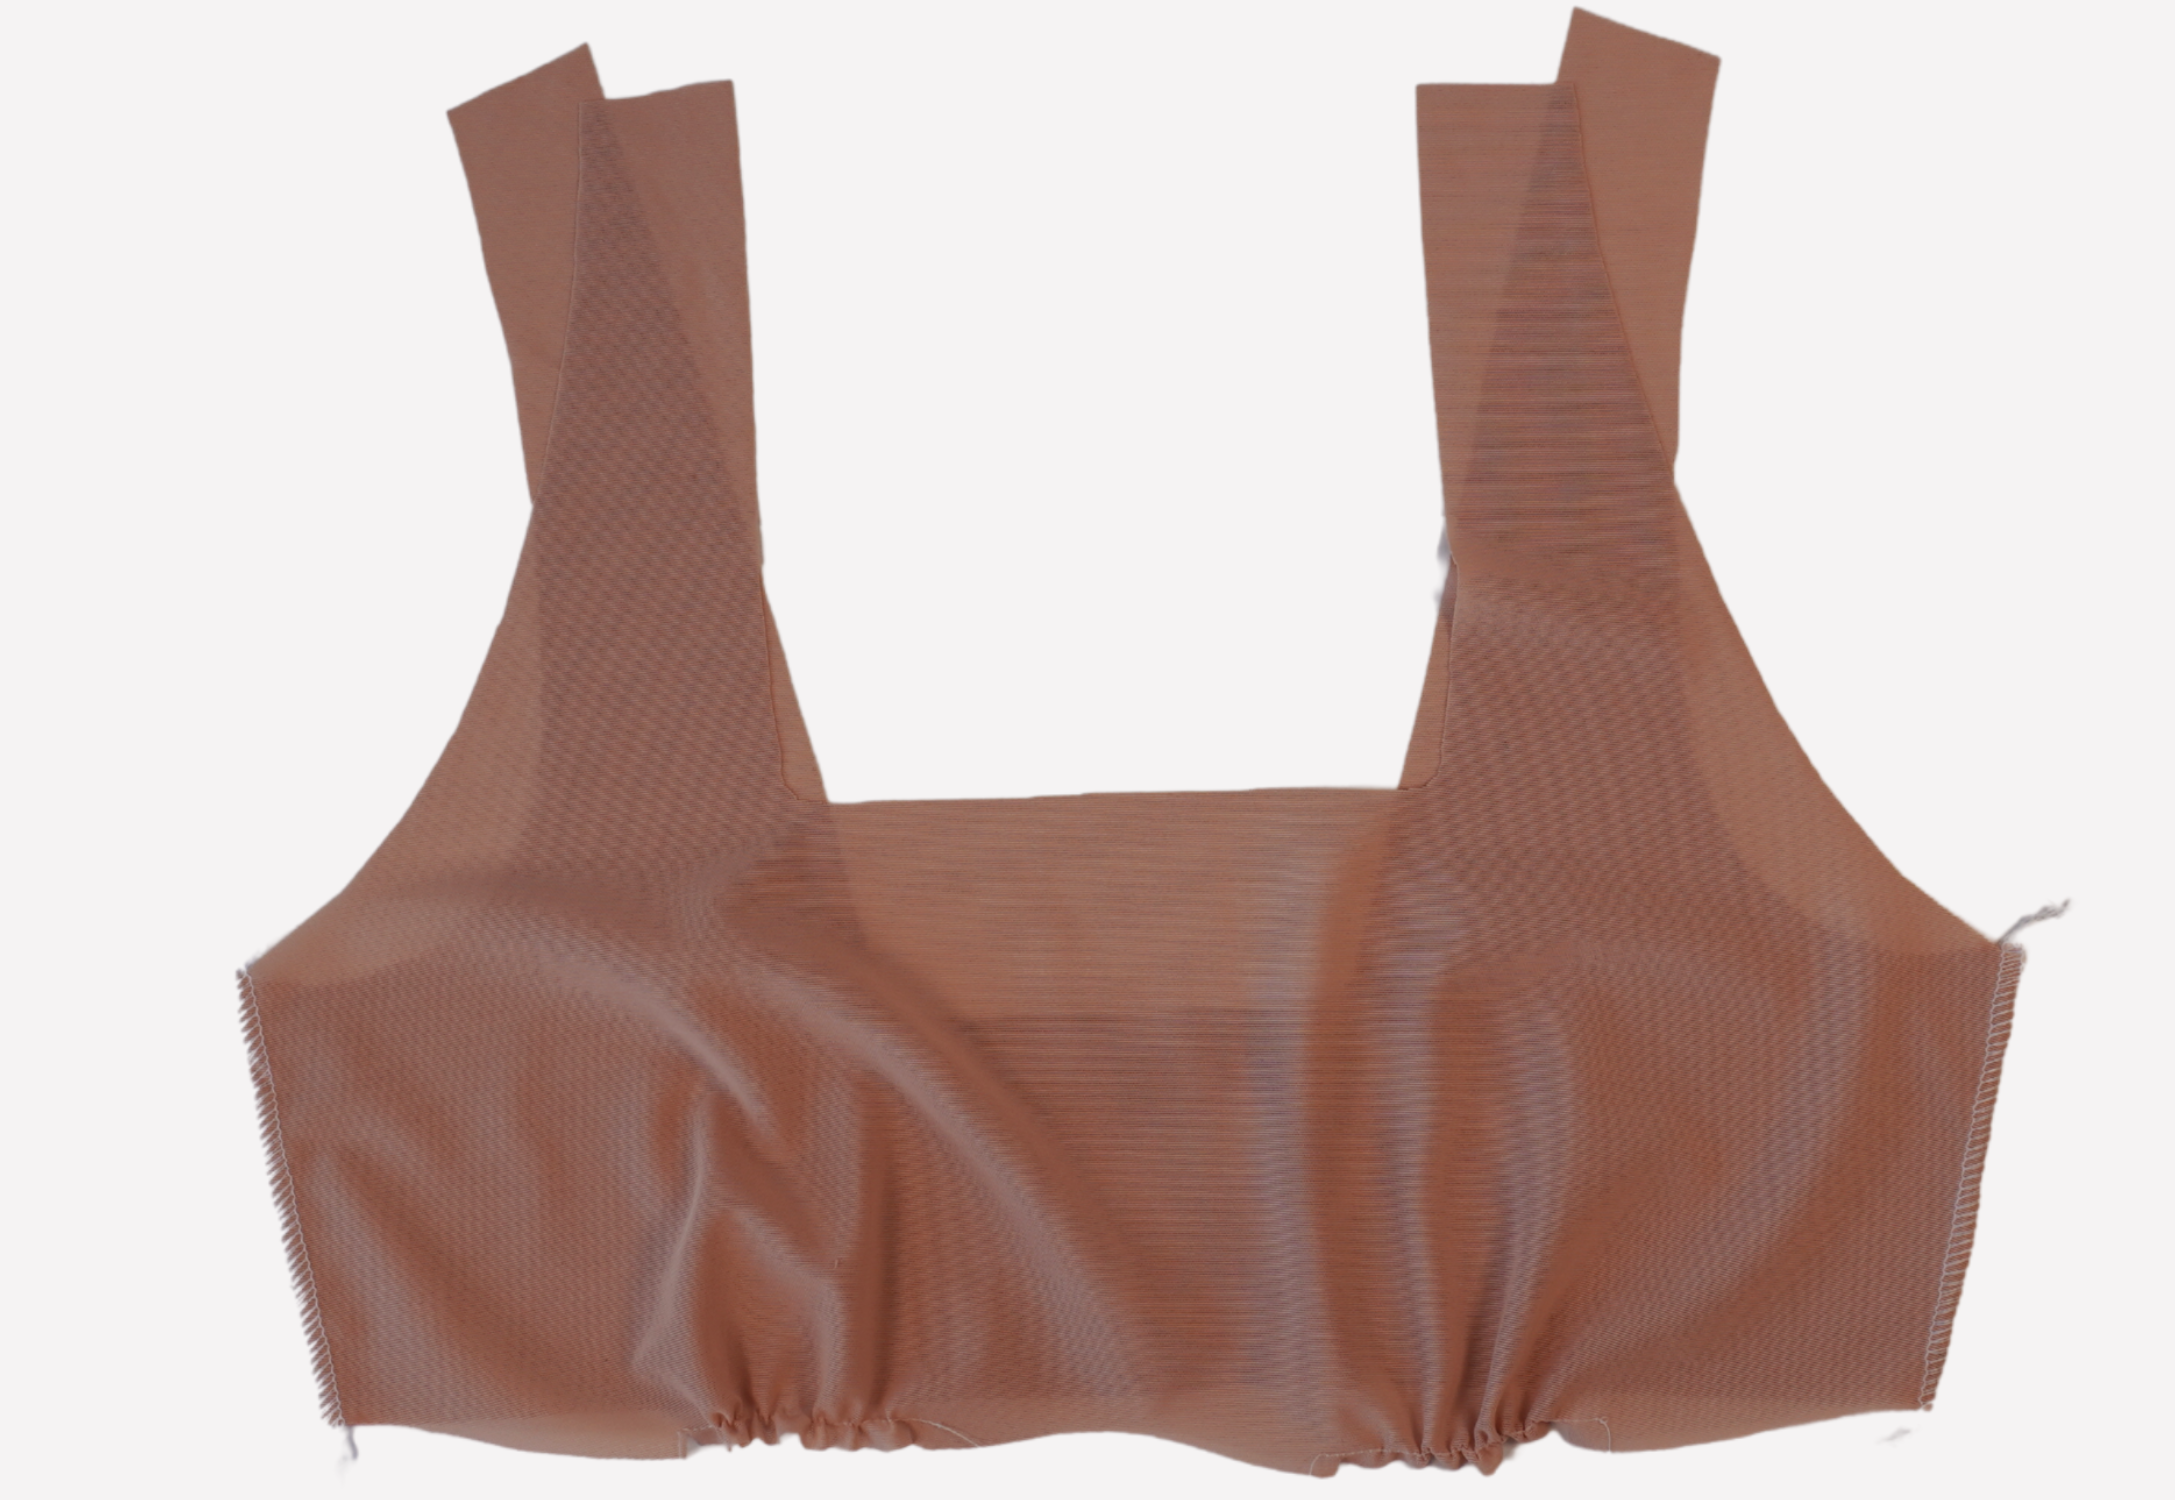
Repeat step 1 with the lining, but this time, press toward the front. This will help reduce bulky seams when they are sewn together.
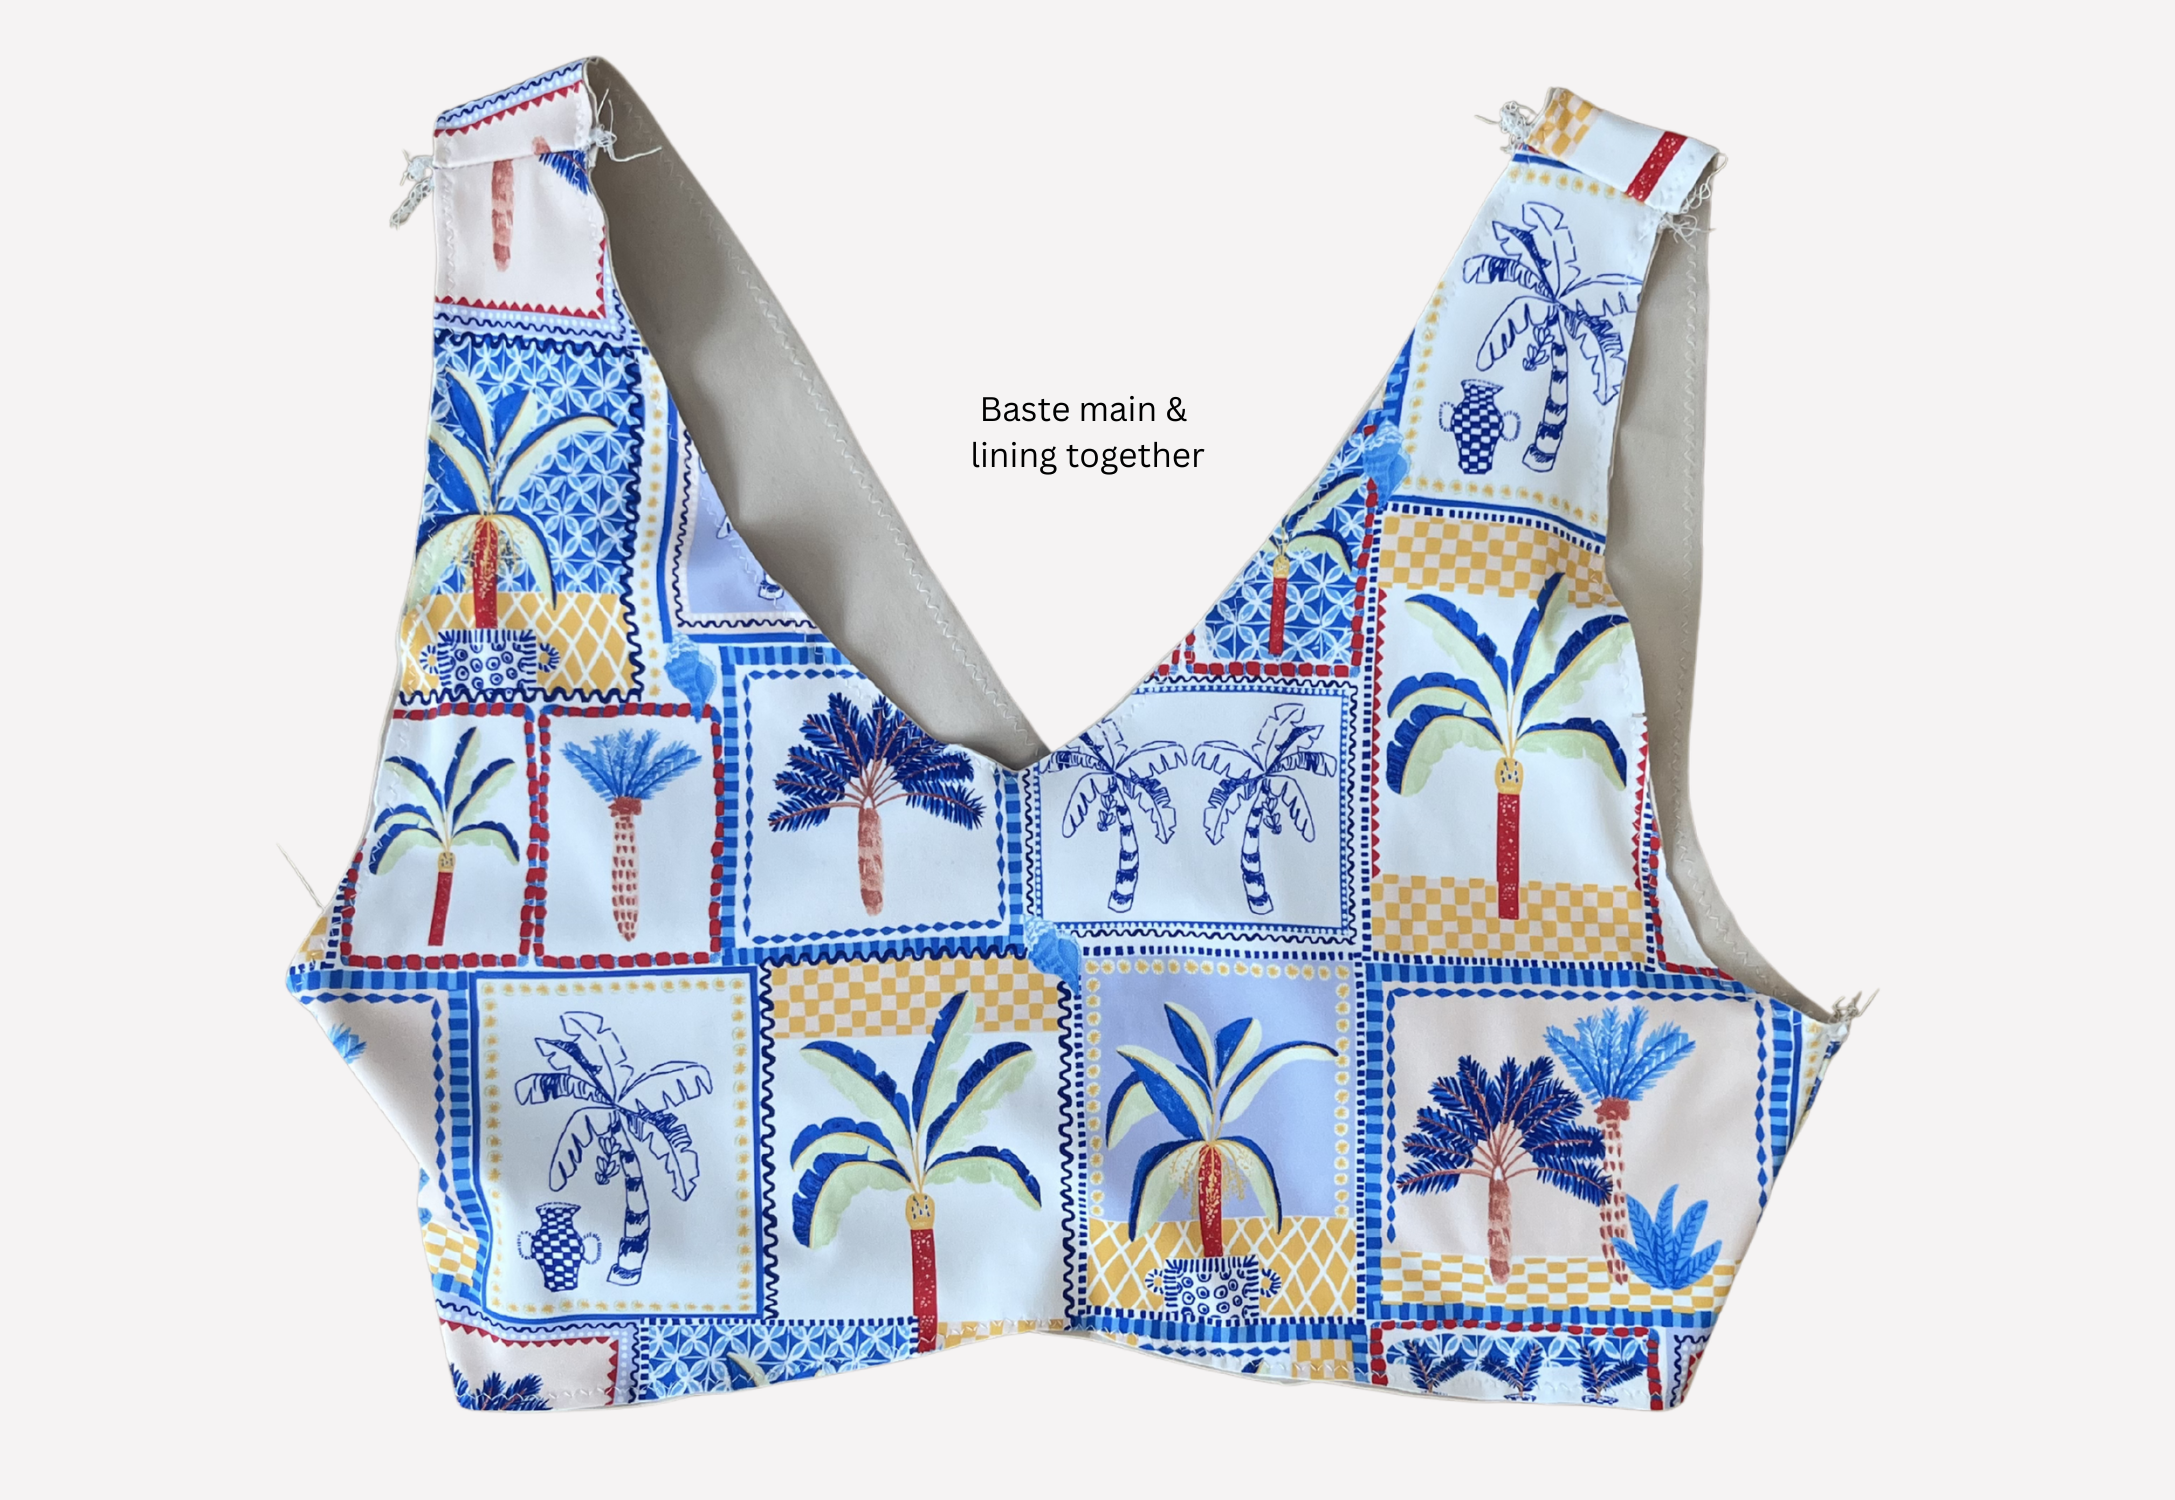
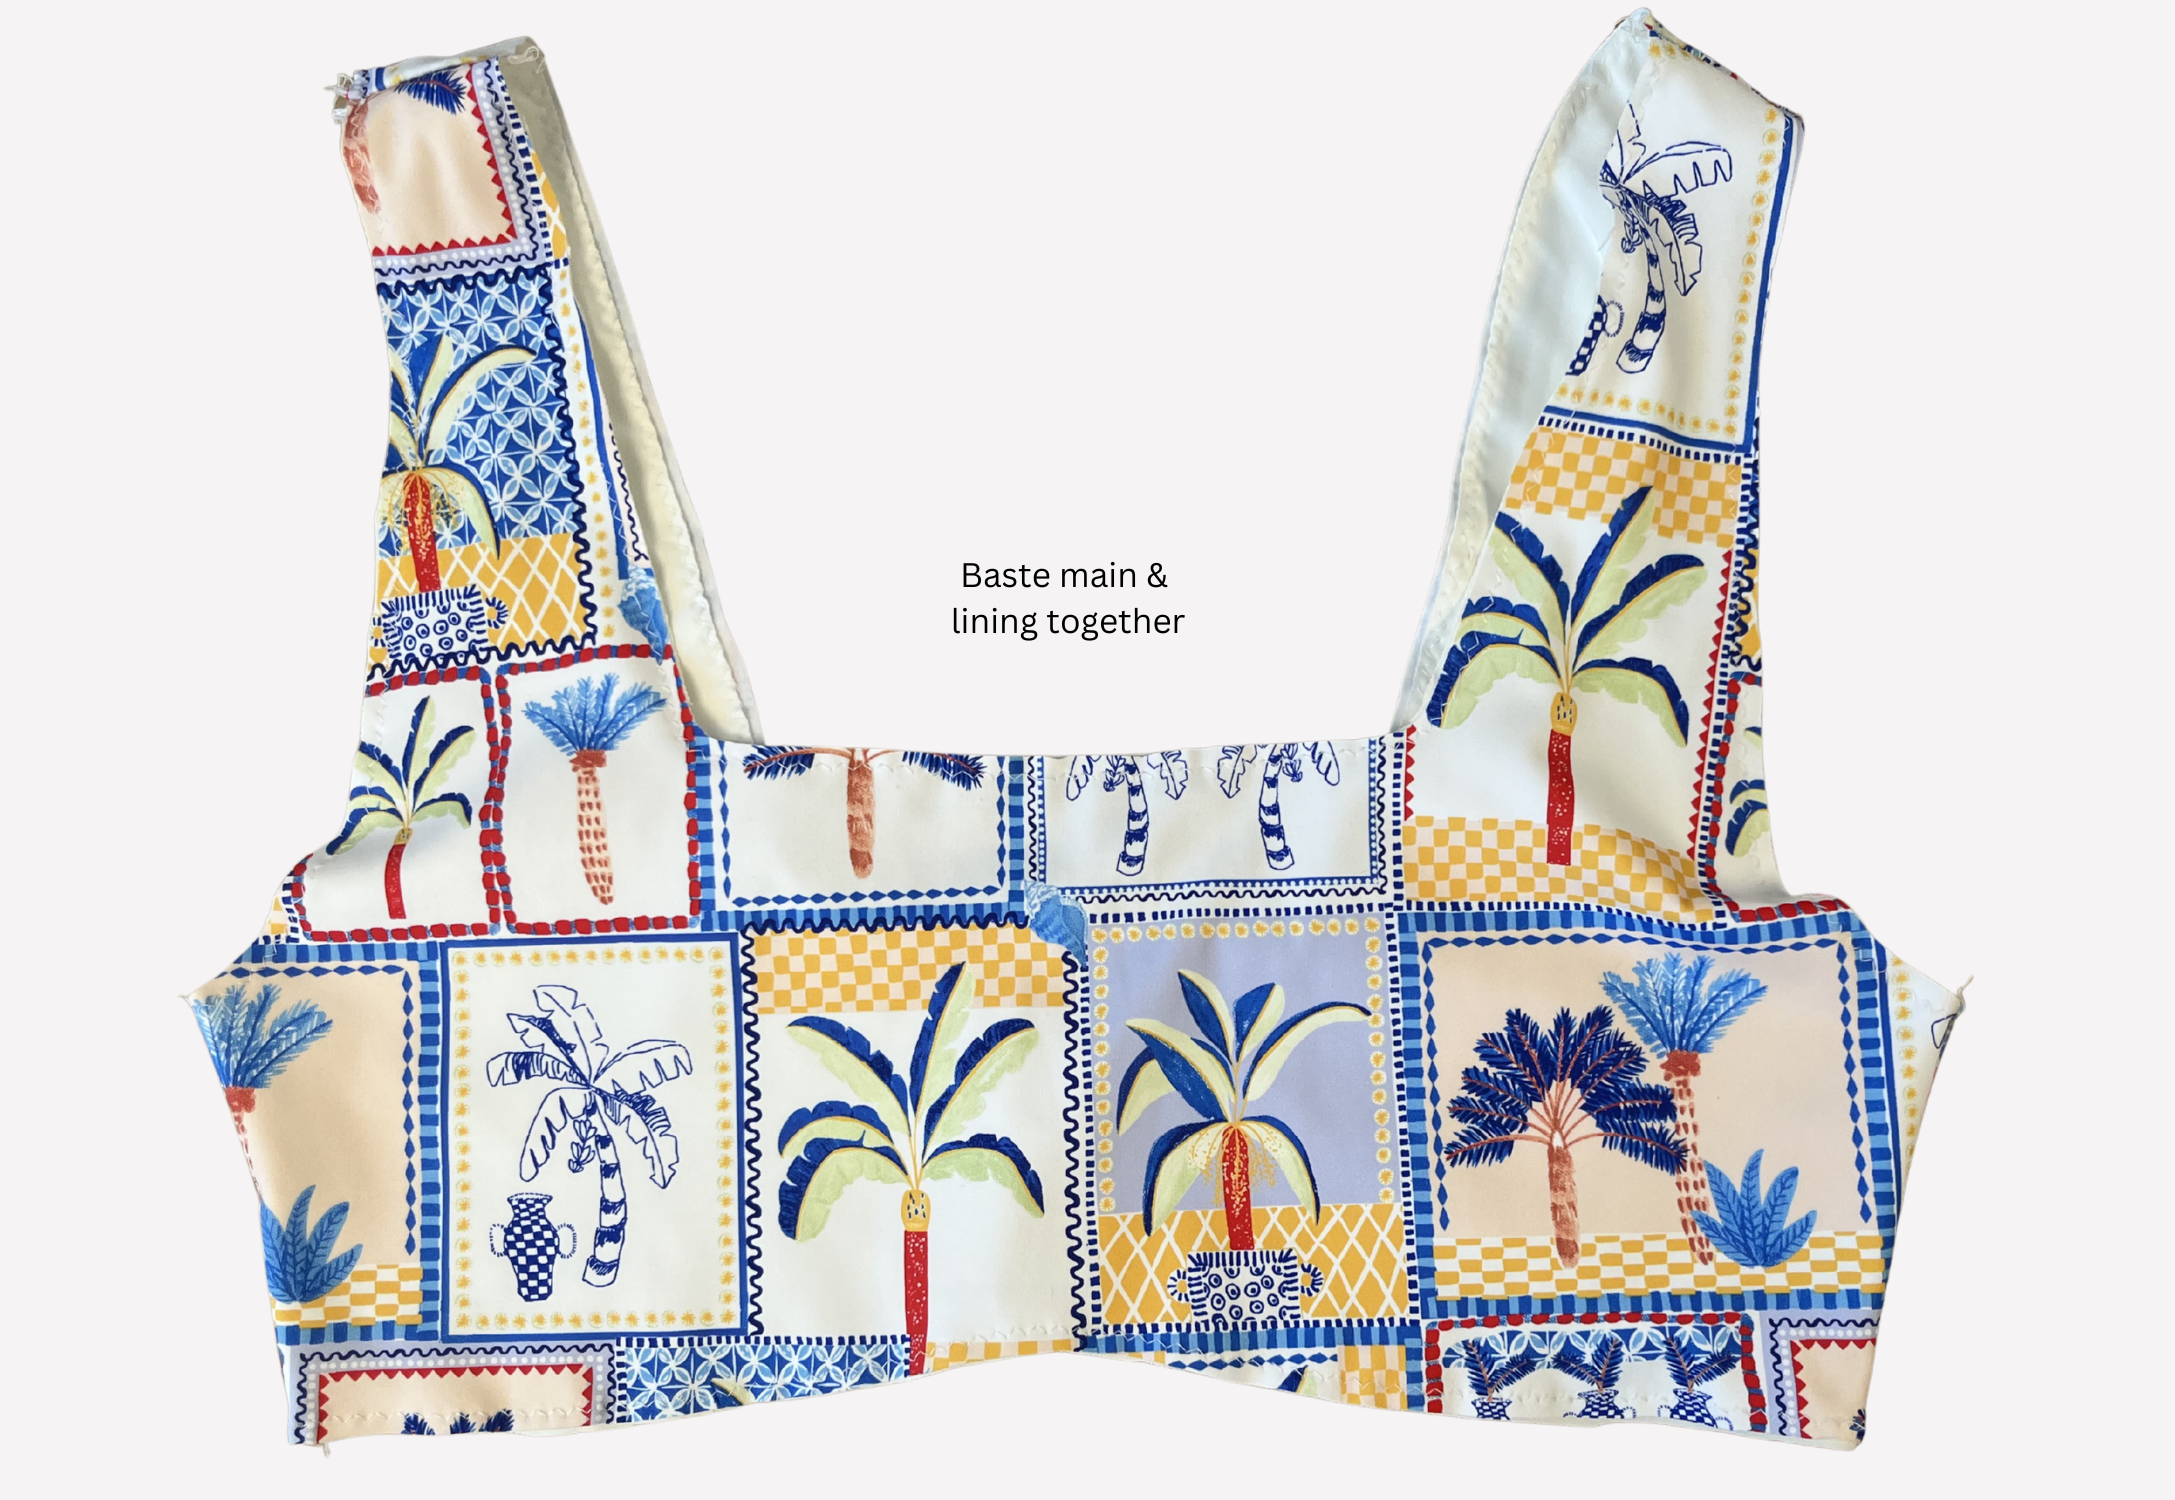
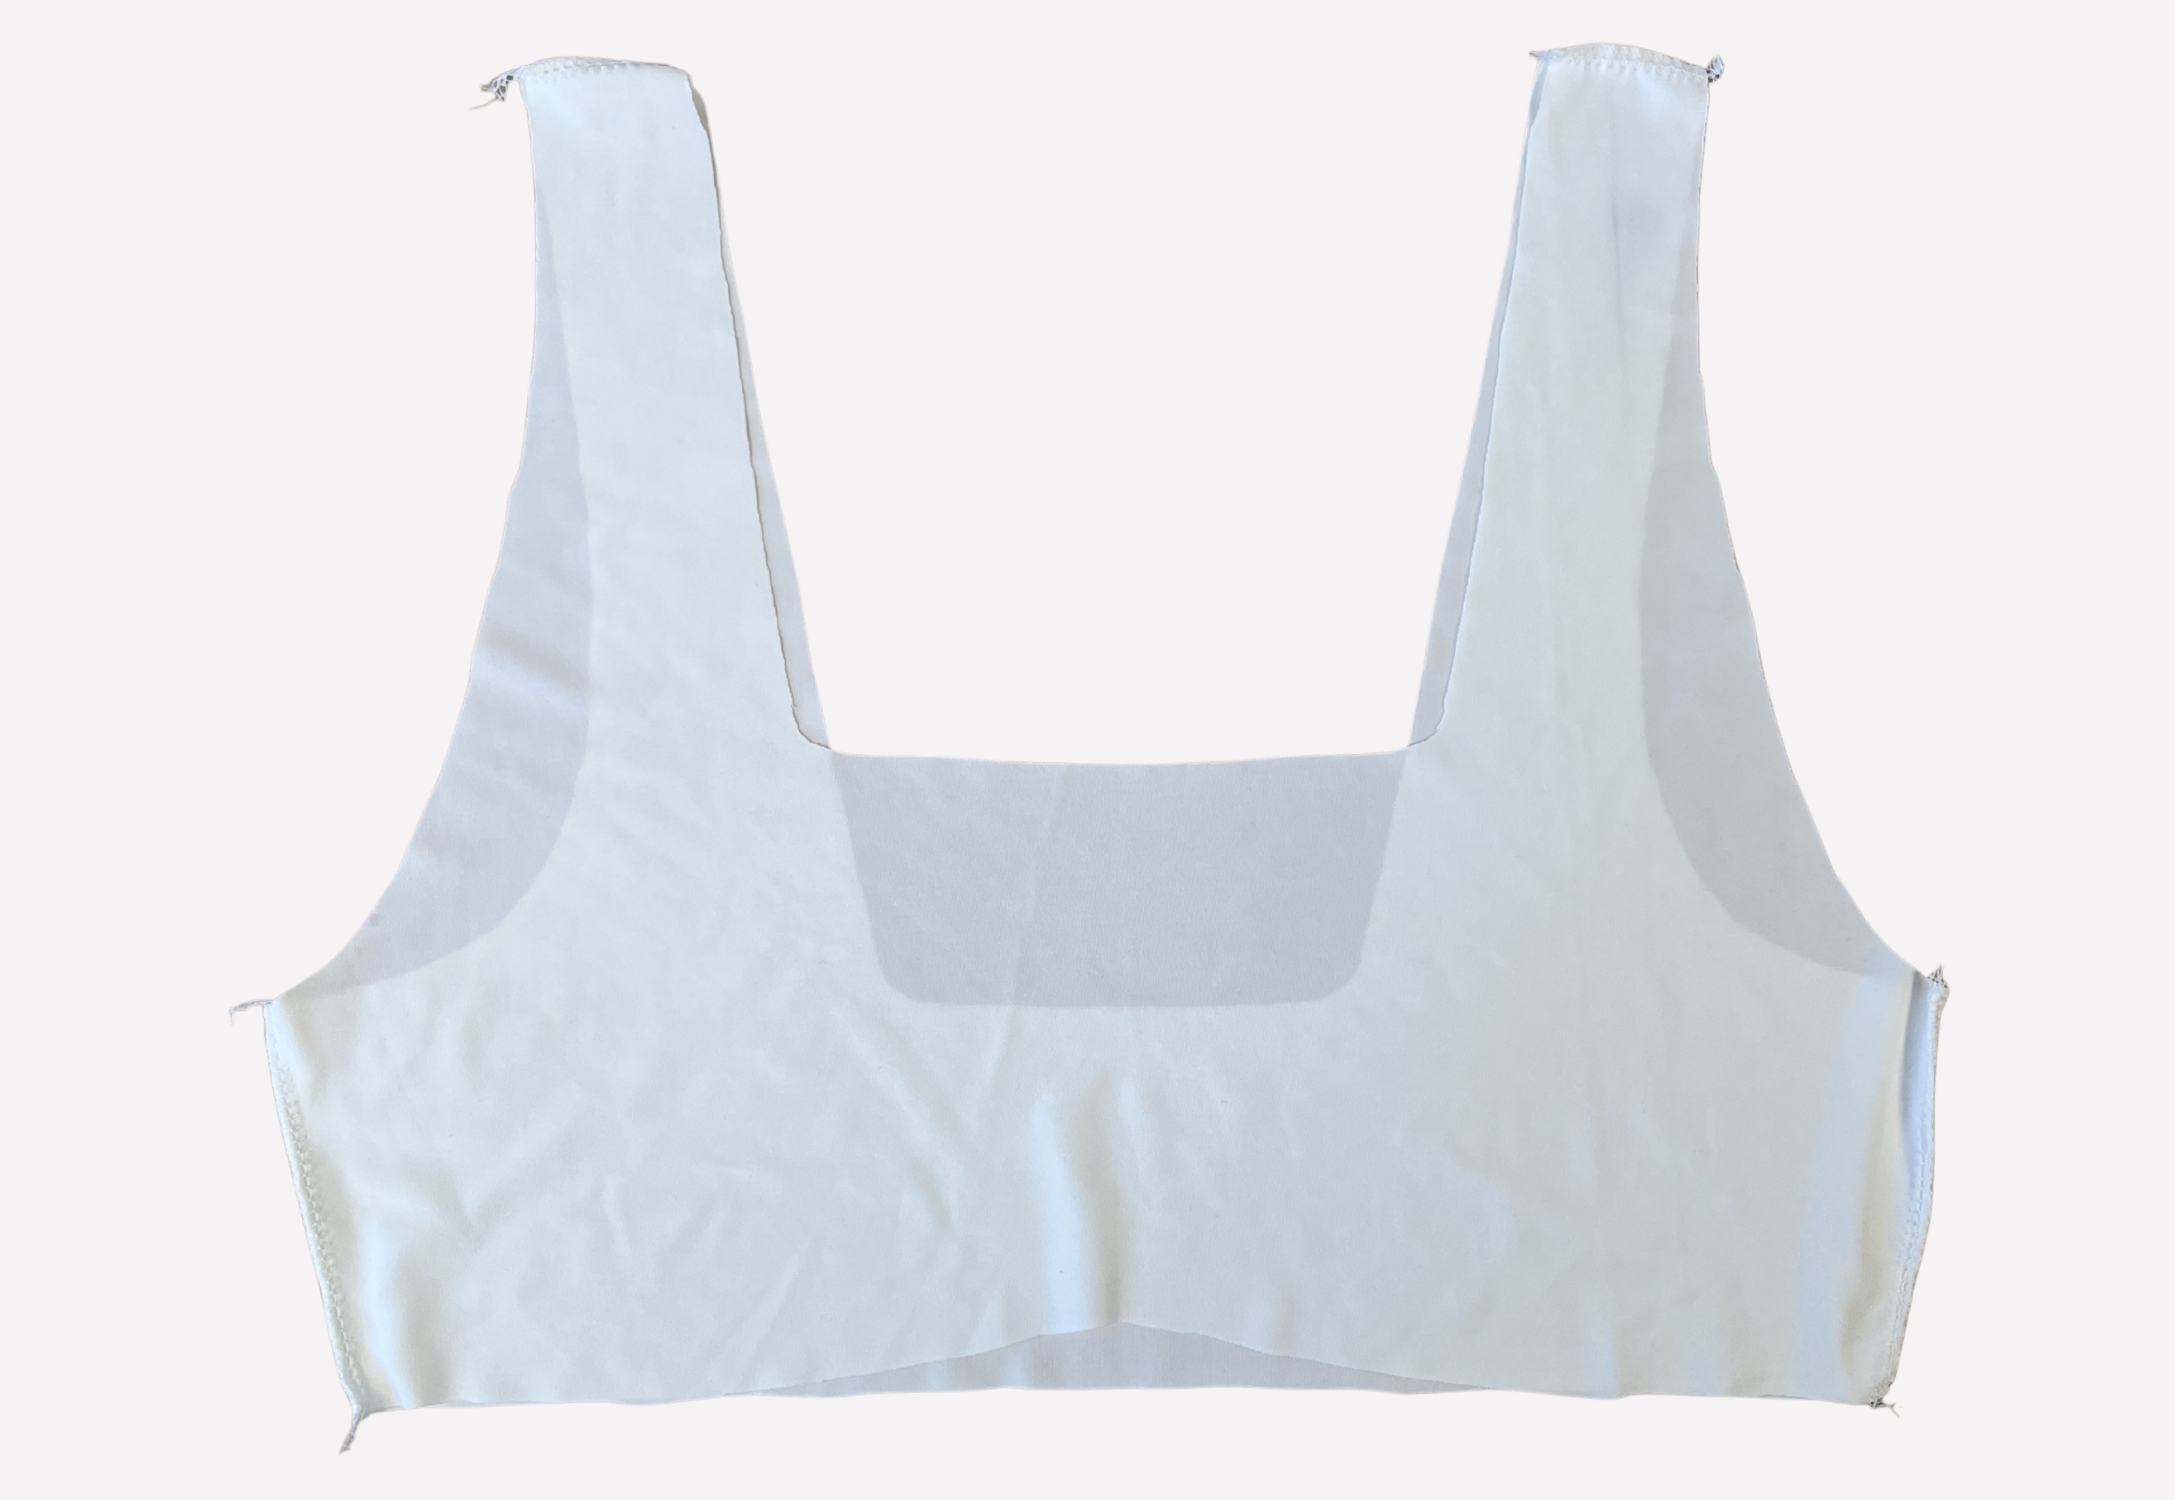
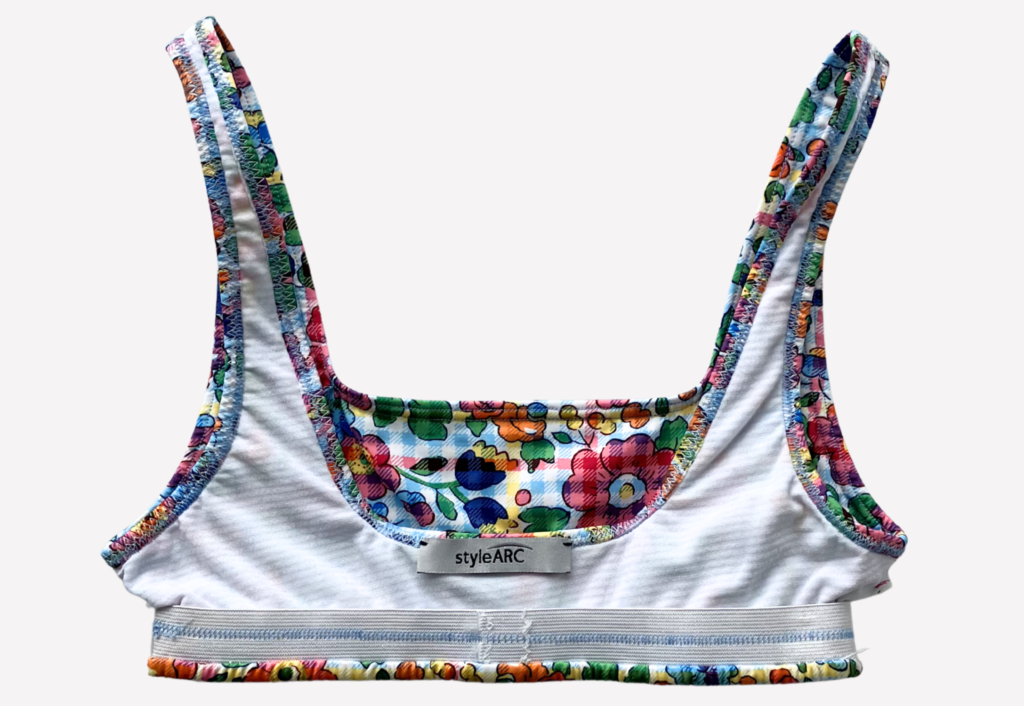
With WST and seams aligned, baste the main fabric to the lining at the neck, arm and underbust openings using a zig zag or stretch stitch. The two layers will now be treated as one.
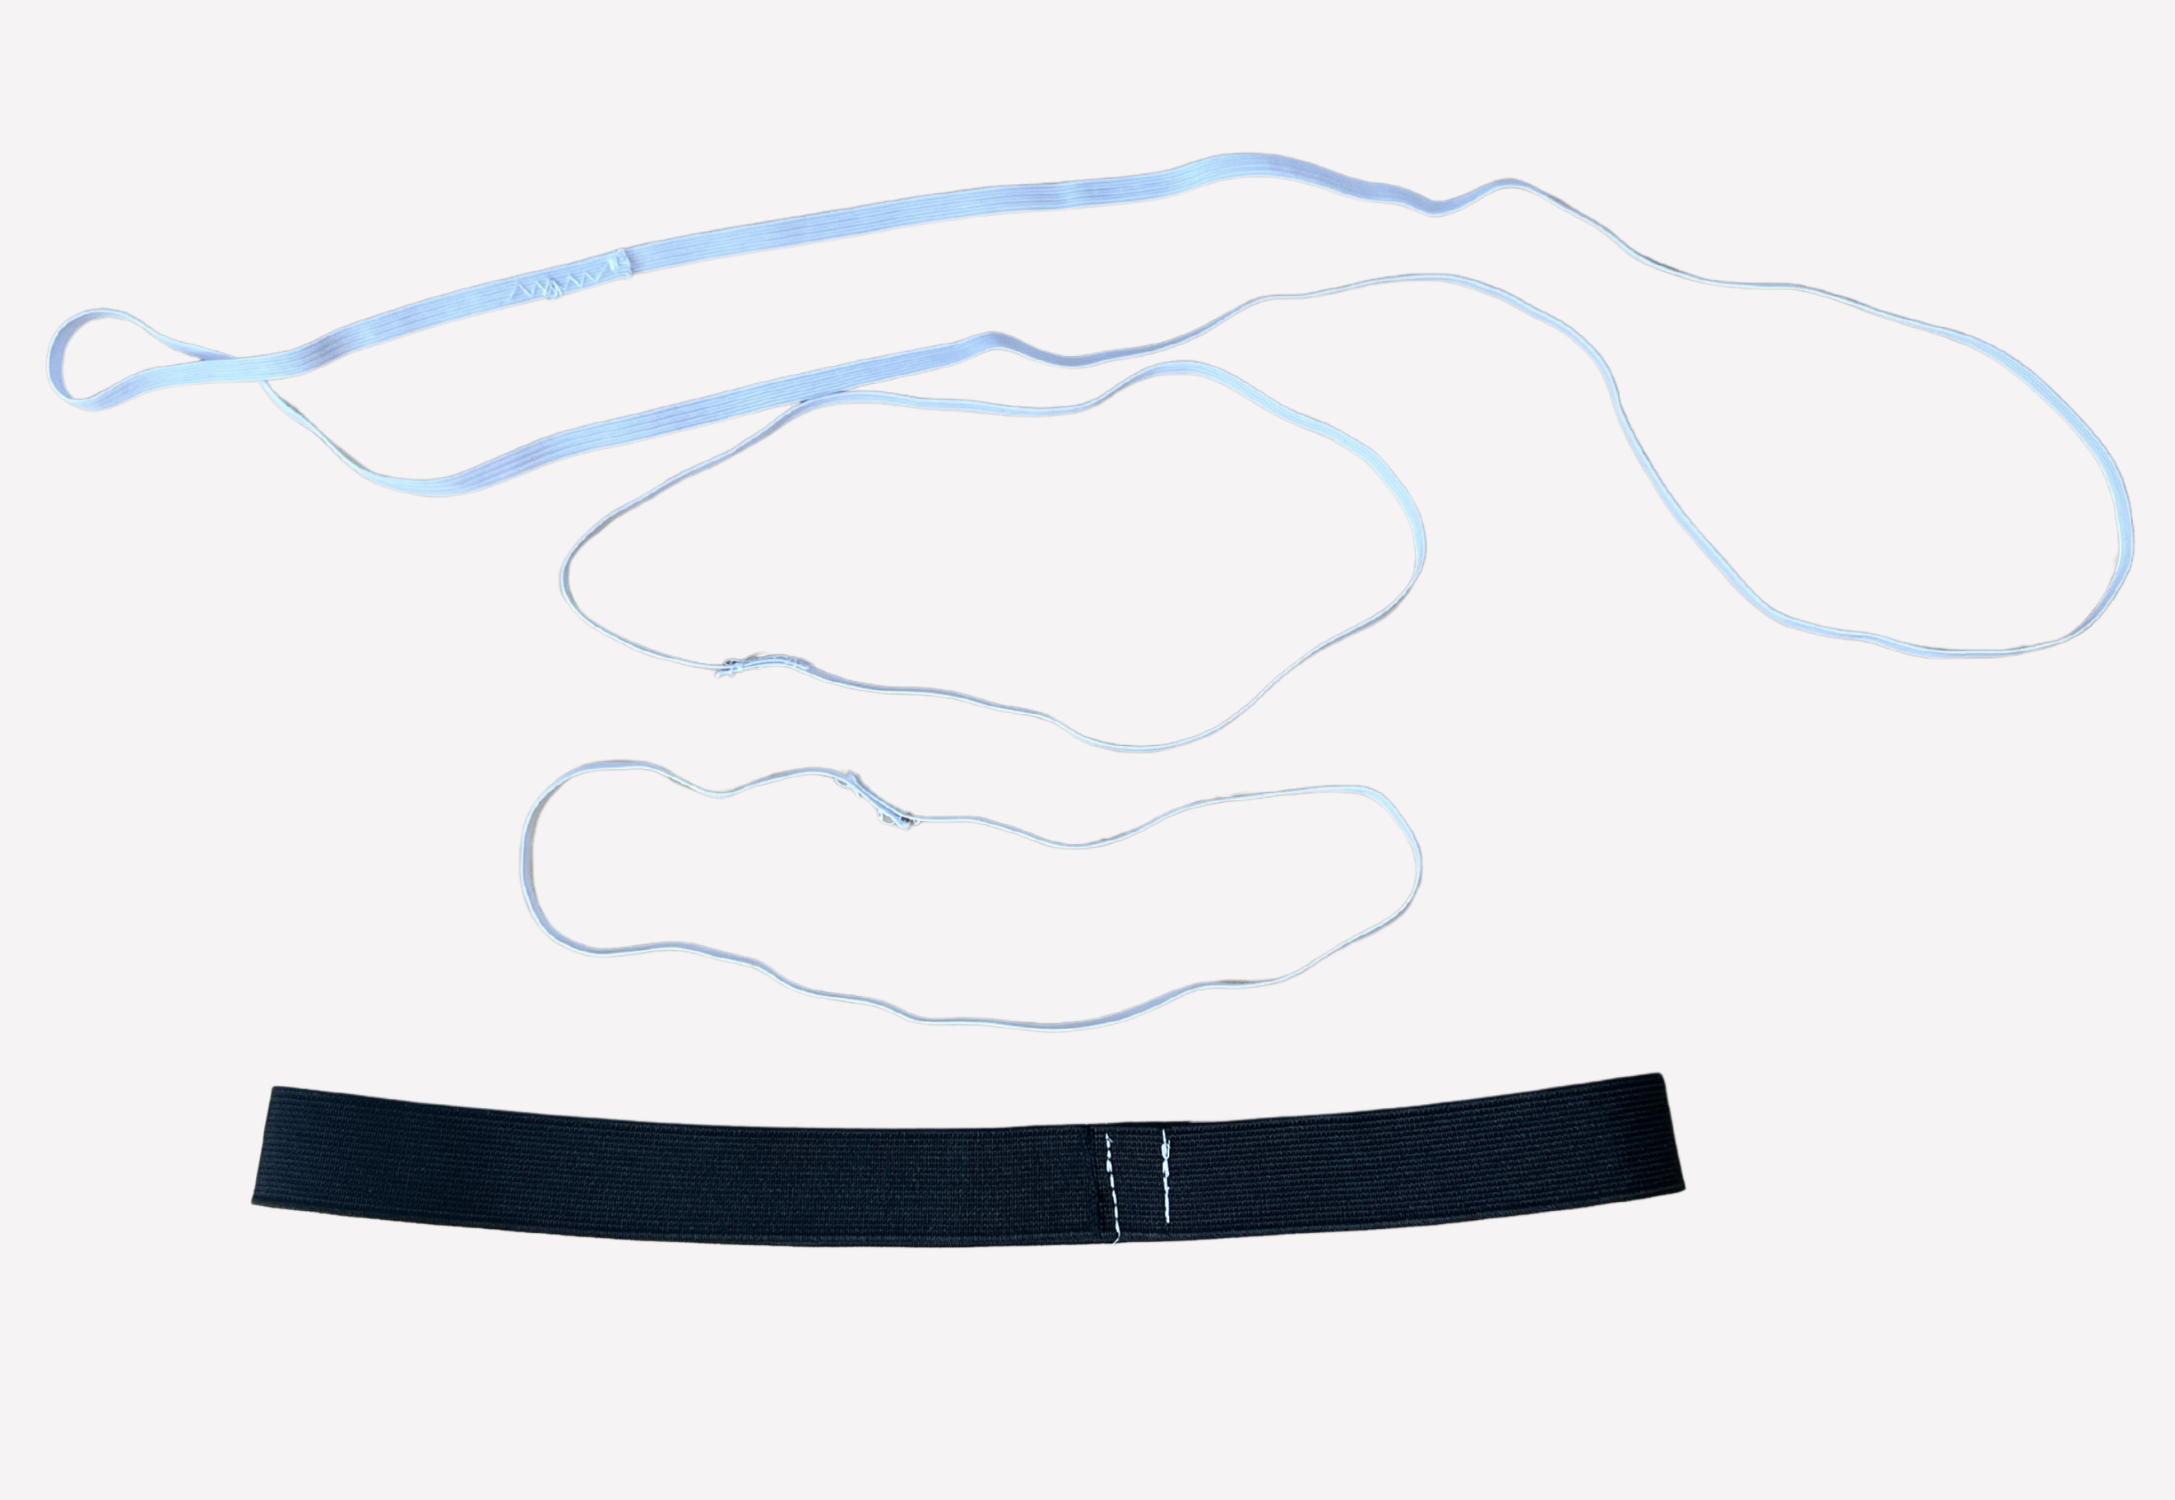
Overlap the cut ends of the neck, armhole and underbust elastic by 2cm (¾”) and securely sew together, creating a loop.
Using pins, erasable pen or chalk, mark the quarter points. Mark the quarter marks on the neck, arm and underbust on the main body. You can do this by folding the openings in half and marking, then fold in half again and marking (not following notches). This is to ensure the elastic is sewn evenly to your openings.

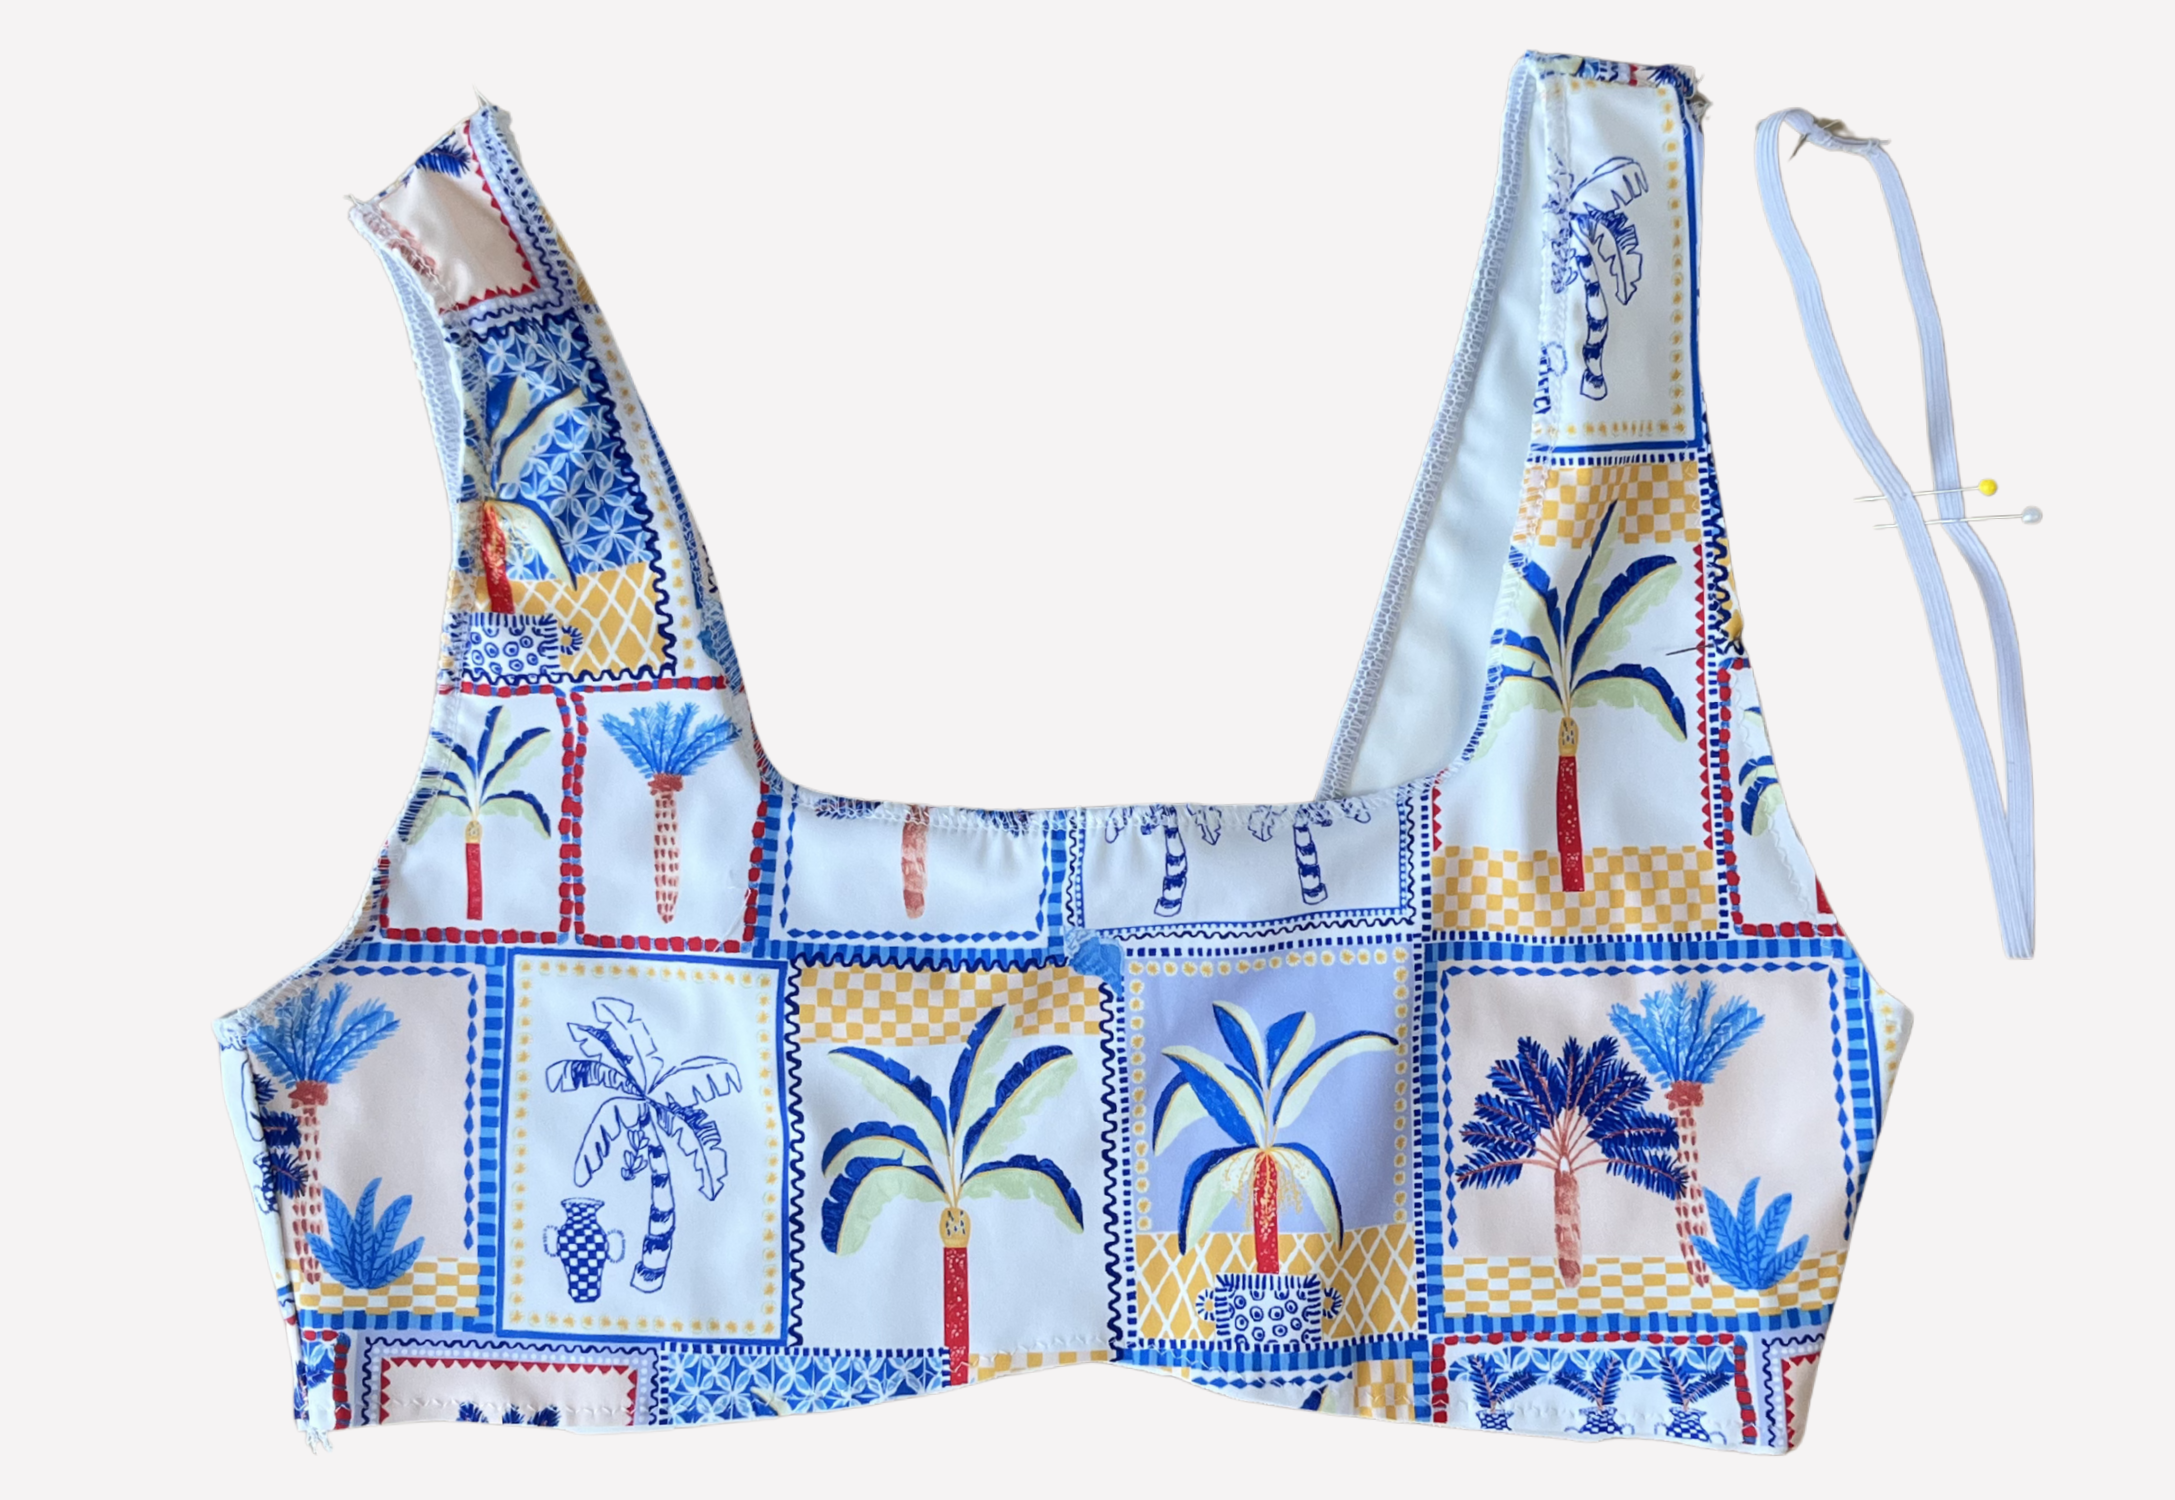
Aligning the marks, pin the neck and armhole elastic to the wrong/lining side of the openings and sew into place using a zig zag stitch, stretching the elastic as you sew. Make sure to sew with the elastic on top.
Lightly press the elastic using steam as this will help shrink the elastic back into place.
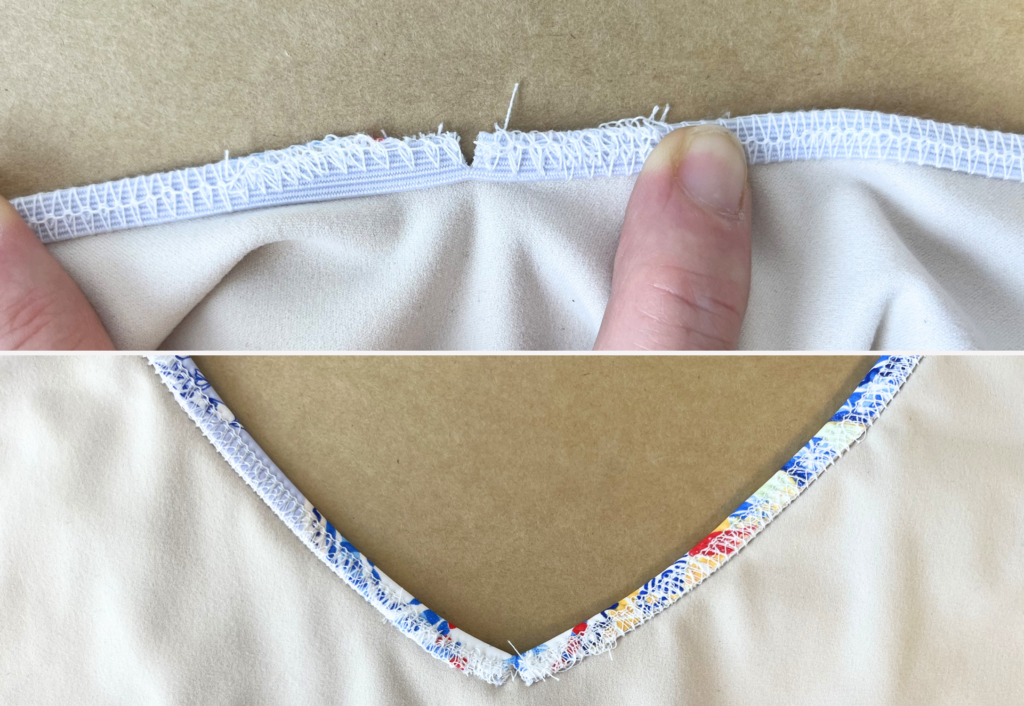
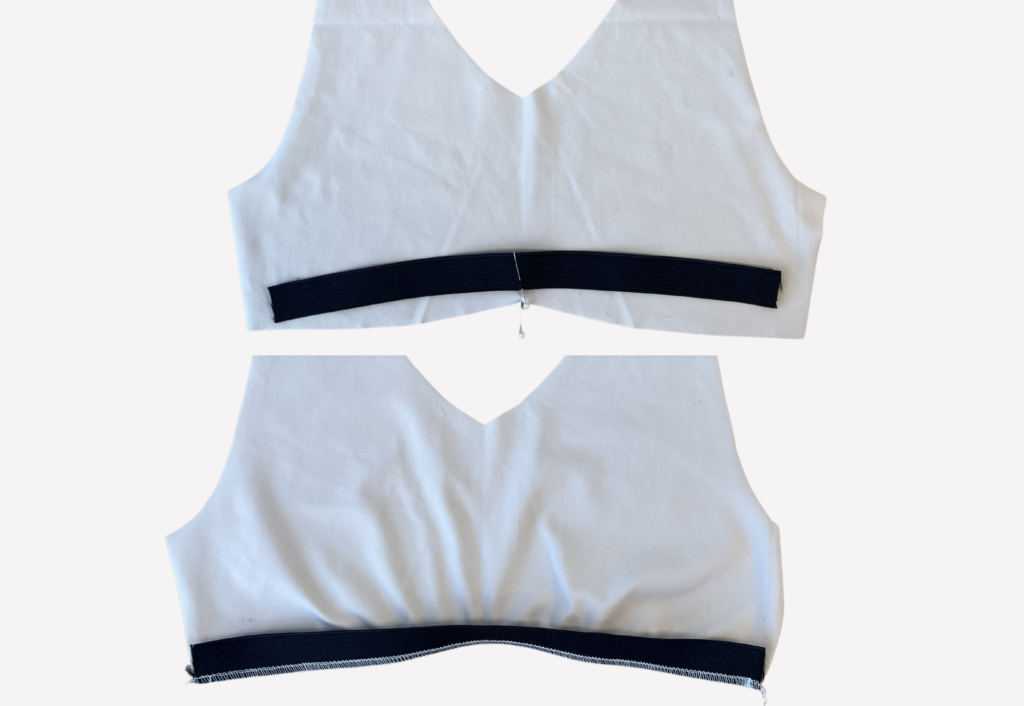
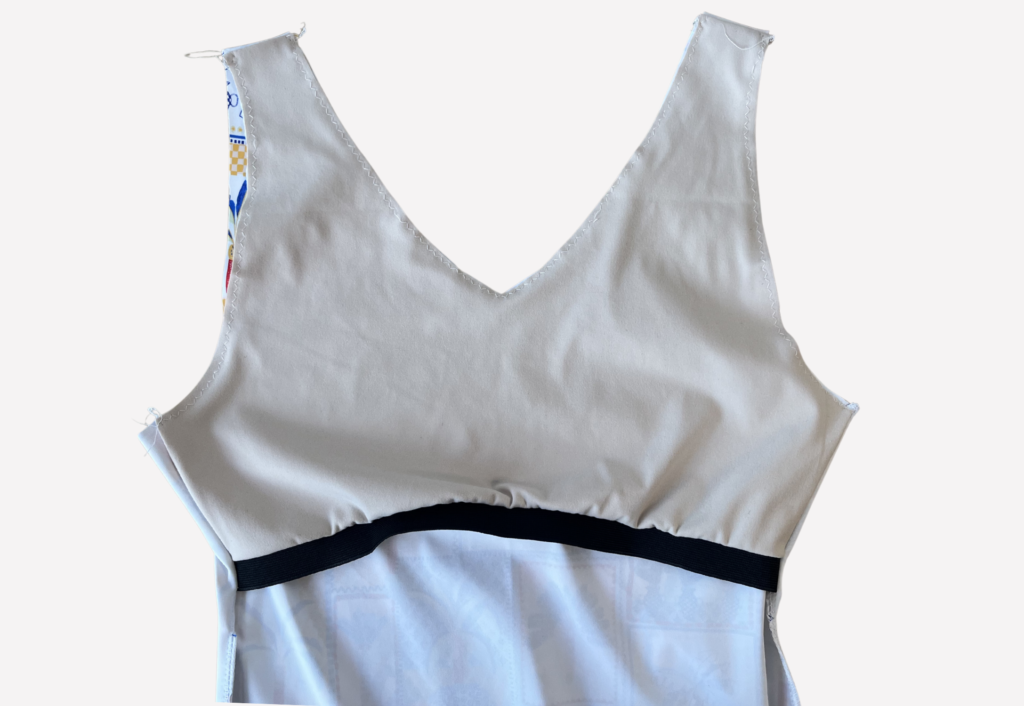
Note – if you are making the V-Neck option, you may choose to clip into the elastic at the centre front to achieve a nice V shape (see diagram). Alternatively, you can make a small dart.
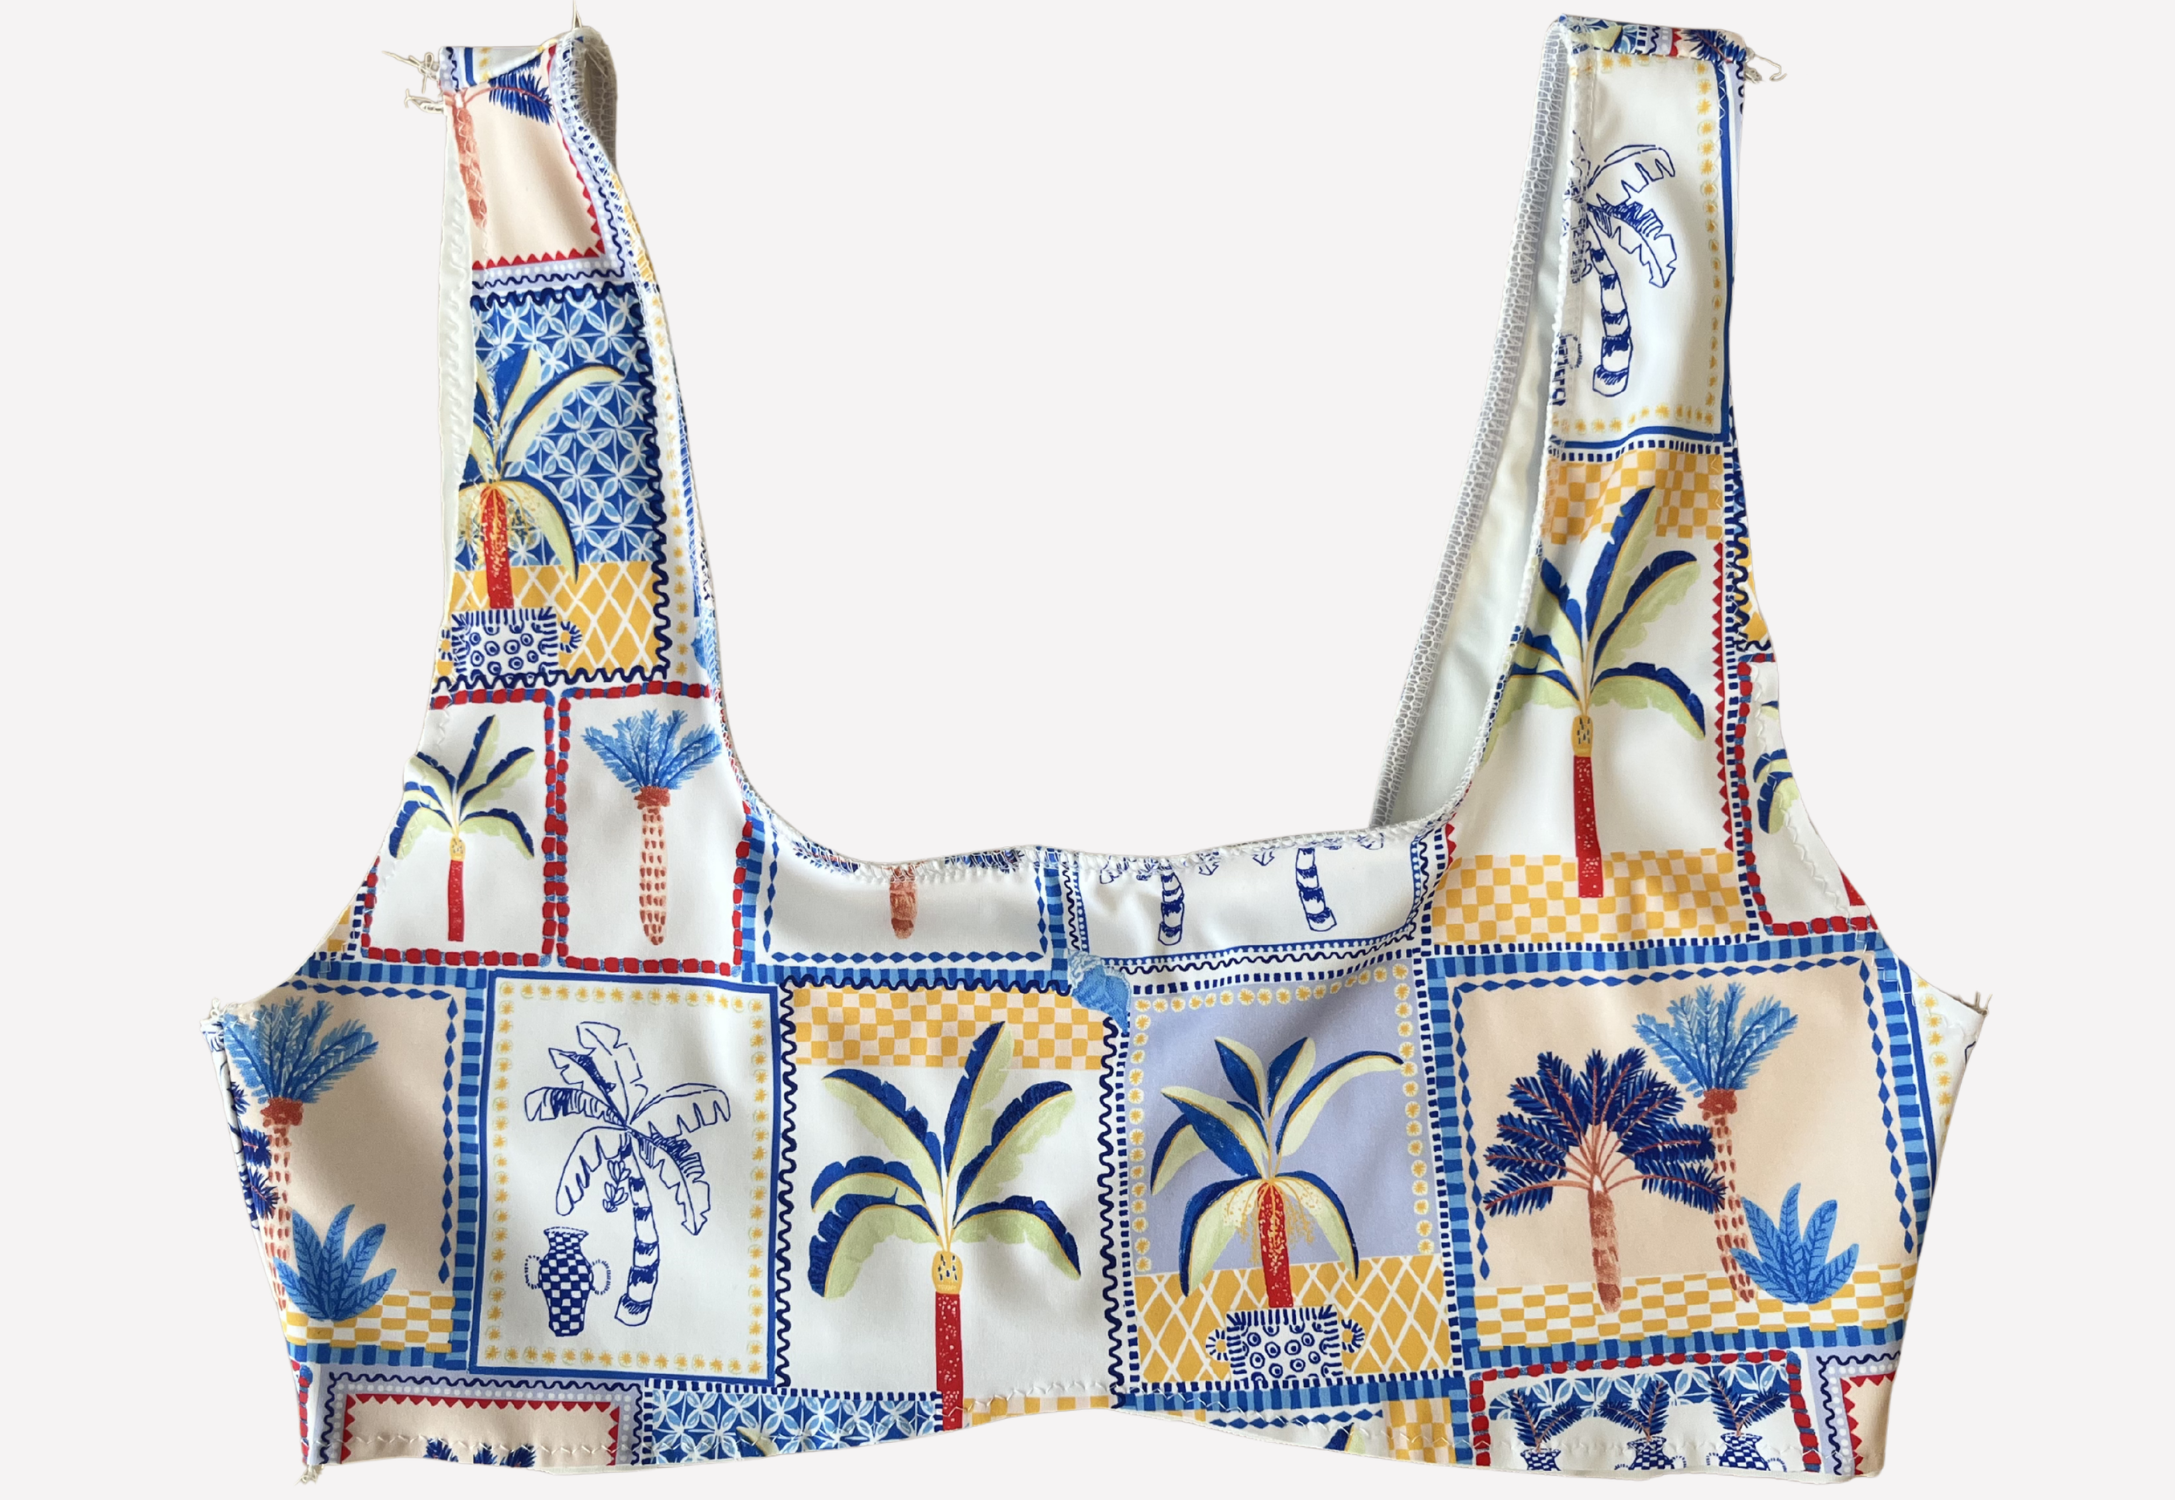
Turn the elastic seam to the inside, pin into place and topstitch using a twin needle or zig zag stitch.
For Front D+ Crop (10) OR (11) only –
Sew a gathering stitch to the underbust seam between the notches and draw in so the length between the notches equals 5cm (2”) as shown on the pattern.
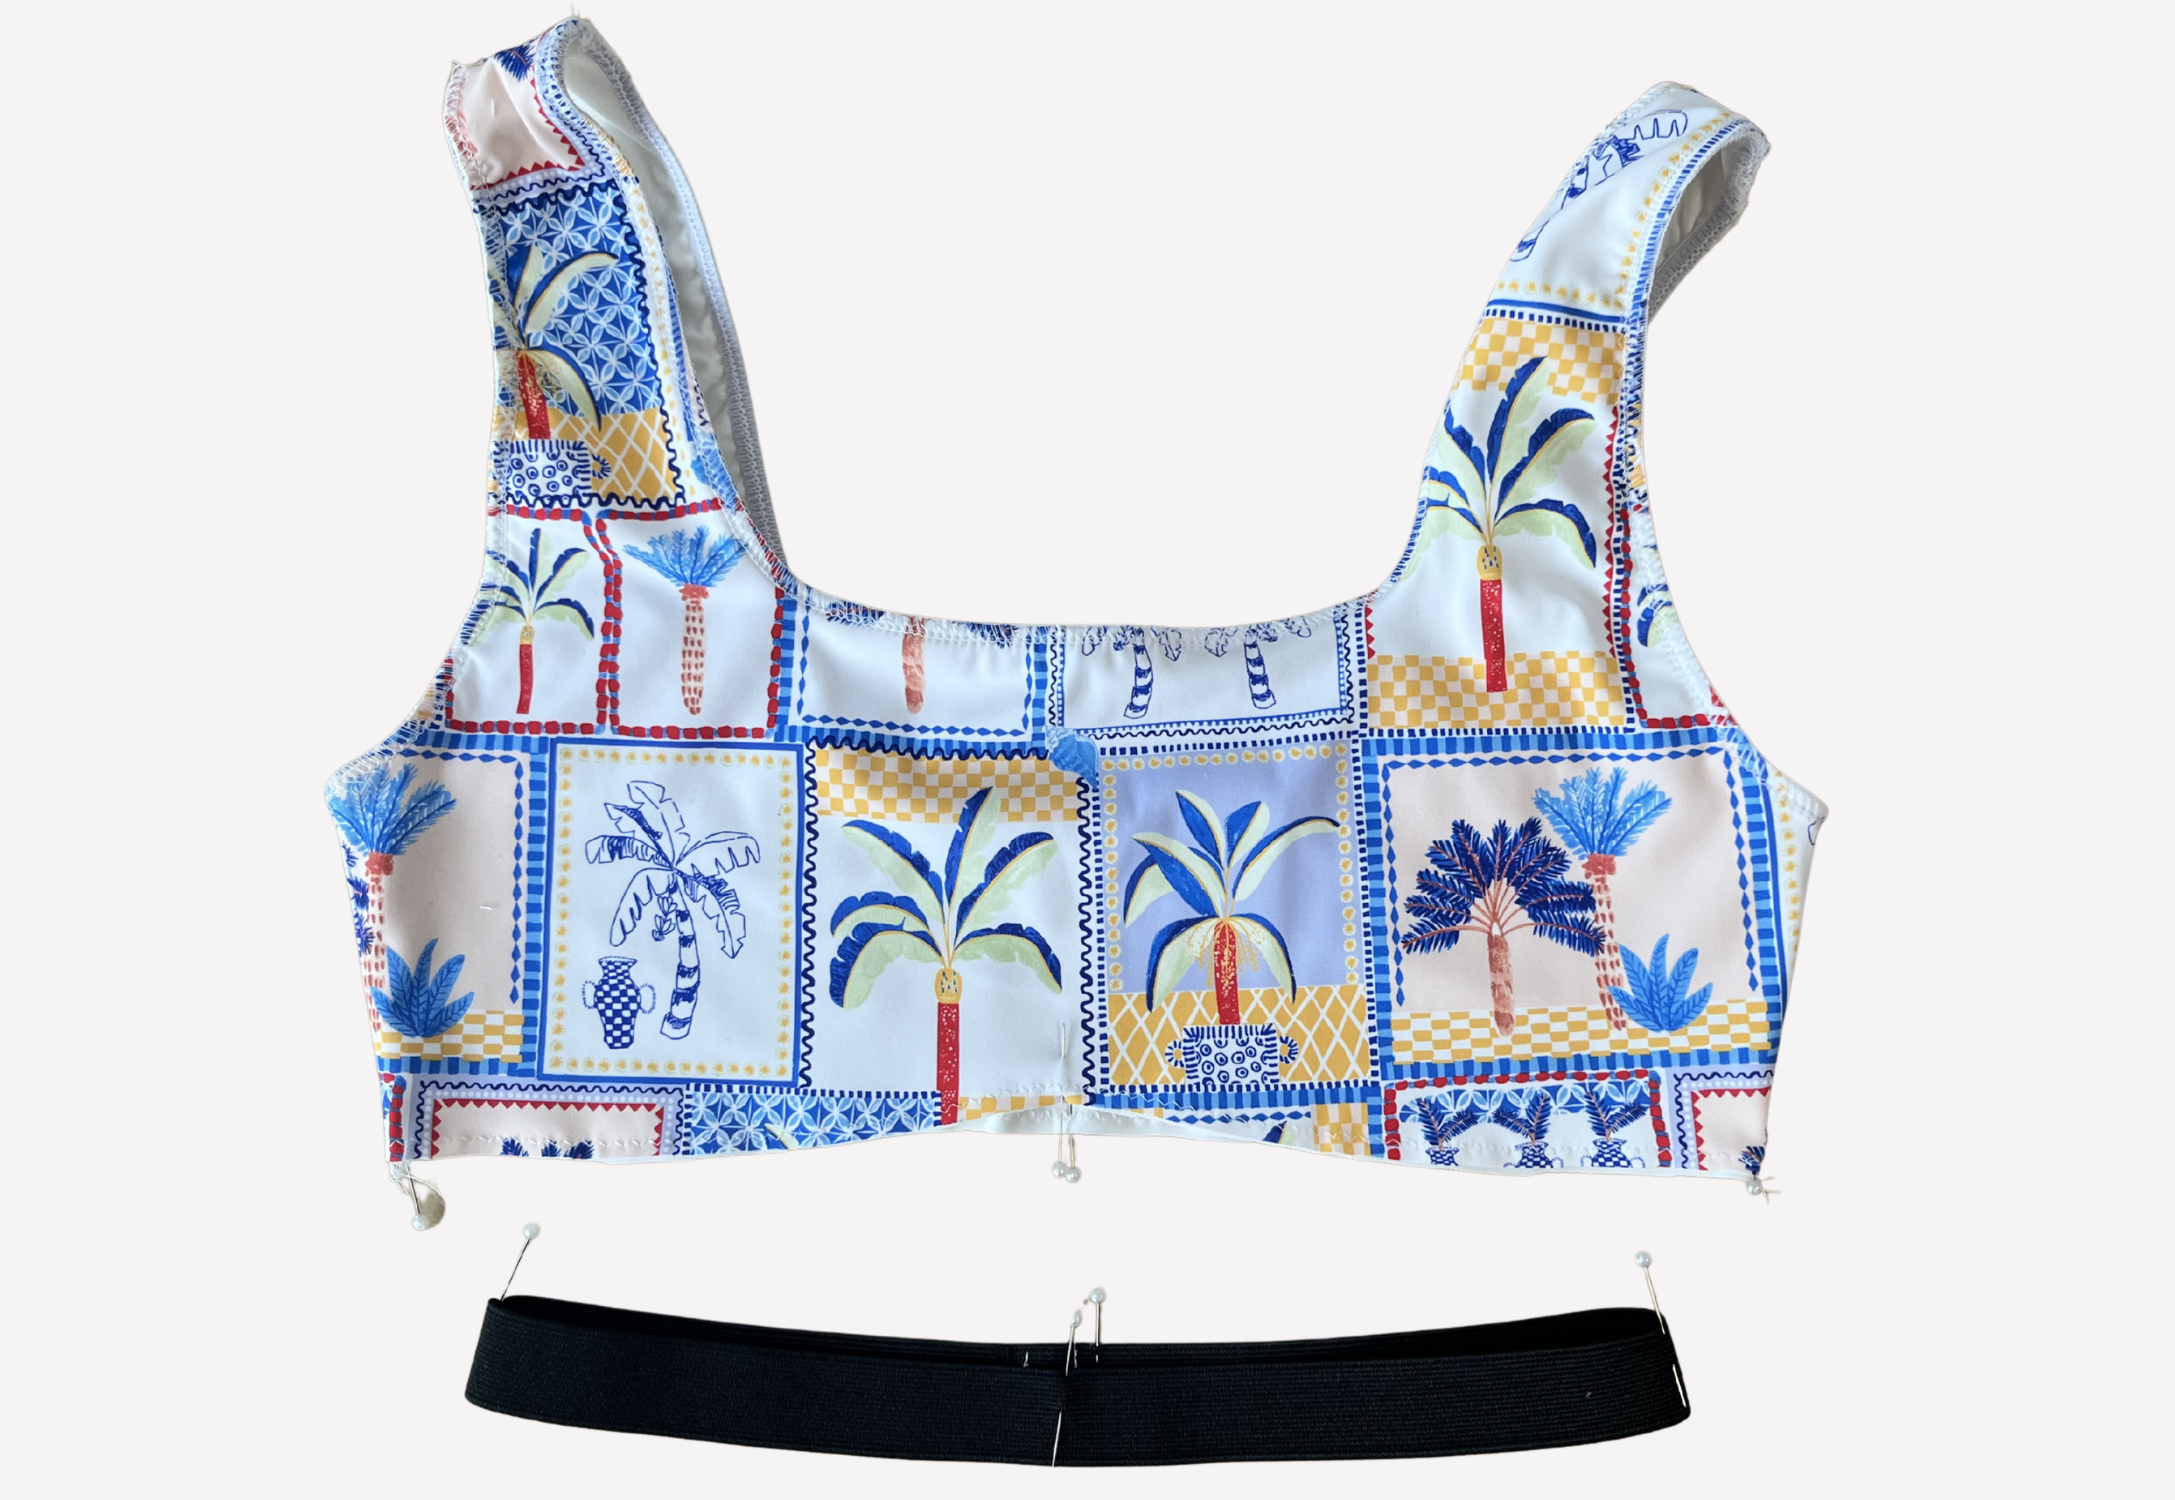
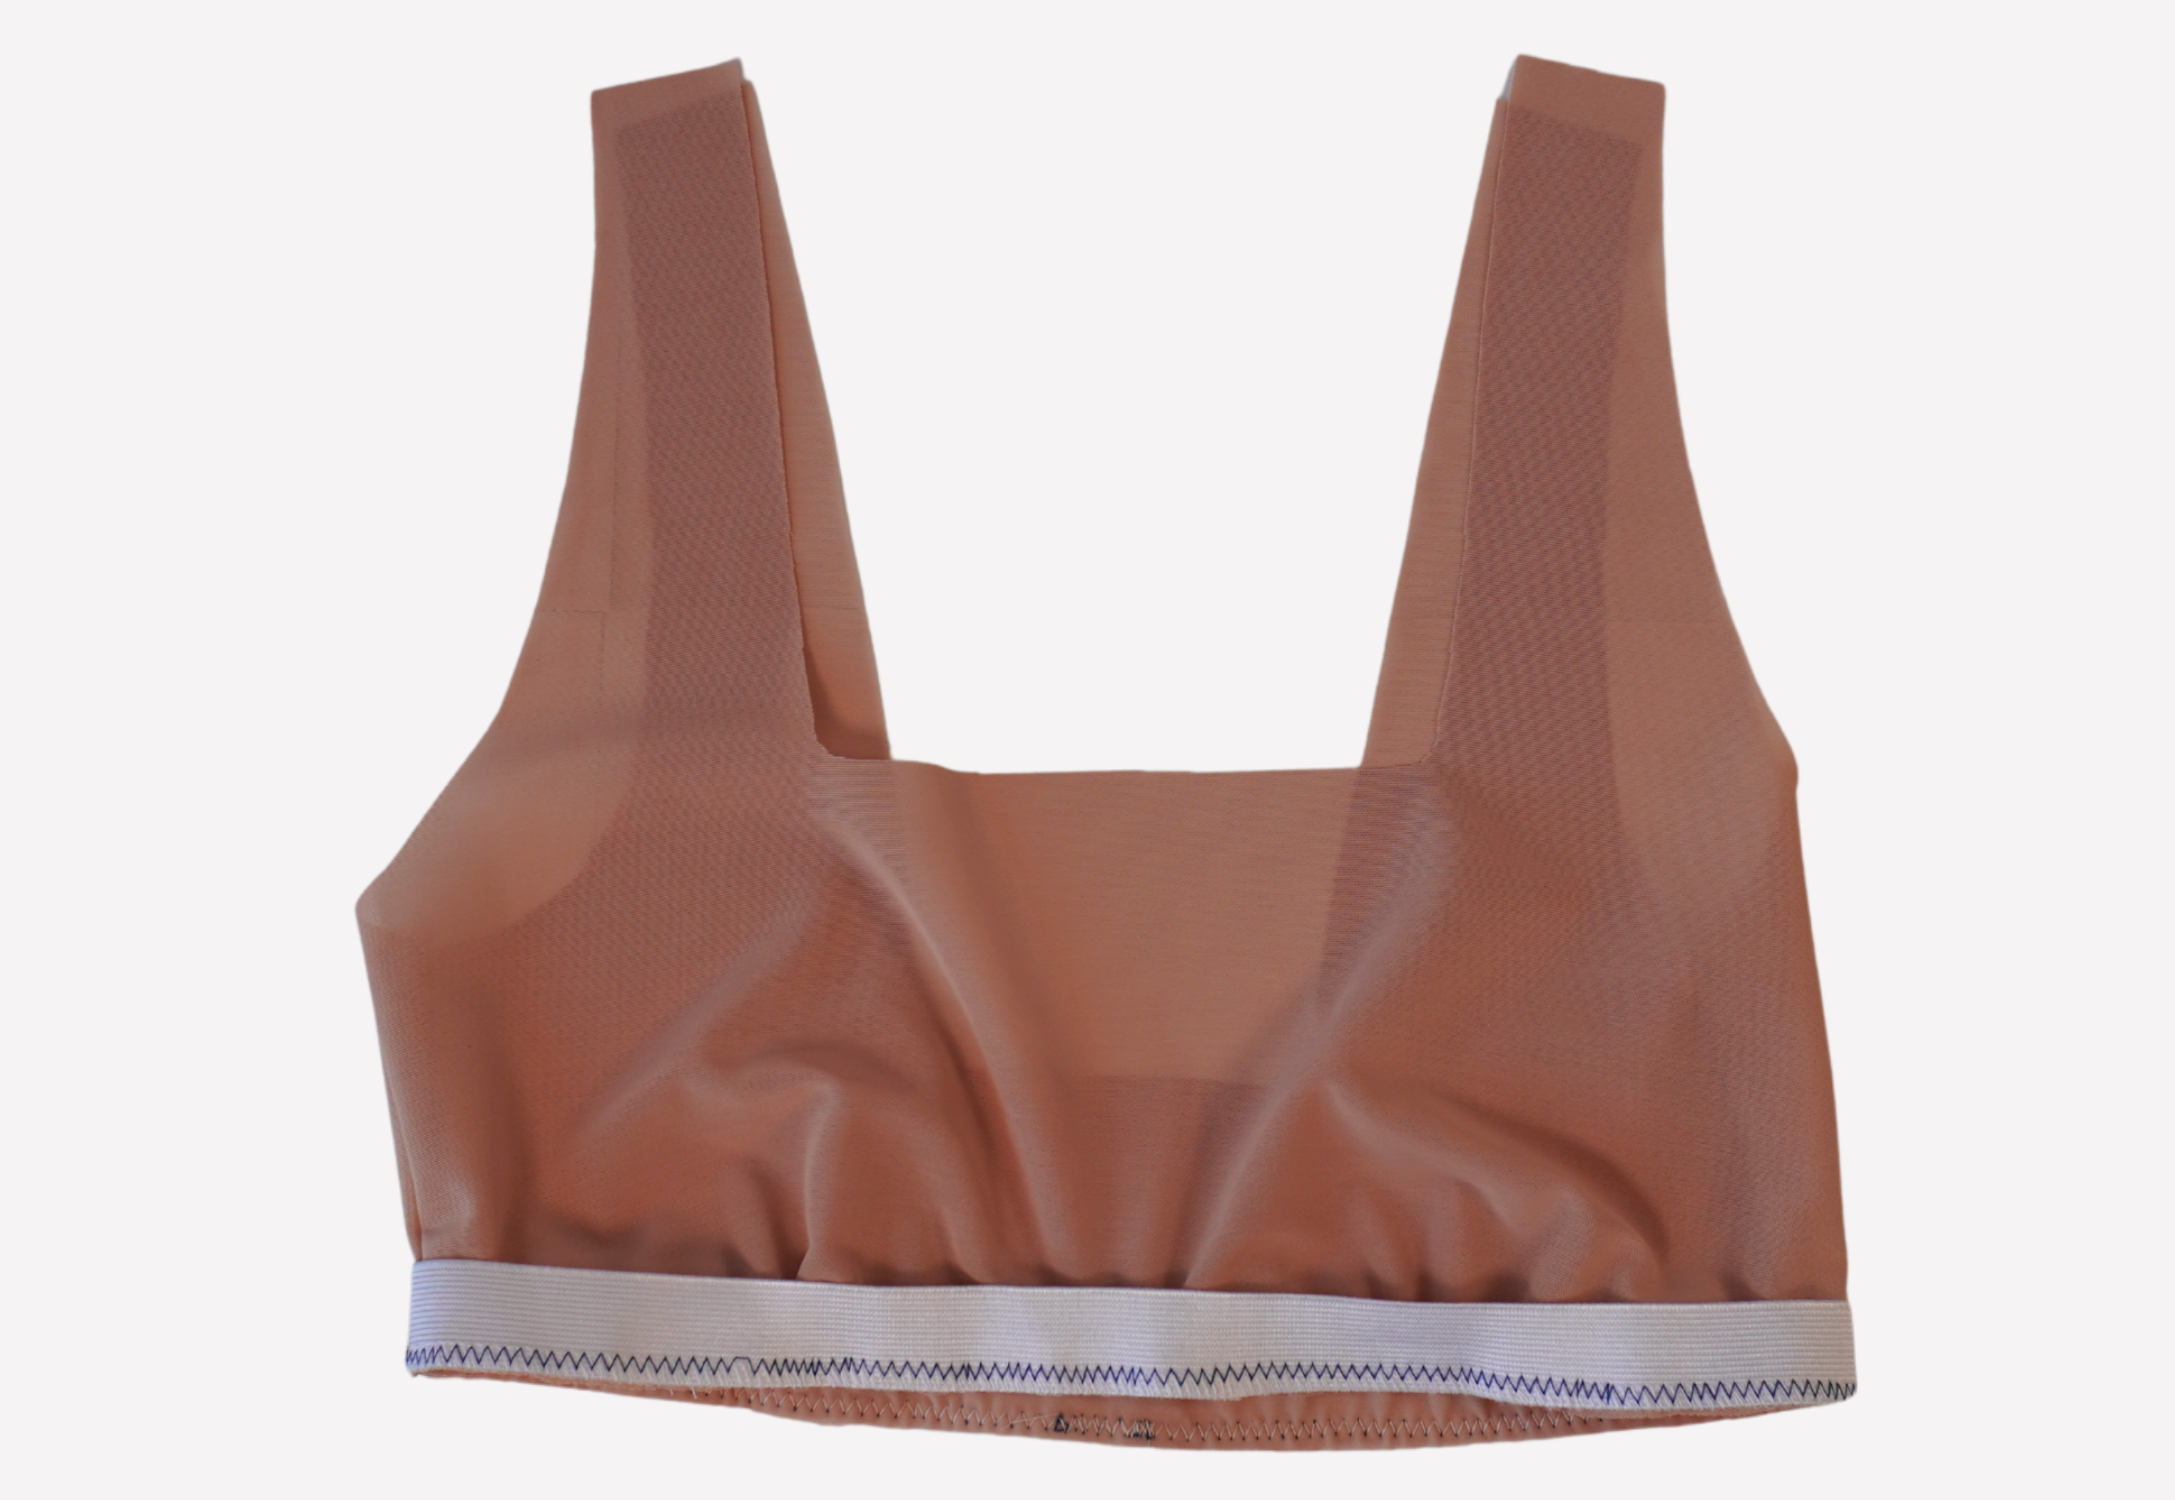
For the Underbust Band (16):
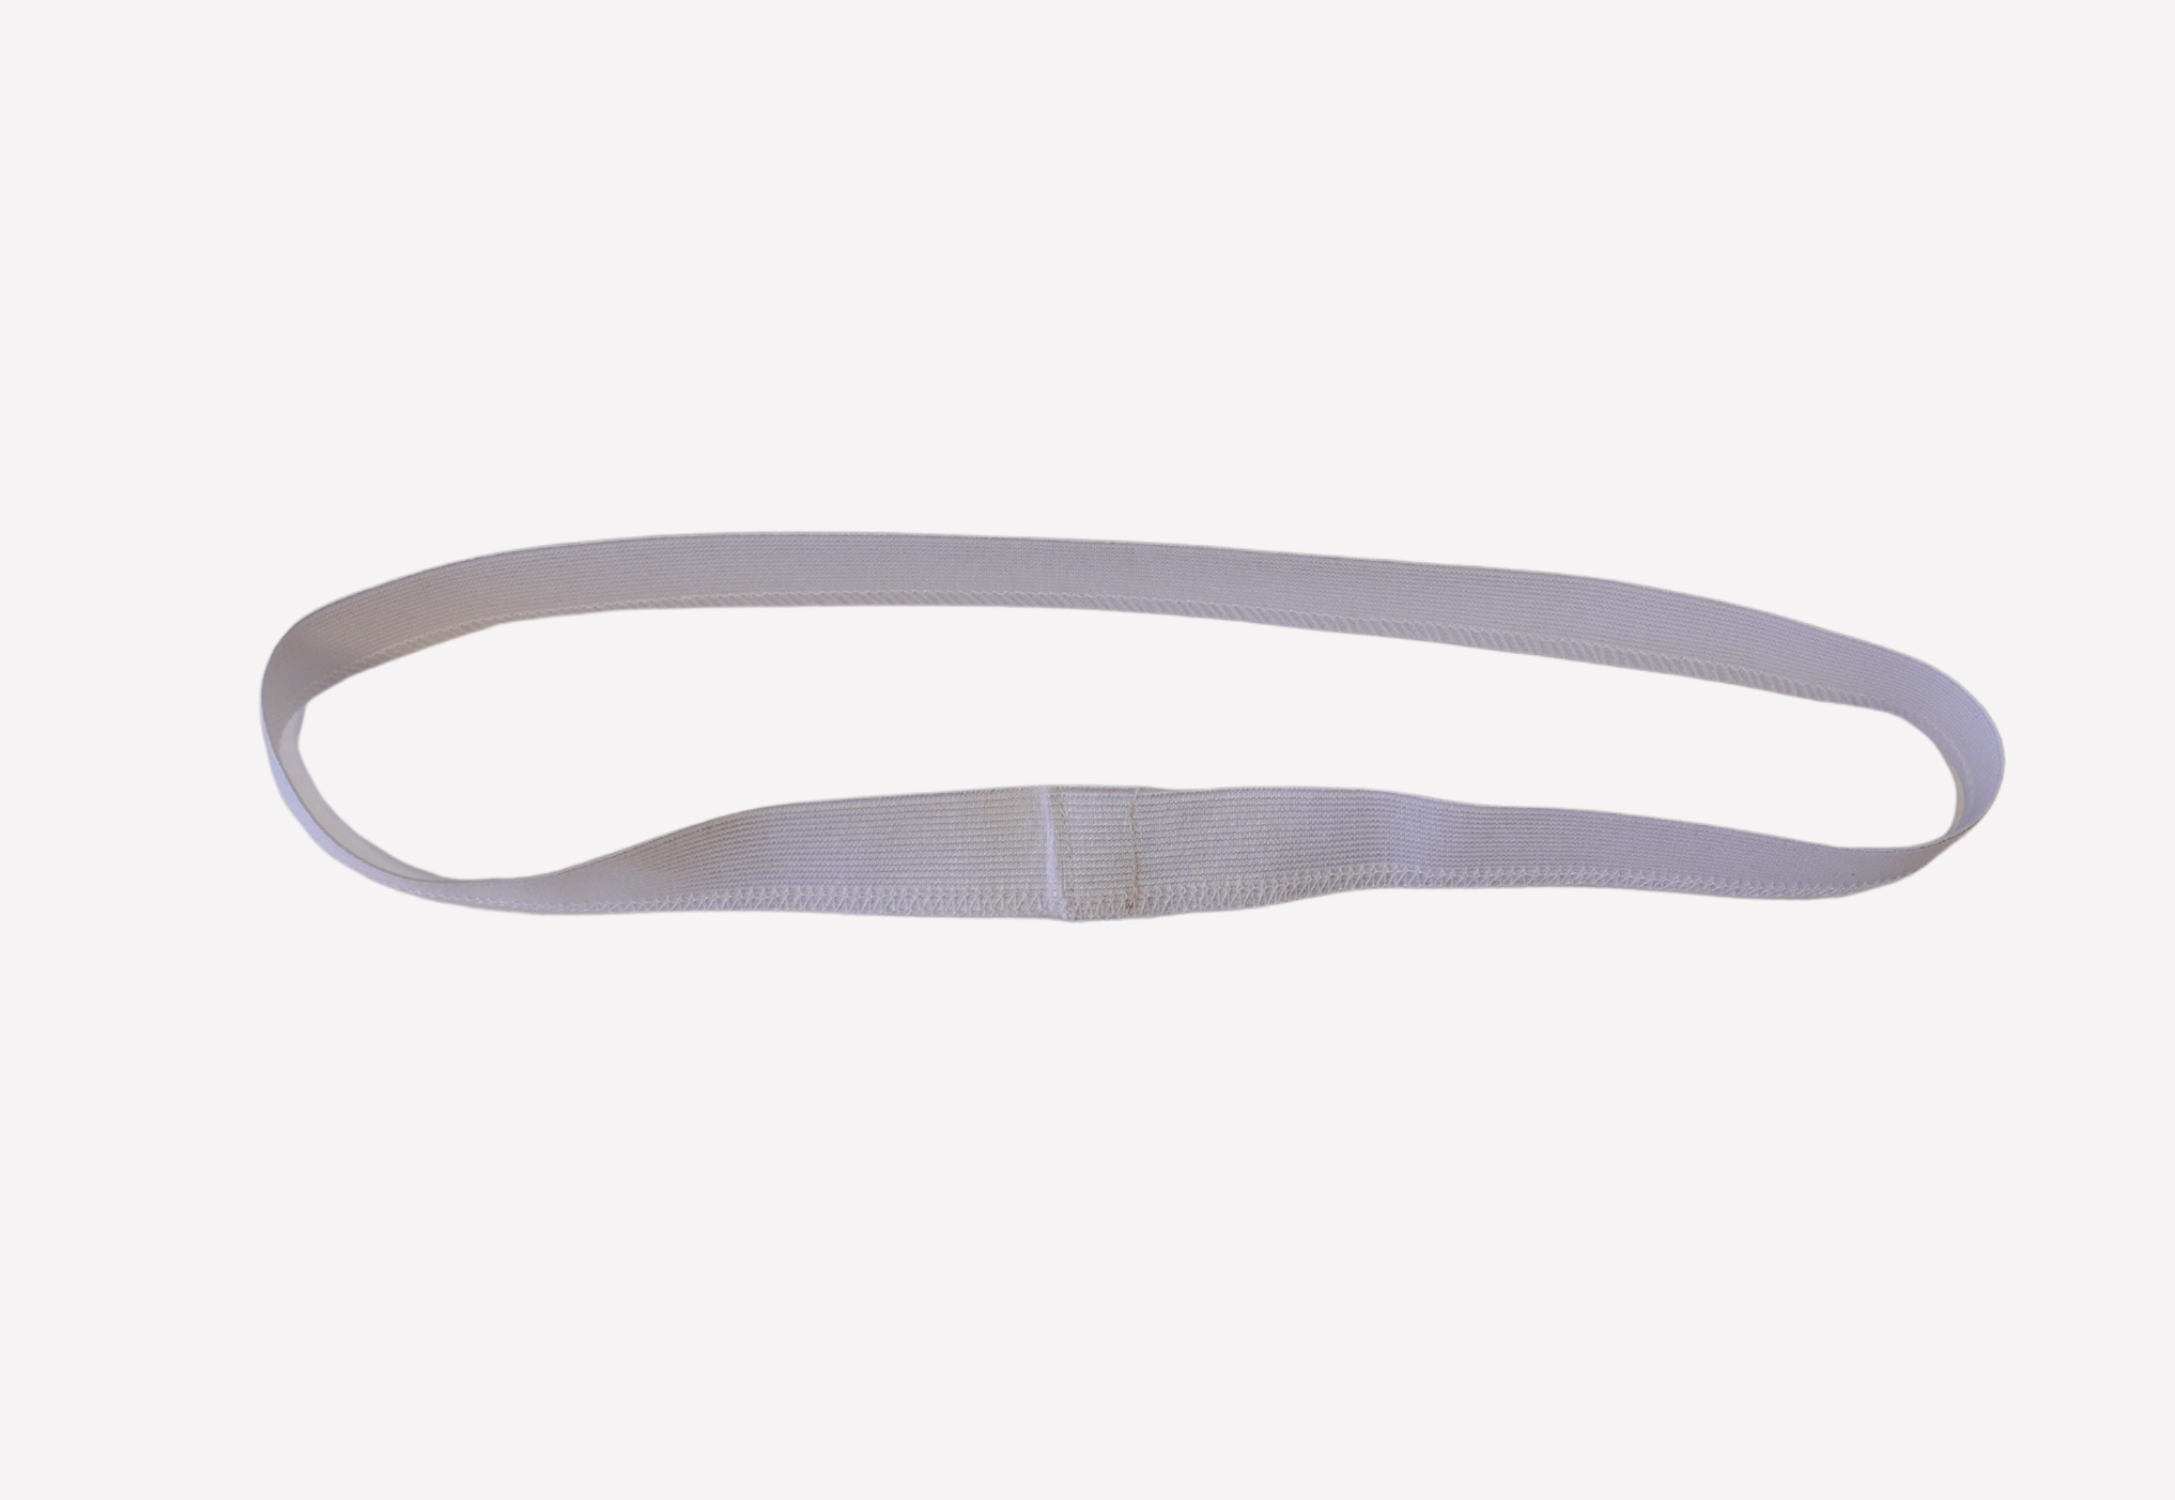
With RST, sew the short ends of the underbust band together, creating a loop. Press open. With WST, fold the band in half lengthways and press.
Place your 25mm (1”) underbust elastic inside the band, and pin the raw edges together, encasing the elastic. Baste the raw edges together using a zig zag stitch.
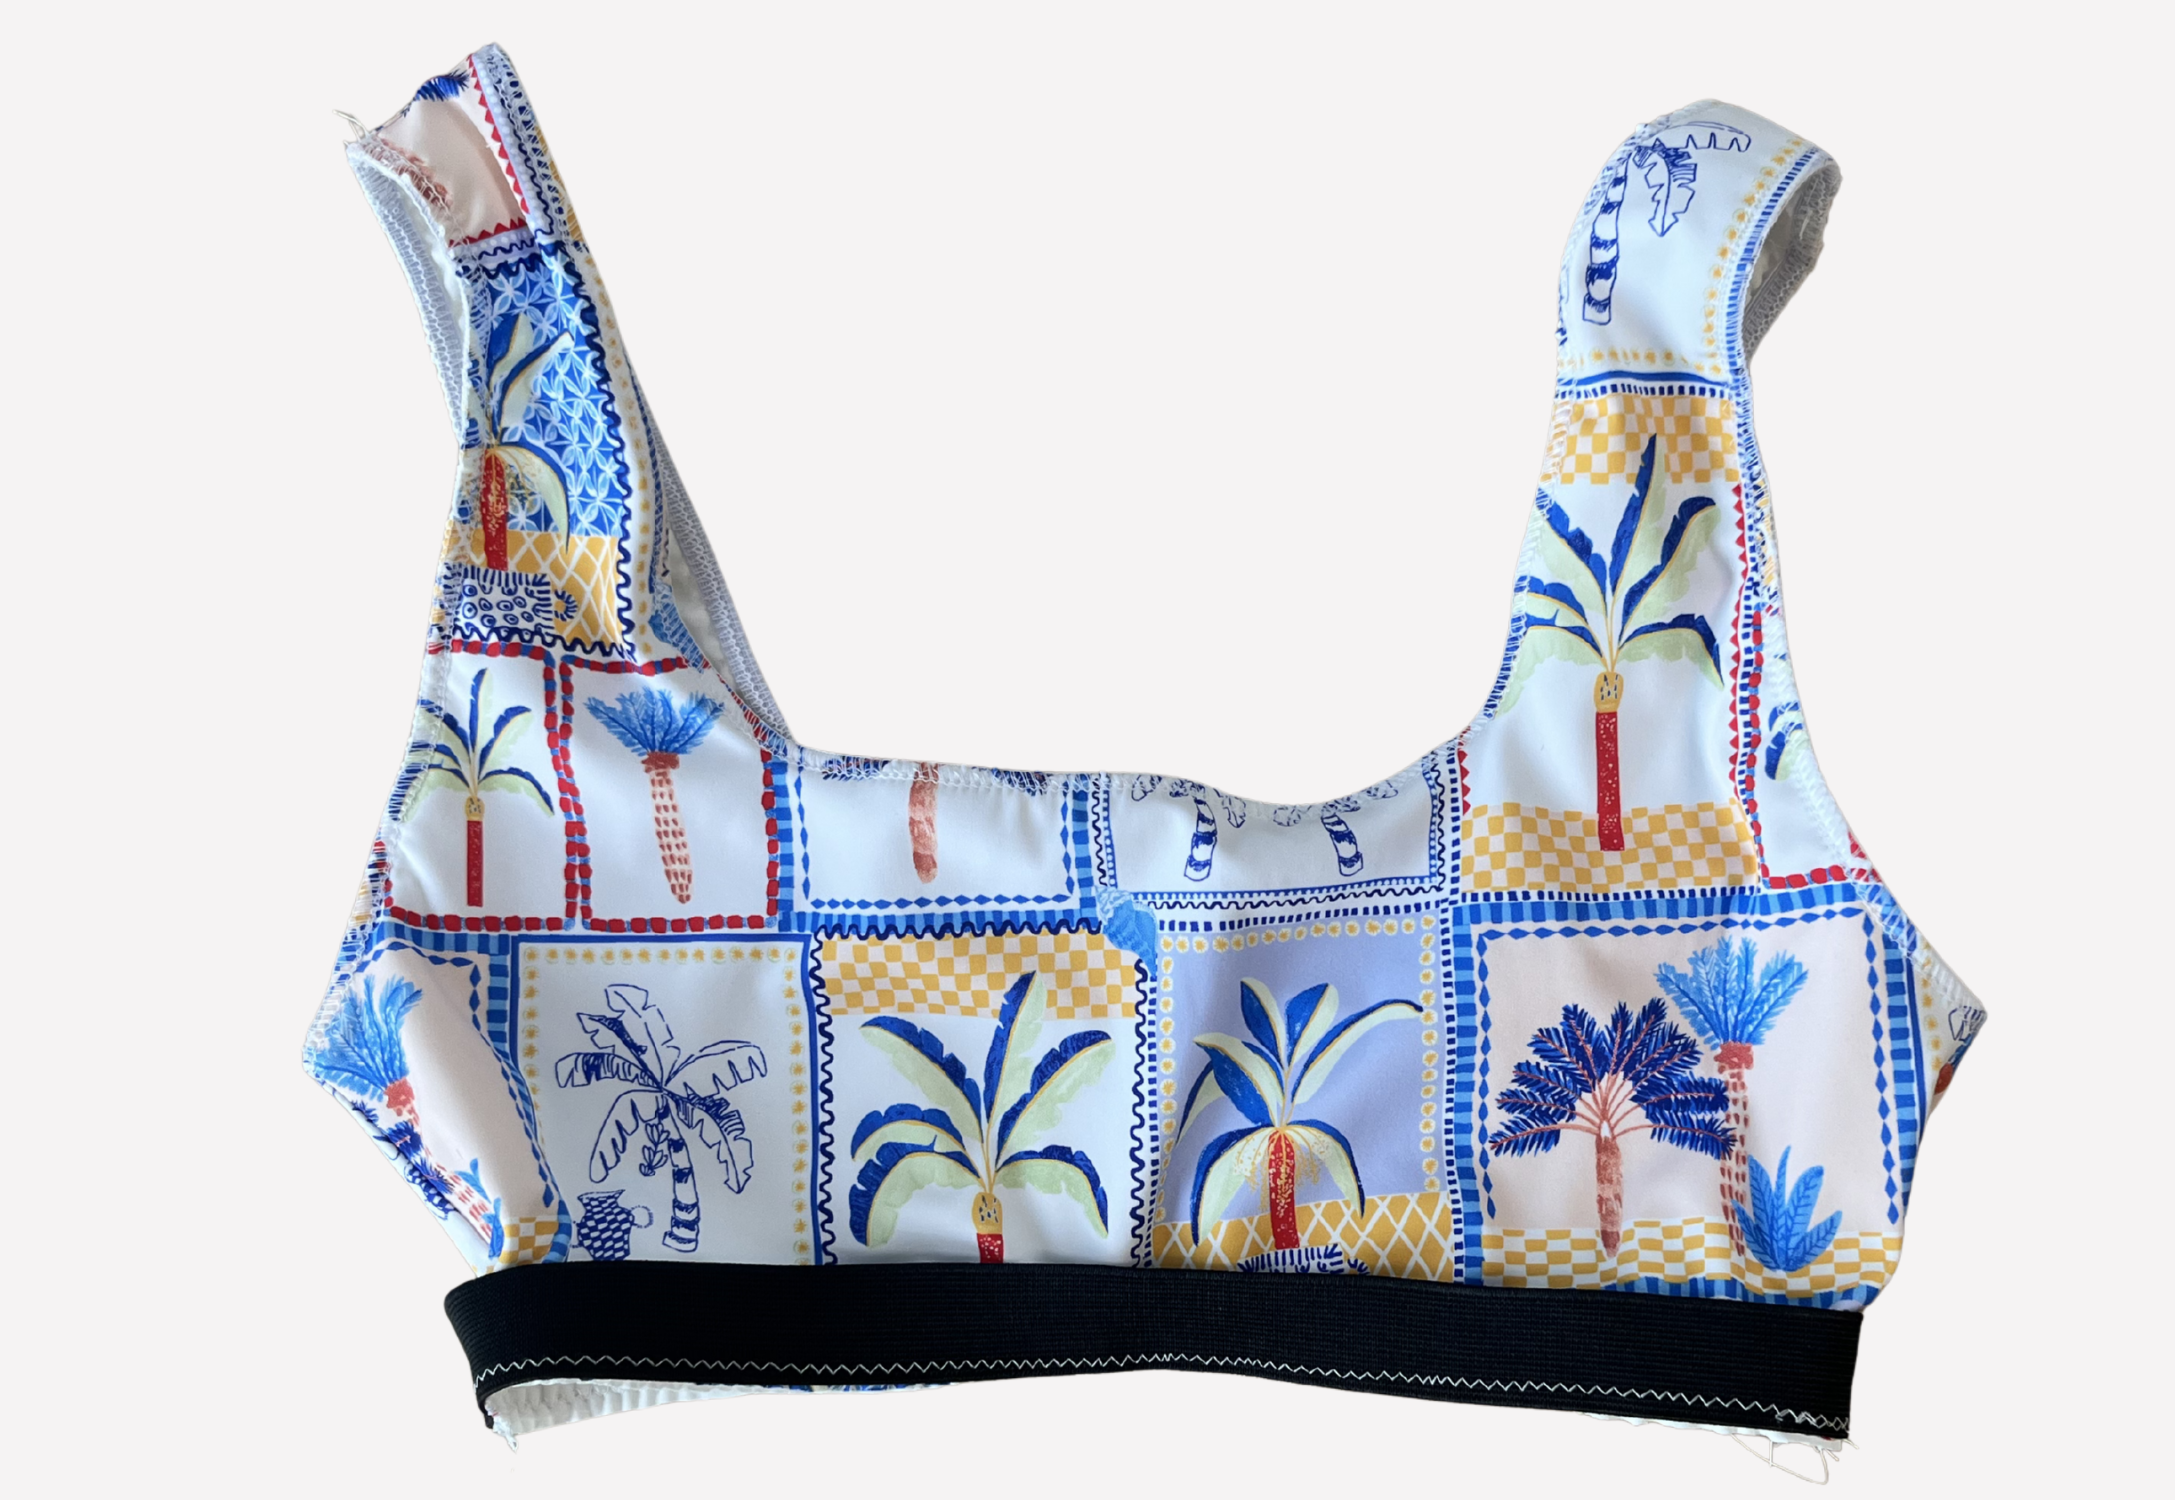
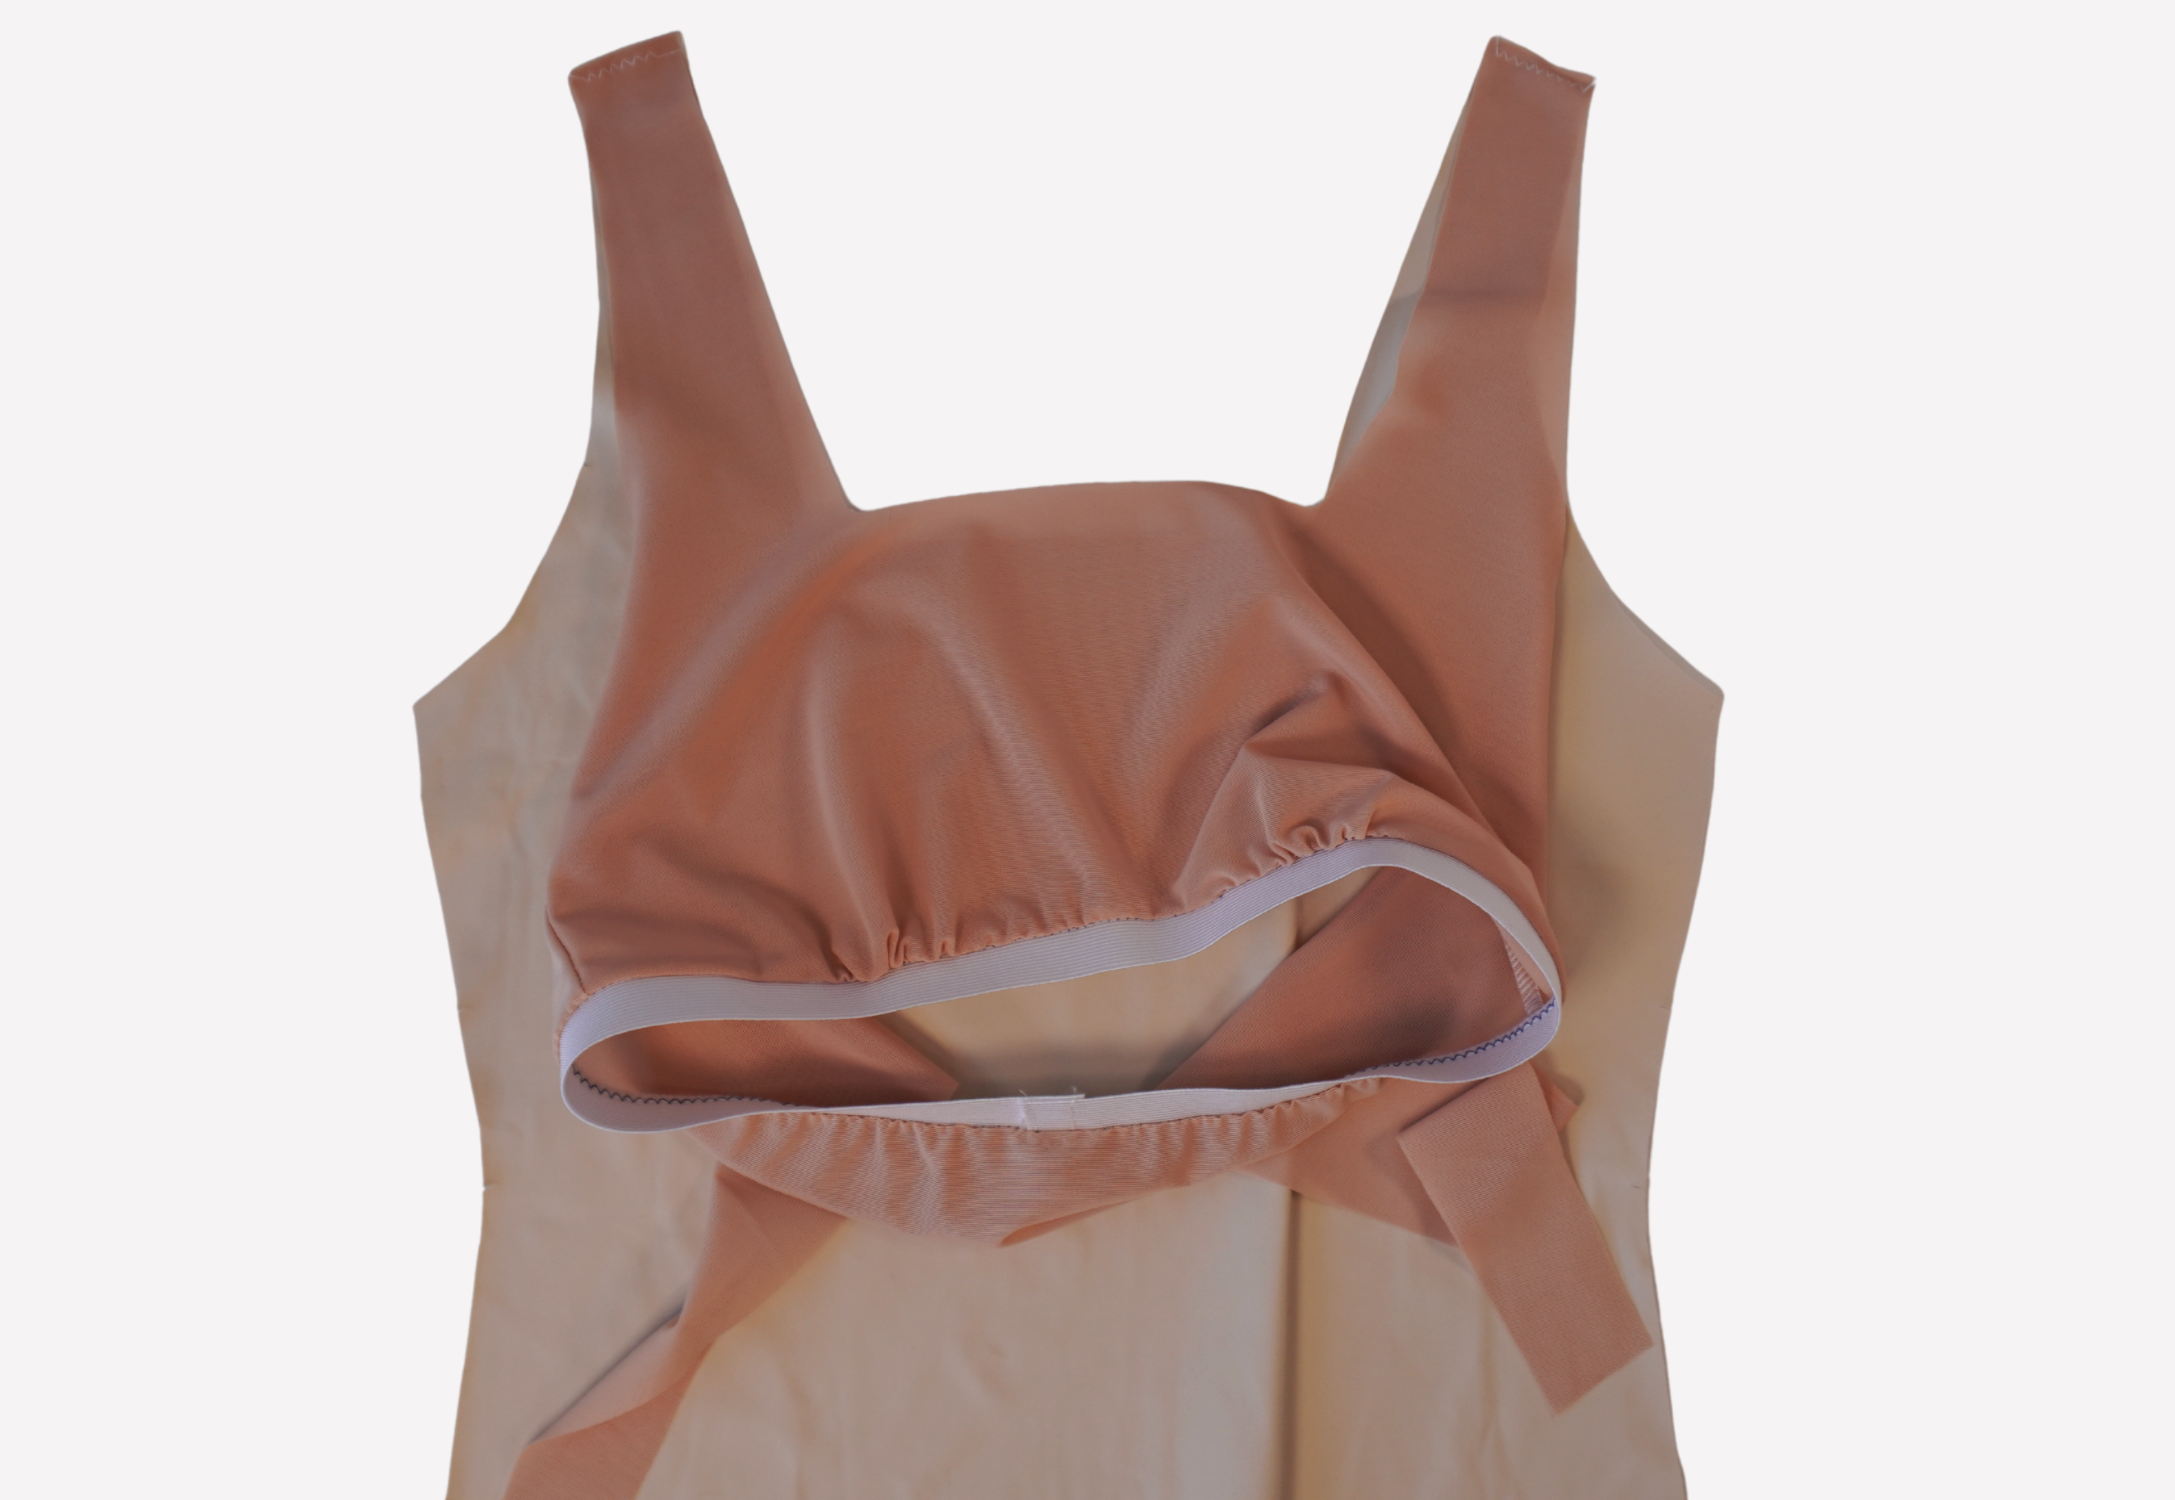
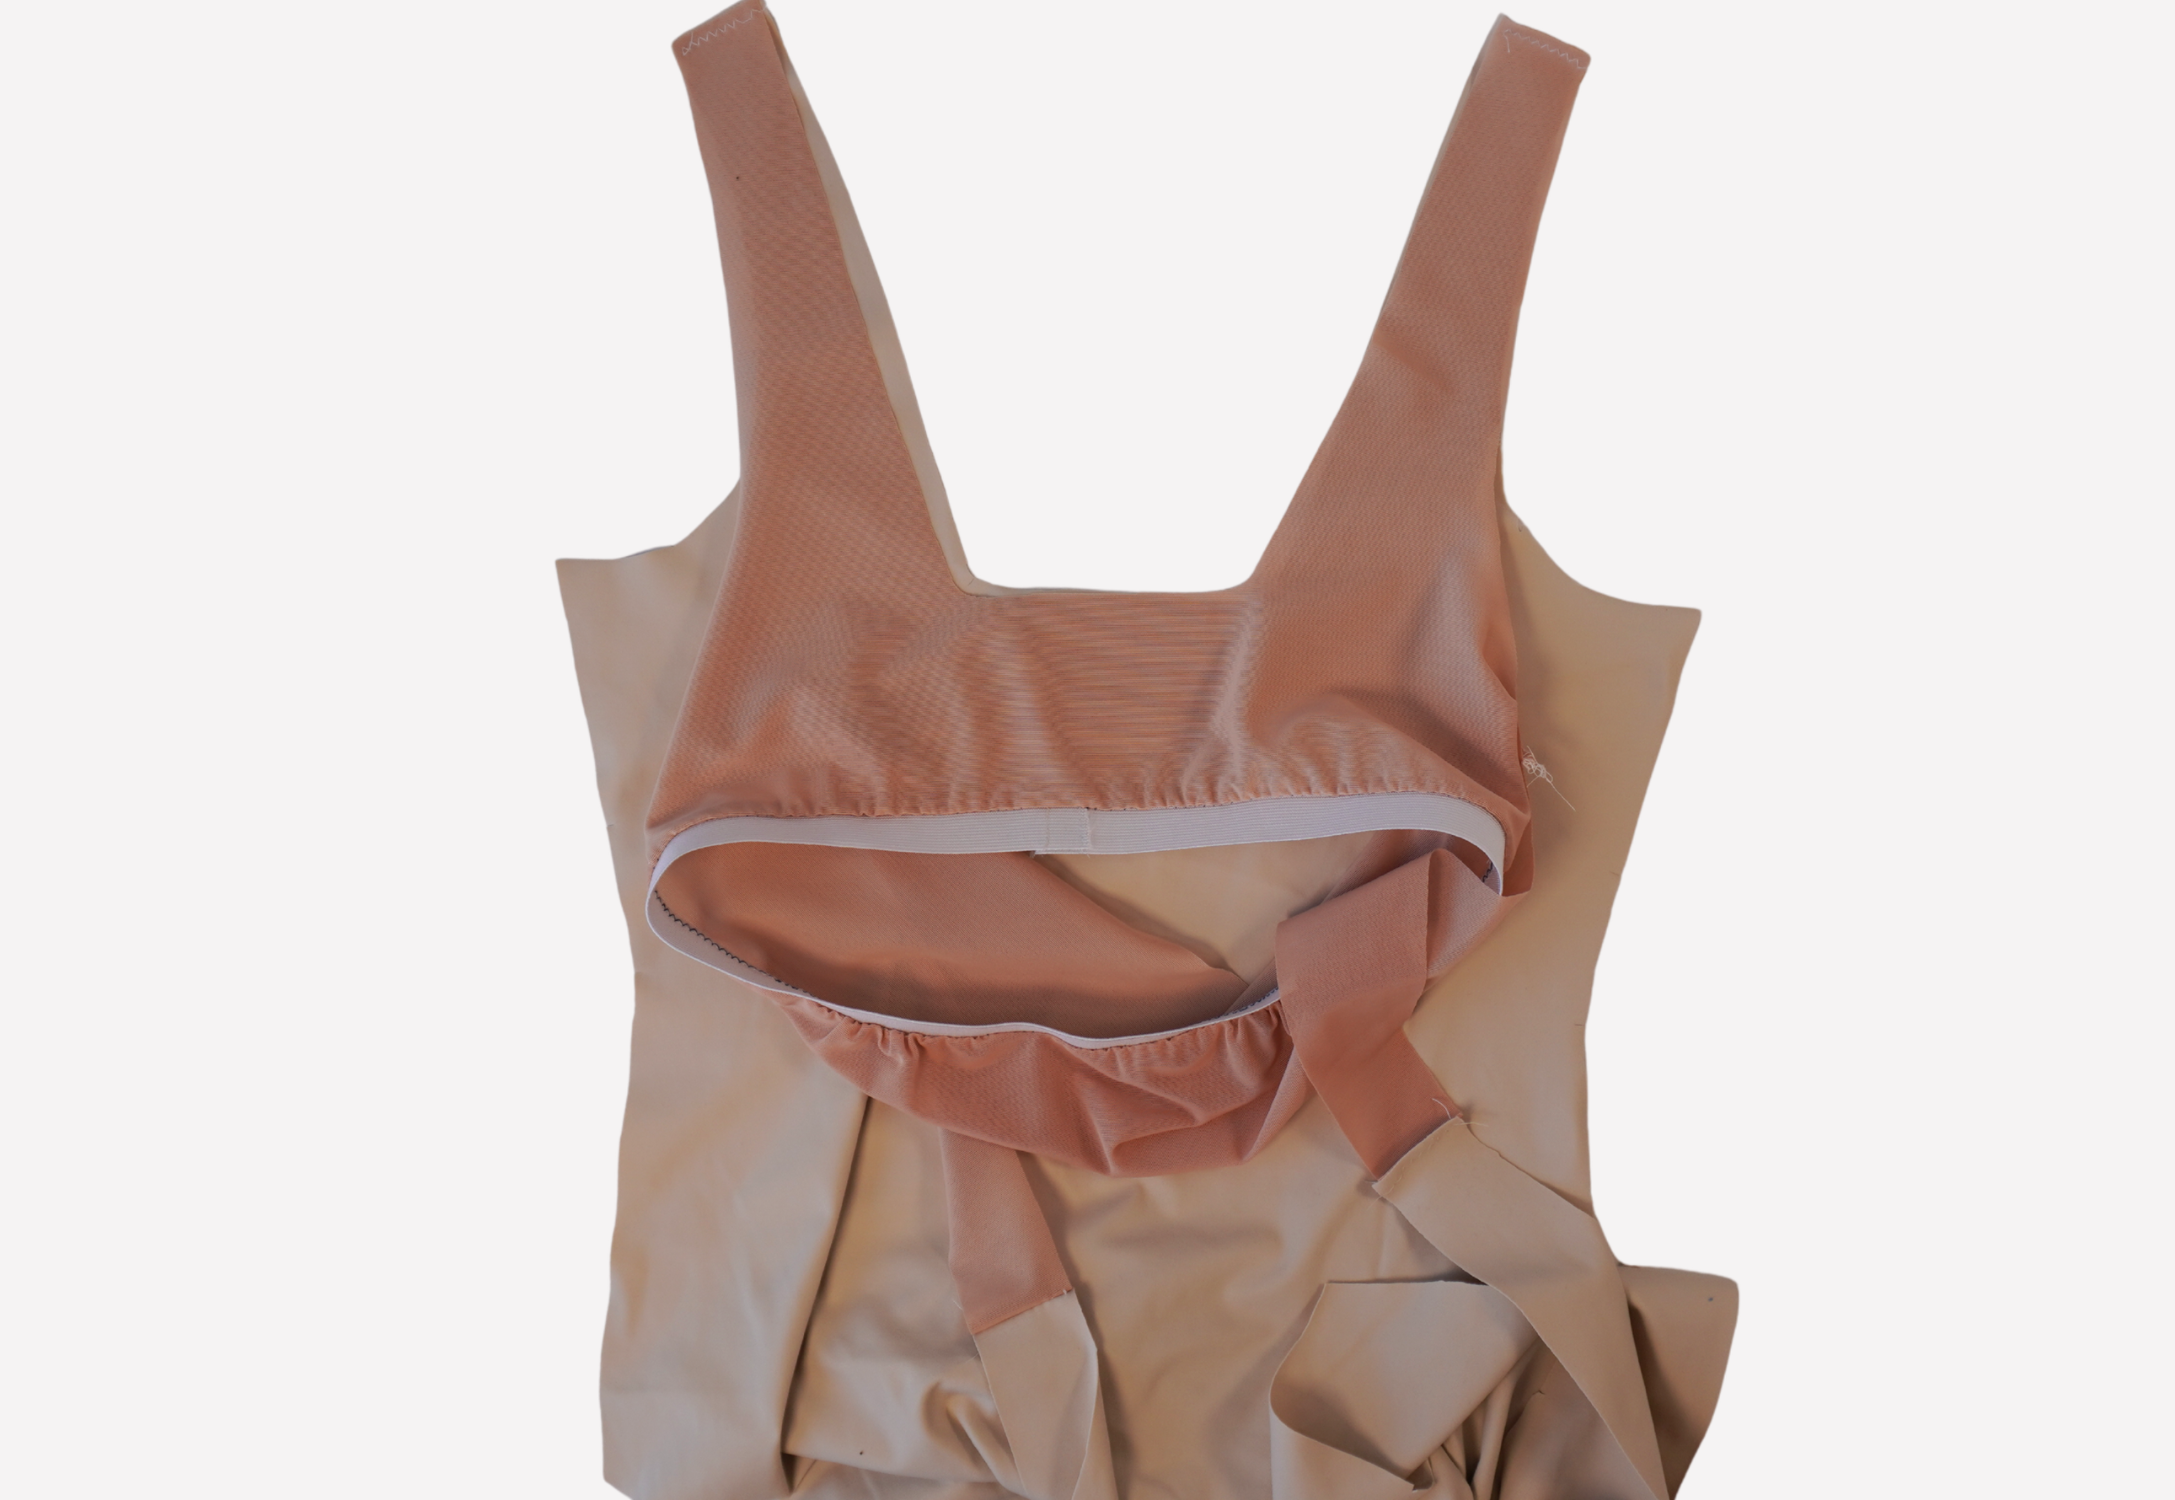
With RST and notches aligned, pin the under bust band to the under bust seam and sew using zig zag stitch or an overlocker/serger. Press the seam toward the body.
For the turned under elastic option:
Aligning the marks, pin the underbust elastic to the right side of the underbust seam and sew into place using a zig zag stitch, stretching the elastic as you sew.
You may choose to turn only the seam to the inside and have 2cm (3/4”) of exposed elastic. This will result in a longer length top.
Lightly press the elastic using steam as this will help shrink the elastic back into place.
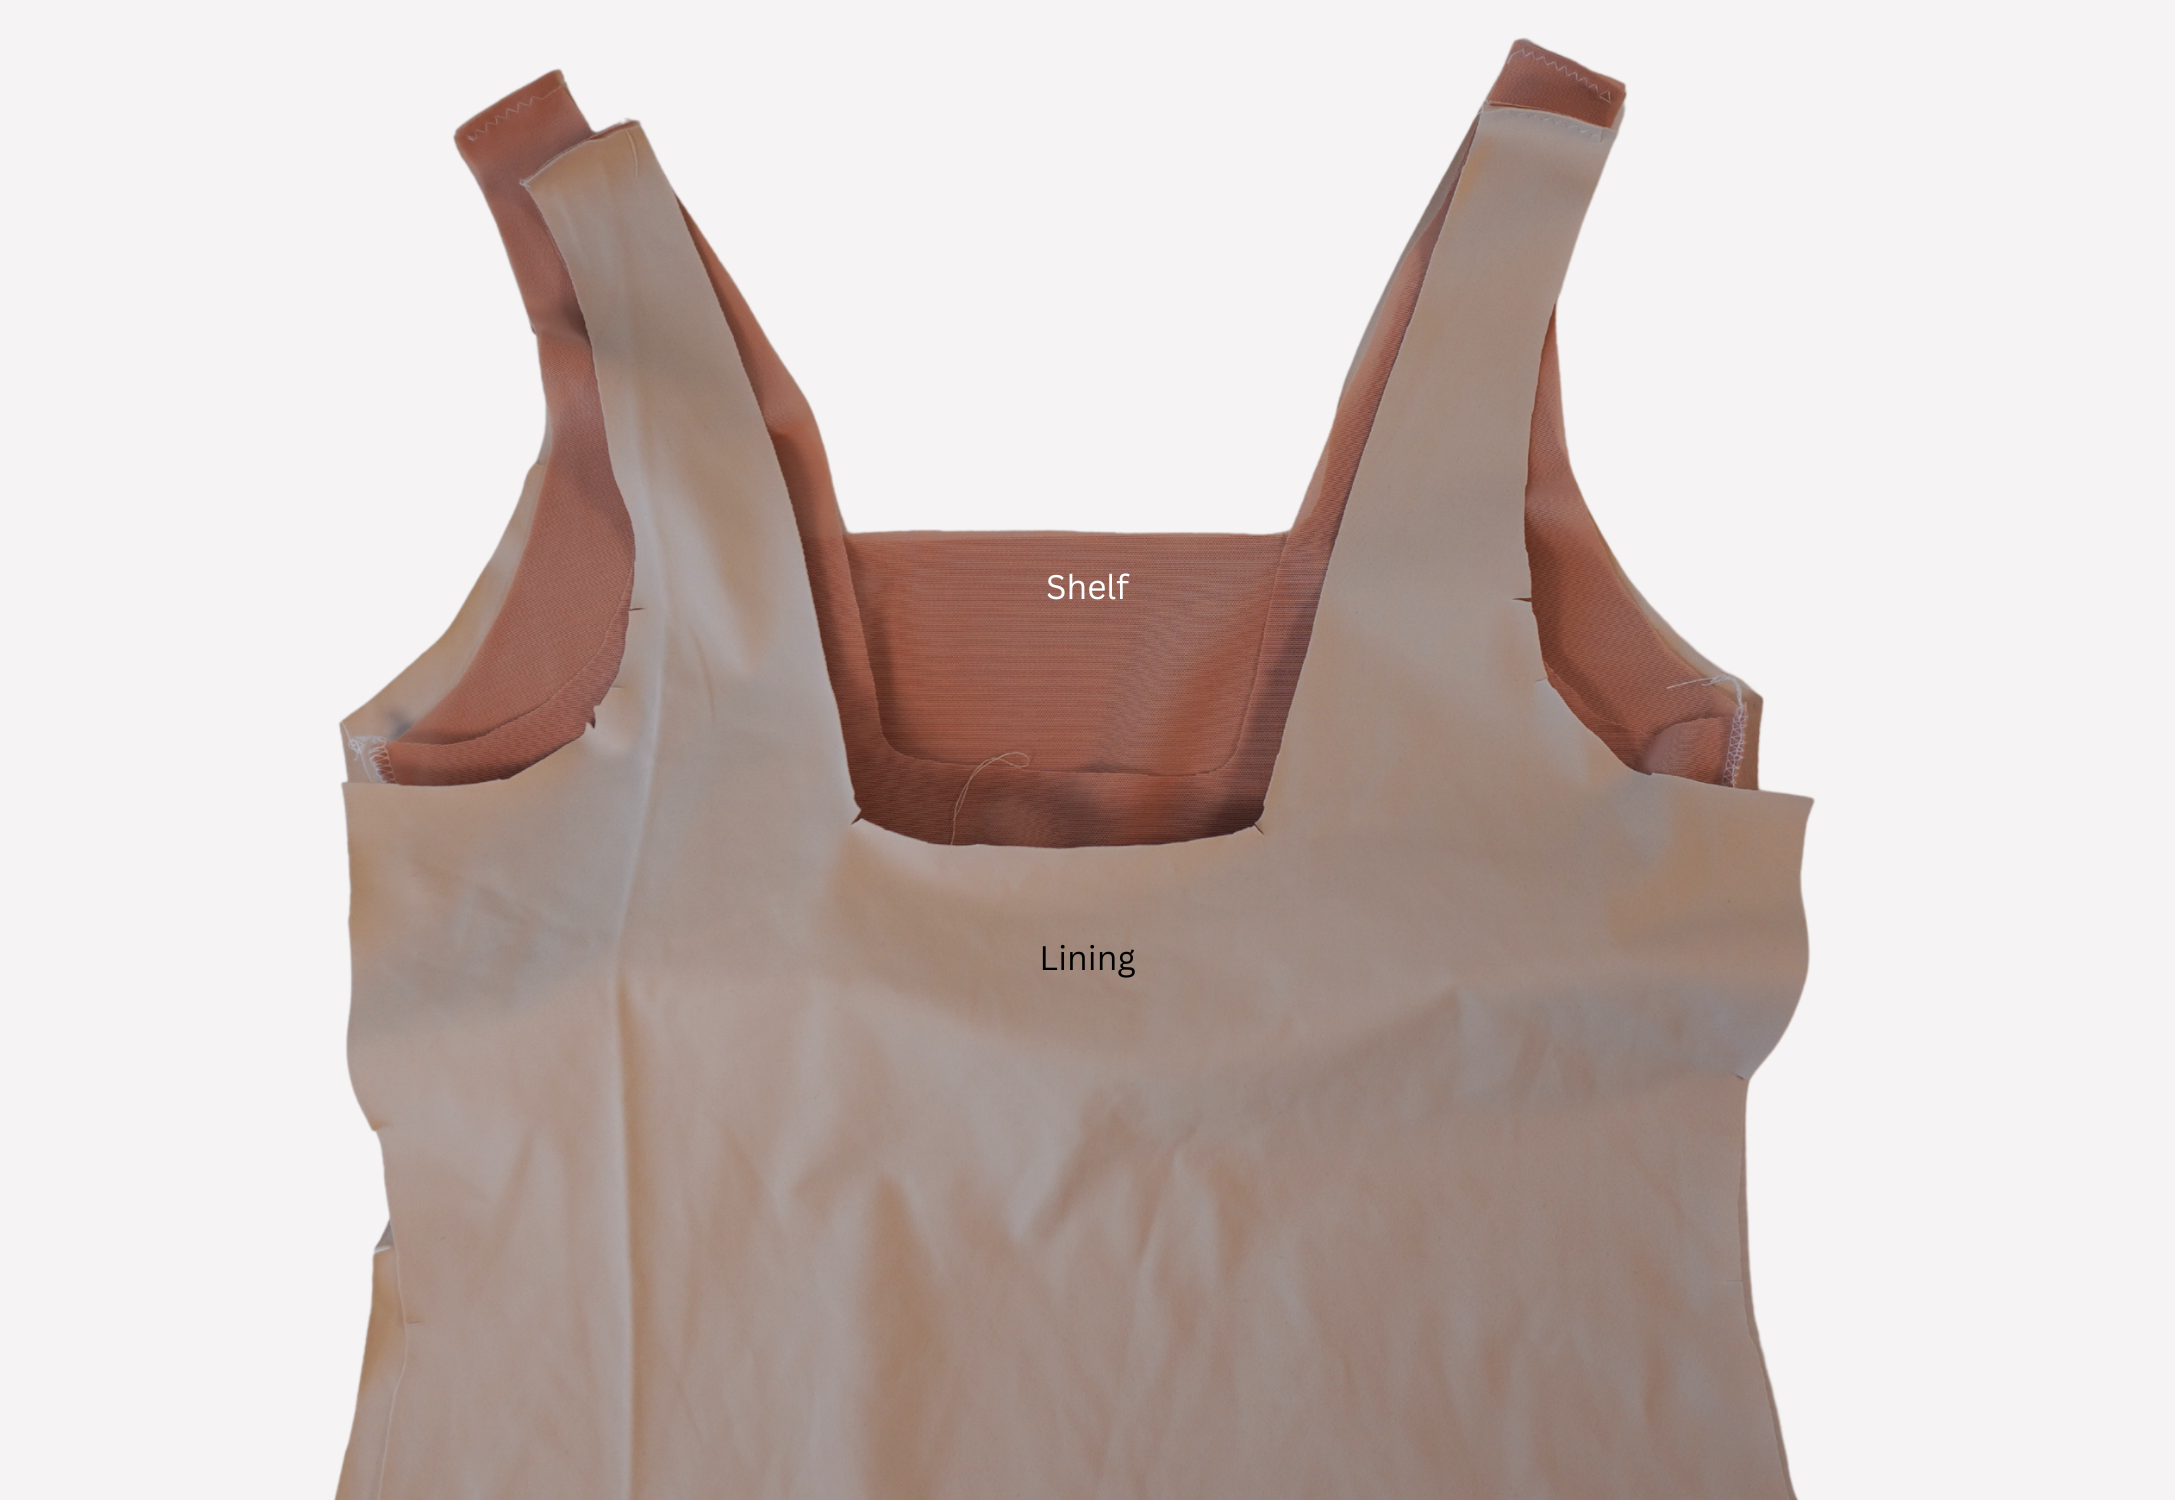
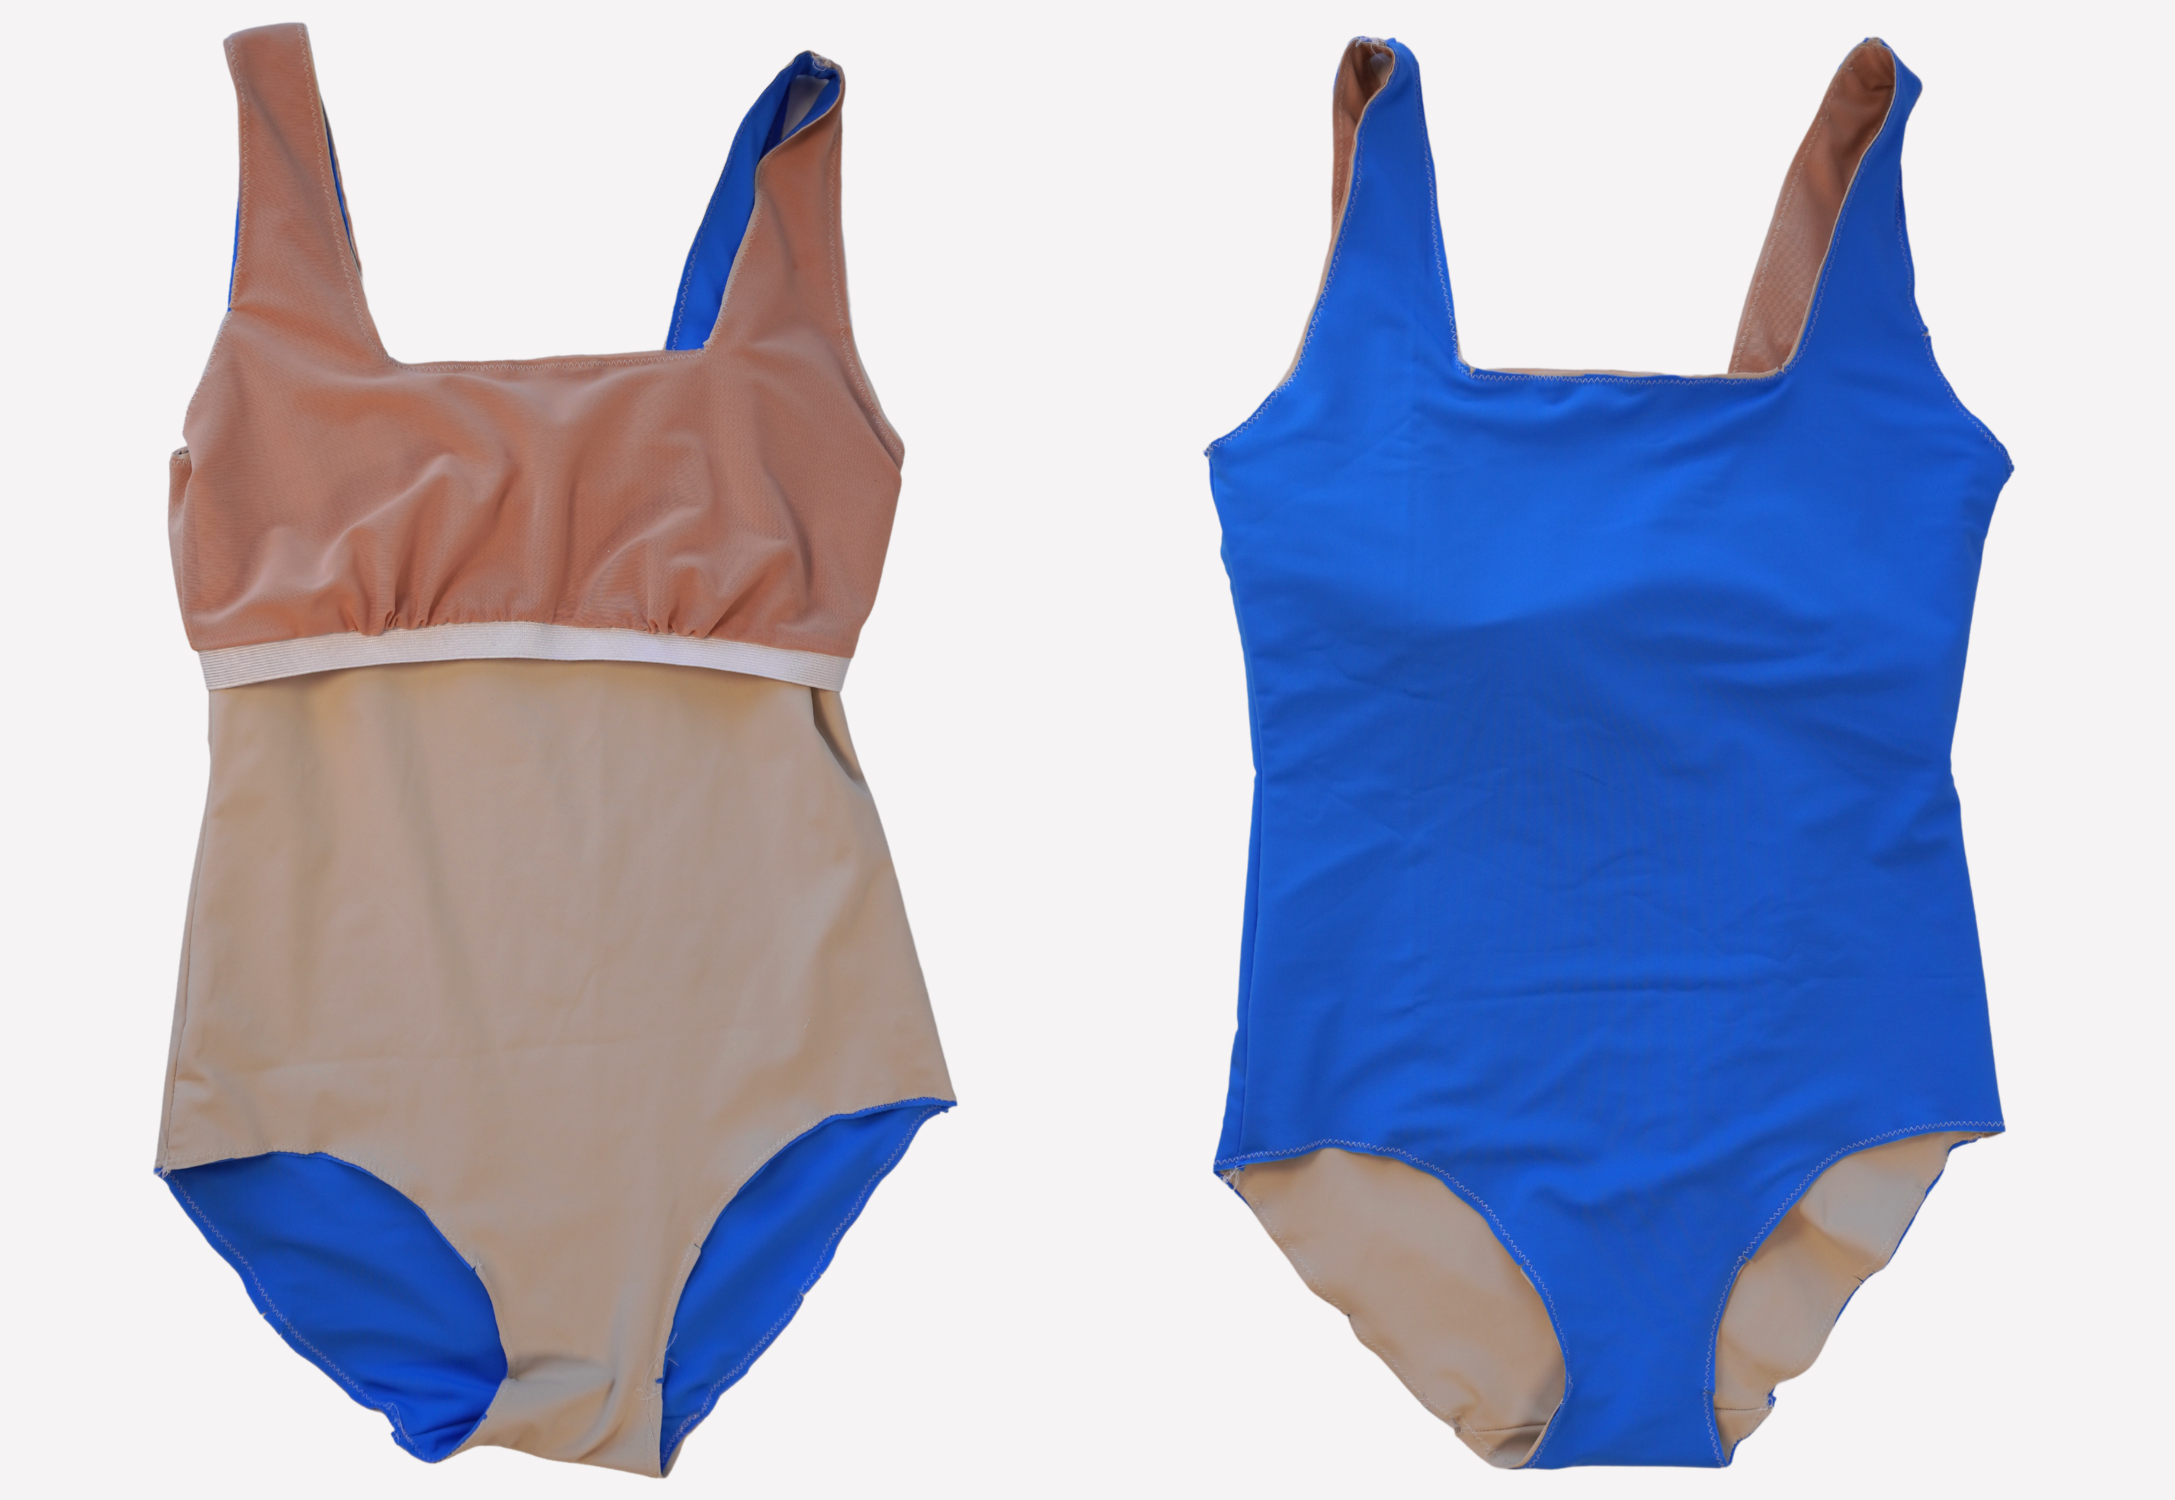
ONE PIECE – LINED (1 & 2 OR 5 & 6) with front and back (full) shelf option (3 OR 7 OR 10 OR 11 & 8):
Please note: the full shelf option is recommended if you would like extra bust support.
Making the full shelf:
For Front D+ options (10) OR (11) only – sew a gathering stitch to the underbust seam between the notches, and draw in so the distance between the notches equals 5cm (2”) as shown on the pattern.
With RST, sew the front shelf to the back shelf at the side seams using a zig zag stitch or overlocker/serger.
Overlap the cut ends of the underbust elastic by 2cm (¾”) and securely stitch together, creating a loop.

Using pins, erasable pen or chalk, mark the quarter points on the elastic.
Mark the quarter marks on the under bust seam of the shelf. This is to ensure the elastic is sewn evenly to the opening.
Aligning the marks, pin the elastic to the right side of the underbust opening and sew into place using a zig zag stitch, stretching the elastic as you sew.
Press the seam toward the main body and lightly press the elastic using steam as this will help shrink the elastic back into place. You will have 2cm (3/4”) of exposed elastic.
With WST, align the front shelf shoulder seams with the shoulder seams of the Front lining (1 OR 5) and baste together using a zig zag stitch.
With WST, align the back shelf shoulder seams with the shoulder seams of the Back lining (2 OR 6) and baste together using a zig zag stitch.
For the main body: lined with full shelf
With RST, sew the Front to the Back at the shoulder seams, side seams and crotch seam using a zig zag stitch or an overlocker/serger. Press toward the back.
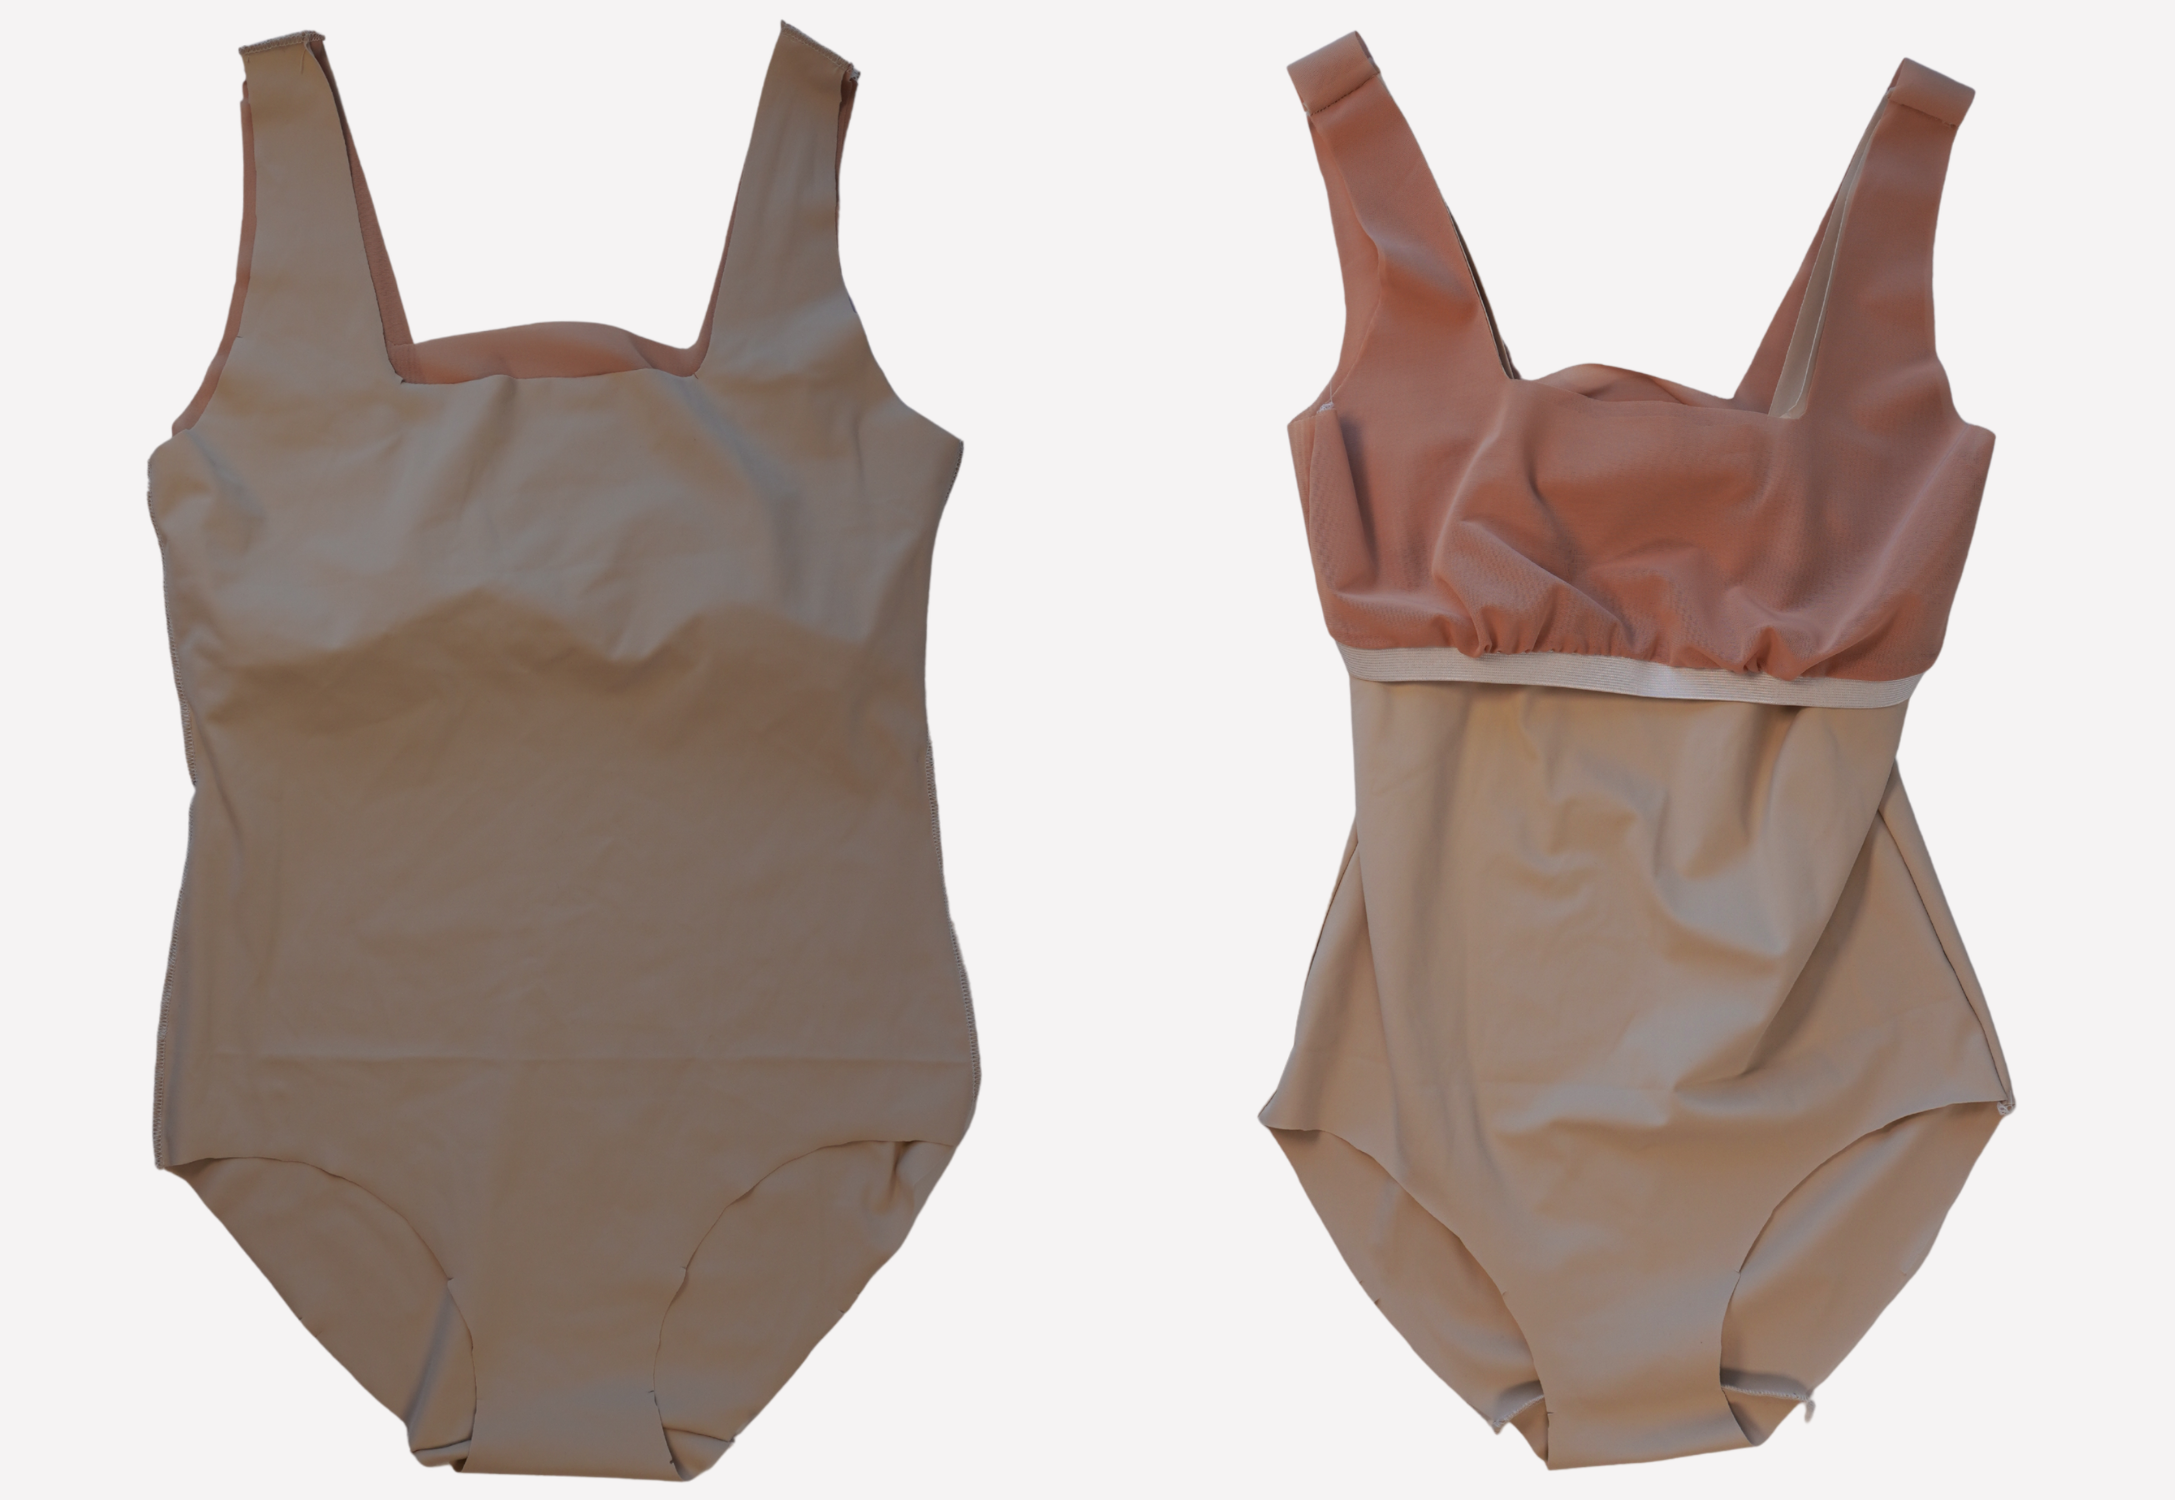
With the shelf on the inside, sew the Front lining/shelf to the Back lining/shelf at the shoulder seams, sandwiching the shelf.
Press the seams toward the front. This will help reduce bulky seams when they are sewn together.
With WST and seams aligned, baste the main fabric to the lining (and shelf) at the neck, armhole and leg openings using a zig zag or stretch stitch. The three layers will now be treated as one.
To complete the main body: follow the steps below, starting from the step marked with ***
For the main body: lined without shelf
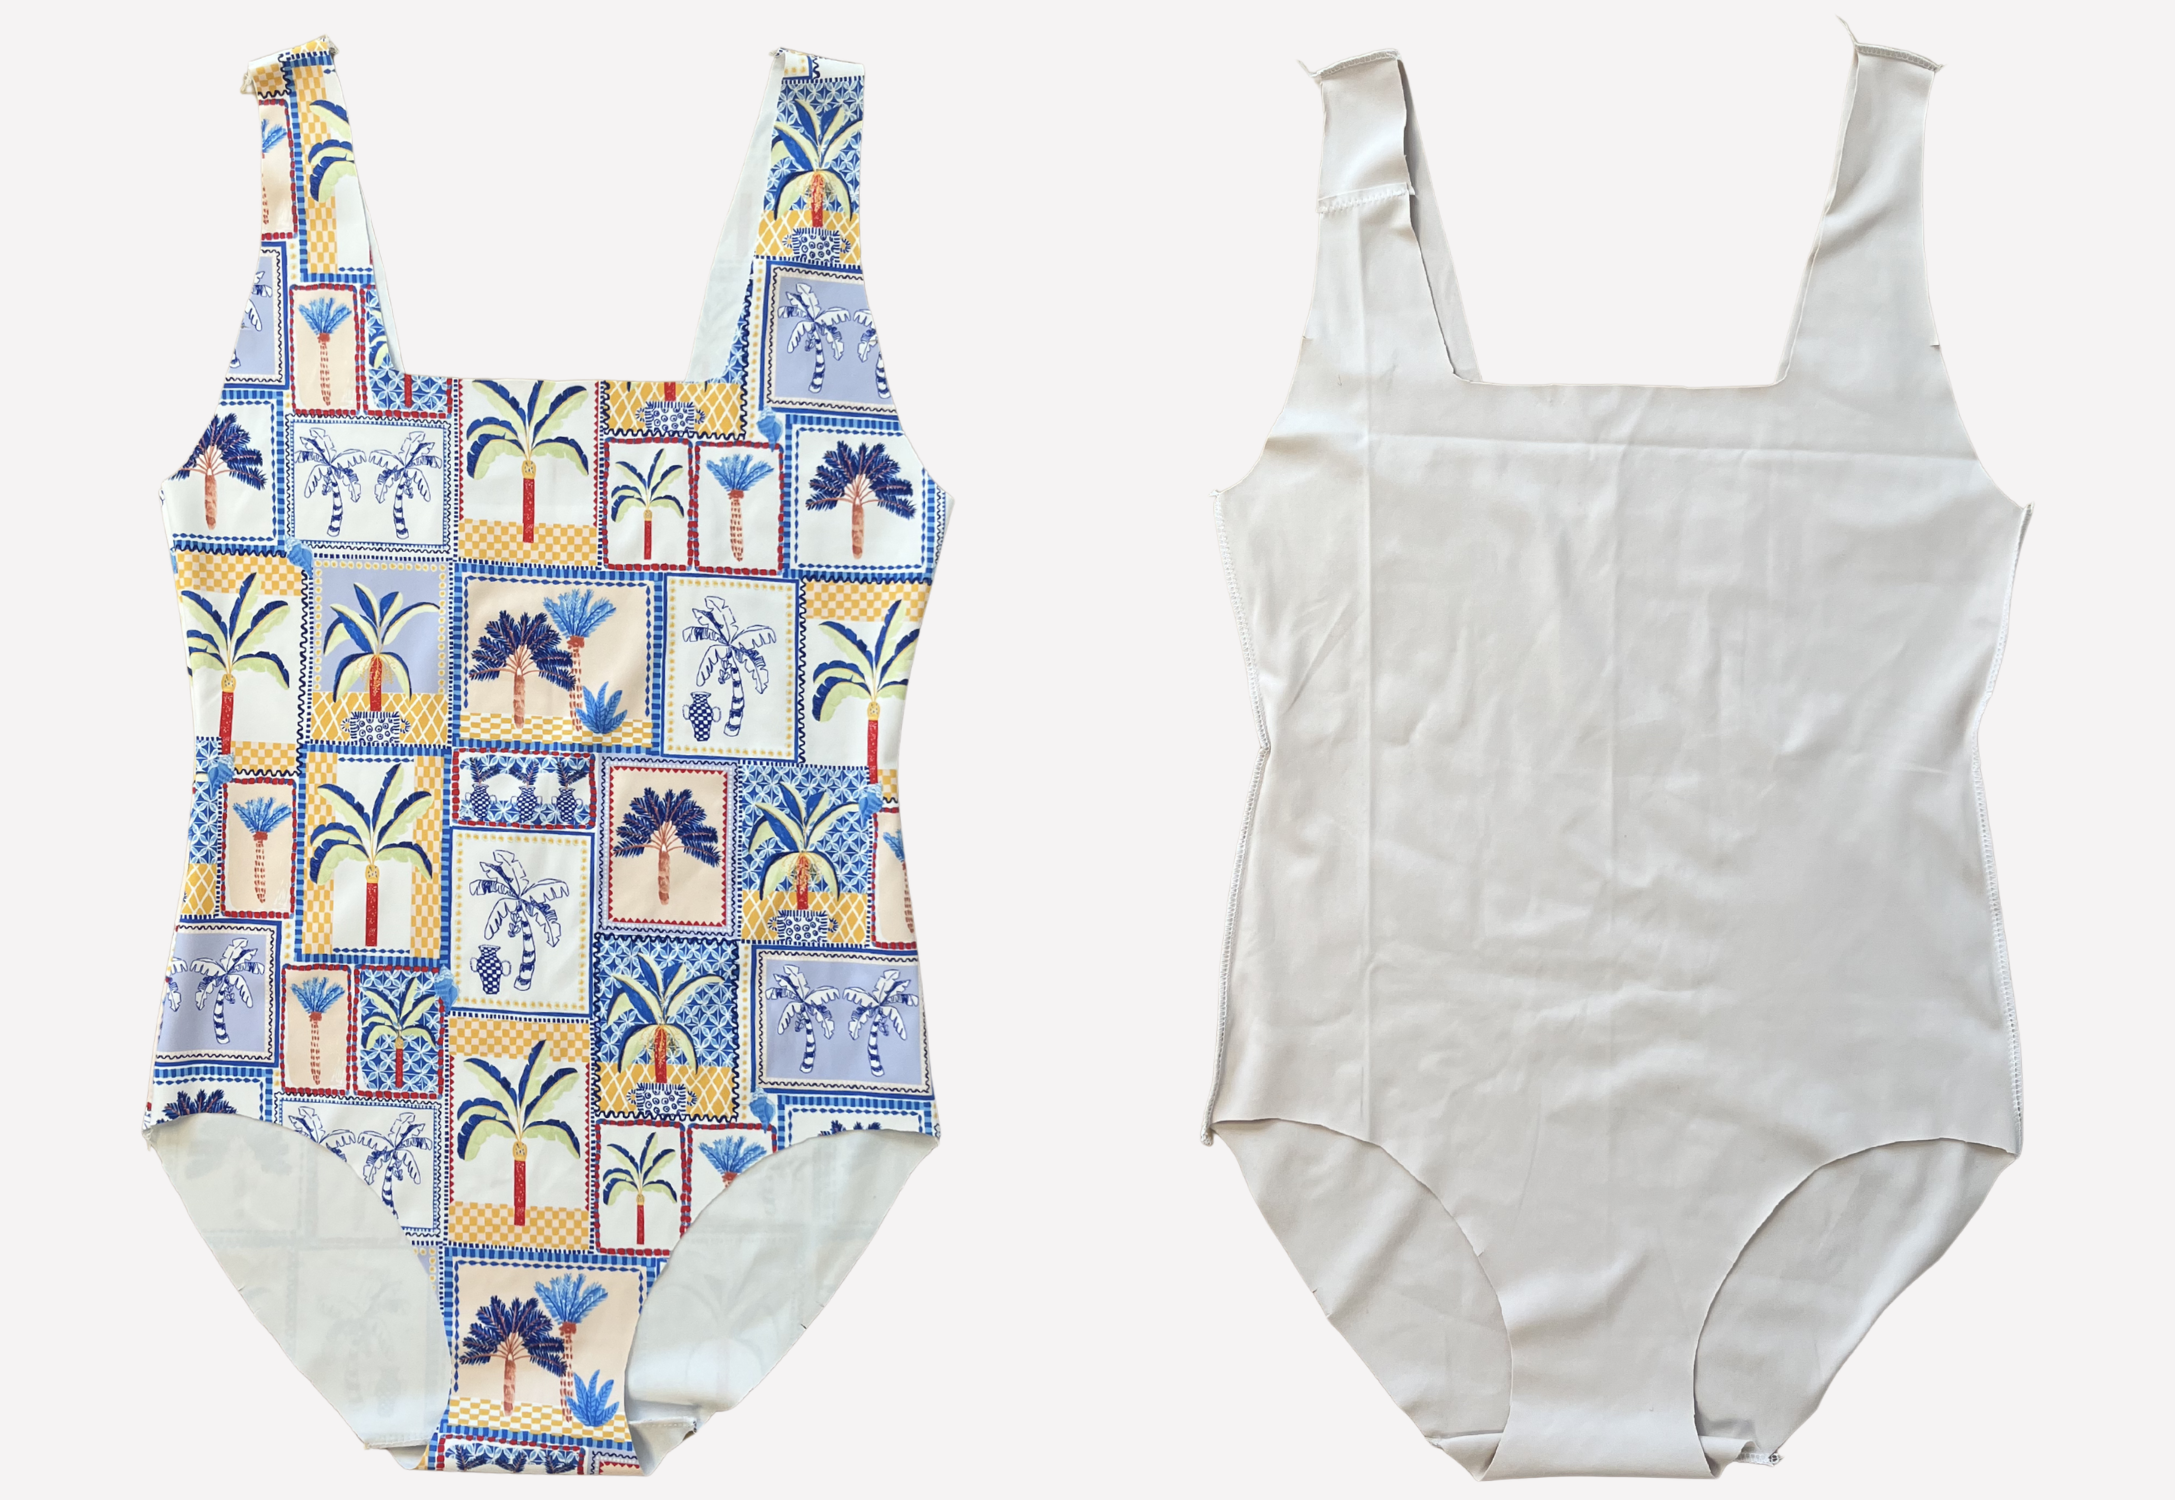
With RST, sew the Front to the Back at the shoulder seams, side seams and crotch seams using a zig zag stitch or an overlocker/serger. Press the seams toward the back.
Repeat step 1 with the lining, sandwiching the shelf (if using), but this time, press the seams toward the front. This will help reduce bulky seams when they are sewn together.
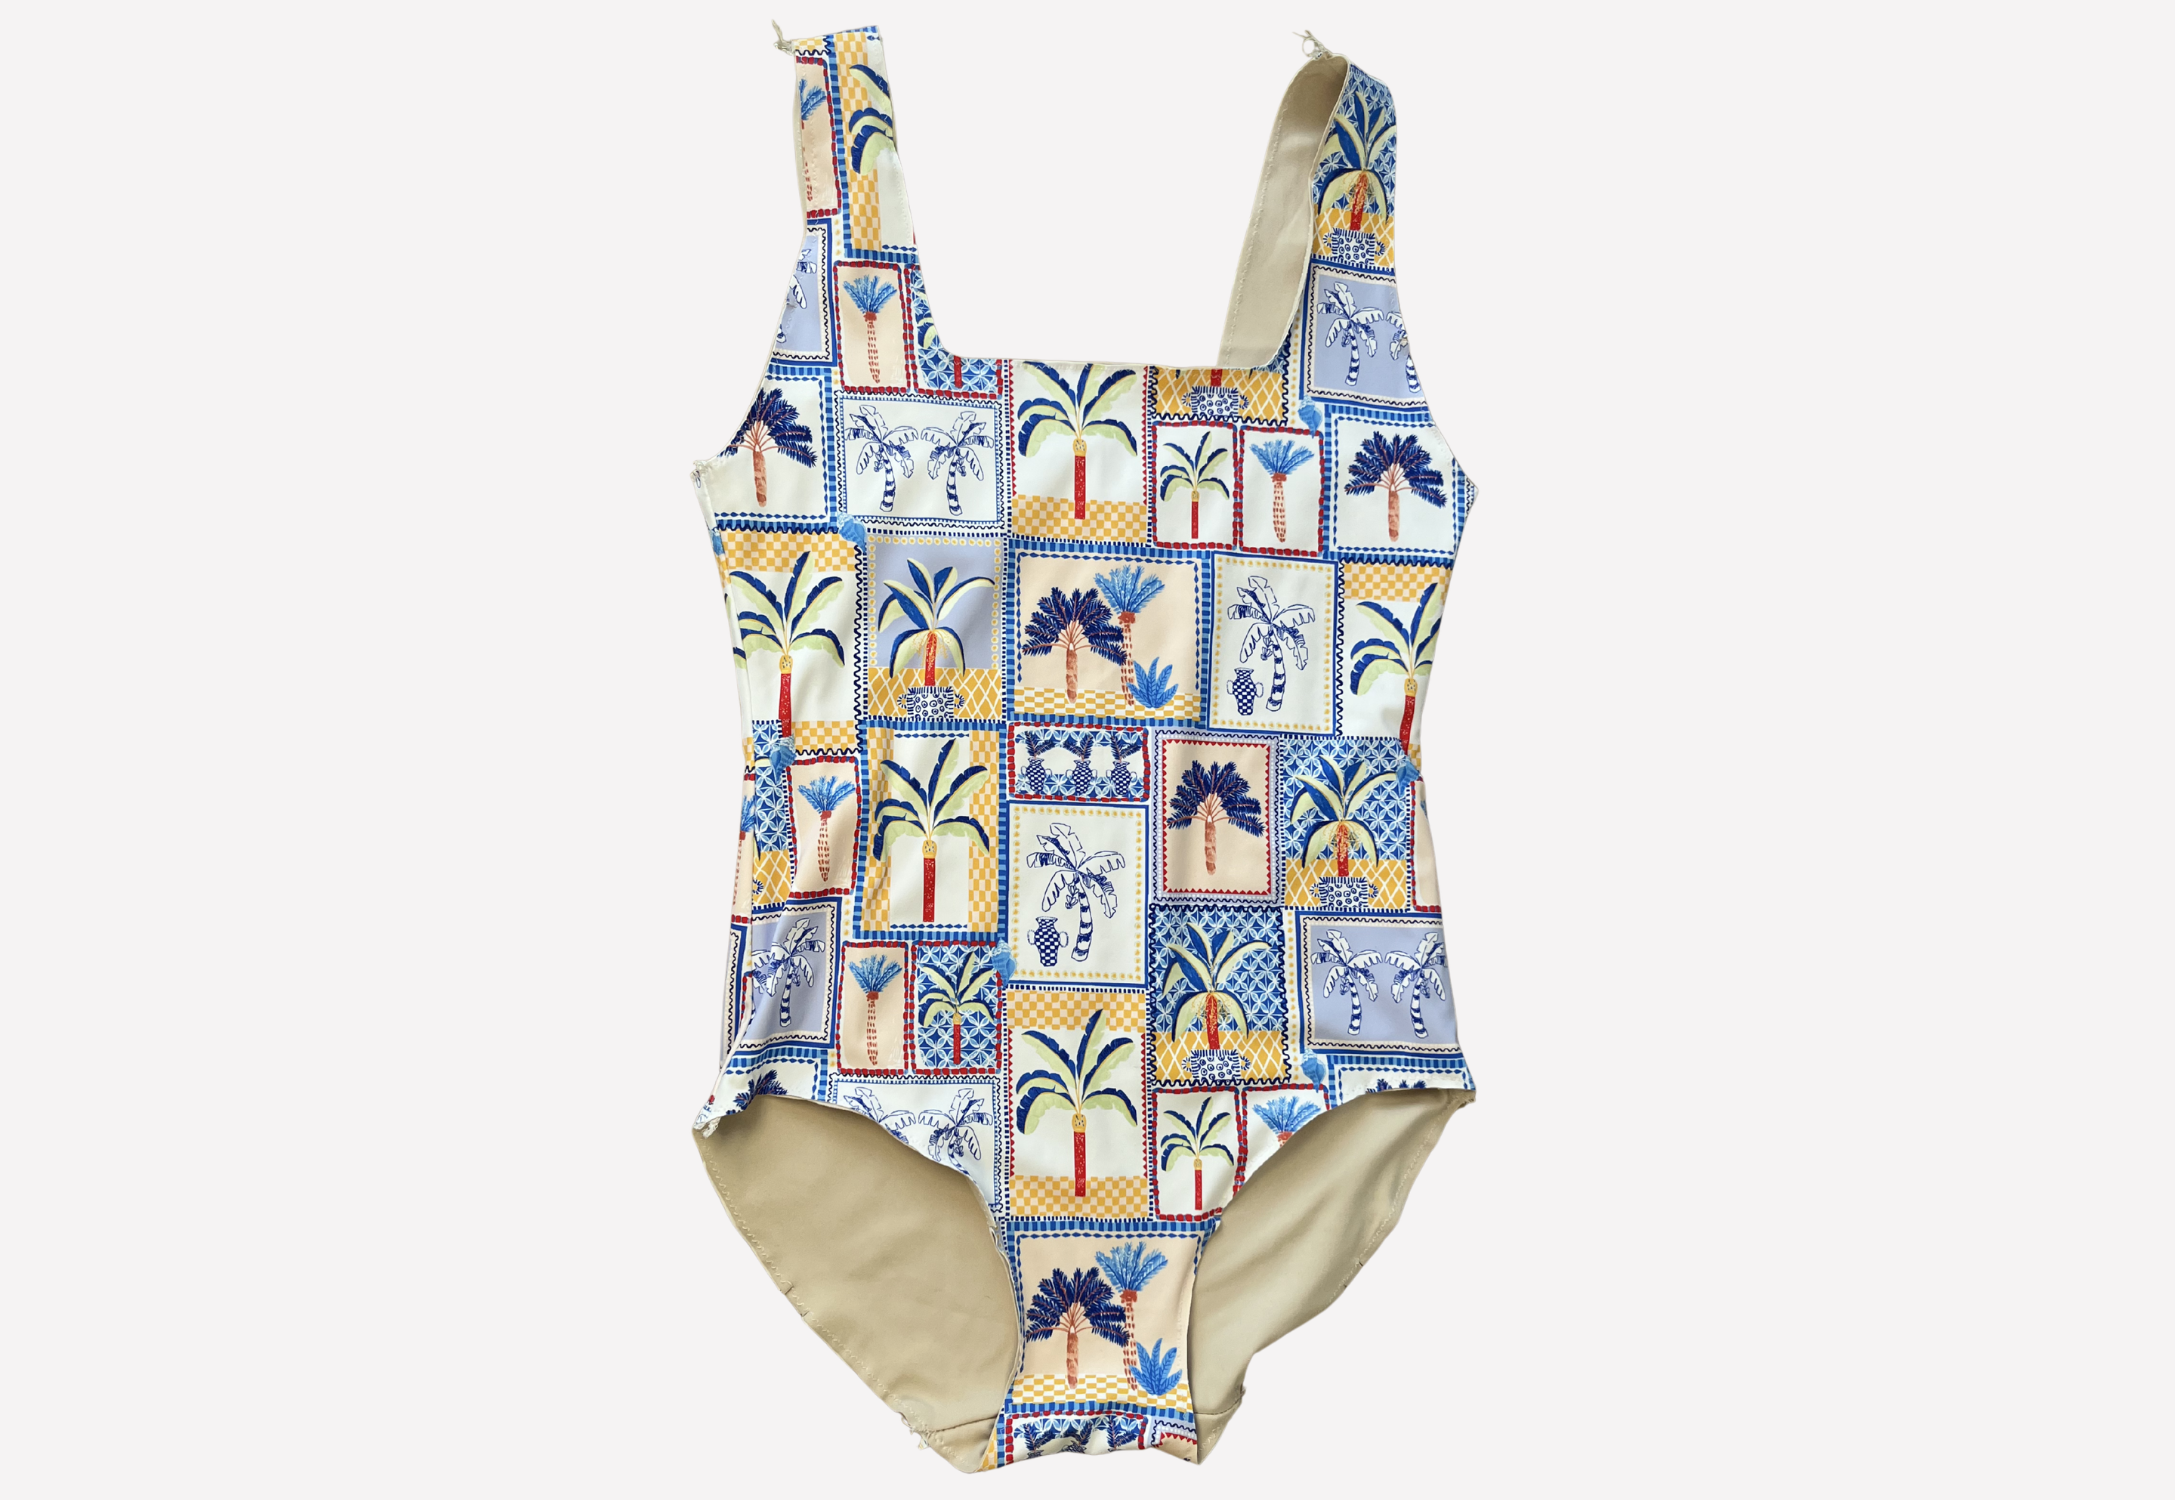
With WST and seams aligned, baste the main fabric to the lining at the neck, armhole and leg openings using a zig zag or stretch stitch. The two layers will now be treated as one.
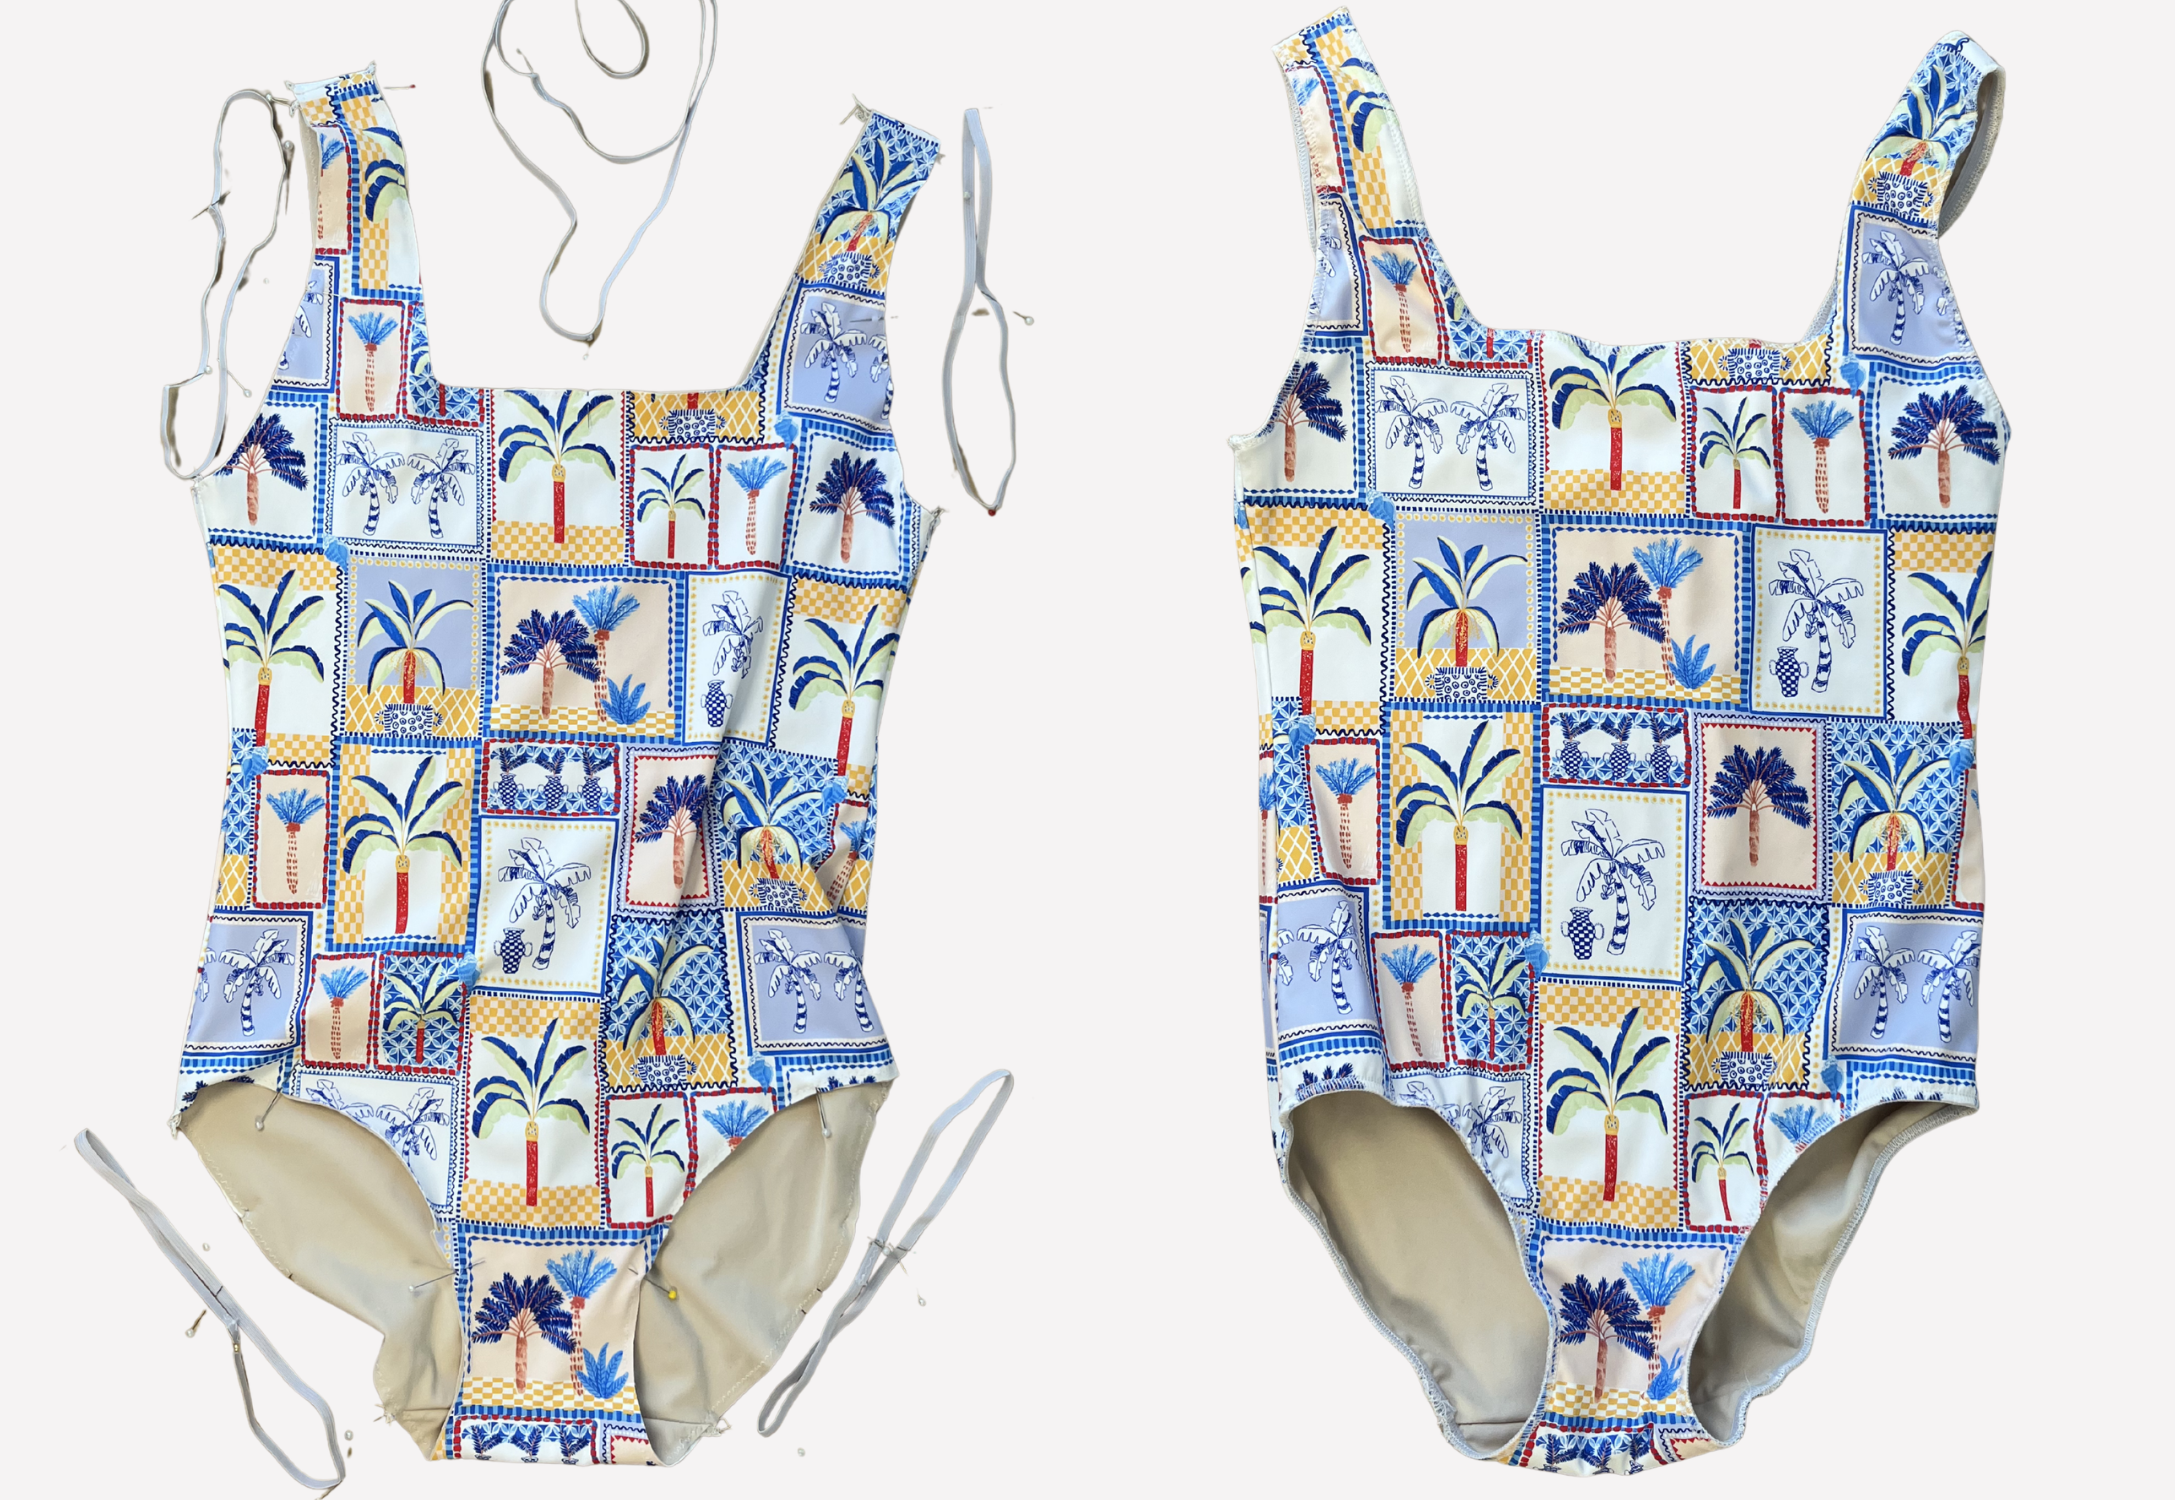
*** Overlap the cut ends of the neck, armhole and leg elastic by 2cm (¾”) and securely sew together, creating a loop.
Using pins, erasable pen or chalk, mark the quarter points. Mark the quarter marks on the neck, arm and leg openings on the main body (not following notches). This is to ensure the elastic is sewn evenly to the openings.
Aligning the marks, pin the neck, armhole and leg elastic to the wrong/lining side of the openings and sew into place using a zig zag stitch, stretching the elastic as you sew. Make sure the elastic is on top when sewing.
Lightly press the elastic using steam as this will help shrink the elastic back into place.
Note – if you are making the V-Neck option, you may choose to clip into the elastic at the centre front to achieve a nice V shape (see diagram). Alternatively, you can make a small dart.
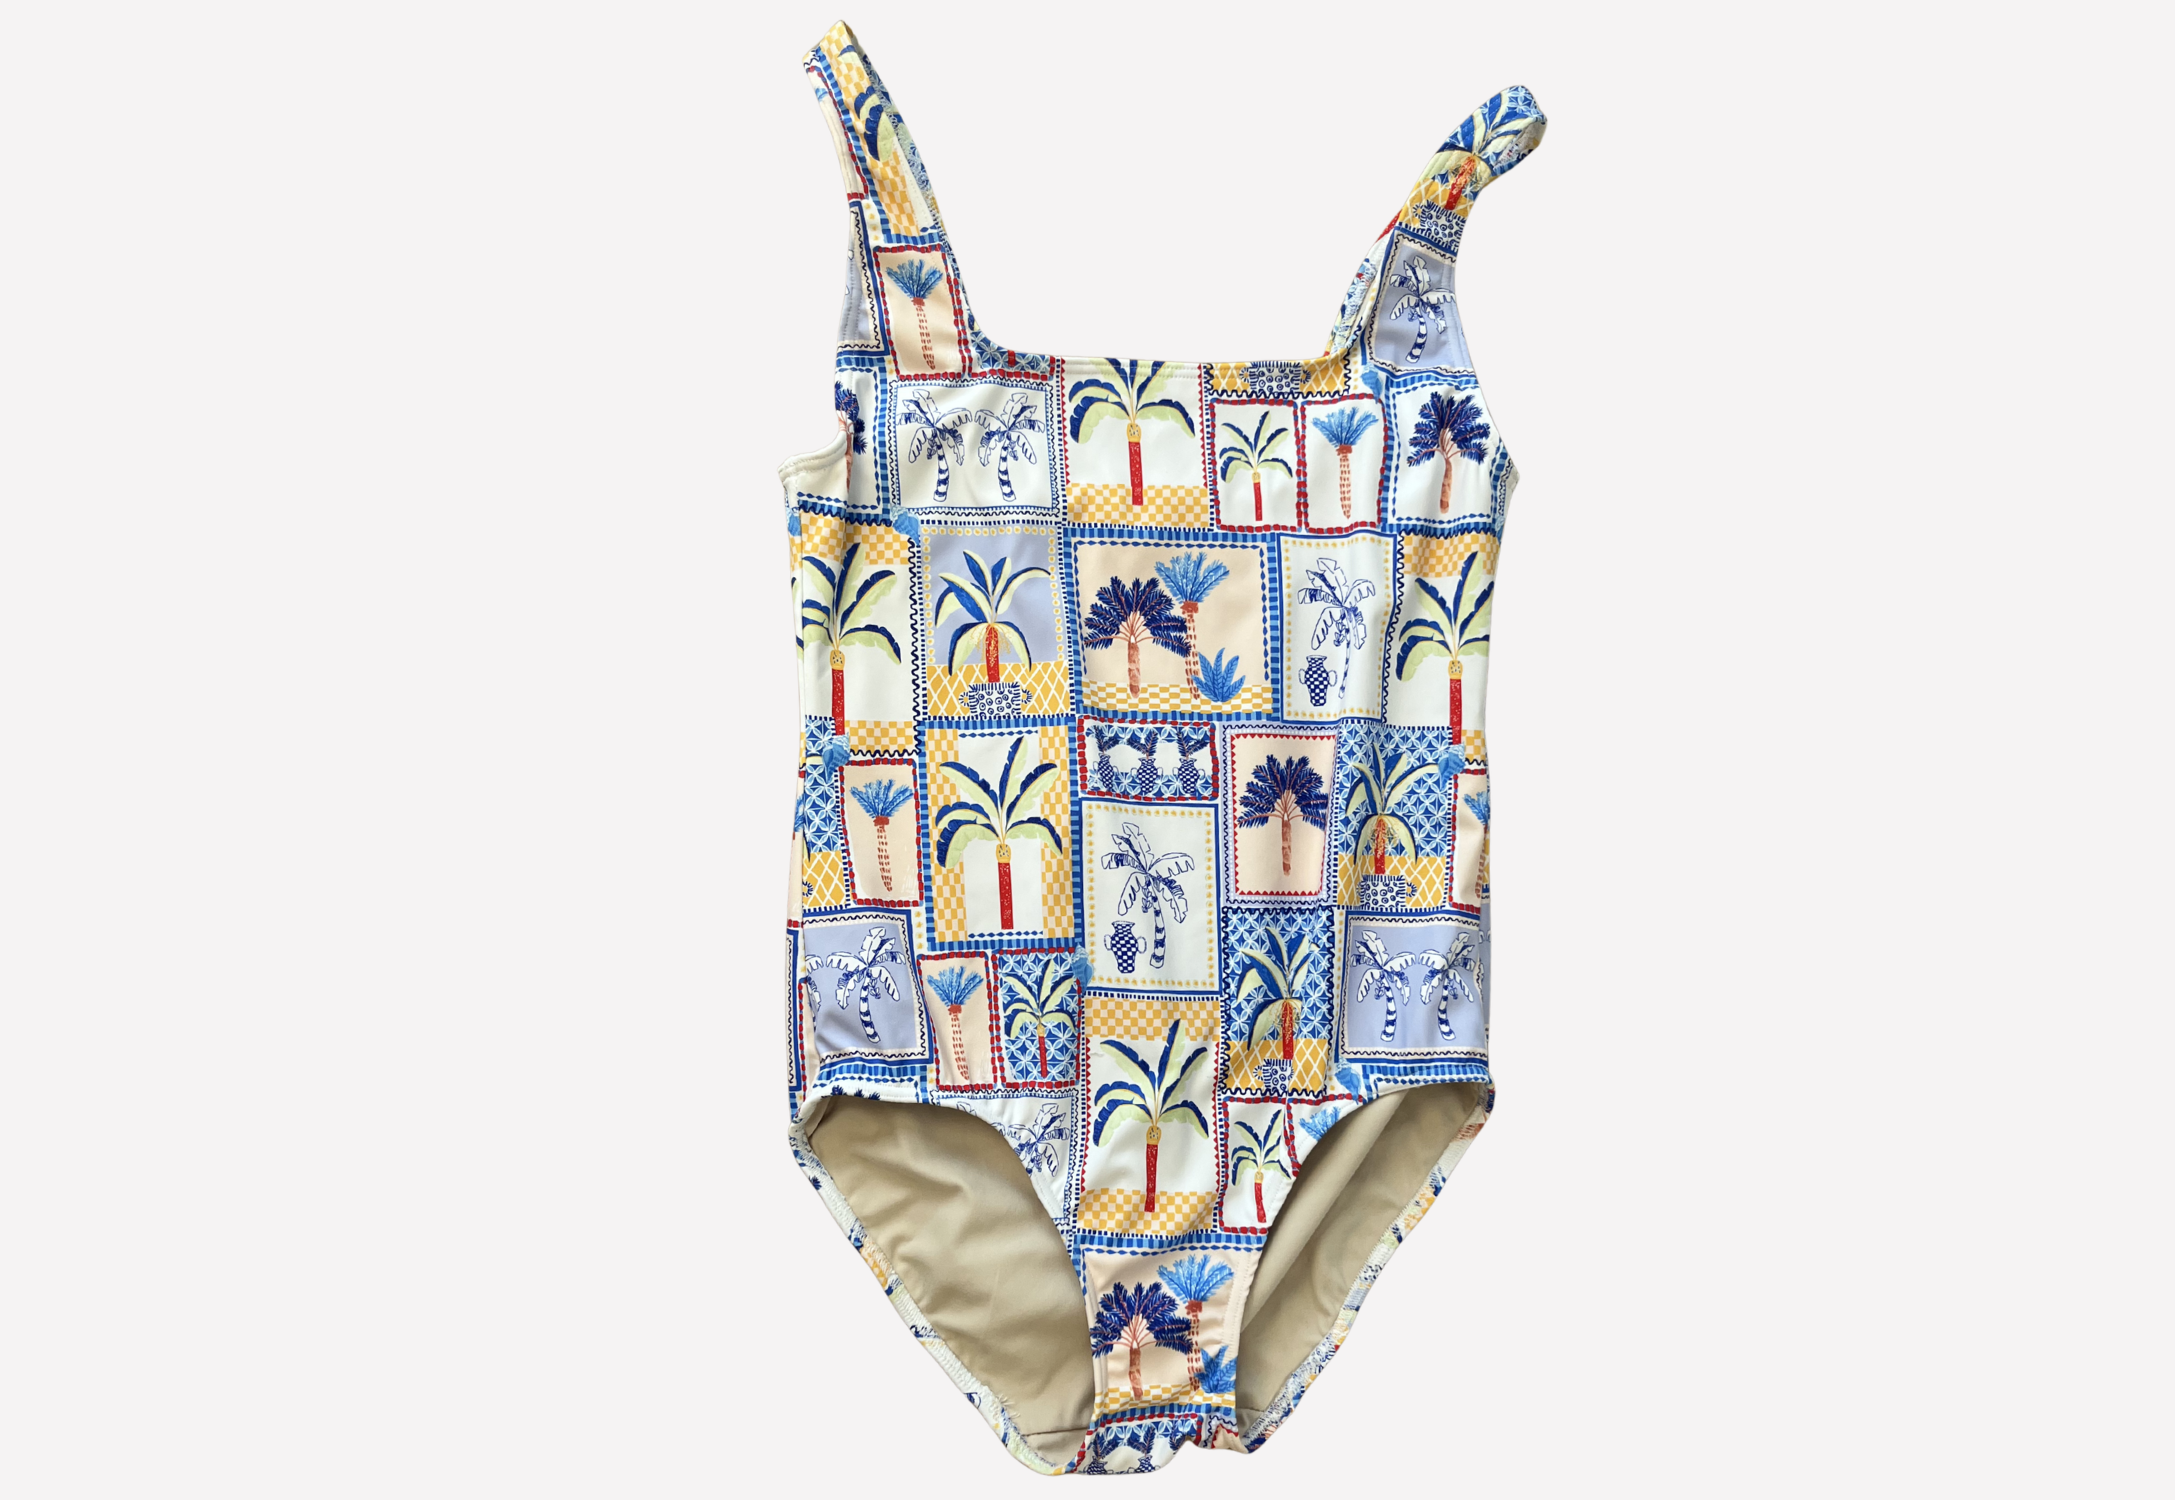
Turn the elastic seam to the inside, pin into place and topstitch using a twin needle or zig zag stitch. Lightly press.
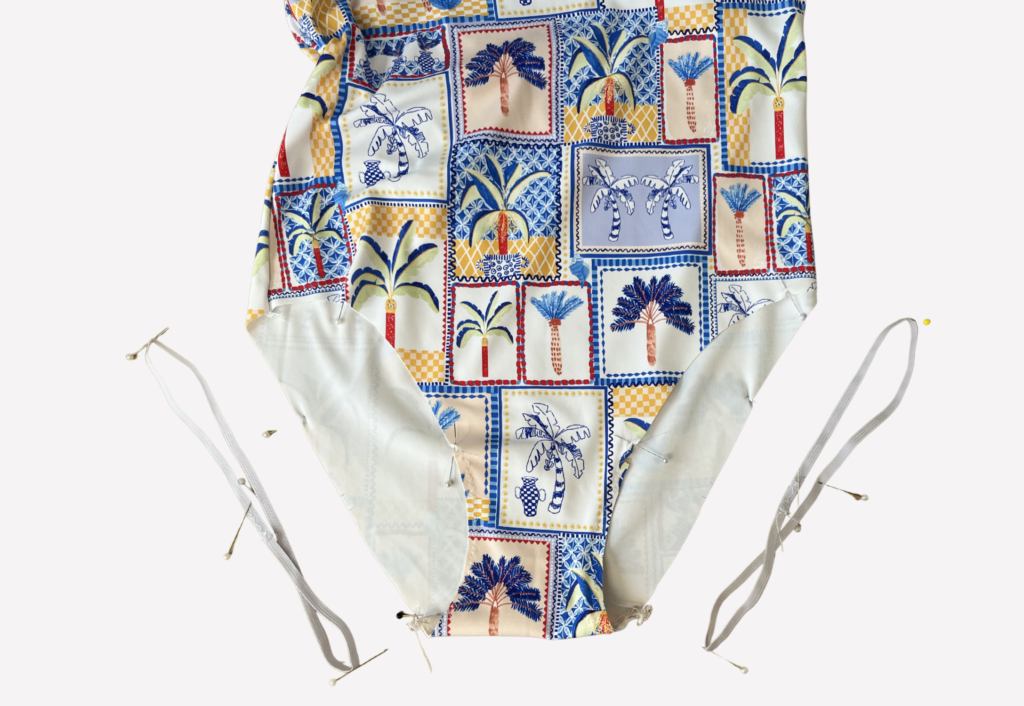
ONE PIECE UNLINED WITH FRONT SHELF & GUSSET (1, 2, 4 & 11 OR 3) OR (5, 6, 9 & 10 OR 7):
Cut the elastic using the Elastic – Front Underbust measurement provided in the finished measurements chart.
Mark the centre front point of the underbust seam on the Crop Lining using a pin, chalk or erasable pen. Mark the centre front on the underbust elastic in the same way. For Front (10) OR (11) only – sew a gathering stitch to the underbust seam between the notches, and draw in so the distance between the notches equals 5cm (2”) as shown on the pattern.
With RST align the marks then sew the elastic to the underbust seam using a zig zag stitch, stretching the elastic as you sew. Make sure the elastic is on top when sewing. Turn the seam to the inside 6mm (1/4”) and topstitch using a zig zag stitch or twin needle. You will have 2cm (3/4”) of exposed elastic. You may choose to turn the whole width of the elastic to the inside and topstitch into place using a zig zag stitch or twin needle.
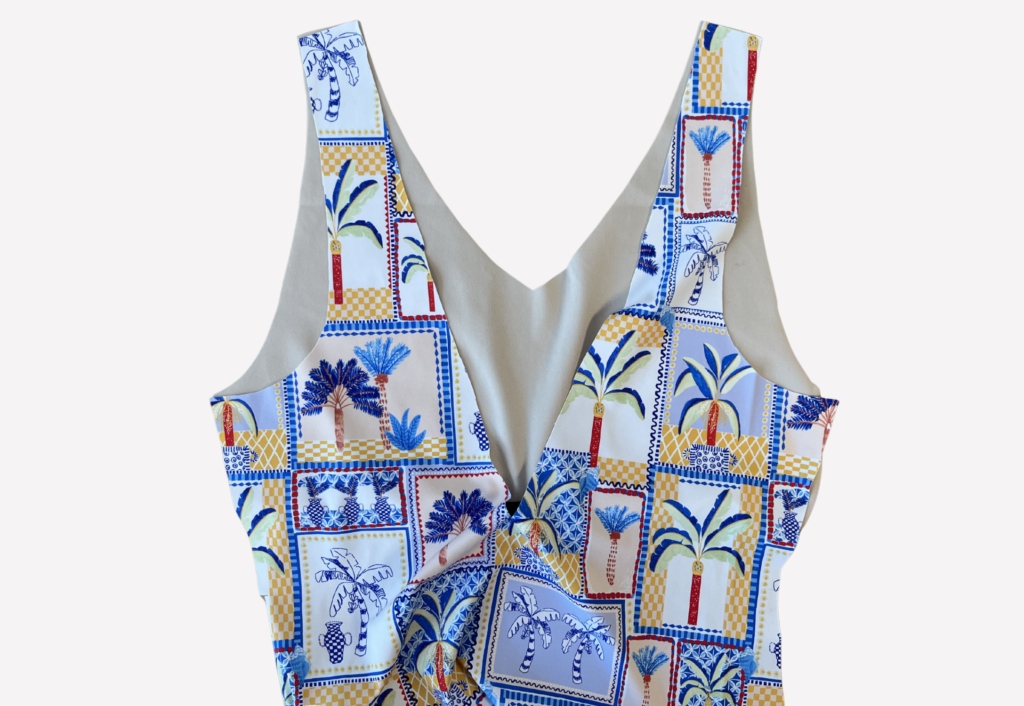
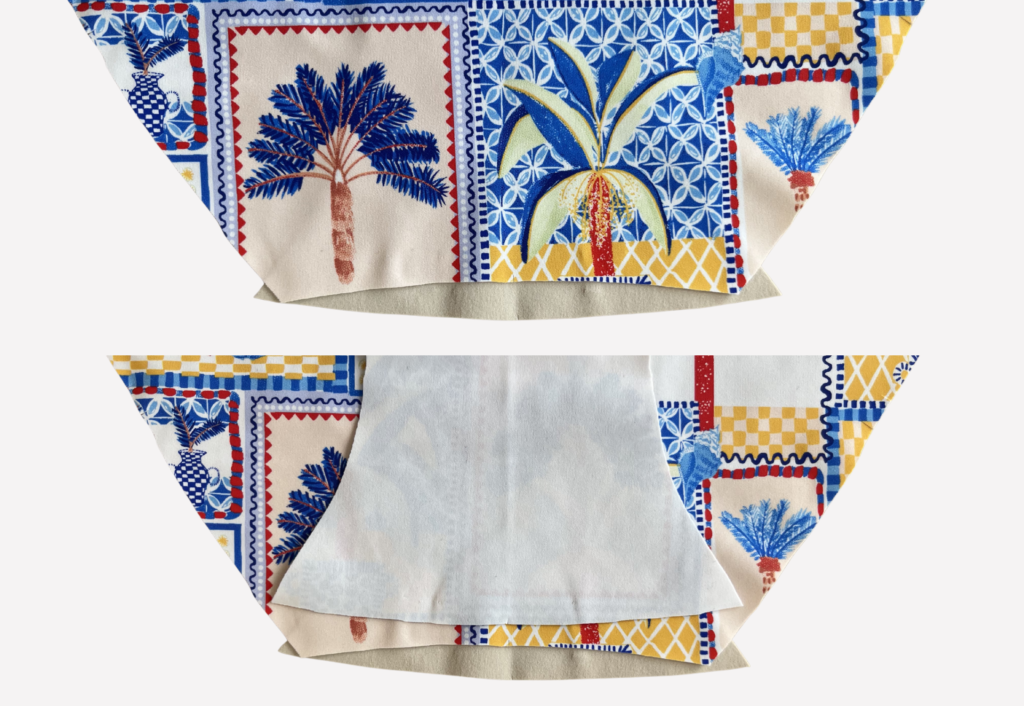
Place the wrong side of the back to the right side of the crop lining at the shoulders.
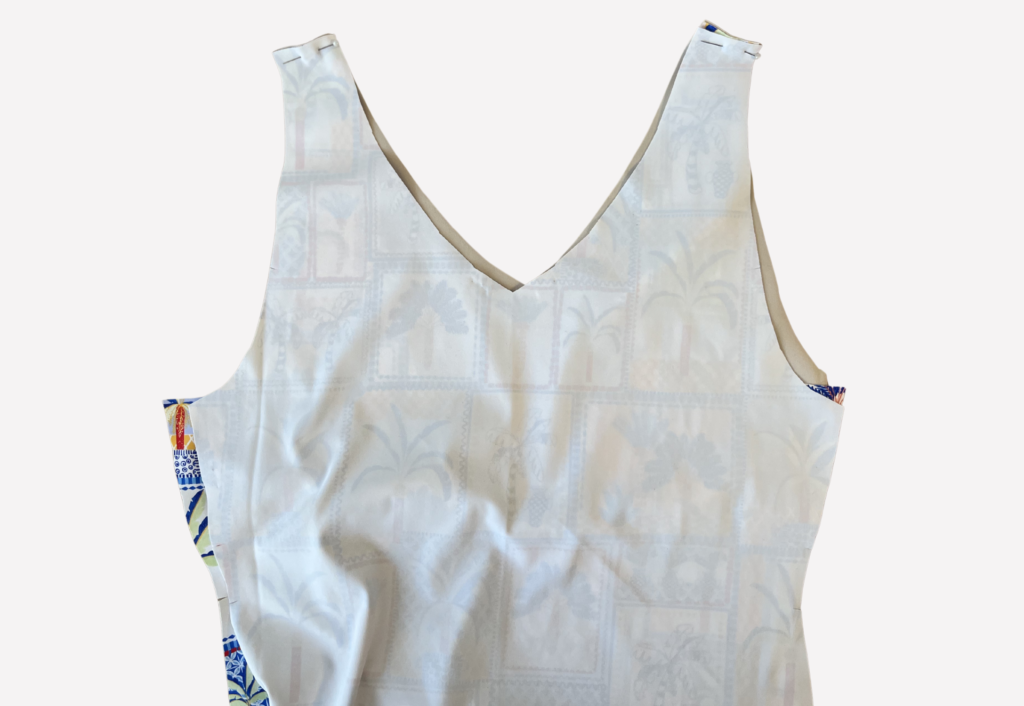
Then place the right side of the front to the right side of the back, with the back sandwiched in between.
Pin and sew using a zig zag stitch or overlocker/serger.
With RST, align back to front at the crotch with the back on top.
Place the right side of the Gusset on top with the right side facing down and pin the three layers together, sandwiching the back crotch in between.
Sew using a zig zag stitch or overlocker/serger.

Turn the gusset toward the front so the right side is facing out and baste the outer edges to the leg openings of the main body using a zig zag or stretch stitch. The front of the gusset can be left raw.
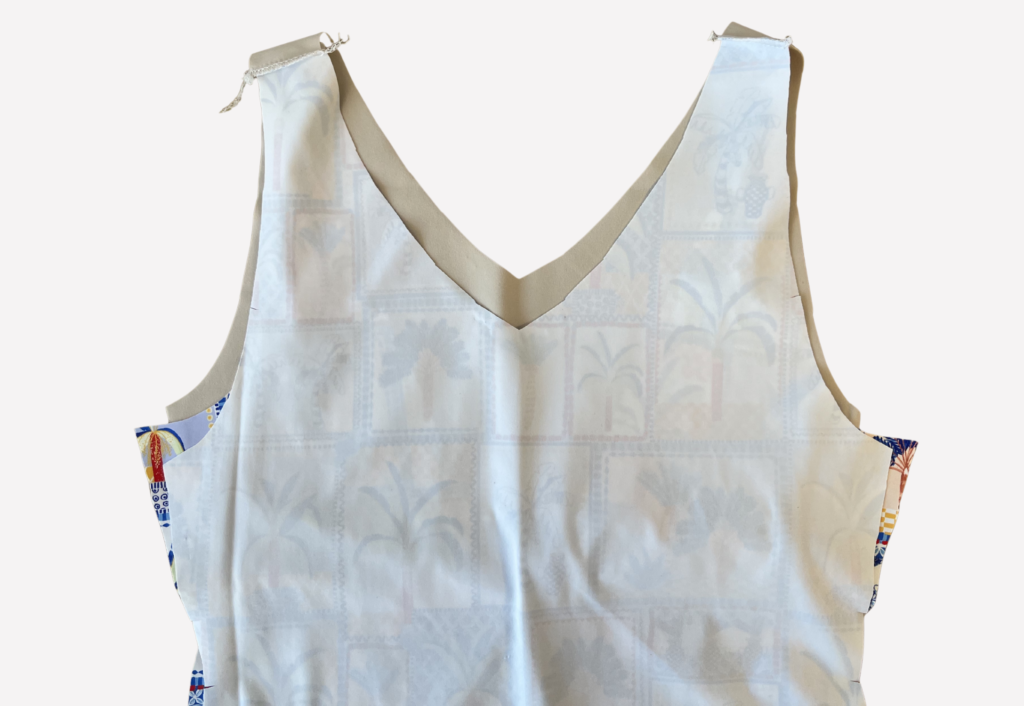
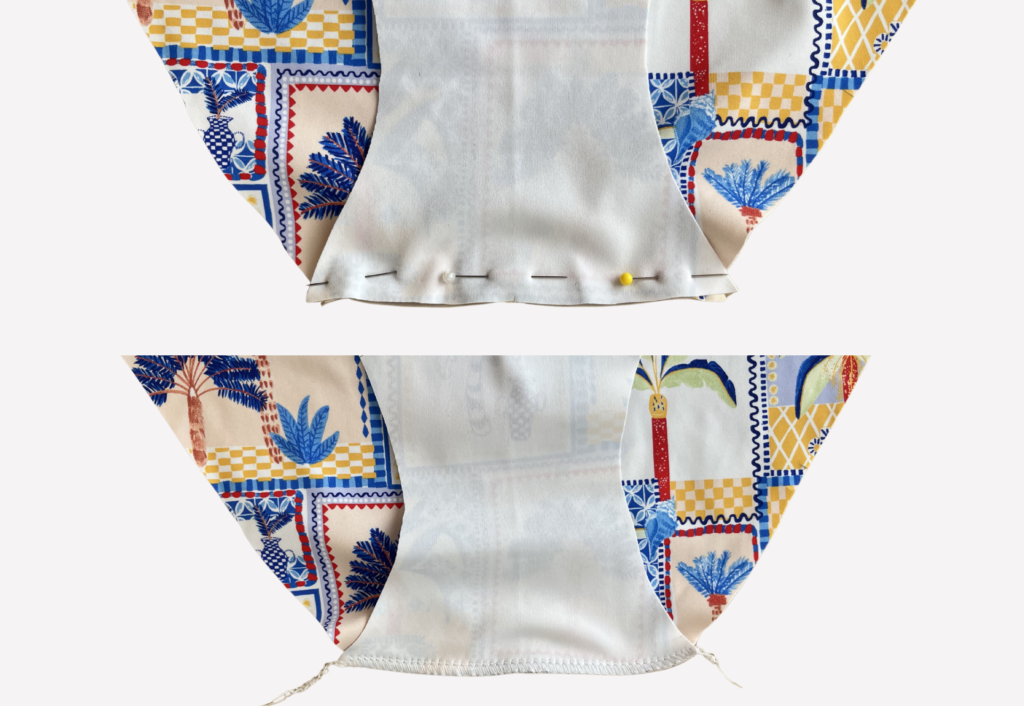
Turn the crop lining toward the front with WST, aligning the neckline. Baste the crop lining to the front at the neckline using a zig zag or stretch stitch.

Fold the crop lining over to the back so the right side is to the wrong side of the back and pin the side seams of the crop lining, back and front together, sandwiching the back. Sew using an overlocker/serger.
Turn the crop lining to the inside (the front and crop lining will now be WST). Baste the crop lining to the front at the arm openings, using a zig zag or stretch stitch.
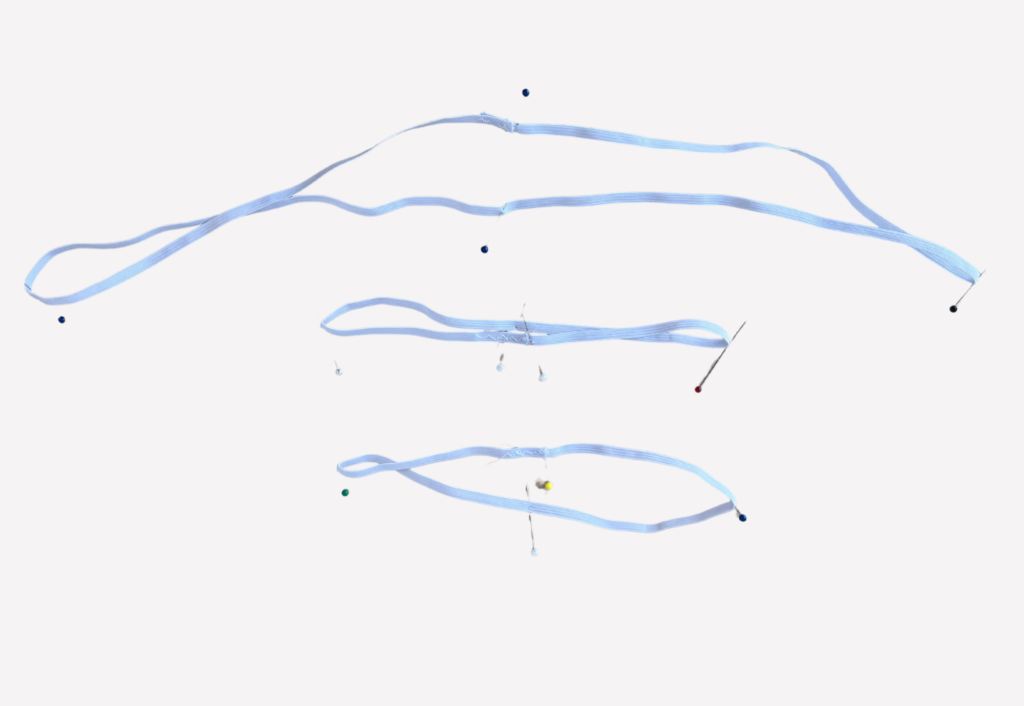
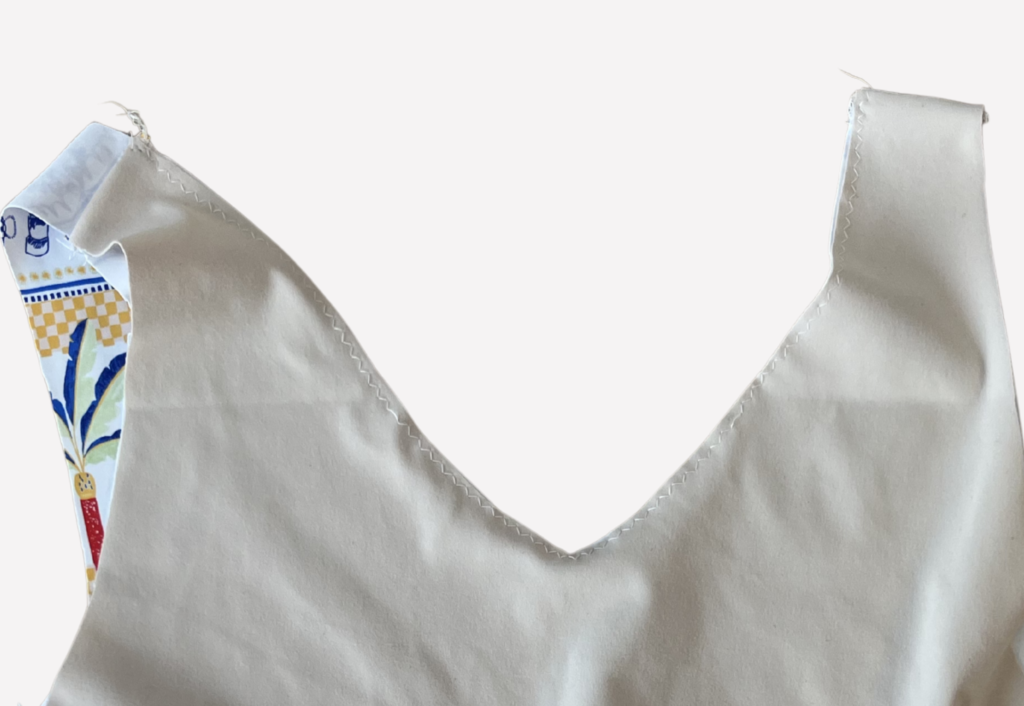
Overlap the cut ends of the neck, armhole and leg elastic by 2cm (3/4”) and securely stitch together, creating a loop. Using pins, erasable pen or chalk, mark the quarter points.
Mark the quarter marks on the neck, armhole and leg openings on the main body. This is to ensure the elastic is sewn evenly to the openings.
Aligning the marks, pin the neck, armhole and leg elastic to the wrong/lining side of the openings and sew into place using a zig zag stitch, stretching the elastic as you sew.
Lightly press the elastic using steam as this will help shrink the elastic back into place.
Note – if you are making the V-Neck option, you may choose to clip into the elastic at the centre front and back to achieve a nice V shape (see diagram). Alternatively, you can make a small dart.
Turn the seams to the inside, pin into place and topstitch using a zig zag stitch or twin needle.
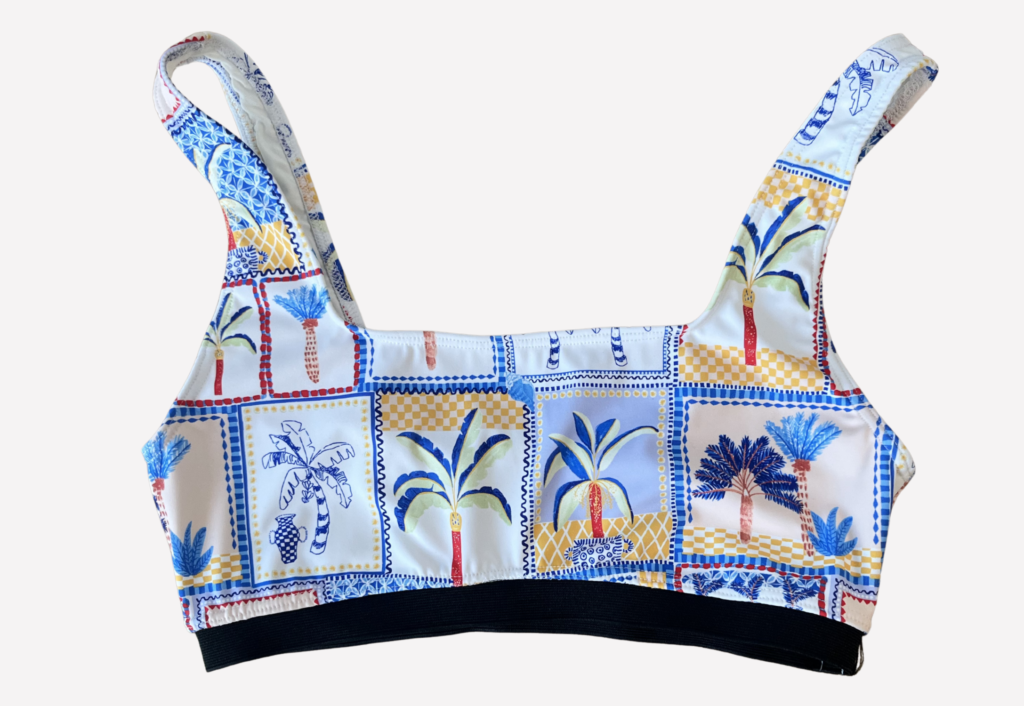
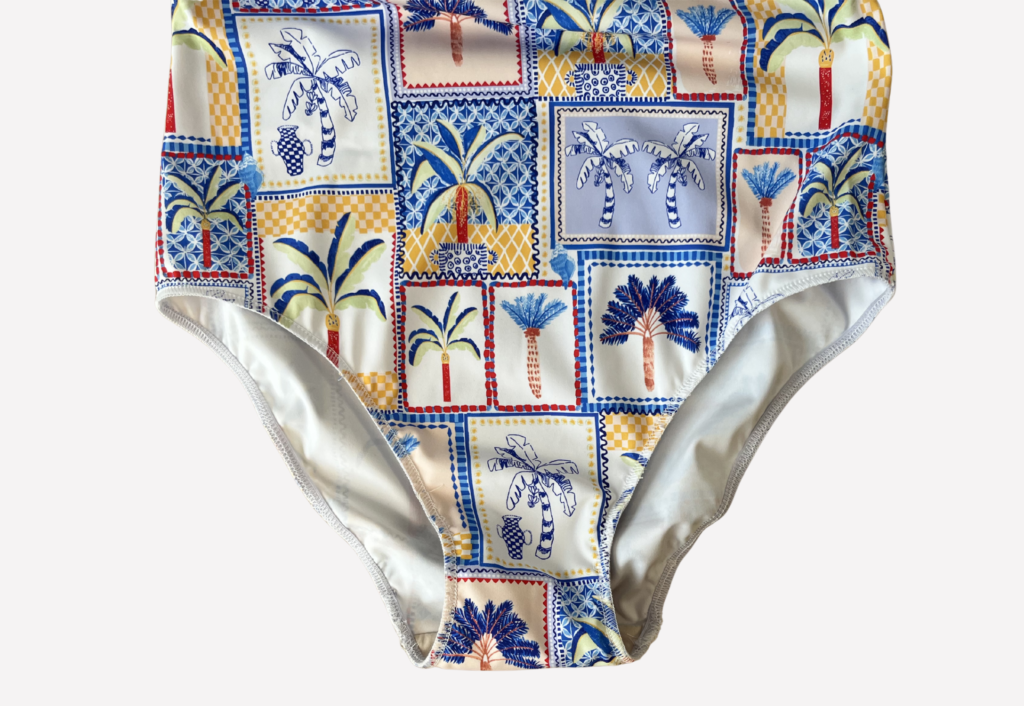
Trim any loose threads and carefully press your new swimsuit.