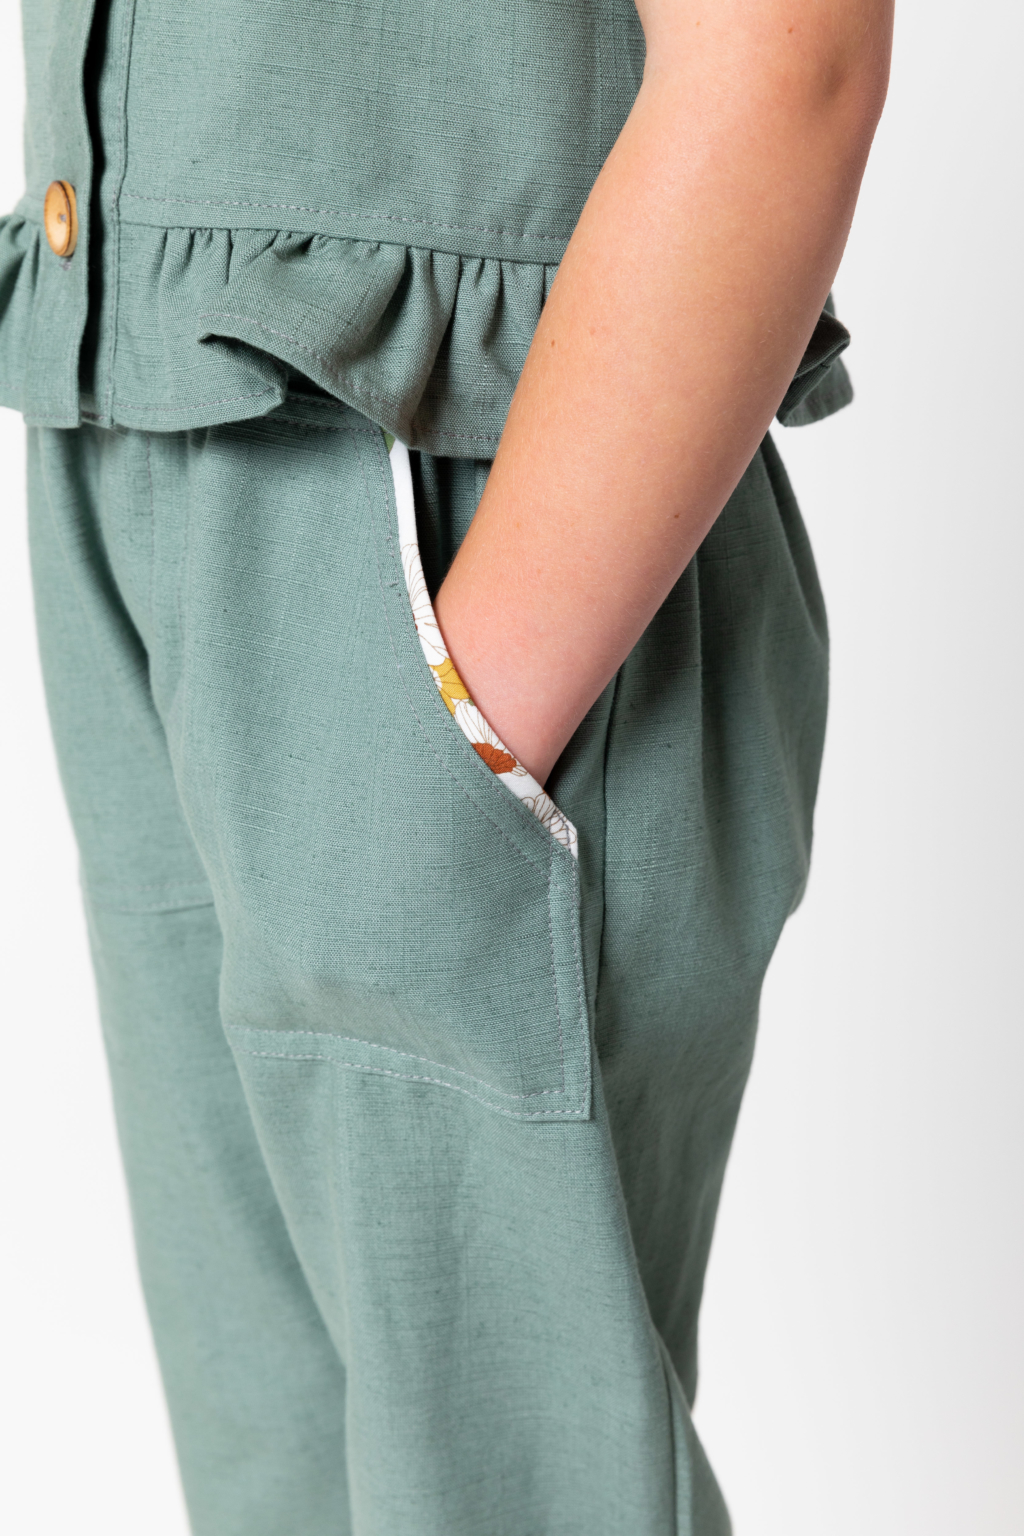
STEP-BY-STEP TUTORIAL on sewing the pocket piping
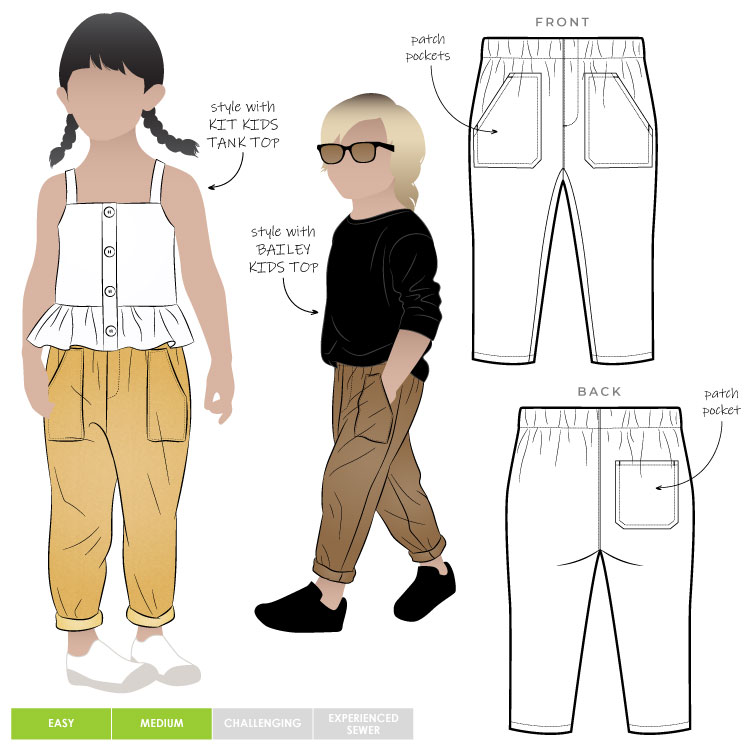
#SABobbyKidsWovenPant
Hey everyone, I’m Bec of @becsewsthings on Instagram and I’m thrilled to be working with Style Arc as they re-launch, re-invigorate their kids pattern range. My small child is in bed, a steaming cup of tea has been made, my sewing table is as tidy as it is going to get, and so I’m ready to work on the adorable Bobby pants for my little one!
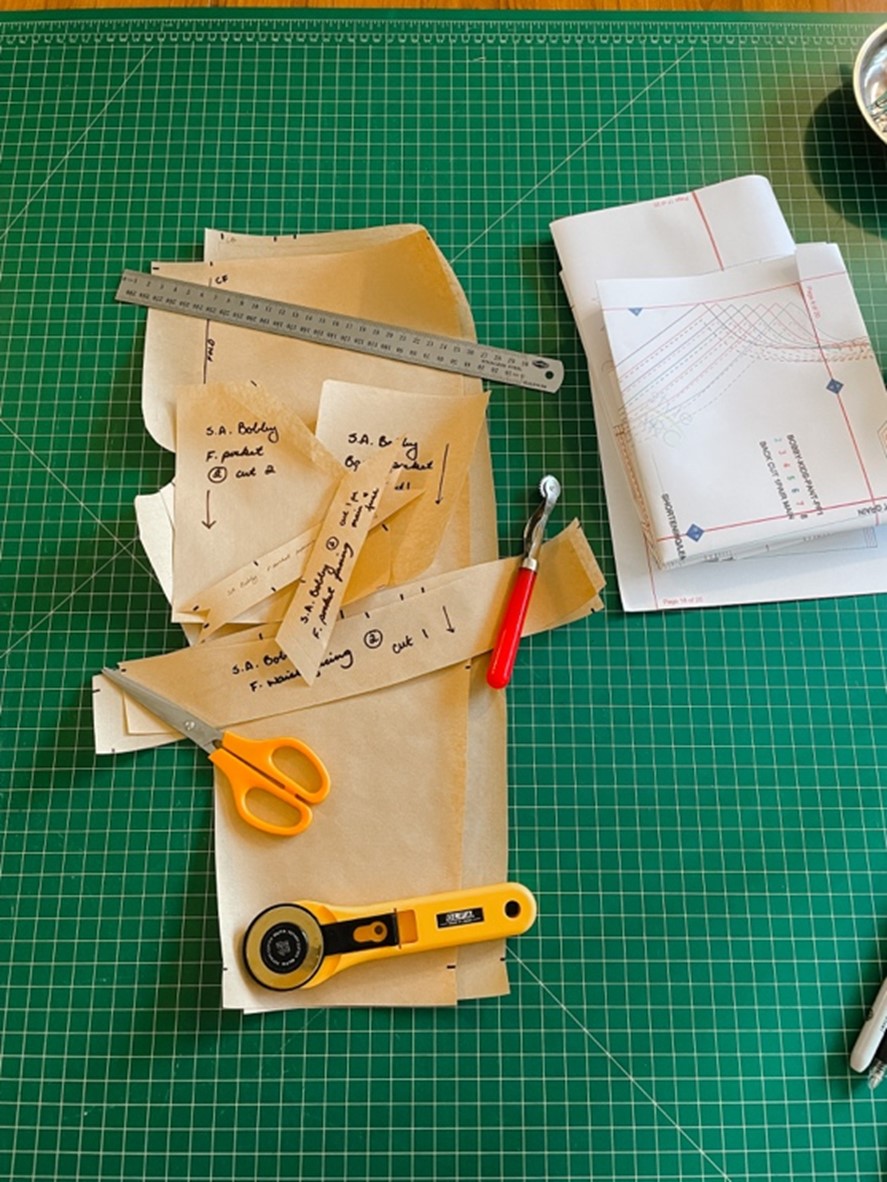
I’m a staunch supporter of PDF patterns – I hate tissue paper with a passion! While I used to simply cut my printed patterns to size, especially now I have a fast growing child I have got in to the habit of tracing patterns. It adds only a little time and is much better than re-printing and assembling the pattern every time I wish to use it. I purchased a large roll of brown paper and lay that down under the assembled PDF pattern, and then use a tracing wheel to trace off my desired size. I mark notches and transfer information with a marker and it’s ready to go.
I’m using a cotton chambray from The Fabric Store to make these pants, and I have enough to eventually make myself a matching pair. Once all the pieces have been cut, I fuse the pocket facing piece, cut two short lengths of piping cord, and get out the elastic and labels I’m going to us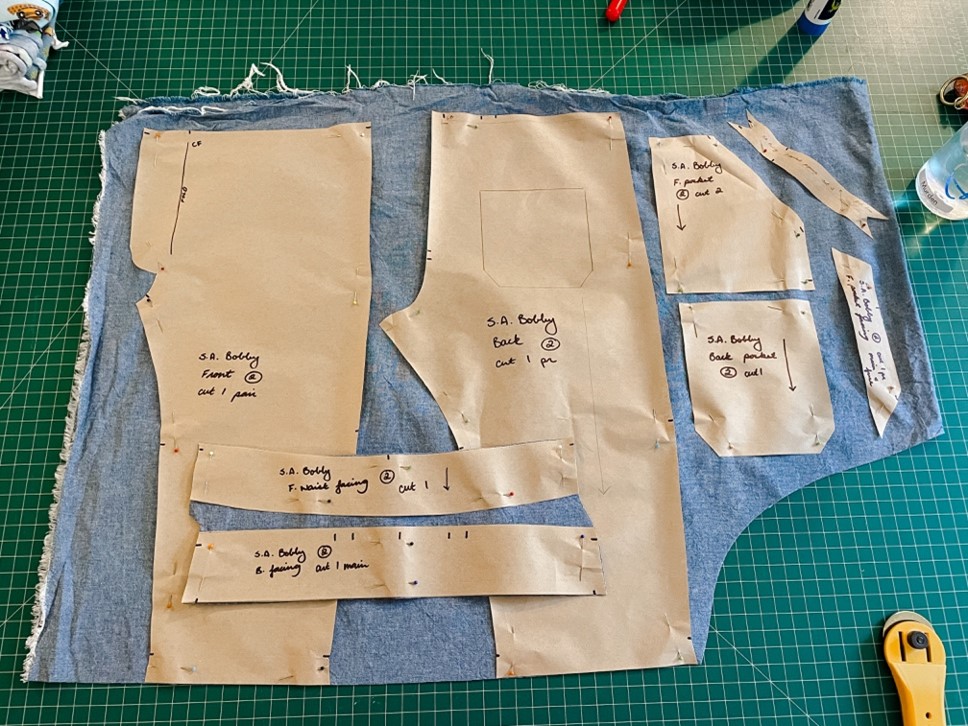
My machine has a piping foot, but you can achieve the same effect with a zipper foot. Here’s how I attached the piping:
- Finger press the bias cut pieces of fabric for the piping in half,
- Open up the fabric and then lay one piece of piping cord along each groove,
- Re-fold the fabric and head to your machine
- Using a piping or zipper foot, run a line of basting stitches 3-5mm from the cord
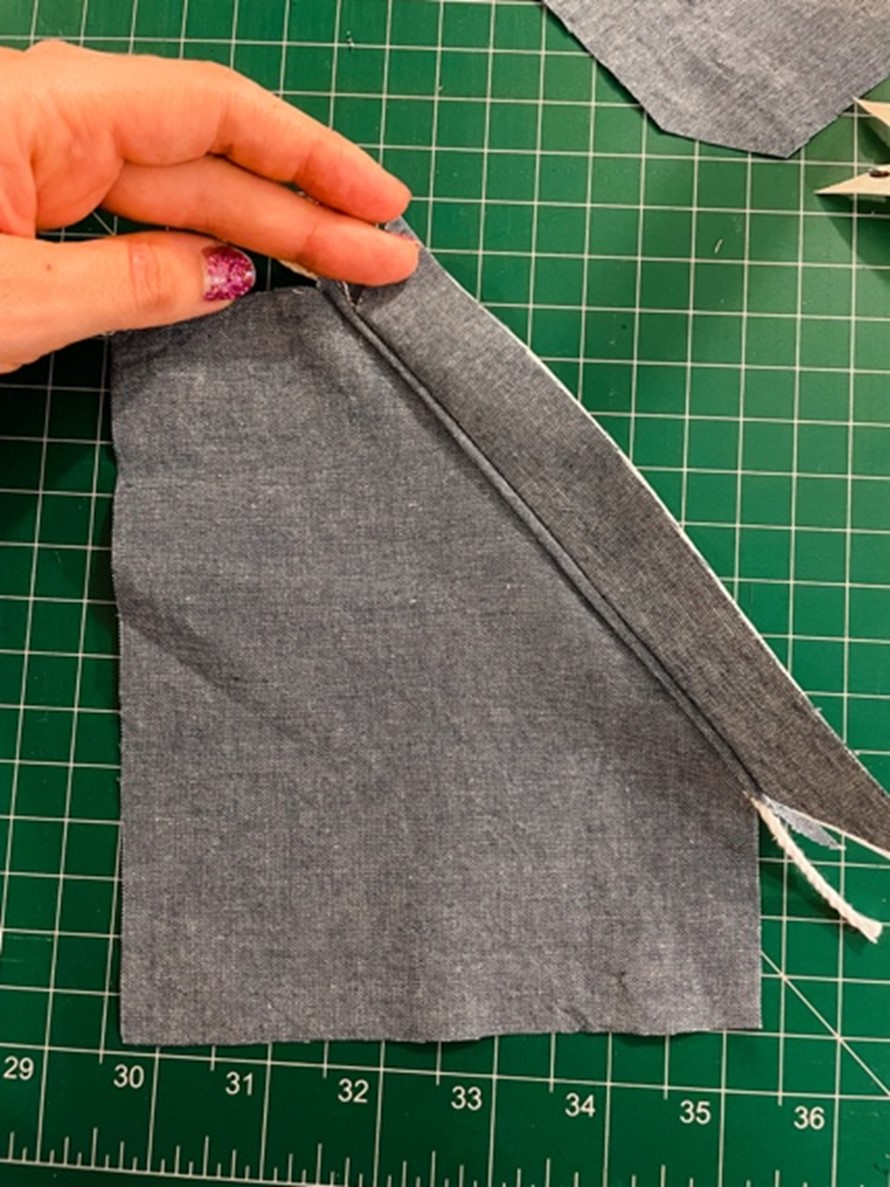
- Head back to your pocket pieces and lay the piping on top of the pocket piece, right sides together with raw edges aligned
- Then over the top of both, right sides together, lay the pocket facing (the interfaced side should be facing you)
- Secure with some pins or clips and then head back to your machine
- Again using your piping or zipper foot, and for this step I suggest moving the needle position further toward the piping if your machine has this capability, stitch all of the layers together as close to the piping cord as you can get without sewing through the cord itself.
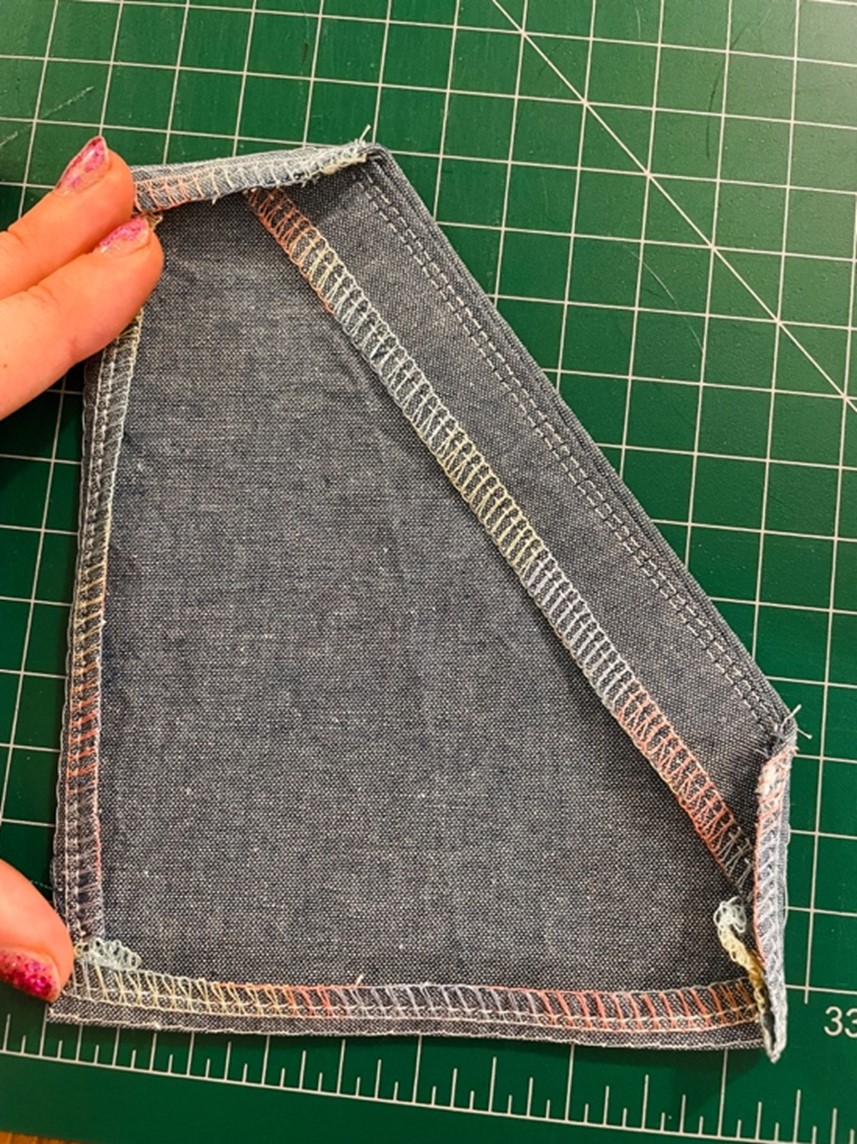
- Turn the facing to the inside and check that your line of stitching is straight and that it is as close to the piping as you like. Run a second line of stitching closer to the cord again if desired.
- As this point I finished the raw edge of the pocket facing with my overlocker.
- Turn the facing inside, press, and topstitch.
Before sharing my final product, I’ll give you some tips that I found useful during construction.
- If you don’t have a suitable twin needle to use for topstitching, just use a single needle and run two parallel lines of stitching.
- Once you’ve sewn the crotch seam, snip in to the corner at the bottom of the faux fly to help it lay flatter.
- You can either finish all of your raw edges before beginning construction, or:
- Before steps 1, 2 and 16.
- After steps 6, 7, and 8.
- Press the un-notched edge of the waist facing wrong sides together by about 5mm prior to attaching the facing to the pants to make enclosing that raw edge easier.
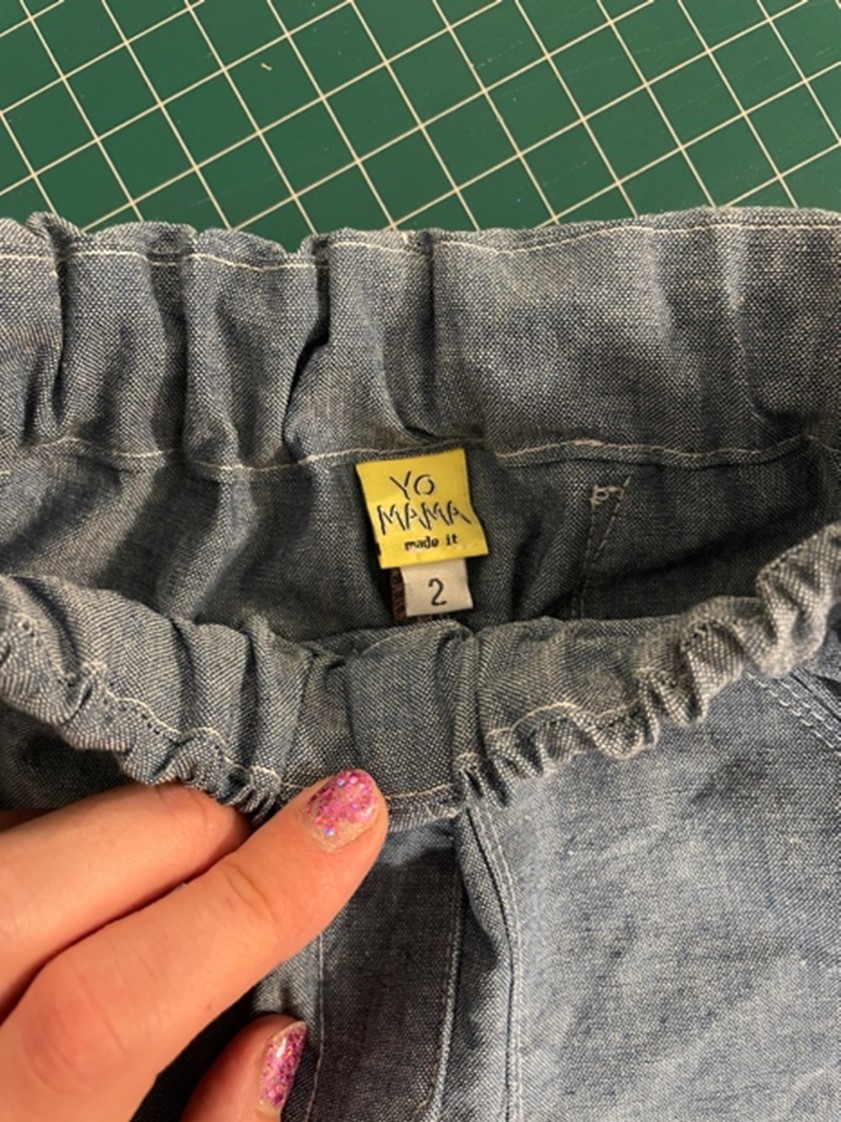
- If you want to add in a label, I suggest adding it:
- When attaching one of the front pockets, or the back pocket (if it is a side-seam type label)
- Or when stitching closed the opening used to thread through the elastic.
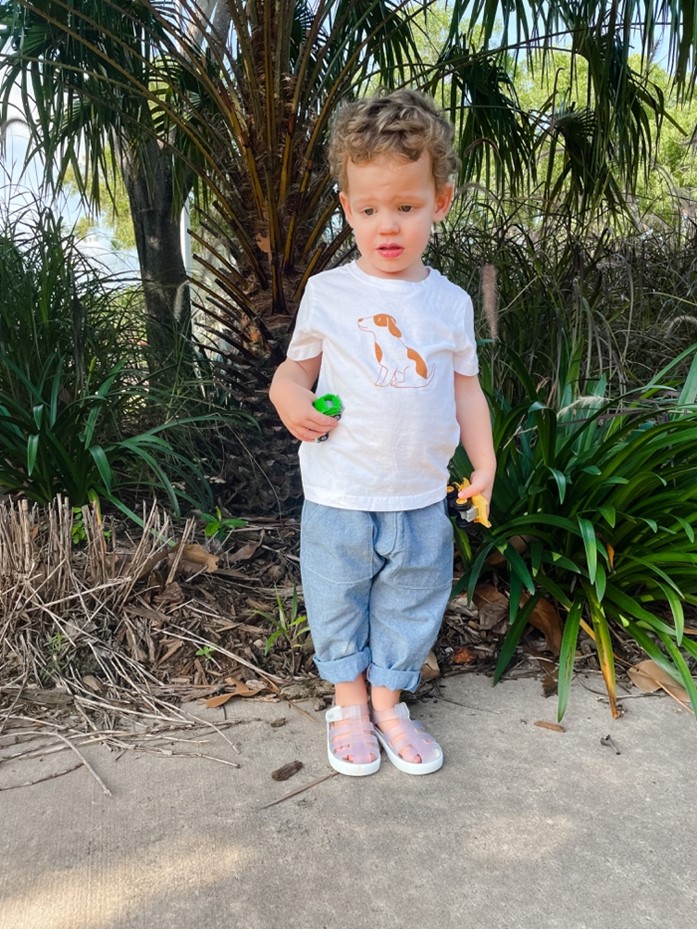
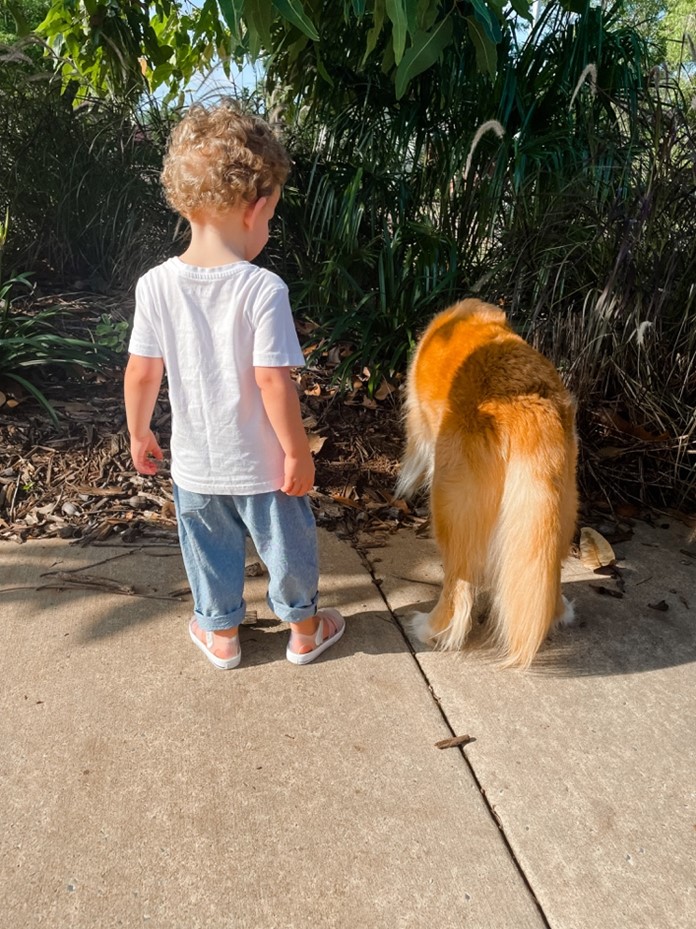
Voila! A finished pair of Bobby pants. Even with the details on the pockets, you can easily whip these up in well under two hours. While it doesn’t look like my little one is enjoying himself in the pictures (two and a half year olds are fickle creatures) when I tried them on him the previous evening I couldn’t get him to take them off! Happy sewing.