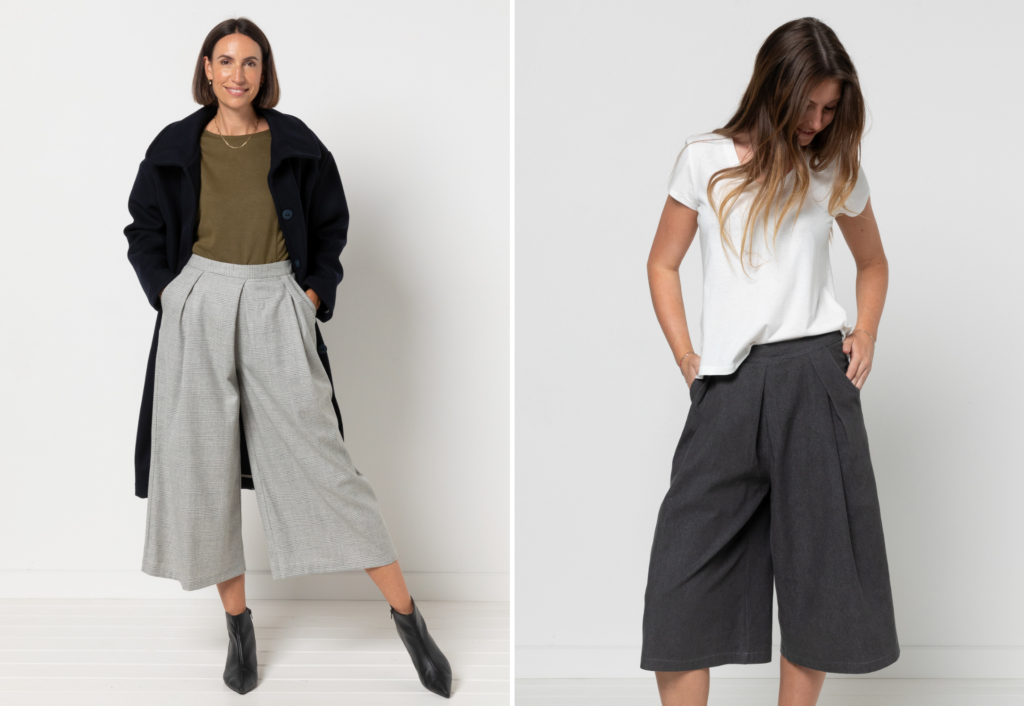
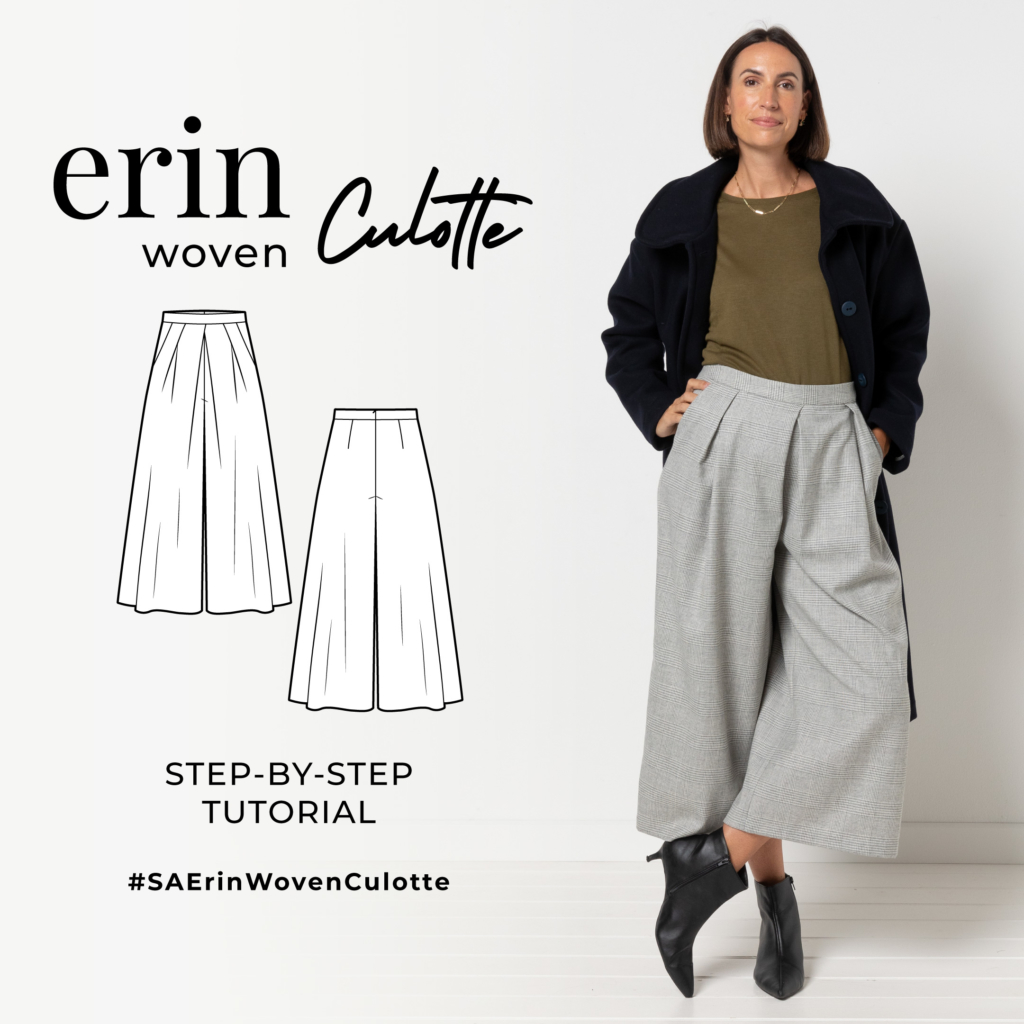
Shop the Erin Woven Culotte
CONSTRUCTION
FRONT, POCKETS AND PLEATS:
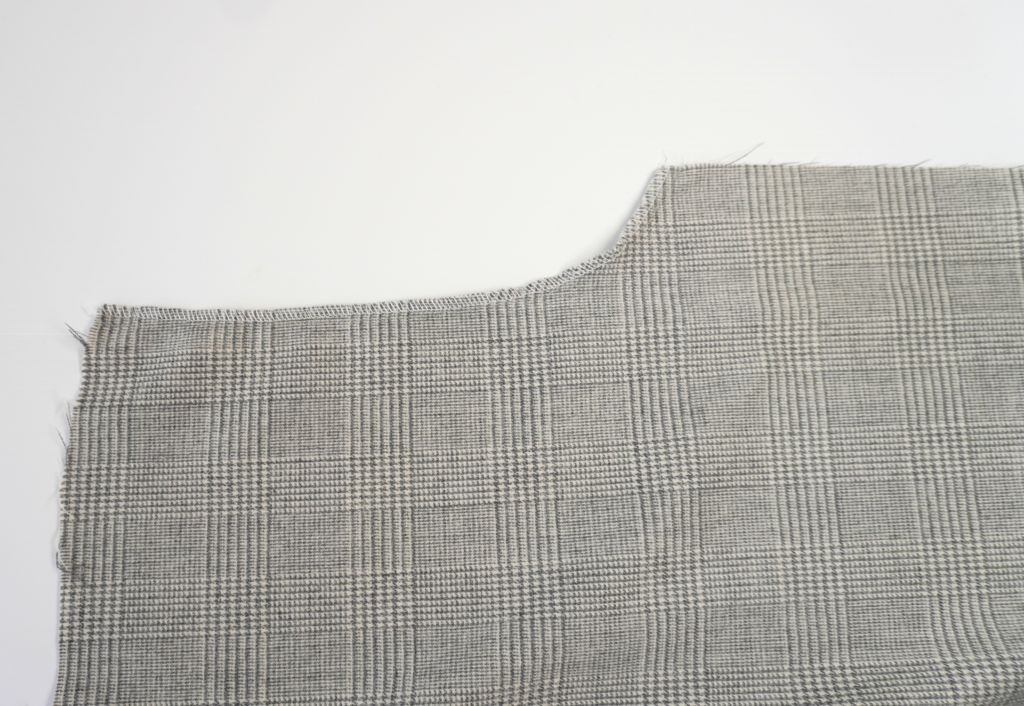
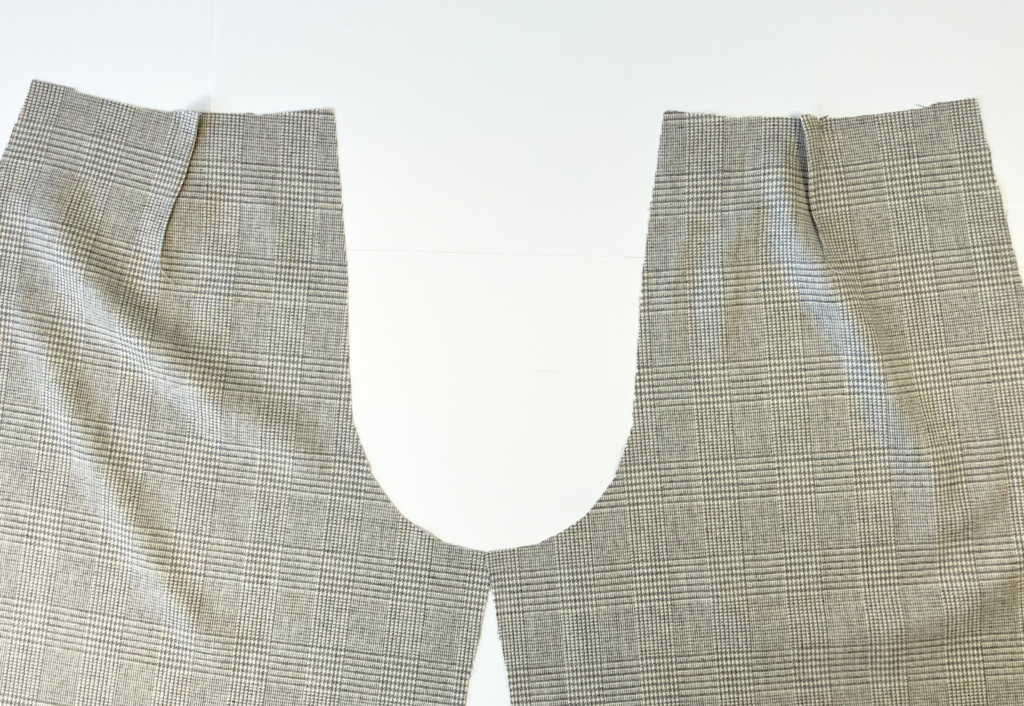
With RST, pin the Front (1) pair together at the centre front crotch seam. Sew, then neaten using an overlocker/serger. Press to one side.
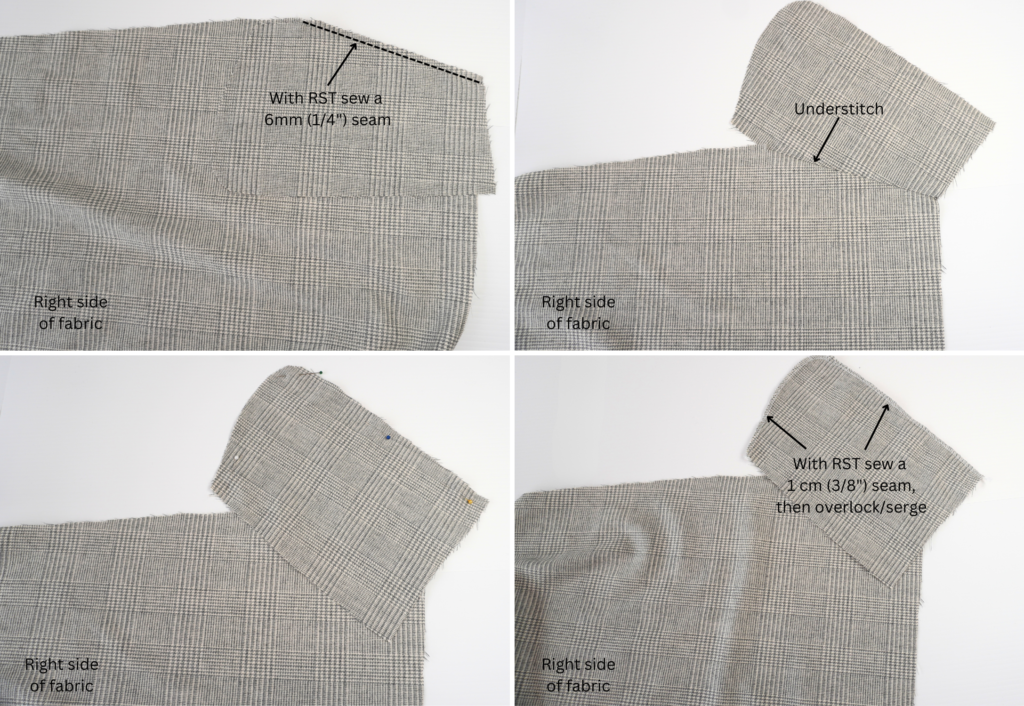
With RST, pin the angled edge of the Pocket Bag (4) to the pocket edge of the pant and sew using a 6mm (1/4”) seam.
Press the seam toward the pocket and sew an understitch on the side of the pocket.
With RST, pin the pocket bearer to the pocket bag around seamline B and sew using a 1cm (3/8″) seam.
Neaten using an overlocker/serger.
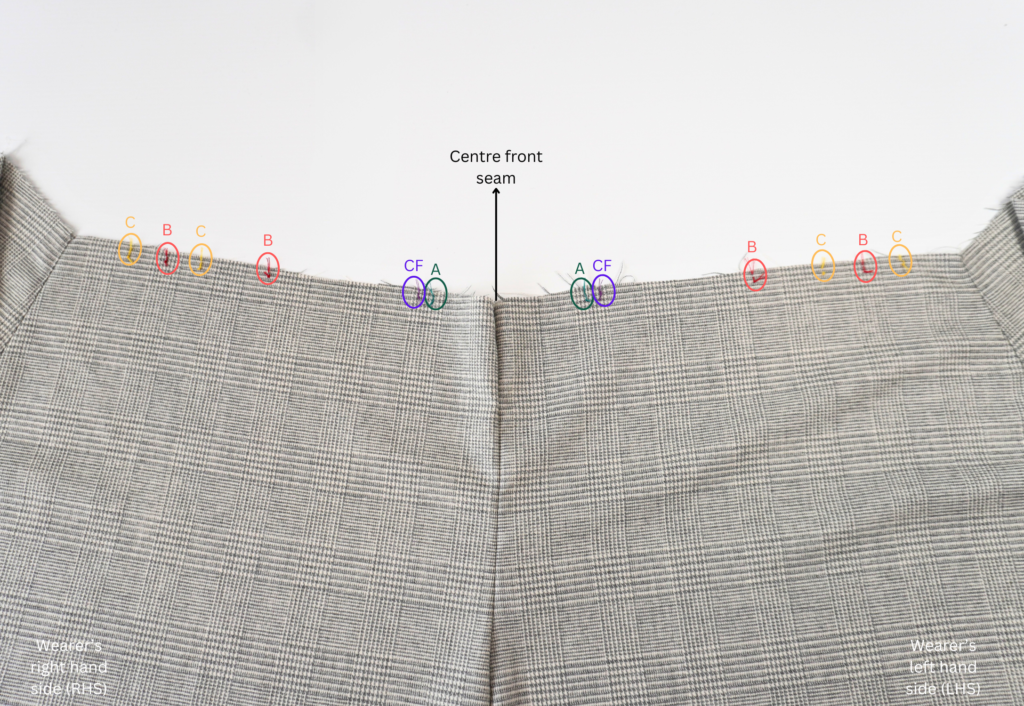
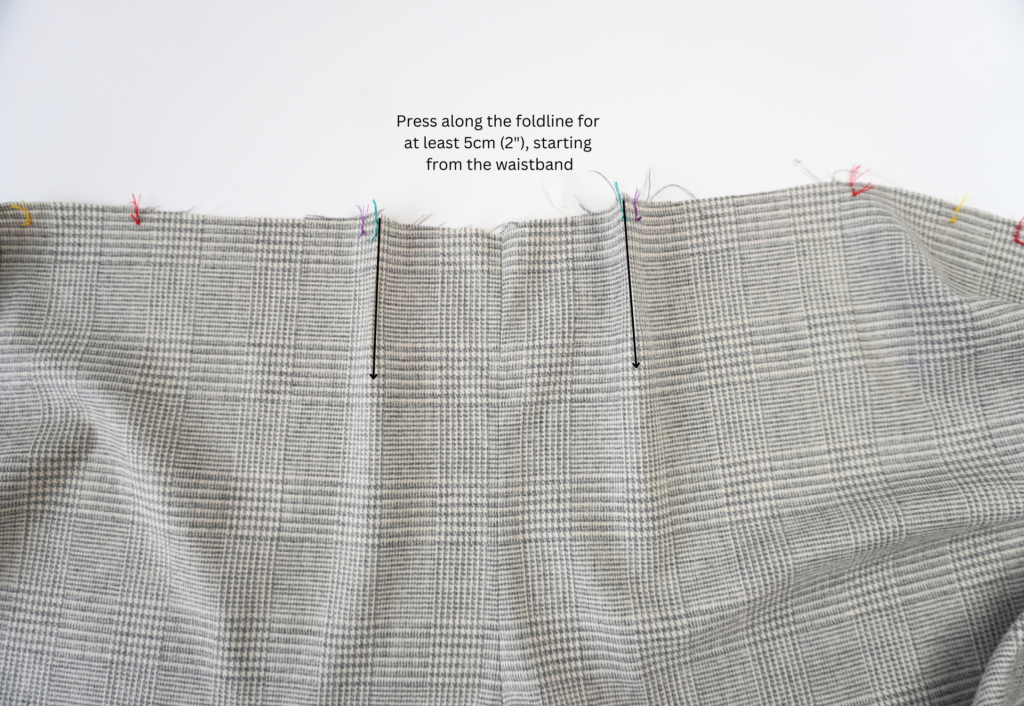
With WST, pre-press the fold lines marked A on the pattern, pressing for a minimum of 5cm (2”) starting from the waistline.
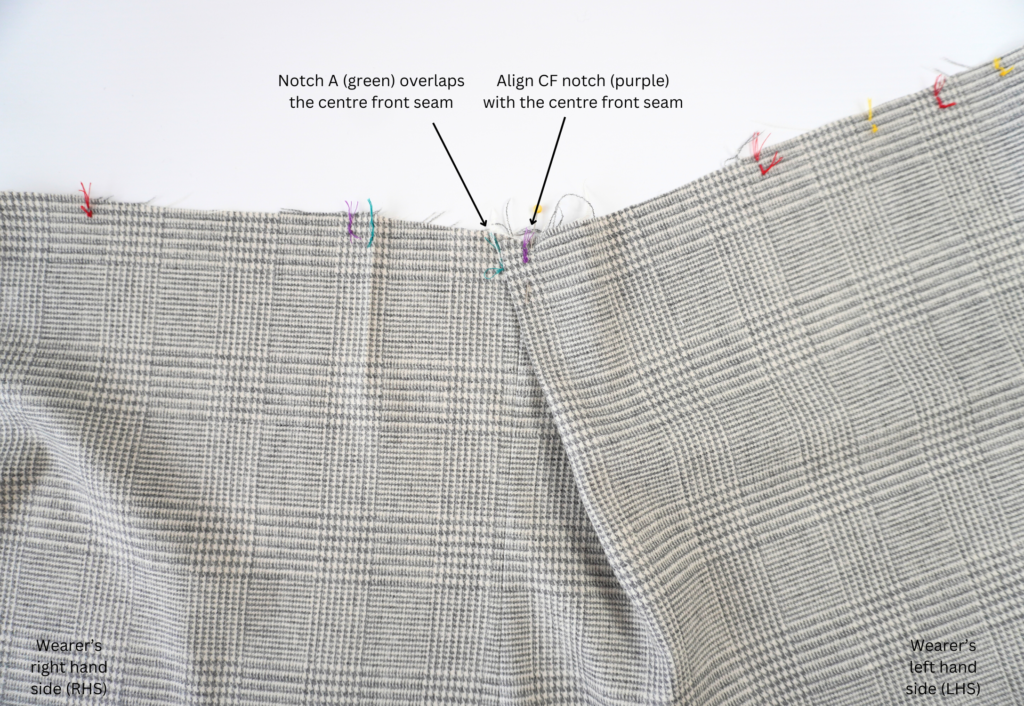
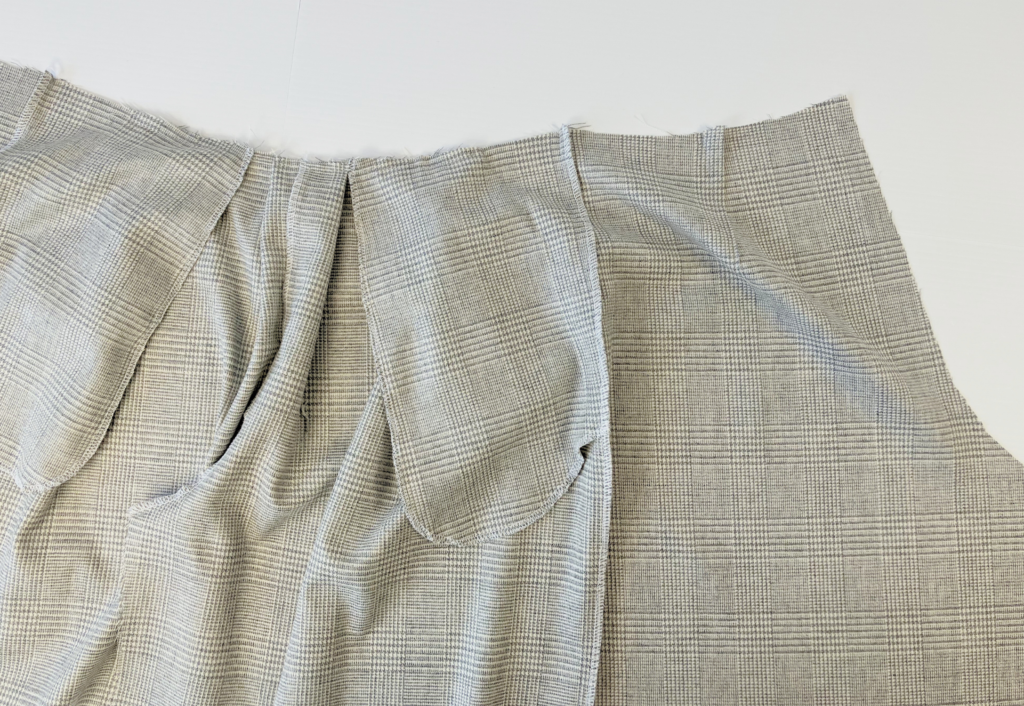
Place the front on your worktable with the right side up. Take the notch marked A on the right (wearer’s LHS) and fold it toward the centre front, so that the notch marked CF (purple notch on wearer’s LHS in image above) aligns with the centre front seam. The pressed fold will overlap the centre front seam. Pin into place.
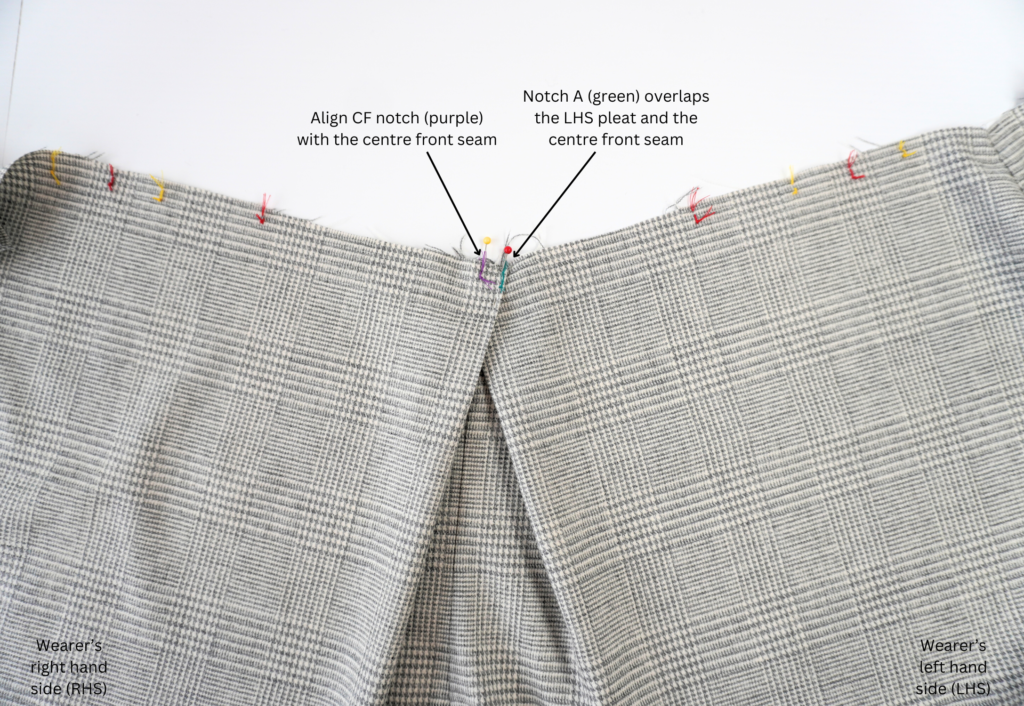
Take the notch marked A on the left side (wearer’s RHS) and fold it toward the centre front, so that the notch marked CF (purple notch on the wearer’s RHS in image above) aligns with the centre front seam. The pressed fold will overlap the right pleat (wearer’s LHS) and centre front seam.
Pin into place, then baste the pleats at the waistline to secure.
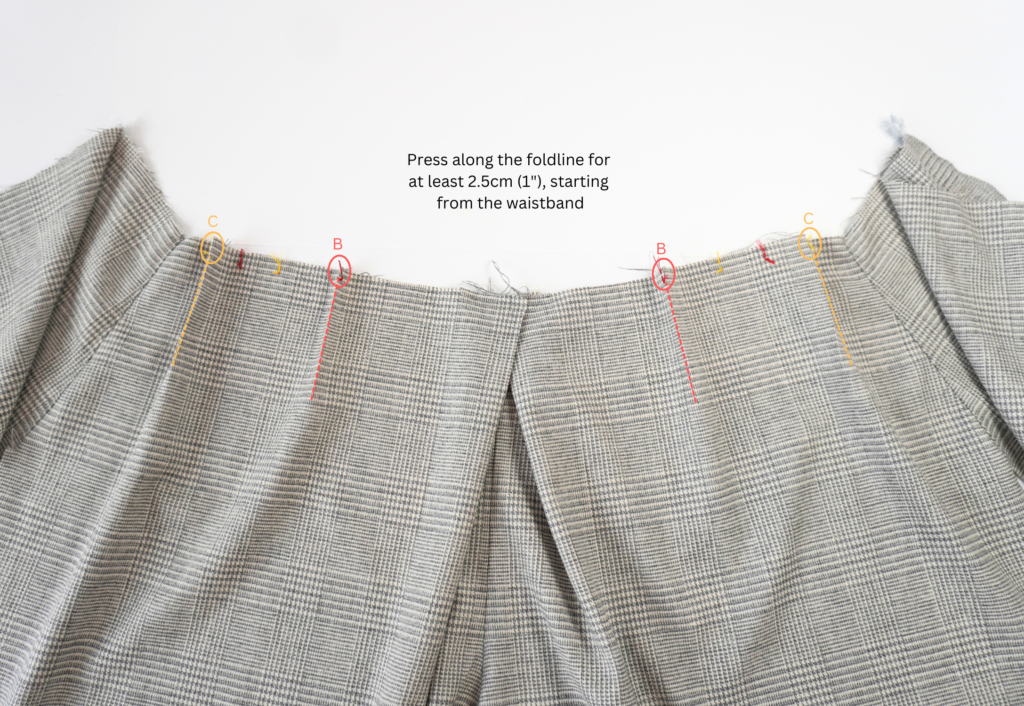
With WST, pre-press the fold lines marked B and C on the pattern, pressing for a minimum of 2.5cm (1”) starting from the waistline.

Place the front on your worktable with the right side up. Take the pressed fold B and align it to notch marked B. Pin into place.
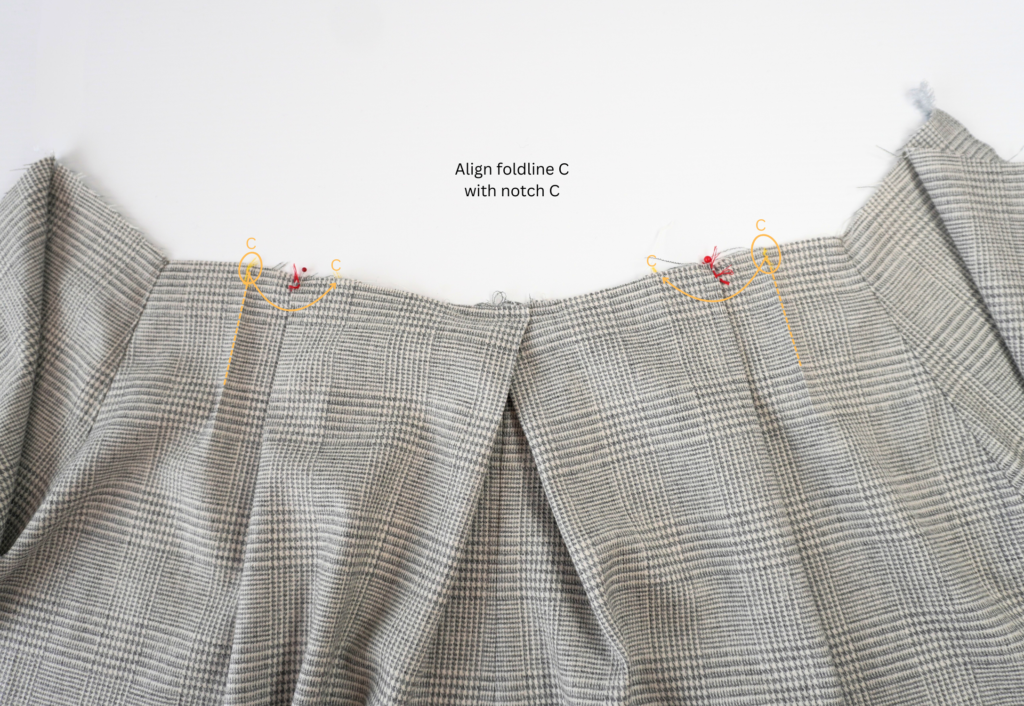
Take the pressed fold C and align it to notch marked C.
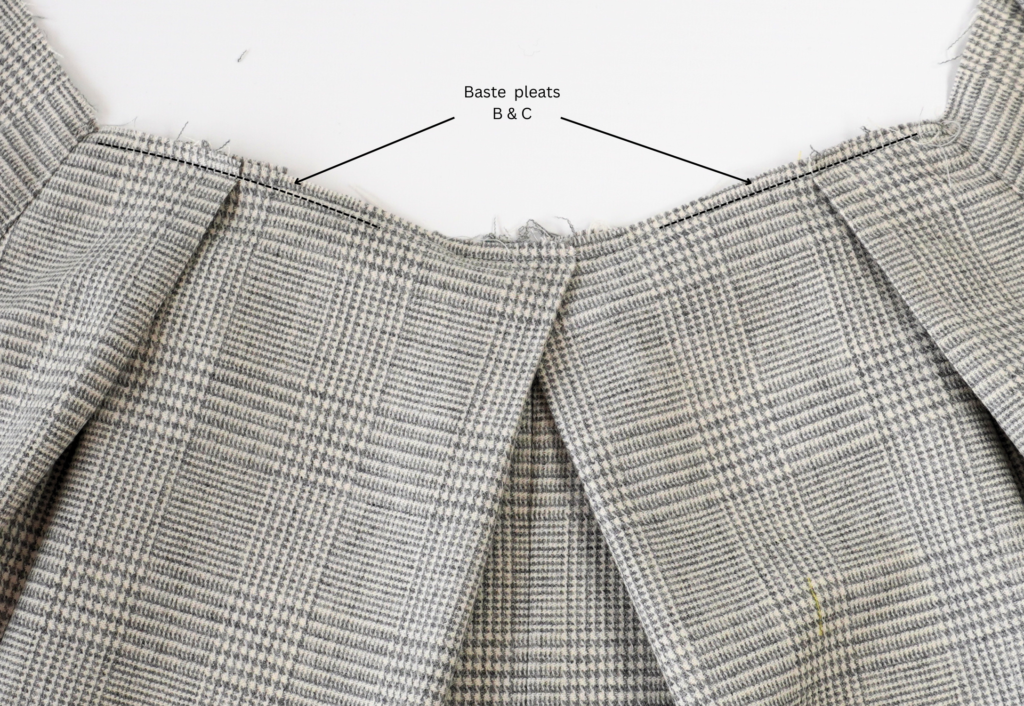
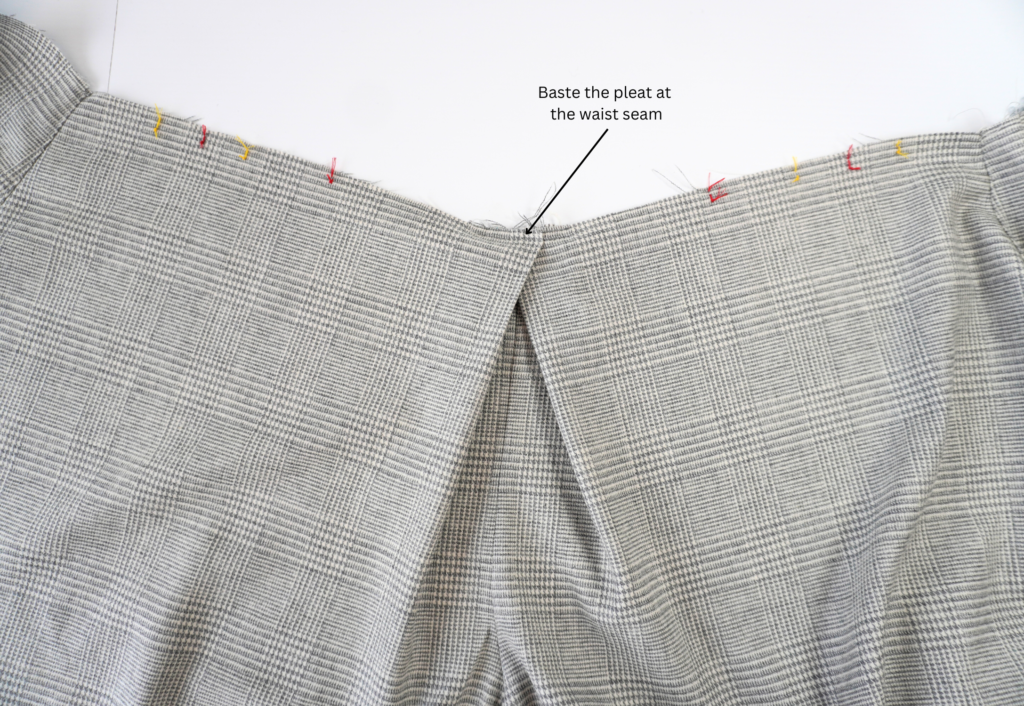
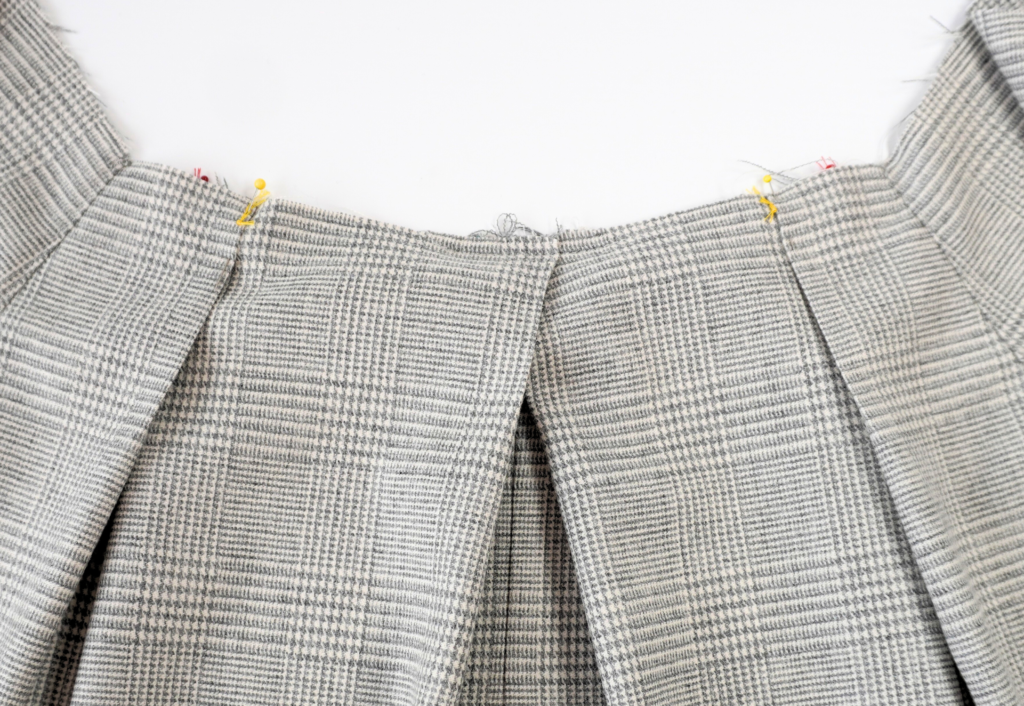
Pin into place, then baste the pleats across the top at the waist seam to secure in place.

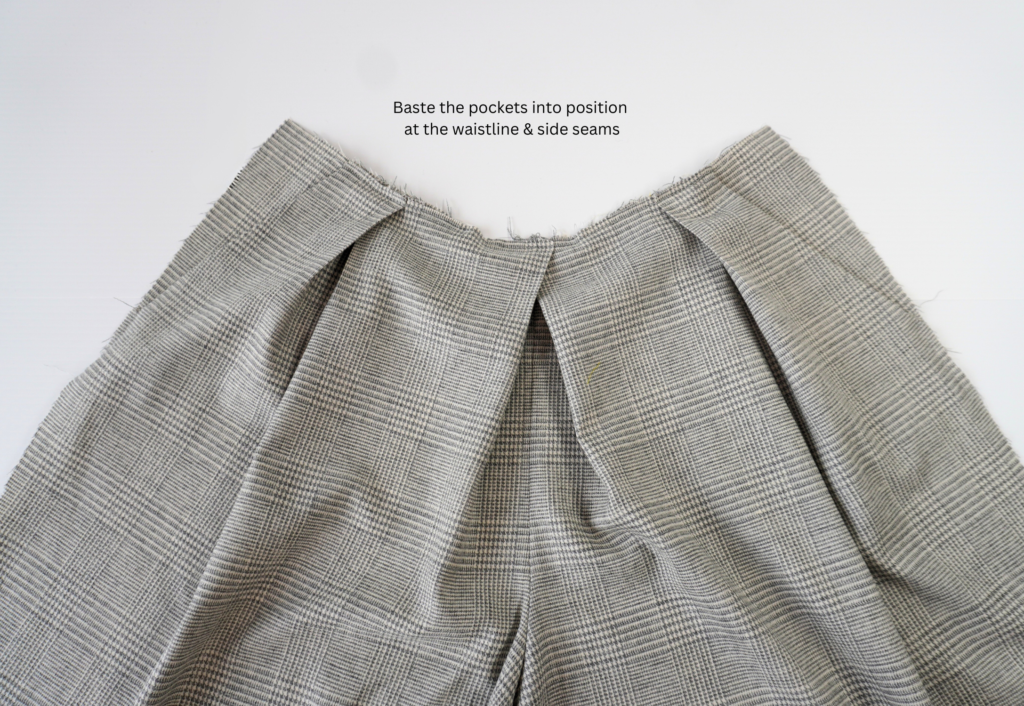
Press the pocket so it has a nice sharp edge. Align the pocket with the waist seam and baste into place. Align the side seam of the pocket with the side seam of the front leg and baste into place.
WAISTBAND AND BACK:
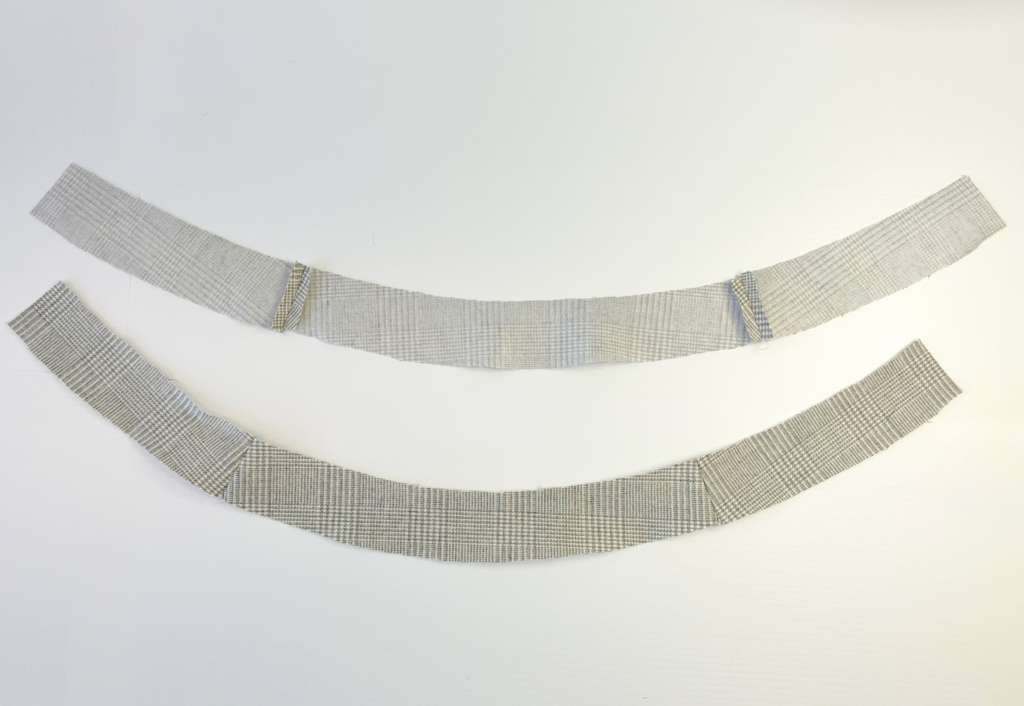
With RST sew one Front Waistband (5) to a pair of Back Waistbands (6) at the side seams (short ends), positioning the front waistband between the back waistbands. Press the seams open. Repeat with the remaining waistband pieces.
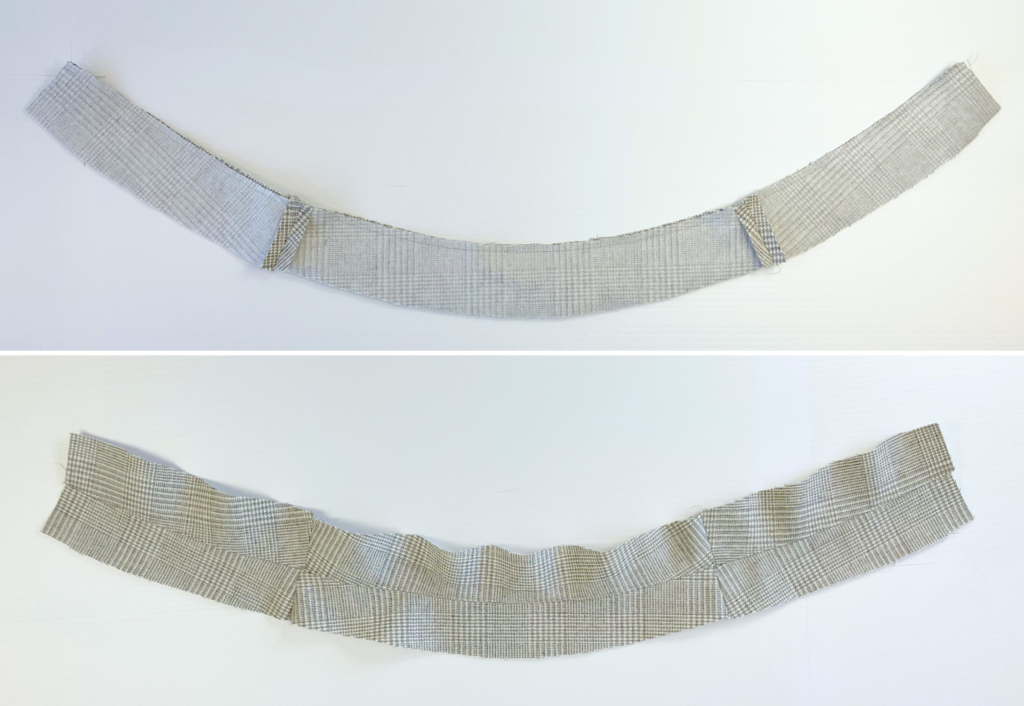
With RST and seams aligned, sew the waistbands together at the top seam, using a 1 cm (3/8”) seam. Press the seam to one side and sew an understitch on the side of the inner waistband. Neaten the raw edge of the inner waistband using an overlocker/serger. Set aside.
Sew the back darts and press toward the centre back.
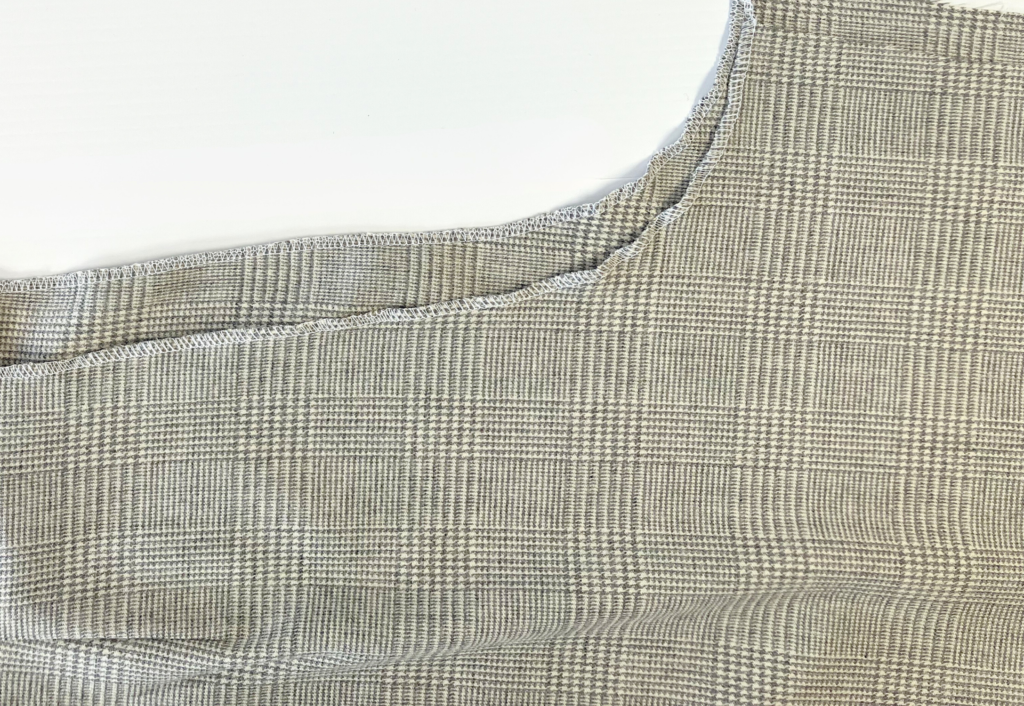
With RST, sew the Front to Back at the side seams. Neaten using an overlocker/serger and press toward the back.
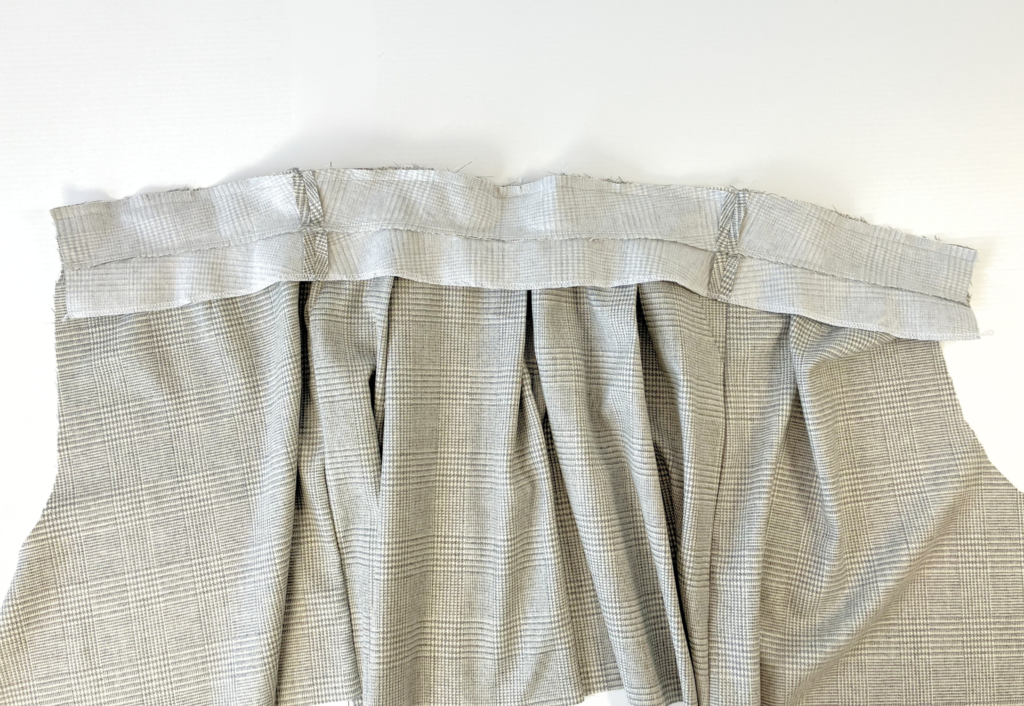
With RST and notches and side seams aligned, pin the outer waistband to the of the culottes. Sew, then press the seam toward the waistband.
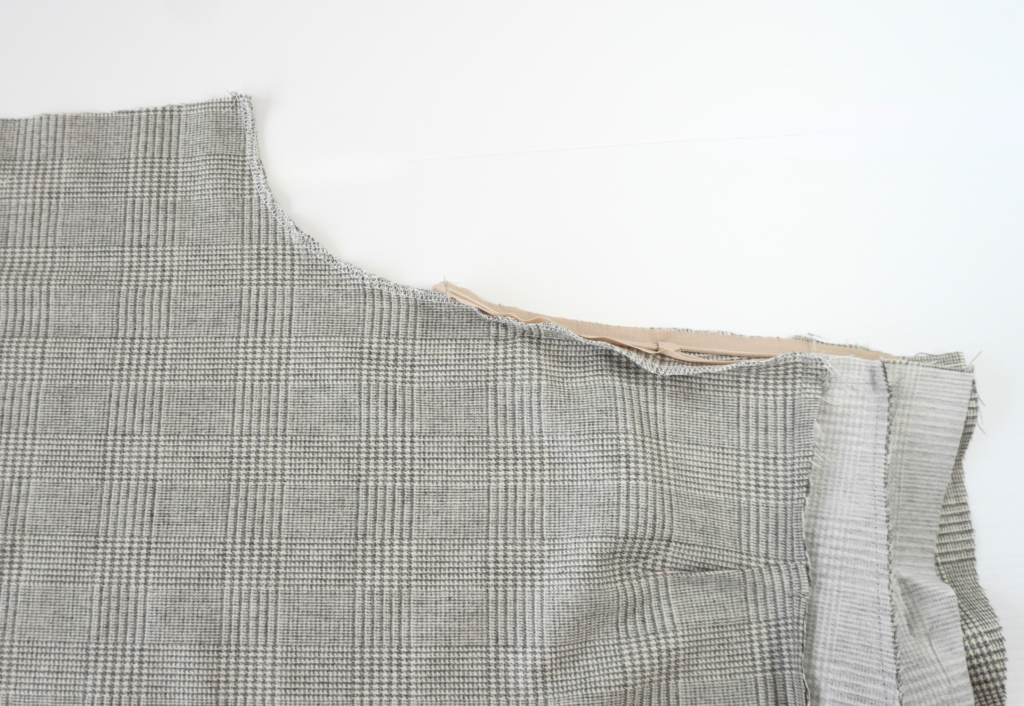
Neaten each centre Back (2) seam separately using an overlocker/serger.
BACK ZIP (See the ZIP-INVISIBLE ZIP TUTORIAL on our website):
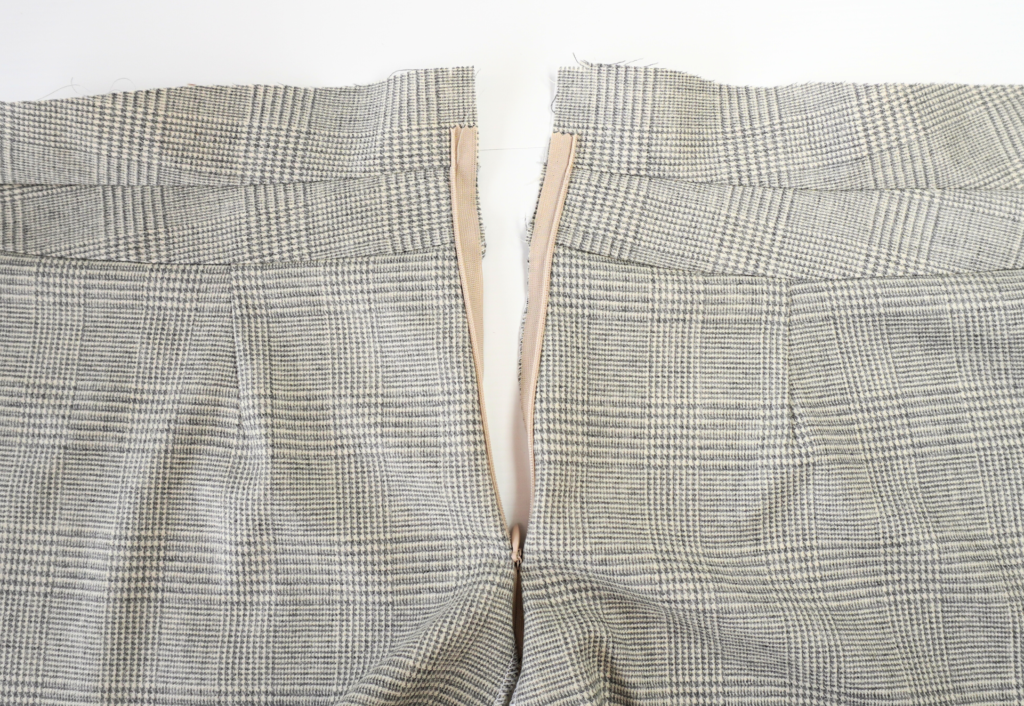
Install invisible zipper foot on your sewing machine. Carefully sew the invisible zip to the centre back of the pants and through the outer waistband.
Change back to the standard presser foot and with RST, sew the remainder of the back crotch seam.
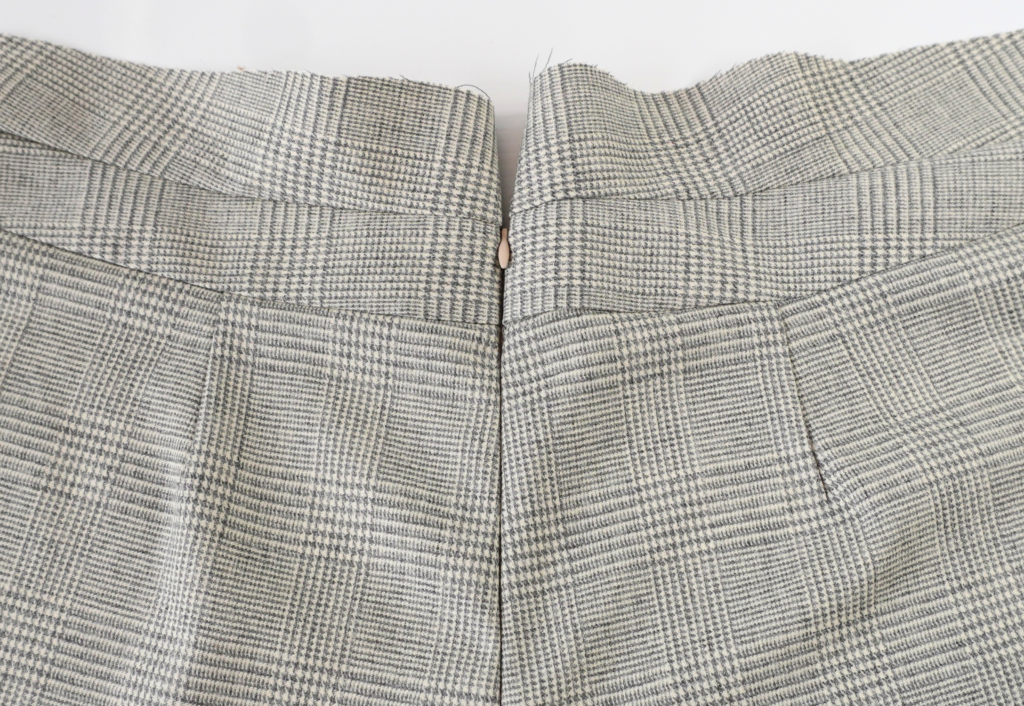
Press the seam open and lightly press the zip.
COMPLETION:
With RST, sew the front to back at the inside leg. Neaten using an overlocker/serger and press toward the back.
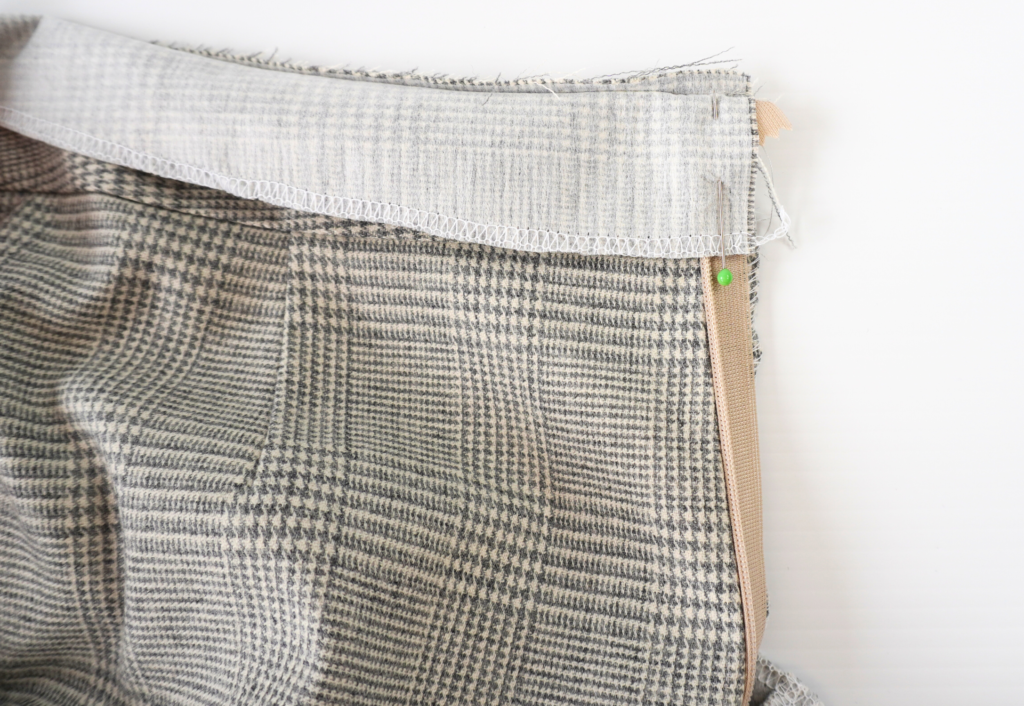
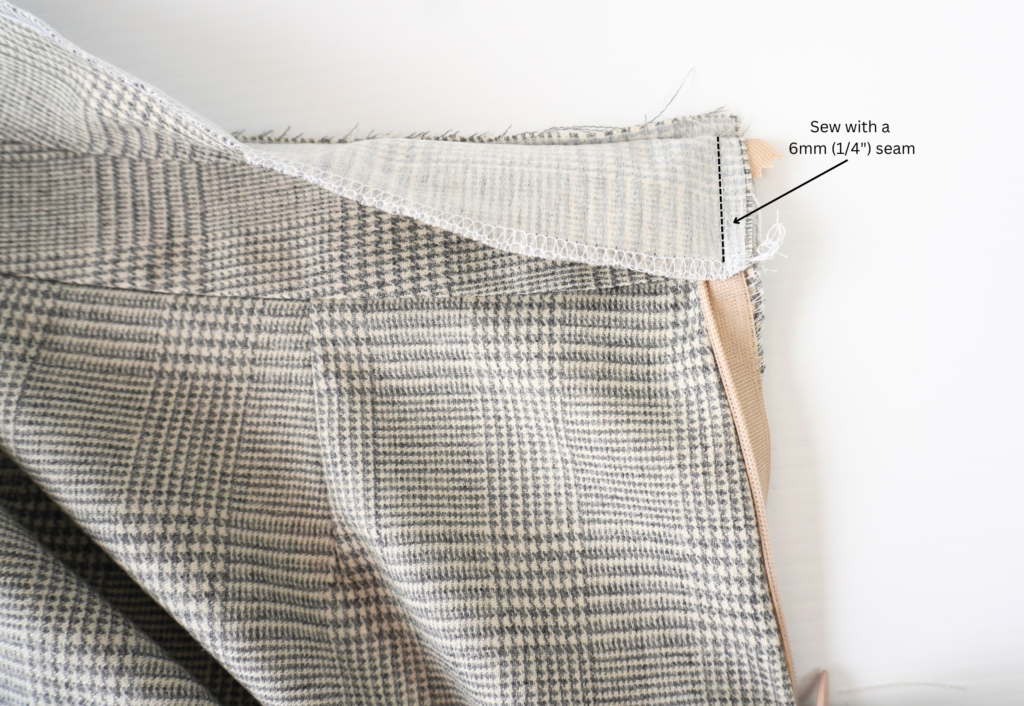
With the zip open and with RST, fold the waistband over the zip and sew using a 6mm (1/4″) seam, sandwiching the zip tape.
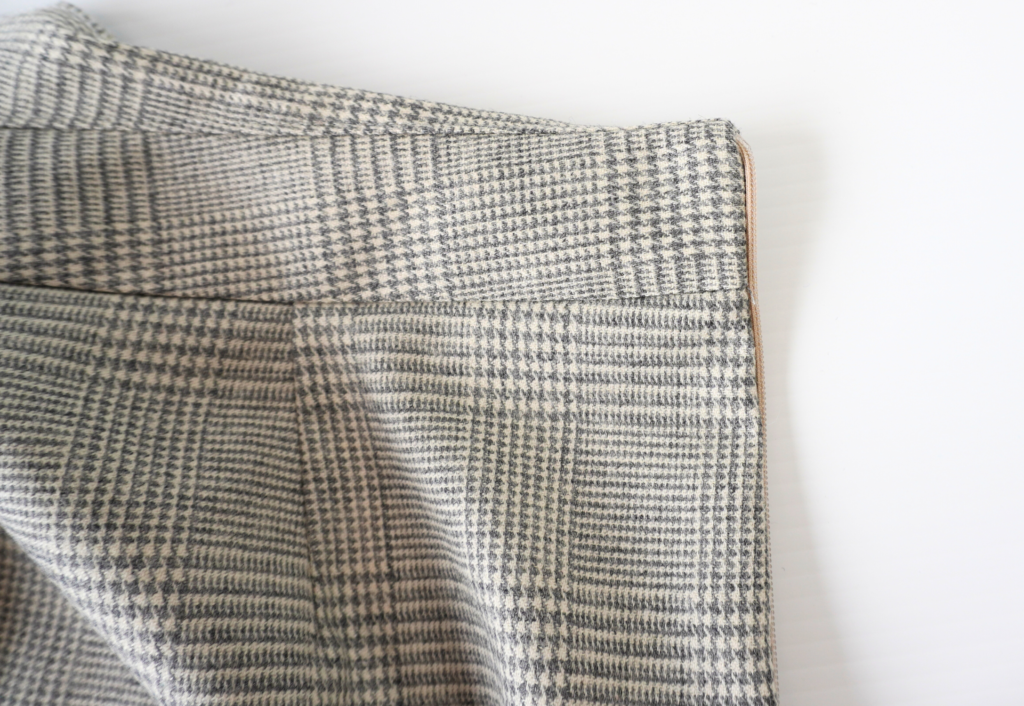
Turn out to the right side.
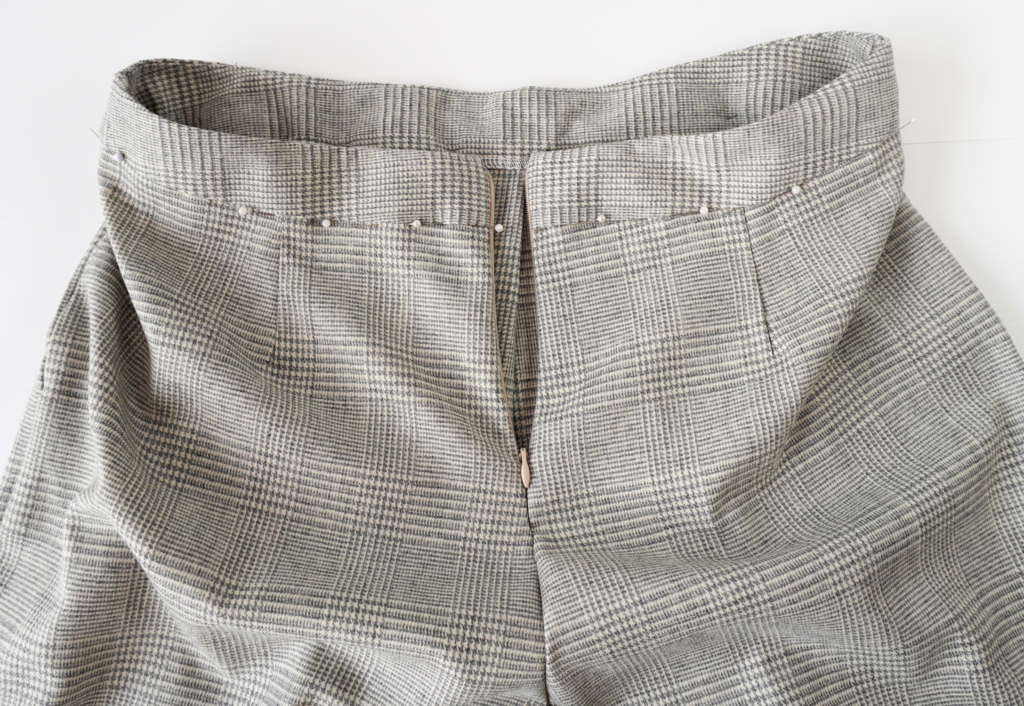
Press the waist seam of the outer waistband upward, then pin the inner waistband into place.
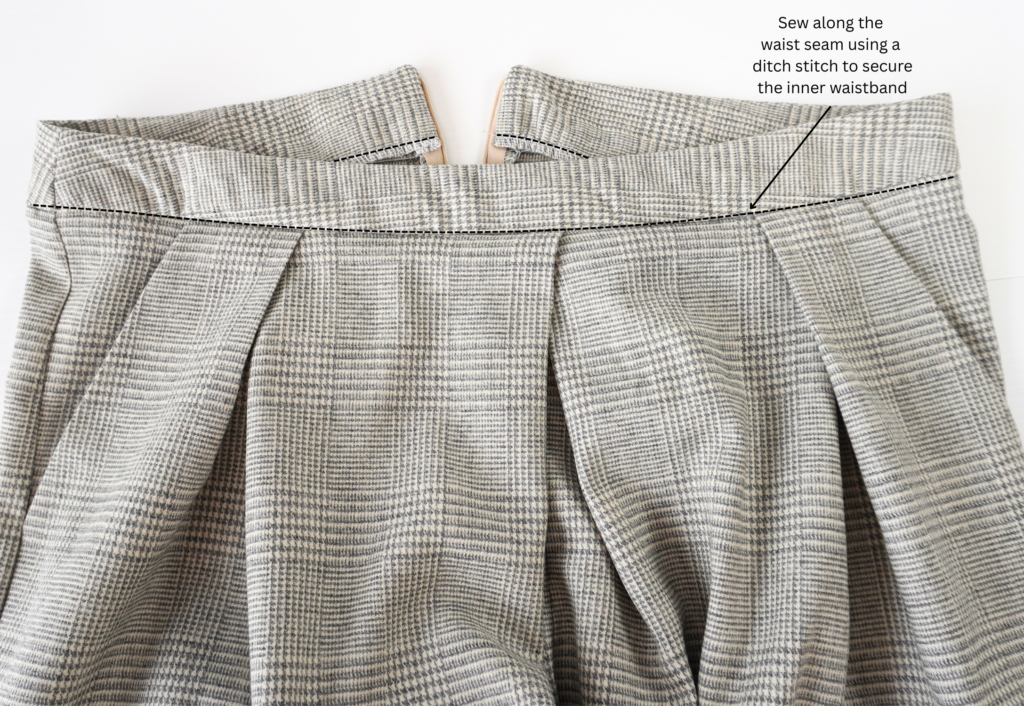
Sew along the waist seam with a ditch stitch to secure the inner waistband in place.
Neaten the leg hems using an overlocker/serger and turn to the inside 2.5cm (1”) or to your preferred personal length.
Sew using a top stitch or blind stitch. Press.
Trim any loose threads and carefully press your new culottes!