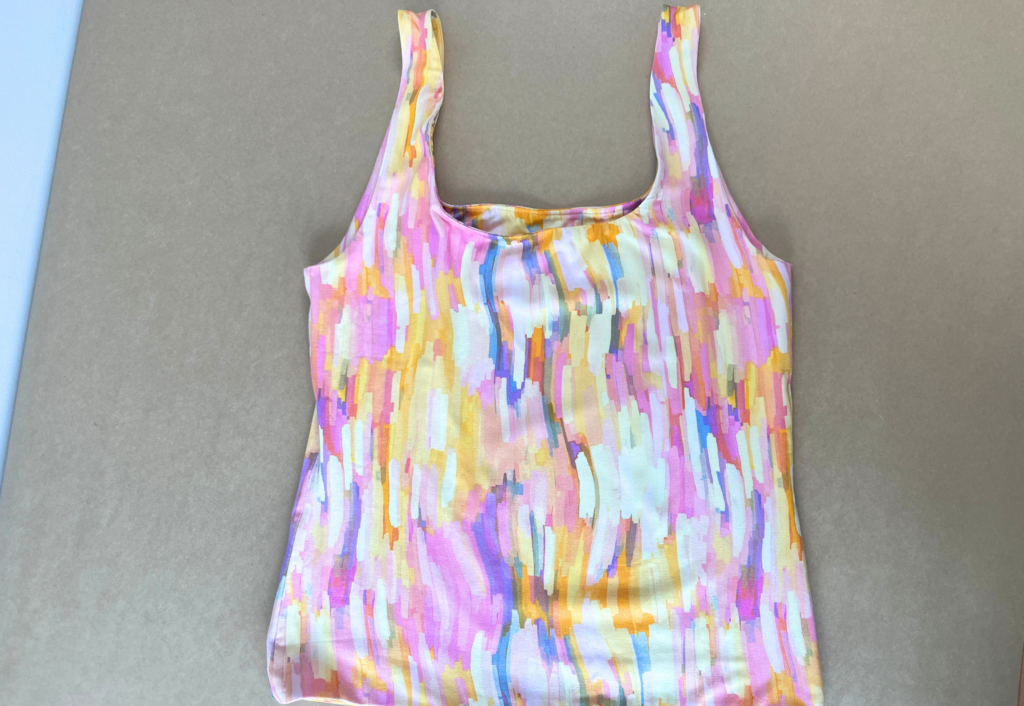
Shop the Gilmore Knit Tops
STEP-BY-STEP TUTORIAL
#SAGilmoreKnitTops
Watch the step by step video sewing tutorial for all 4 versions here:

CONSTRUCTION
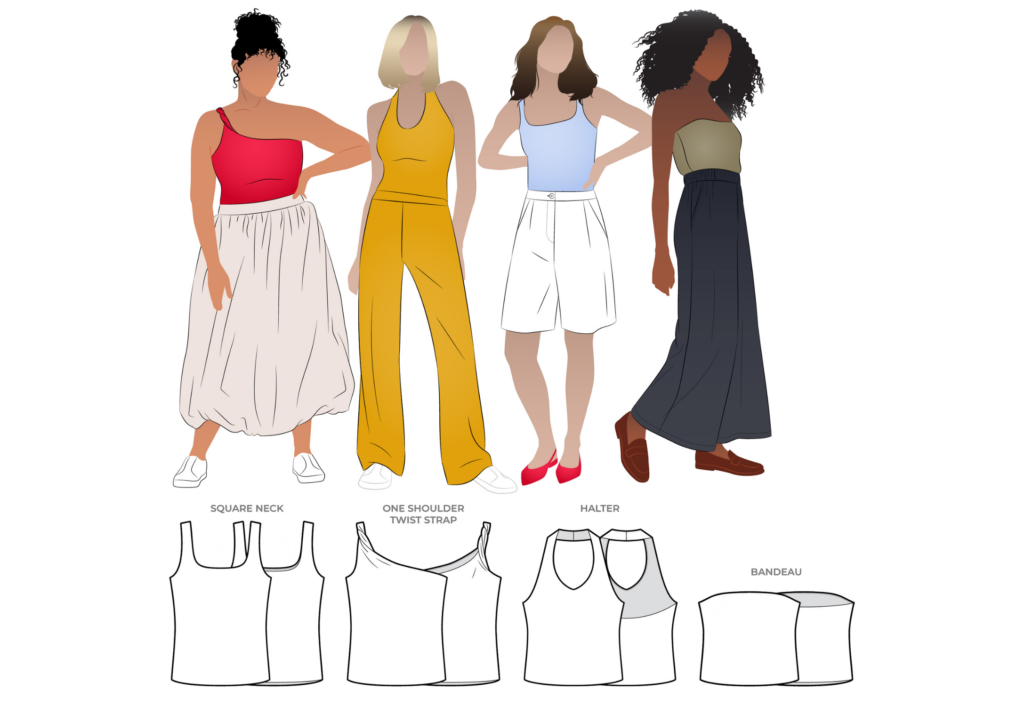
HALTER TOP:

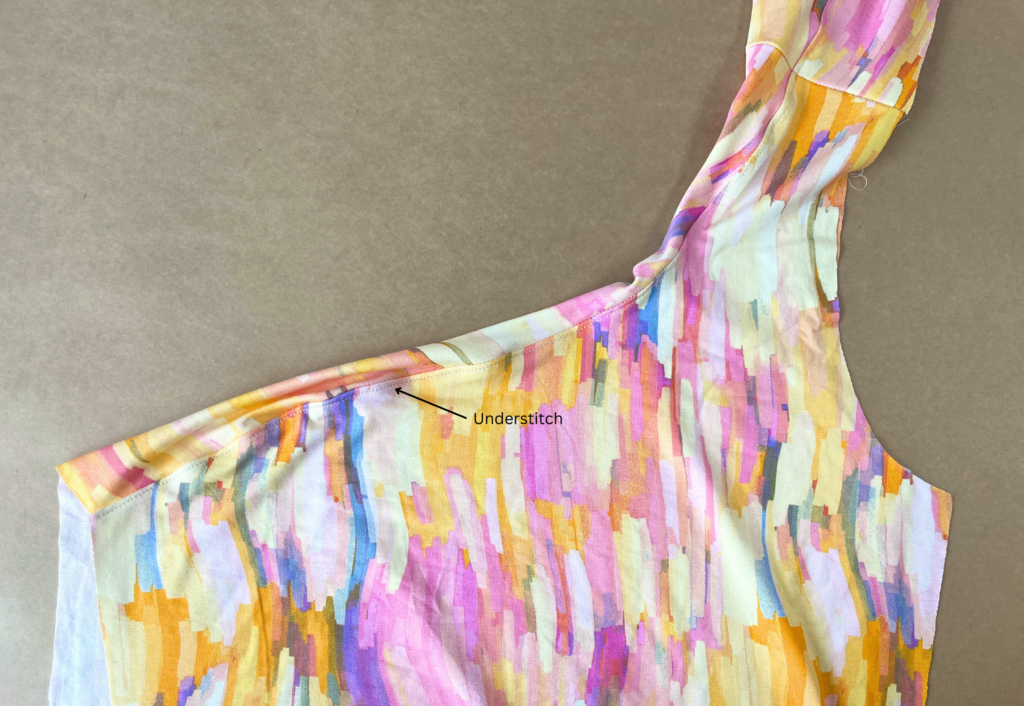
With RST, sew the Front Halter (1) pair together at the front neckline.
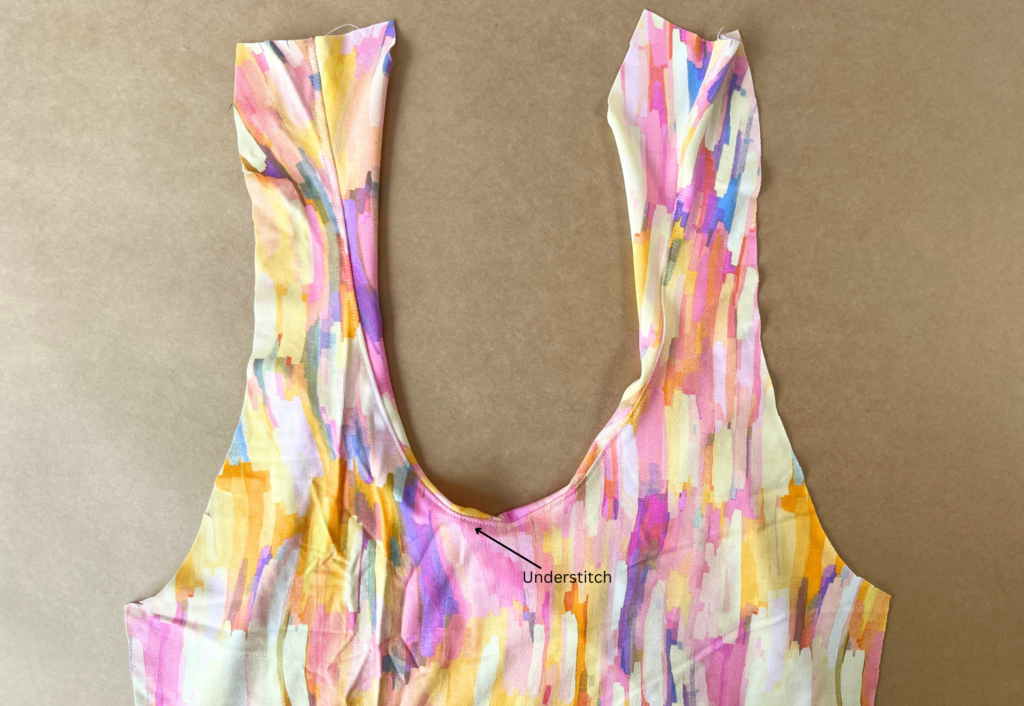
Press toward the inner layer and sew an understitch on the side of the inner layer.
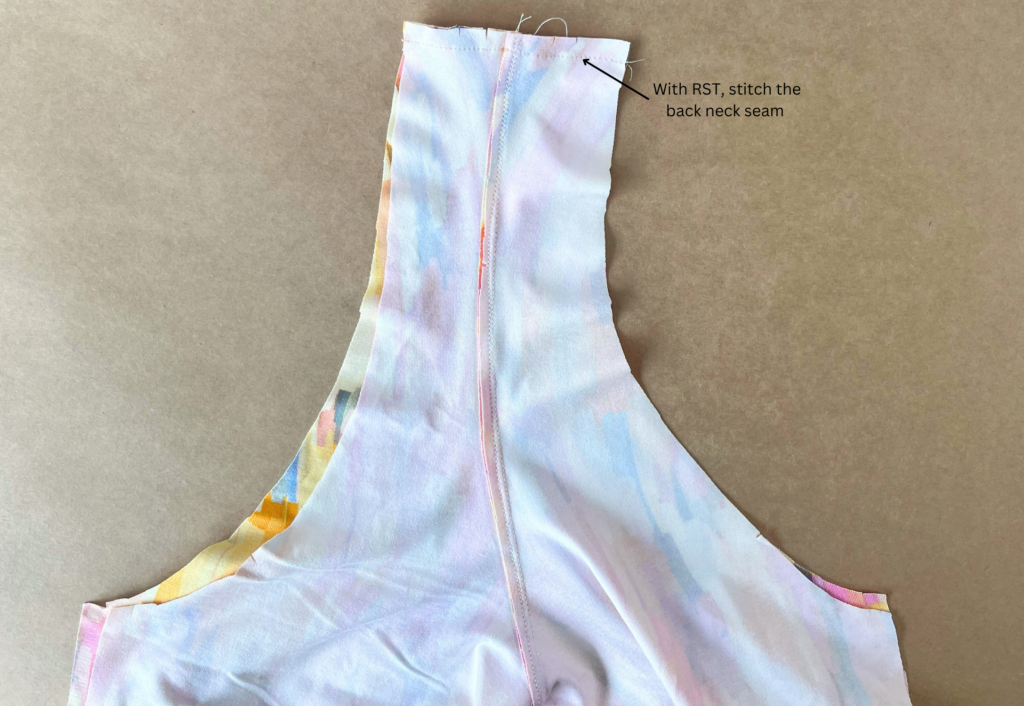
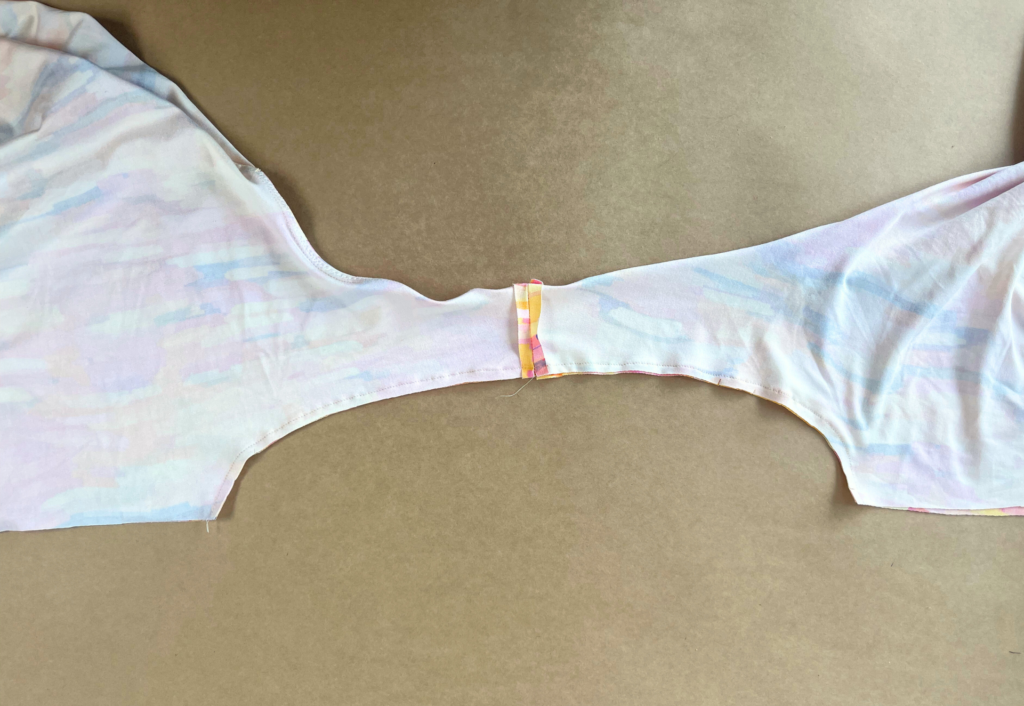
With RST, sew the two sides of the halter together at the centre back neck. Press seam open.
With RST and using a 6mm (1/4”) seam, sew the shoulder/underarm seam. Each shoulder/underarm must be sewn separately – start at the under arm and finish at the back neck seam (see diagram on Construction sheet). Repeat for the other side.
With RST, sew the pair of Back Halter (2) at the top edge using a 6mm seam. Pin the cut elastic evenly to the seam and sew using a zig zag stitch or overlocker/serger. Press the seam toward the inner layer and sew an under-stitch on the side of the inner layer.
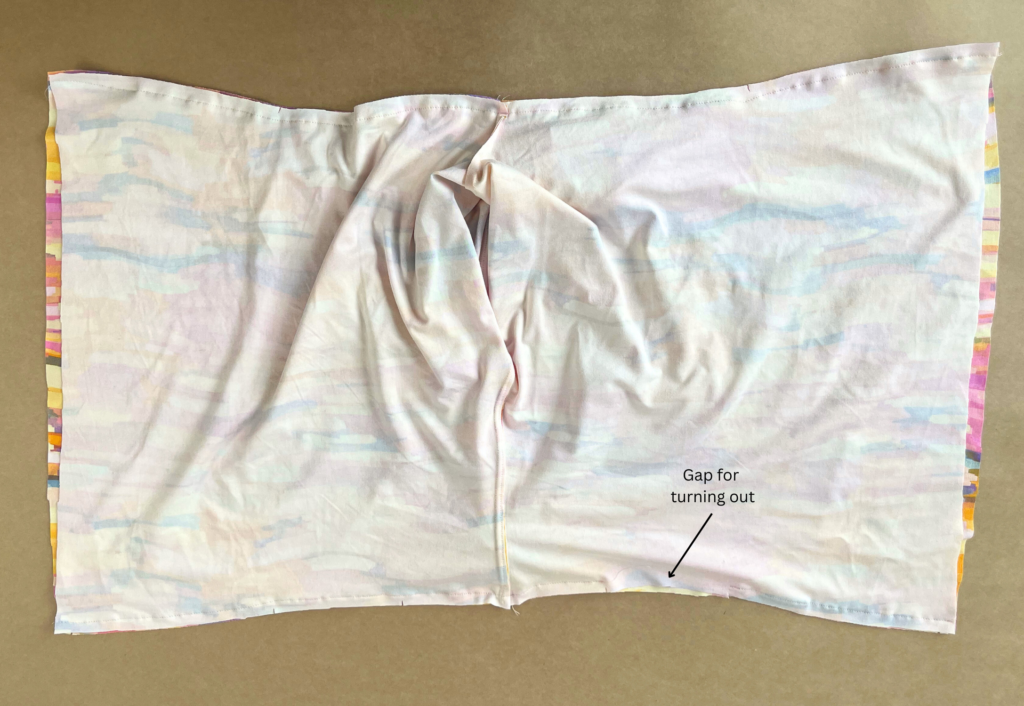
With RST and seams aligned, sew the front to back at the side seams, leaving a gap in the left hand side (LHS) of the inner layer for turning out later. Press open.
Turn the top to the right side, pinch the hems together on one side and pin. This is to ensure the hem is sewn correctly and the top isn’t twisting. Carefully pull the top through the gap in the side seam and adjust the pin so the fabric is RST. With RST and side seams aligned, sew the two layers together at the hem.
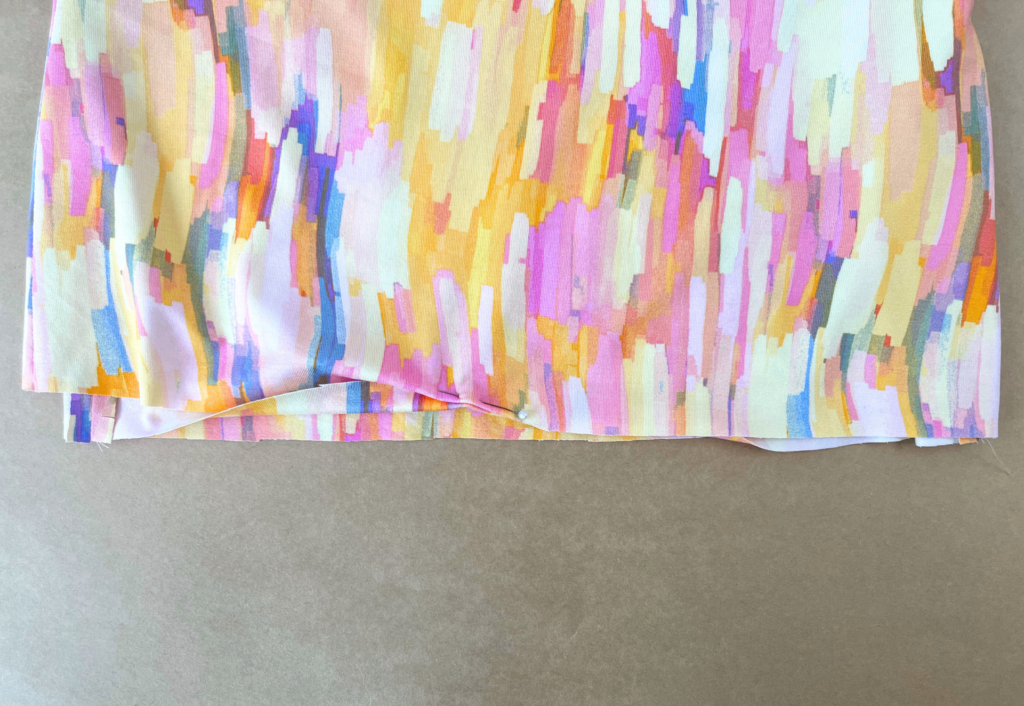
Turn the top to the right side through the gap in the side seam. Close the gap by hand or machine. Trim any loose threads and carefully press your new top.
BANDEAU TOP:
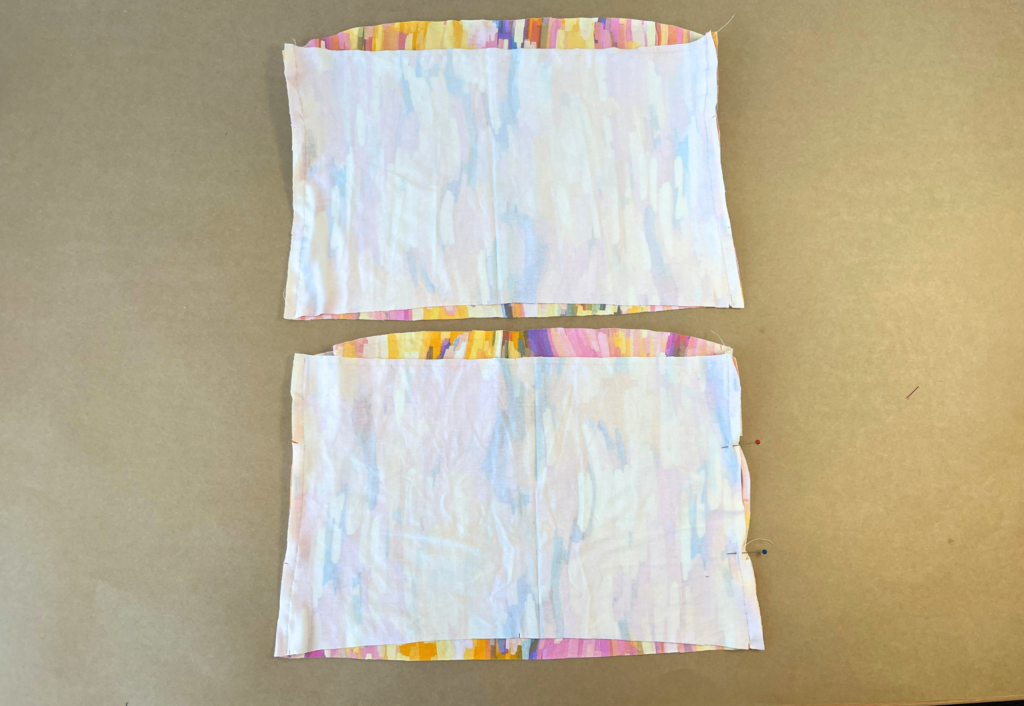
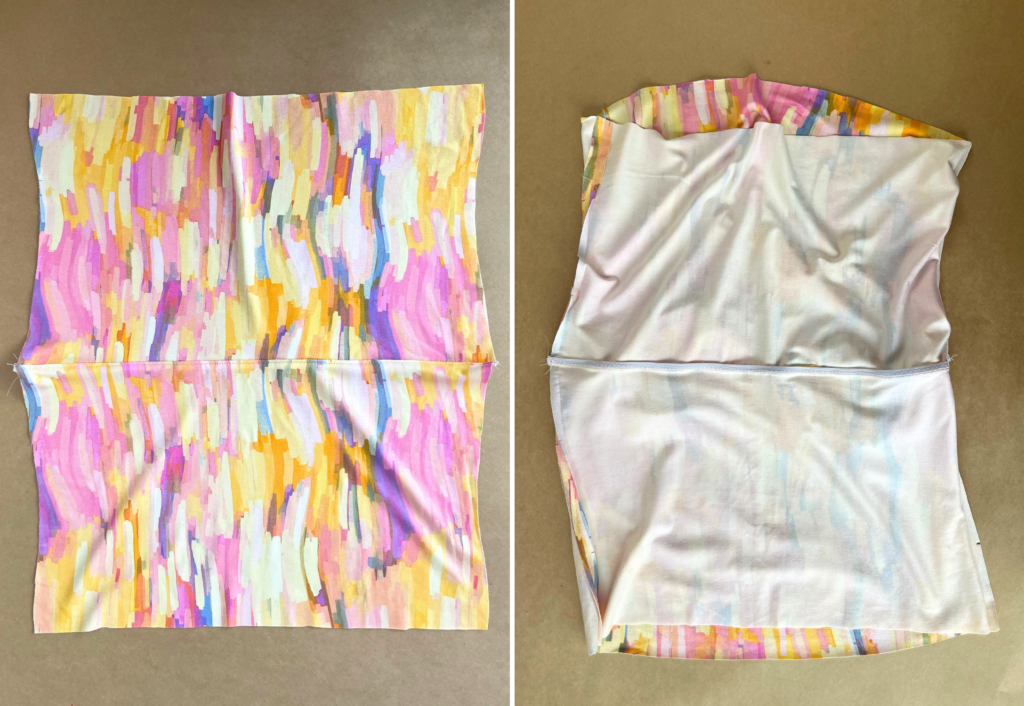
With RST, sew the Front (1) to Back (2) at the side seams, leaving a gap in the inner layer for turning out later. You will have a pair. Press seam open.

With RST and seams and notches aligned, sew the two layers together at the top edge using a 6mm (1/4”) seam.
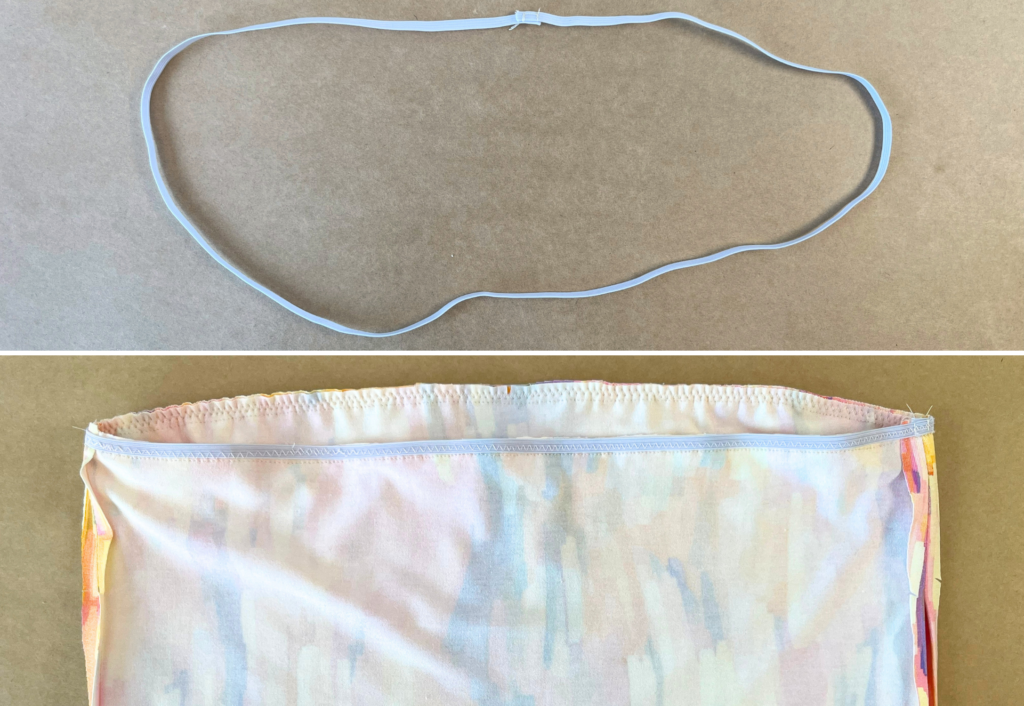
Cut the elastic to your personal length, lay one end over the other and sew together securely. Mark the quarter marks on the elastic and the neck opening and pin the elastic evenly to the seam. Sew the elastic to the seam allowance using a zig zag stitch or an overlocker/serger.

Press the seam toward the inner layer and sew an understitch on the side of the inner layer.
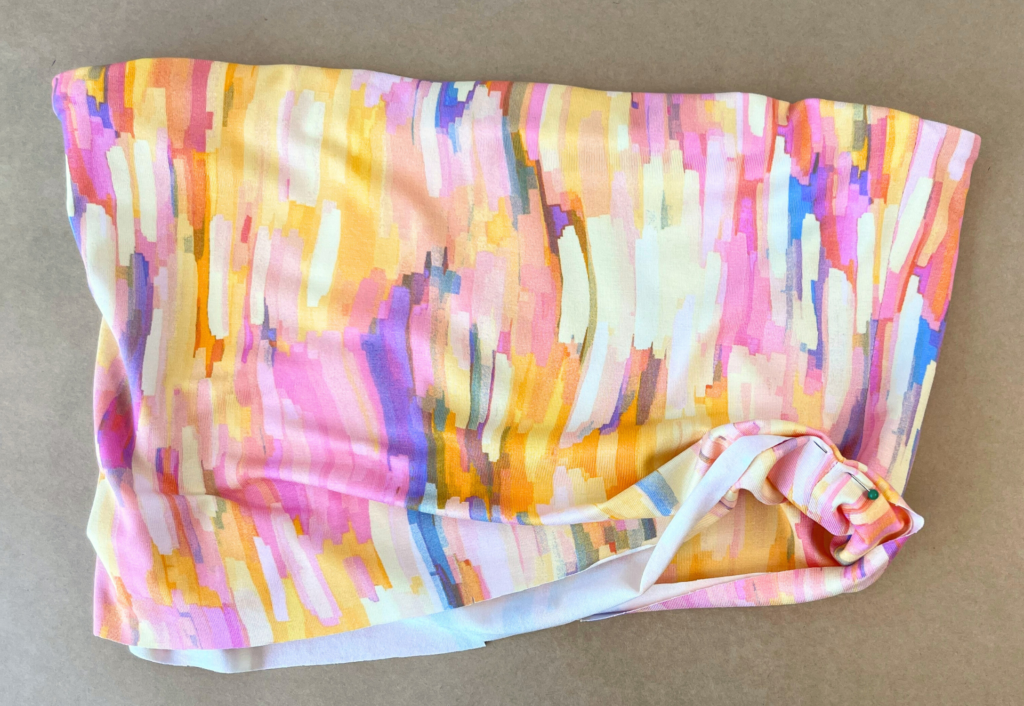
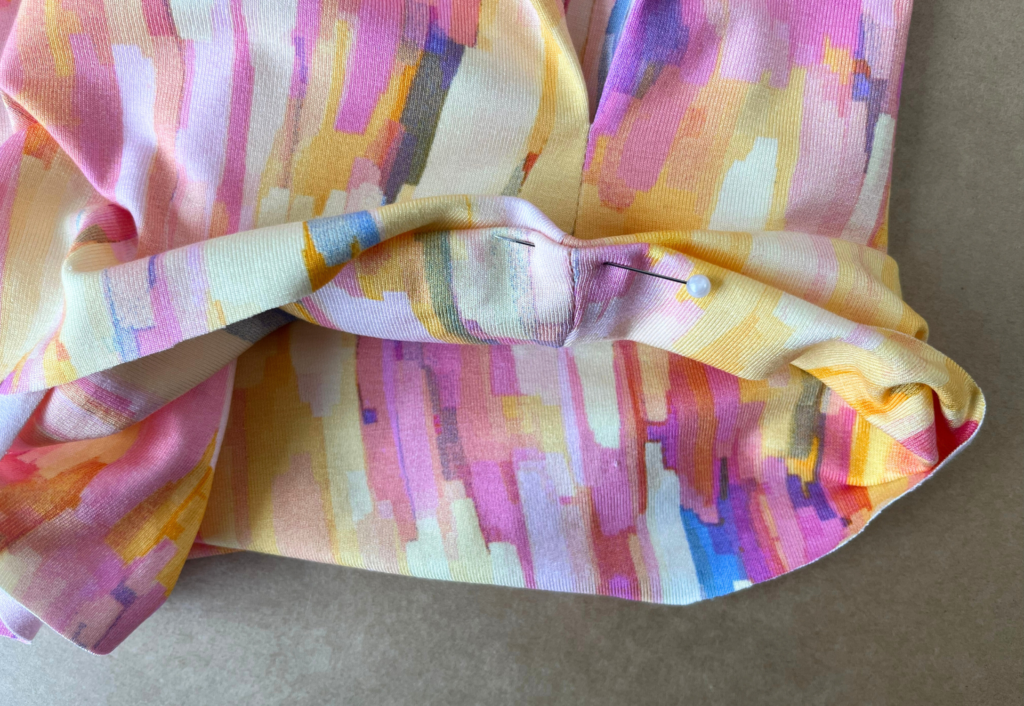
Turn the top to the right side, pinch the hems together on one side and pin. This is to ensure the hem is sewn correctly and the top isn’t twisting.
Carefully pull the top through the gap in the side seam and adjust the pin so the fabric is RST. With RST and side seams aligned, sew the two layers together at the hem.

Turn the top to the right side through the gap in the side seam. Close the gap by hand or machine. Trim any loose threads and carefully press your new top.
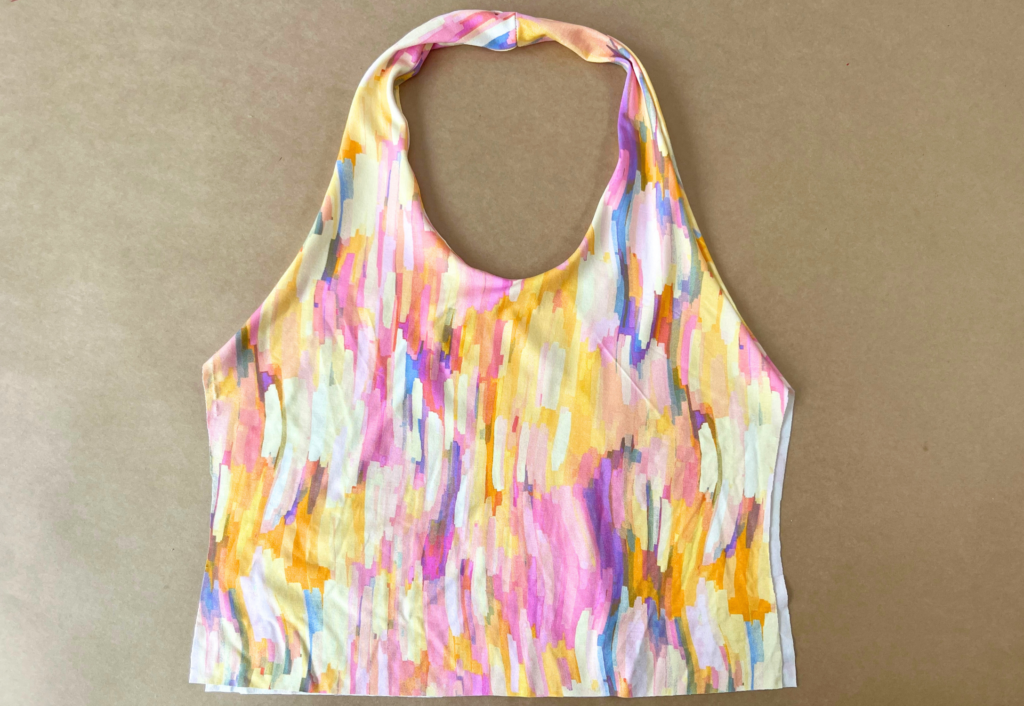
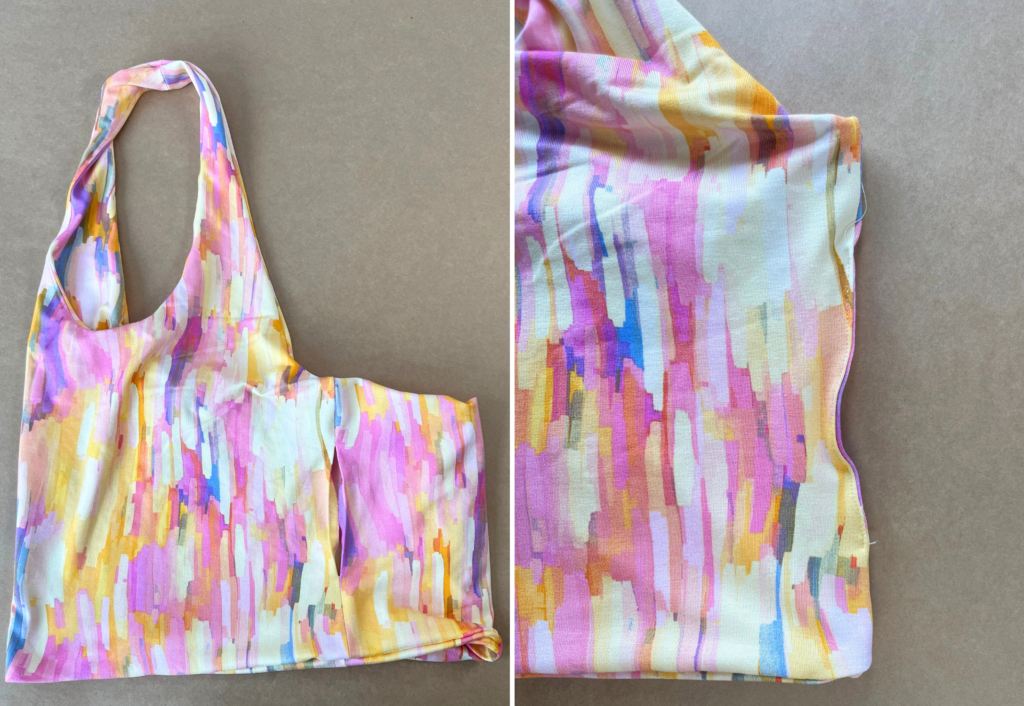
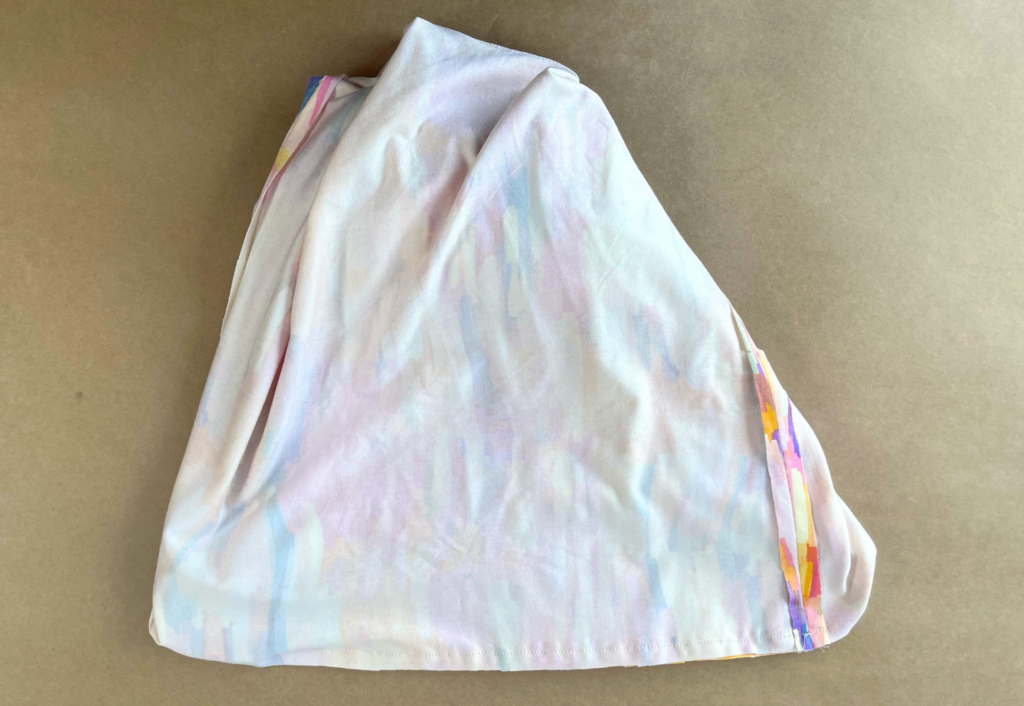
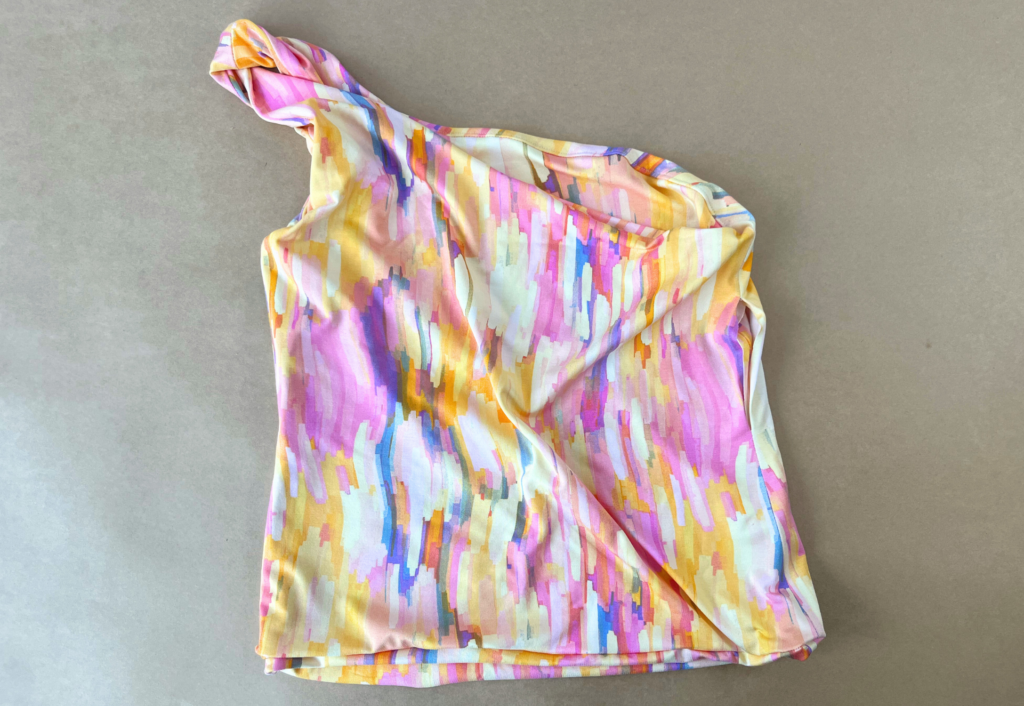
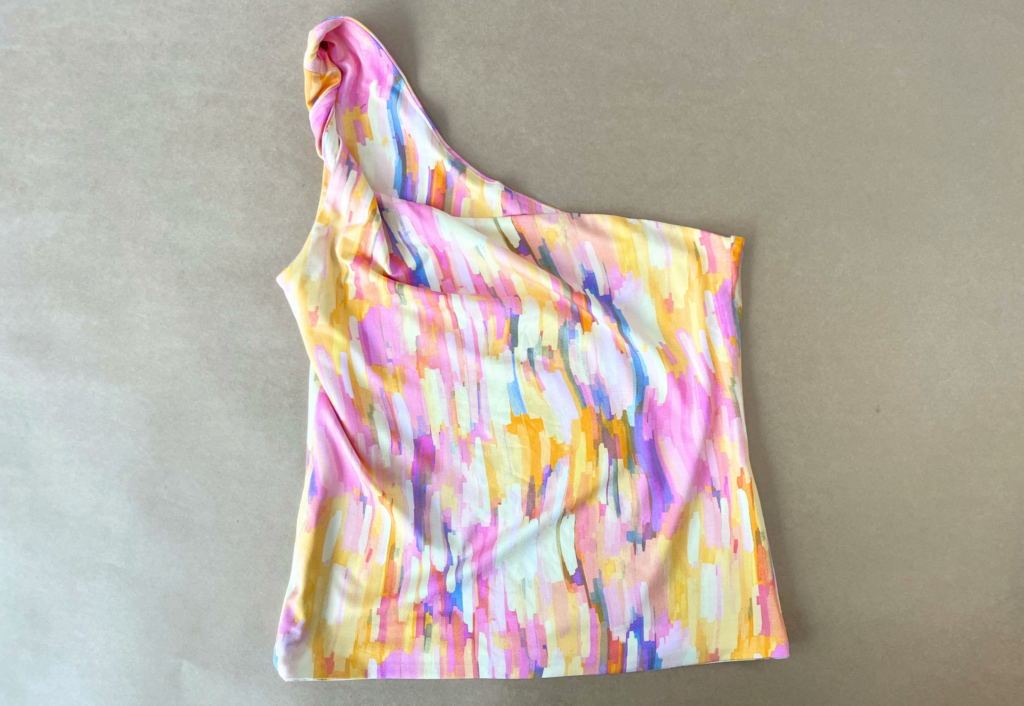
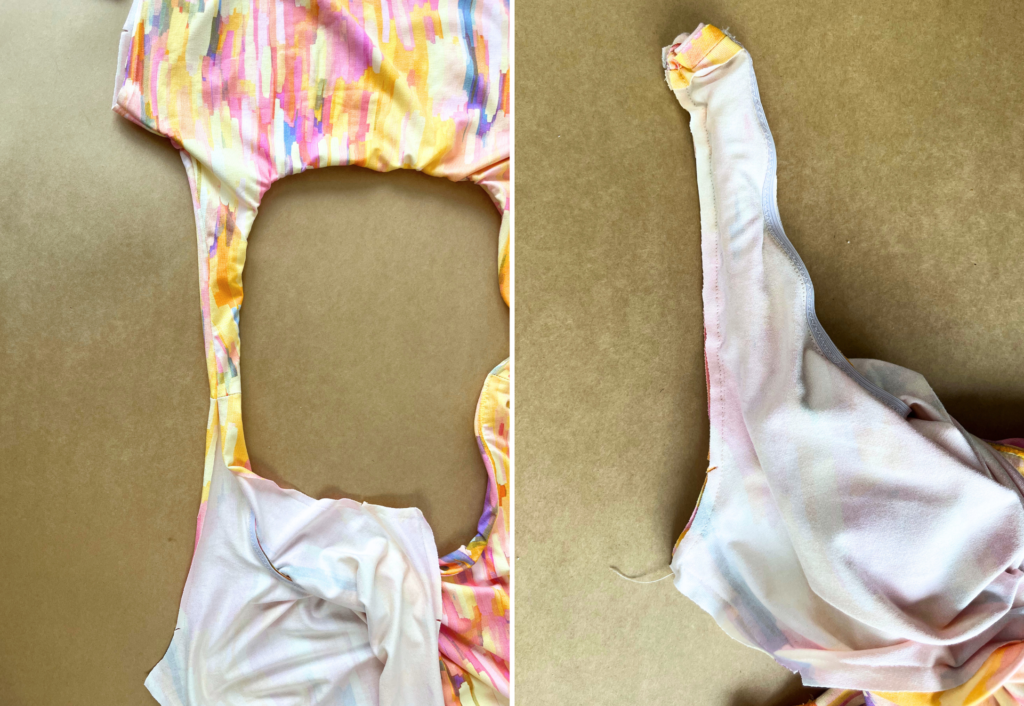
ONE SHOULDER TOP:
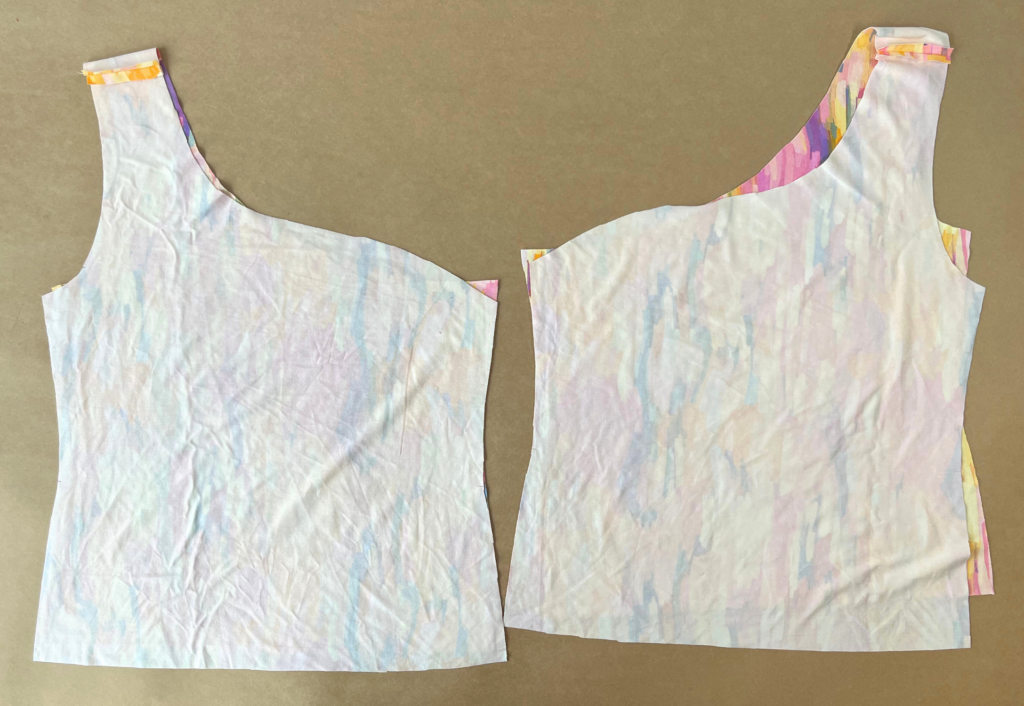
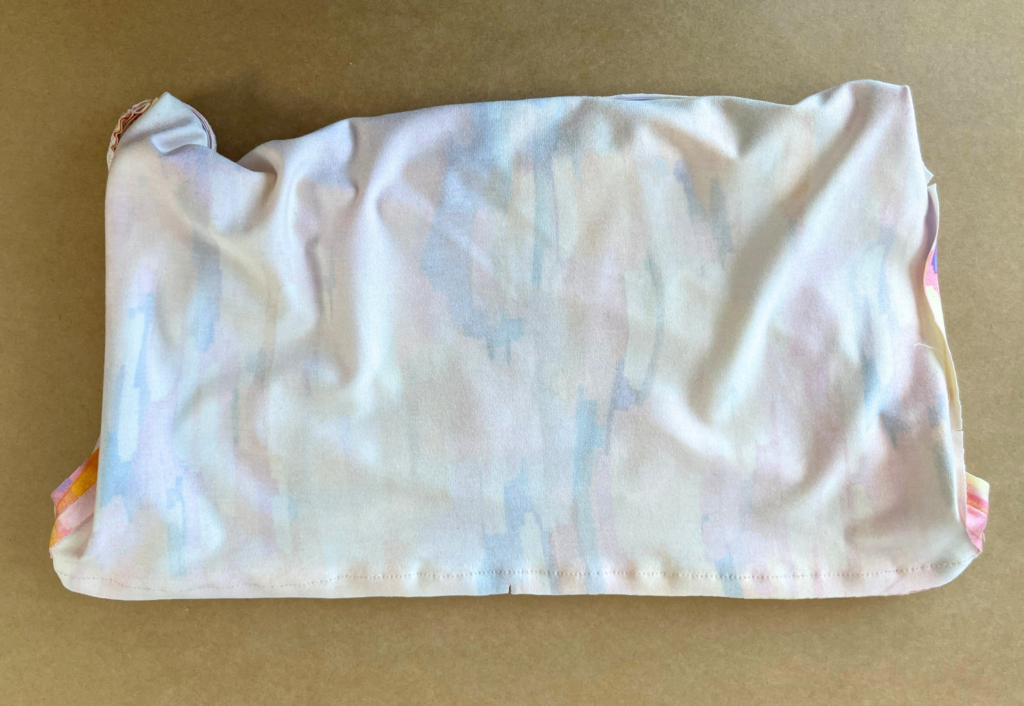
With RST, sew the Front One Shoulder (5) to Back One Shoulder (6) at the shoulder seams. You will have a pair. Press open.
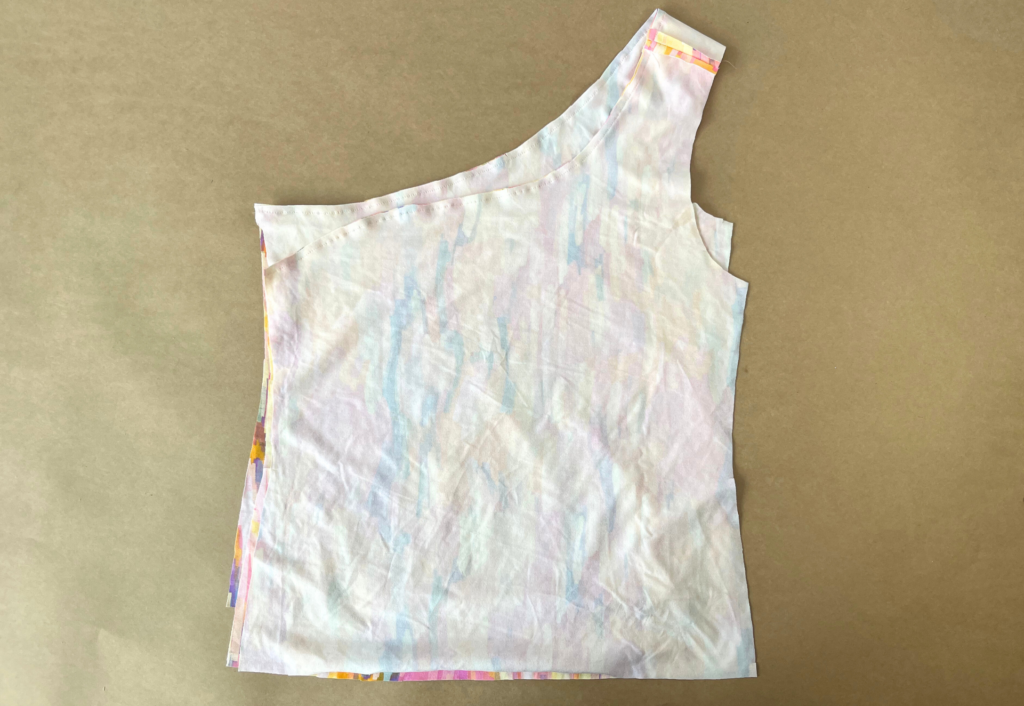
With RST and notches and seams aligned, sew the two layers together at the neck opening using a 6mm (1/4″) seam.
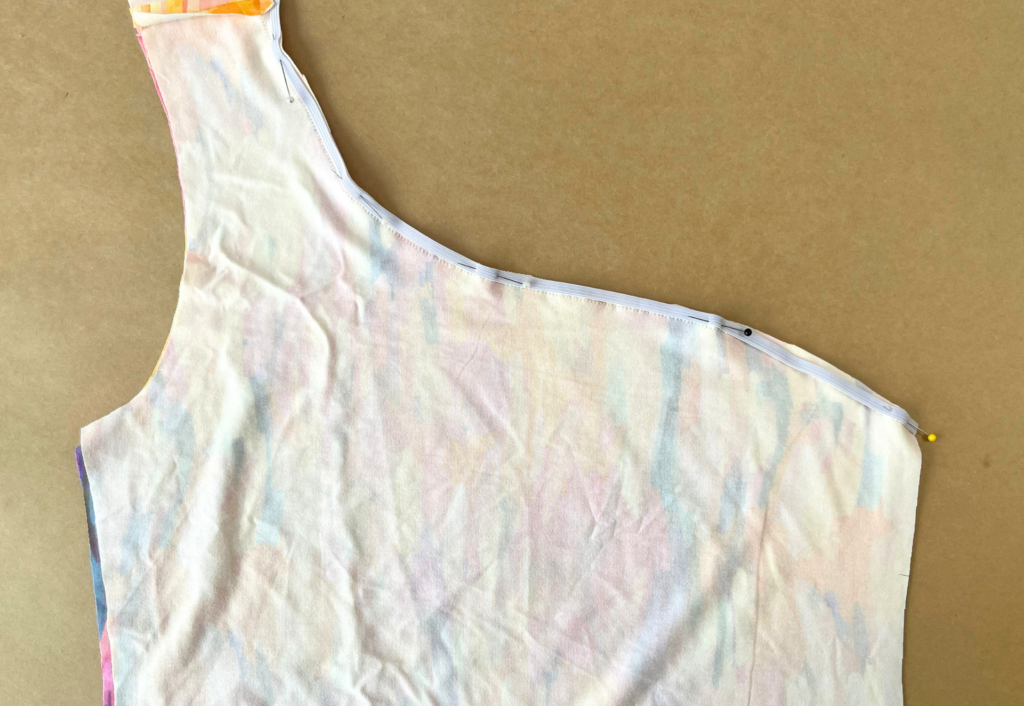

Pin the cut elastic evenly to the seam and sew using a zig zag stitch or overlocker/serger.
Press the seam toward the inner layer and sew an under-stitch on the side of the inner layer.
With RST and notches and seams aligned, sew the arm opening using a 6mm (1/4”) seam.

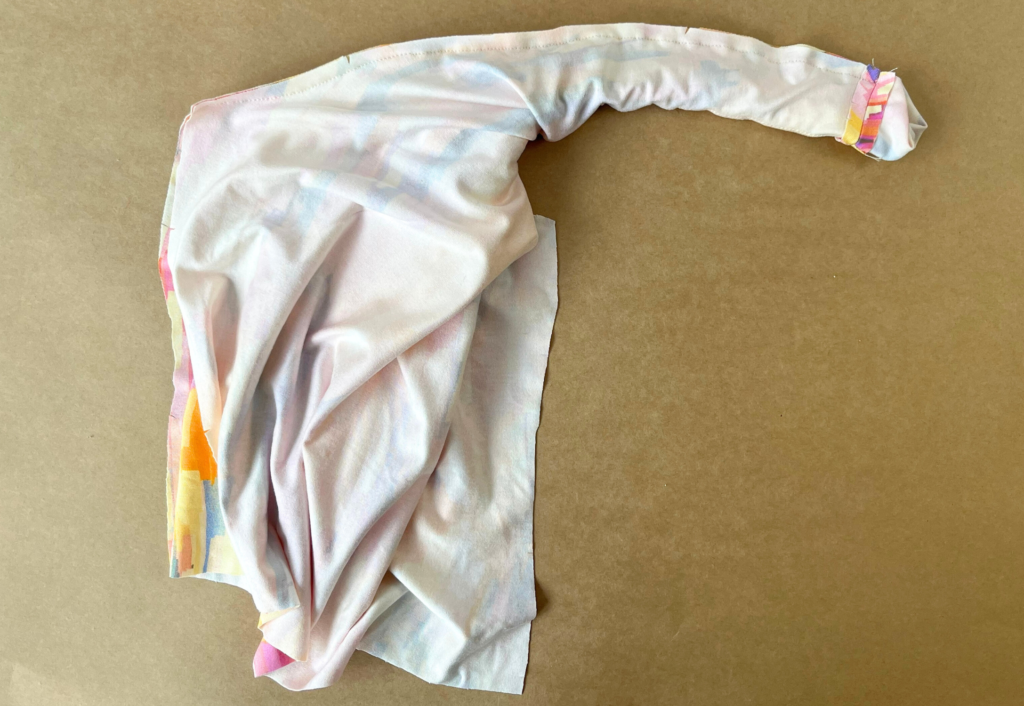
Pull one side through the shoulder strap so you have the right side out. Twist the top three full turns.
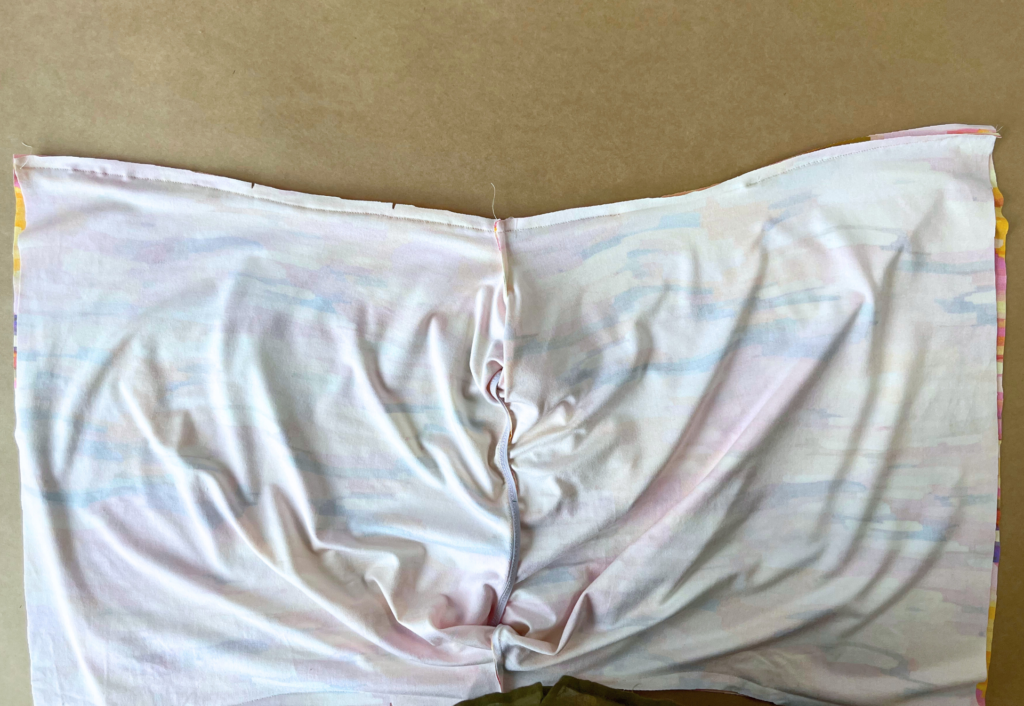
With RST and notches aligned, sew the front to back at the side seams, leaving a gap in one side of the inner layer, for turning out later. Press open.
Turn the top to the right side, pinch the hems together on one side and pin. This is to ensure the hem is sewn correctly and the top isn’t twisting.
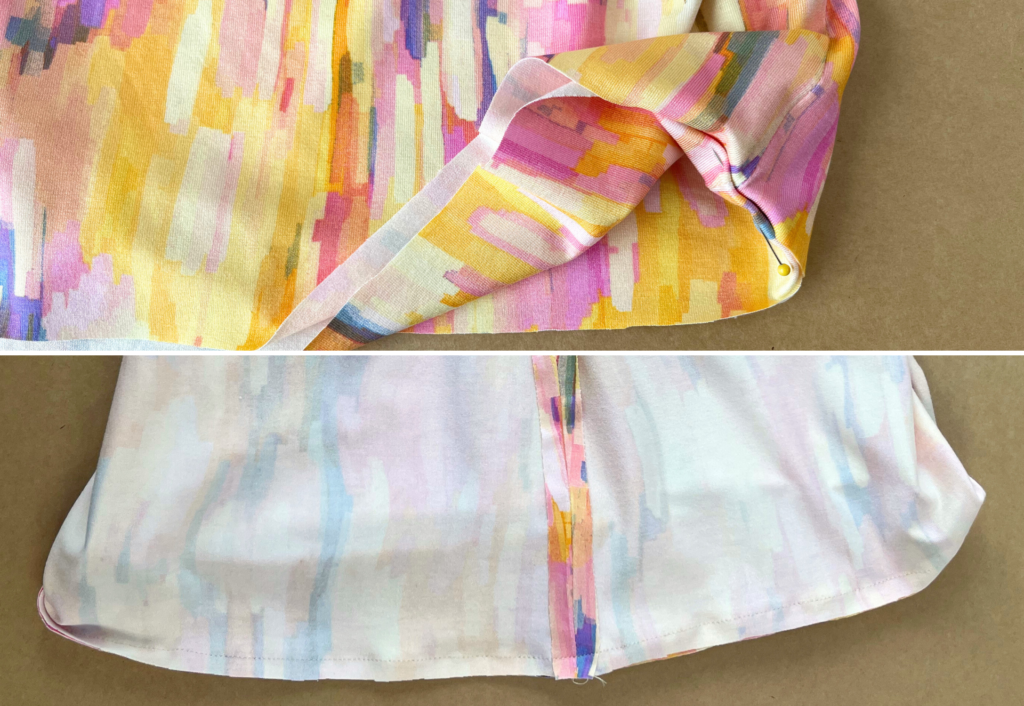
Carefully pull the top through the gap in the side seam and adjust the pin so the fabric is RST. With RST and side seams aligned, sew the two layers together at the hem.
Turn the top to the right side through the gap in the side seam. Close the gap by hand or machine. Trim any loose threads and carefully press your new top.
SQUARE NECK TOP:
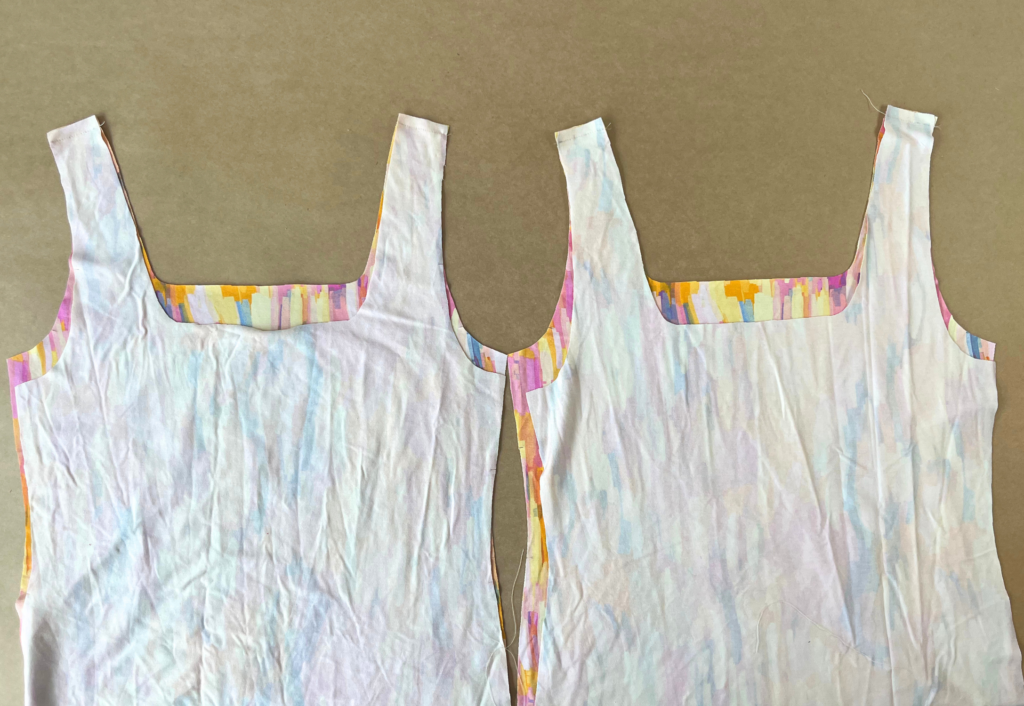
With RST sew the Front Square Neck (3) to Back Square Neck (4) at the shoulders. You will have a pair. Press open.
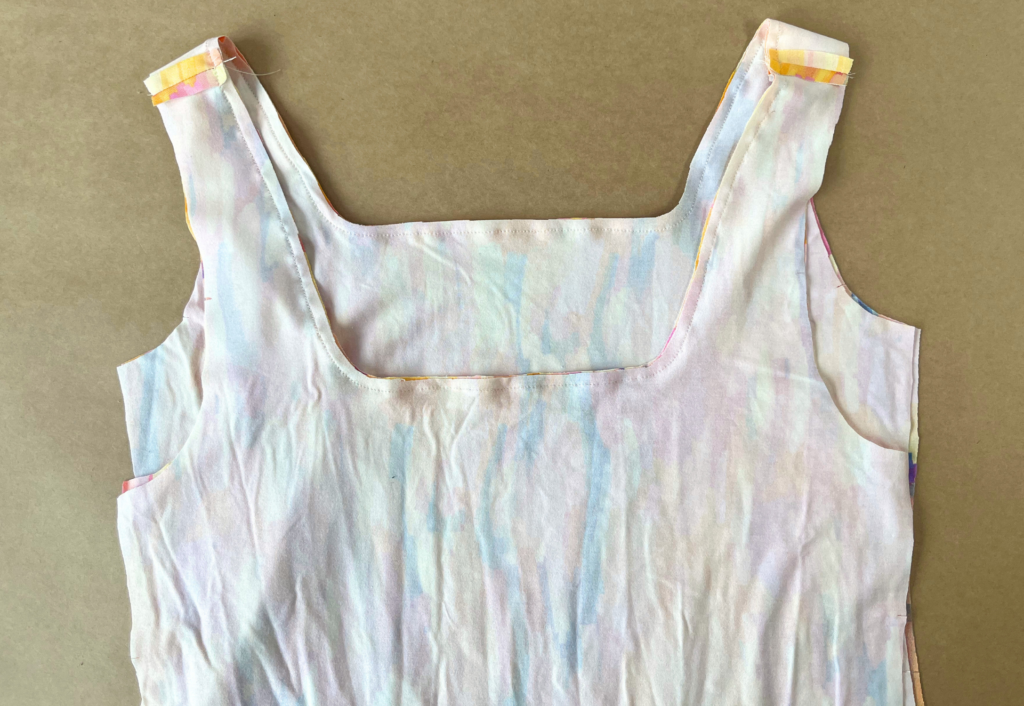
With RST and seams aligned, pin the two layers together around the neckline. Sew using a 6mm (1/4″) seam.
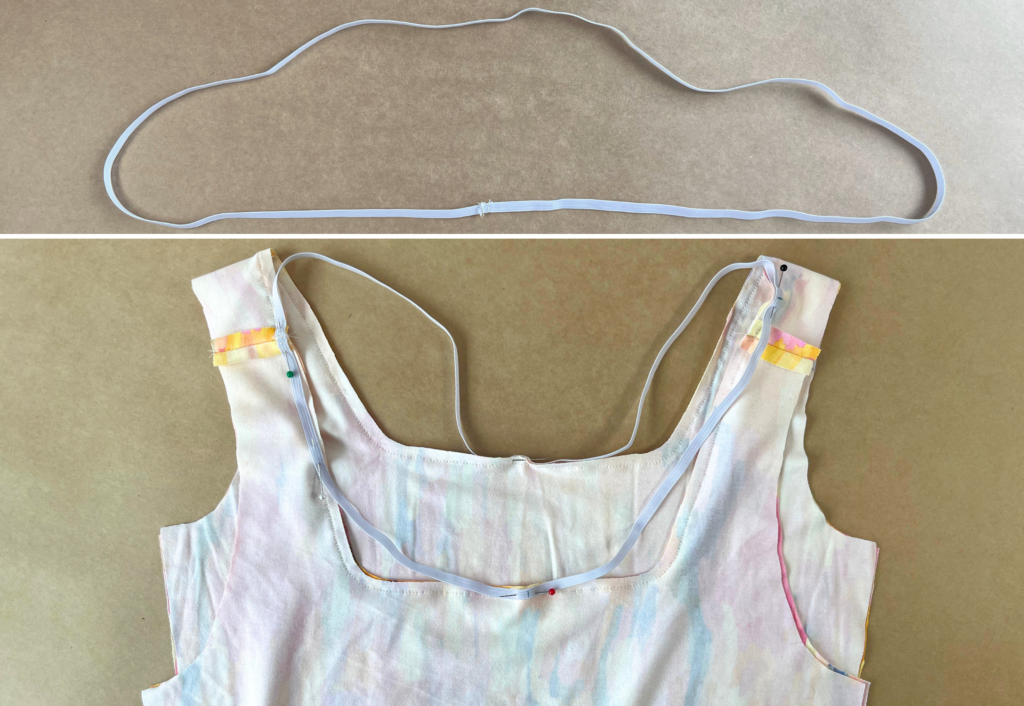
Cut the elastic to your preferred personal length, or refer to the measurement chart. Lay one end over the other and sew together securely.
Mark the quarter marks on the elastic and the neck opening and pin the elastic evenly to the seam.
Sew the elastic to the seam allowance using a zig zag stitch or an overlocker/serger.
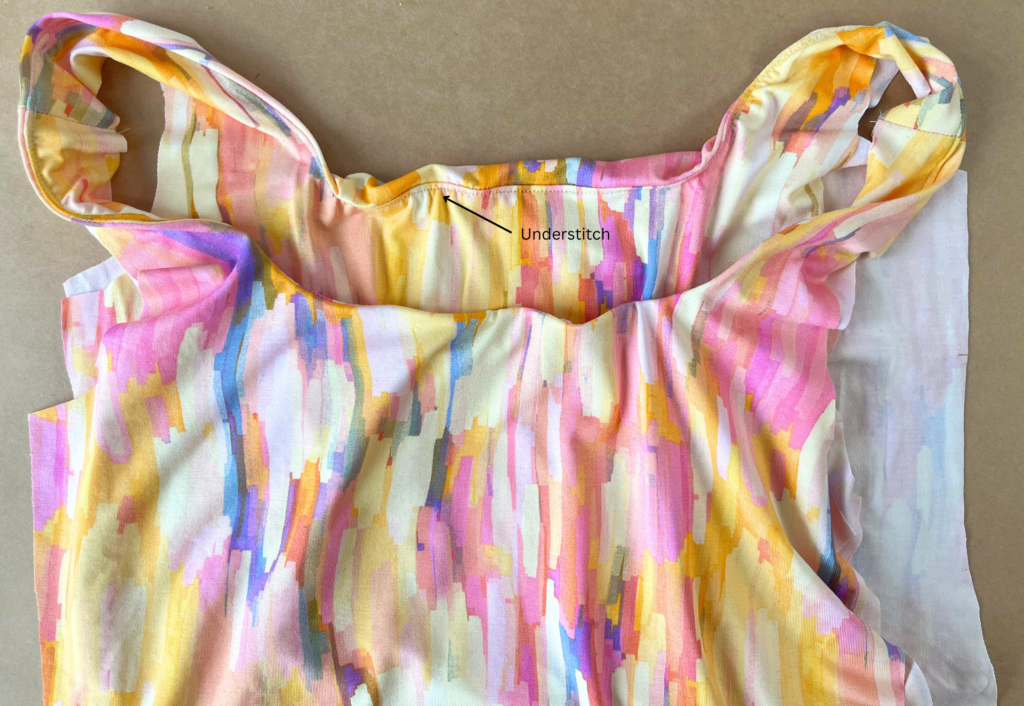
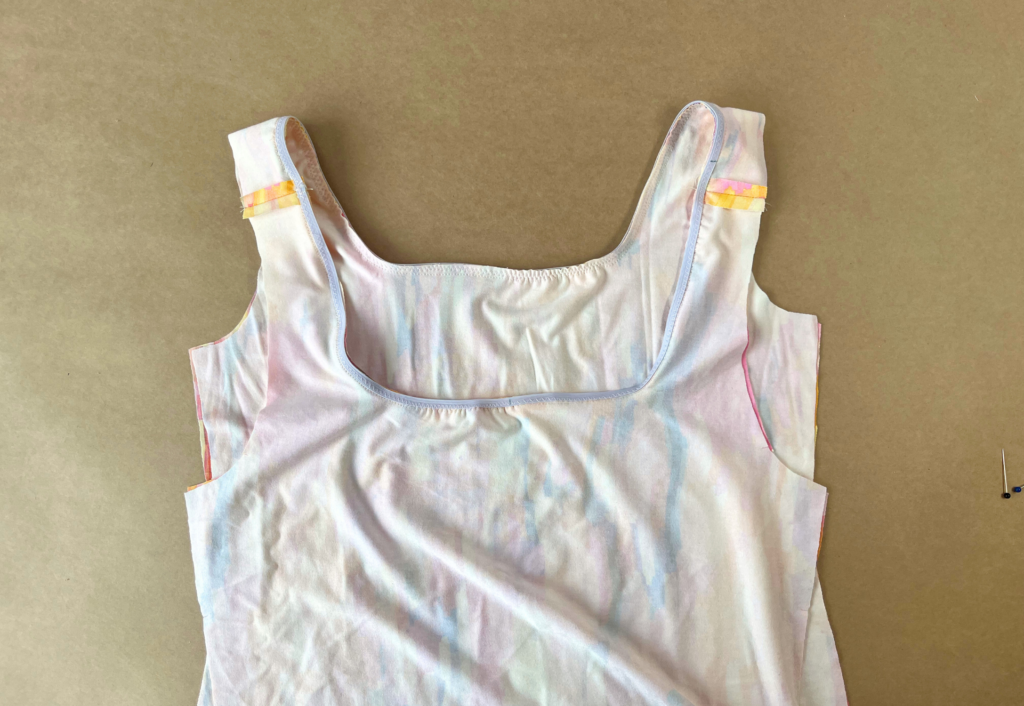
Press the seam toward the inner layer and sew an understitch on the side of the inner layer.

Turn to the right side and pinch the fabric together at the under arm and pin the front to back. This is to ensure the straps are aligned correctly and the top isn’t twisting. Turn to the wrong side and adjust the pins so the fabric is RST.
With RST and using a 6mm (1/4”) seam, sew the armhole. Each armhole must be sewn separately – start at the front underarm and finish at the shoulder seam. Repeat for the back armhole, ensuring that the stitching aligns at the shoulder seam. Repeat for the other strap. (See diagram on Construction sheet).
With RST and the underarm seams aligned, sew the front to back at the side seams, leaving a gap in one side of the inner layer, for turning out later. Press open.
Turn the top to the right side, pinch the hems together on one side and pin. This is to ensure the hem is sewn correctly and the top isn’t twisting. Carefully pull the top through the gap in the side seam and adjust the pin so the fabric is RST. With RST and side seams aligned, sew the two layers together at the hem.

Turn the top to the right side through the gap in the side seam. Close the gap by hand or machine.
Trim any loose threads and carefully press your new top.