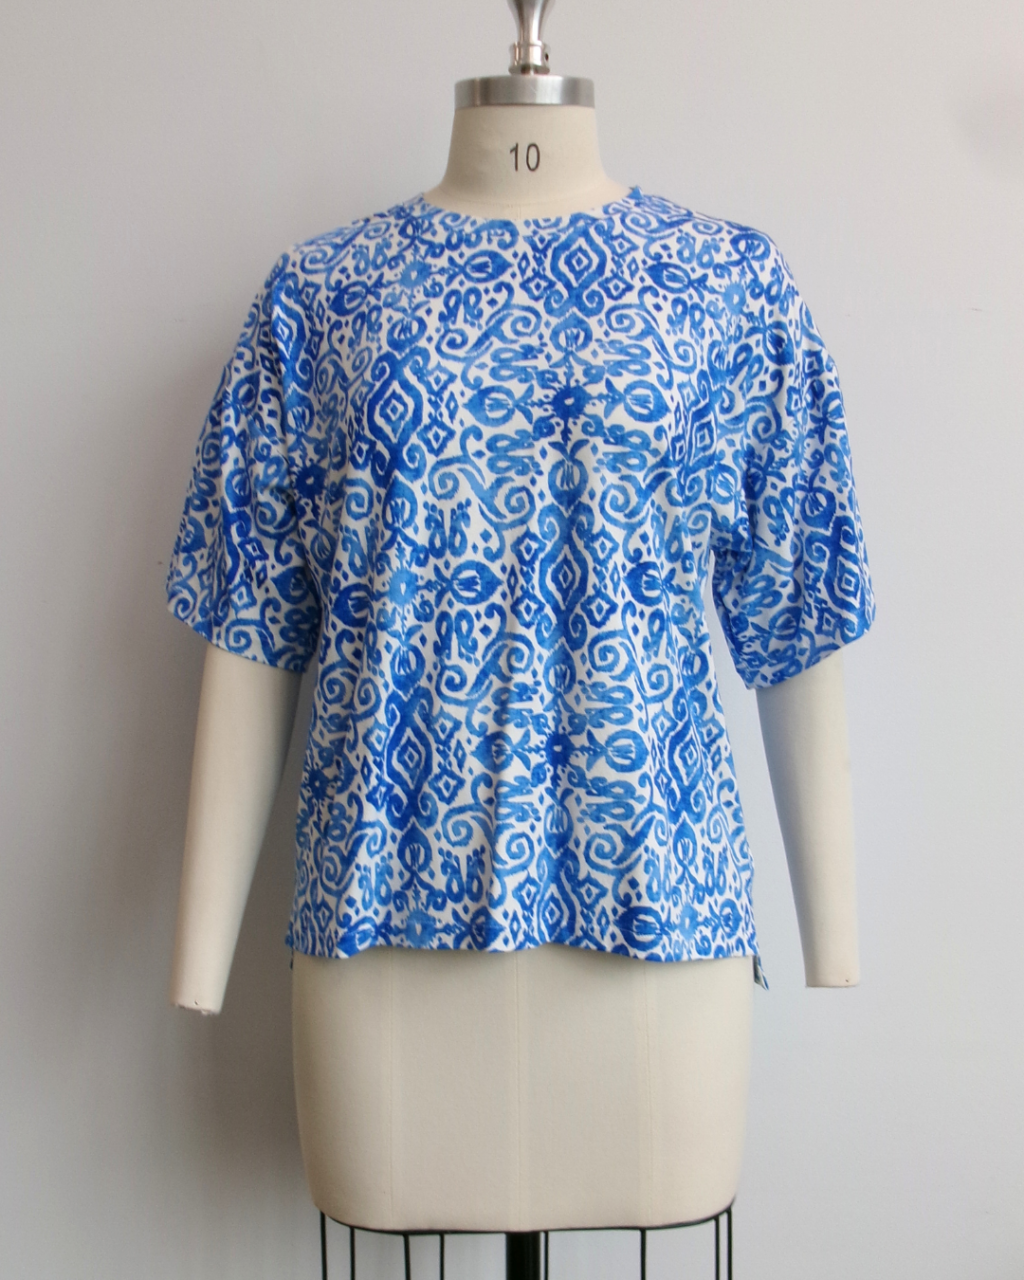
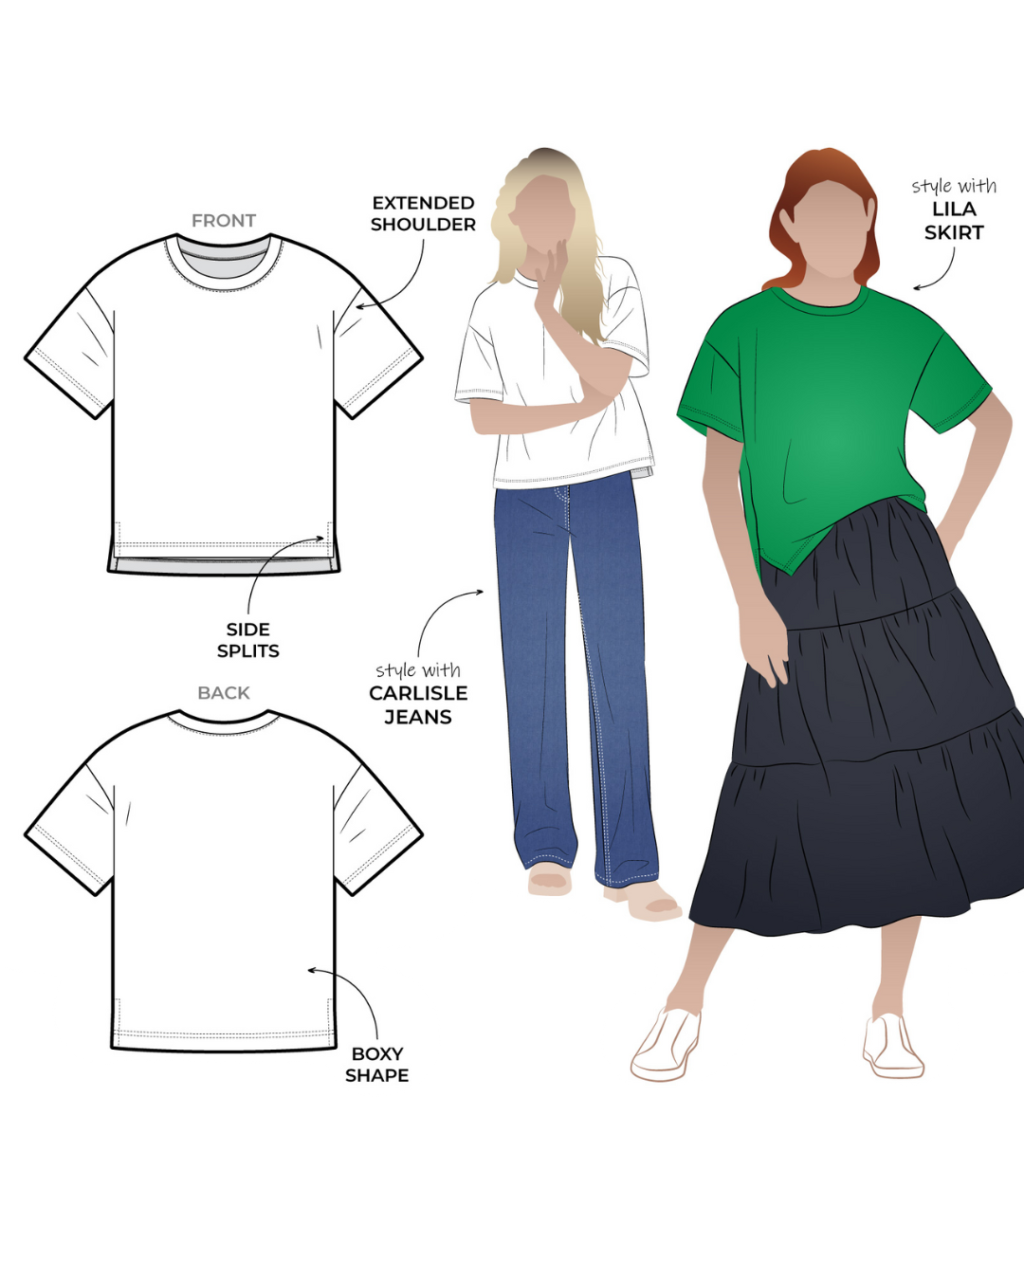
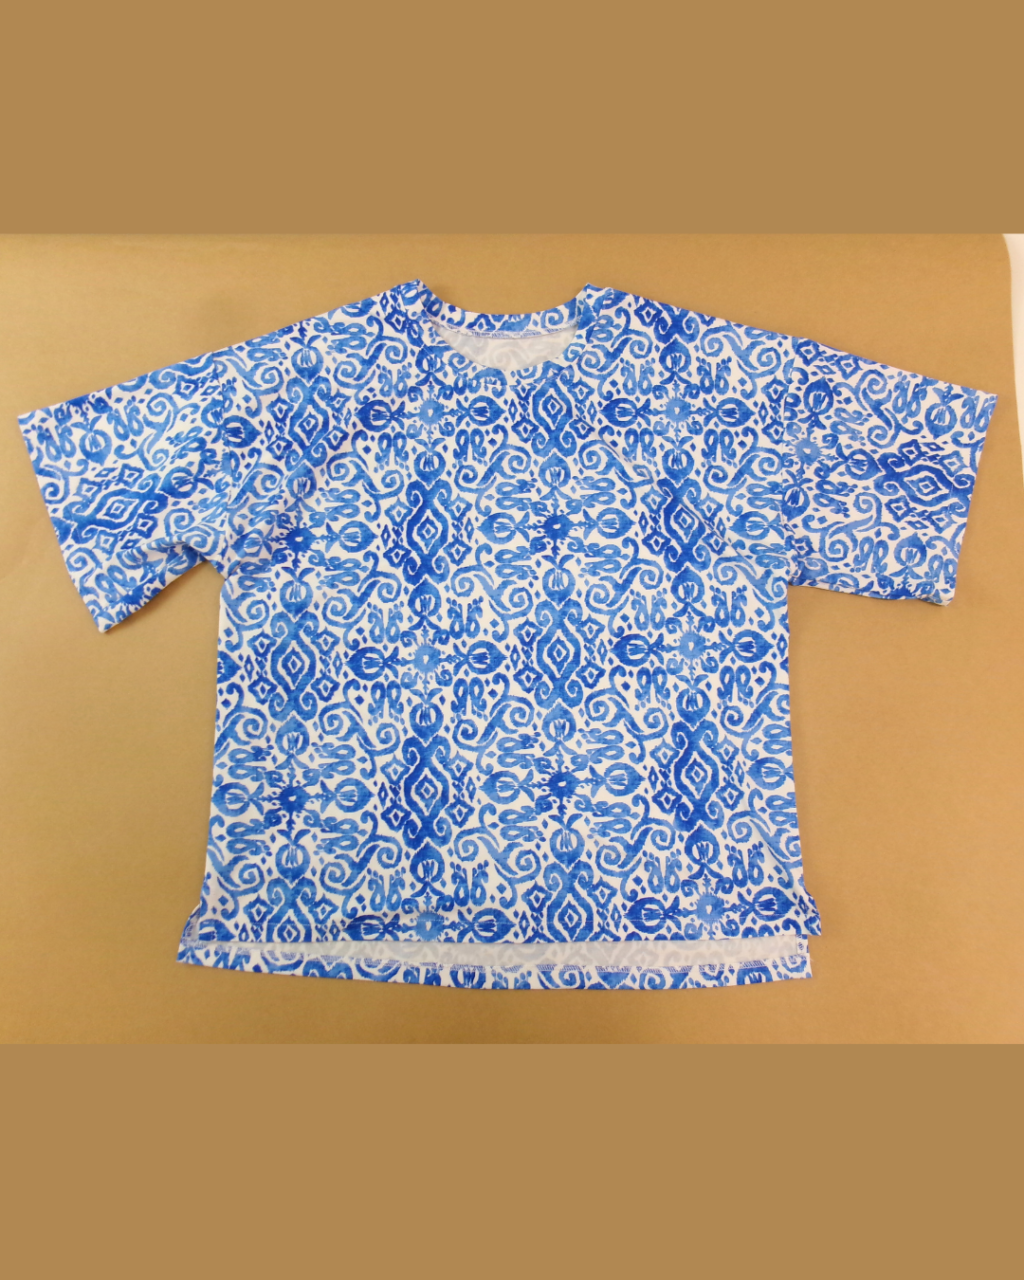
Shop the Hayden Knit Tee
STEP-BY-STEP TUTORIAL
#SAHaydenKnitTee
 Watch a step by step sew along video on YouTube by clicking the image below. If you prefer photos, scroll down for our photographic tutorial.

CONSTRUCTION:
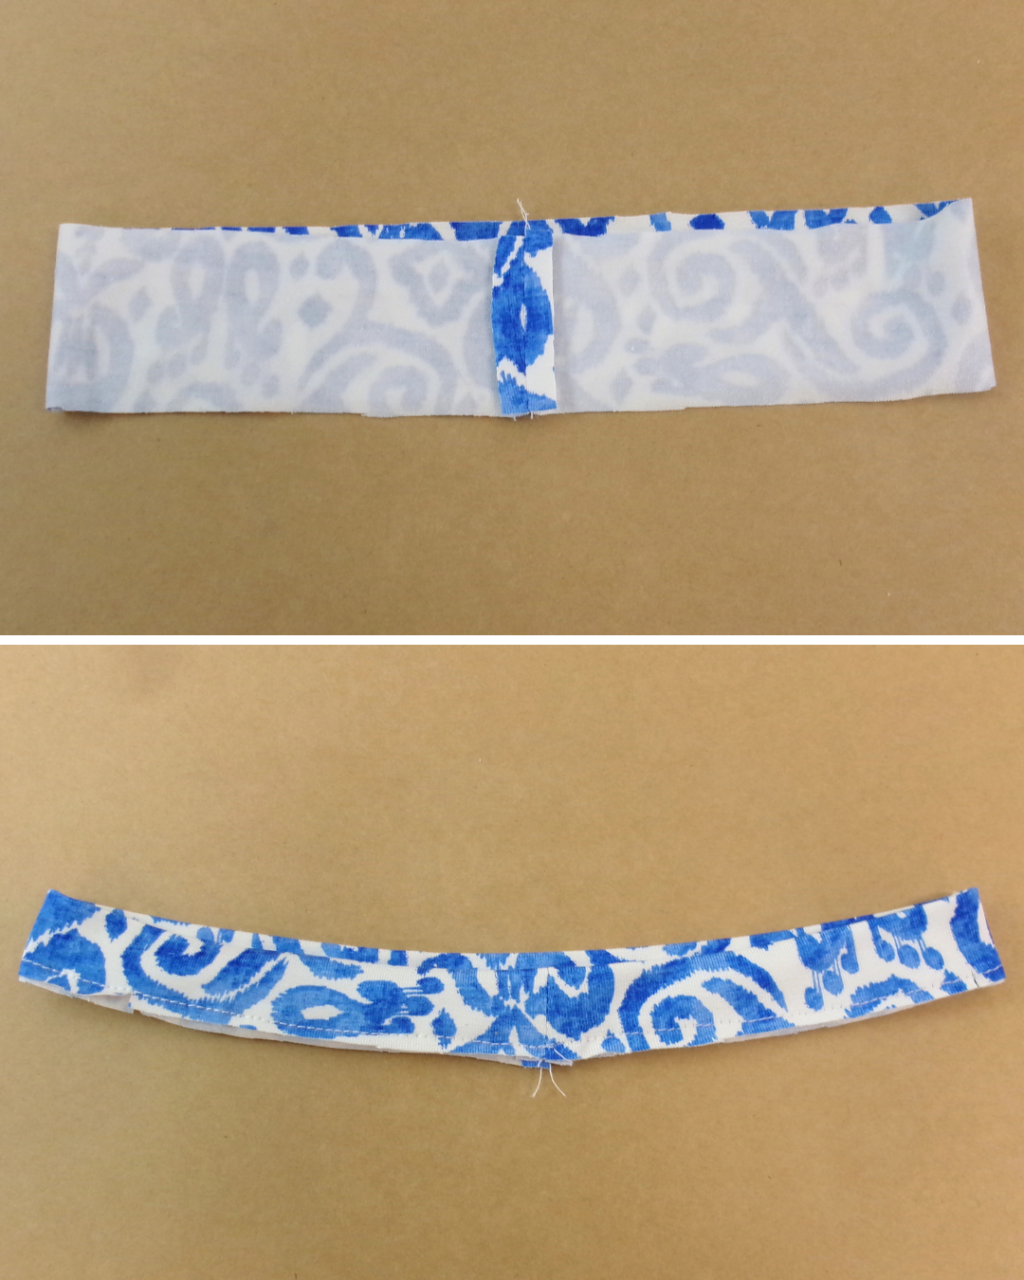
With RST, sew the centre back seam (short ends) of the Neck Band (4) together, press open. Fold in half length-ways with WST and press. Baste the cut edges together with a stretch basting stitch, lightly press and put aside.

With RST, sew the Back (1) and Front (2) shoulder seams together. Neaten with an overlocker/serger and press toward the back.
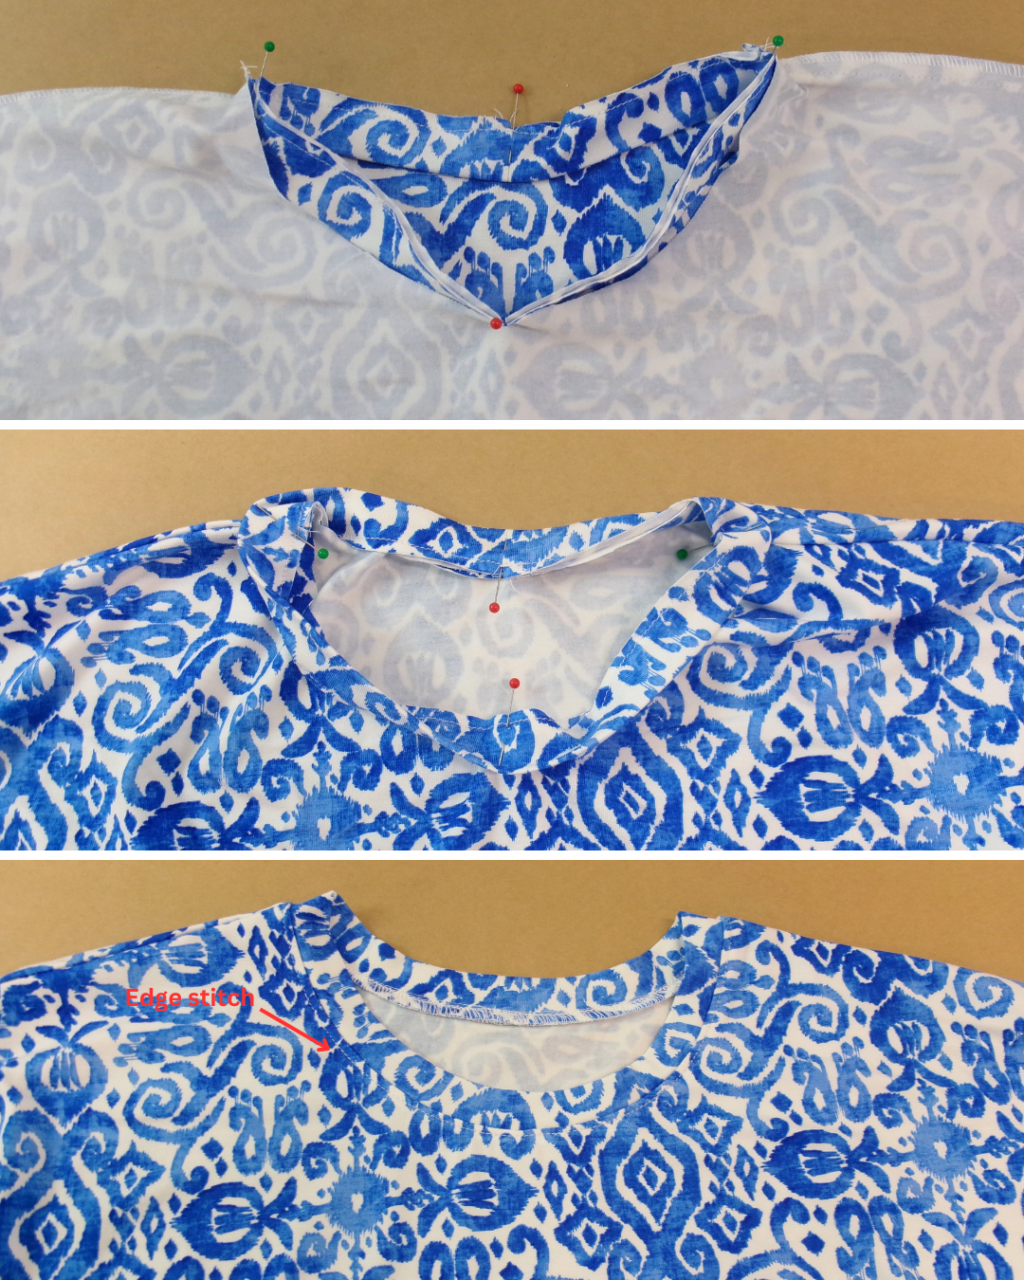
With RST, pin the neck band to the neck, aligning the centre front and centre back notches. Sew the neck band to the neckline using a 6mm (1/4″) seam. The neck band will need to be slightly stretched onto the neck.
Neaten with an overlocker/serger and press the seam down toward the body. Sew an edge stitch around the neckline seam on the side of the body.
With RST and notches aligned, sew the Sleeves (3) into the armhole opening. Neaten using an overlocker/serger and press toward the sleeve.
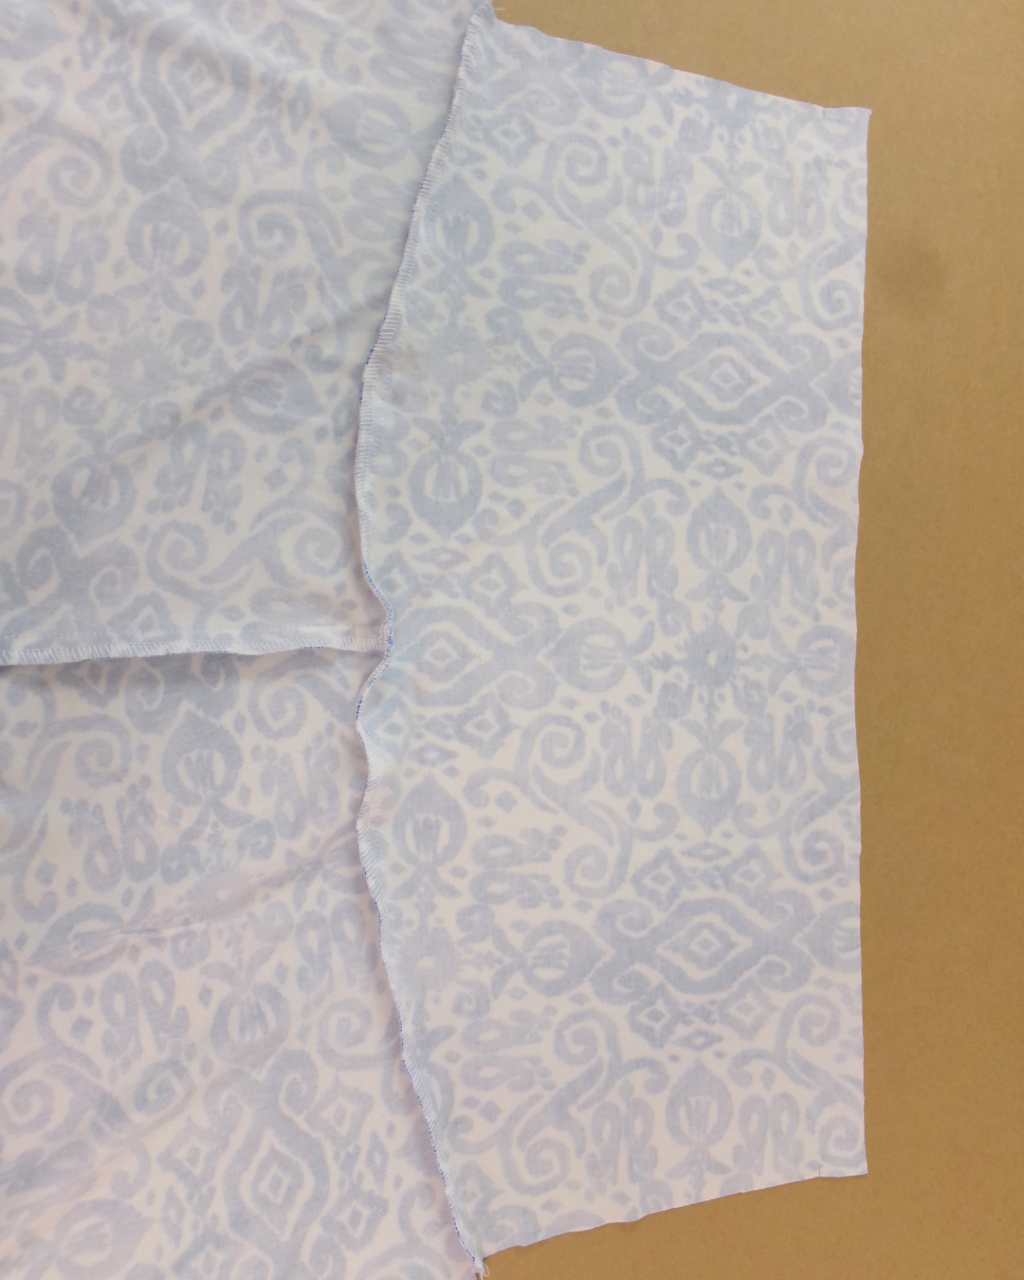
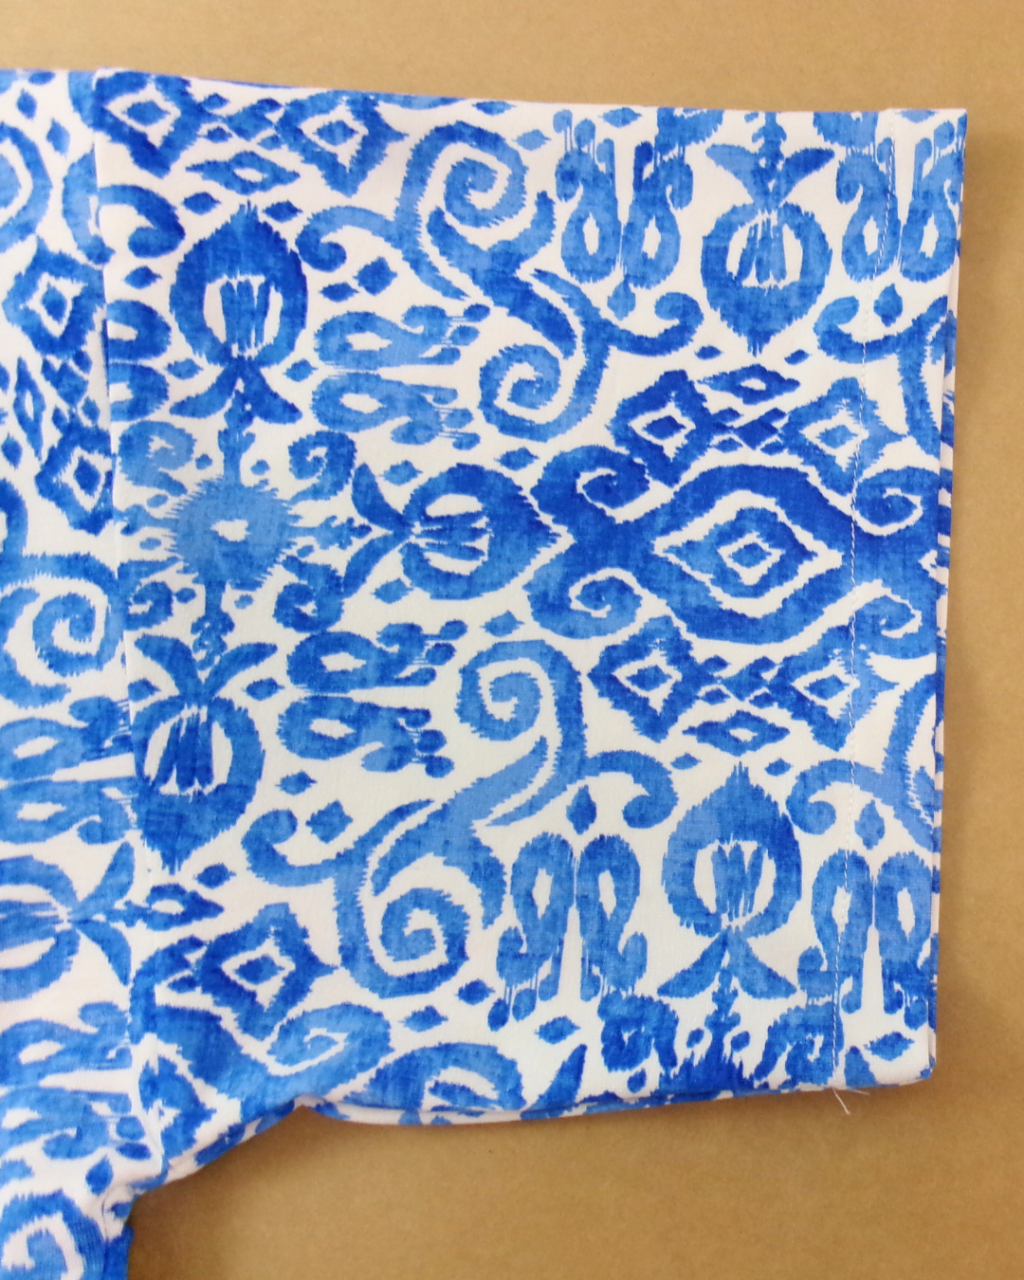
On the Back (1) body and Front (2) body overlock/serge just the split, start neatening 2.5cm (1″) above the split notch and ending at the hemline.
Sew the front and back side seams together, starting at the sleeve hem and finishing at the split notch. The armhole/sleeve seam should lay facing toward the sleeve (this allows the armhole to sit better).

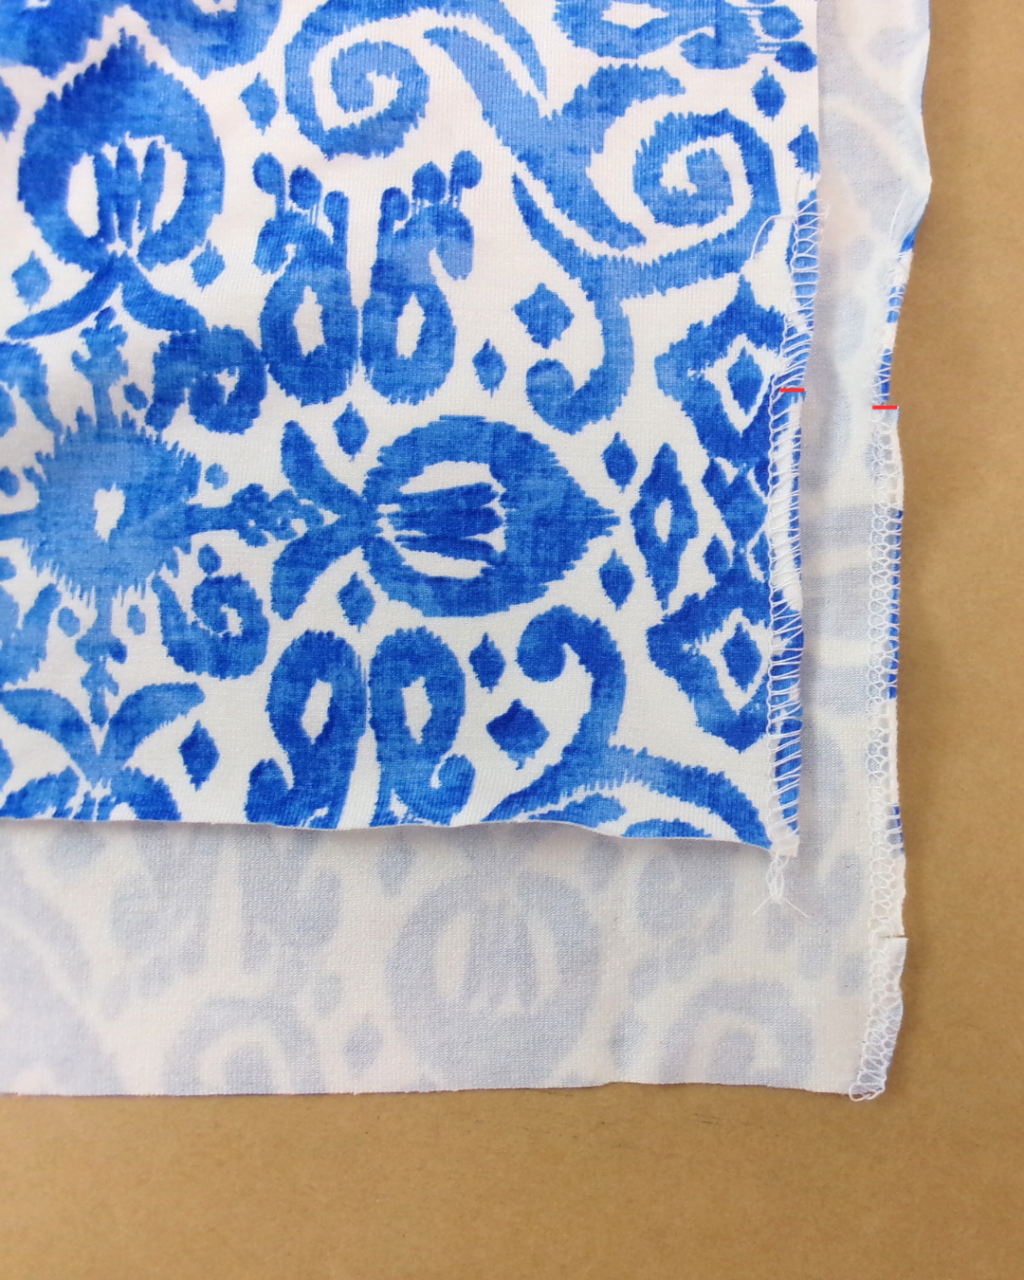
Neaten the side seam with an overlocker/serger. Start neatening at the sleeve hem and finish 2.5cm (1″) above the split notch (meeting with the previous split neatening). Press the 2.5cm (1″) section of the seam open.
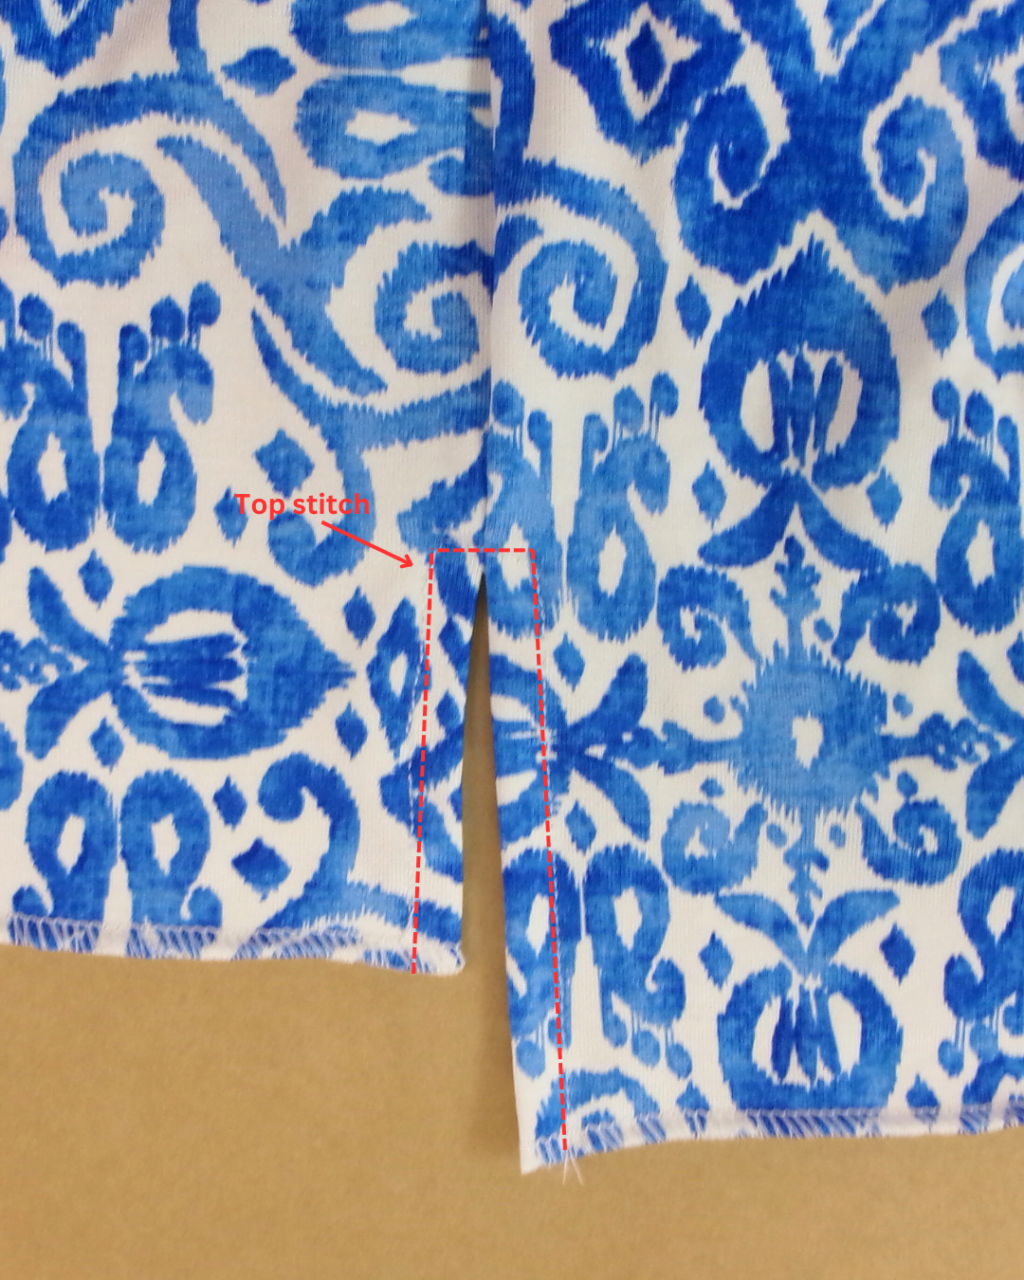
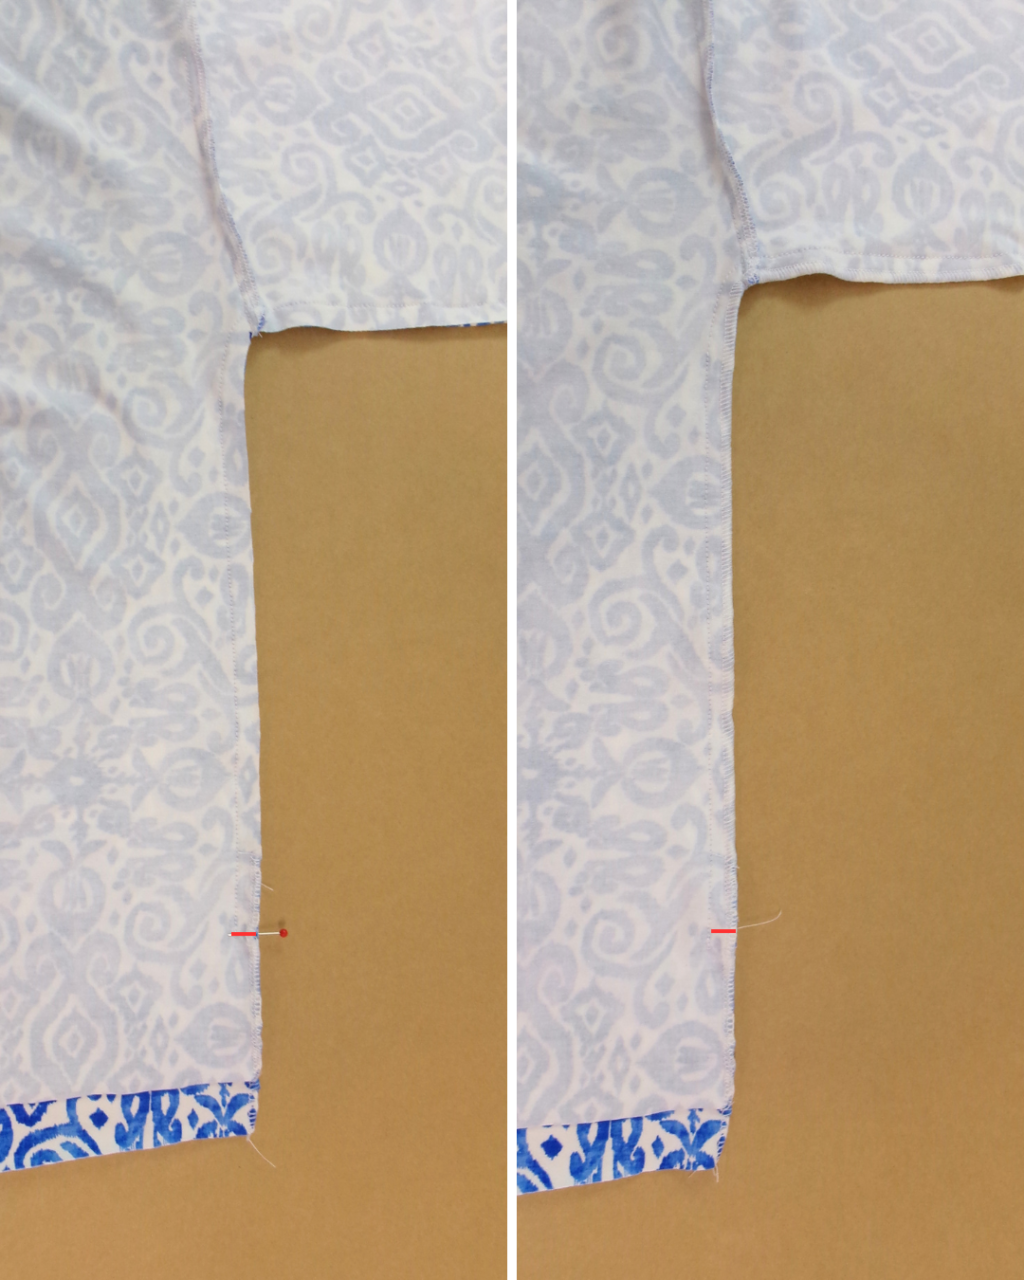
Turn back and press the front and back split openings, pin into place and top stitch.
Neaten the body and sleeve hems with an overlocker/serger and turn up at the notches. Sew with a stretch stitch, cover stitch or twin needle stitch.
Trim off any loose threads and lightly press your new t-shirt.