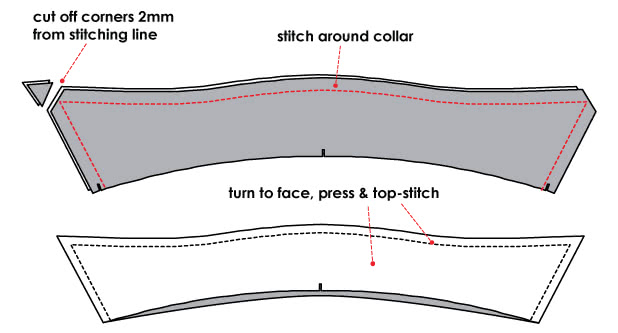
Step 1
Lay collar pieces face-to-face and stitch around the outer edge of collars. Trim corners 2 mm from stitching line to reduce thickness.
Turn to face (bag out), press and top-stitch.
Step 2
Press lower edge of outer collar stand upwards to secure seam allowance.

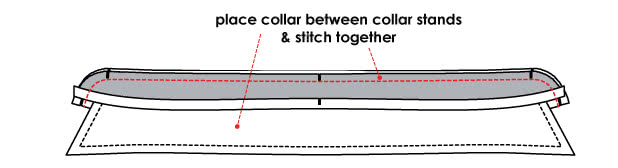
Step 3
Place collar between collar stands and stitch together.
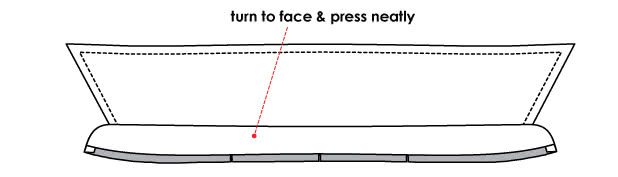
Step 4
Turn to face and press neatly.
Step 5
Pin lower edge of collar stand to neckline, matching notches. Then stitch collar to neckline.

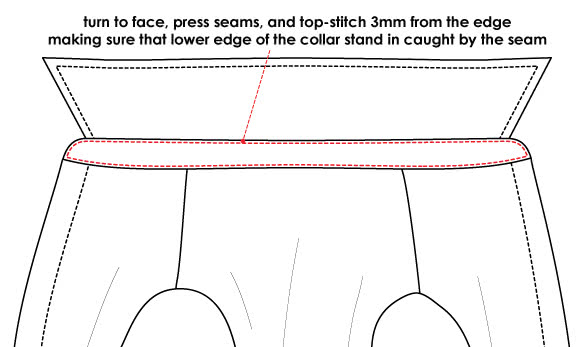
Step 6
Turn to face, tuck seam allowances into collar stand and press. Then top-stitch around collar stand 3 mm from the edge, making sure that lower folded edge of the collar stand is caught in the seam. For a clean /classic look, sink-stitch (stitch in the ditch) along the neckline seam to connect the lower collar stand.
Step 7
Press your finished collar.