Step-By-Step Tutorial
#SAKitKidsTankTop
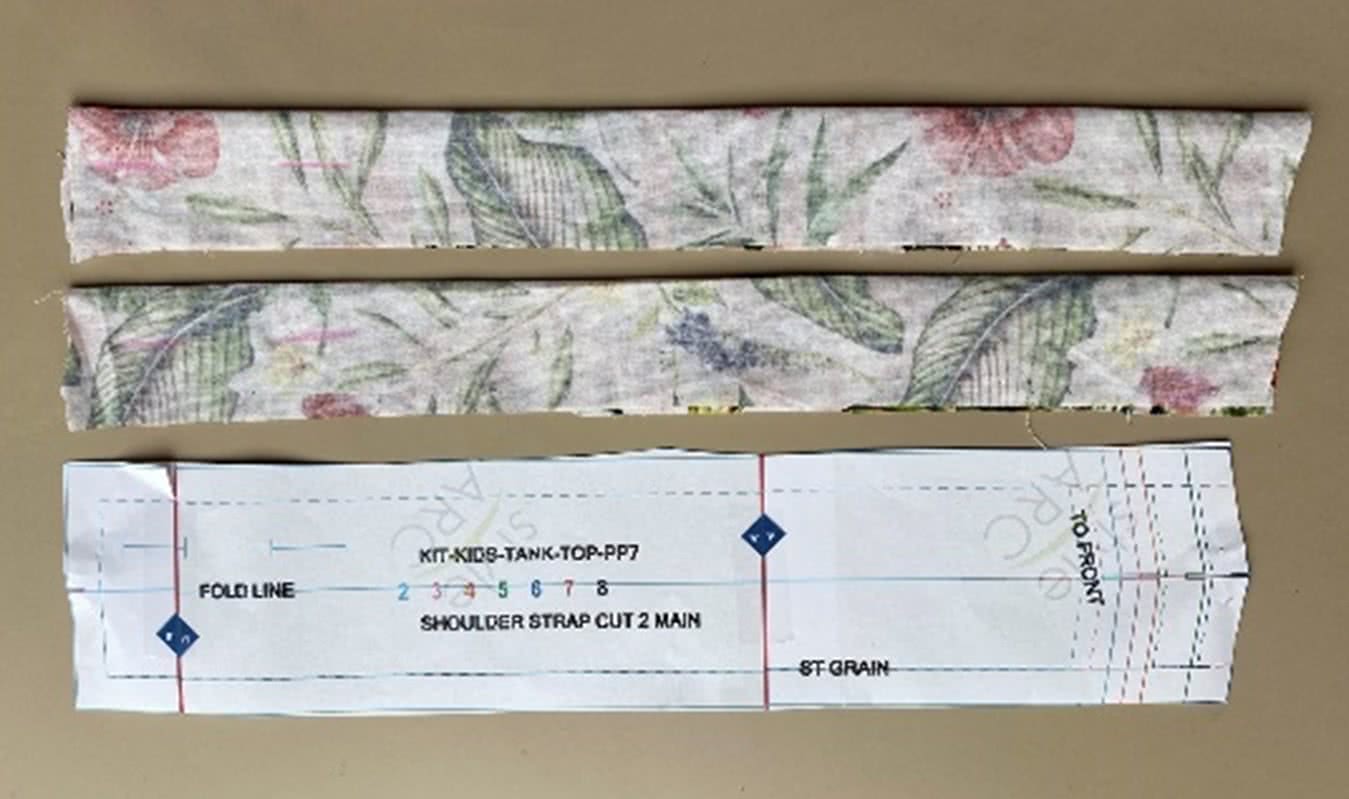
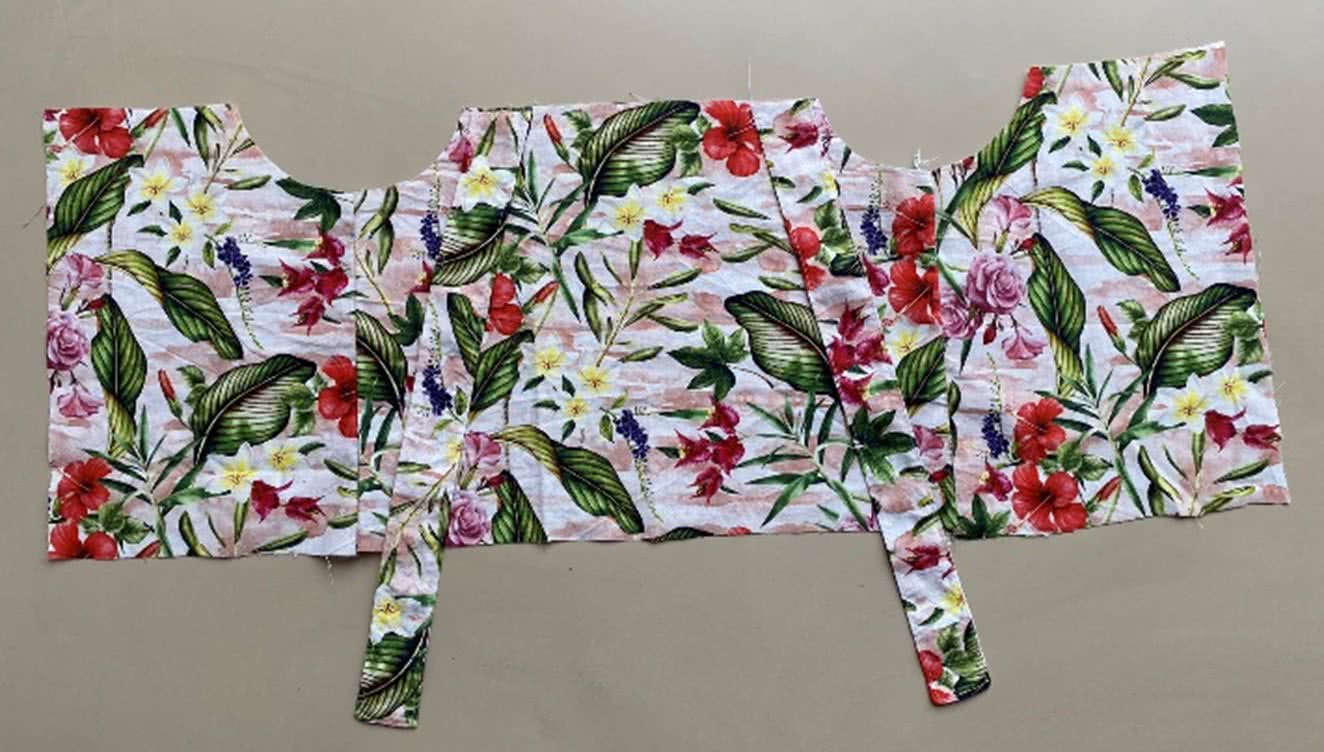
Preparations
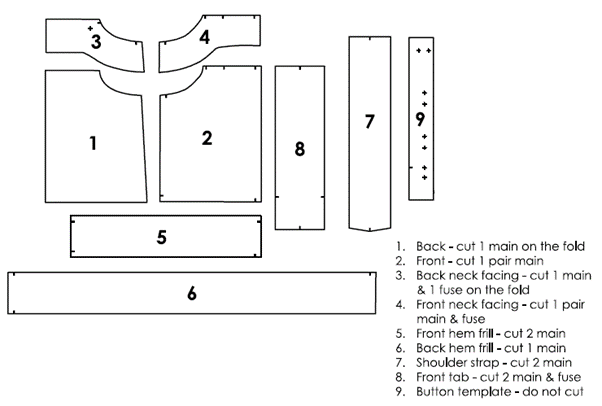
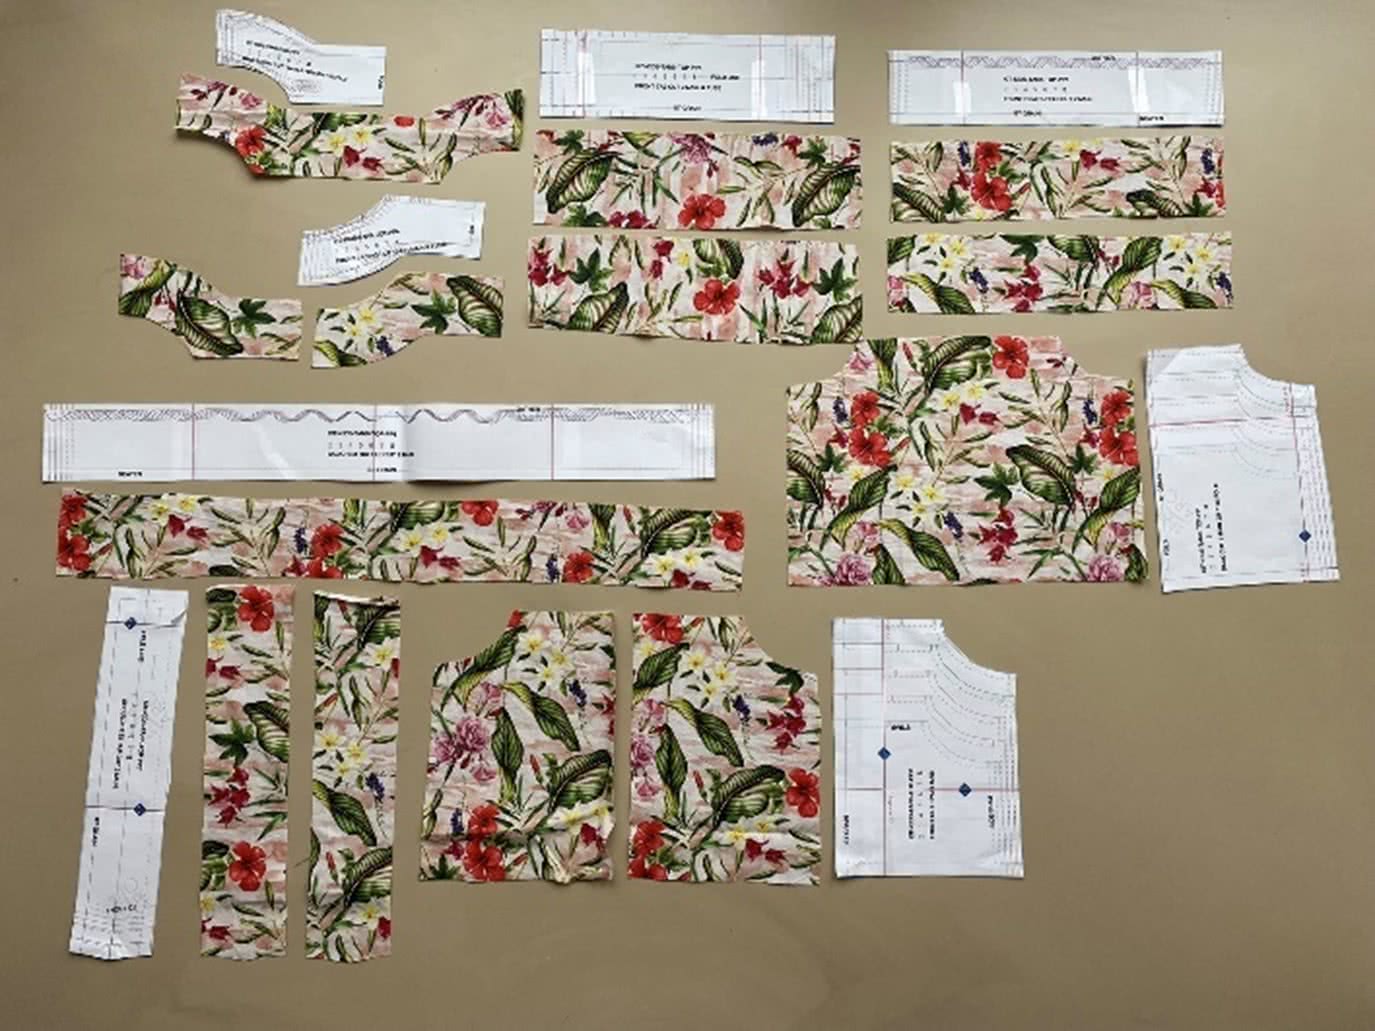
– Cut out all the pattern pieces.
– Take notice of the grainline as mentioned on the pattern pieces and also the pattern pieces that need to be cut on the fold.
– Mark and clip all the notches on your pattern pieces
– When finished, you should have 12 cut fabric pieces, which together make 8 pattern pieces.
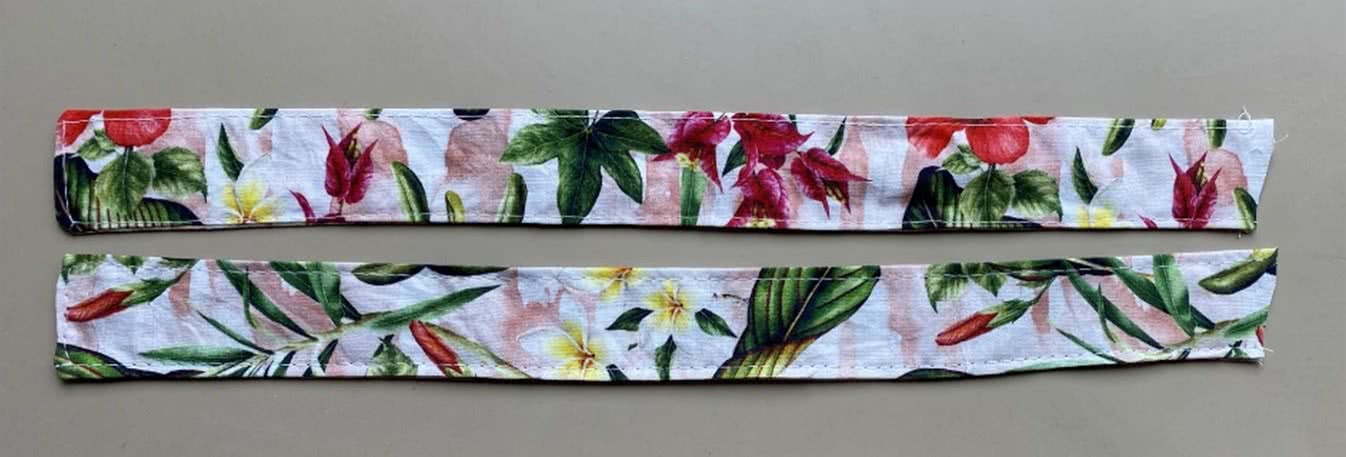
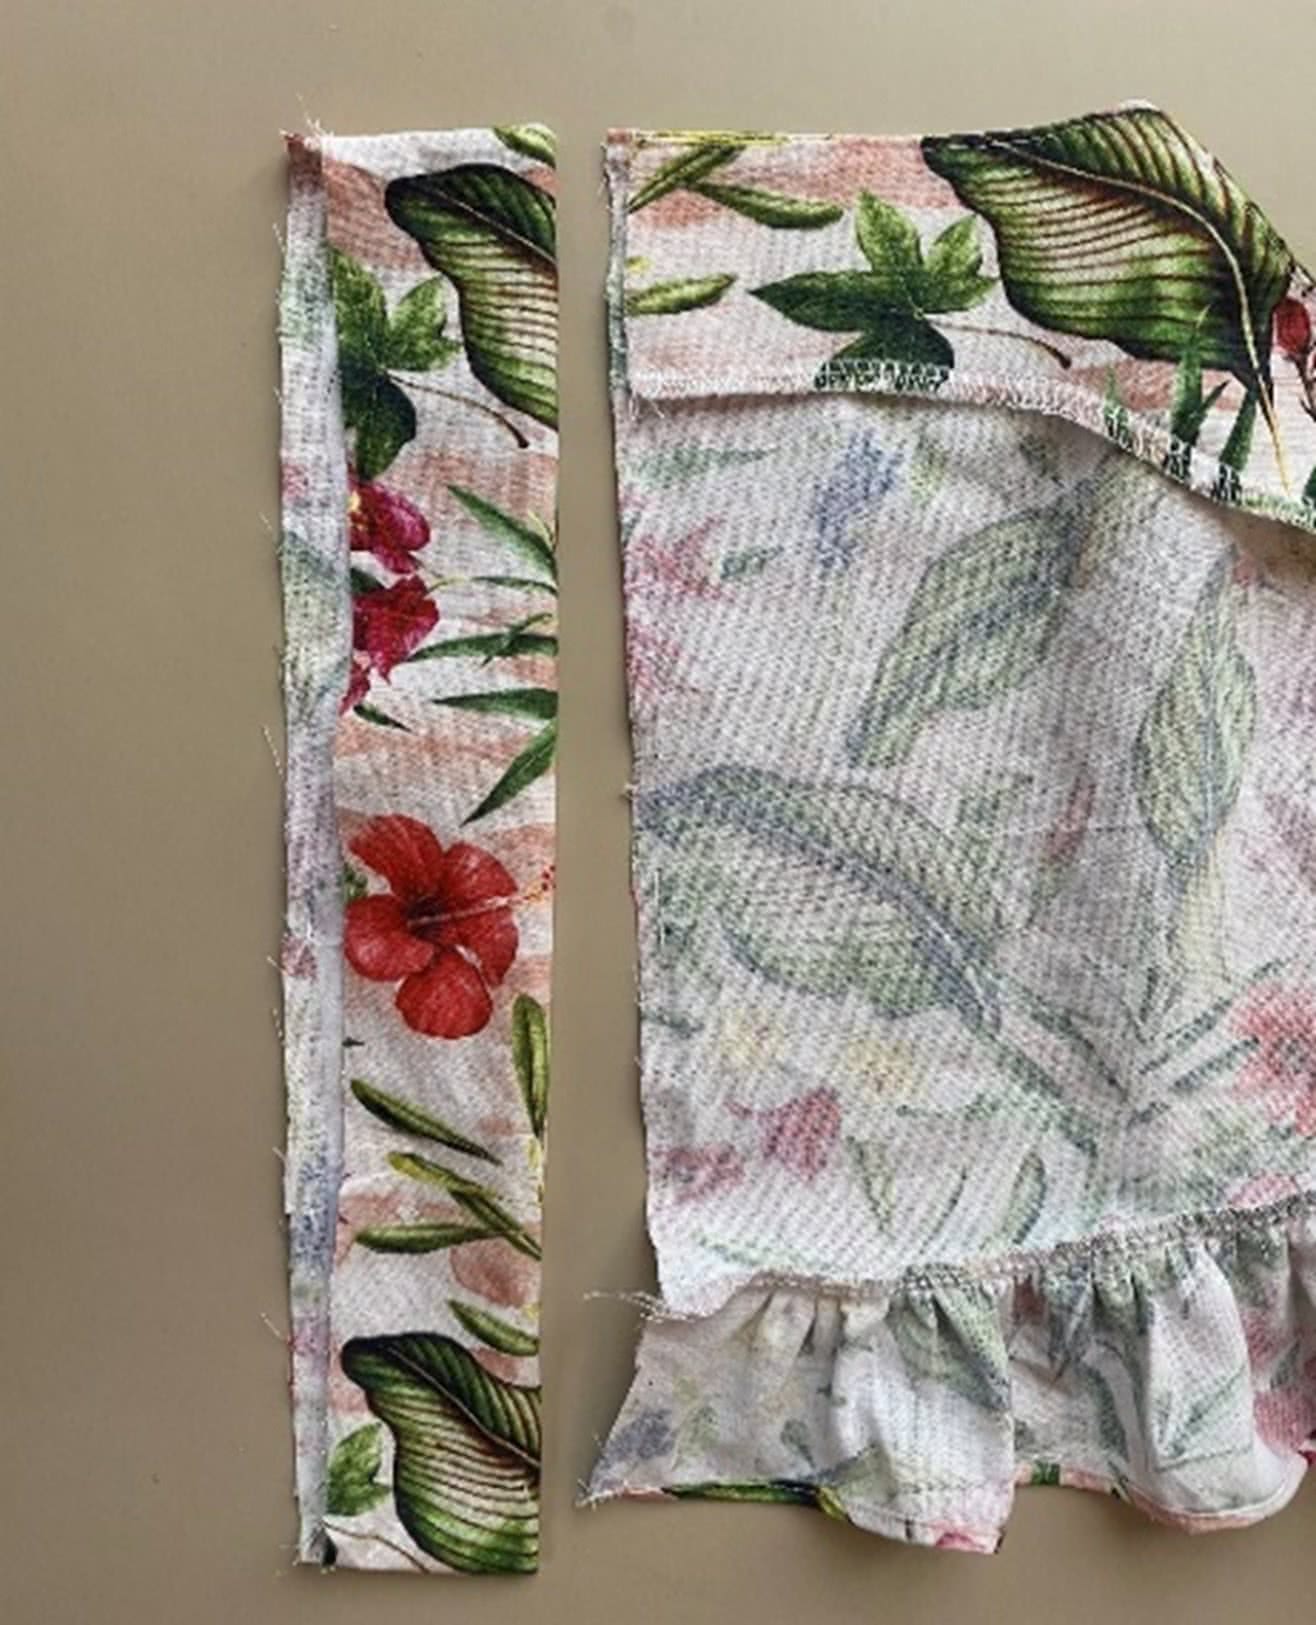
Sewing the straps (pattern piece no. 7)
– Fold the straps.
– Sew the flat short end and the long side.
– Turn and topstitch.
Sewing the body & attaching the straps to the top
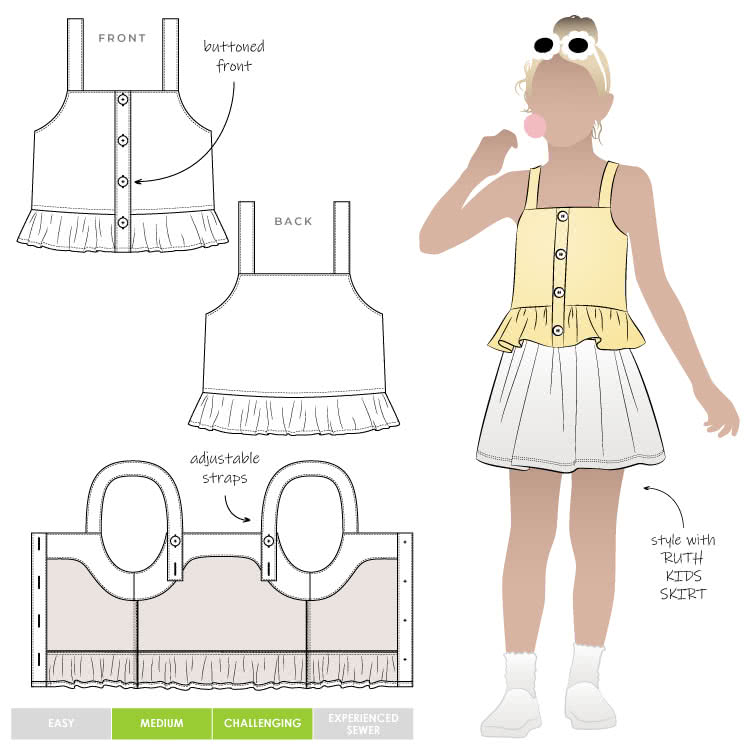
The pattern overview (page 3) explains the way to attach the straps to the front of the body and use a button to secure them at the back of the top.
You could also reverse this as I have done, so the straps are attached at the back of the body and your kid is able to adjust the straps herself at the front of the body.
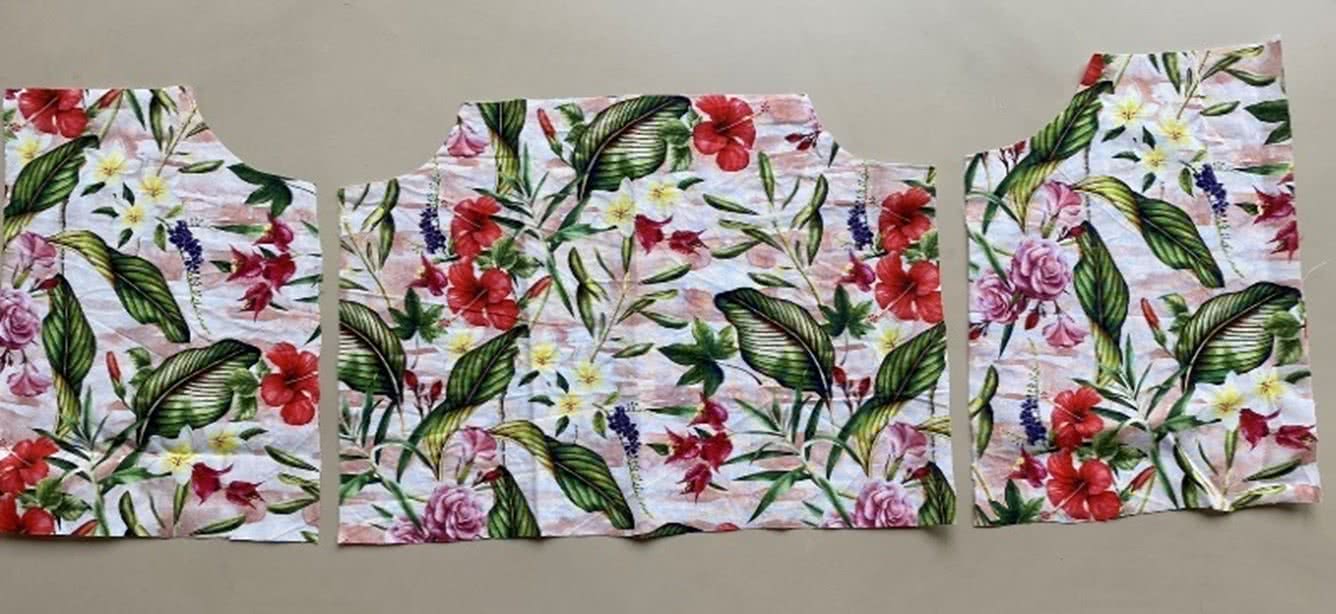
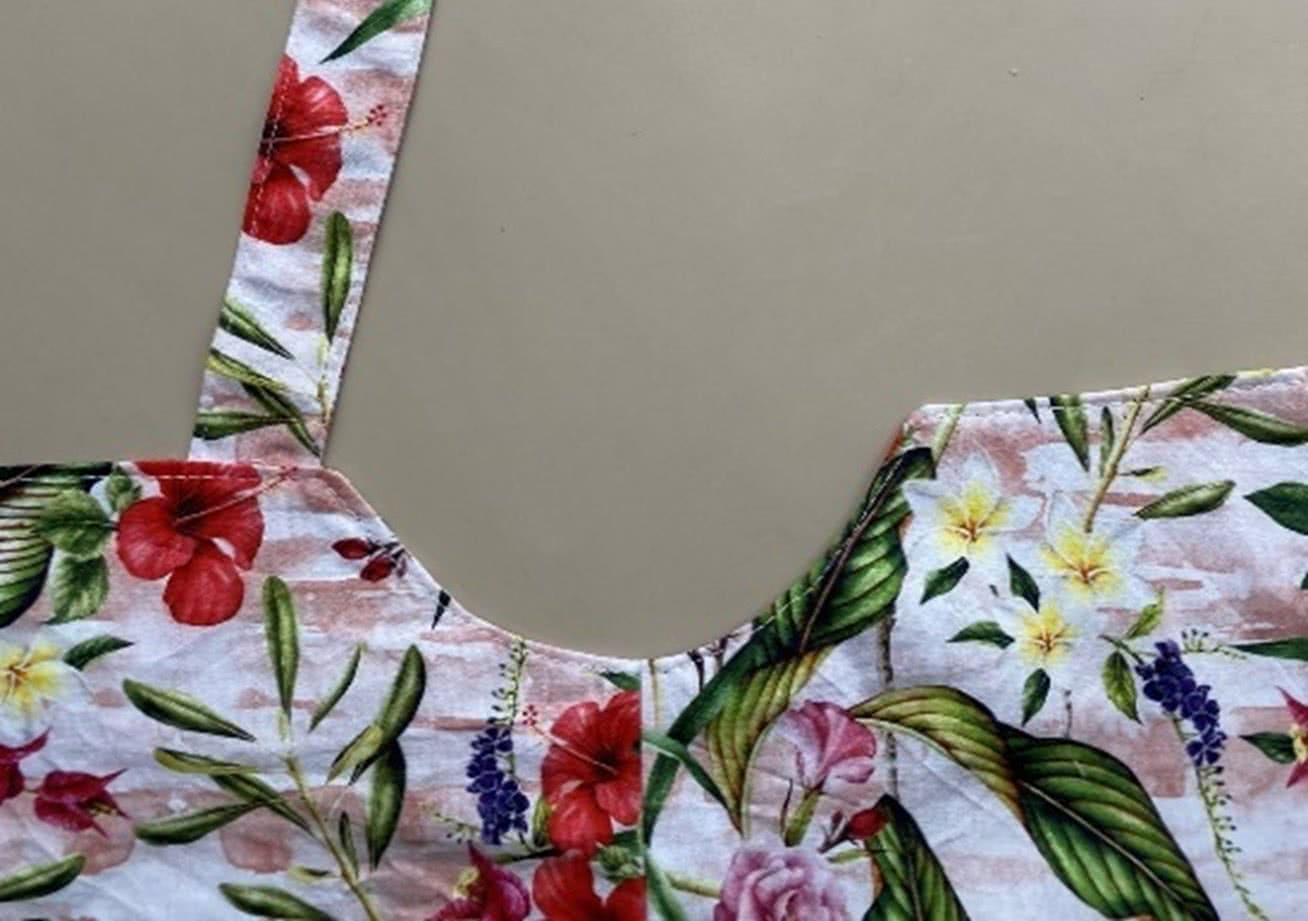
Sewing the body (pattern pieces no. 1 and 2)
Step 1
– Sew the two front pattern pieces to the back, right sides facing each other.
– Finish the side seams.

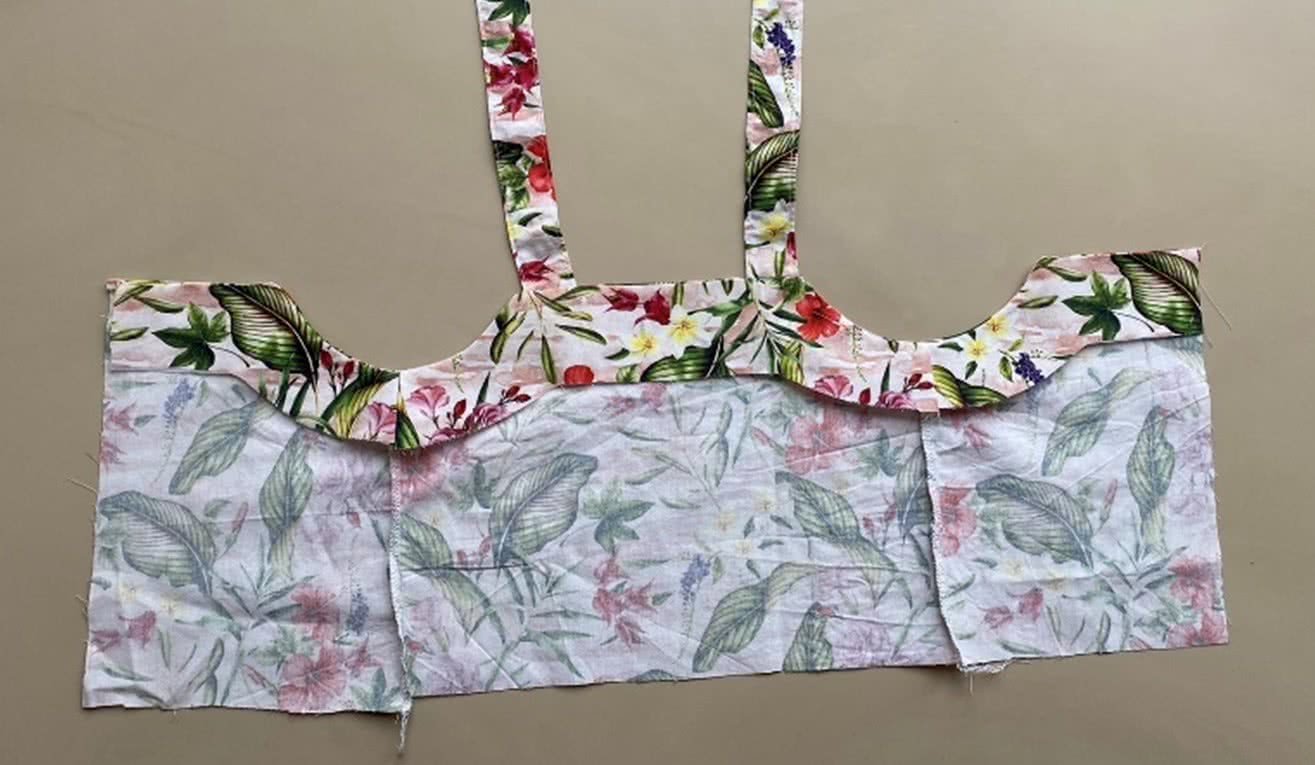
Sewing the body (add pattern pieces no. 7)
Step 2
– Staystitch the straps to the body at the position as marked at the pattern.
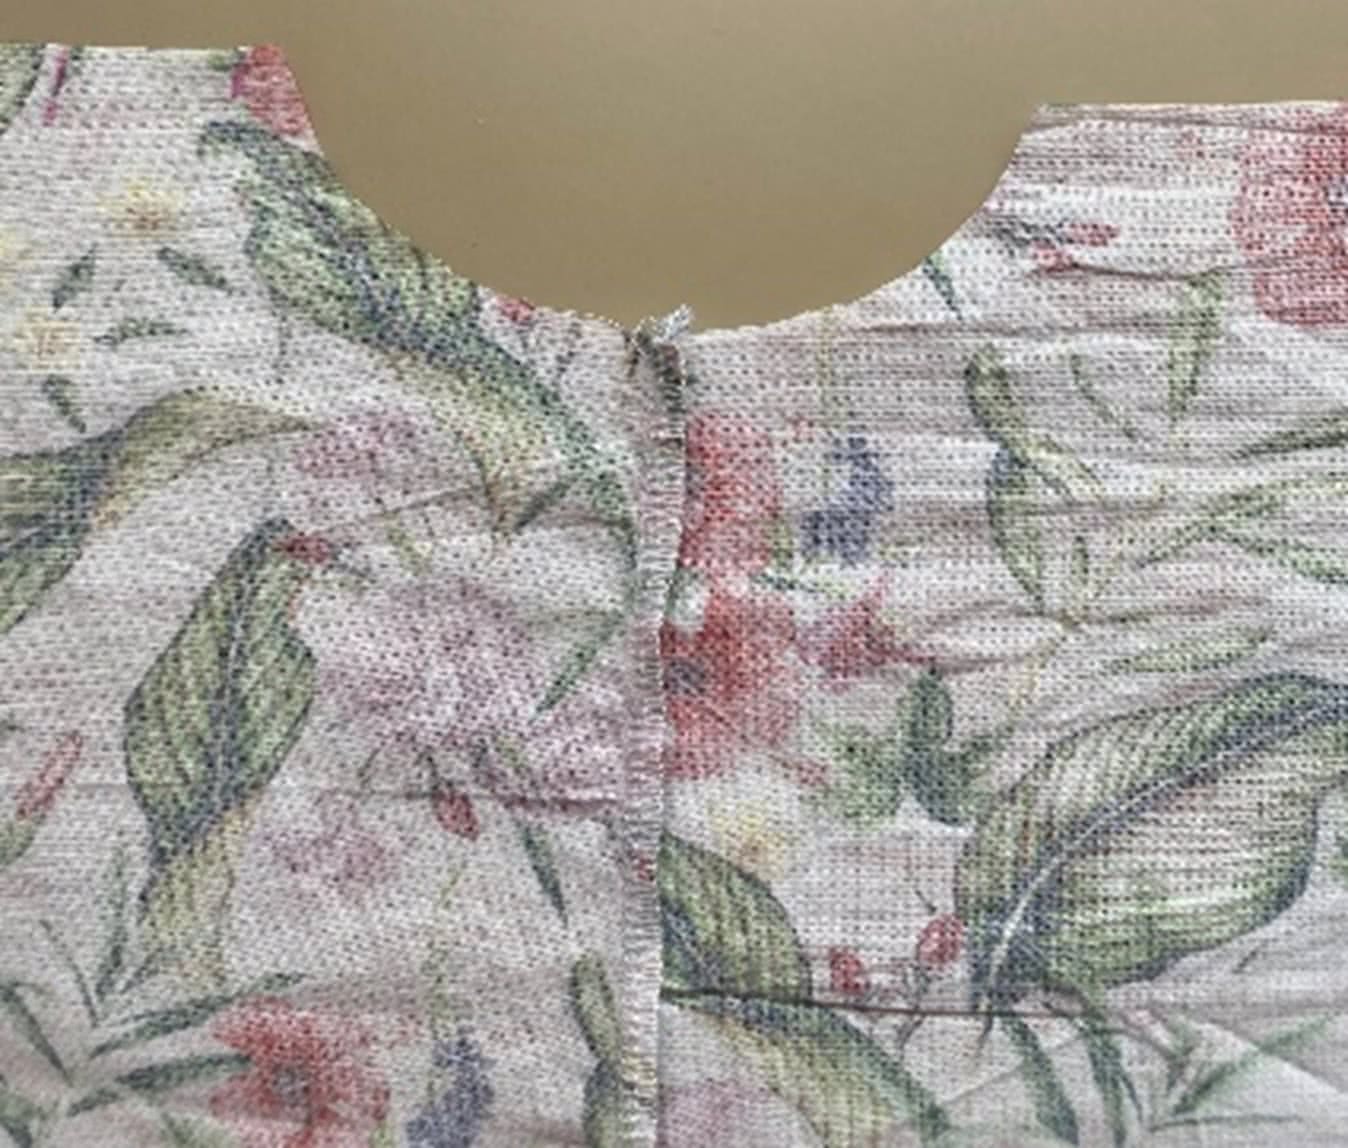
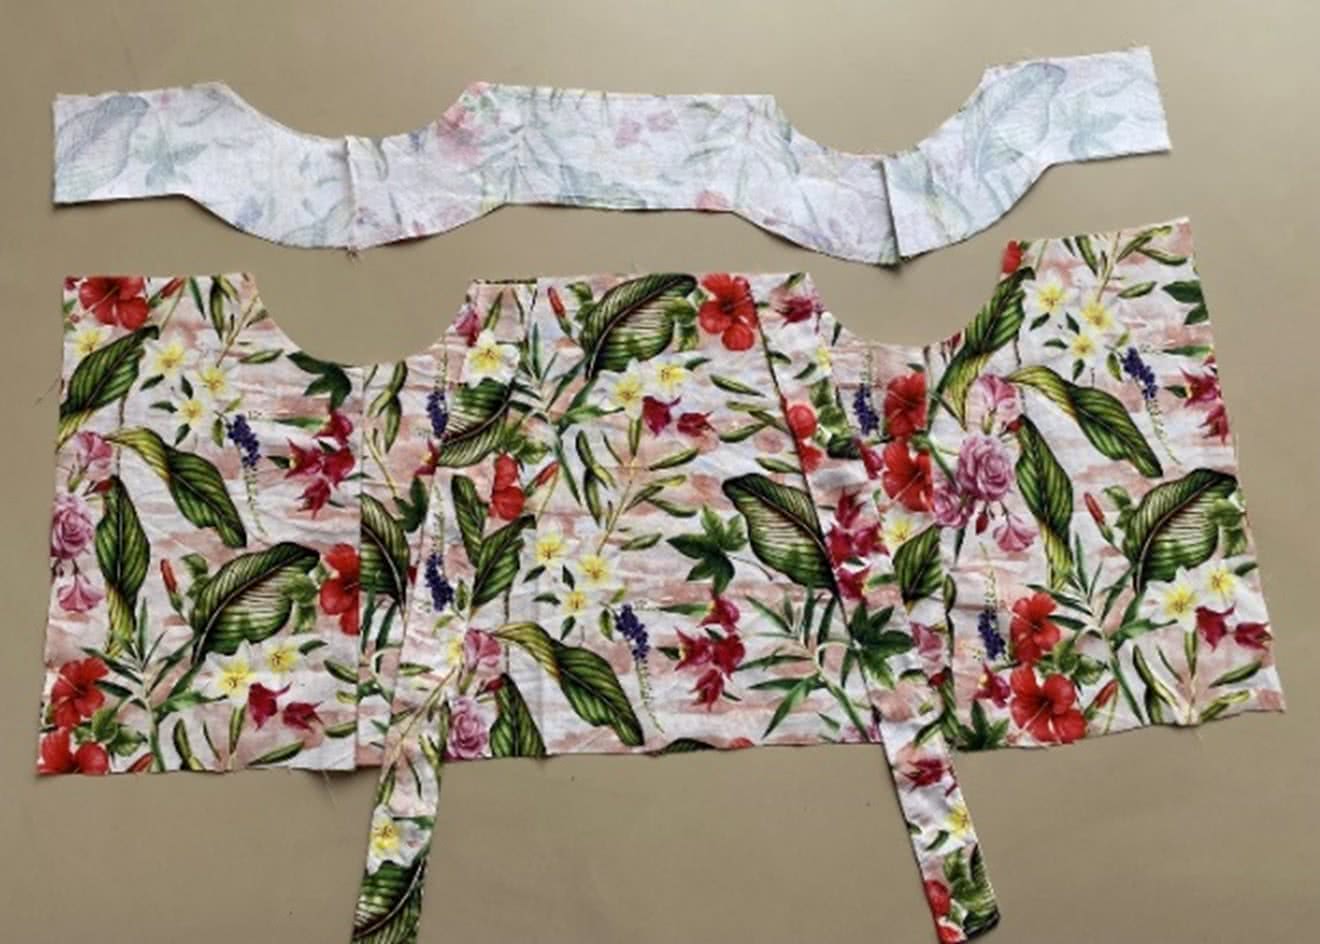
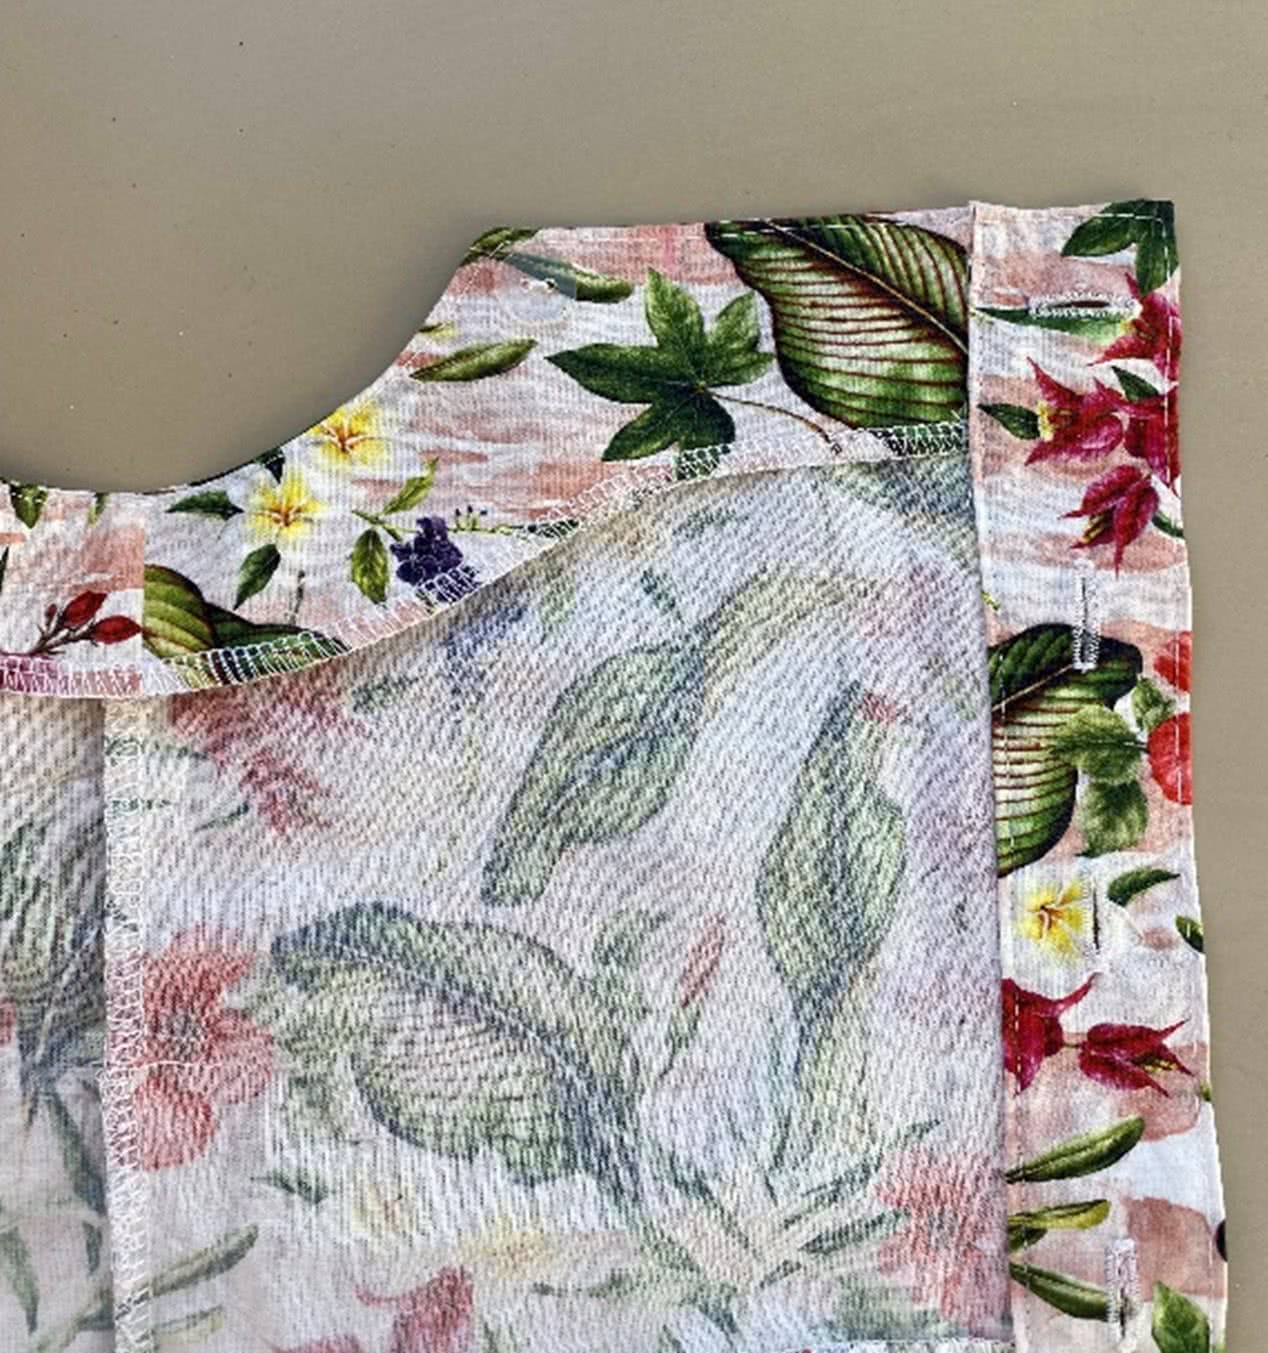
Sewing the body (add pattern piece no. 3 and 4)
Step 3
– Take pattern piece no. 3 (cut 2 times) no. 4 and sew these 3 pieces together to form the facing of the body. I used some thin interface to give them more firmness.
– Make sure your straps are in between the body and the facing.
– Right sides of body and facing are on top of each other, sandwiching the straps in between as you sew.
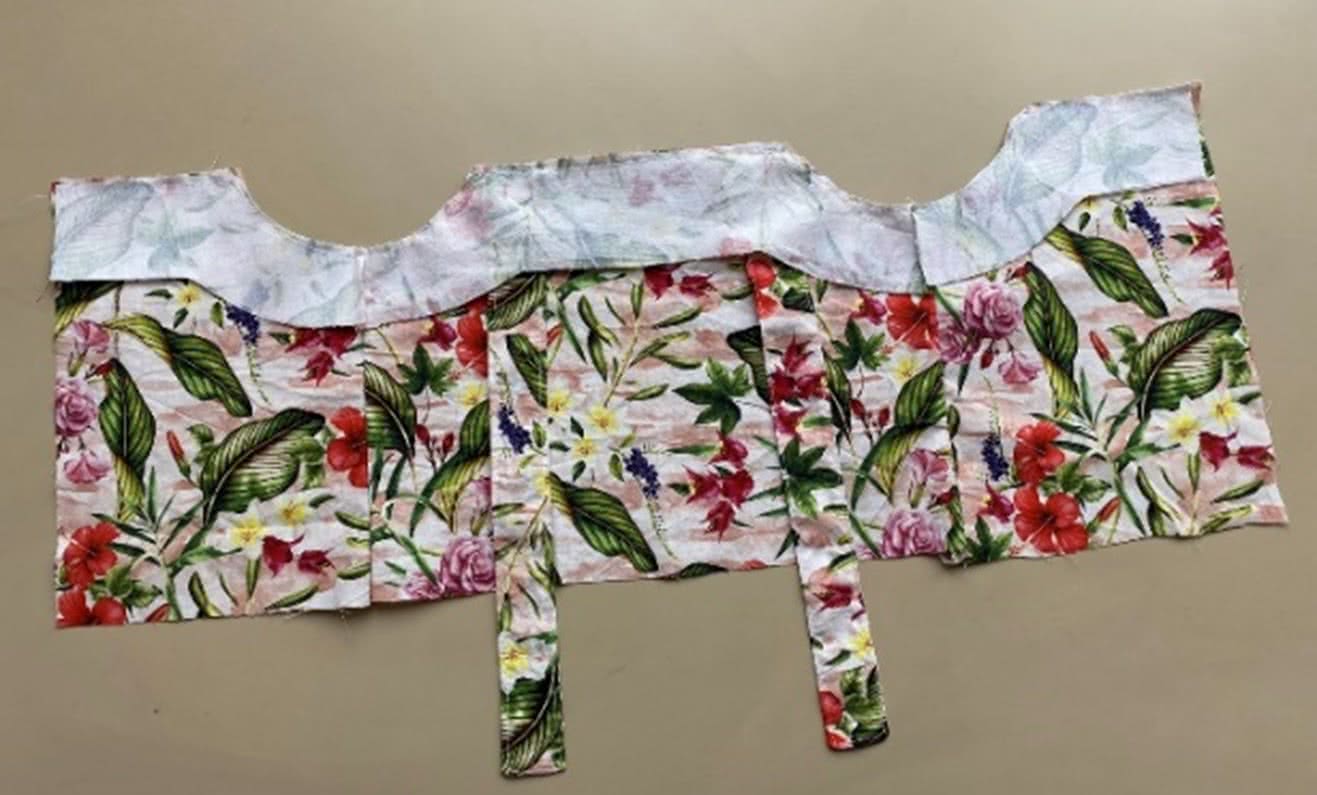
Sewing the body
Step 4
– Fold the facing to the wrong side of the body.
– Press nicely and topstitch.
– If necessary, make very small cuts in the curves of the armholes to make them flow more smoothly.
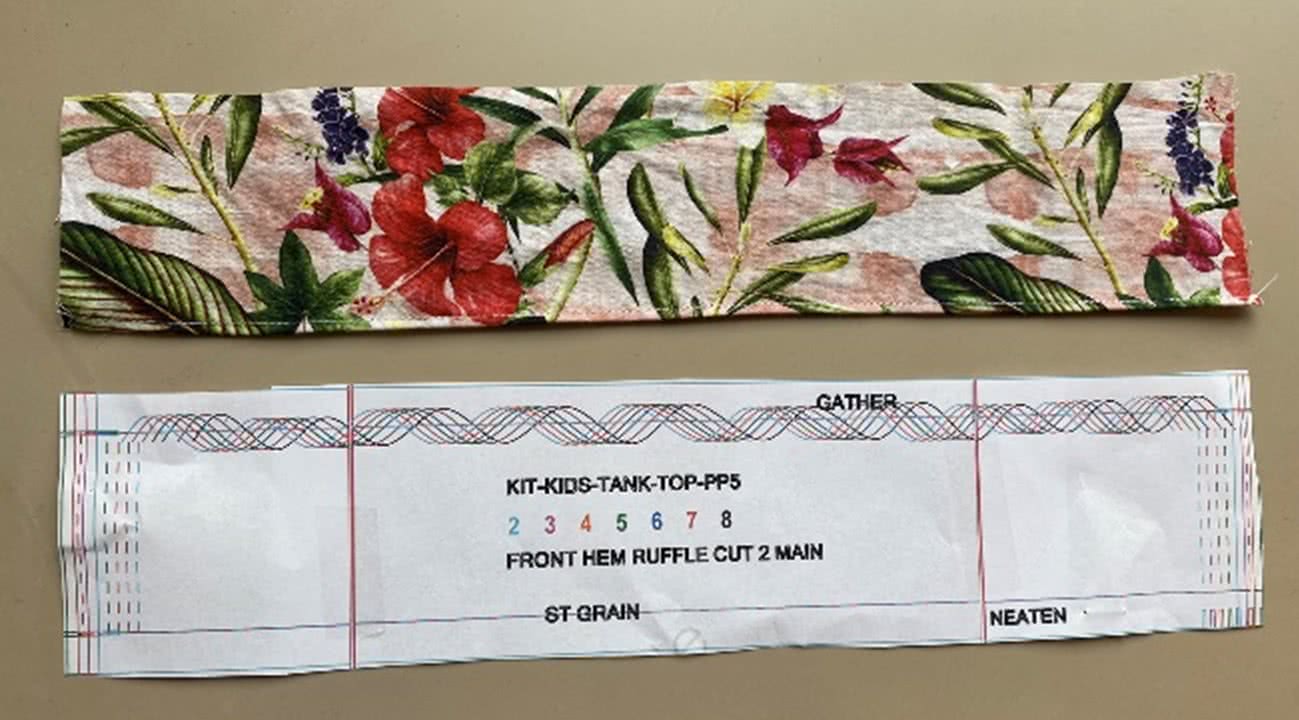
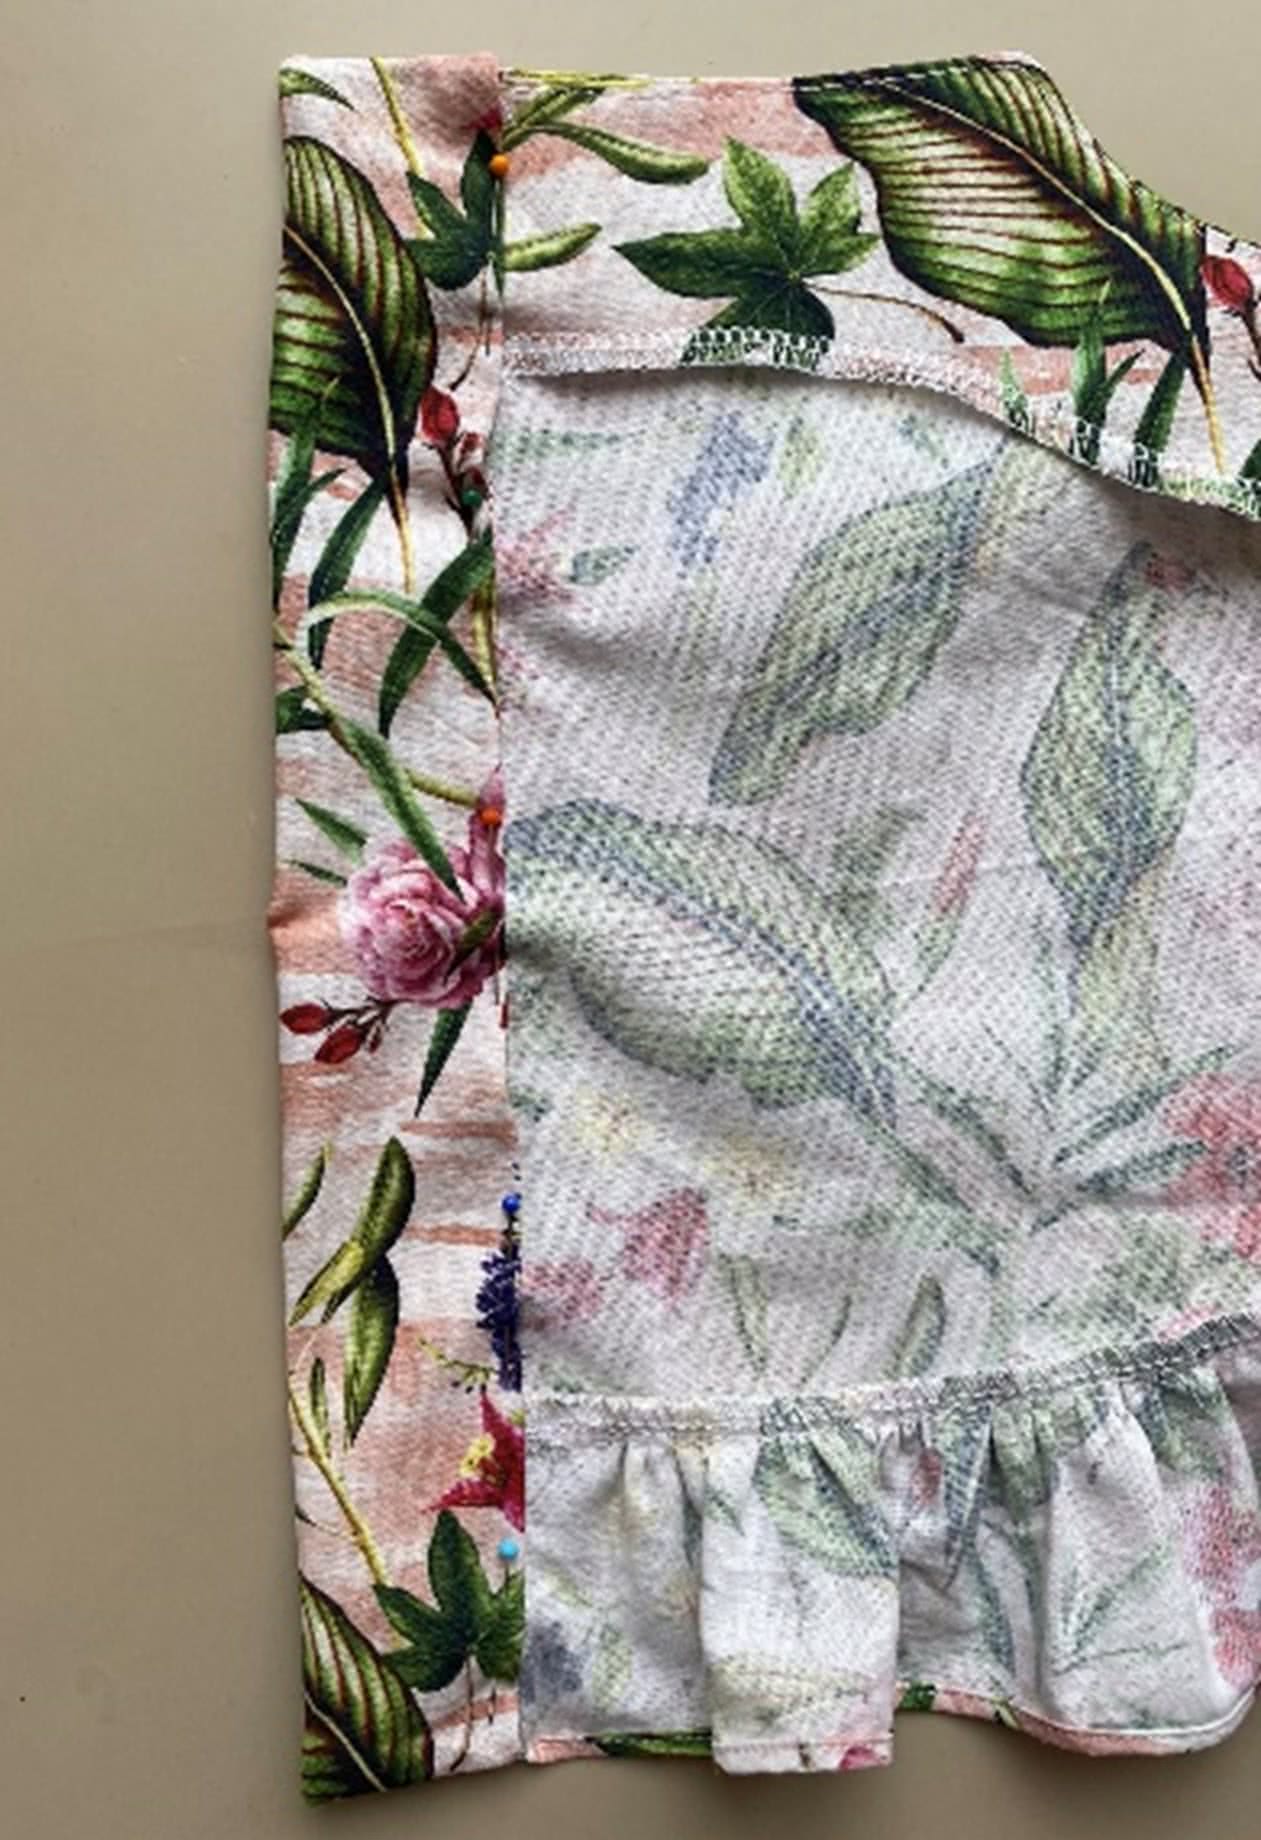
Attaching the ruffle (pattern pieces no. 5 and 6)
Step 1
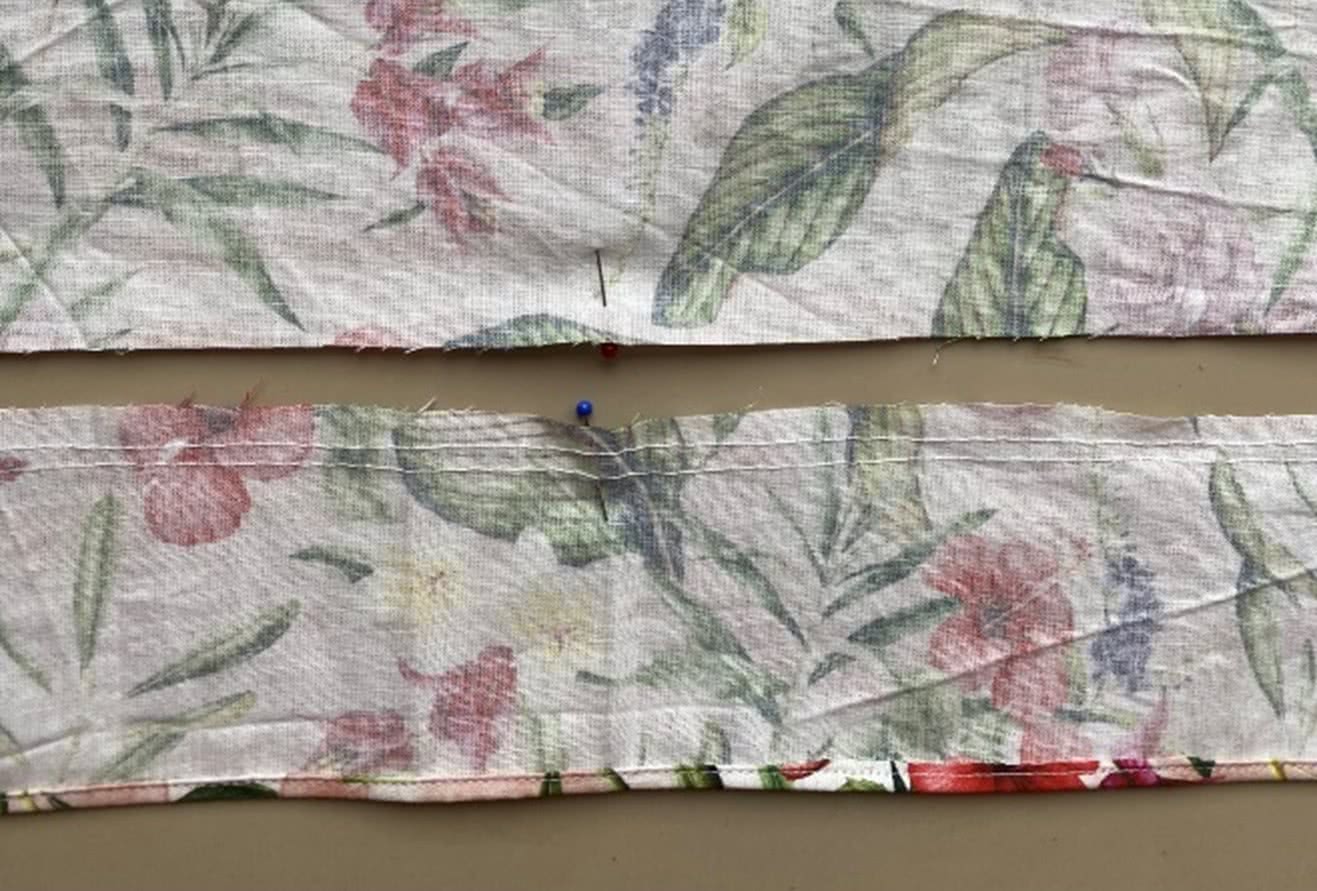
– Sew pattern pieces 5 (two fabric pieces) and 6 together to form one long ruffle.
– Hem the bottom of the ruffle. I used a rolled hem but you could also use a regular hem to finish the bottom part.
Attaching the ruffle
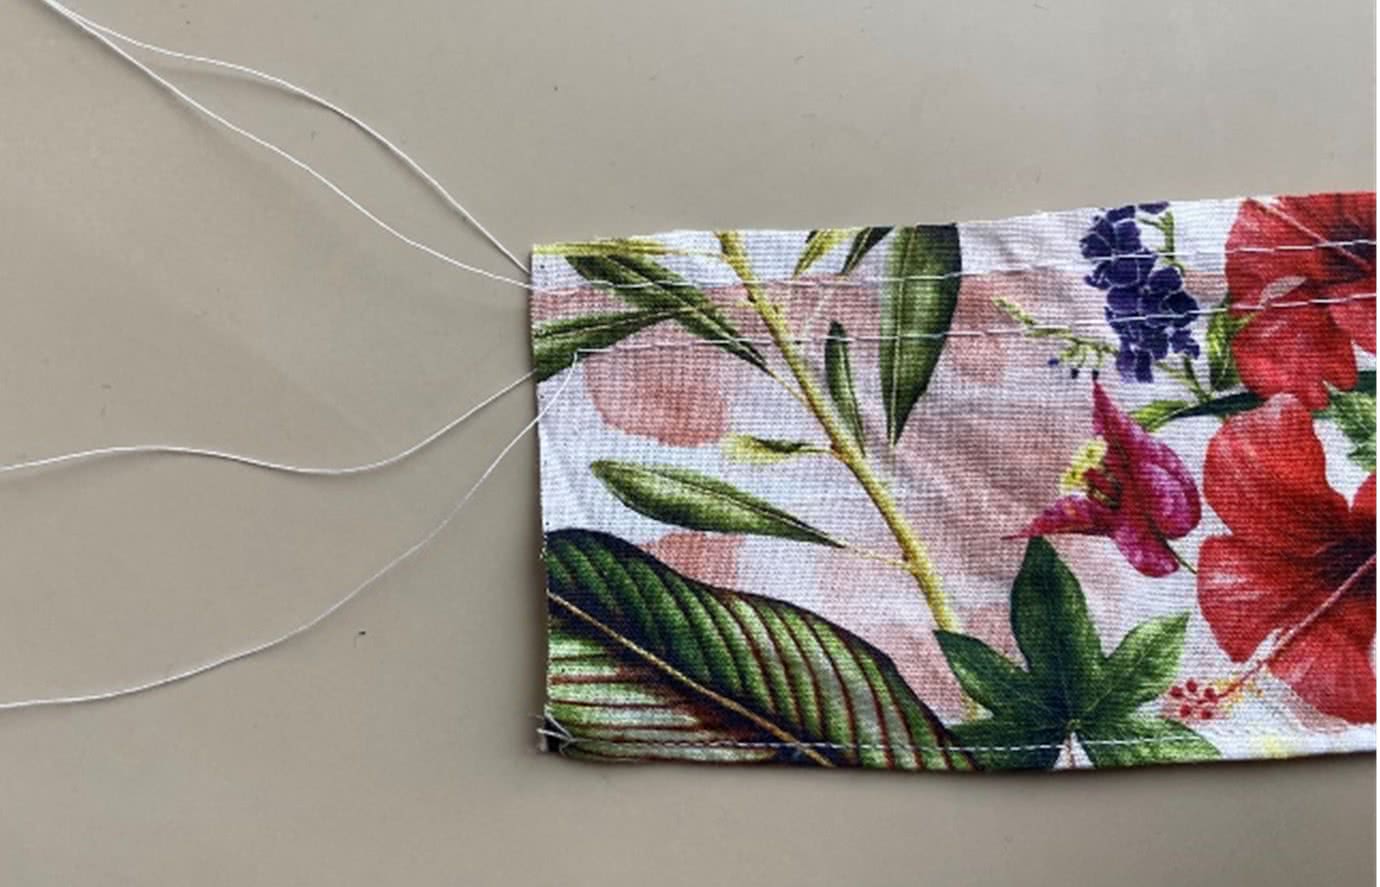
Step 2
– Sew 2 rows or gathering stitches. Use a large stitch length and lower your thread tension to make it easier to frill the ruffle.
– Leave the end of the gathering stitches a bit longer so you can easily pull them.
– Mark the centre of your ruffle and the centre of the back part of the body to easily divide the frill evenly over the body.
Attaching the ruffle
Step 3
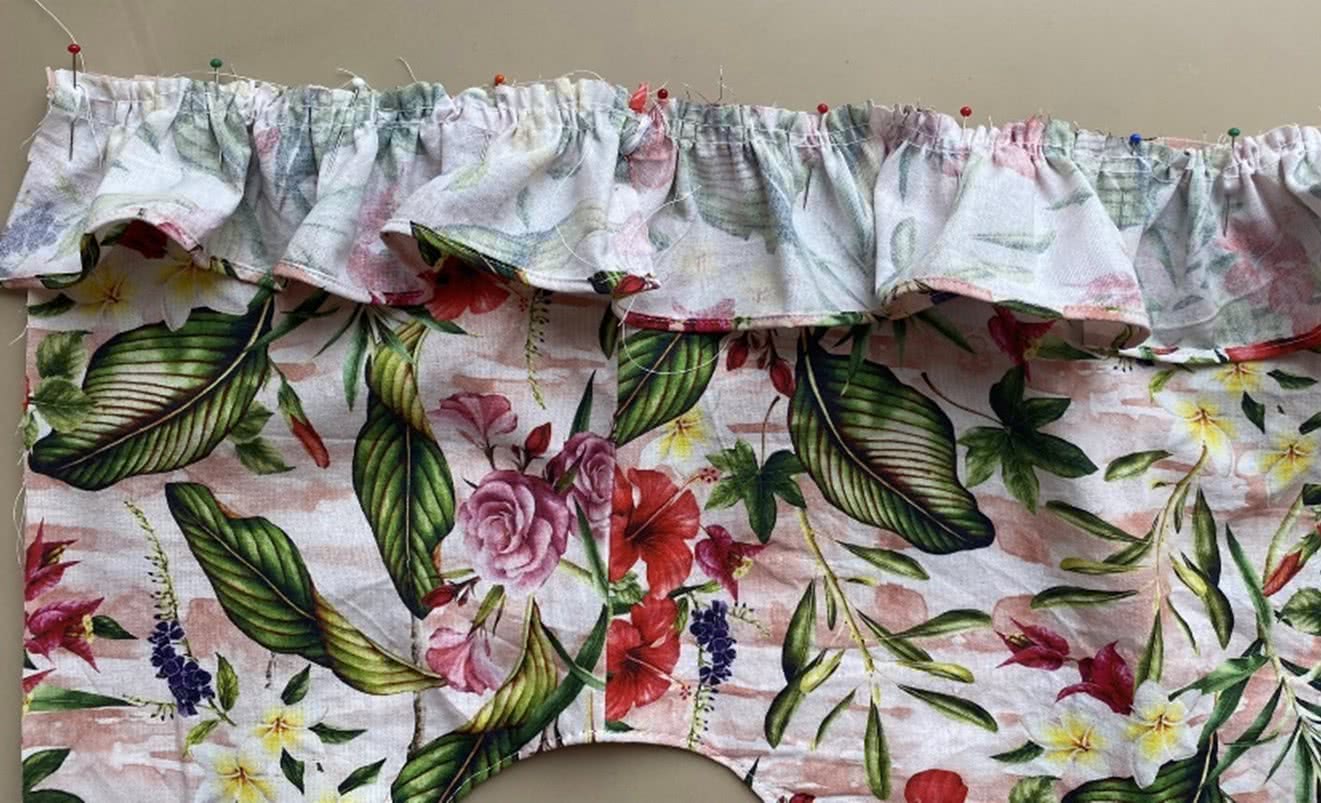
– Divide the ruffle over the length of the body, and pin it in place to secure.
– Sew in between the 2 gathering stitches.
– Finish your seam and remove the excess gathering stitches.
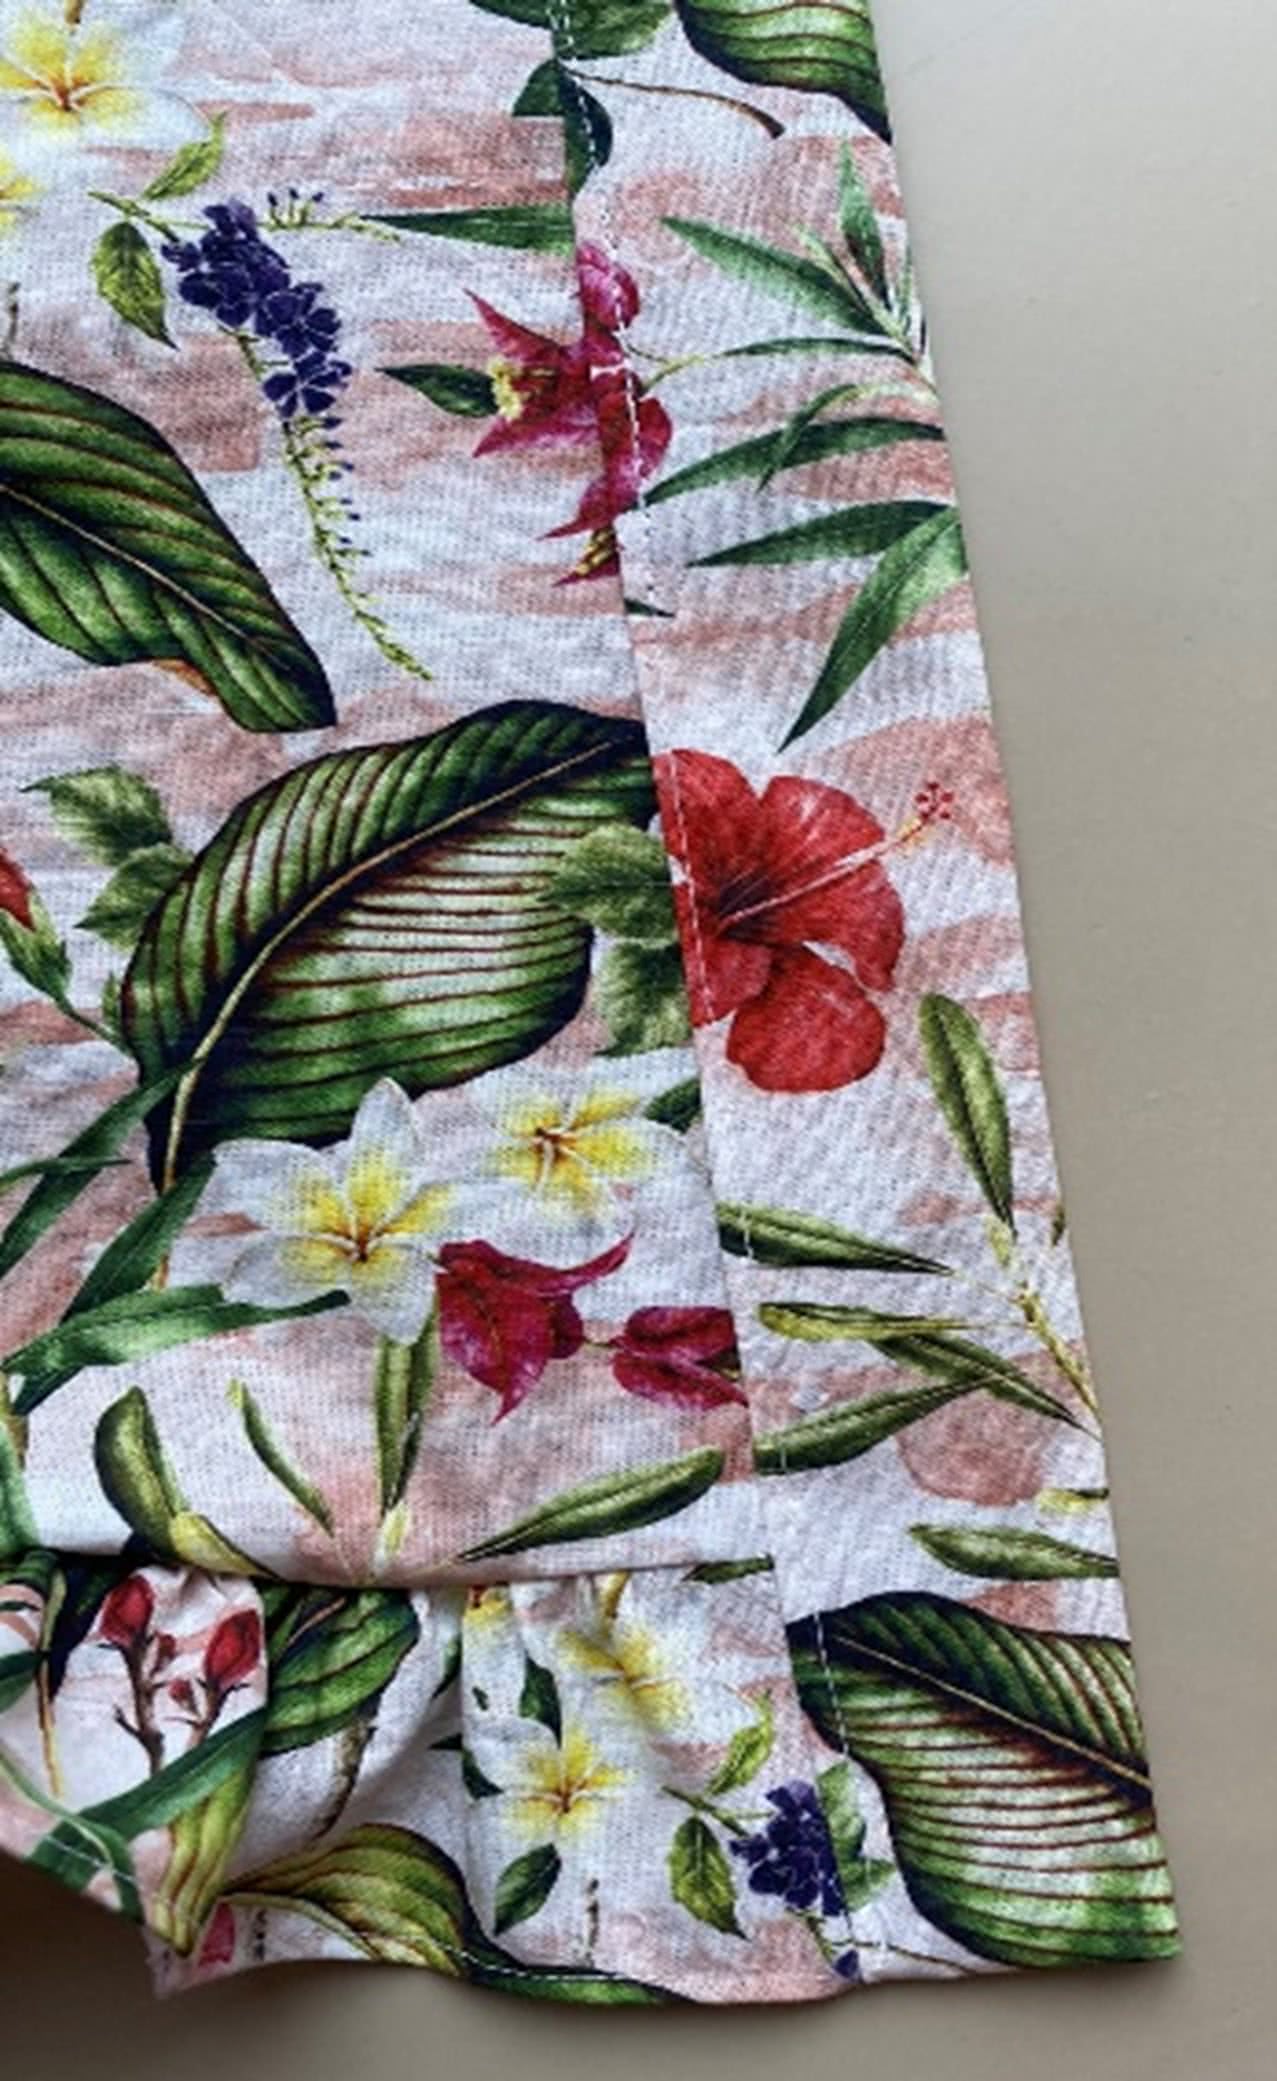
Attaching the ruffle
Step 4
– Fold the ruffle to the right side and press if needed.
– Topstitch on the body if you like.

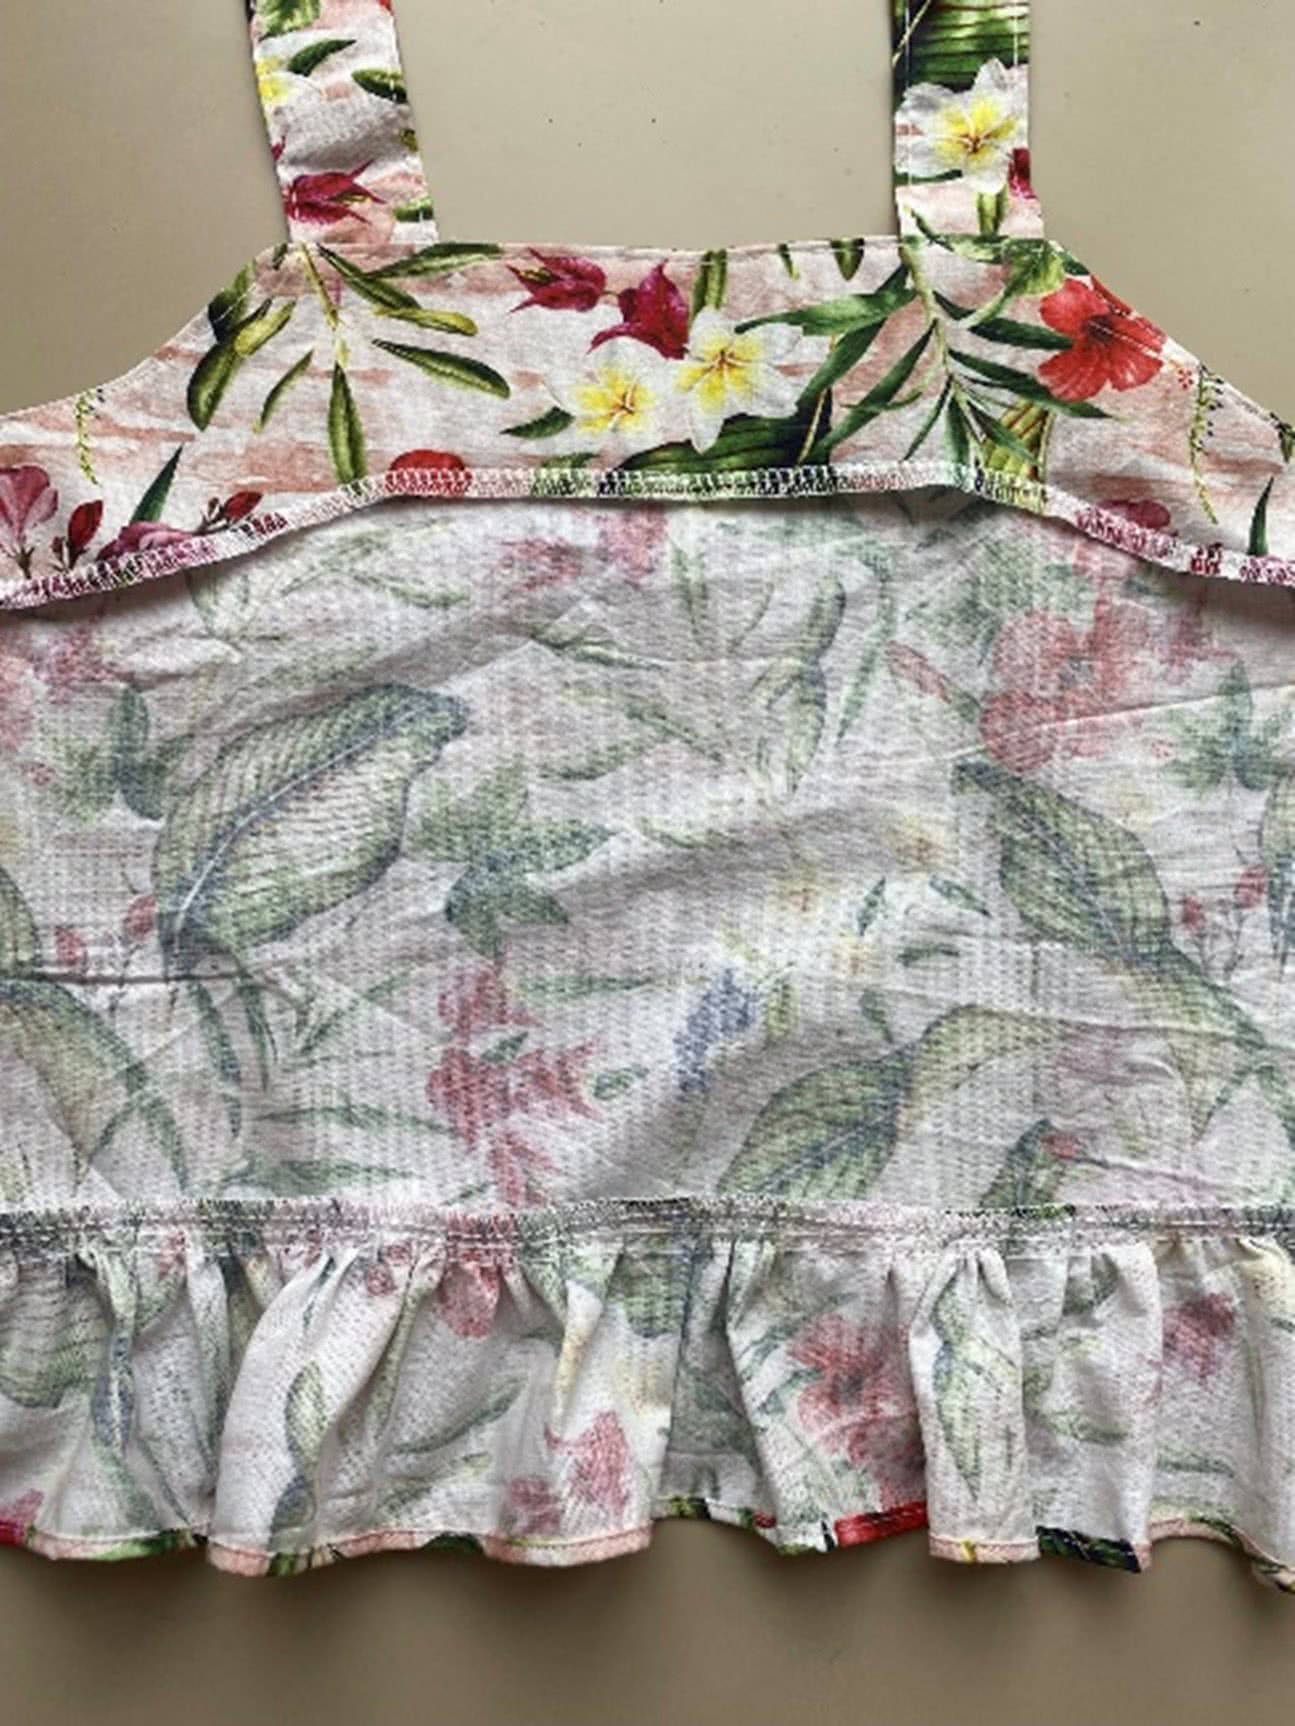
The inside of the body will look like this now.
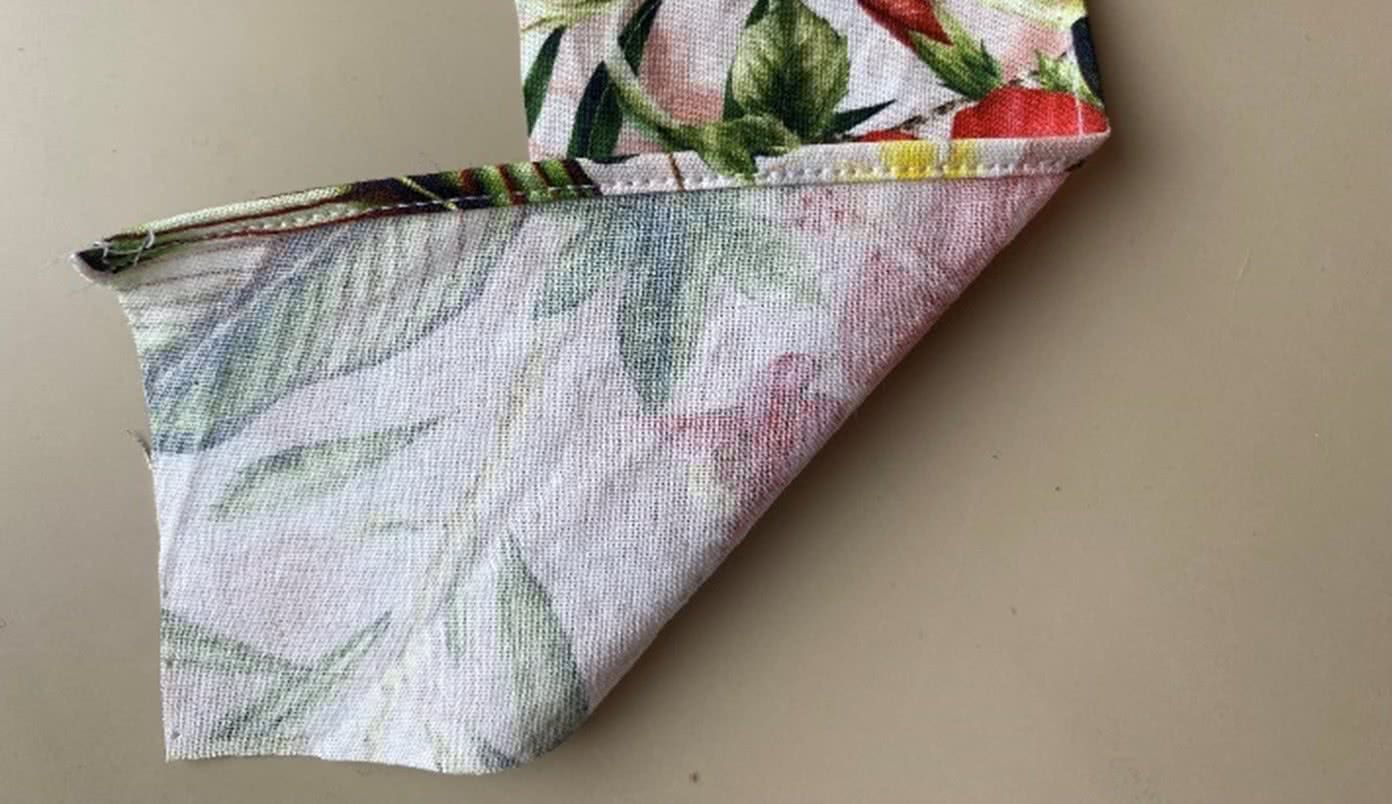
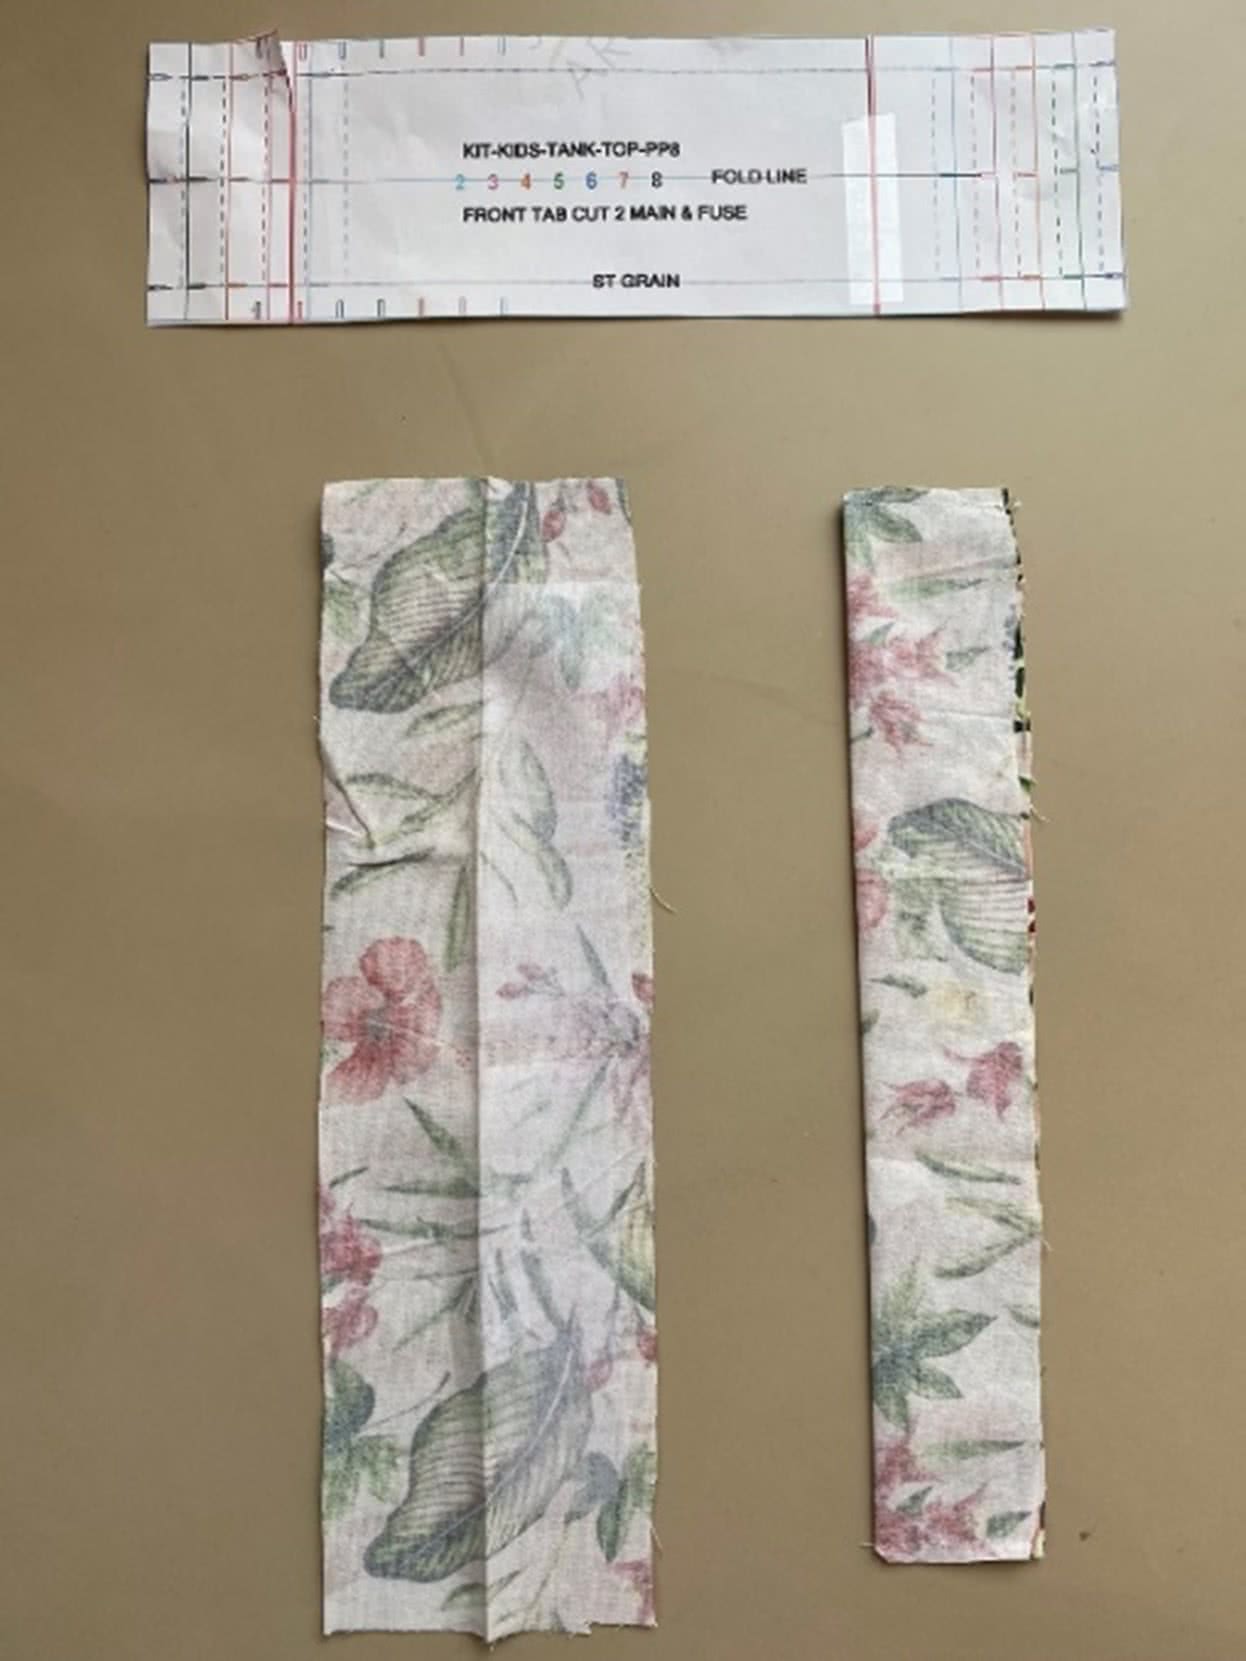
Attaching the front tab (pattern piece no. 8 (2 fabric pieces)
Step 1
– Fold the tab, right sides together.
– Don’t fold exactly in the middle, make sure one of the long sides is a bit wider than the other (see next step for more detail)
– Clip the corners before you turn the tap out to the right side
– Sew the 2 short edges.
– I used some thin interface on one side of the tab to give the fabric some extra firmness.
The easiest way to attach the tab to your top is explained in step 11, page 4 of the pattern overview.
If you are more experienced, you could also follow the steps as explained below.
Attaching the front tab
Step 2
– Fold to the right side and make sure the corners are nicely shaped.
– Pin the shortest edge to the body, right sides together.
– Sew as far to the ends as possible.
Attaching the front tab
Step 3
– Fold the tap to the other side.
– This side of the flap has excess width.
– Fold it inside the flap.
– Press and pin.
– Stitch nicely, as this stitch will be shown on the right side of the body
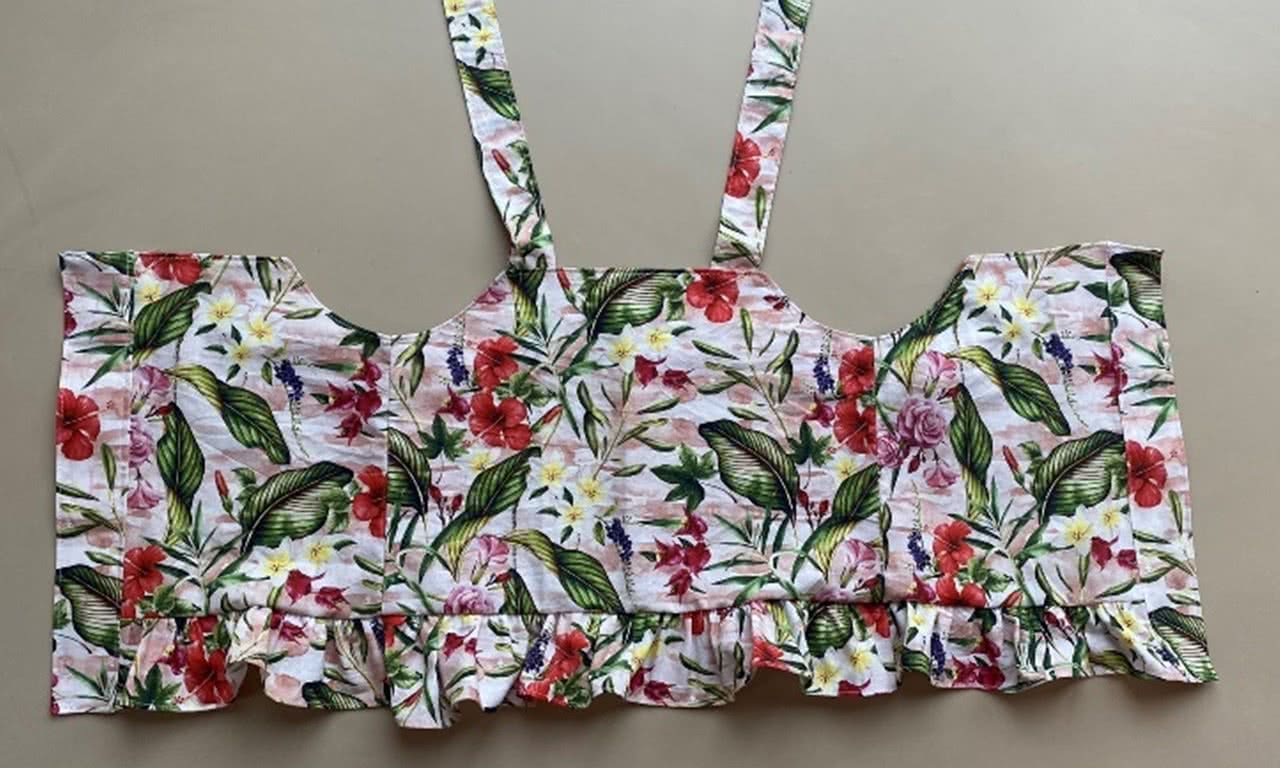
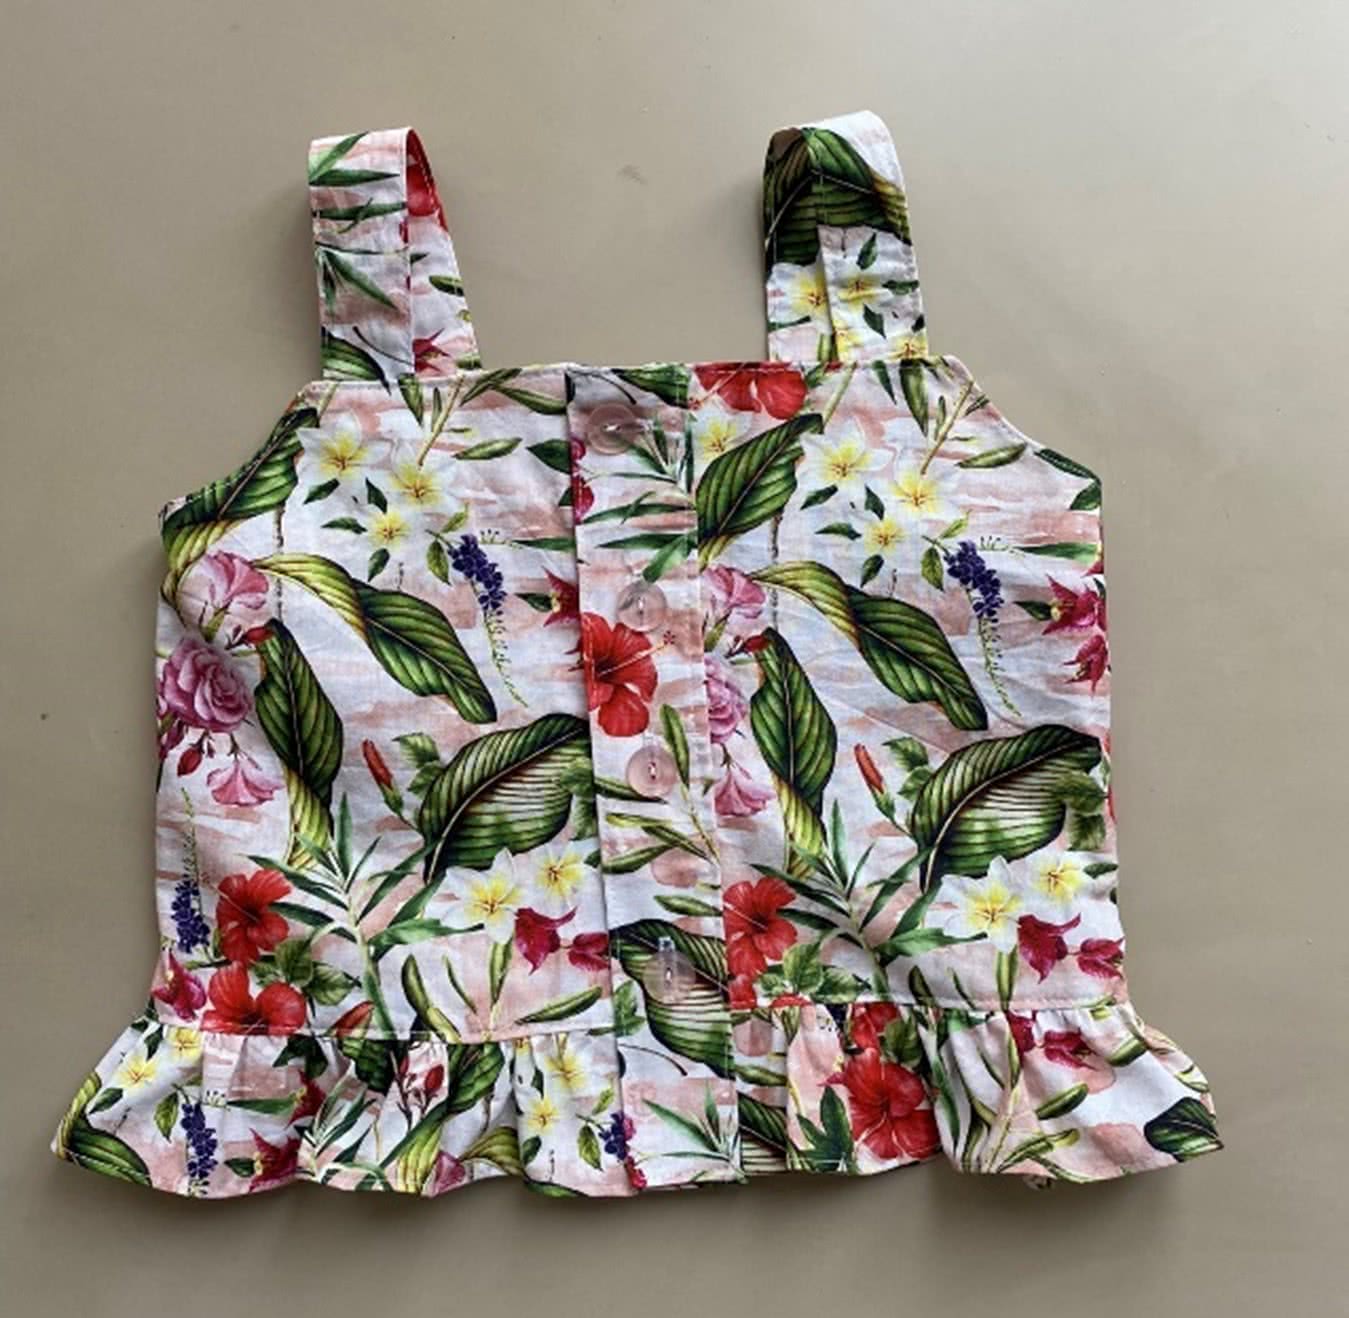
This is what your Kit top will look like now.
You are almost finished!
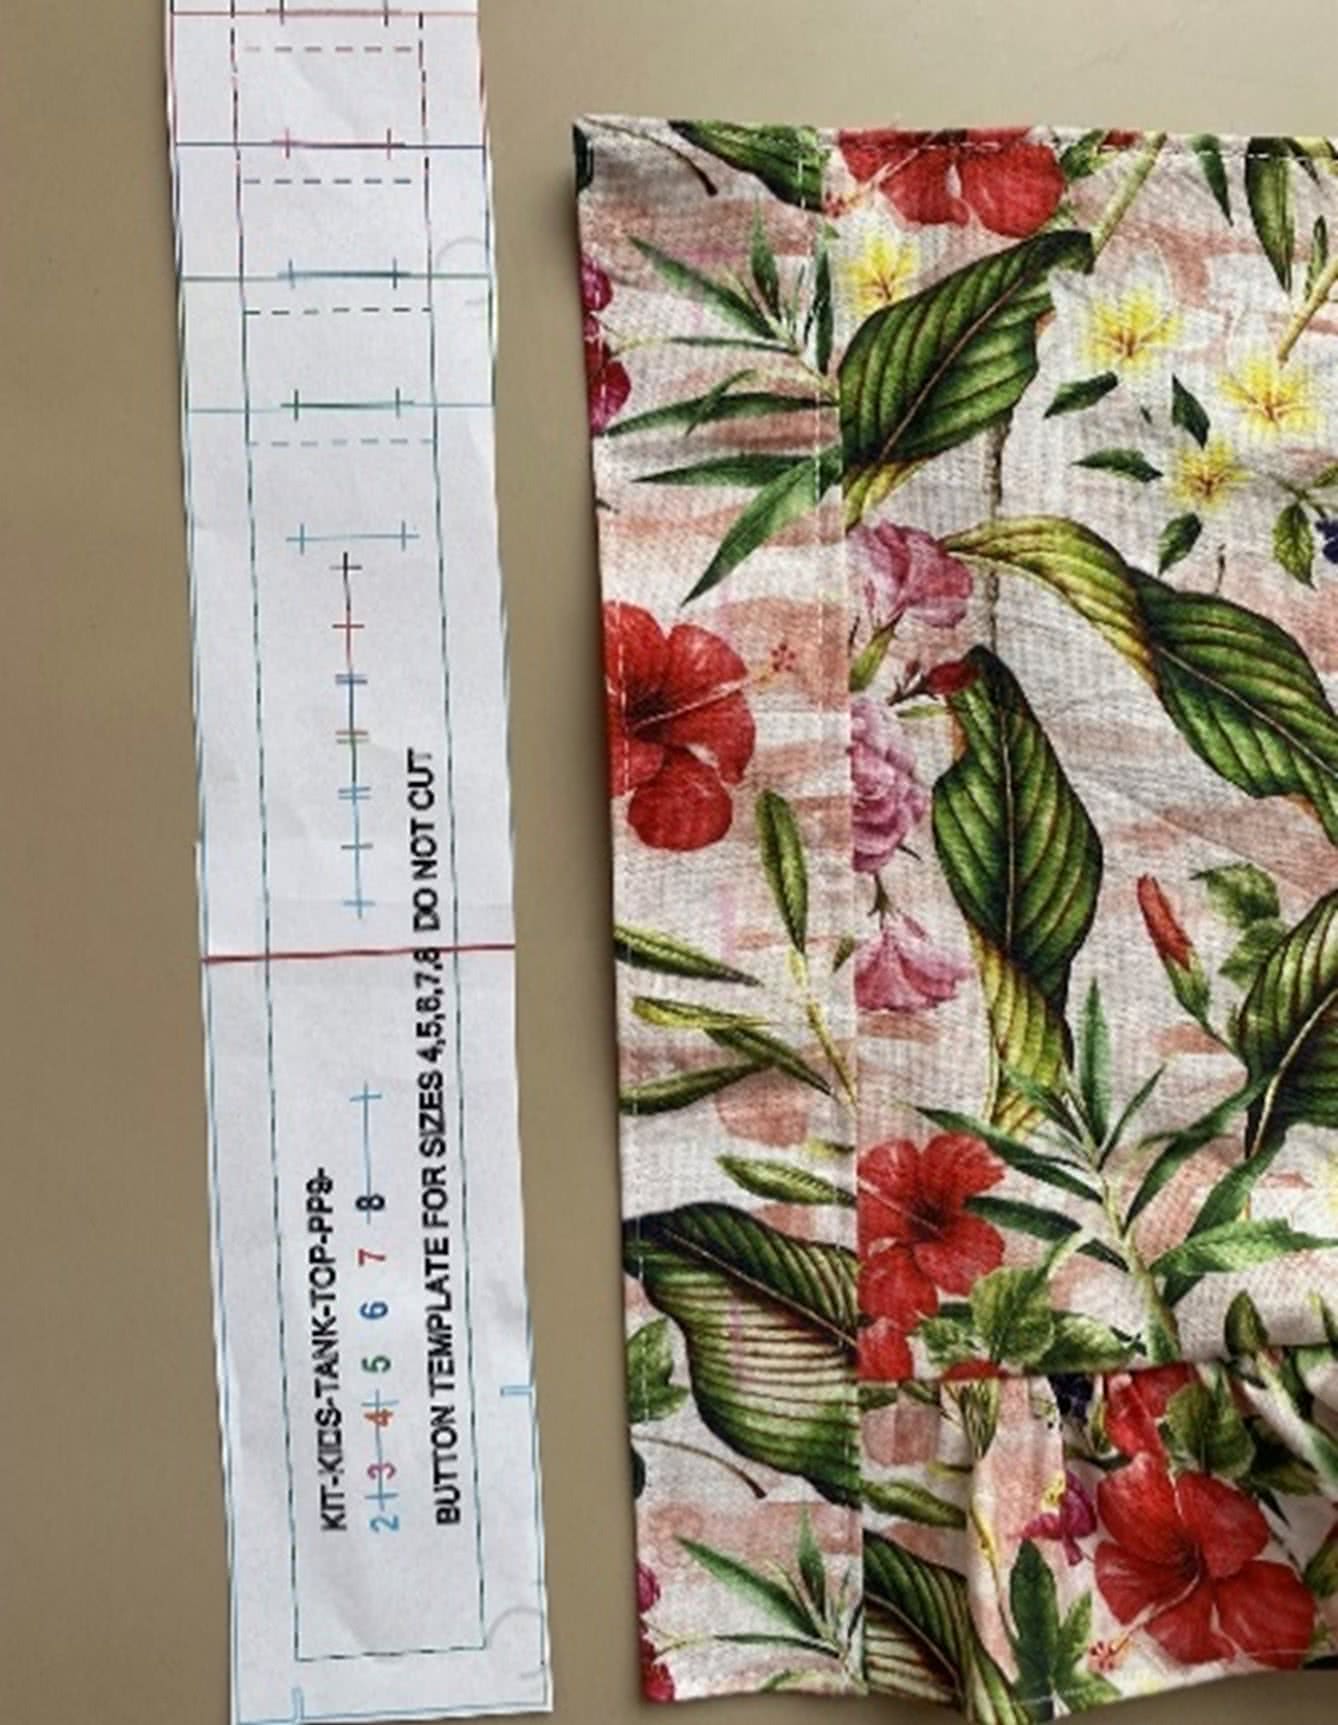
Buttonholes & buttons (pattern piece no. 9, no fabric piece)
Step 1
– Use the button template to mark the position of the buttonholes
– Sew the buttonholes at one side of the body and the buttons on the other side of the body.

Securing the straps to the top (reversed method, as mentioned before at ‘Sewing the body & attaching the straps to the top)
Step 1
– Sew the buttons to the front of the top.
– Be careful not to sew the buttons through both the facing and the front of the body. Only stitch them on the facing so you don’t see it on the right side of the body
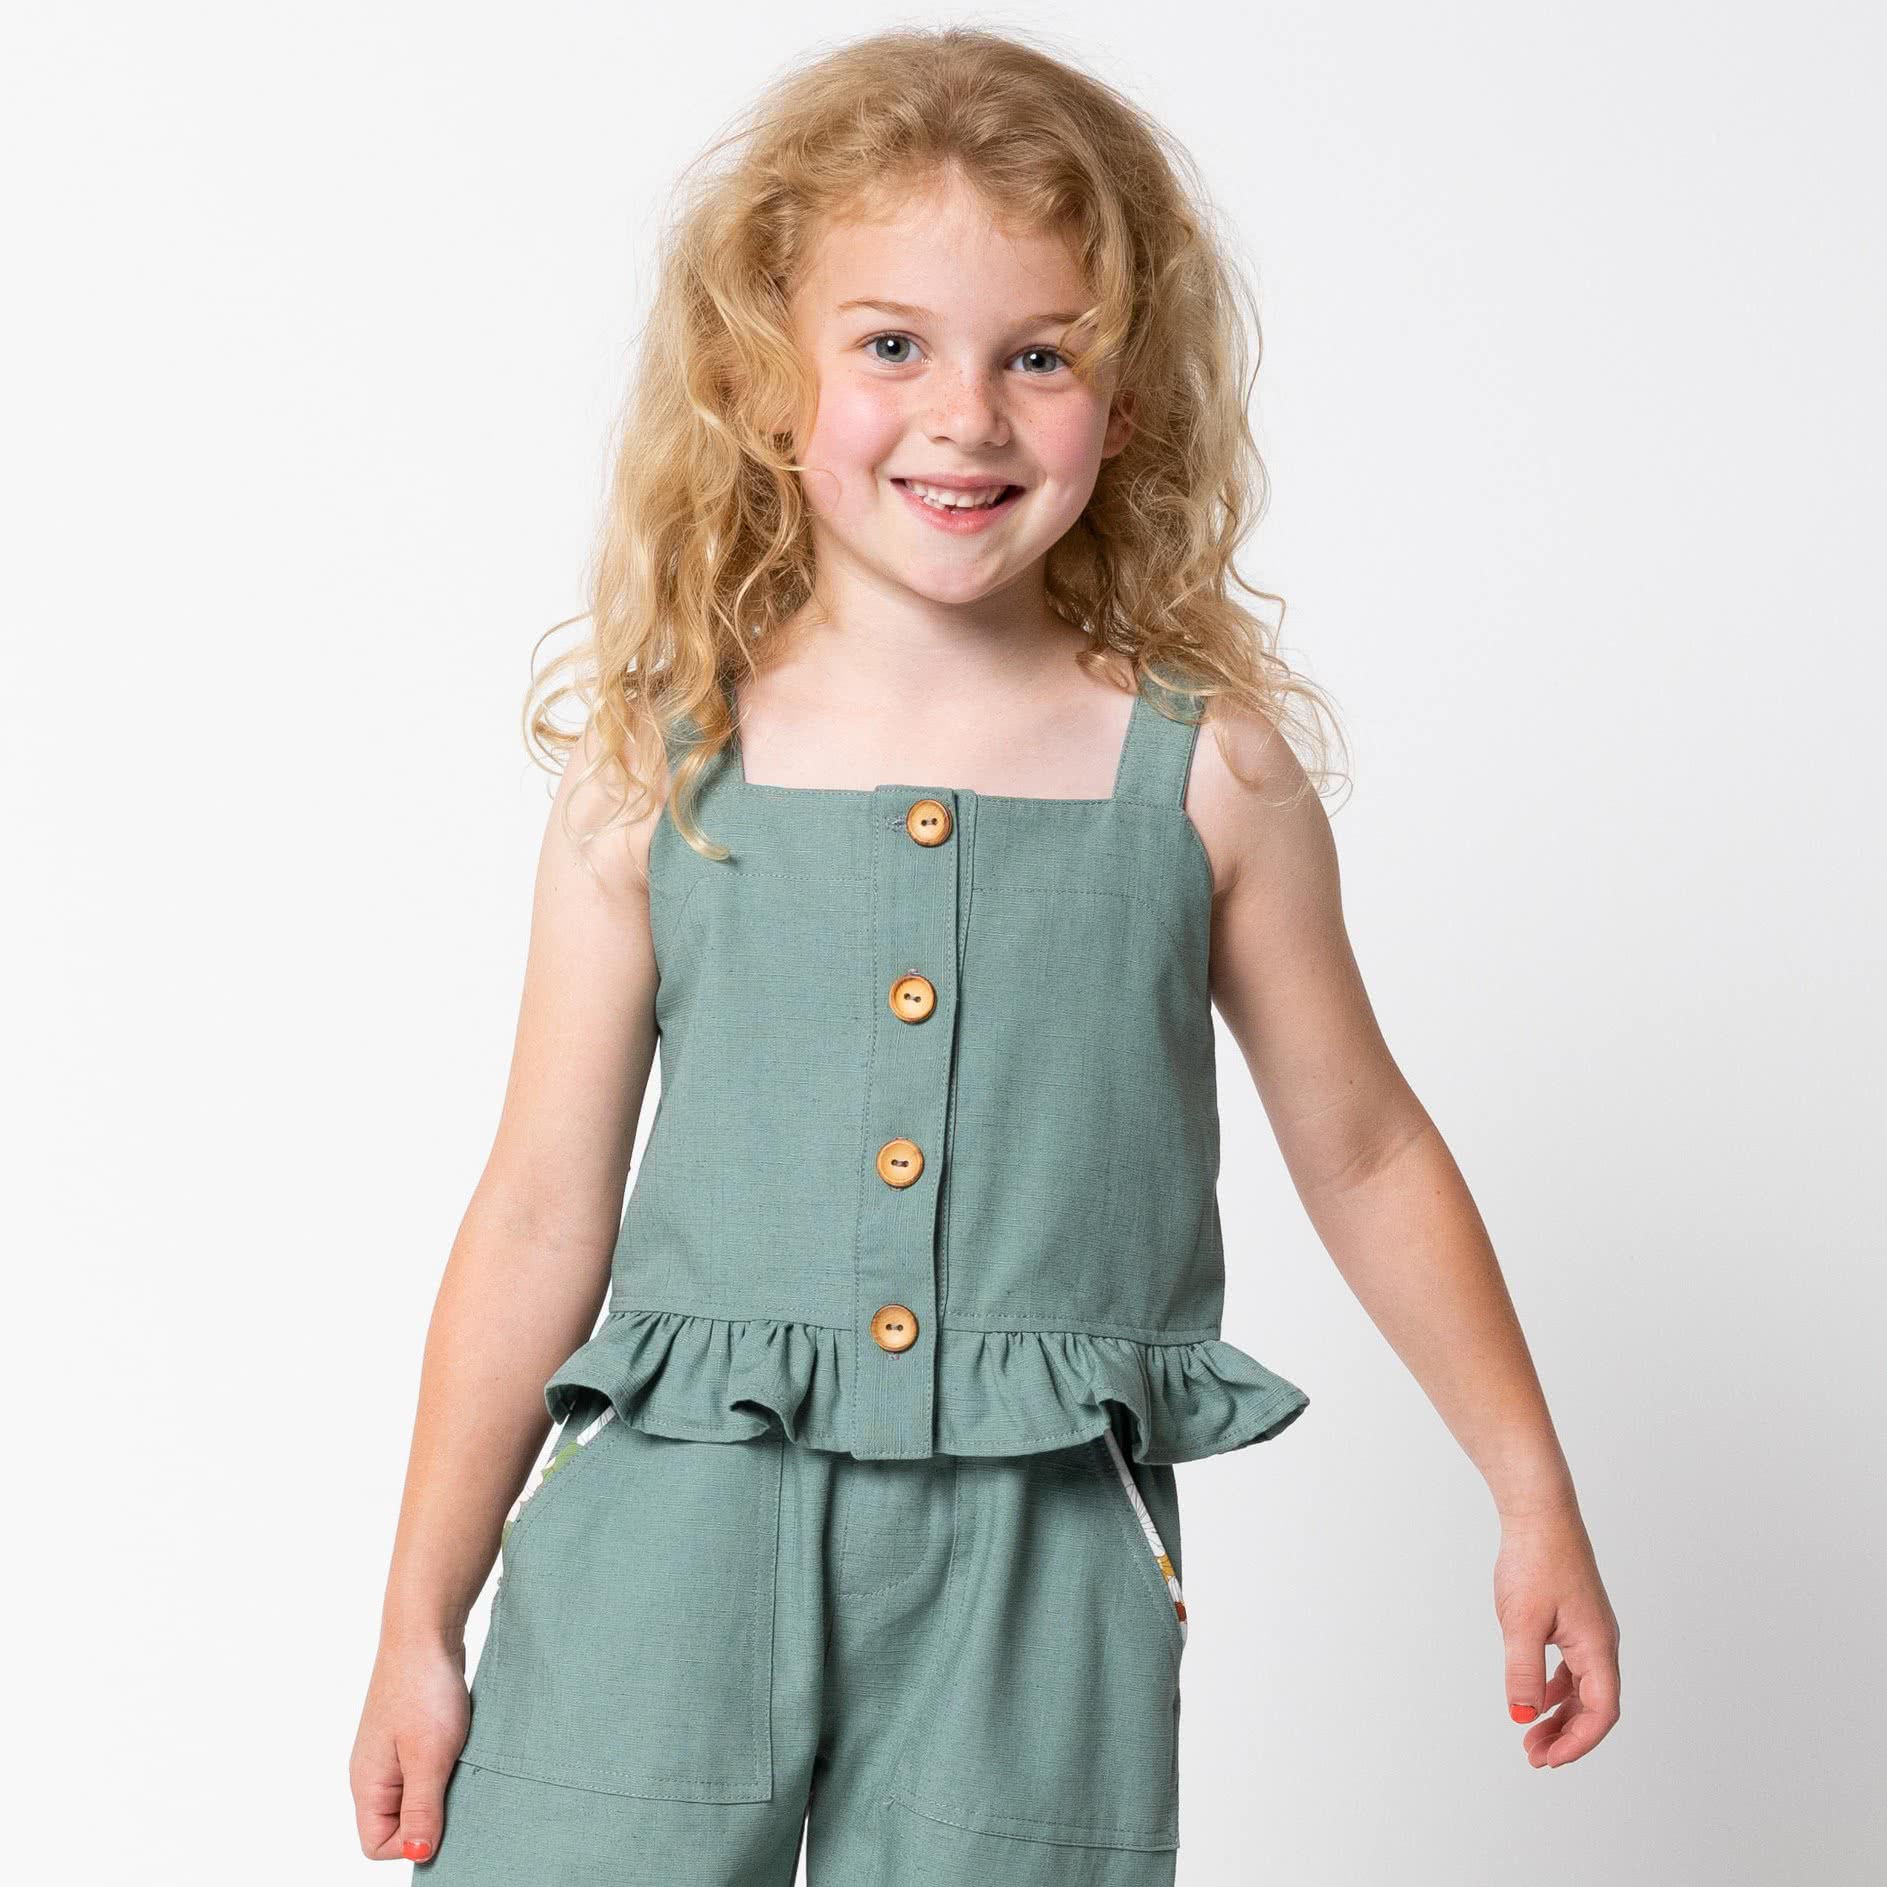
Congratulations, your Kit Tank Top is finished!
Have fun wearing it and don’t forget to share your version of the top using the hashtag #SAKitKidsTankTop
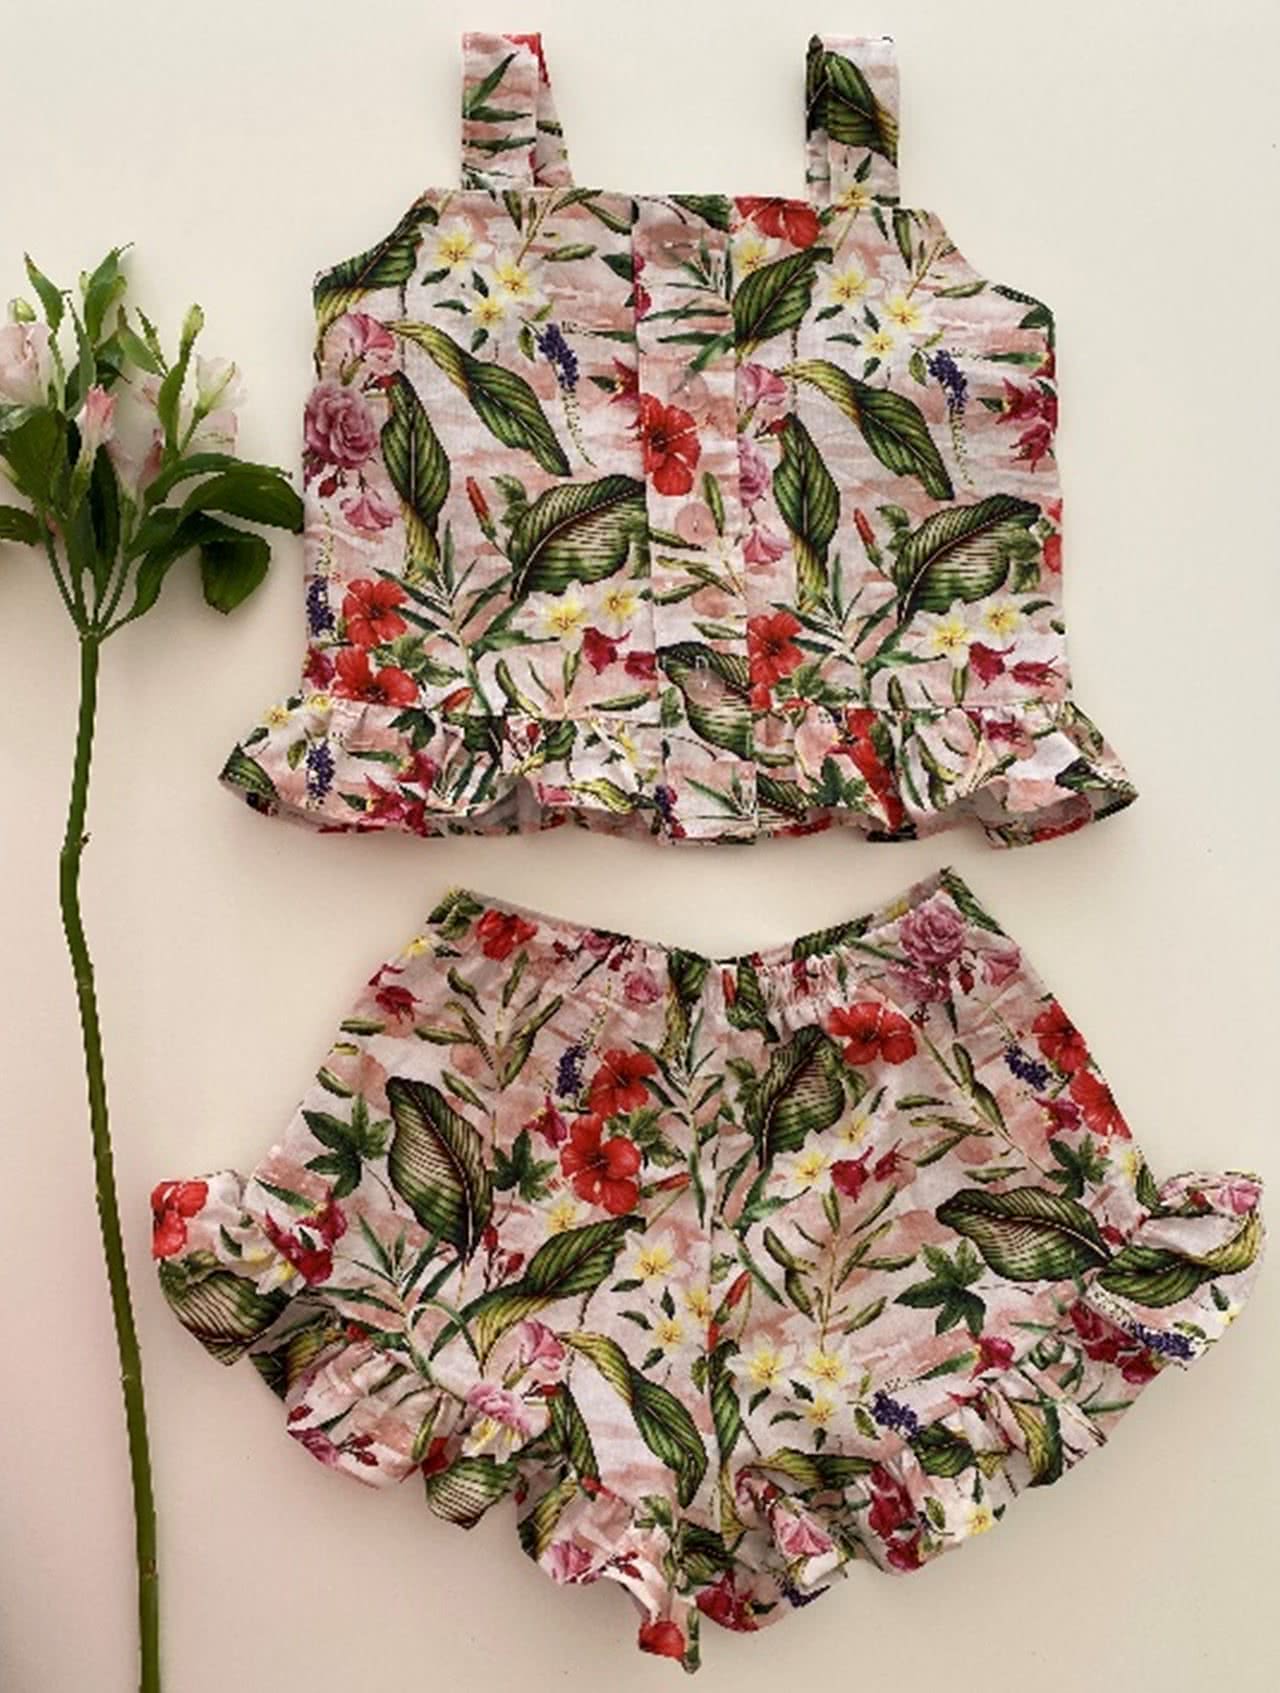
Style suggestion
The Kit Tank Top makes a perfect match with the Margot Kids Skort.
To make this outfit you use a simple version of the Margot skirt, with only one frill and without the overlay.
Tutorial by the lovely @nic_combi_naait