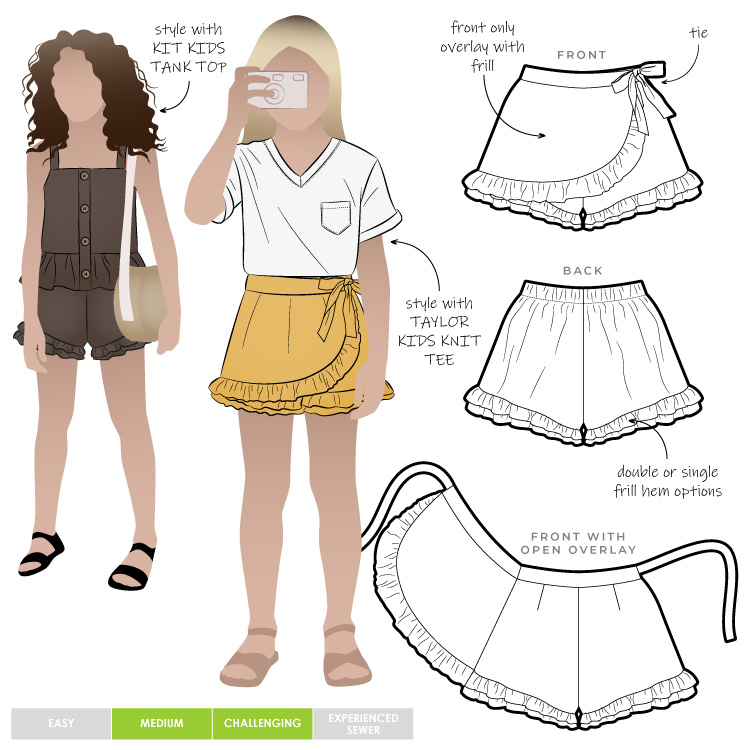
STEP-BY-STEP TUTORIAL
#SAMargotKidsSkort
Tutorial varies slightly from Style Arc construction sheet

In this example I made the skort with top and under frill. You can also make the skort with only one frill. If you would like to make a shorts, just leave out the overlay and then you can also choose to make the shorts with one or both frills.
Preparations
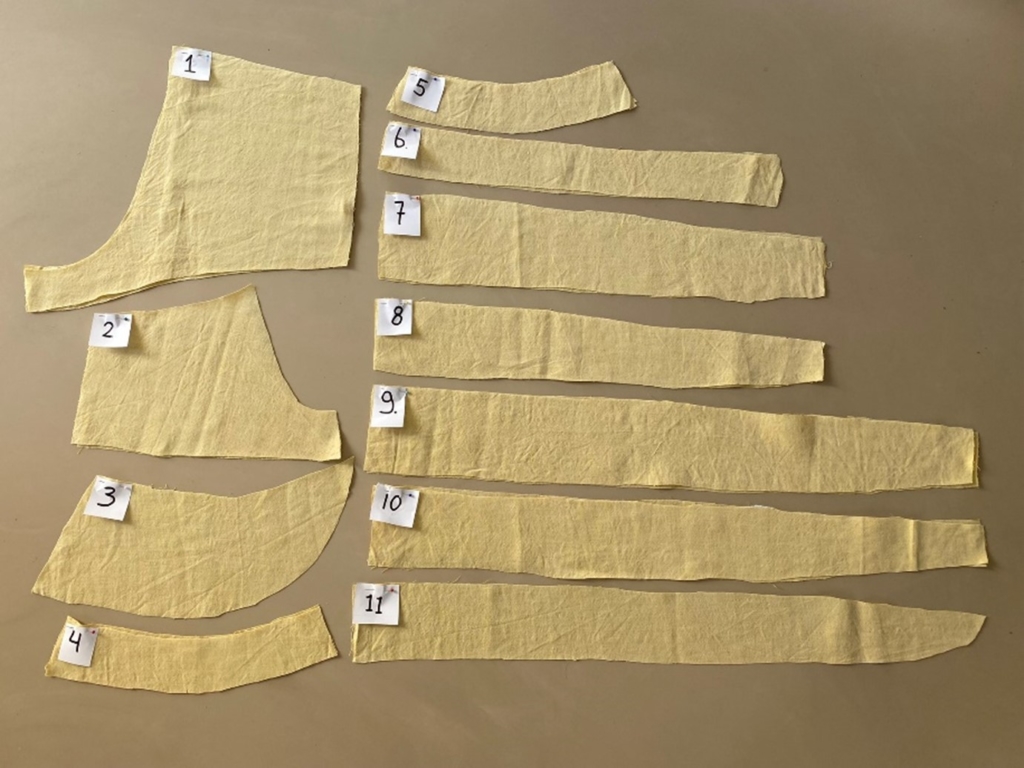
– Cut out all the pattern pieces.
– Take notice of the grainline as mentioned on the pattern pieces and the pattern pieces that need to be cut on the fold.
– Mark all the notches on your pattern pieces
– When finished, you should have 20 cut fabric pieces, which together make 11 pattern pieces.
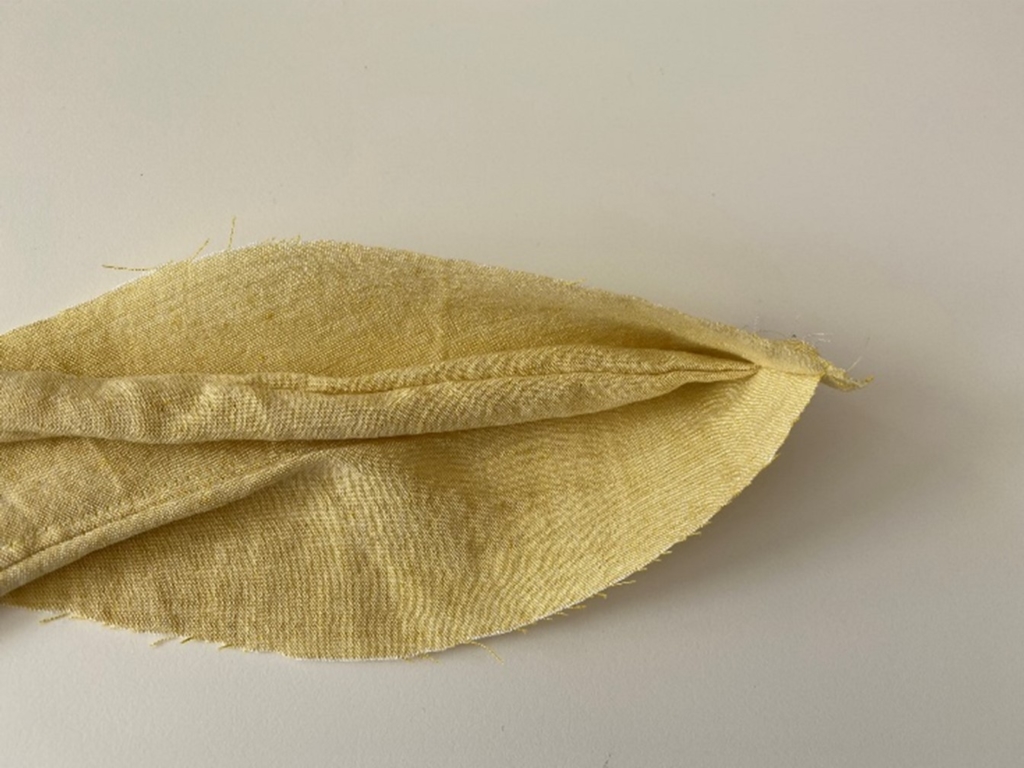
- Ties
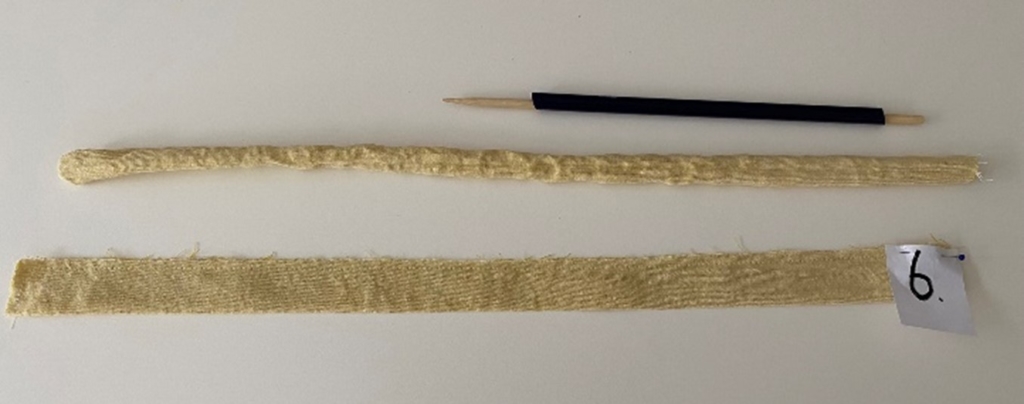
– Take pattern pieces no 6 (2x) and fold the long end, right sides together.
– Sew the length and one short end of the tie.
– Turn out and press nicely.
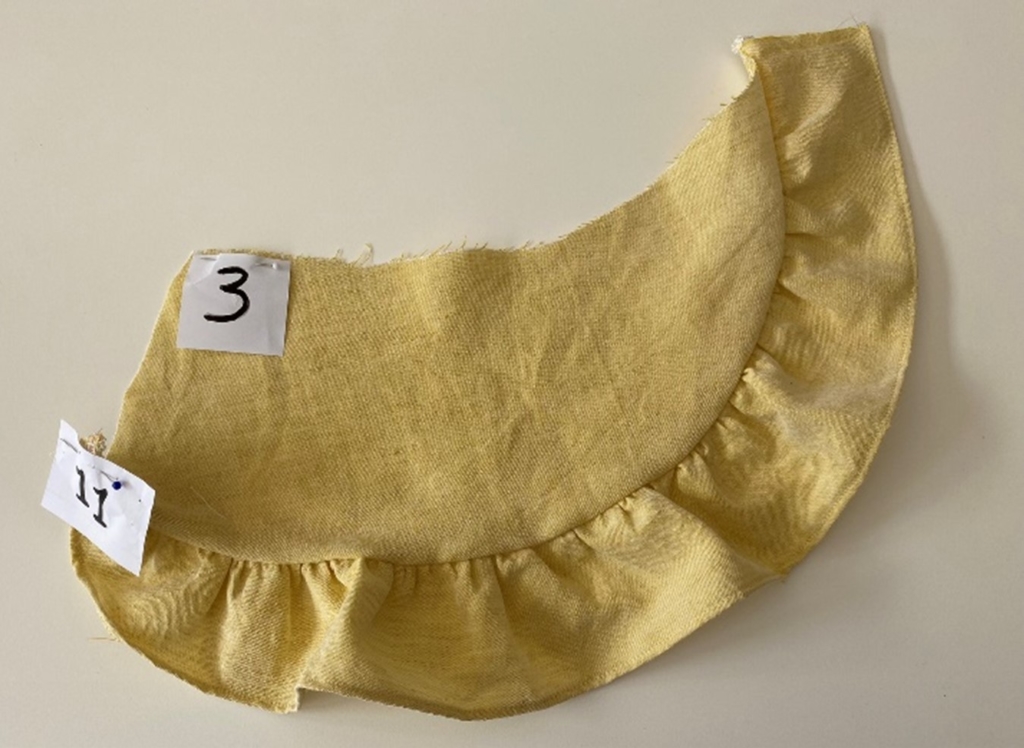
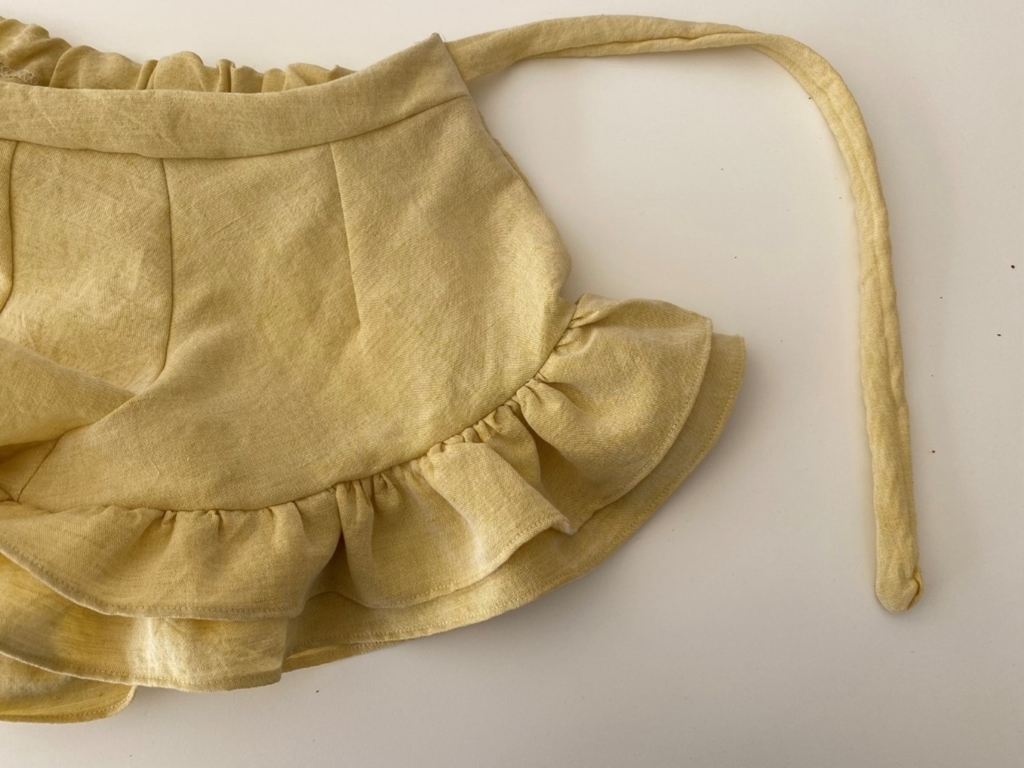
- Overlay and ruffle
– Take pattern piece no 11 (1x) and sew 2 rows of large gathering stiches to the straight edge of the overlay frill. Do not cut the end of the gathering stitch too short, so you can use the ends to gather the frill.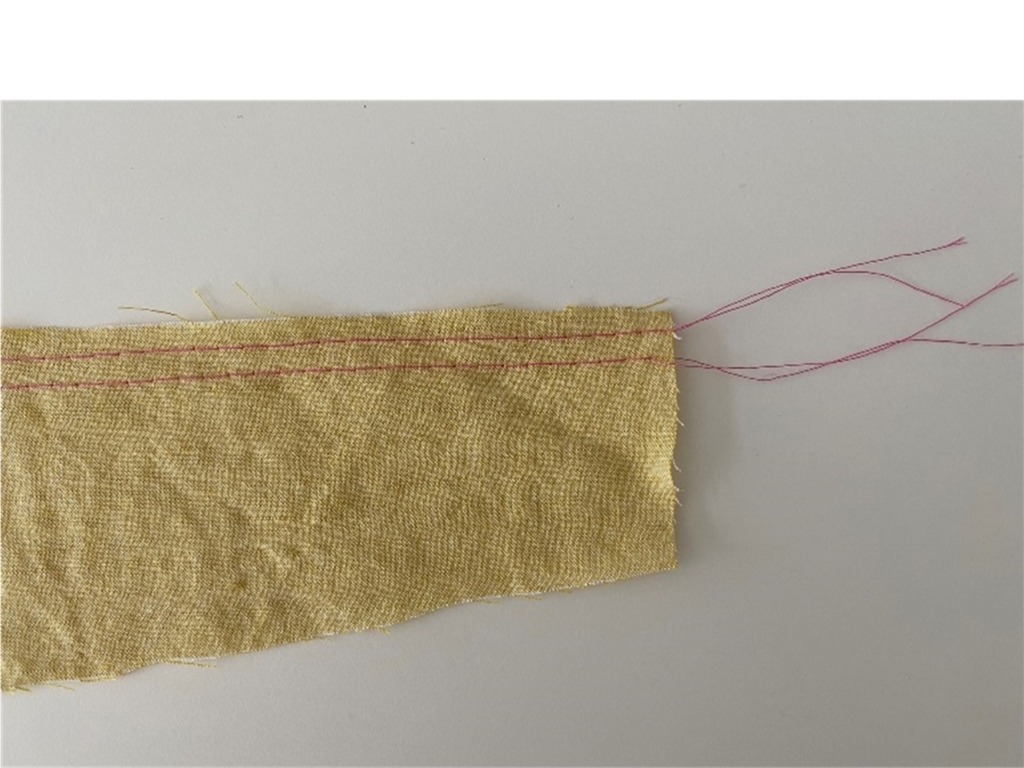
– Neaten the other, rounded end of the overlay frill.
– Gather the overlay frill so it has the same length as the overlay (pattern piece no 3).
– Pin in place and sew the frill to the overlay, right sides facing
– Remove the gathering stitches, finish the seam (for example with a serger) and press the seam up.
– Take pattern piece no 5 (2x), right sides facing.
– Sew the long, top edge.
– Sew a flat stitch close to the seam on the inside of the front waistband
– Take one of the two ties you made in step 1
– Take your waistband, right sides facing. Put the tie in between the waistband at the left side, sandwiching the tie in between the waistband.
– Sew the short end of the waistband, left side.
– The tie is attached to the left side of the waistband now.
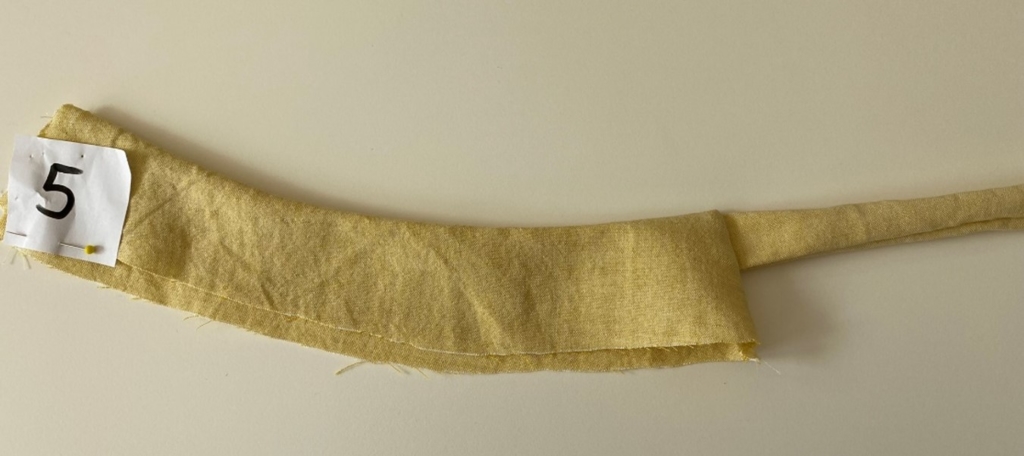
– Pin the waistband to the overlay, right sides facing.
– Sew the waistband to the overlay, turn the inside seam inwards and stitch with a sink stitch.
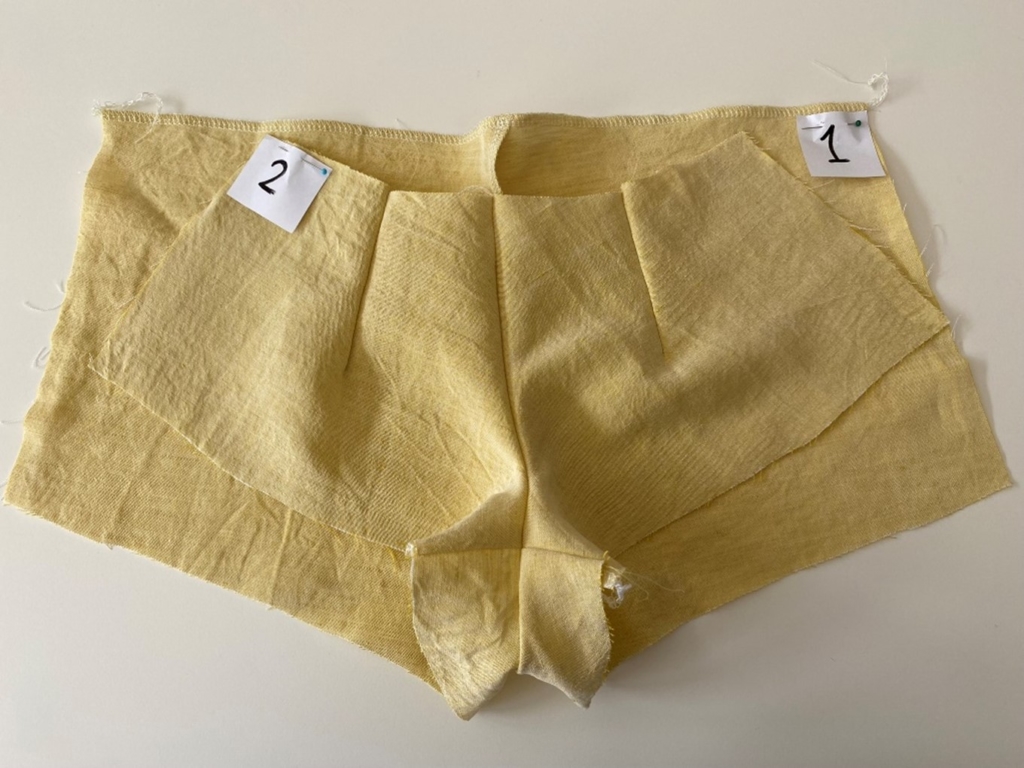
3: Shorts (When you are making the shorts and not the skort, you can close both side seams. When making the skort, leave the right side seam open, as explained in this tutorial).
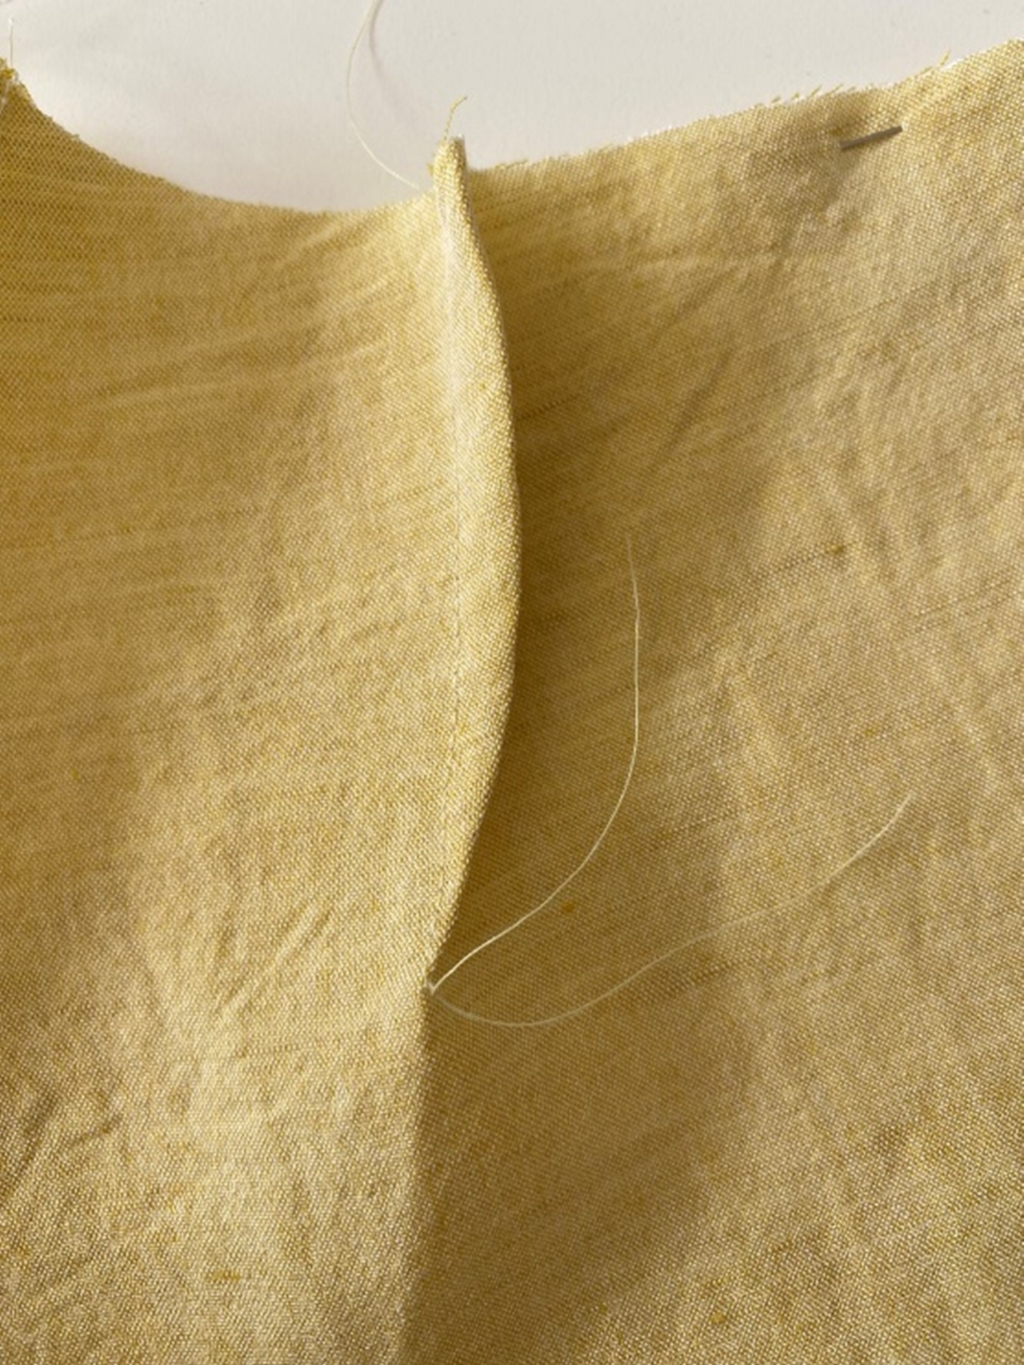
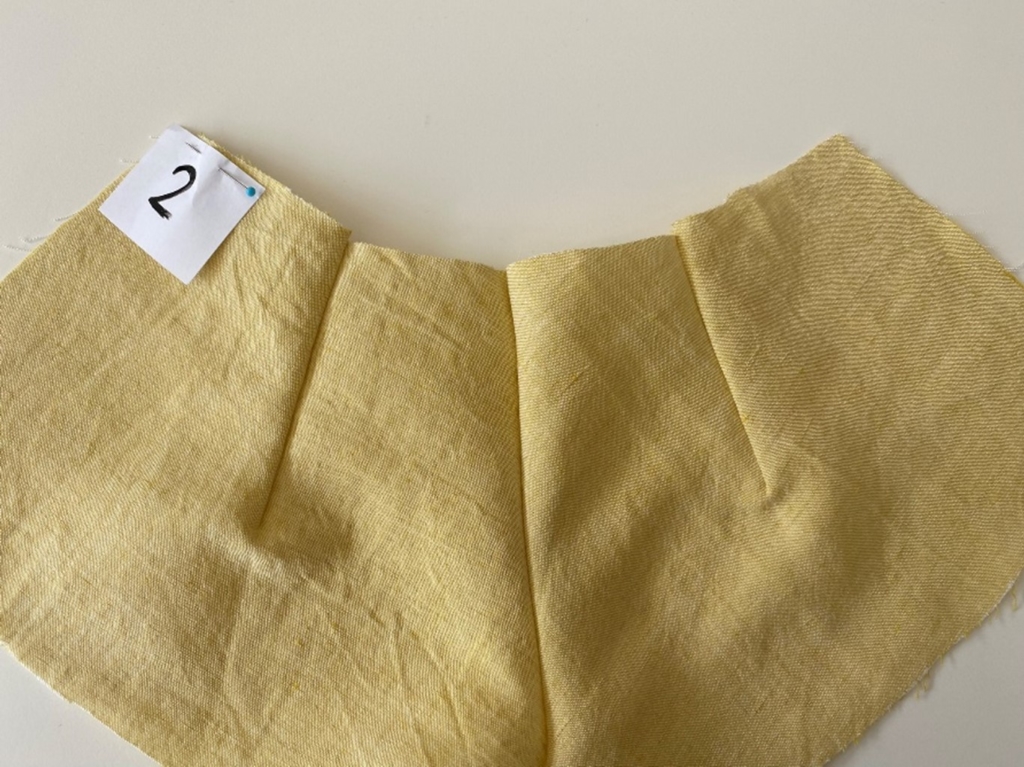
– Take pattern piece no 2 (2x) and sew the waist darts. Don’t cut the threads too short so you can finish the darts with a knot to improve a smooth end of the darts.
– Take pattern piece no 1 (2x) and sew the front and back seam of the shorts, using pattern pieces 1 and 2.
– Sew the crotch seam.
– Finish all seams neatly.
– Fold the top part of the back of the shorts at the fold line to create a tunnel for your elastic.
– Sew and baste the elastic through the tunnel.

– Sew the right side of the elastic very close to the side. Pin the other side of the elastic in place. This side will be sewn in one of the final steps .
– Take pattern piece no 4 (2x) and sew the long edge, right sides together.
– Turn out and sew a flat stitch close to the seam on the inner waistband
– Sew the outer waistband to the front of the shorts (pattern piece no 2)
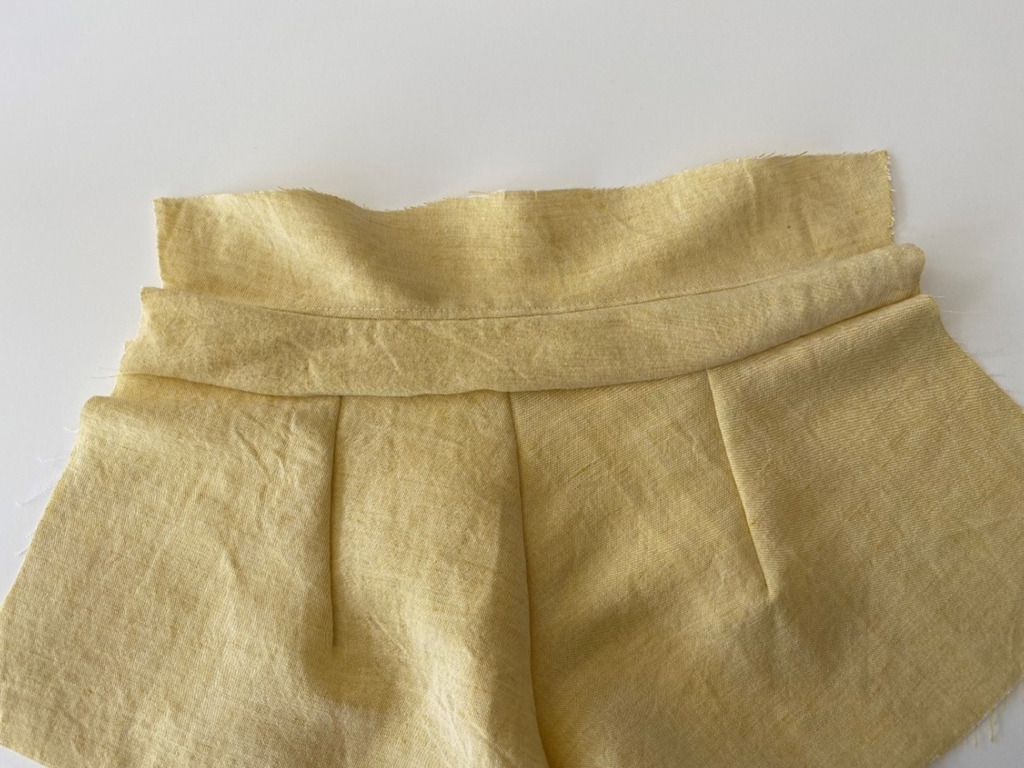
– Sew the inner waistband to the seam of the front waistband. This way the stitch will not be visible on the right side of the shorts. Leave the short ends open at both sides of the waistband.
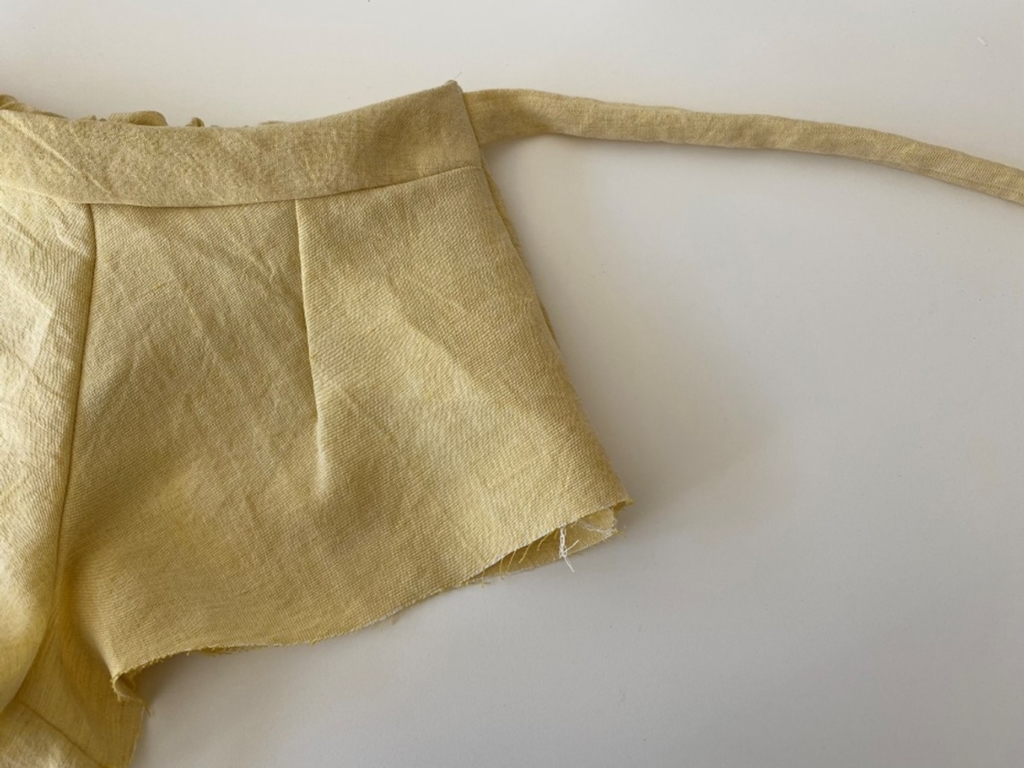
– Take the second tie you made in step 1.
– Put the tie on the front of the waistband, at the left side, and pin in place. Do not sew it yet!
- Left leg
– Turn the shorts right sides together and pin the left side seam.
– Make sure the beginning and ending of the waistband correspond nicely with each other
– Pay attention to the tie, is it still in place, sandwiched in between the left side seam of the front and back waistband.
– Make sure you stitch the elastic firmly in the side seam.
– Sew the left side seam.
– Take pattern pieces no 7 to 10 (8x)
– Sew one pattern piece no 7 to pattern piece no 9, and one pattern piece no 8 to pattern piece no 10.
– Sew the top frill on to the under frill with a stay stitch.
– Finish the shaped hems of both frills
– Sew 2 rows of gathering stitches to the frills (as explained in step 2).
– Pin and sew the frill to the left leg opening. Make sure the wider end of the frill is positioned at the side seam and the smaller end of the frill is at the crotch seam.
– Remove the gathering stitches and finish the seam.
- Right leg
– This frill works the same way as the left side frill, only you don’t close the side seam of the frills (the wider ends stay open)
– Staystitch the top frill to the under frill
– Sew two rows of gathering stitches as explained before and adjust the length of the frill to the length of the right leg opening.
– Sew in place, remove the gathering stiches and finish the seam.
– Take the overlay and sandwich it in between the front and back of the shorts. The long end of the overlay will be sewn in place in between the right side seam.
– The right sides of the shorts are facing each other, where the overlay is positioned with it’s wrong side on top of the right side of the front of the shorts
– Sew the side seam and finish.
– Turn you short right side out and see that your short has become a skort!
– Press nicely and your skort is finished!
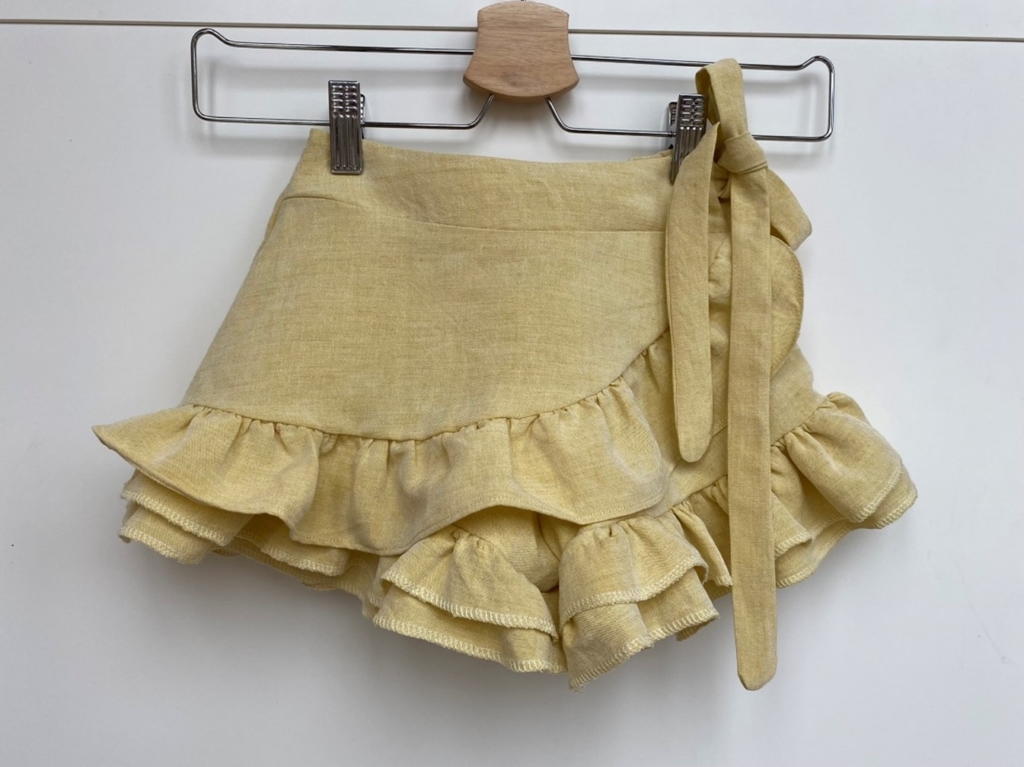
Margot skort paired back with the Harlow knit top below

Tutorial by the lovely @nic_combi_naait