Shop the Hope Woven Dress Pattern
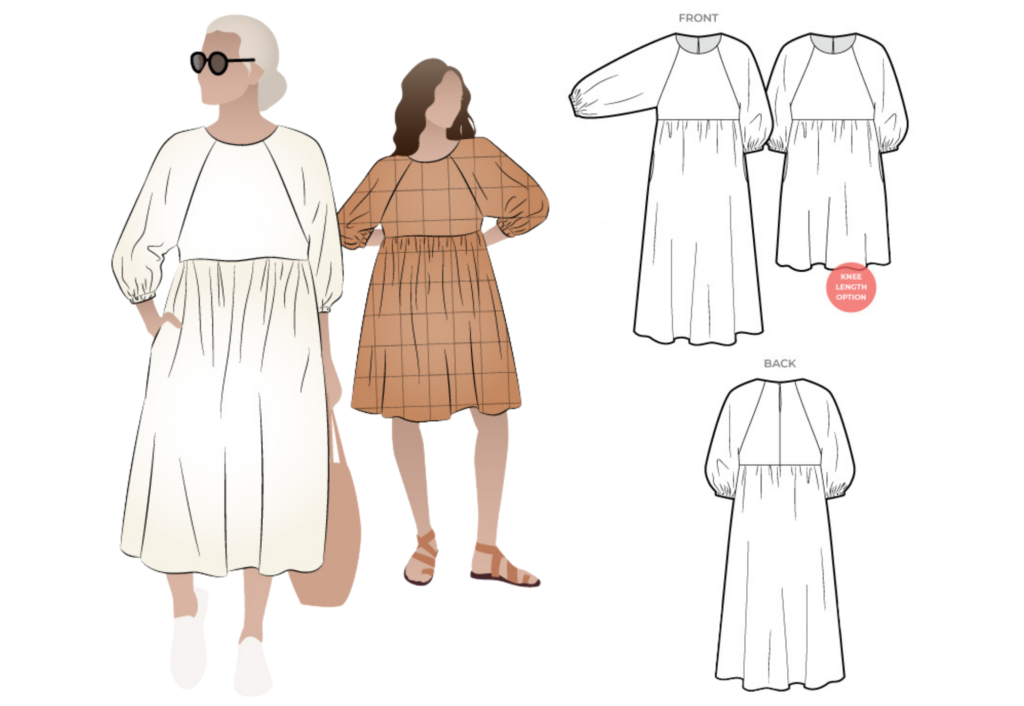
Before you start sewing, you might want to rummage through your fabric scraps/stash and plan a colour/print layout for the Hope Woven Dress. Click the link below to download the Hope Woven Dress Colour It Your Way PDF and have some fun!
✏️ Colour It Your Way PDF Download ✏️
CONSTRUCTION:
Click through to watch a two-part step-by-step sew along video to help you make your very own Hope Woven Dress. Here is part 1:
And here is part 2:
BODICE:
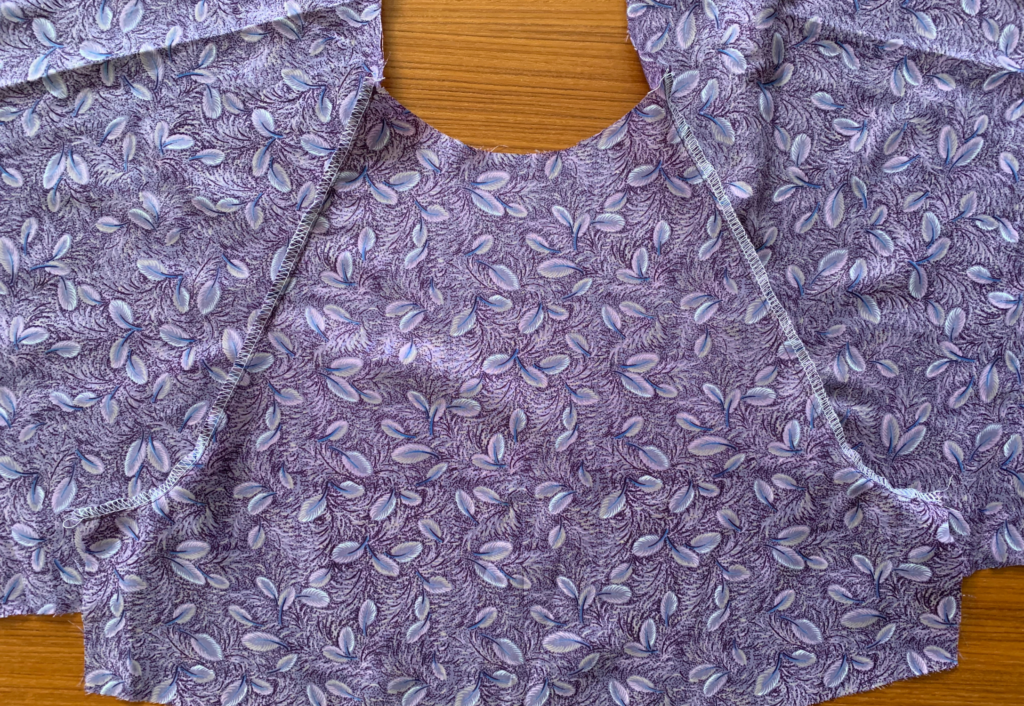
With right sides facing sew the front armhole to the front sleeve matching the notches as you sew followed by sewing the back armhole to the back sleeve. Neaten with an overlocker/serger.
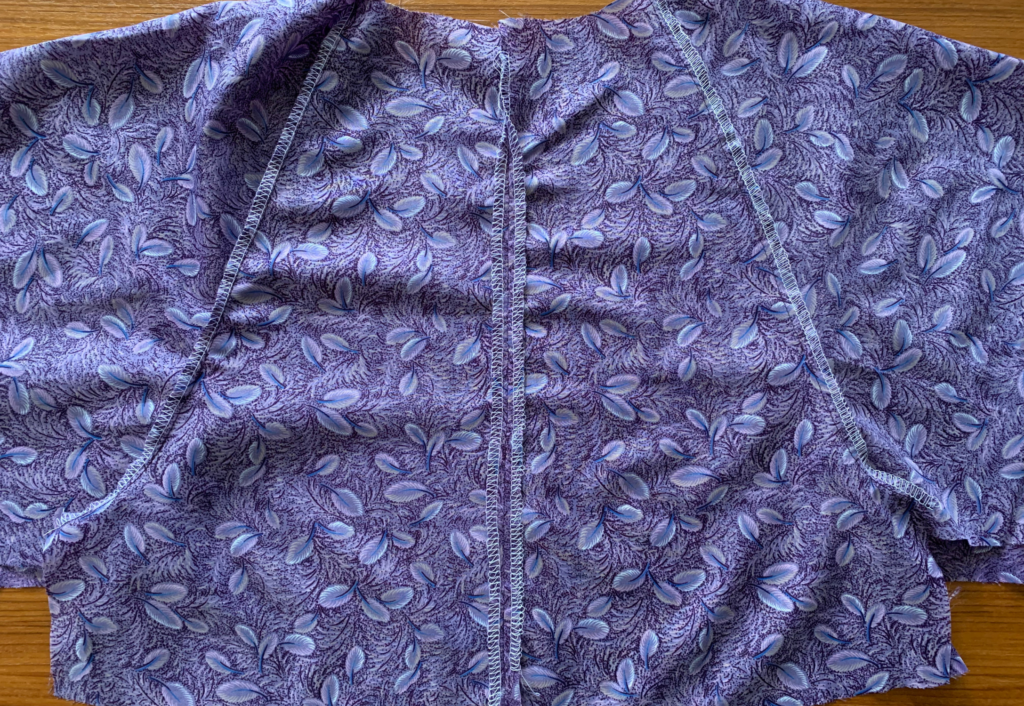
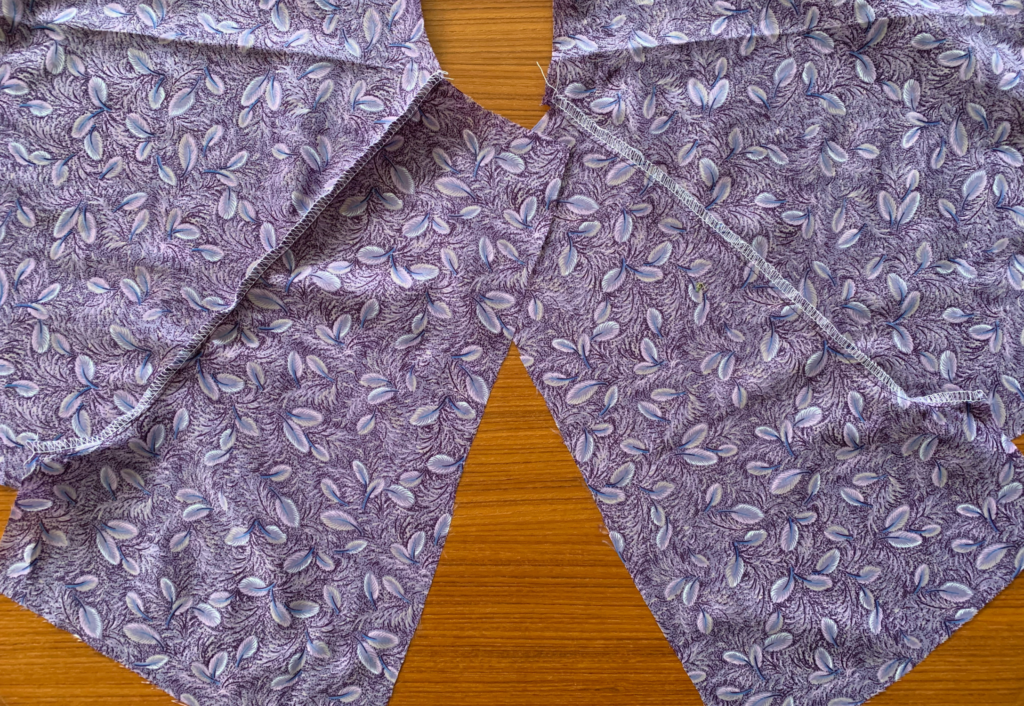
Neaten each centre back edge with an overlocker/serger. Sew the centre back seams together, stitch from the waist up to the notch which indicates the back neck split. Press the seams open.
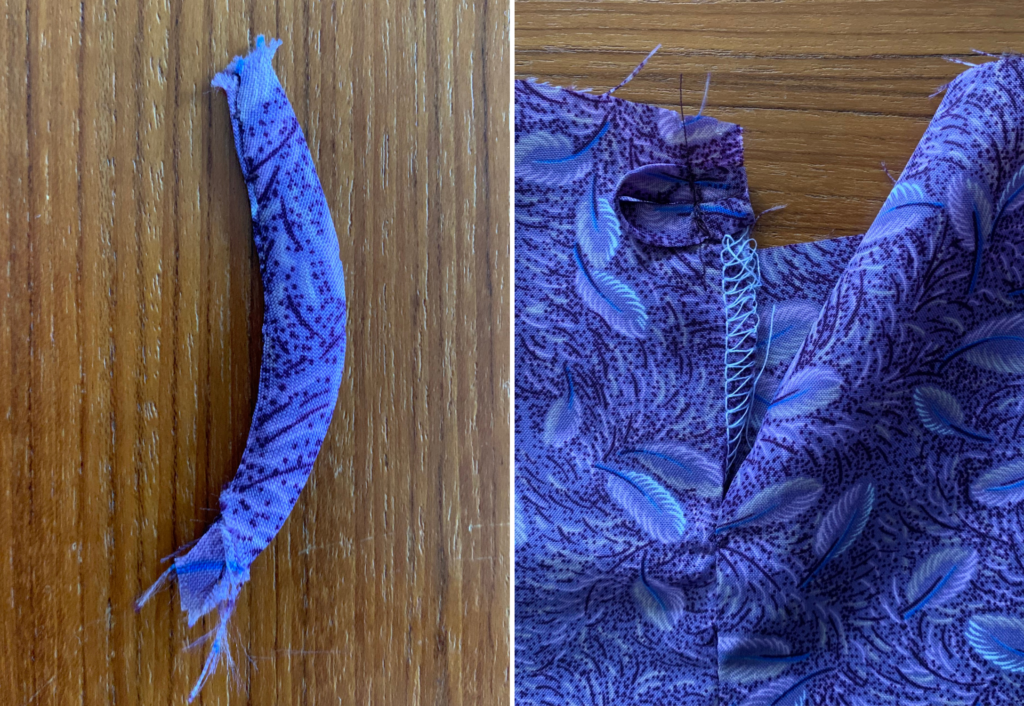
With right sides facing make the loop by folding the bias strip in half lengthways and stitch along the length, turn out to the right side and make a loop shape and sew it to the left back neck, the loop will face inward at this stage; it will face outward when the facing is sewn on and turned out to the right side.
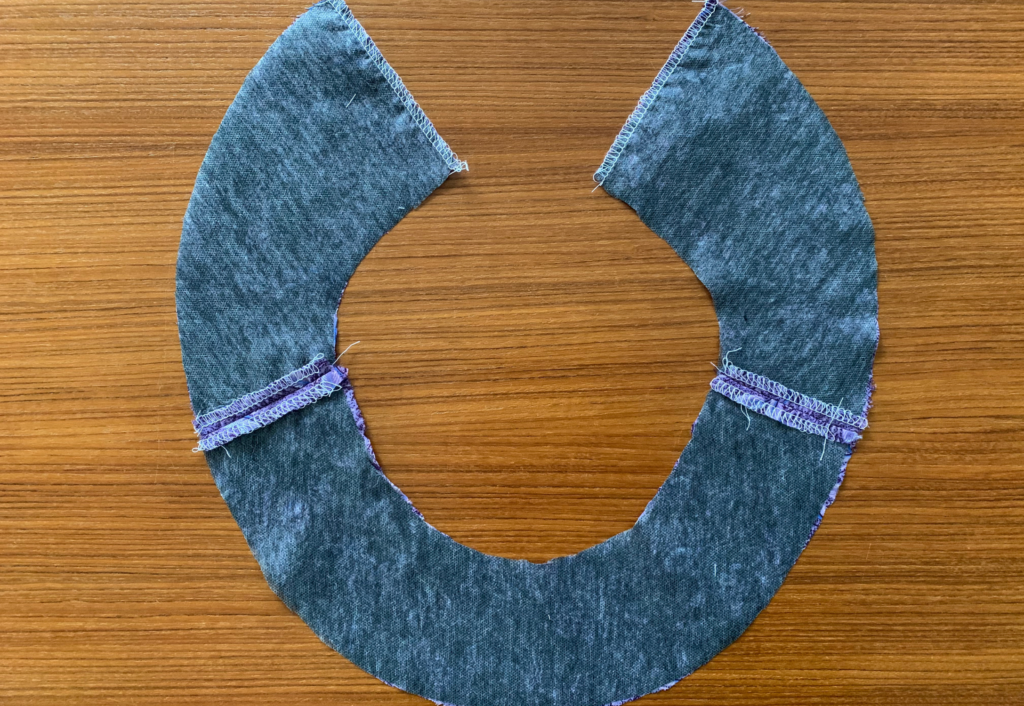
Neaten each edge of the shoulder seams with an overlocker/serger. Sew the shoulder seams of the front and back neck facings together, followed by sewing the lower centre facing seams together (not pictured). Press the seams open.
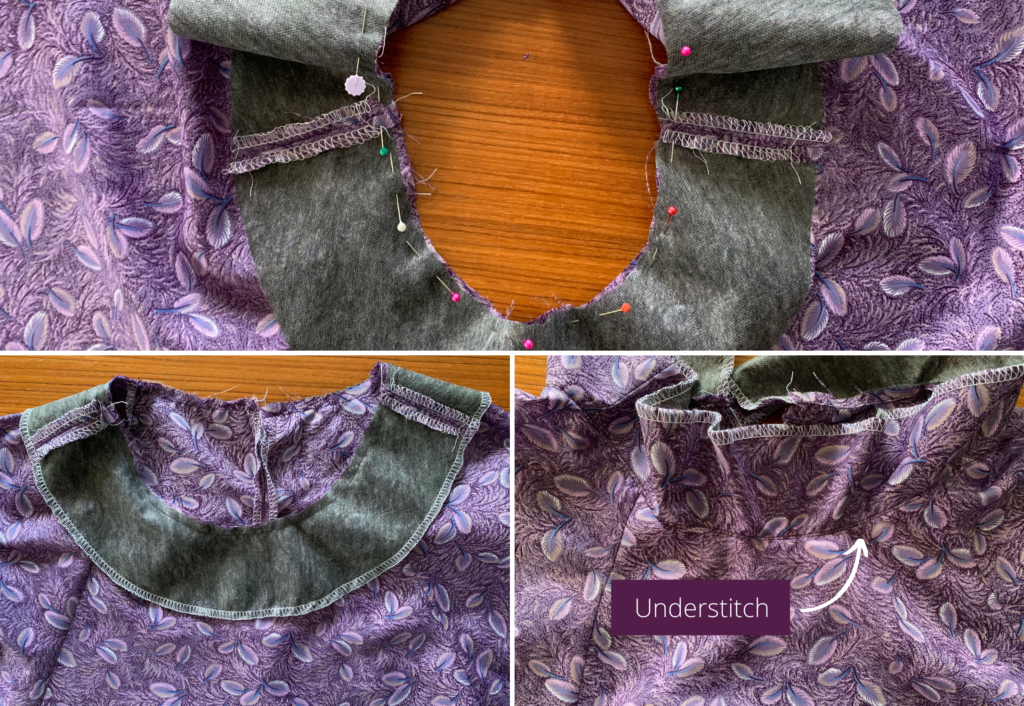
With right sides together sew the neck facing to the neck, turn to the right side and sew a flat stitch (understitch) close to the seam on the side of the facing. Neaten the edge of the facing with an overlocker/serger.
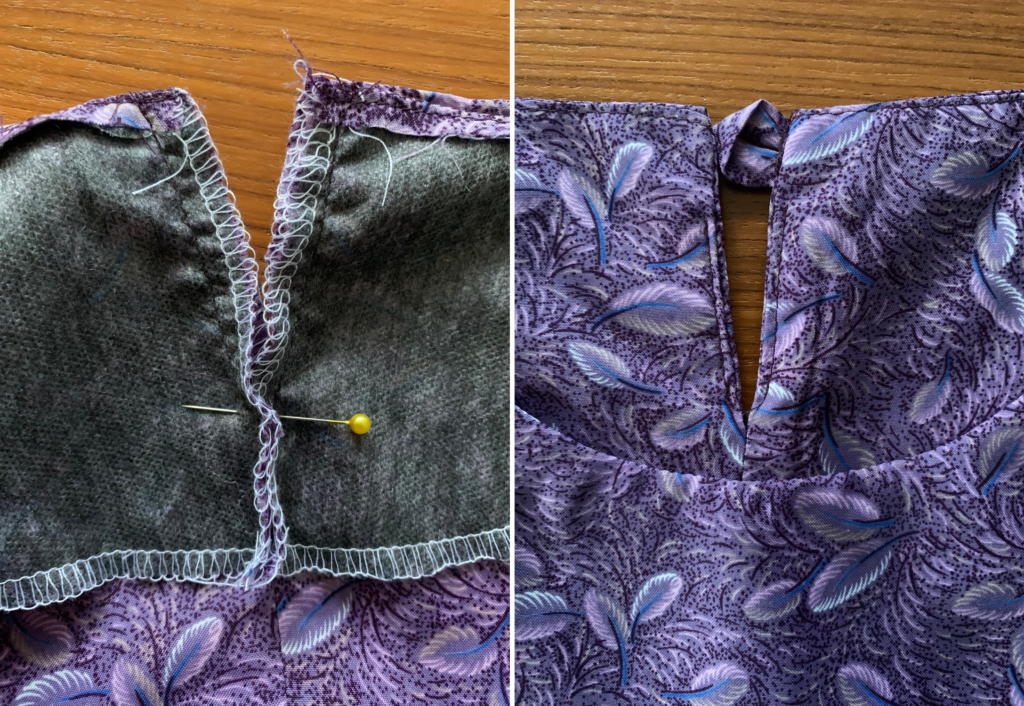
With right sides together sew the split on the back body to the split on the facing, sew from the neck down to the notch, place a pin at the junction then repeat for the opposite side, turn out and understitch close to the seam on the side of the facing.
With right sides facing sew the front and back bodice and sleeve seams, start sewing at the waist of the bodice, sew to the underarm and continue sewing down to the sleeve opening. Neaten with an overlocker/serger.
SKIRT/ POCKET CONSTRUCTION: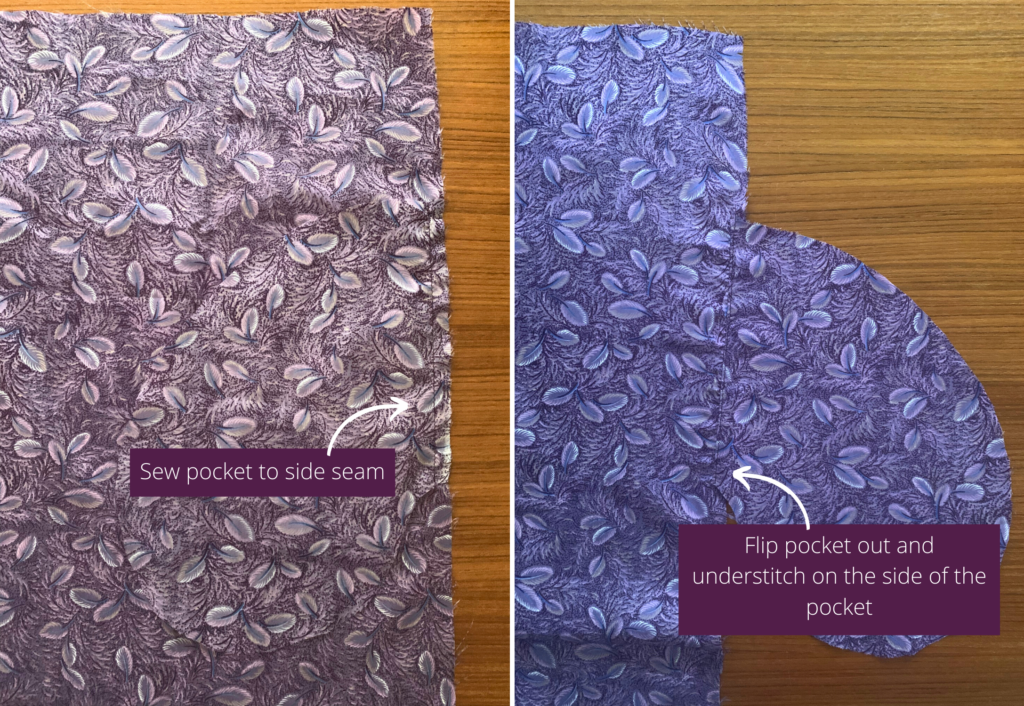
Please note I have used an alternative method to make my pockets than written on the construction sheet
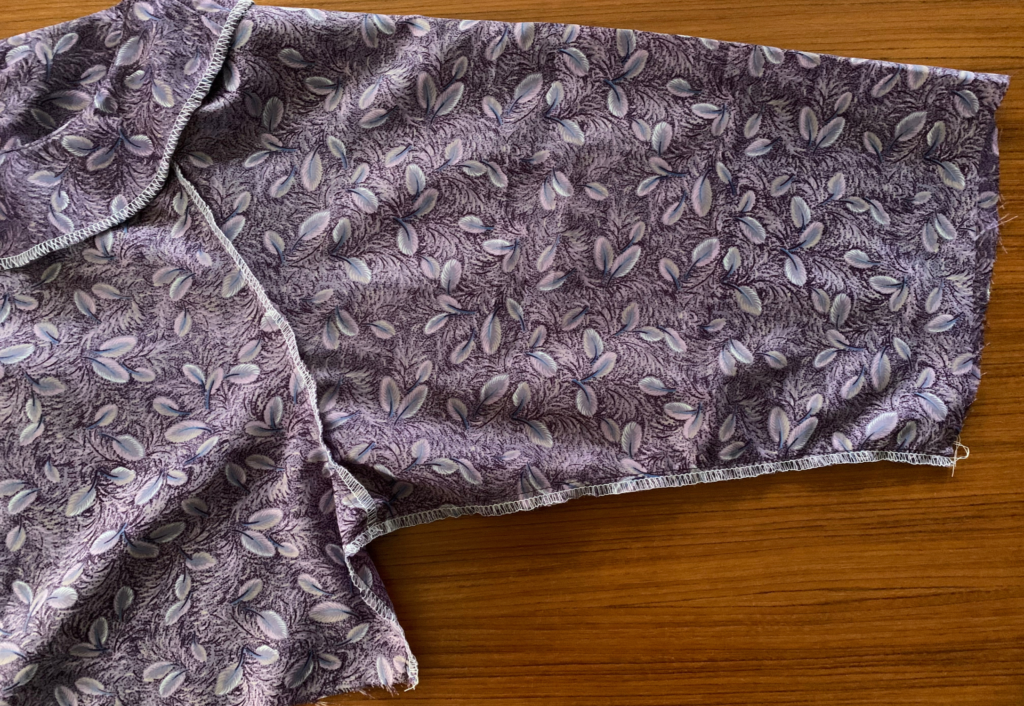
With right side together sew one set of pockets to the front side seam and one set of pockets to the back side seam, see pocket notches on the side seams, once the pockets are stitched on turn to the right side and under stitch close to the pocket seam on the side of the pocket.
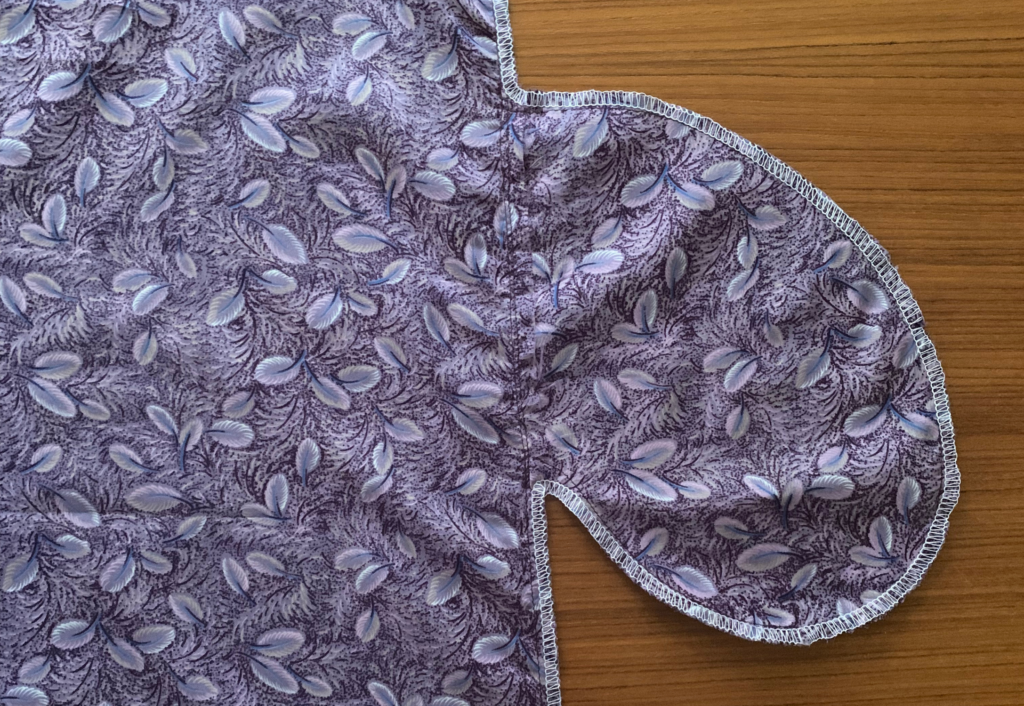
With right sides together sew the front and back skirt seams together, start at the waist edge and sew down to the top of the pockets, with the needle down, turn the corner and sew around the pocket bags joining them together, when arriving back at the side seam keep the needle down and continue sewing down the side seams finishing at the bottom edge of the skirt. Neaten the seam with an overlocker/serger.
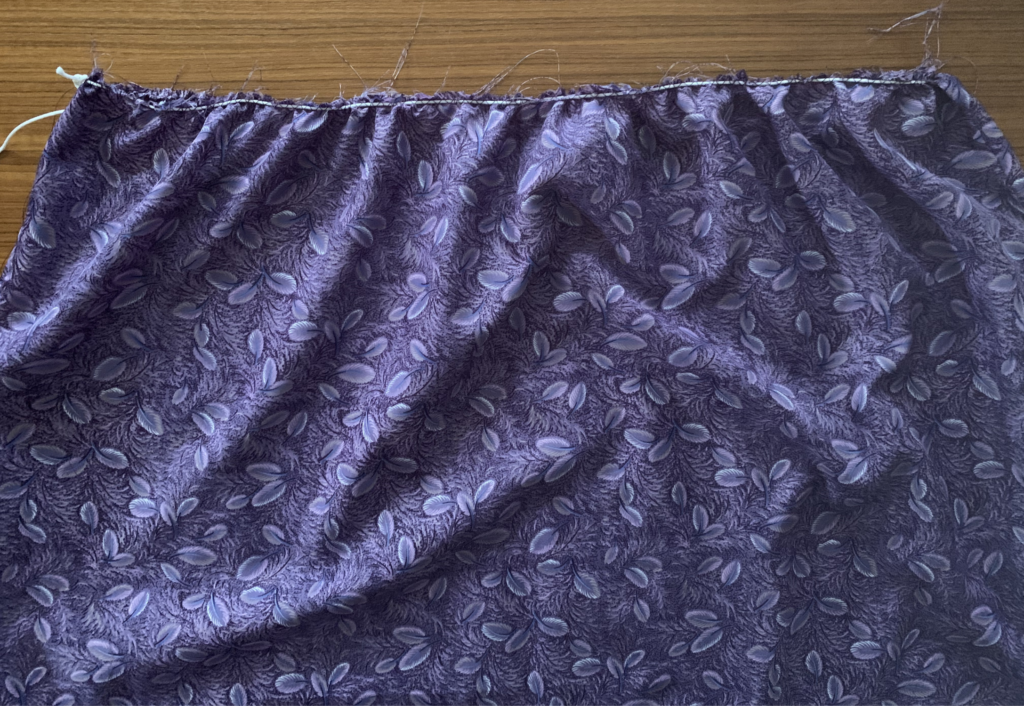
Please note I have used an alternative gathering method here because my fabric was being a pain. I have sewn a large zig zag stitch over a piece of cord (taking care not to catch the cord in the stitches) then I tied the cord at one end and used to draw the fabric to gather the skirt to match the size of the bodice.
Gathering method as per instructions: Sew two rows of a large gathering stitch to the waist of the skirt, draw the gathering up evenly to match the length of the bodice waist.
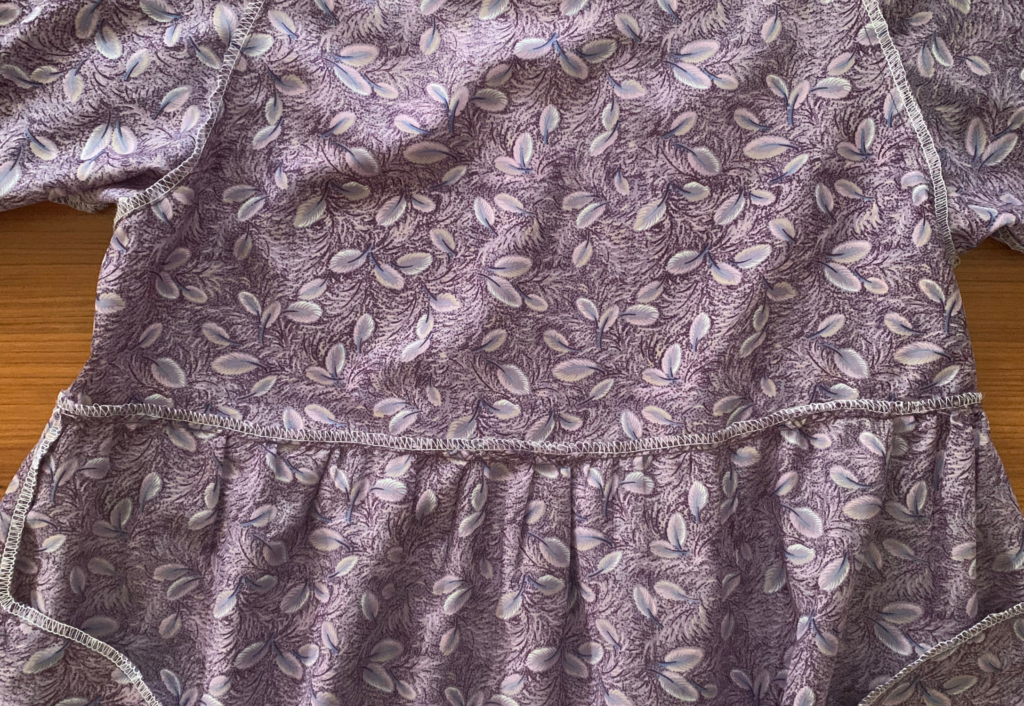
Pin the skirt to the bodice matching the centre front, centre back and side seams so that the gathering is evenly spread.
With right sides facing sew the bodice to the skirt removing the pins as you sew. Neaten with an overlocker/serger.
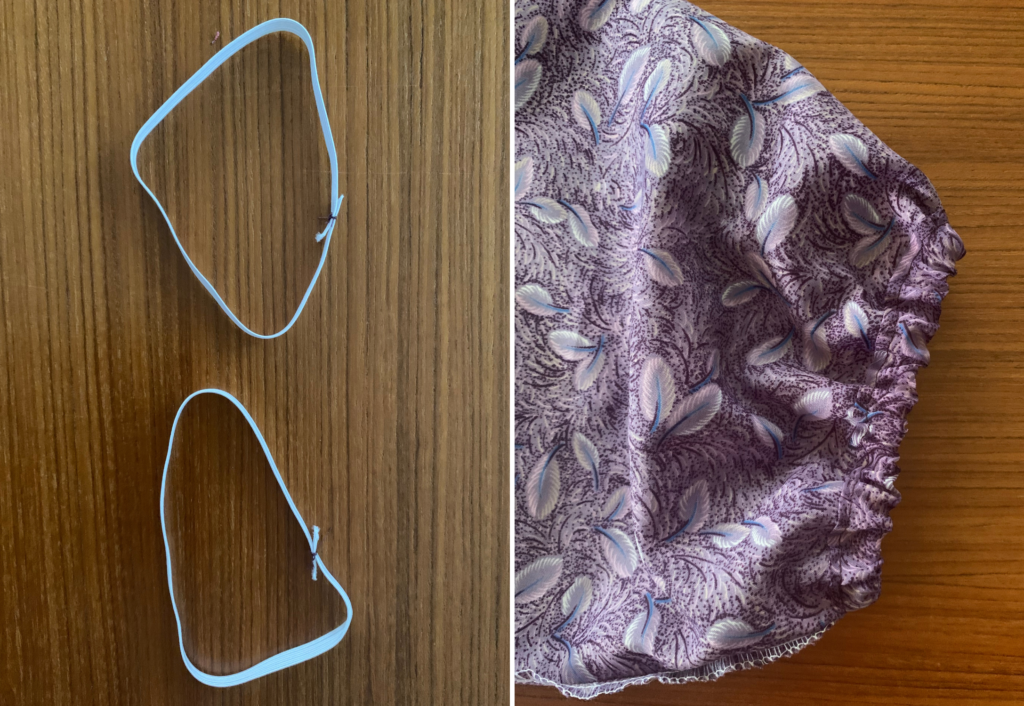
Referring to the elastic size cart cut two lengths of elastic for the sleeves, lay one edge on top of the other and securely stitch together.
Turn the sleeve hem in and encase the as you sew.
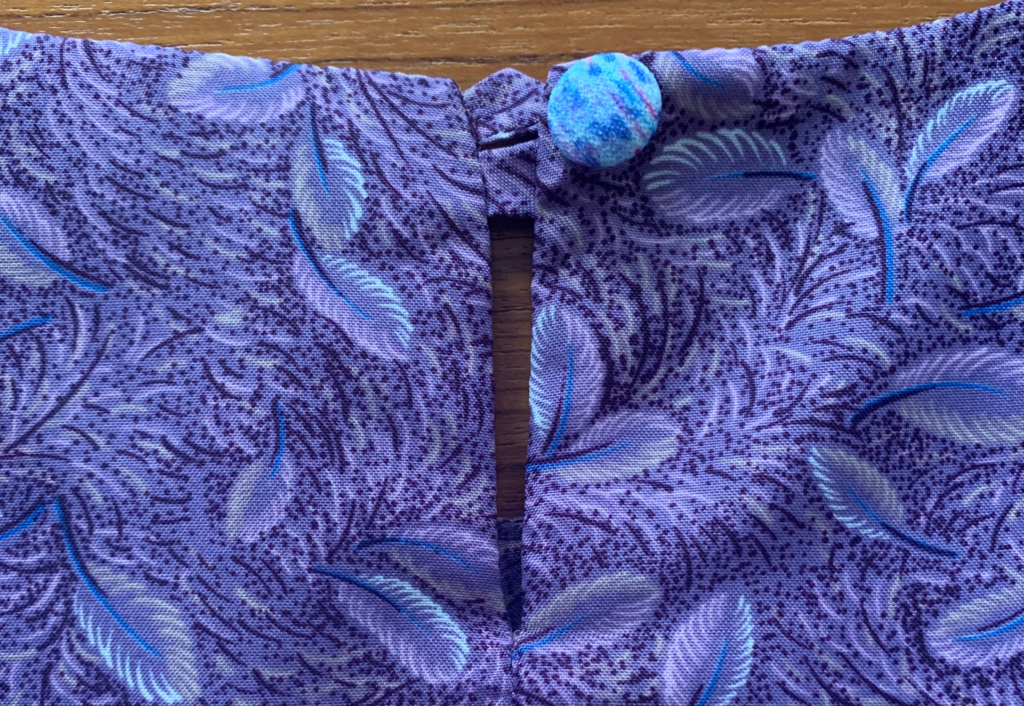
Sew a button to suit the size of your loop to the right back neck.
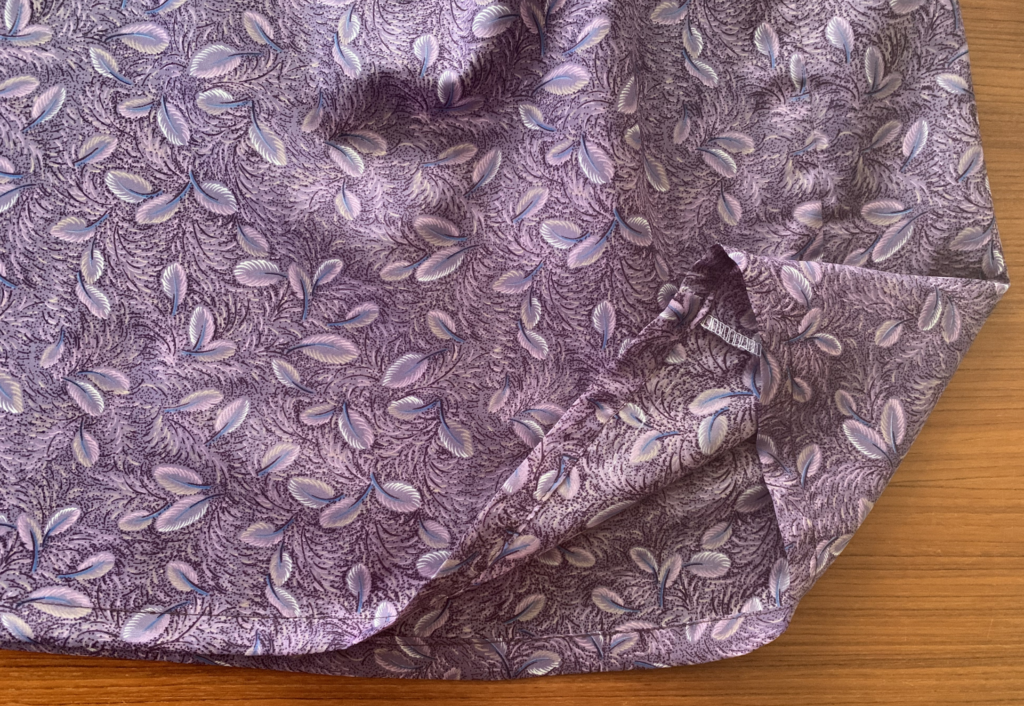
Turn up the hem to your personal length and sew it with a hand stitch.
Sew a small hand stitch to the outer edges of the neck facings to the bodice seams to hold in place (not pictured).
Lightly press your new dress!