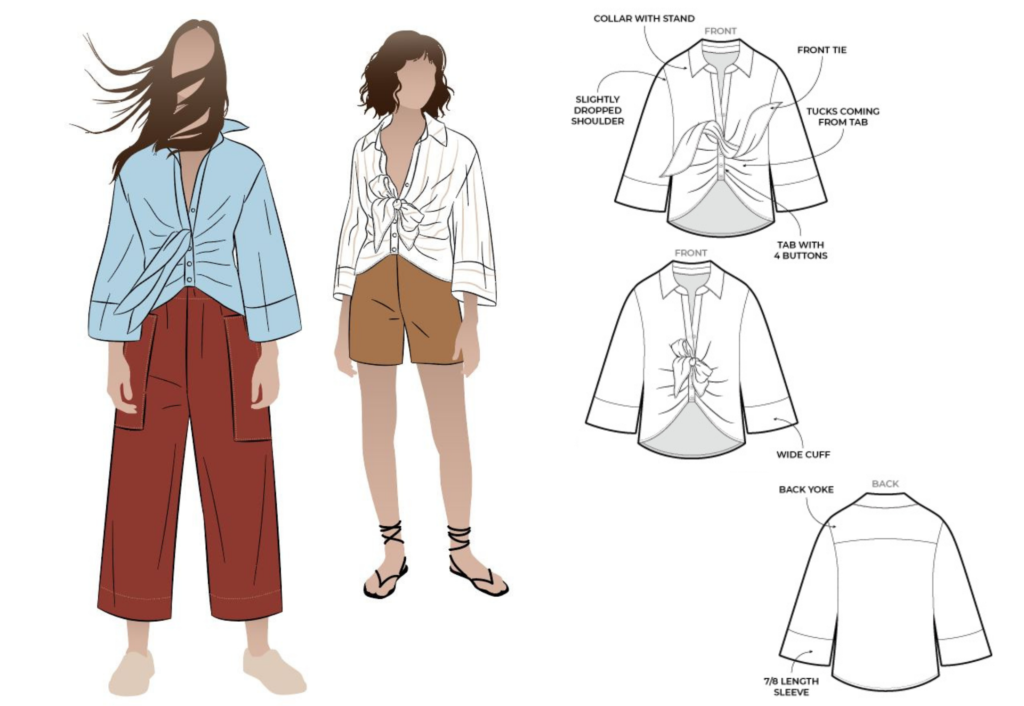
BODY:
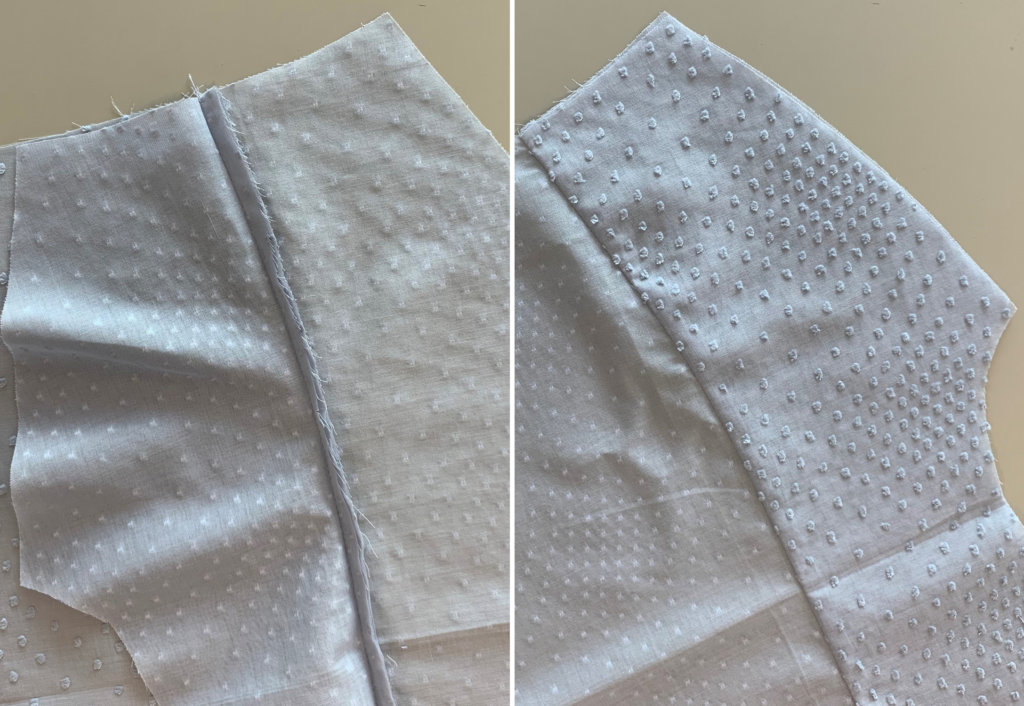
Sandwich the back bodice between the two back yokes, sew and press. Press both yoke pieces upward. Sew a 6mm (¼”) top stitch across the back yoke seam, if desired (not pictured).
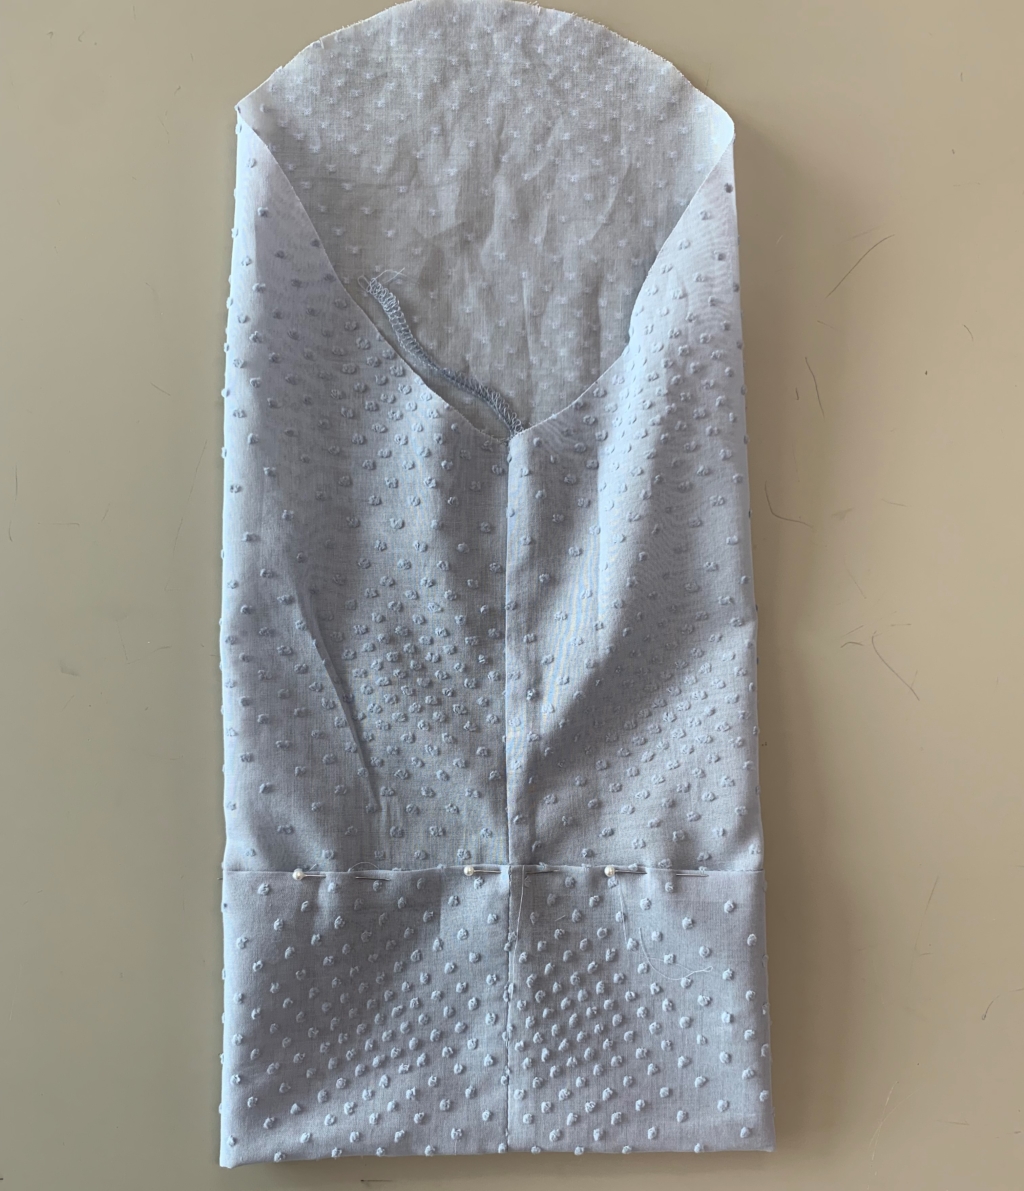
Roll the whole back body up with the right side on the inside then pin to keep it out of the way.
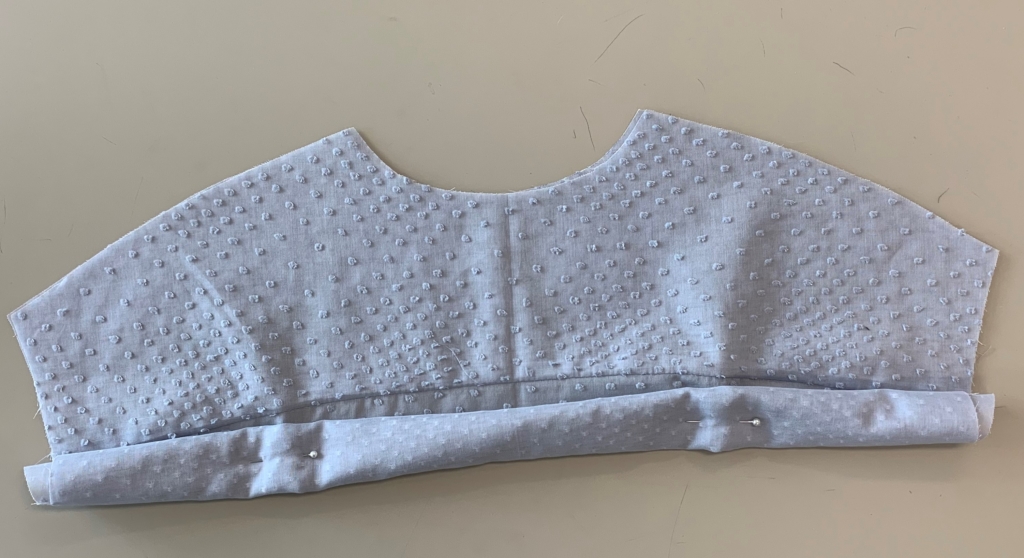
Pin front shoulder to top yoke shoulder seam and sew, roll fronts up and pin to keep out of the way.
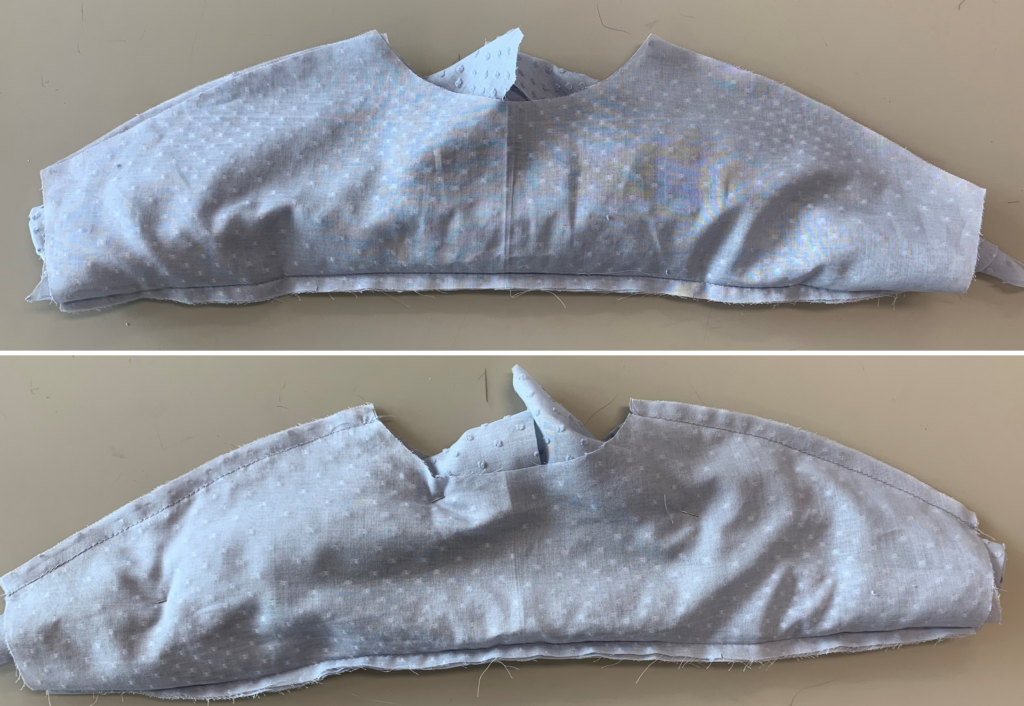
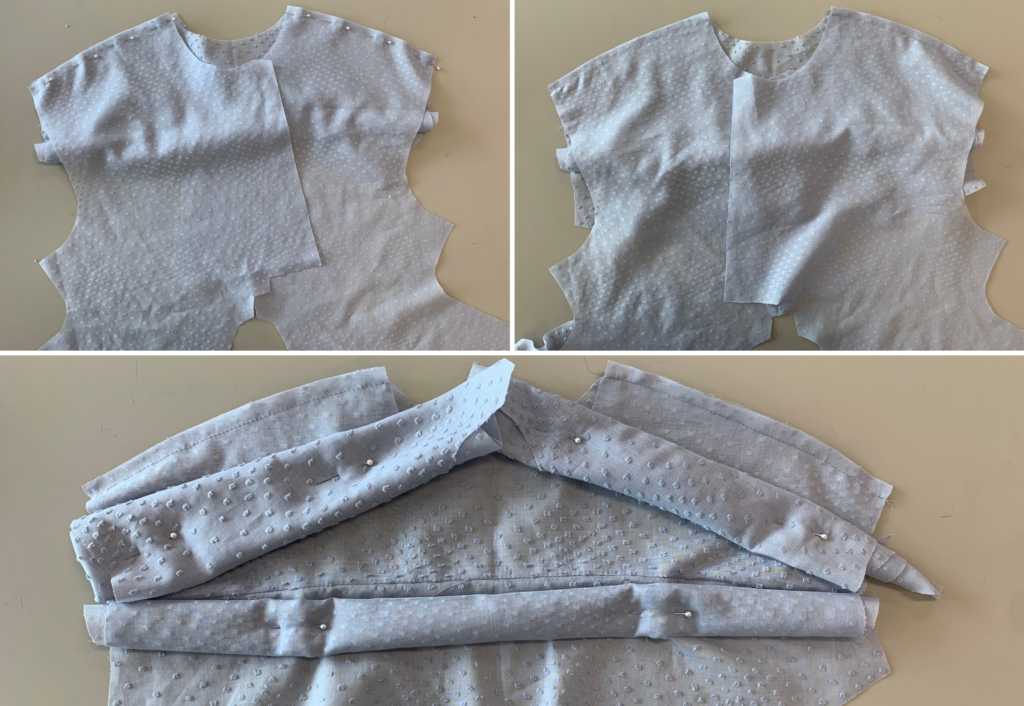
Cover the rolled pieces with the inner yoke, then sew the front yoke seams together. 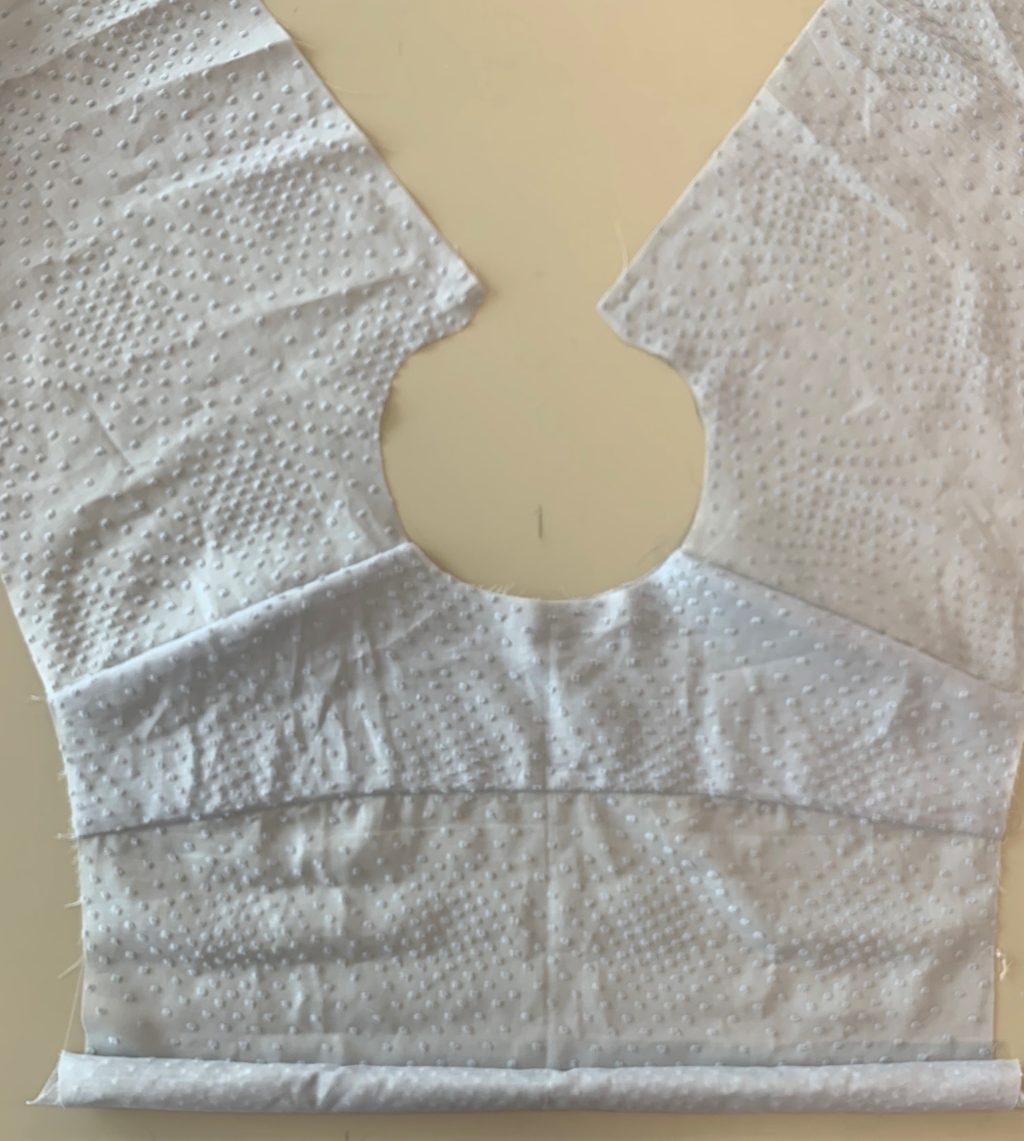
Pull through and turn out to the right side. Press and sew a top stitch (6mm/ ¼” not pictured) across the shoulder seam, on the yoke side, if desired. Sew a stay stitch around the back neckline, to prevent any stretching (not pictured).

Following the notches, double fold the centre front pieces, toward the wrong side of the fabric and press. From the wrong side of the fabric sew an edge stitch along the inside fold
line.
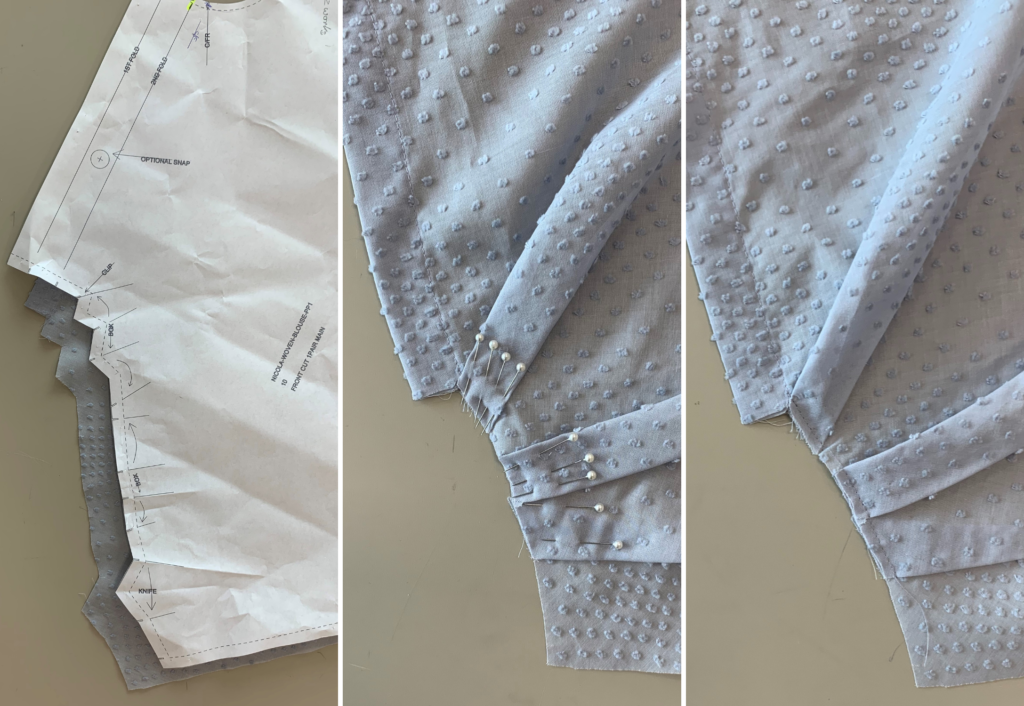
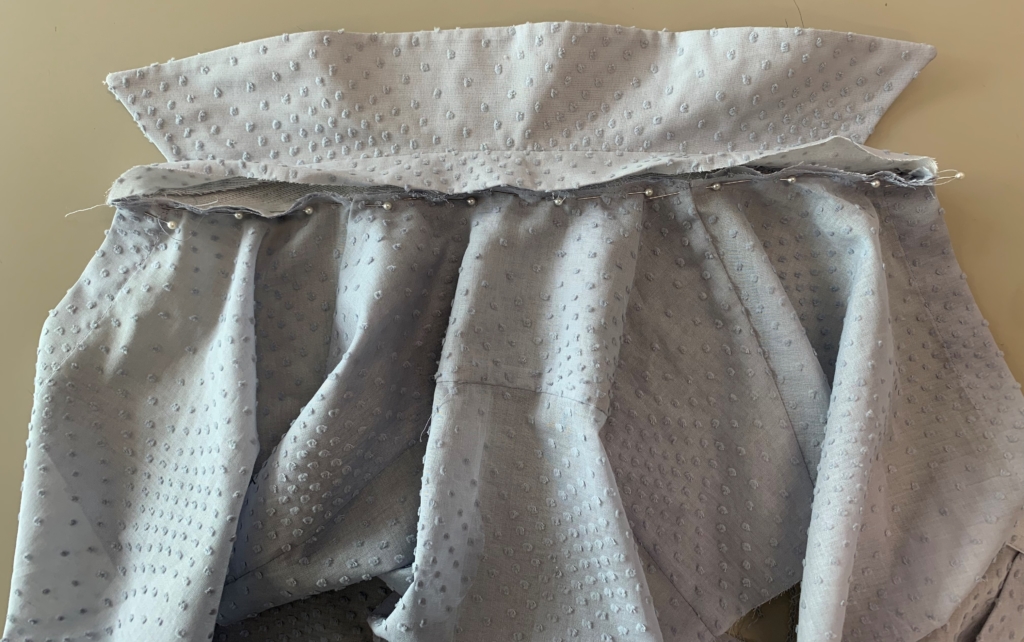
Fold, press and pin tucks on each front piece following the pattern markings (two box and one knife pleat), once in place sew with a 6mm/ ¼” stay stitch.
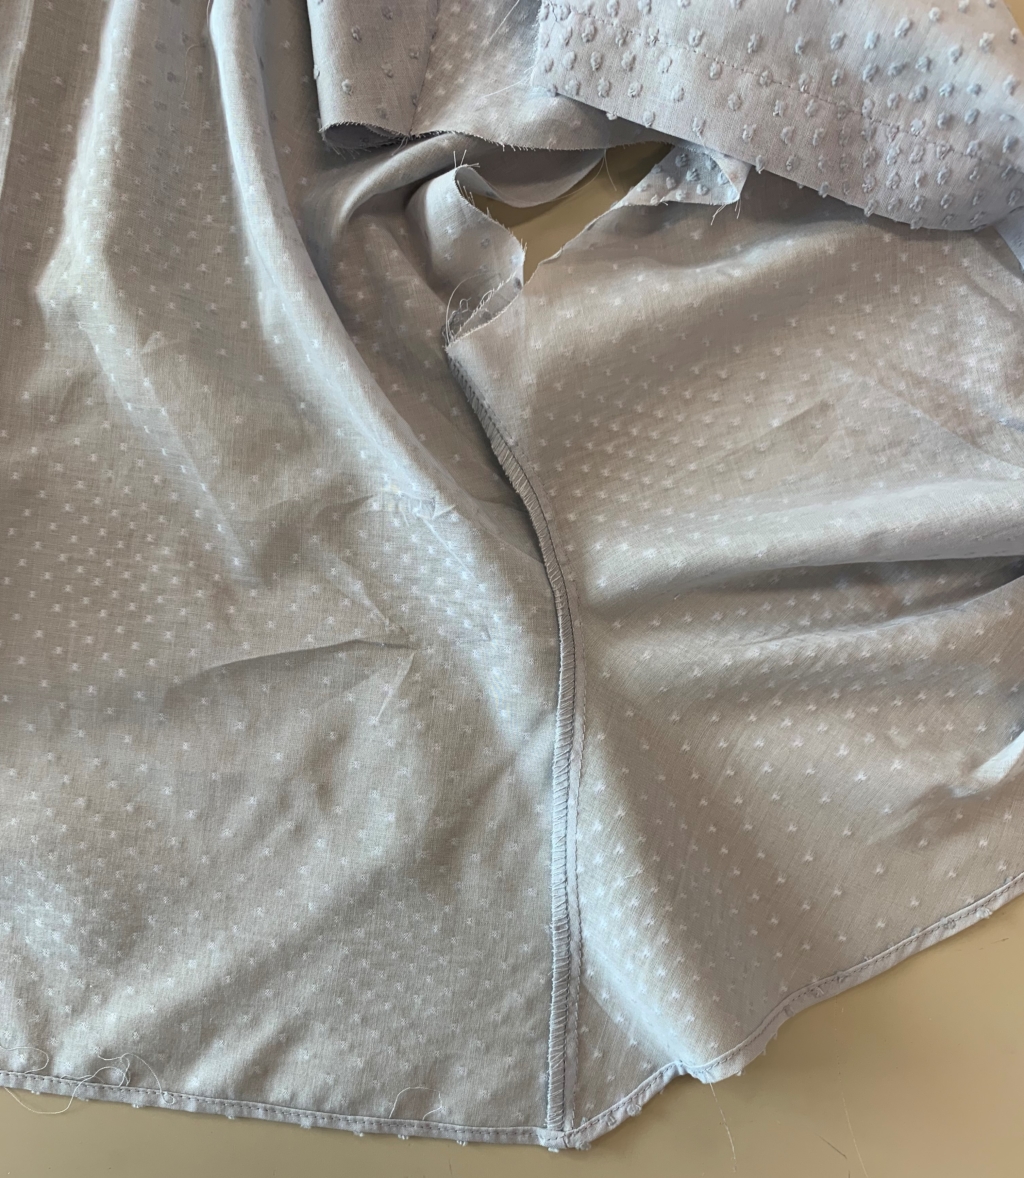
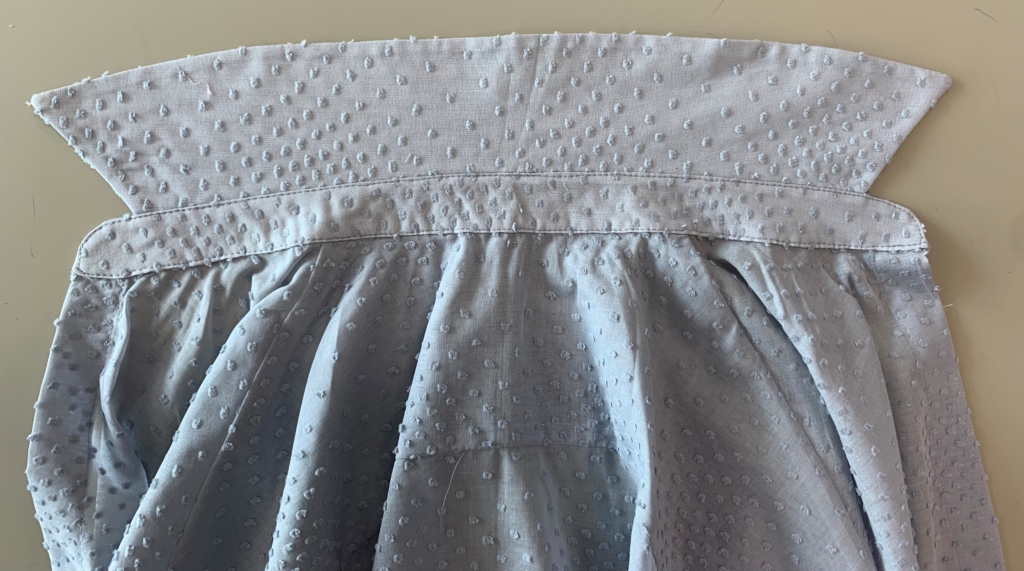
With right sides facing sew the front and back side seams together. Clip along the side seams, press to the back and neaten with overlocker/serger. Double turn the hem of the body and stitch.
TIE & FRONT TAB:
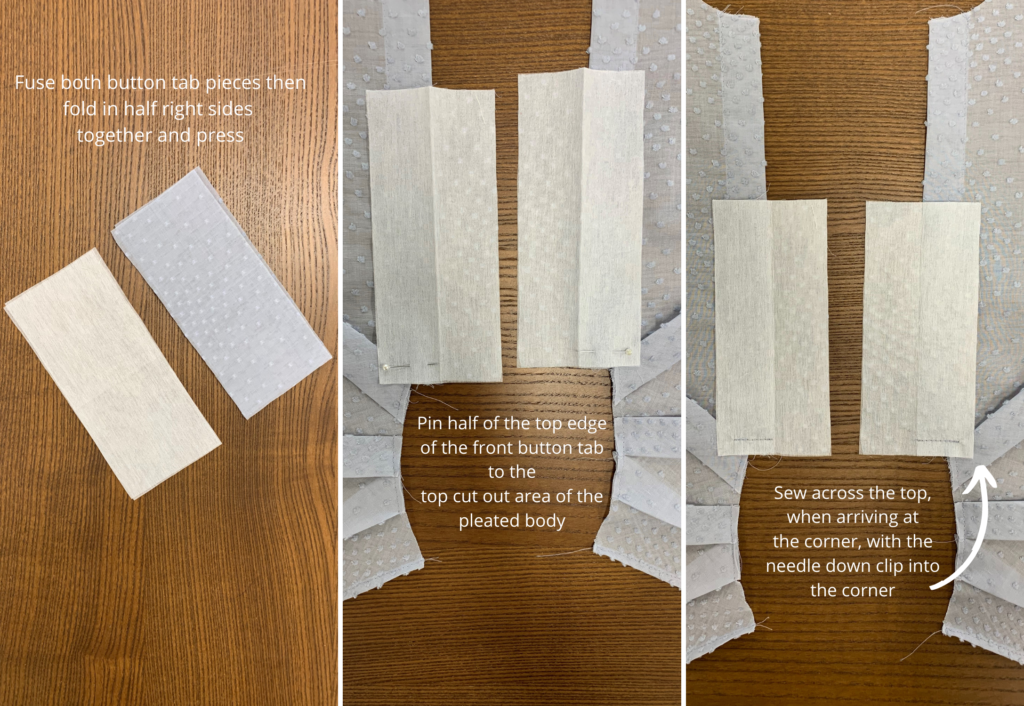
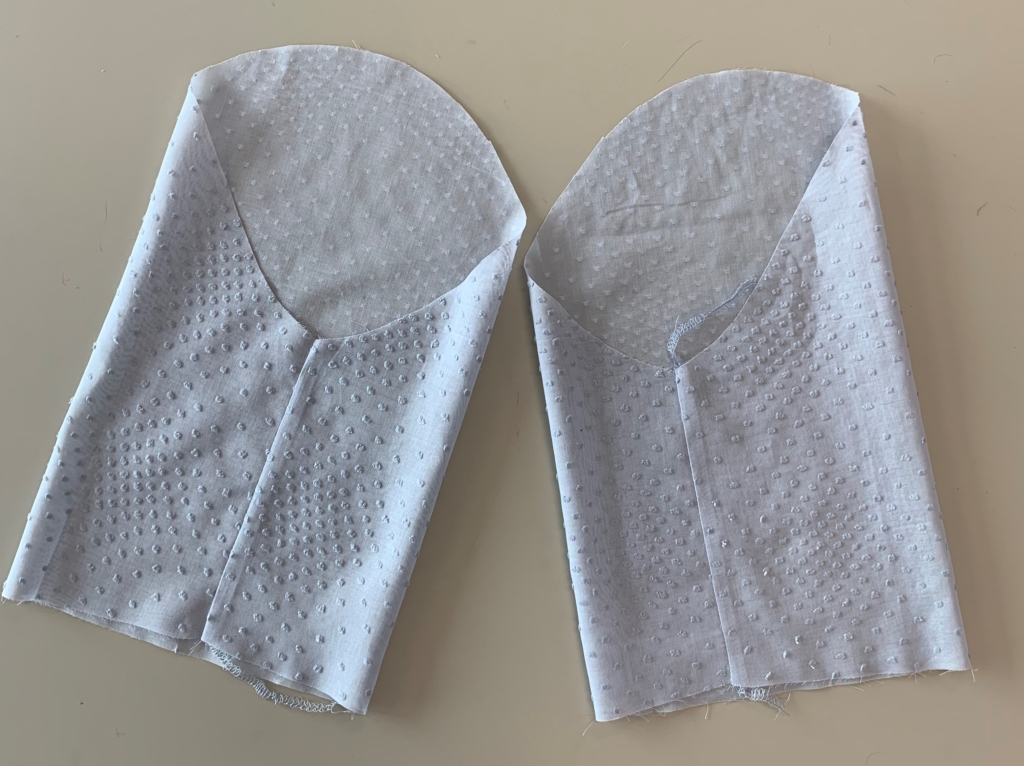
With right sides facing, pin half of the top edge of the front button tab to the top cut out area of the pleated body, sew across the top, keep needle down.
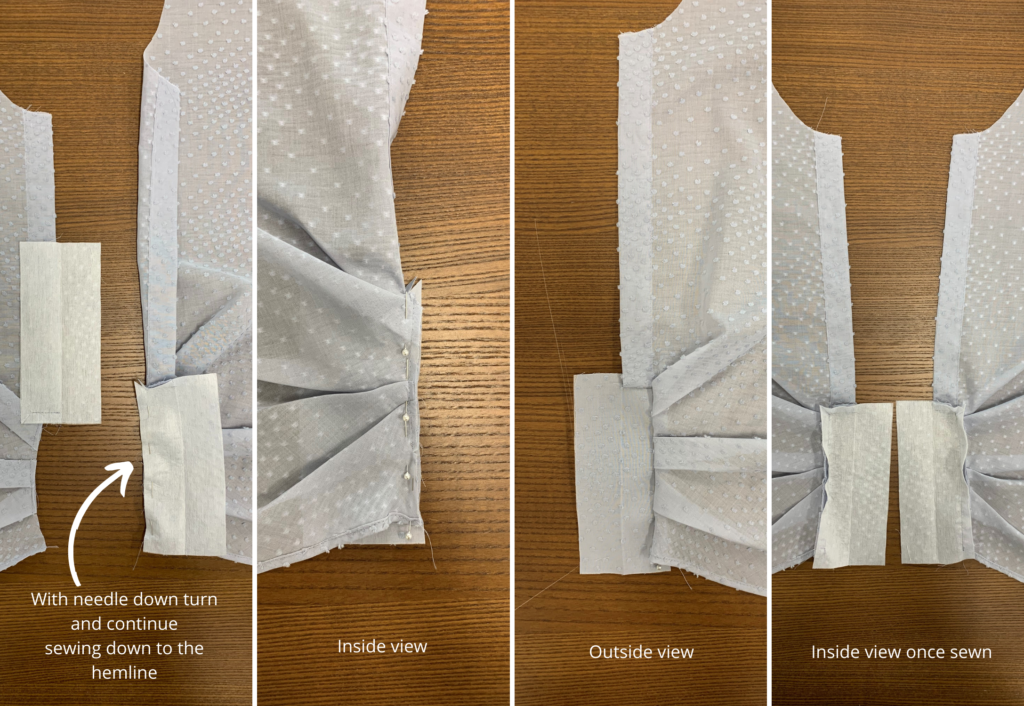
When arriving at the corner, with the needle down clip into the corner, turn and continue sewing down to the hemline.
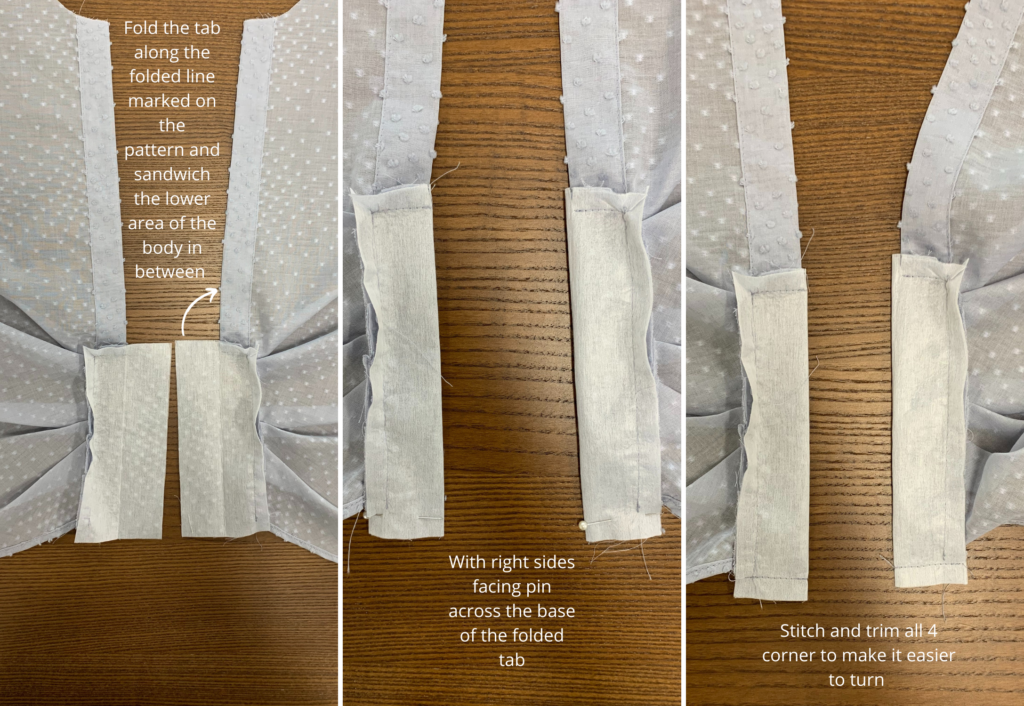
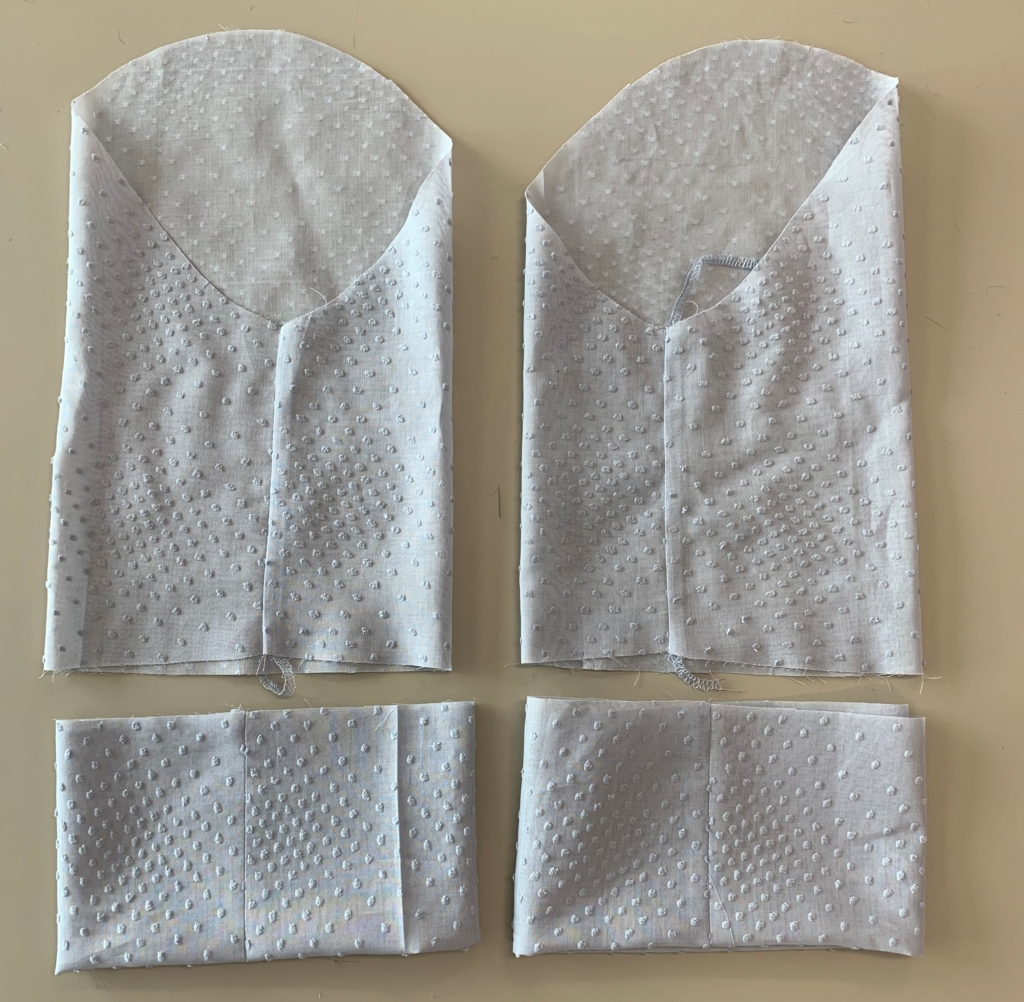
With right sides facing, fold the tab along the folded line marked on the pattern and sandwich the lower folded area of the body between the folded front tab. With right sides facing stitch across the base of the folded tab.
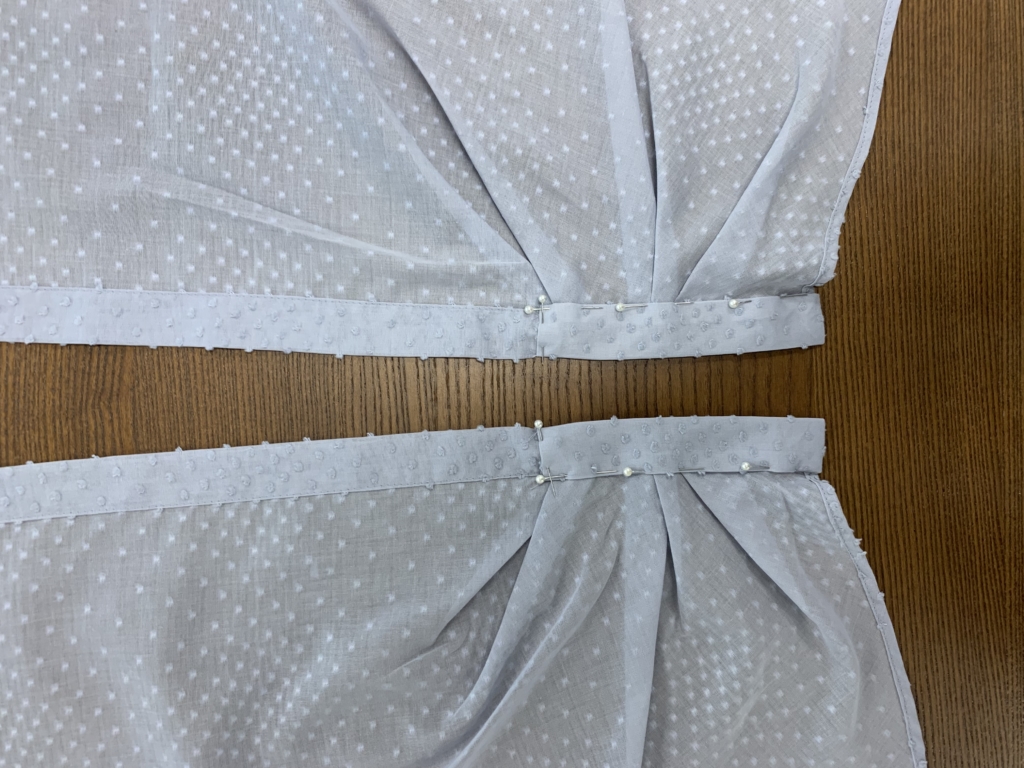
Turn the tab out to the right side and press the inner tab seam inward and pin in place. Sew the inner seam of the front tab with an edge stitch.
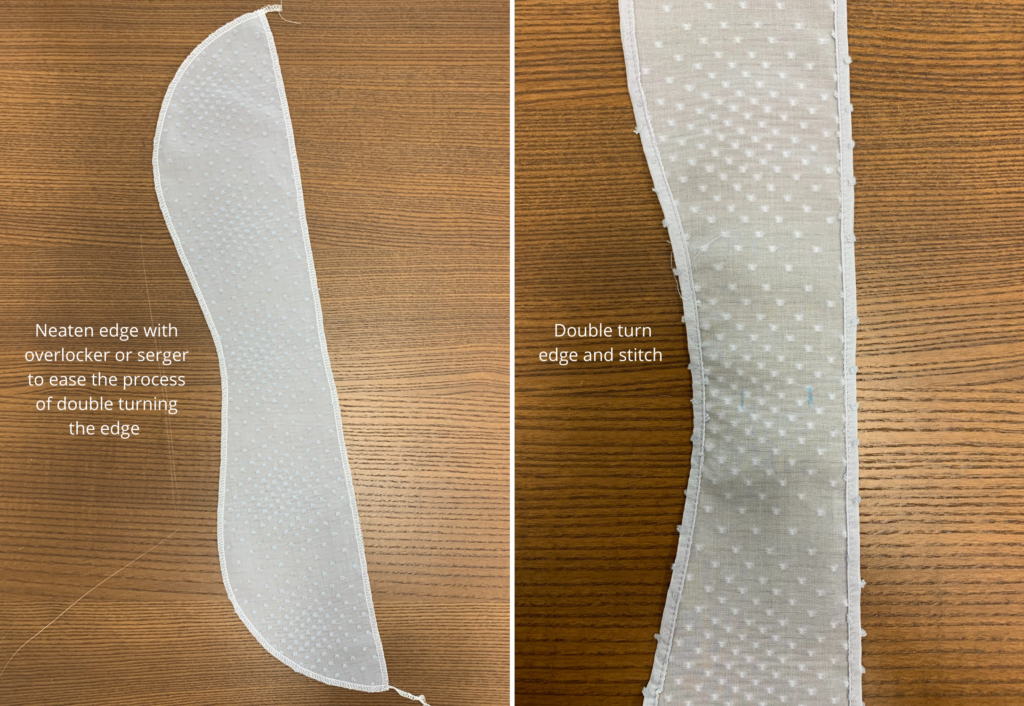
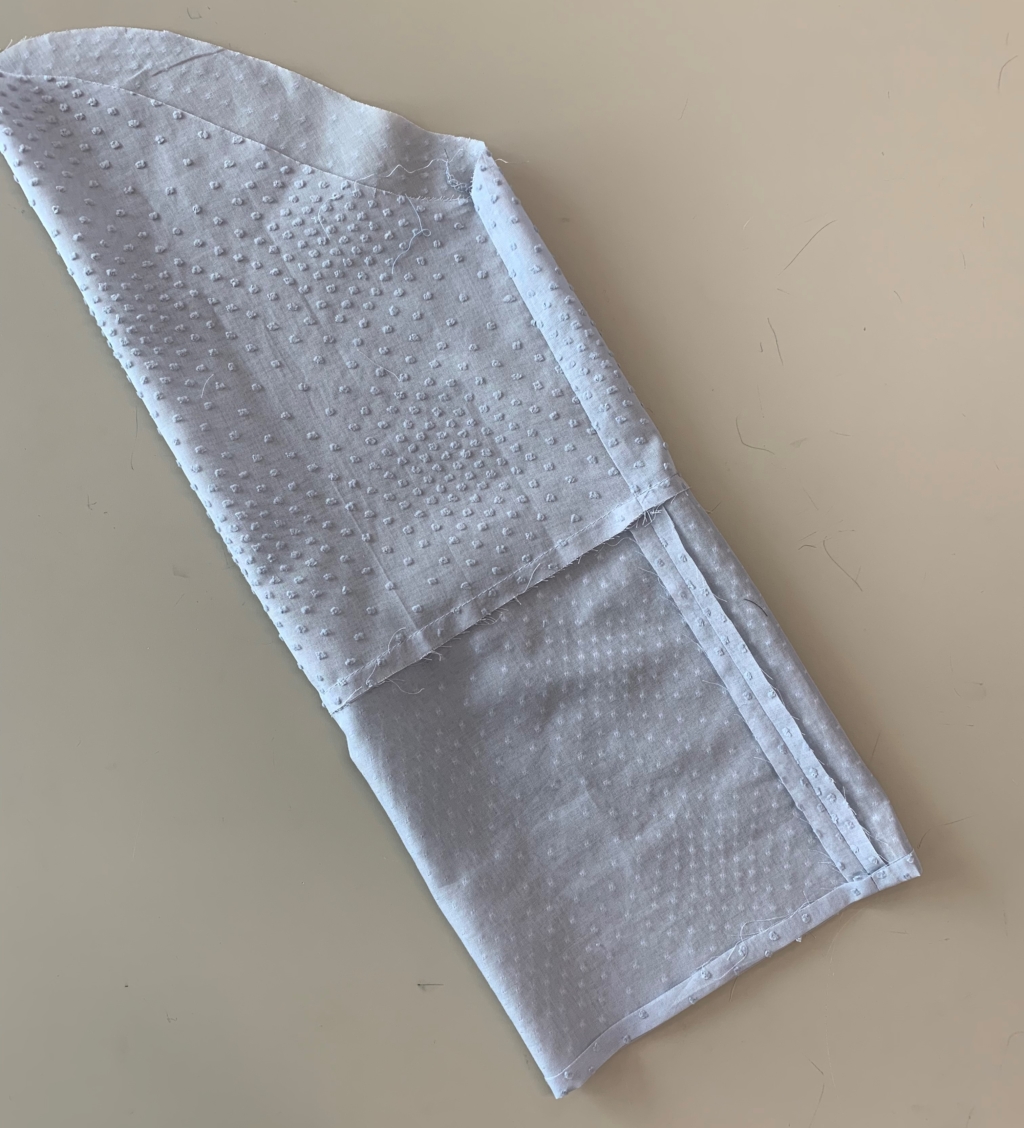
Neaten (overlock and then double turn and stitch) the outer edges of front tie piece.
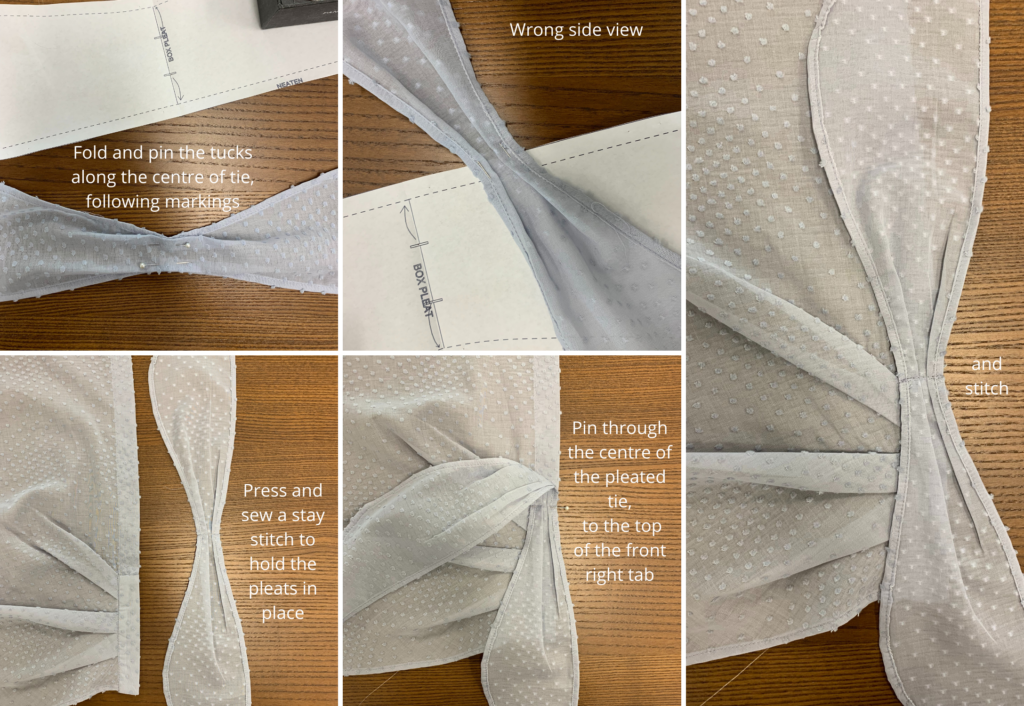
Fold and pin the tucks along the centre of tie, following markings. Press and sew a stay stitch to hold the pleats in place. Sew through the centre of the pleated tie, to the top of the front right tab.
COLLAR & CUFFS:
With right sides facing sew the outer and side edges of the collar together, clip the corners, turn out to the right side and press.
(The following is not pictured) Press the lower edge of the outer collar stand inward, towards wrong side of fabric. Place the collar between the collar stands, matching notches as you sew.
Sew the inside collar stand to the neckline matching the notches. Press seam upward.
Sew the outer collar stand to the neckline with an edge stitch on the side of the collar stand, continuing the edge stitch completely around the collar stand.
With right sides facing sew the underarm seams of the sleeves together. Press seam to the back and neaten with overlocker/serger.
With right sides facing sew the two short ends of the cuffs together, turn to the right side and press in half lengthways.
Pin the inner cuff seam to the sleeve opening, with right sides facing. Once in place stitch together.
Press the seam of the top cuff inward and pin to the sleeve seam, once in place stitch the cuff to the sleeve with an edge stitch on the side of the cuff.
(The following is not pictured) With right sides facing sew the sleeve head into the armhole, matching the notches as you sew. Press seam towards the sleeve and neaten with overlocker/serger.
COMPLETION:
Sew the buttonholes to the right front as marked on the pattern. Sew the buttons to the left front in line with the buttonholes.
Sew a press stud/snap to the upper front as marked on the pattern, this snap is optional.
Press your new shirt.