
Shop the Octavia Woven Wrap Skirt
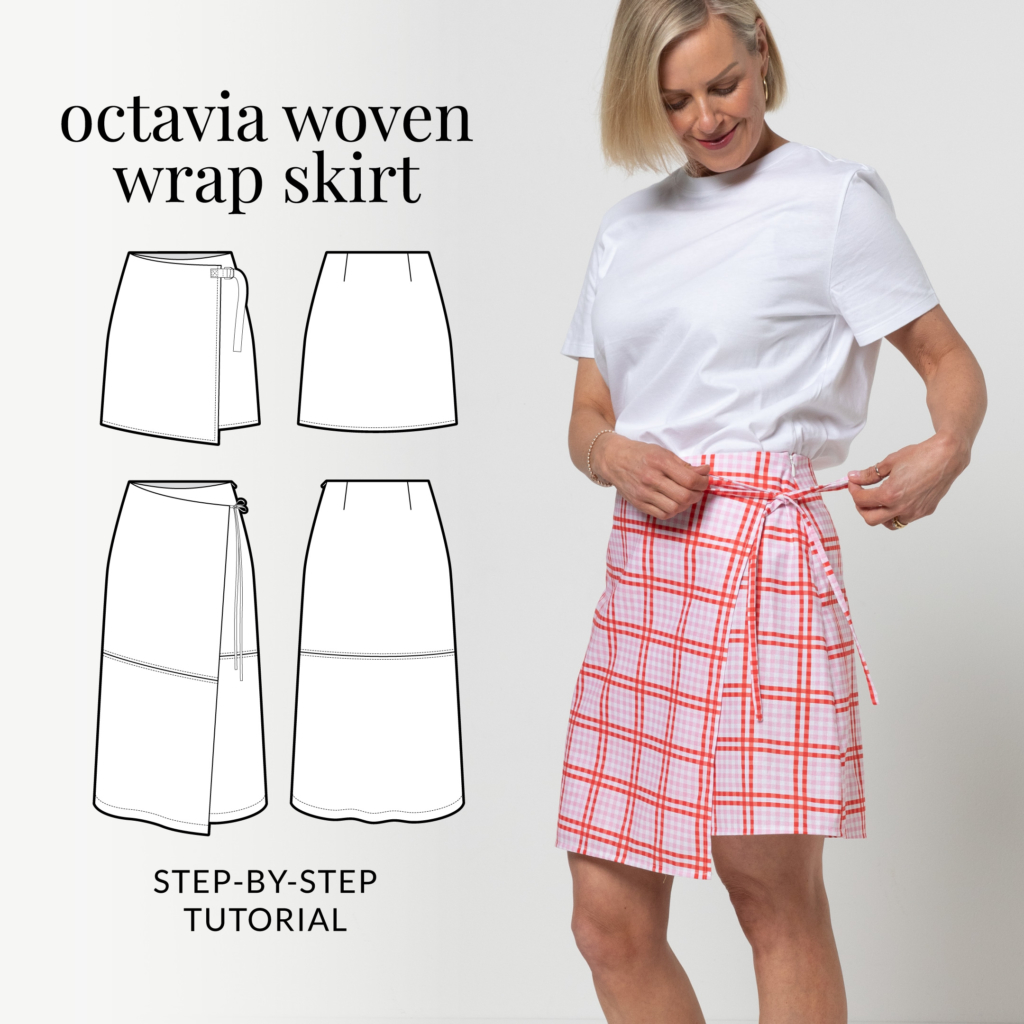
VIDEO TUTORIAL: SKIRT B – Faux Wrap

PHOTO TUTORIAL
Please note: all seams are 1cm (3/8″) unless otherwise stated (seam allowances are marked on each pattern piece with a dashed line)
SKIRT B – Faux Wrap
MAKING THE TIES:
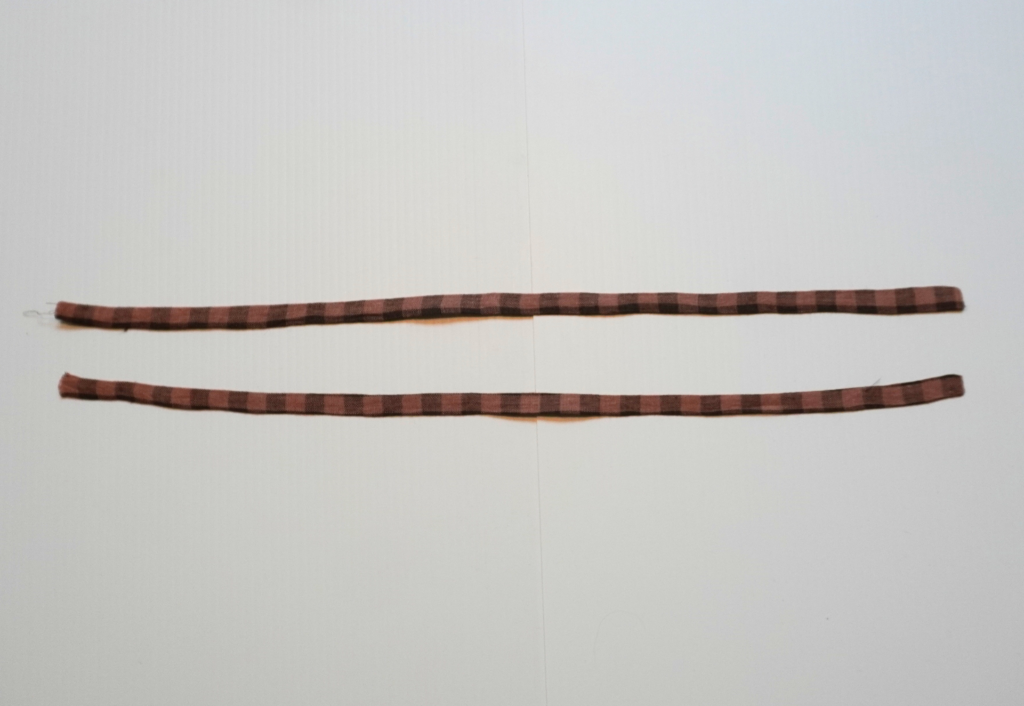
For Thin Tie (8): With RST, fold the Thin Tie in half lengthways, pin and then sew along the length and one short end using a 6mm (1/4”) seam.
Turn to the right side and press. You will have a pair of ties.
For Wide Belt/Tie (6) and optional D-Ring Tab (7): With RST, fold the Wide Belt/Tie in half lengthways, pin then sew along the length and the straight short end. Turn to the right side and press.
If using the D-Ring Tab, with RST, fold in half lengthways, pin and sew along the length. Turn to the right side and press.
Thread the tab through your pair of D Rings, centre and top stitch the tab close to the D-rings.
FRONT WRAP – MINI AND MIDI LENGTH
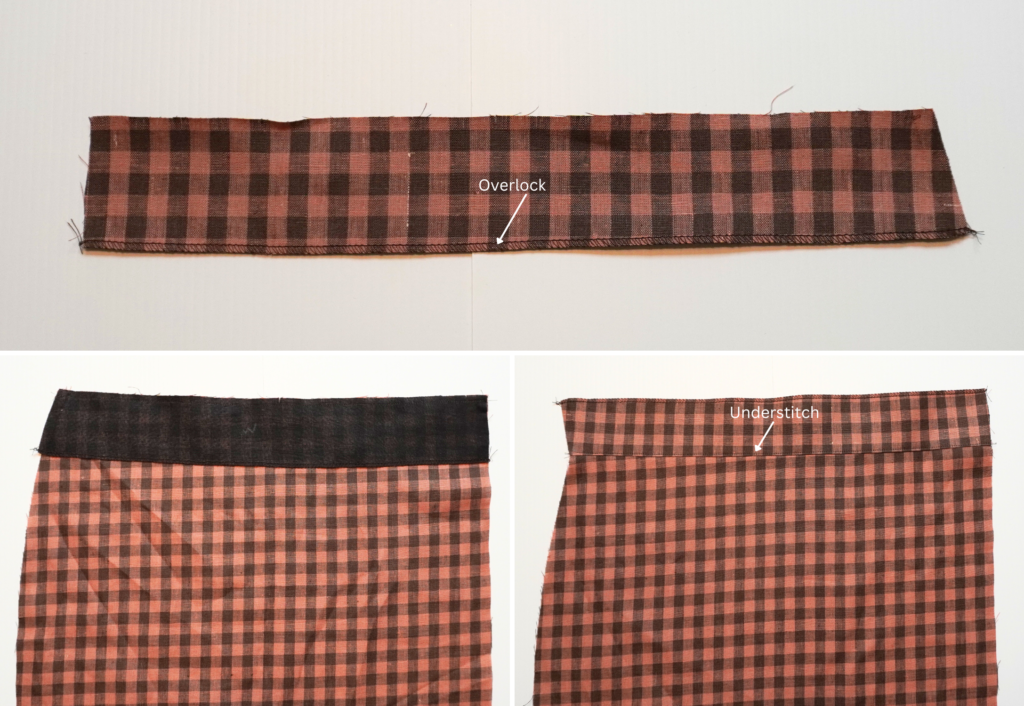
Neaten the lower (unnotched) edge of the Front Wrap Facing (11) using an overlocker/serger.
With RST and notches aligned, pin and then sew the facing to the waistline of Top Wrap (4) using a 6mm (1/4″) seam.
Press the seam toward the facing and sew an understitch on the side of the facing.
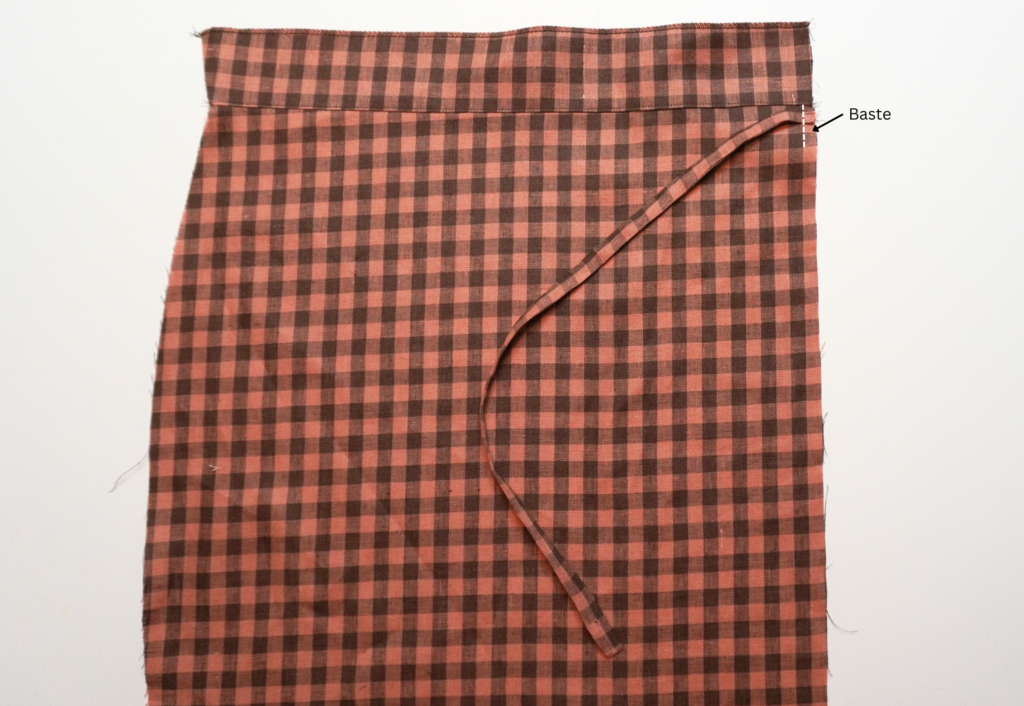
Baste the Thin Tie or Wide Belt Tie to the right side of the outer edge as shown on the pattern. Note the tie will be facing inward and upward. When complete it will face outwards.
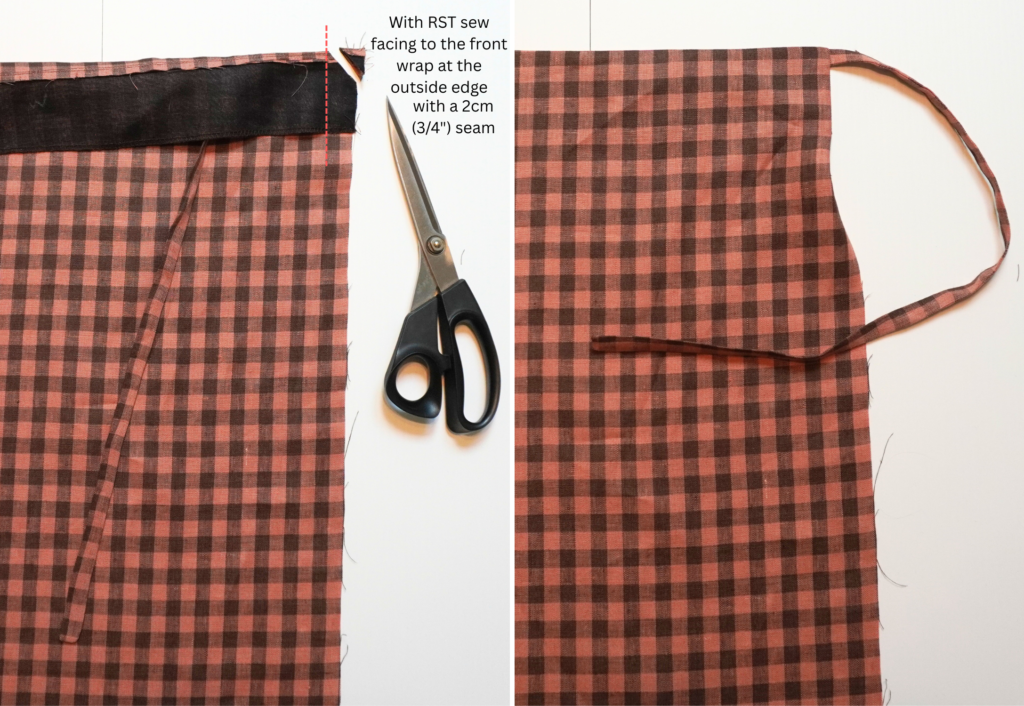
With RST, fold the facing over and sew to the wrap at the outer edge using a 2cm (3/4”) seam, sandwiching the tie.
Clip the corner, turn to the right side and press.
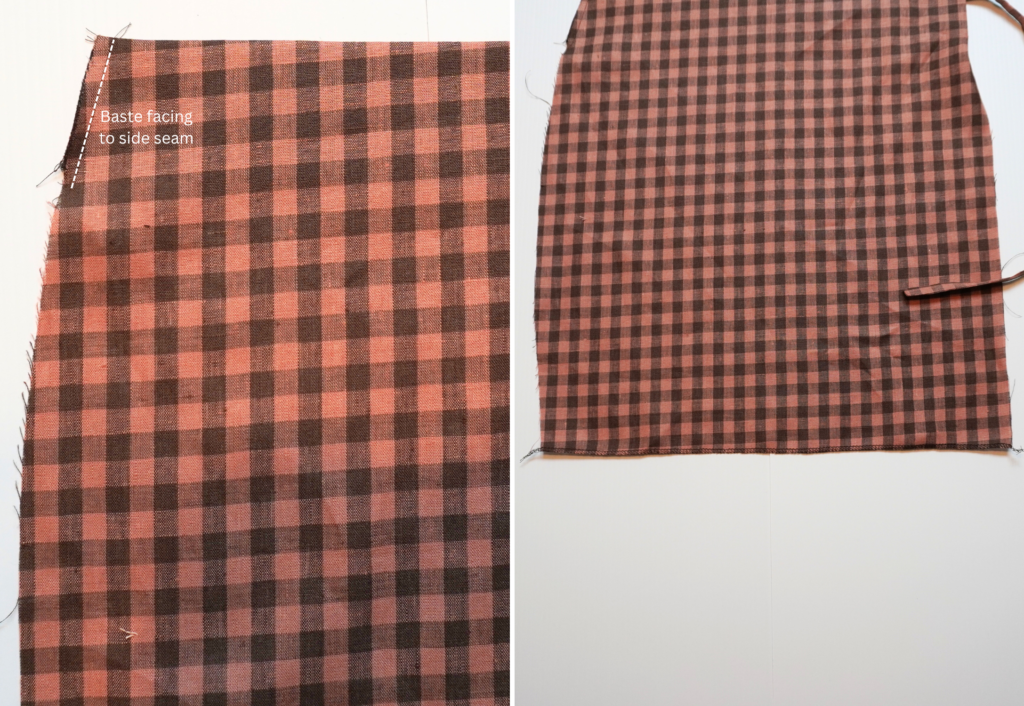
With WST, baste the Facing to the Wrap at the side seam.
Neaten the lower edge of the Top Wrap using an overlocker/serger.
Optional Lower Skirt – Midi length only
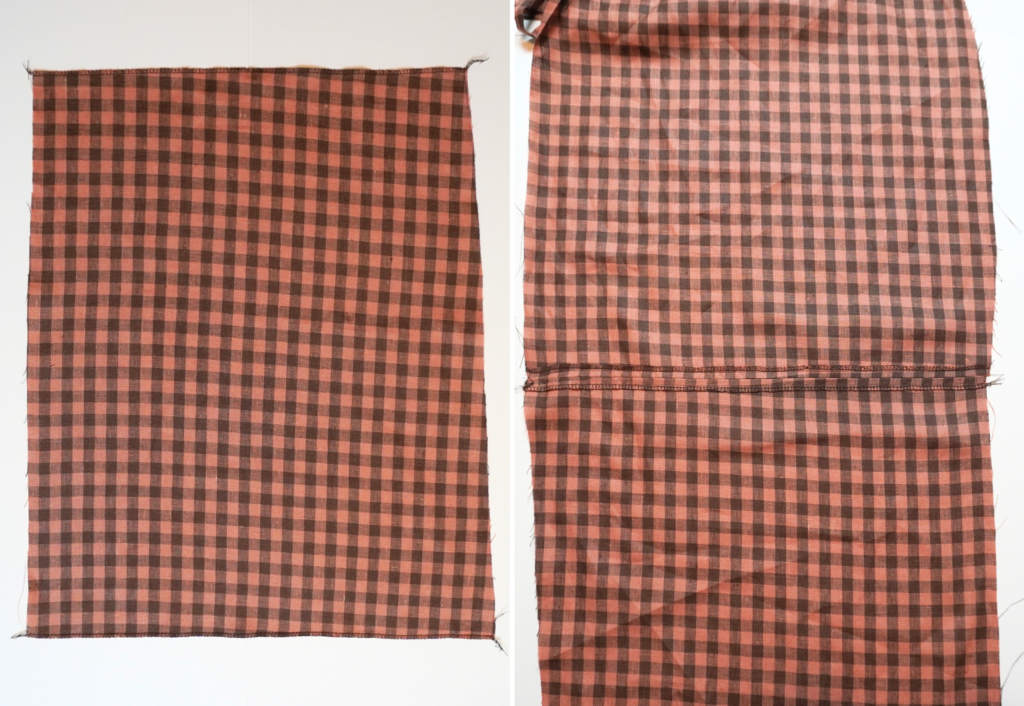
Neaten the top edge and the hem edge of Lower Wrap (5) using an overlocker/serger.
With RST and notches aligned, sew the Lower Wrap to the Top Wrap.
Press the seam open and top stitch into place on each side of the seam.
Mini and Midi length:
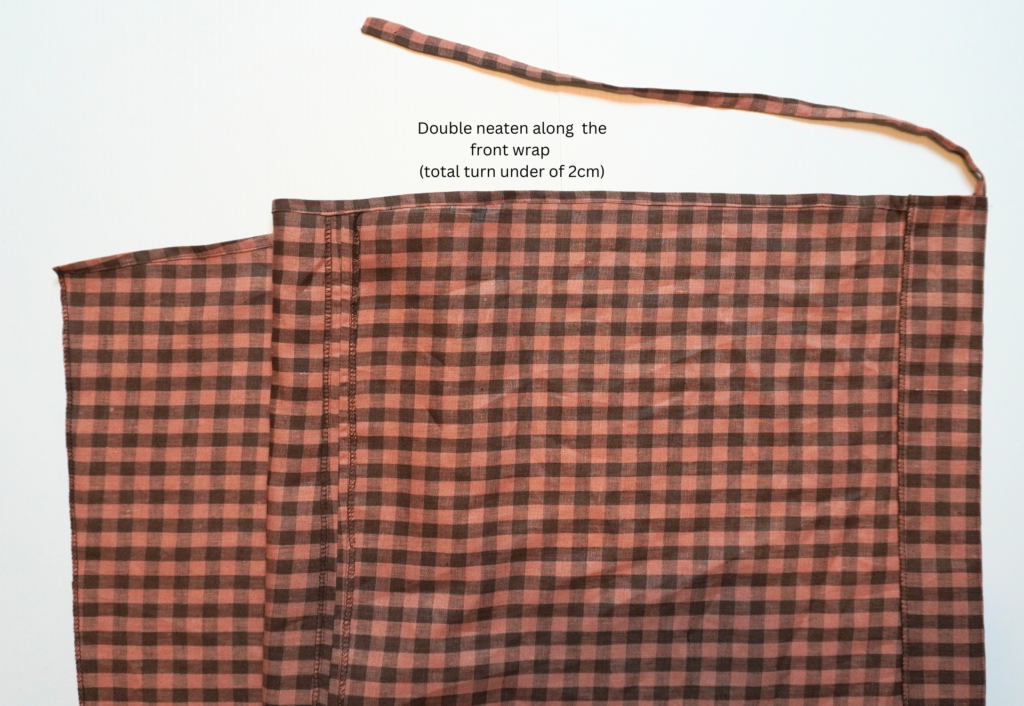
Double turn the outer edge of the front wrap to the inside and press. Topstitch the turnback into place.
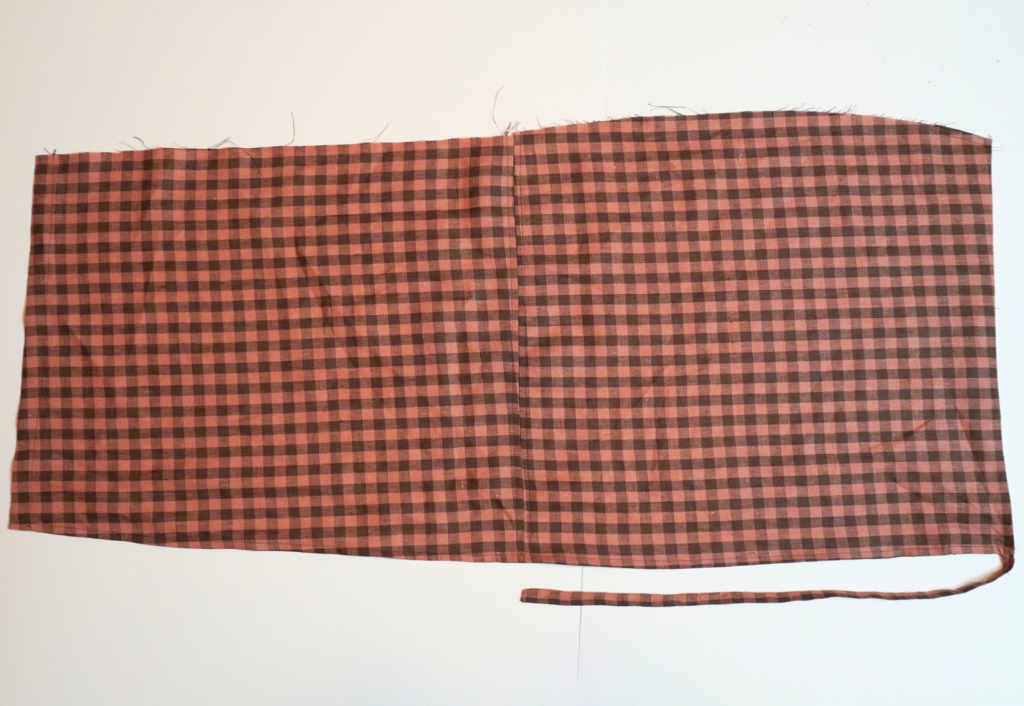
Turn the hem to the inside at the notch or to your preferred personal length and topstitch into place. Set aside.
INVISIBLE ZIP (see our zip-invisible zip tutorial on stylearc.com):
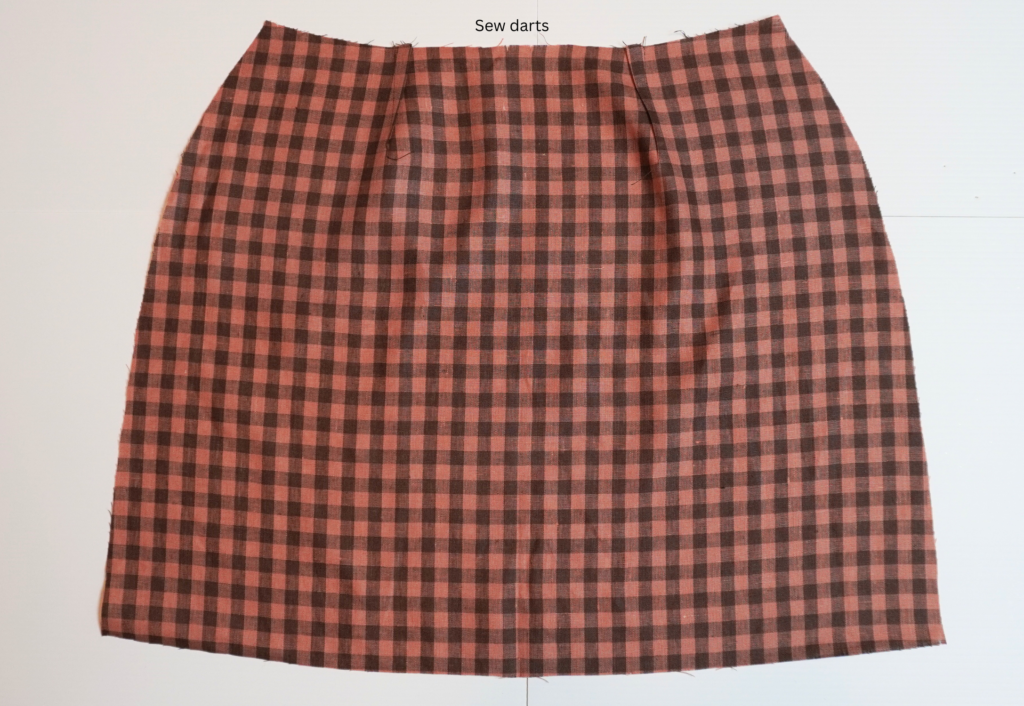
Sew the back darts to the Top Back (1) and press toward the centre back.
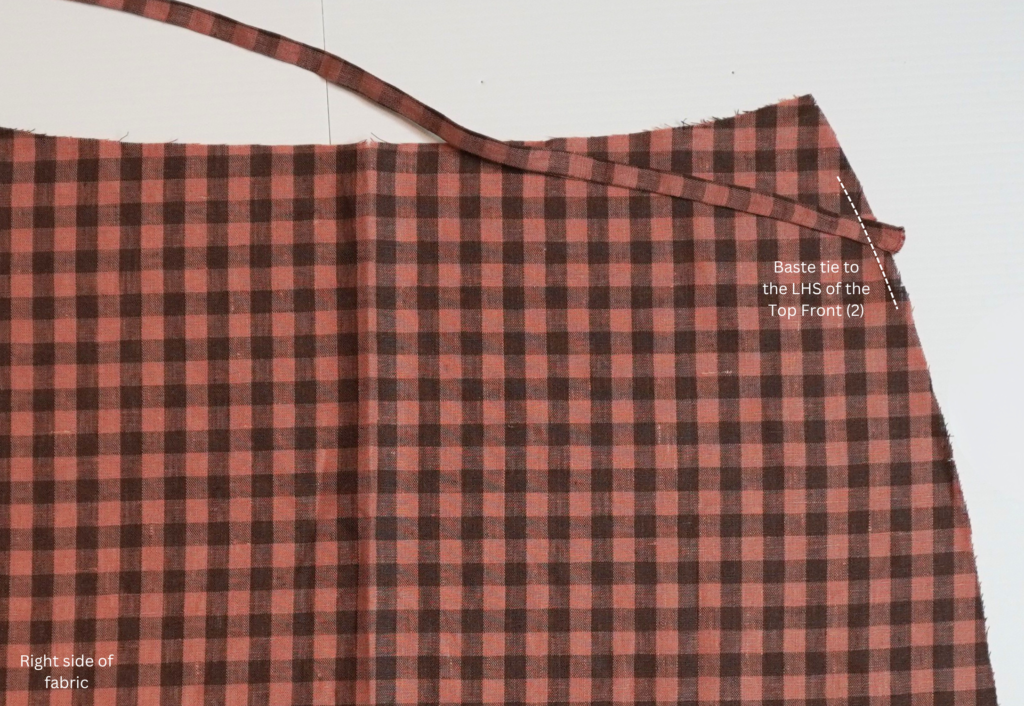
If the Thin Tie OR Wide Belt/Tie is thin enough, baste it into place on the Top Front as shown on the pattern. If it is too bulky, you may attach it later by stitching it on top instead of inserting it.
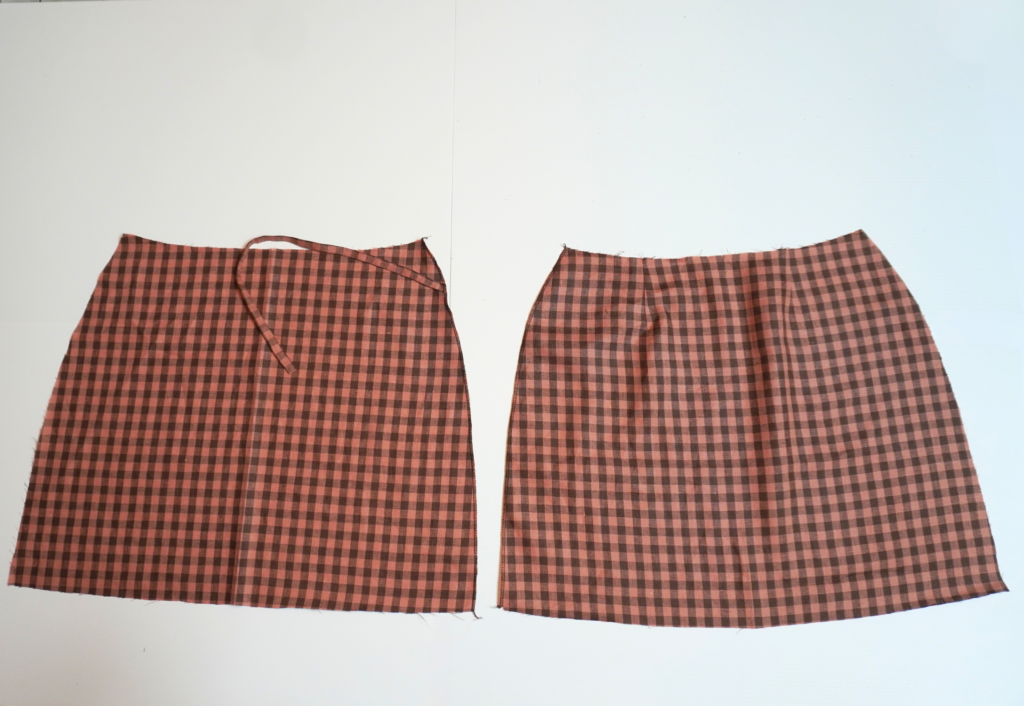
Neaten the Top Back side seam on the wearer’s left using an overlocker/serger.
Neaten the Top Front (2) side seam on the wearer’s left using an overlocker/serger.
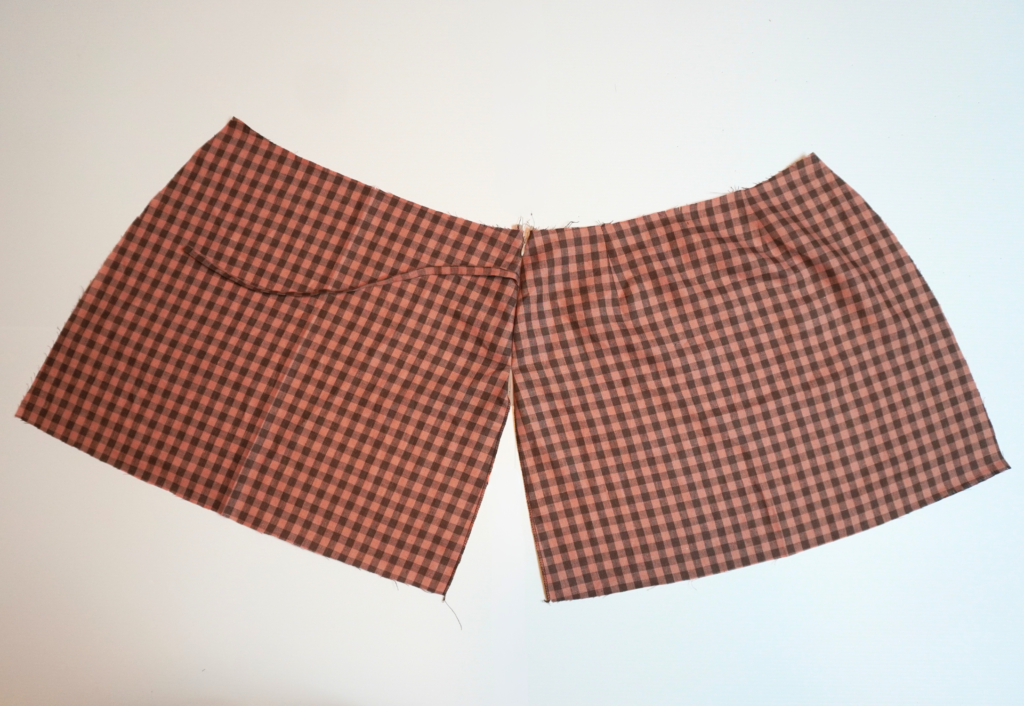
Carefully sew the invisible zip to the left side seam of the skirt using an invisible zipper foot.
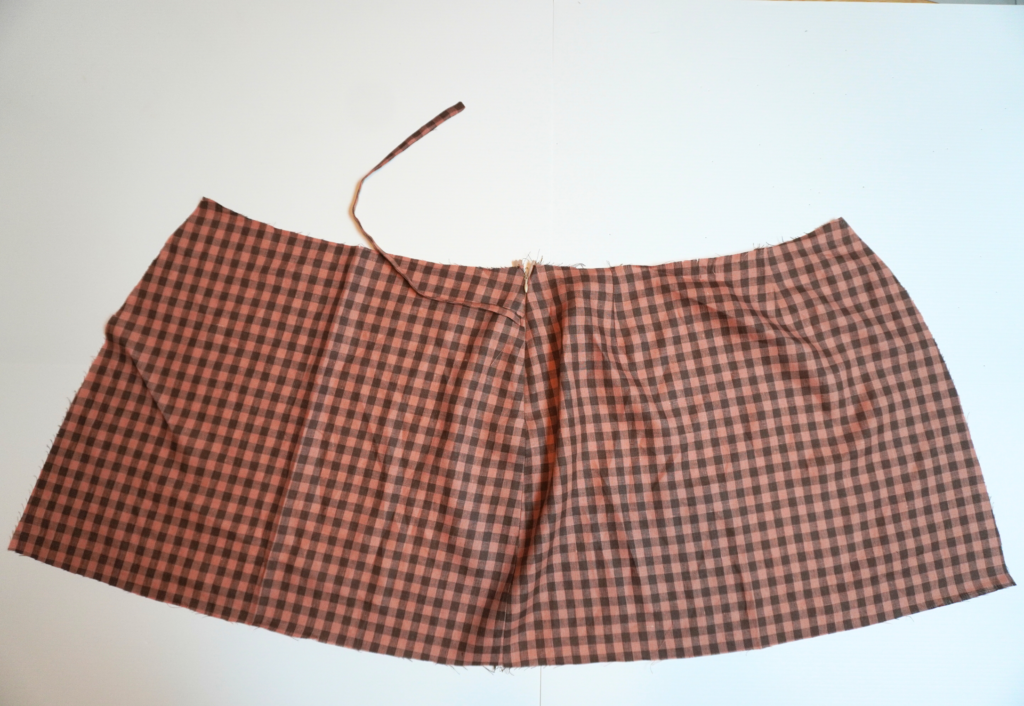
Change back to the standard presser foot and sew the remainder of the side seam. Press the side seam open and lightly press the zip.
MAIN SKIRT:
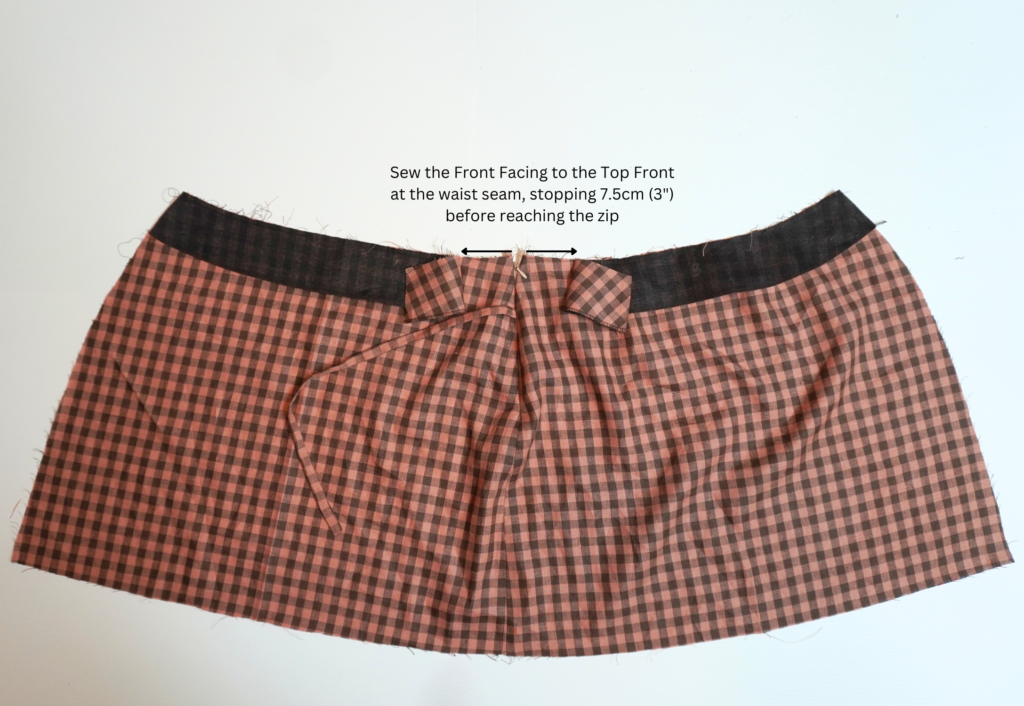
With RST, sew the Front Facing (10) to the Top Front (2) at the waist seam using a 6mm (1/4″) seam. Begin sewing at the side seam and stop 7.5cm (3″) before reaching the zip. The facing will be completed later.
With RST and notches aligned, sew the Back Facing (9) to Top Back (1) at the waist seam using a 6mm (1/4″) seam. Begin sewing at the side seam and stop 7.5cm (3″) before reaching the zip.
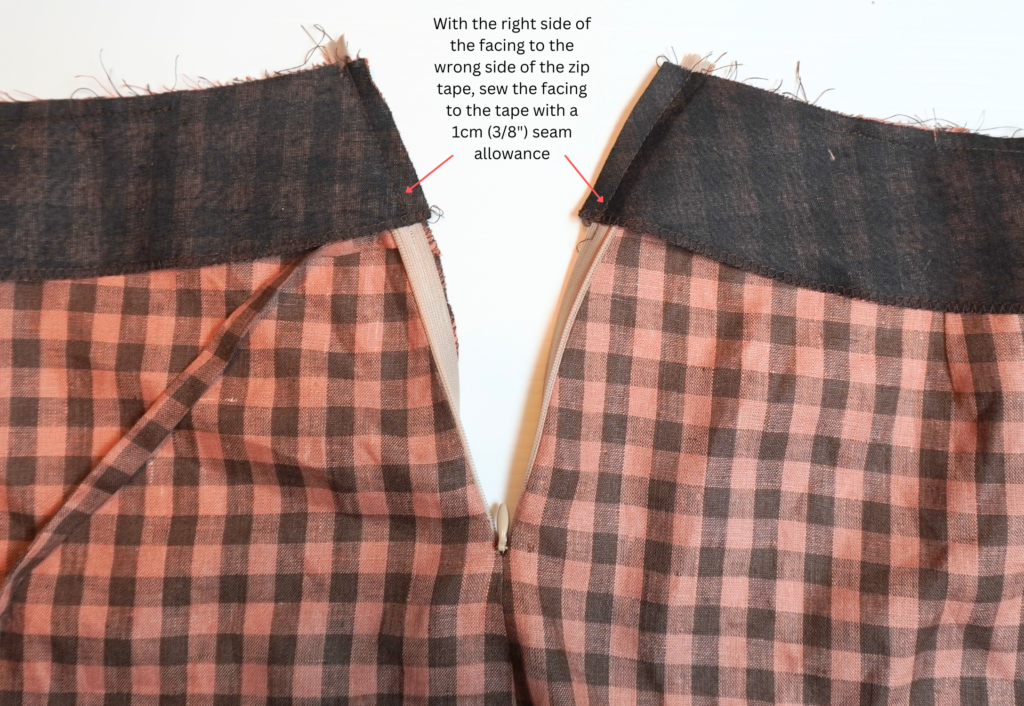
With the right side of the facing to the wrong side of the zip tape, and using a regular presser foot, sew the facing to the zip using a 1cm (3/8”) seam allowance.
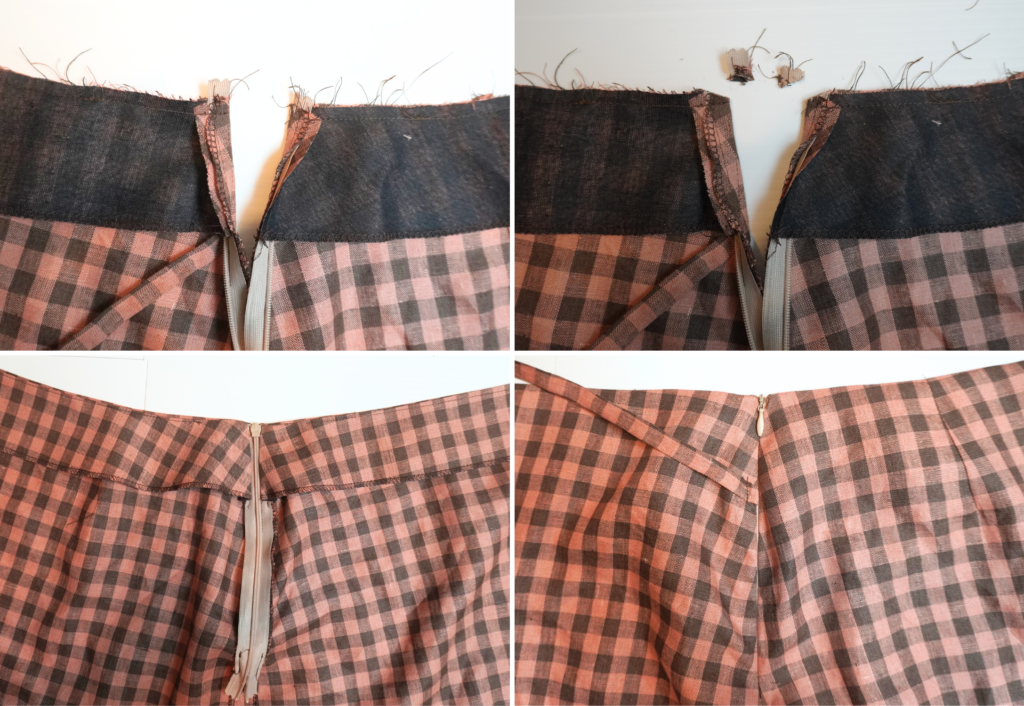
With RST, turn the zip tape toward the facing and the teeth to the fold.
Sew the remaining facing to the waist seam using a 6mm (1/4”) seam, sandwiching the end of the zip tape.
Clip the corners and turn out to the right side.
Neaten the lower edge/hem using an overlocker/serger.
Midi length only:
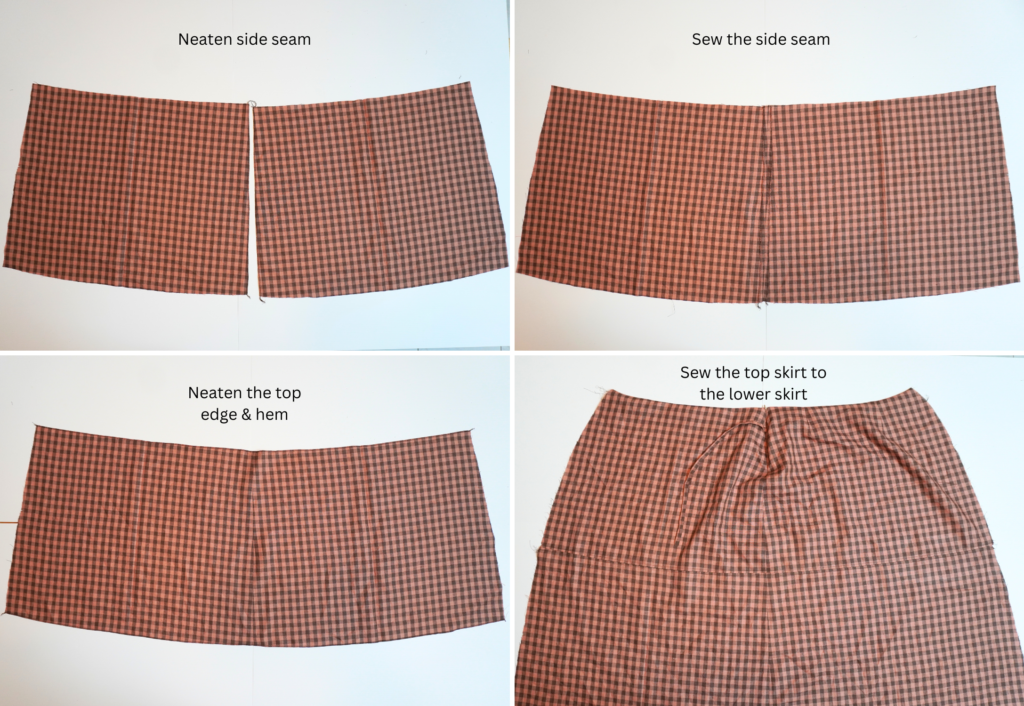
Neaten one side seam of Lower Skirt (3) using an overlocker/serger. Neaten the opposite side seam of the second Lower Skirt to create a mirrored pair.
With RST, sew the two Lower Skirt pieces together at the neatened side seam and press the seam open.
Neaten the top edge and hem using an overlocker/serger.
With RST and seams aligned, sew the Lower Skirt to the top skirt. Press the seam open and top stitch into place on each side of the seam.
Mini and Midi length:
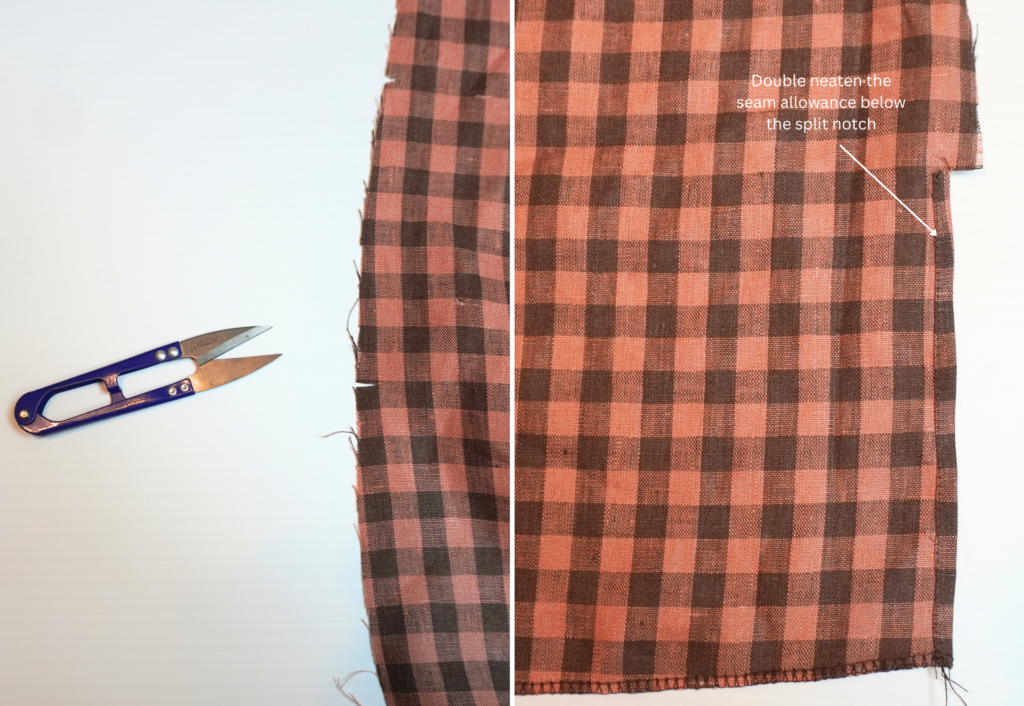
Carefully clip into the side seam on the wearer’s right at the notch indicating the split.
Double neaten the seam allowance at the split and edge stitch into place.
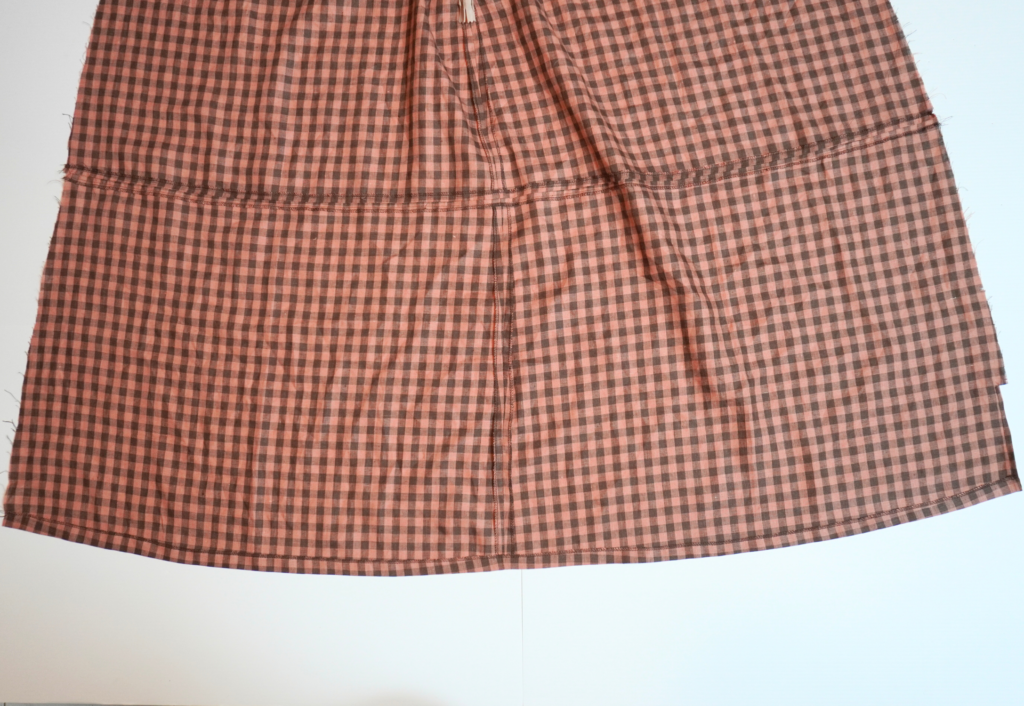
Turn the hem to the inside at the notch or to your preferred personal length and topstitch into place.
COMPLETION:
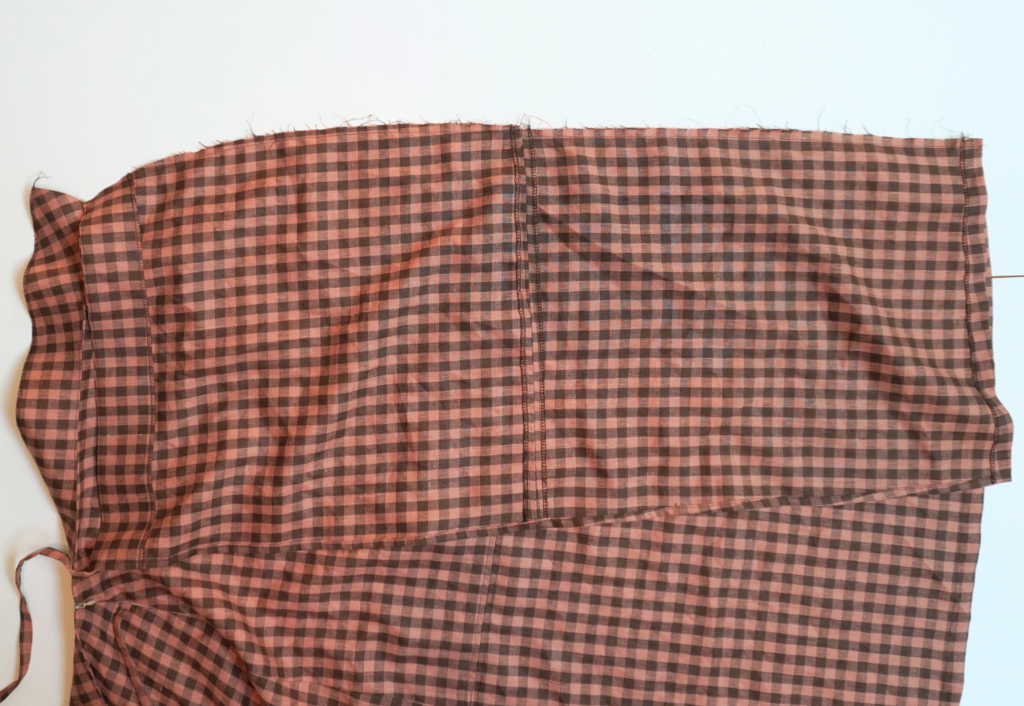
With RST and the horizontal seam aligned (Midi length), pin the wrap to the back skirt at the side seam with the Back Facing up and out of the way. Baste into place.
Neaten the wrap-back side seam and facing using an overlocker/serger, and the raw side seam of the front and facing separately using an overlocker/serger.
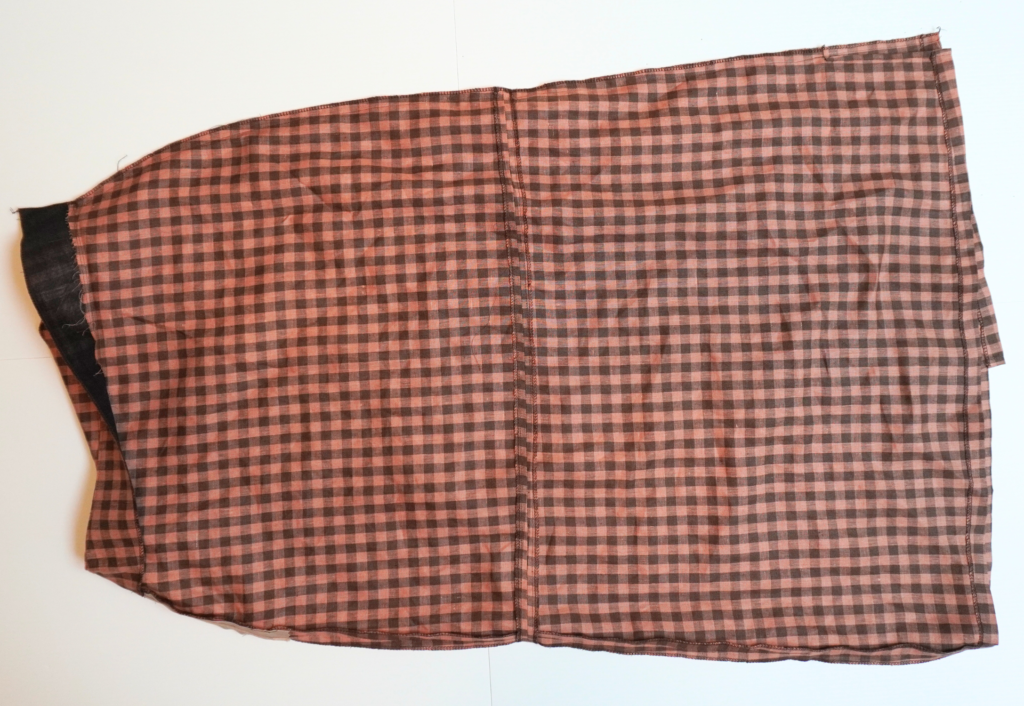
Pin the right side of the front skirt to the wrong side of the wrap, sandwiching the wrap.
Pin the Front Facing to Back Facing at the side seam. Starting at the hem, sew the side seam, taking care when sewing past the split, and through the facing. Press the seam open.
Press the waist seam toward the facing and sew an understitch on the side of the facing.
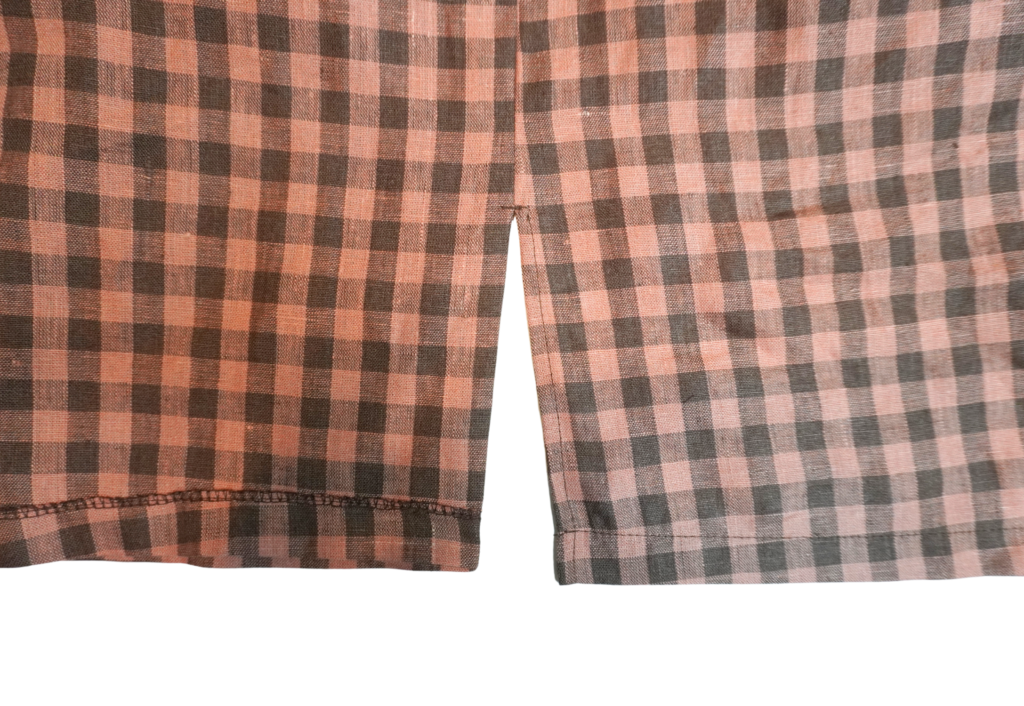
Sew a bar tack to the top of the split to strengthen this area.
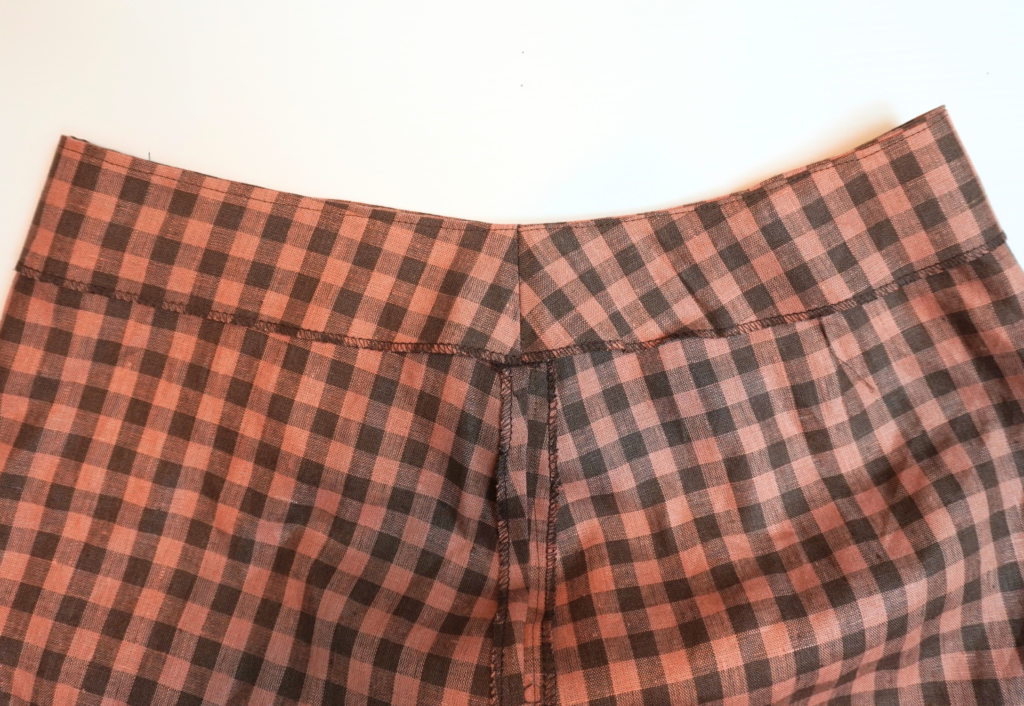
Turn the facing to the inside, press and secure the facing to the main skirt at the side seam and back darts using a ditch stitch (sink stitch).
If you have chosen to apply your tabs or ties using a top stitch or box-X stitch, now is the time.
Trim any loose threads and carefully press your new skirt!