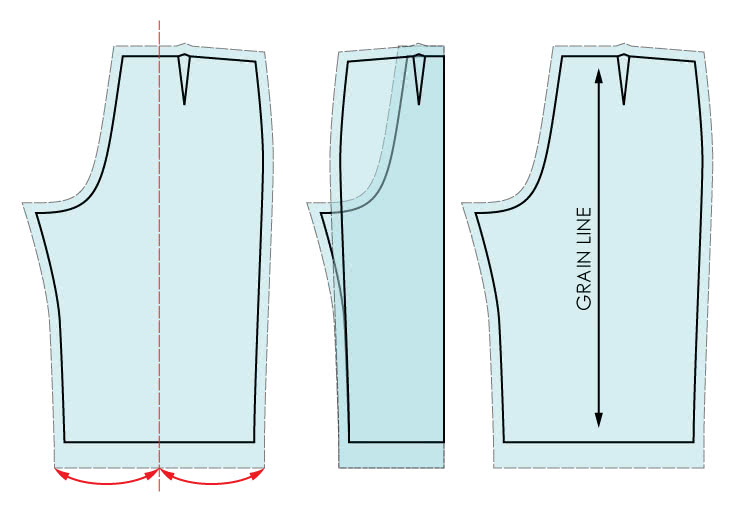
Step 1
Use basic back leg pattern piece. This original pattern should measure up to your waist and hip measurement.
Redraw this piece to work on as it is important to retain the original pattern piece to keep as a reference.
The straight grain line is obtained by folding the pattern piece in ½ starting at the hemline and squaring it up from that point. It is very important that the straight line is correct; if not your pant leg will twist.
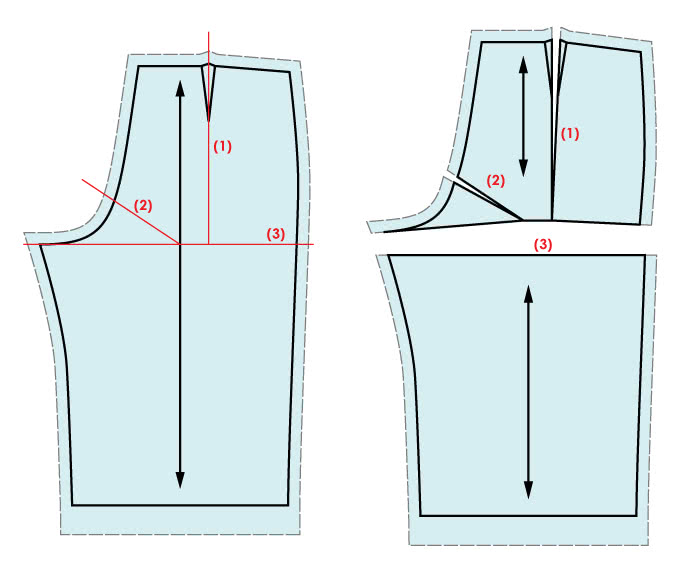
Step 2
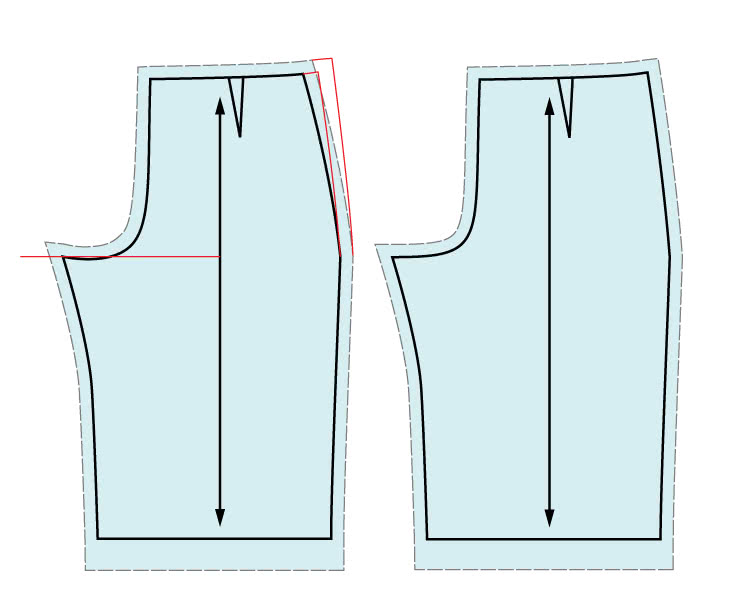
Mark the pattern at the points on the diagram. Then slash these 3 points.
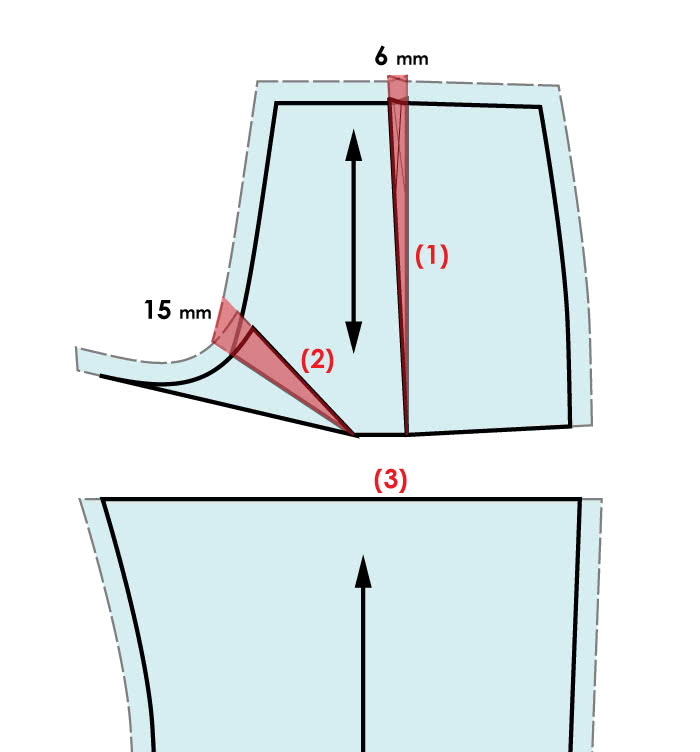
Step 3
Close off the slash point (1) to the value of 6 mm.
Close off the slash point (2) to the value of 1.5 cm.
The value that you need to slashed out depends on the flatness of the bottom; these measurements are a good starting point.
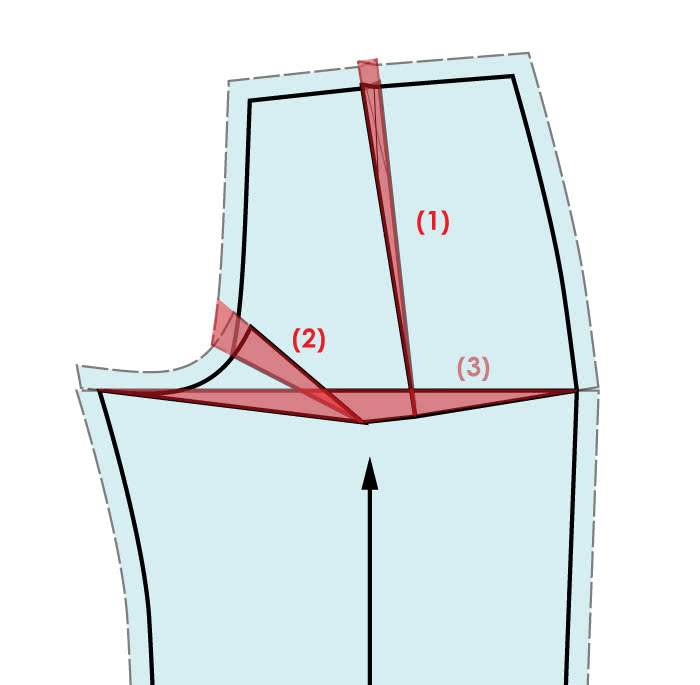
Step 4
Re-position the outer leg and inner leg seam to meet. The centre of the leg will now overlap therefore removing the excess fabric that appears under the buttocks on a flat bottom.
Step 5
Now that the 3 slash lines are folded out you must redirect the grain line. Do this as shown in diagram 1.
Once this is completed the crotch point is to be squared off from the straight grain and the hip and crotch points where altered are to be smoothed out.
Add to the back side seam the amount that was folded out of the dart. This will bring your original waist measurement back.