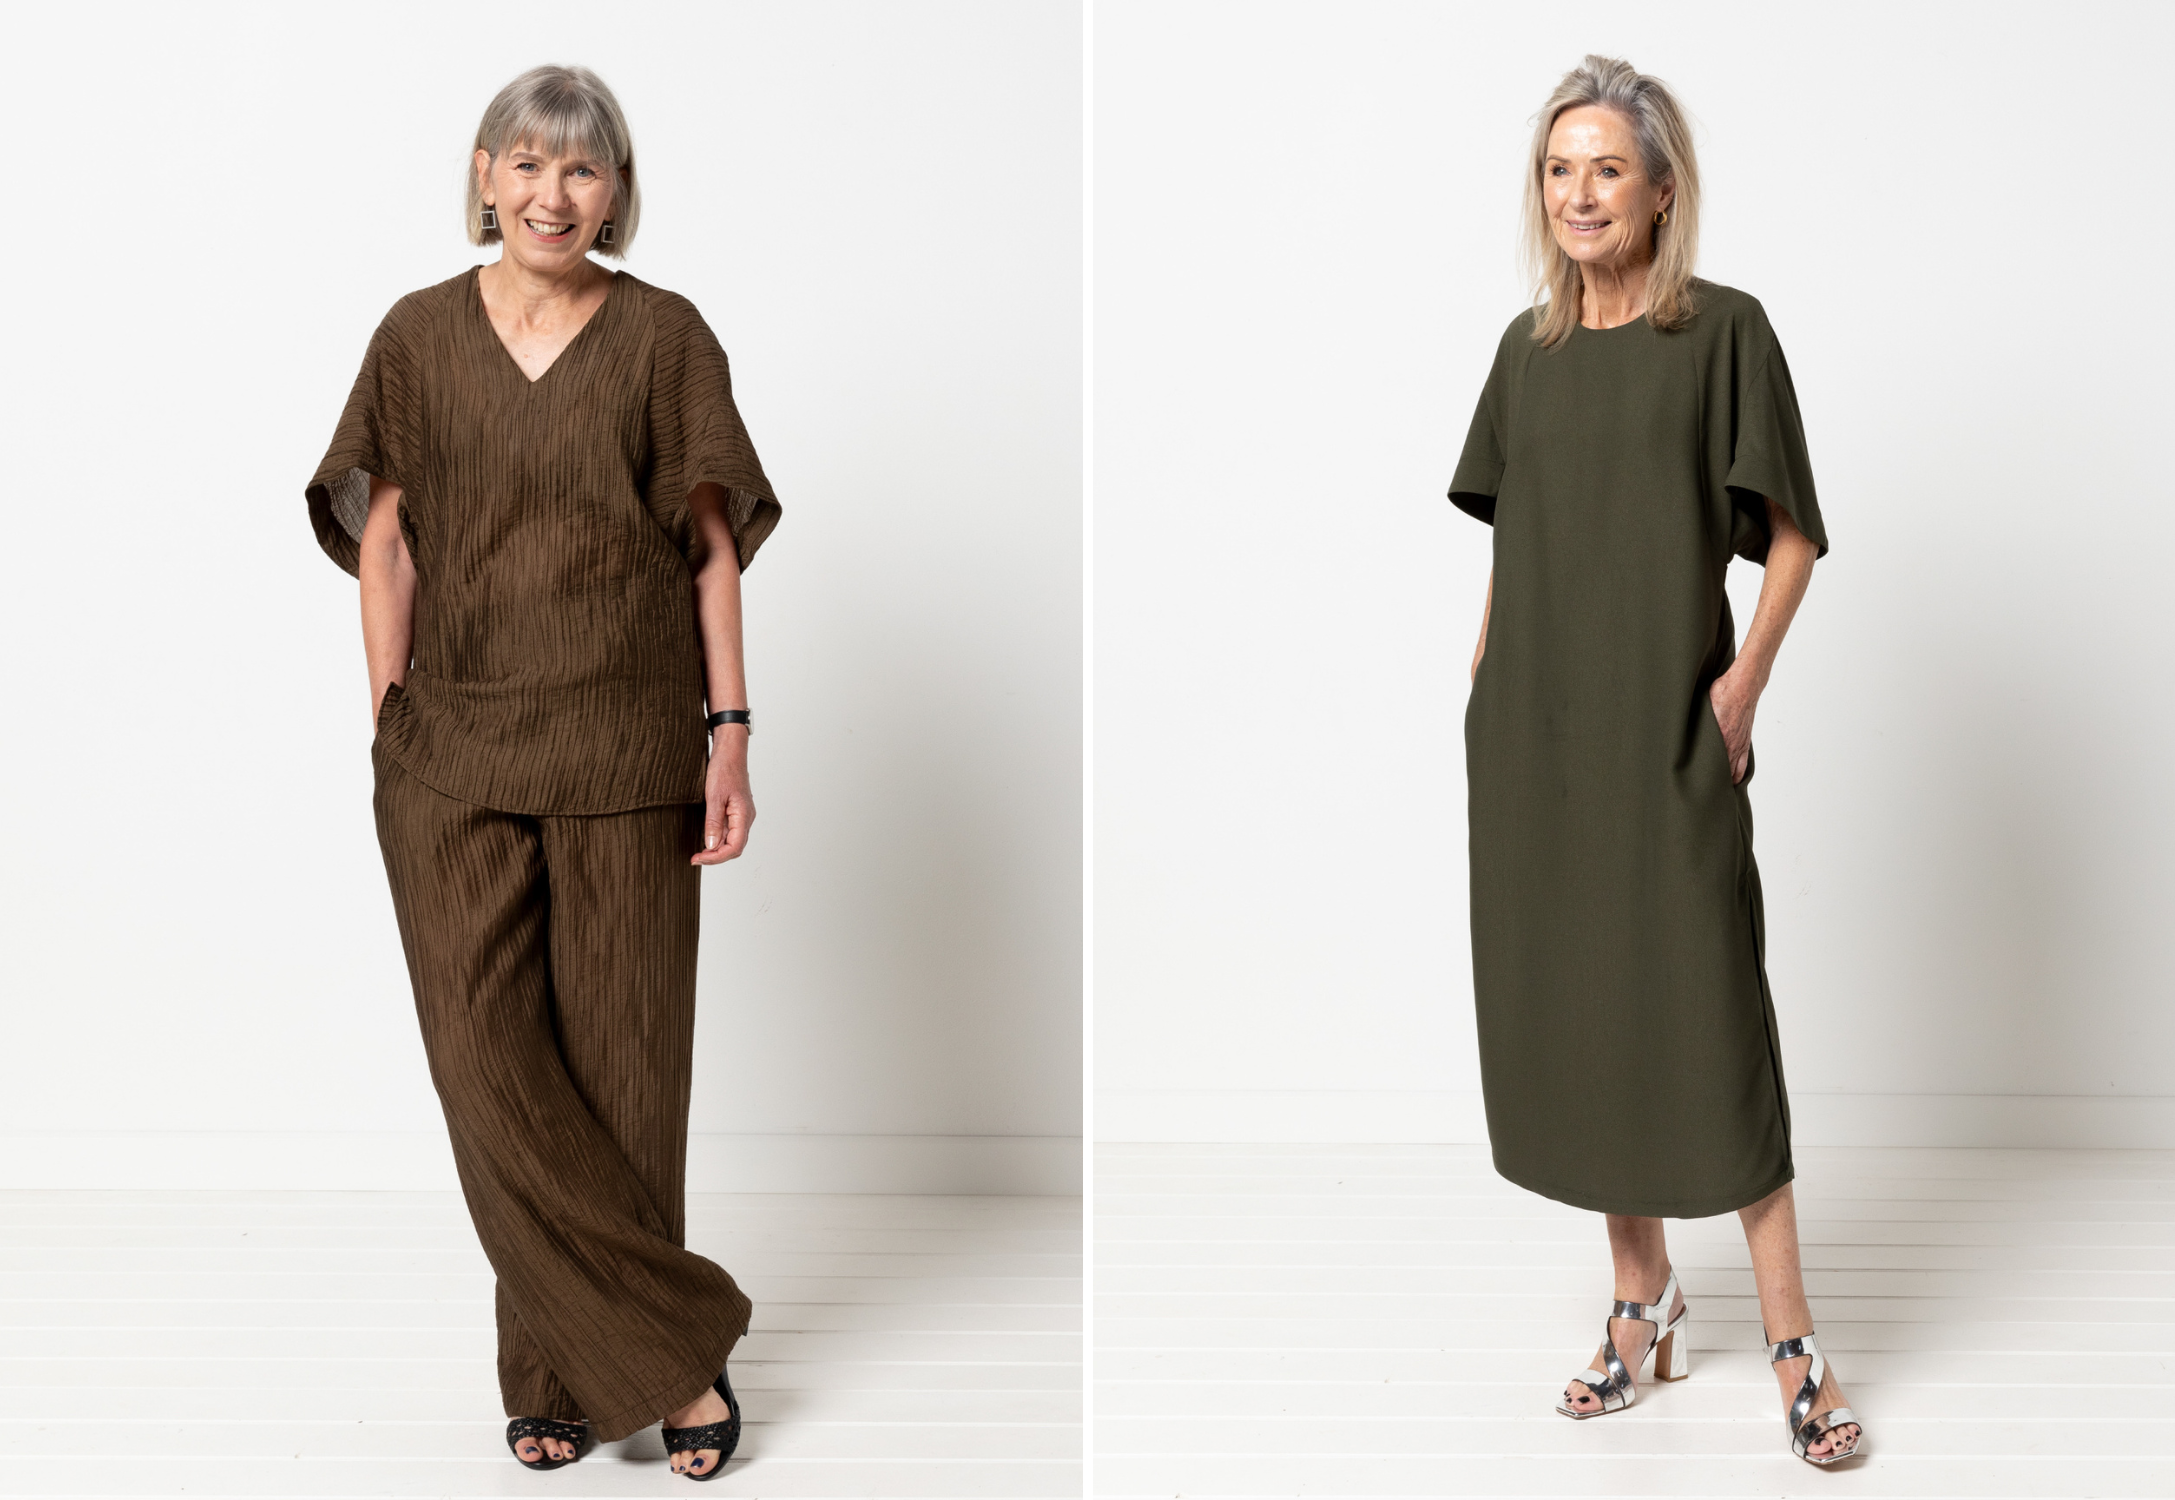
Shop the Phillips Woven Top and Dress
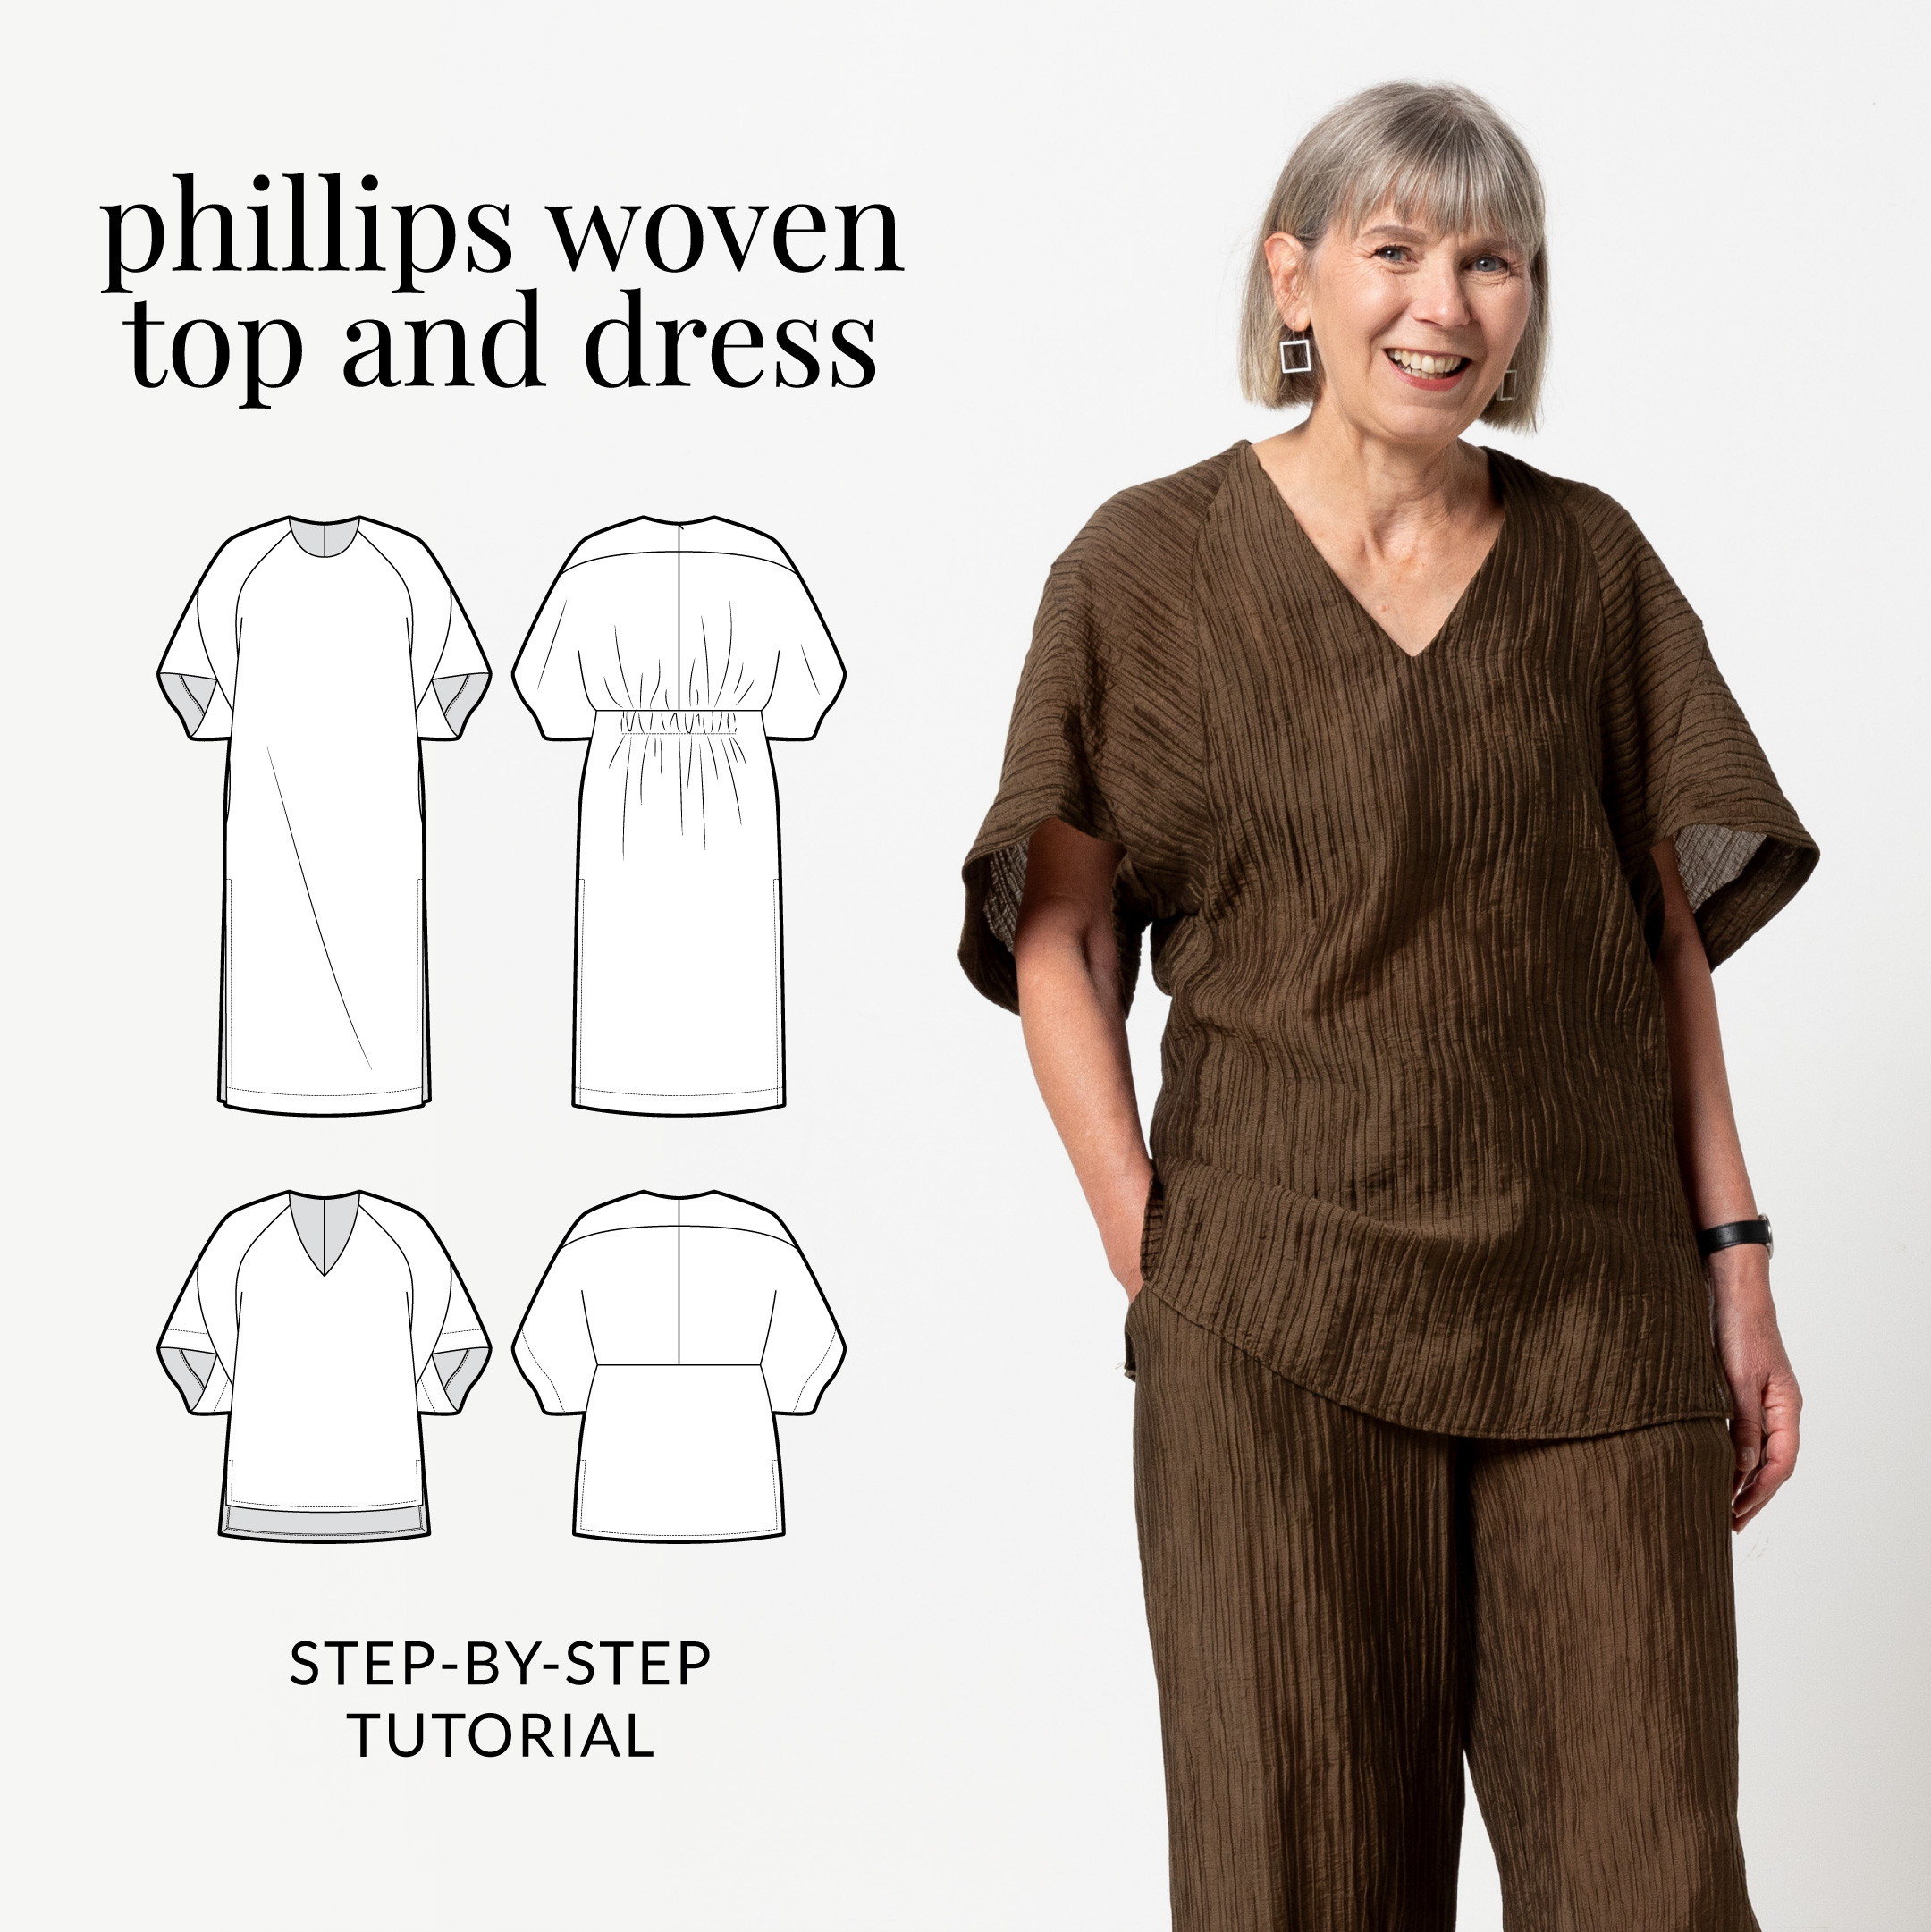
#SAPhillipsWovenTopandDress

PHOTO TUTORIAL
Please note: all seams are 1cm (3/8″) unless otherwise stated (seam allowances are marked on each pattern piece with a dashed line)
CONSTRUCTION
SLEEVES:
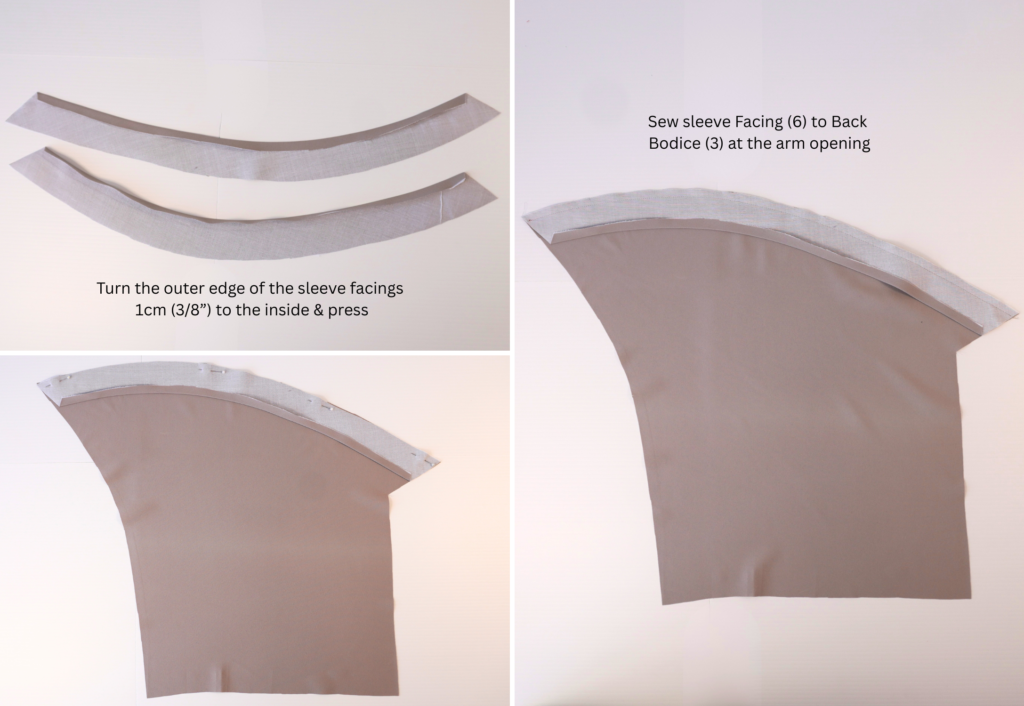
With RST and notches aligned, pin the Sleeve Facing (6) to Back Bodice (3) at the arm opening.
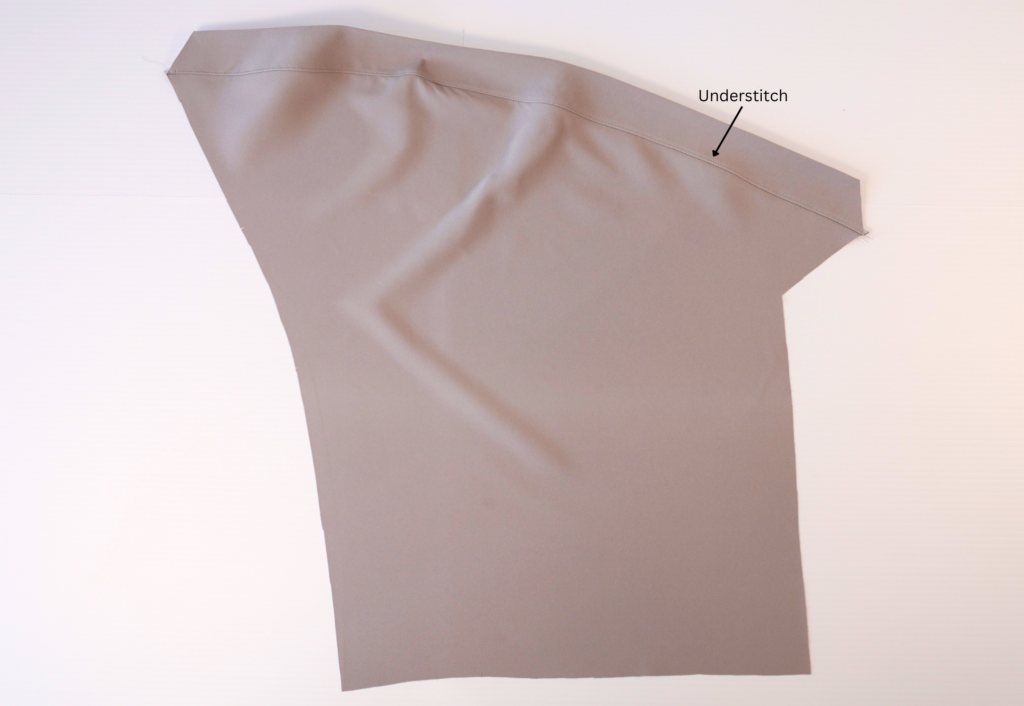
Sew then press the seam toward the facing and sew an understitch on the side of the facing.
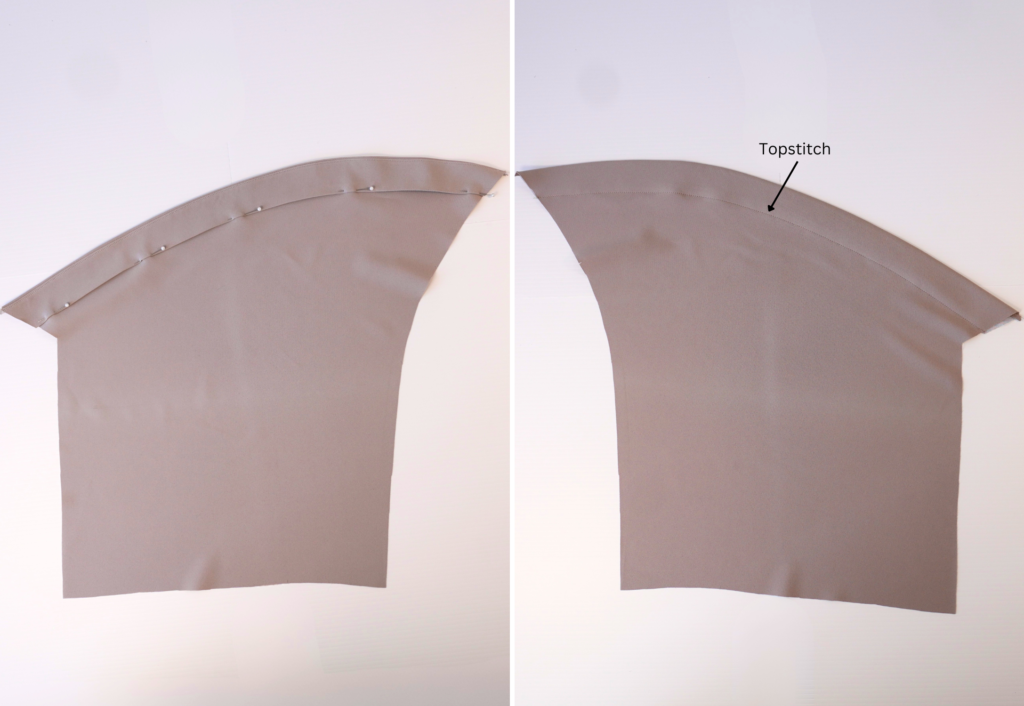
Turn the outer edge of the sleeve facing 1cm (3/8”) to the inside and press.
Turn the facing to the inside and pin into place. Topstitch into place or sew using a blind stitch.
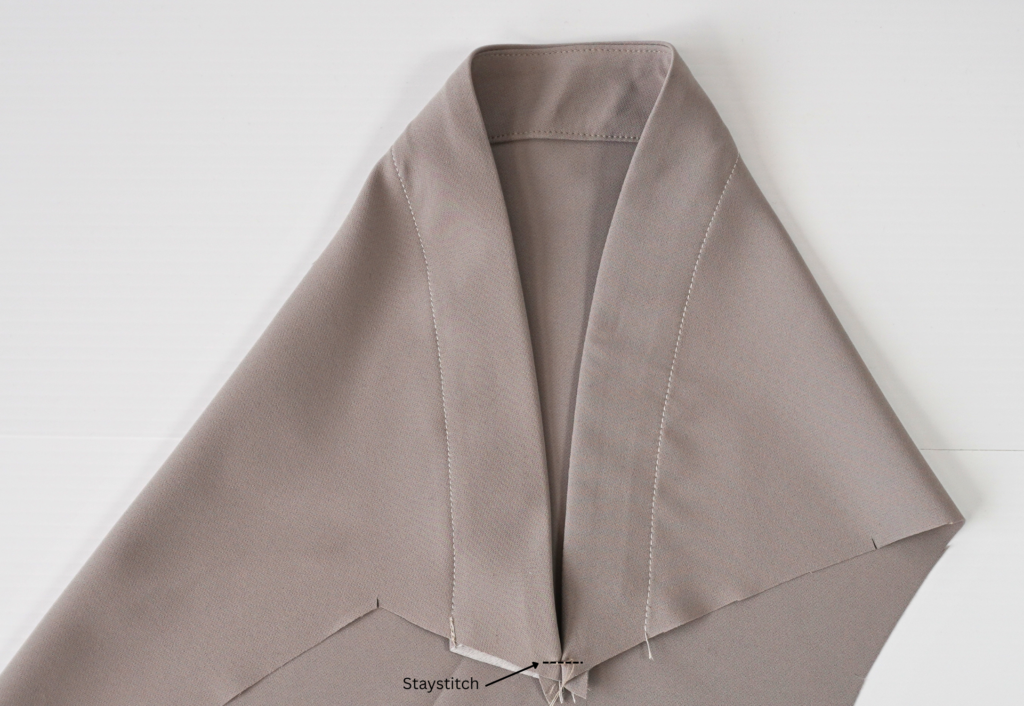
Align the underarm seams (D–D) to form a loop. Align the facing edges so they meet edge to edge at the base/seam allowance, but do not to overlap them (see diagram on page 4).
Staystitch the edges together, this will make the seam easier to sew to the yoke.
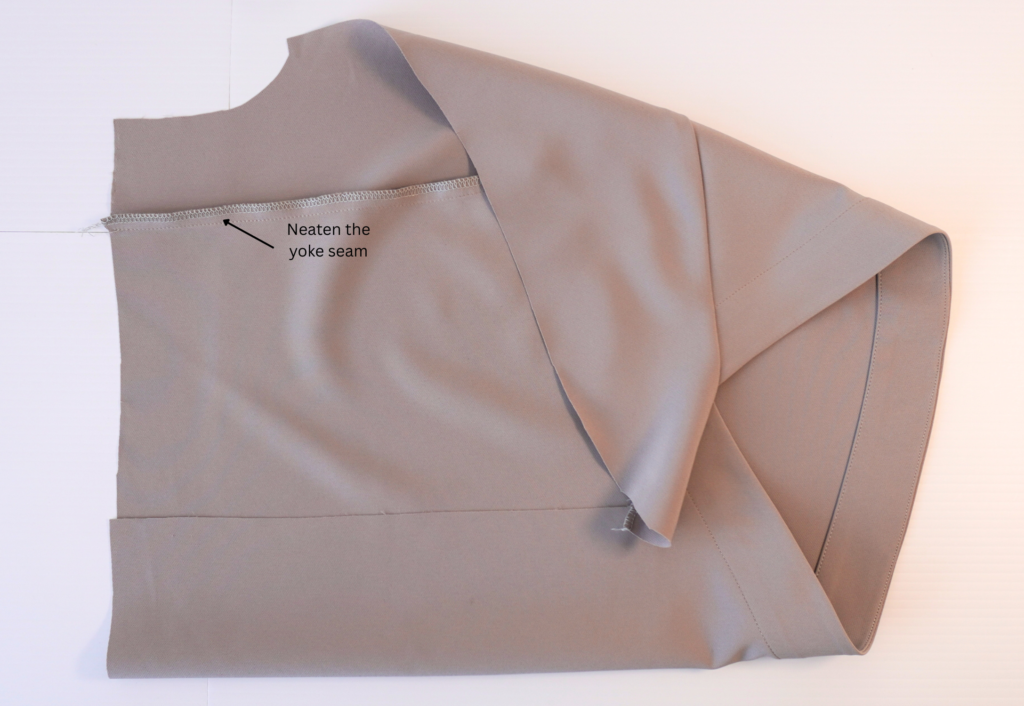
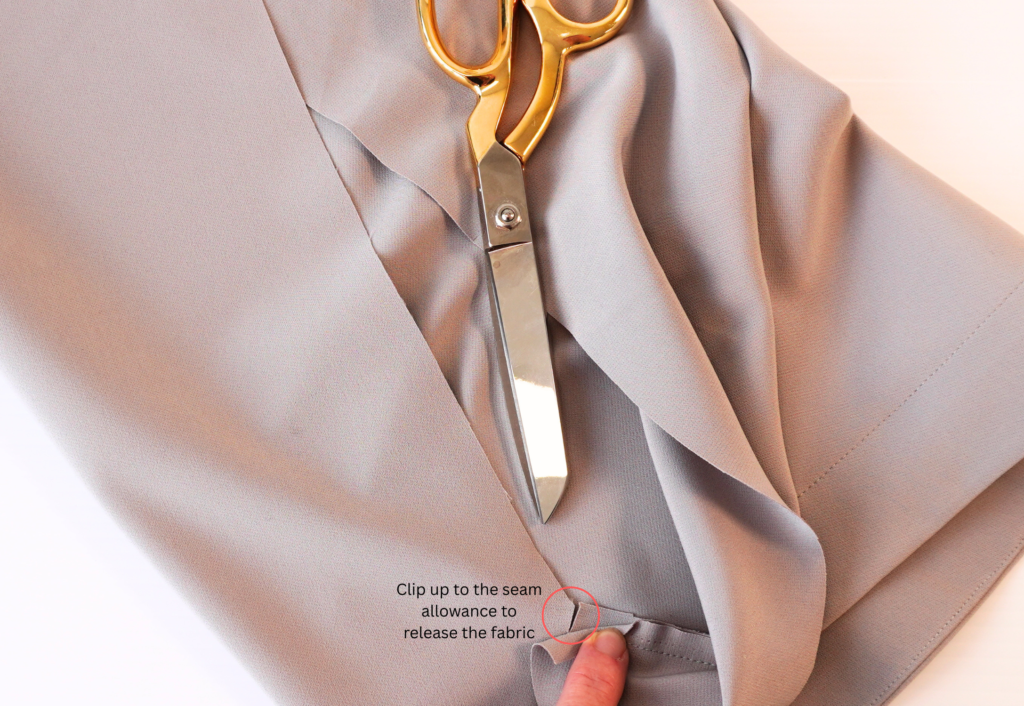
With RST and notches aligned pin Yoke (2) to the shoulder seam (C). Note the notch D aligns with the seamline D on the back bodice.
Sew together, taking care as both seams are shaped, then carefully clip into the seam as shown on the pattern. Be careful not to clip through the stitching.
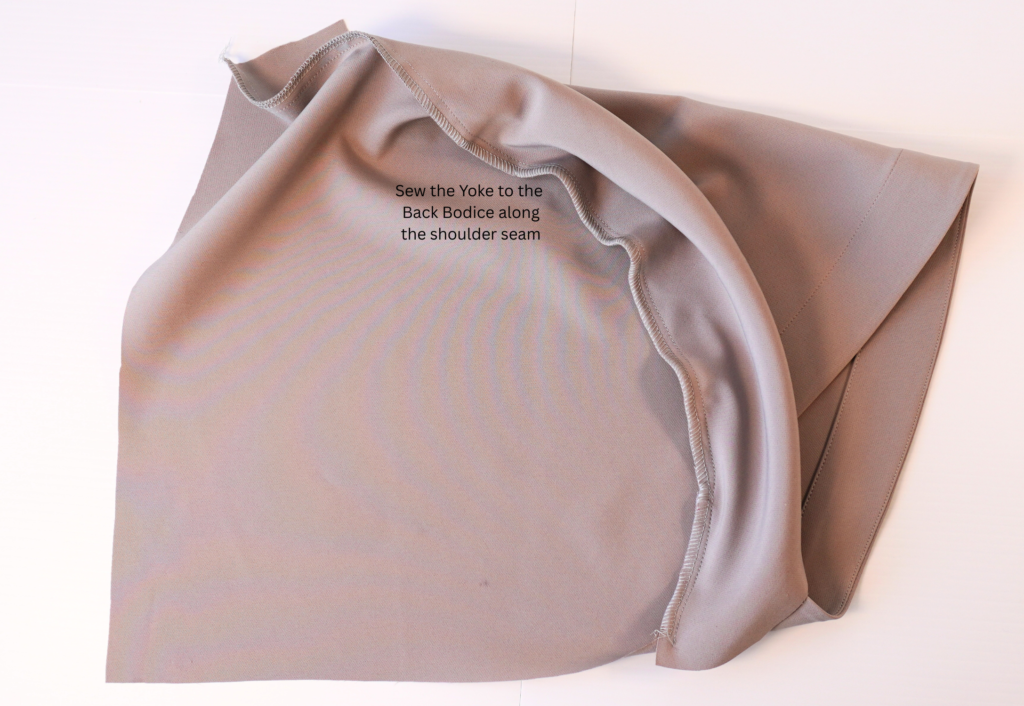
Neaten the seam using an overlocker/serger and press toward the yoke. Repeat for the other side, press and put aside.
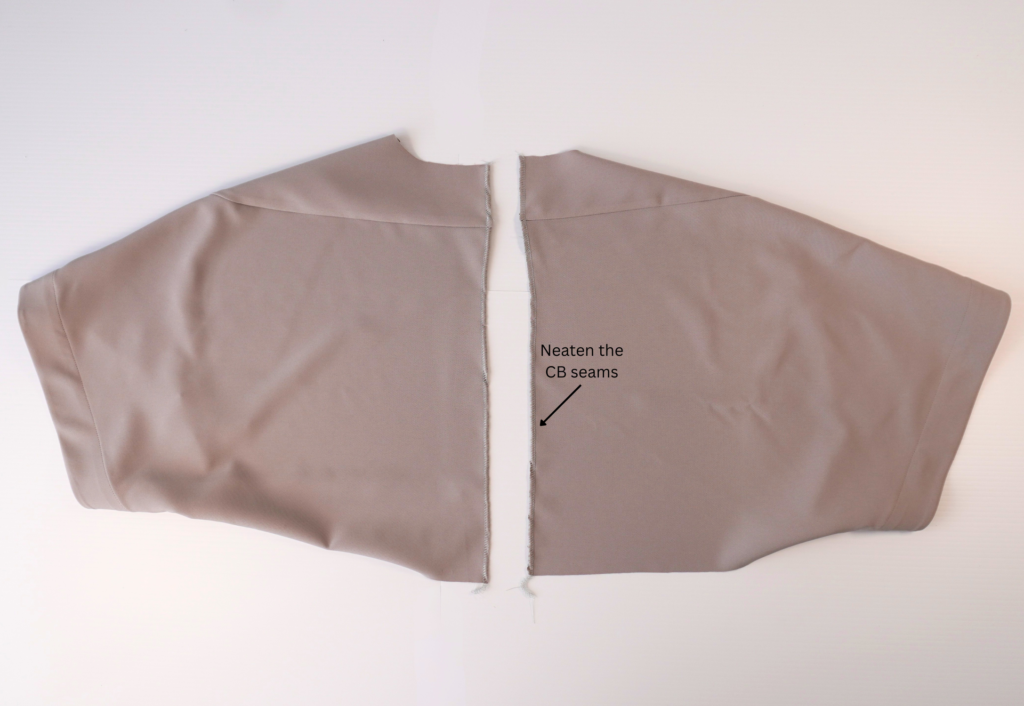
Neaten each centre back edge using an overlocker/serger.
OPTIONAL CENTRE BACK ZIP:
Click here for our Invisible Zip tutorial
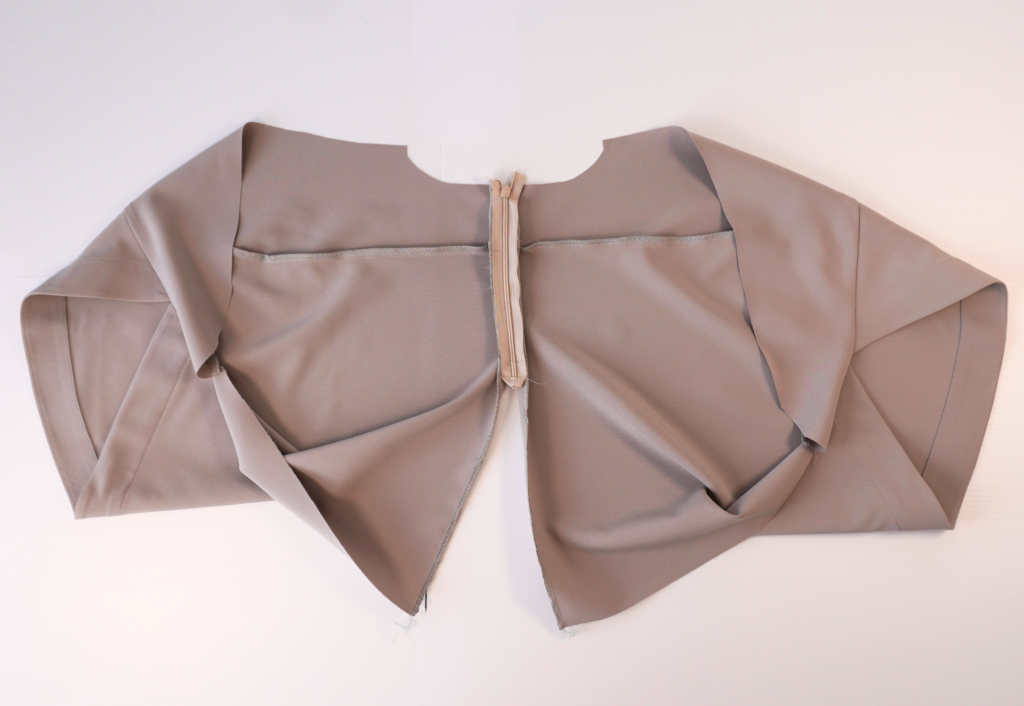
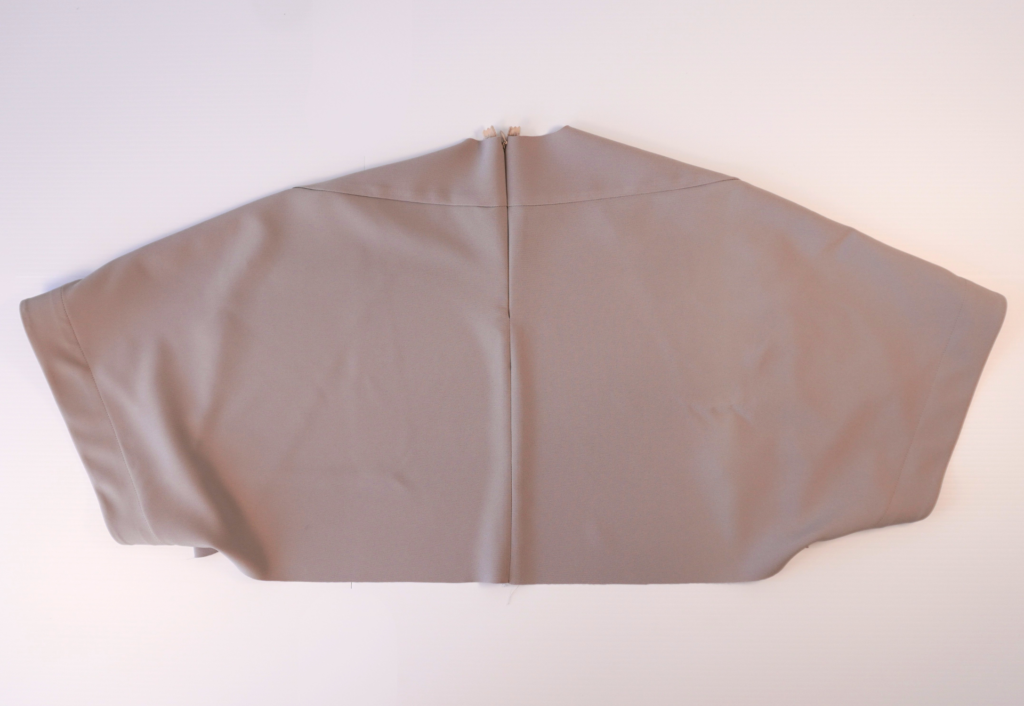
Carefully sew the invisible zip to the centre back of the dress using an invisible zipper foot.
Change back to the standard presser foot and sew the remainder of the centre back seam. Press the centre back seam open and lightly press the zip.
OPTIONAL INSEAM POCKETS (Dress only):
Click here for our Inseam Pockets tutorials
With RST and notches aligned, sew one set of Pockets (8) to the Front (1) at the side seam (seamline marked ‘A’ on the pattern). Stitch only between the notches. Clip the seam at the notches and sew an understitch on the side of the pocket bag. This is pocket bag 1.
With RST, lay pocket bag 2 on top of pocket bag 1, align and sew both pocket bags together (seamline marked ‘B’ on the pattern). Note that the straight edge of pocket bag 2 is left free to sew to the back skirt side seam.
Neaten around the pockets using an overlocker/serger. Secure stitch each end of the pocket opening.
BODY:
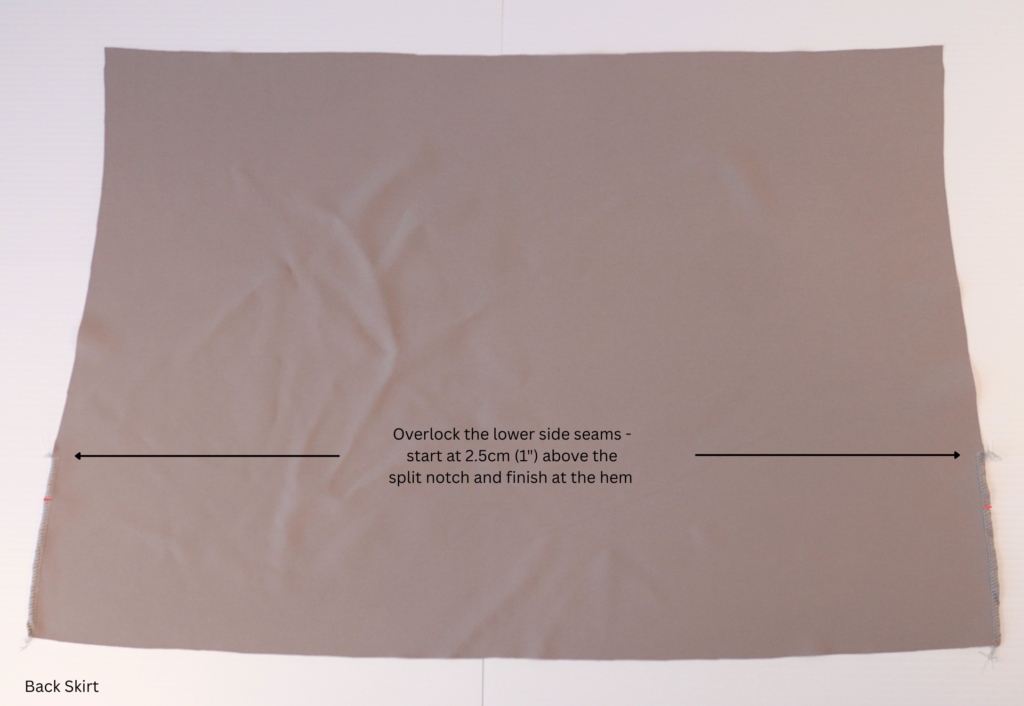
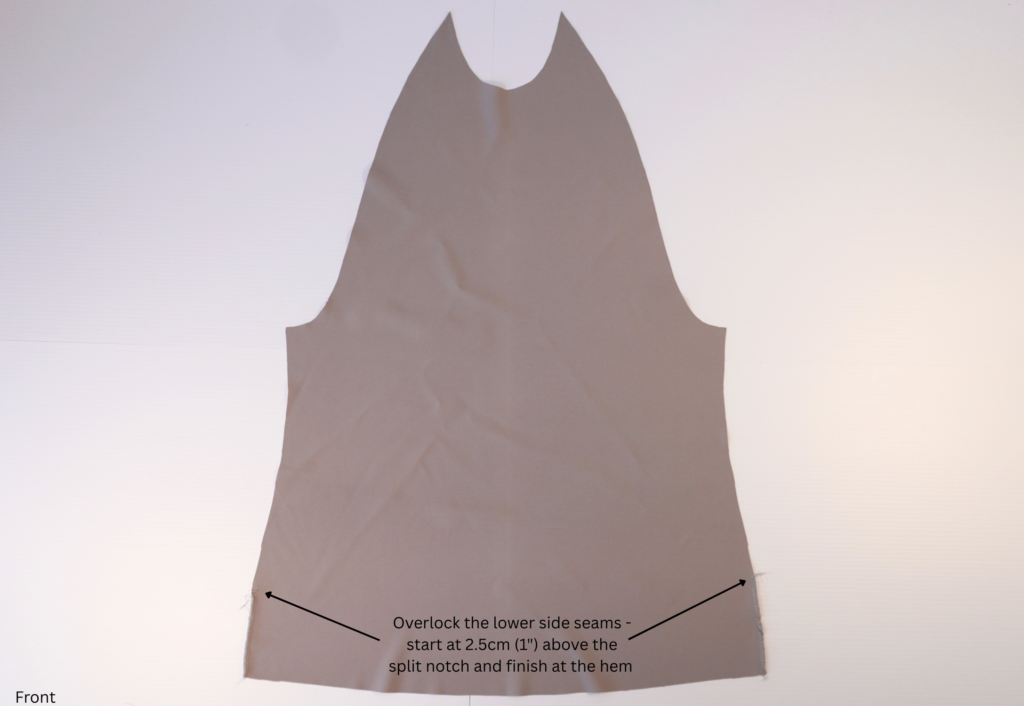
Neaten the lower part of each side seam on Skirt Back (4) and Front (1) separately (from the hem to approximately 2.5 cm (1”) above the split notch) using an overlocker/serger.
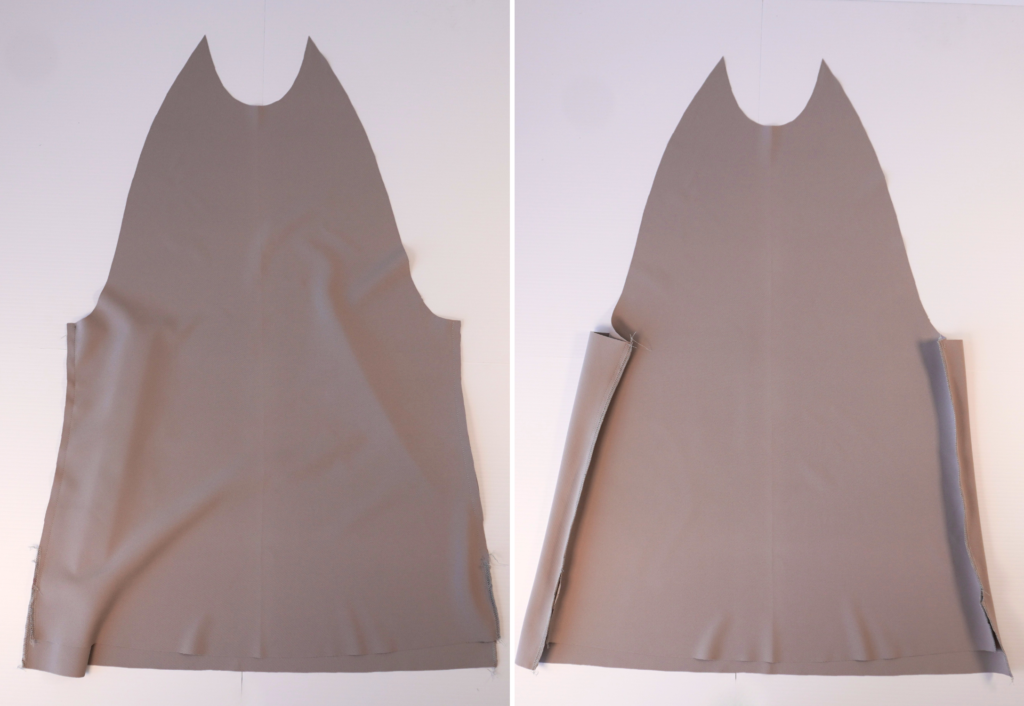
Pin the back to front at the side seam. Sew from the underarm, through the back of the pocket (if using) and finishing at the notch indicating the split. Take care not to sew the pocket closed as you sew.
Neaten the seam using an overlocker/serger, as far as the previously neatened edges. Press toward the back.
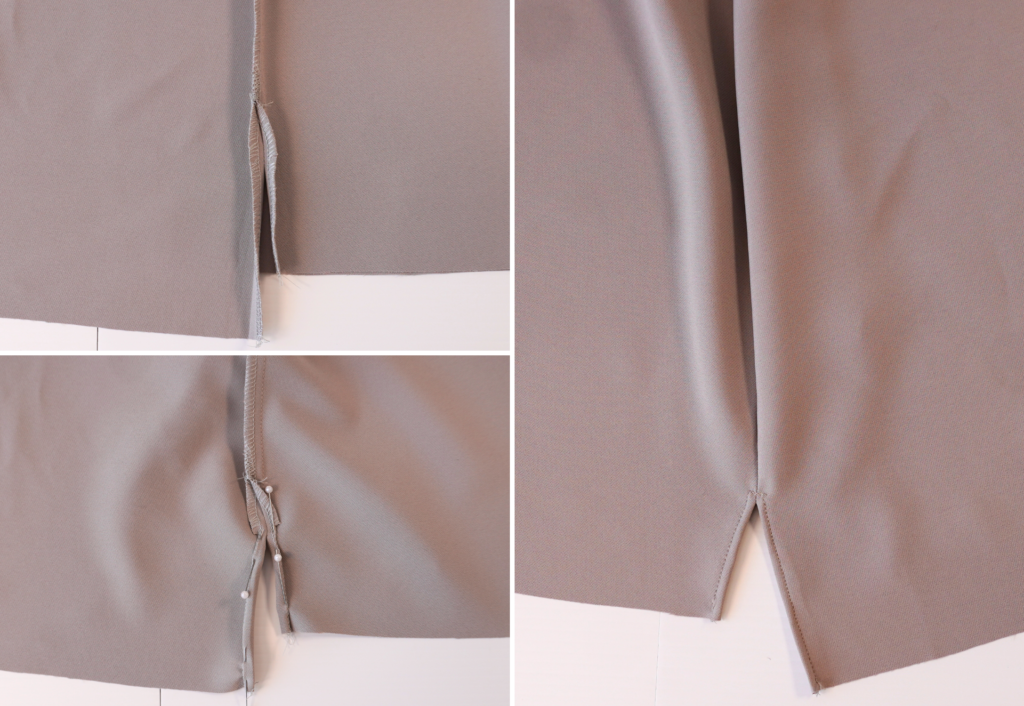
Press the seam allowance above the splits open.
Double turn the seam allowance of the splits to the inside and press.
Top stitch the splits into place and make a bar tack at the top of the split to add strength to this area.
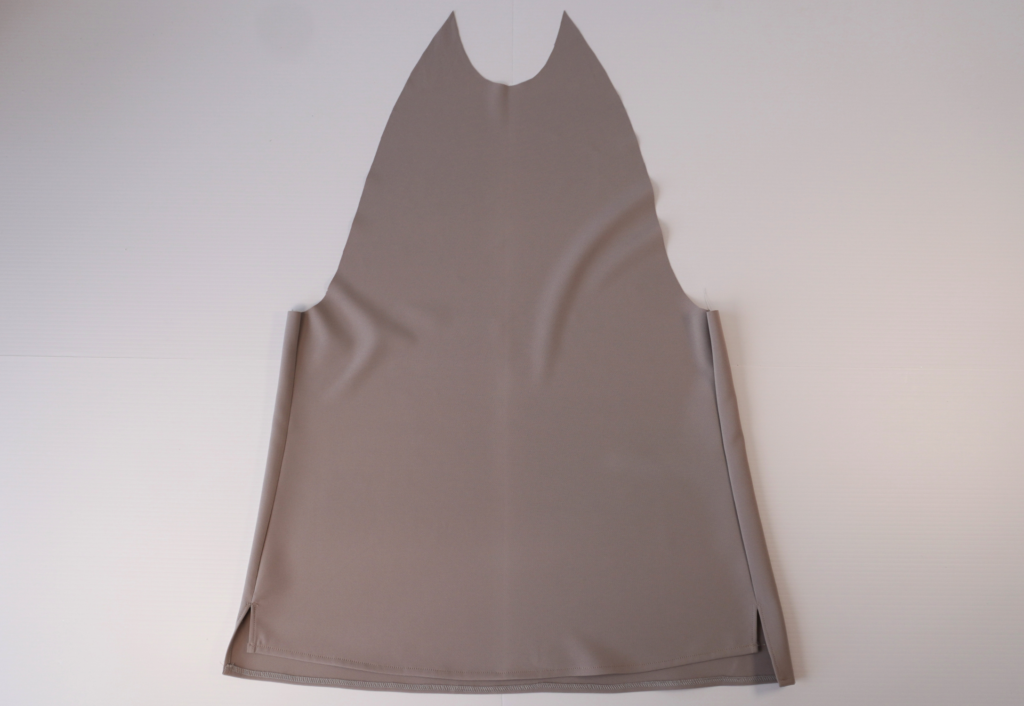
Neaten the hem using an overlocker/serger. Turn the hem 3cm (1 1/4″ ) for the dress, 1cm (3/8”) for the top, and sew into place using a top stitch or blind stitch.
Press the splits and hem.
BODICE TO SKIRT:
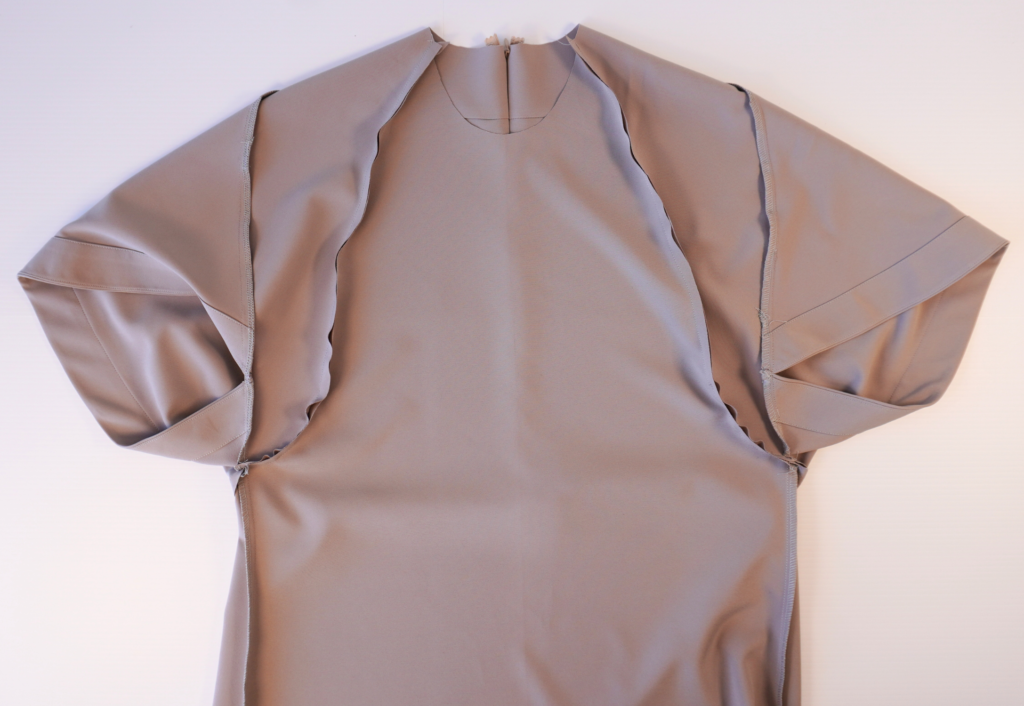
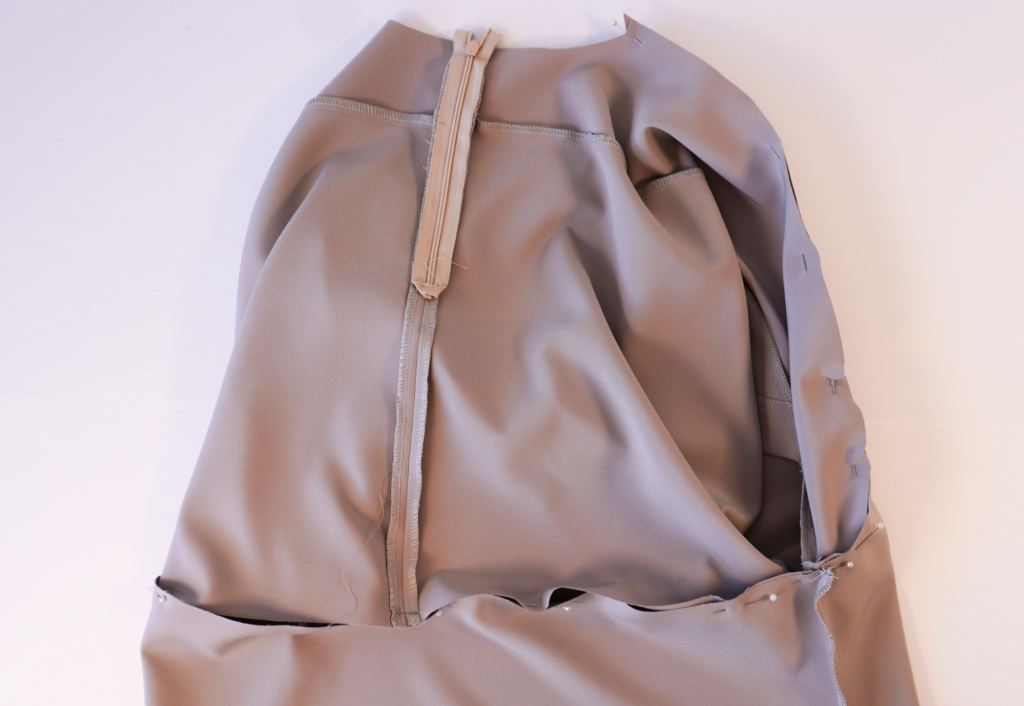
With RST and notches aligned, pin the front to the yoke, align the side seams and pin the back skirt to the back bodice.
Starting at the neck seam on the wearer’s left, sew down the front, around the back and finish at the neck seam on the wearer’s right.
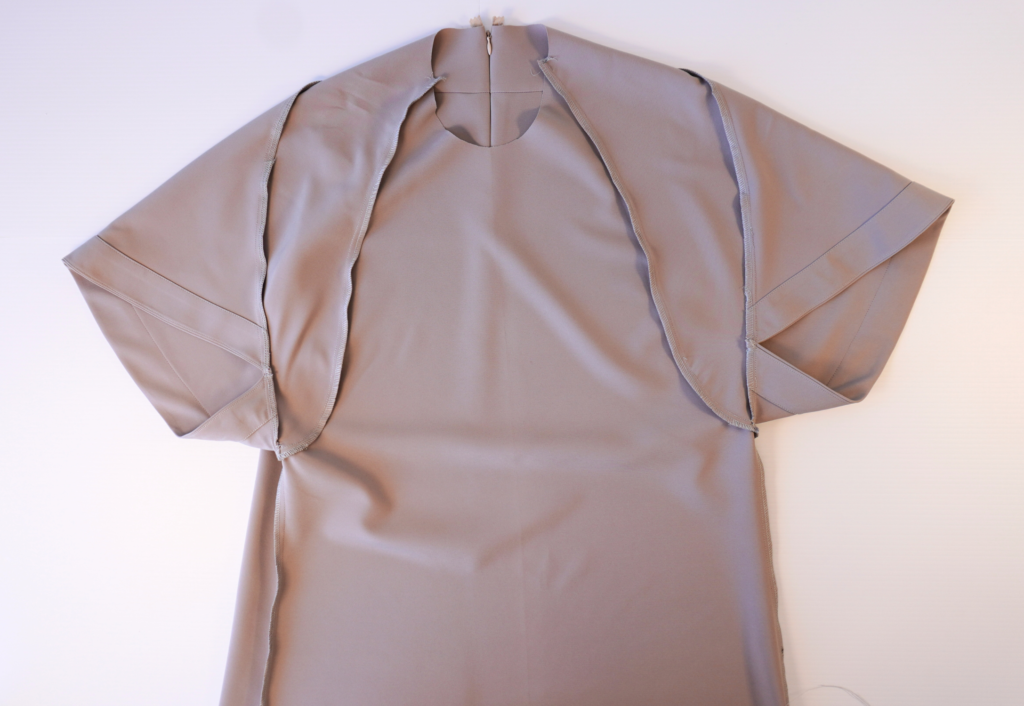
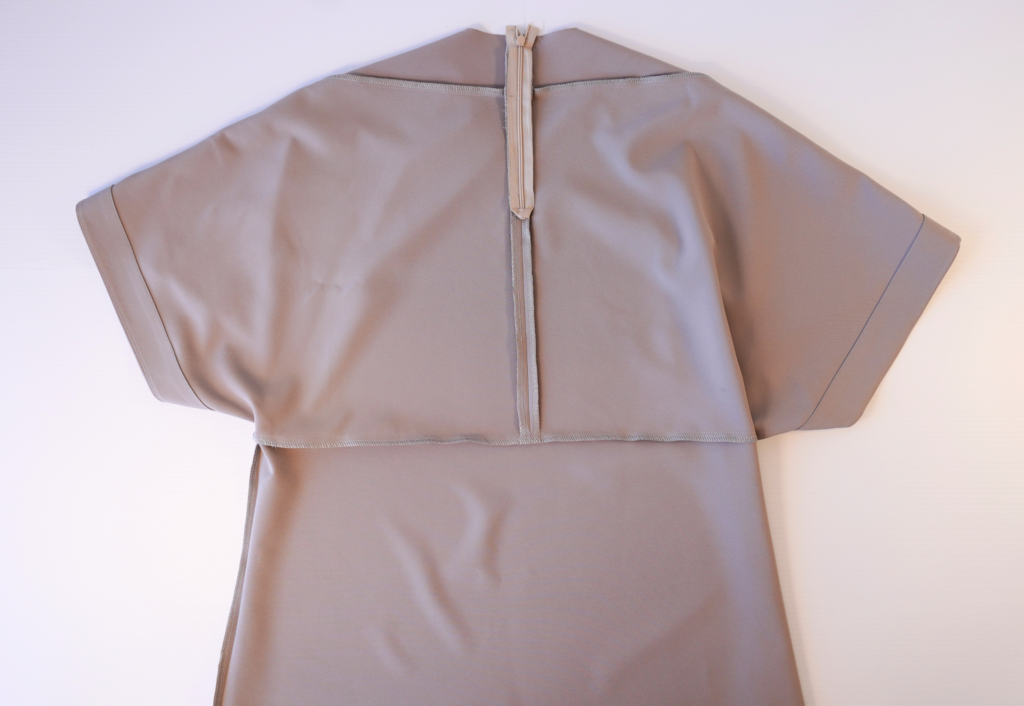
Neaten using an overlocker/serger. Press the seam toward the body.
FACING FOR THE V NECK OPTION WITHOUT BACK OPENING:
With RST sew the centre back seam and press the seam open.
With RST, sew the centre front seams of V Neck Facing (9) together, starting at the base of the facing and finish 6mm (1/4”) from the cut edge of the neck.
Neaten the outer edge of the facing using an overlocker/serger.
Sew a staystitch to the neckline to prevent it from stretching.
With RST and seams aligned, pin the facing to the neck opening. Sew using a 6mm (1/4”) seam.
Clip into the curved seam to create a nice smooth neckline. Press the seam toward the facing and sew an understitch on the side of the facing.
Turn the facing to the inside and press.
FACING FOR THE ROUND NECK OPTION WITH SPLIT AND HOOK AND EYE:
With RST, sew the centre back seam from the base to the notch indicating the split on the pattern. Press the seam open.
Neaten the outer edge of the Neck Facing (5) using an overlocker/serger.
Sew a staystitch to the neckline to prevent it from stretching.
With RST, pin the facing to the neckline and sew using a 6mm (1/4”) seam. Clip into the curved seam to create a nice smooth neckline.
Press the seam toward the facing and sew an understitch on the side of the facing.
Sew the back edge of the facing to the split opening using a 1cm (3/8”) seam. Turn out to the right side and press.
FACING FOR THE ROUND NECK OPTION WITH ZIP:
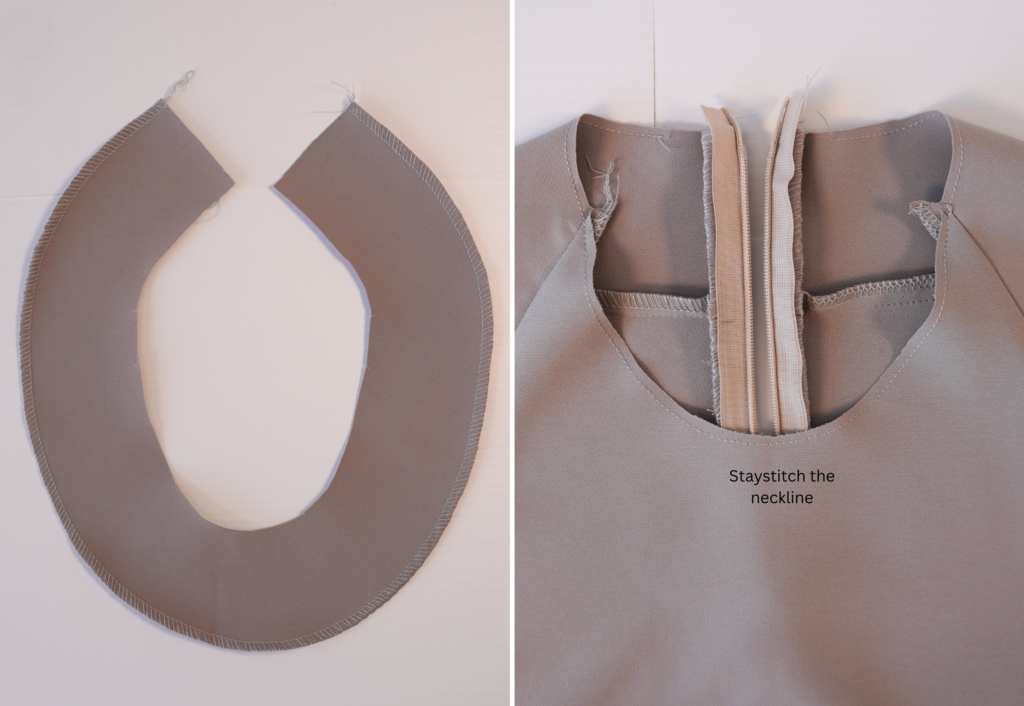
Neaten the outer edge of the Neck Facing (5) using an overlocker/serger.
Sew a staystitch around the neckline to prevent it from stretching.
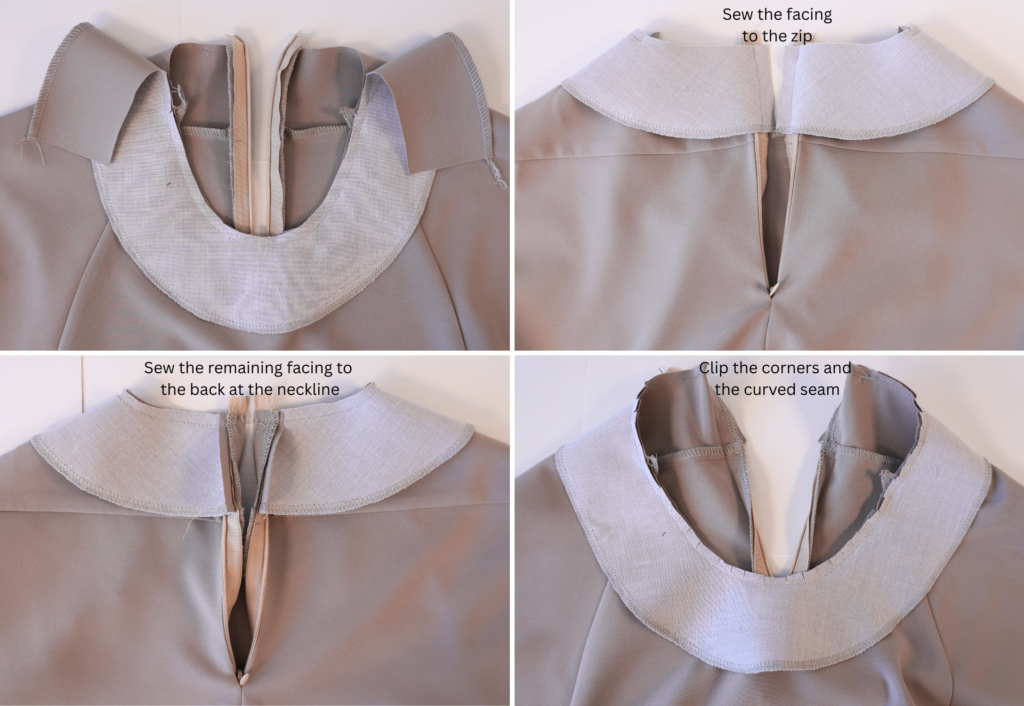
With RST and seams aligned, pin the facing to the neck opening.
Starting 7.5cm (3”) from the centre back and using a 6mm (1/4”) seam, stitch the facing into place, finishing 7.5cm (3”) from the centre back on the opposite side. The facing will be completed later.
With the right side of the facing to the wrong side of the zip tape, and using a regular presser foot, sew the facing to the zip using a 1cm (3/8”) seam allowance.
With RST, turn the zip tape toward the facing and the teeth to the fold. Sew the remaining facing to the back at the neckline using a 6mm (1/4”) seam, sandwiching the end of the zip tape.
Clip the corners, carefully clip the curved seam to create a nice smooth neckline and turn to the right side.
Press, then sew an understitch on the side of the facing where possible.
OPTIONAL ELASTIC CASING AT THE BACK WAIST:
Neaten around the Inside Back Waist Casing (7) with an overlocker or serger.
With the right side of the top edge of the casing facing the wrong side of the back body, pin the top long edge of the casing to the back seam between the notches and sew.
Pin the short ends of the cut elastic to the ends of the casing on the inside of the casing and sew.
Press the lower edge of the casing to the inside 1cm (3/8”). Fold the casing down so the elastic is encased, pin the casing to the body and sew an edge stitch down each short end and across the base of the casing (be careful not to catch the elastic as you sew along the base) to secure the casing in place. From the right side you will now have visible stitching creating the casing.
COMPLETION:
Sew the hook and eye into place at the centre back (if using).
Trim any loose threads and carefully press your new top or dress!