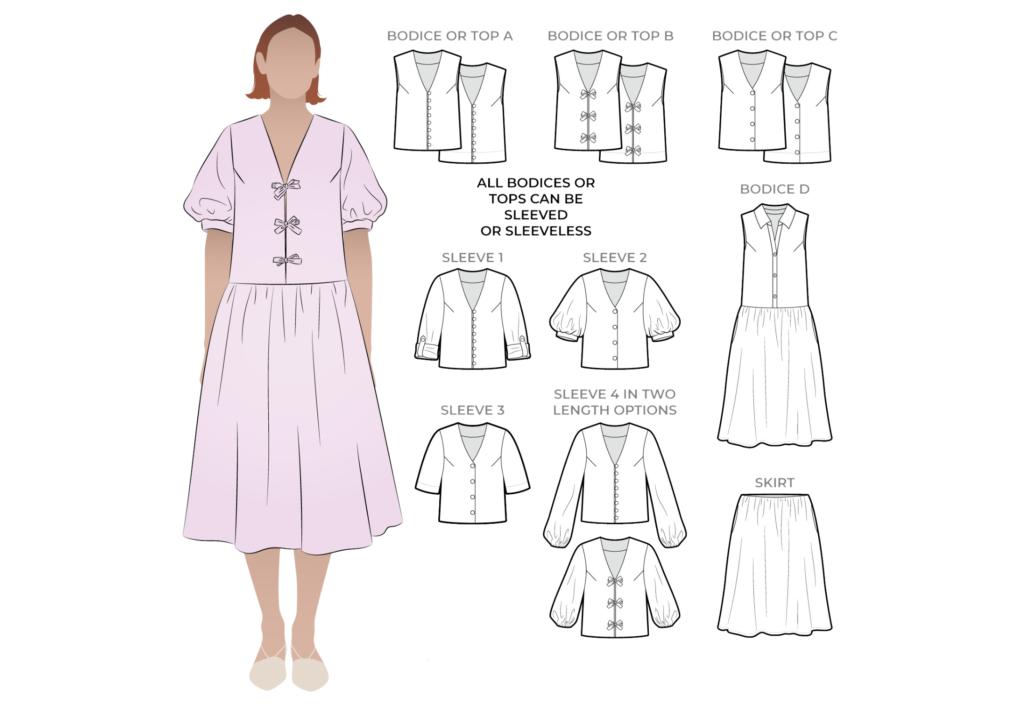
CONSTRUCTION:
BODICE A:
With right sides facing sew the bust darts and press down.
With right sides facing sew the front and back shoulder seams together. Neaten with an overlocker/serger and press towards the back.

With right sides facing sew the length of the loop piece and turn out to the right side.
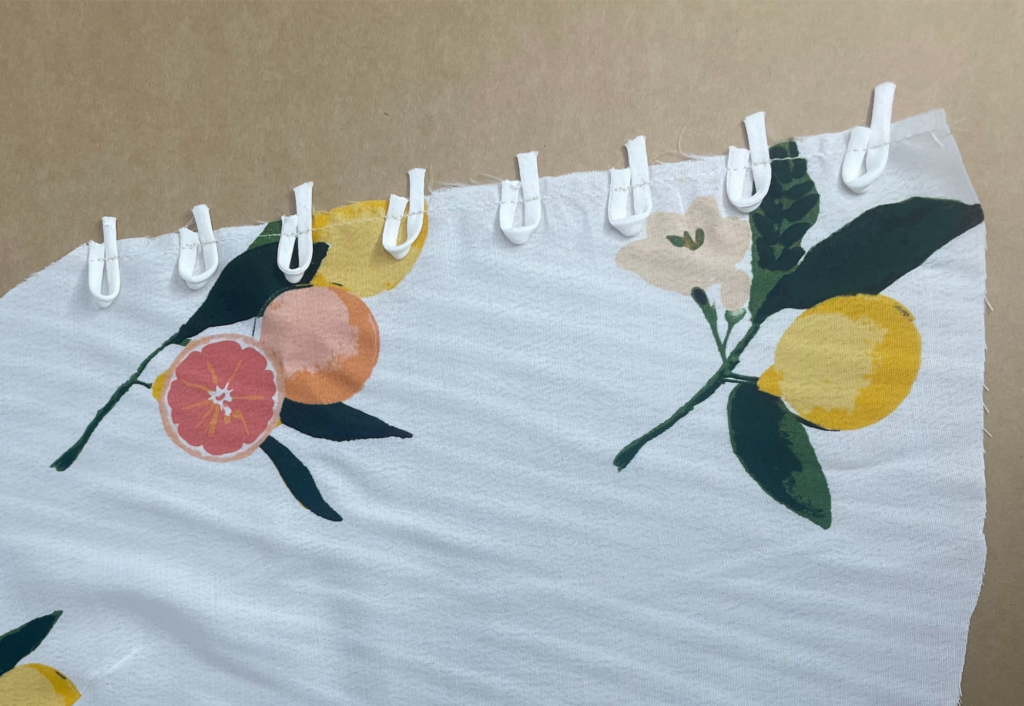
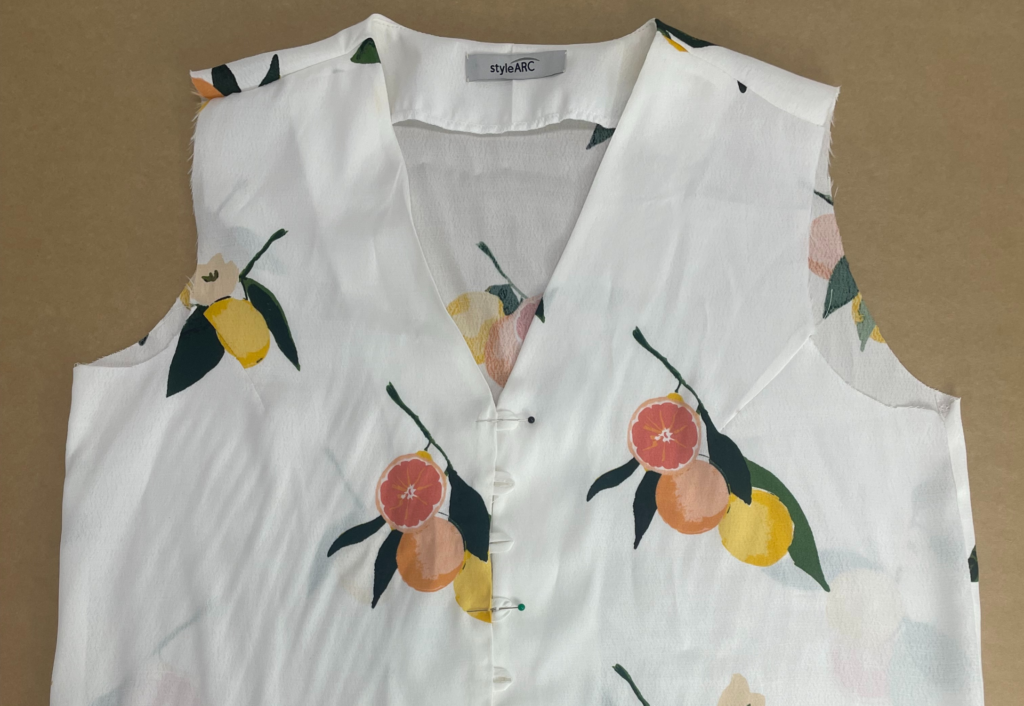
Cut the loops to the right size for the size of your button. Make a loop shape with each loop and sew the loops on the right side of the right front, facing inward. The first loop starts at the 1st neck notch, the loops will be facing inward.
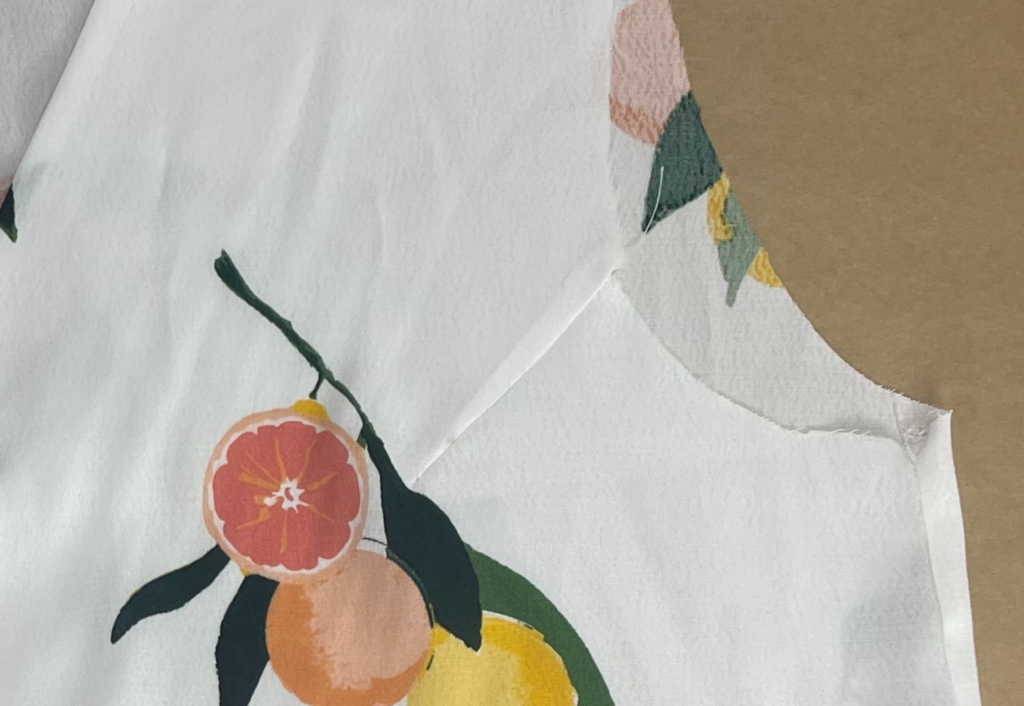
If using the guard, with right sides facing fold it in half lengthways and sew across each short end, clip the corners and turn out to the right side. Sew a stay stitch to the cut edges and neaten with an overlocker/serger.
With right sides facing sew the neatened edge of the guard to the front of the left front facing, see markings on the pattern.
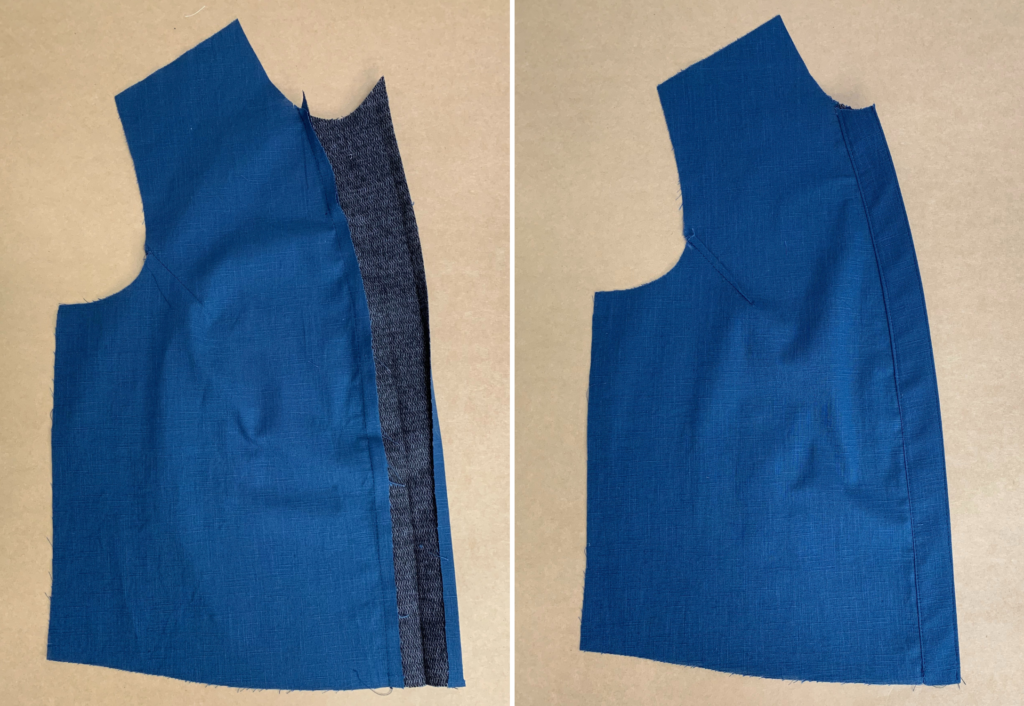
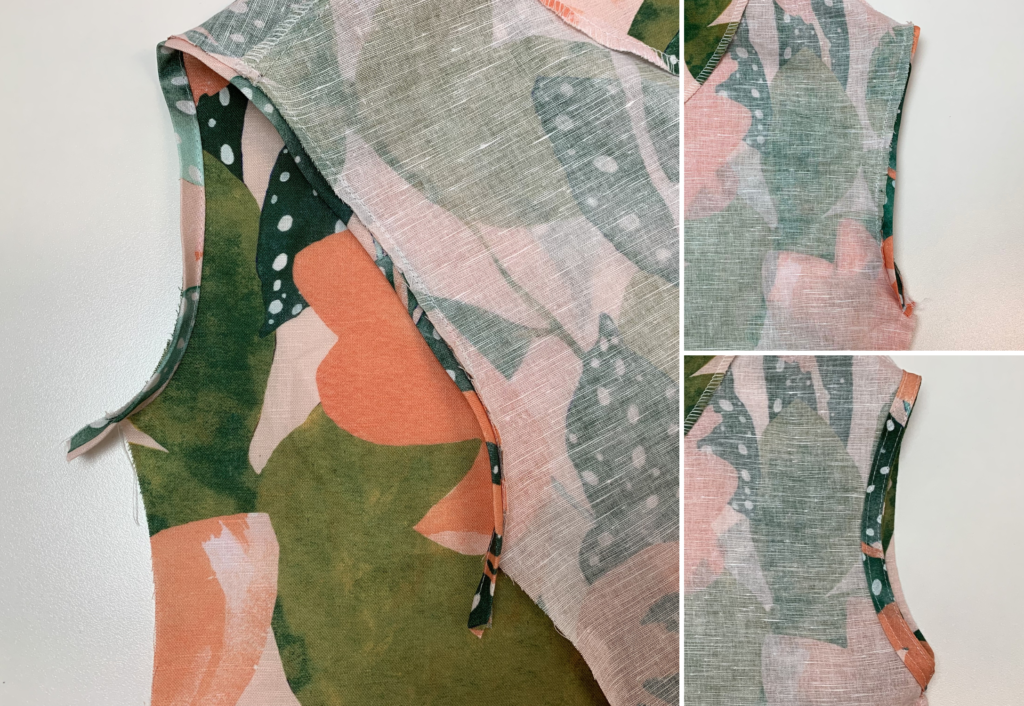
With right sides together sew the front and back shoulder seams of the facings together and press the seams open. Neaten the outer edges of the facing with an overlocker/serger.
With right sides together sew the neck facing to the neck of the body. Turn to the right side and understitch close to the seam on the side of the facing.
Stay stitch the base of the facing to the waist seam of the bodice to hold in place and sew a small hand stitch securing the facing to the shoulder seam. Note if sewing the top do not stay stitch the facings to the bodice at the waist as the hem facing has to be attached.
If selecting the sleeveless style refer to the double bind details before sewing the next step.
With right sides facing sew the front and back side seams together. Neaten with an overlocker/serger and press towards the back.
Make up your sleeve of choice and with right sides facing sew the sleeve into the armholes, matching the notches and neaten with an overlocker/serger.
BODICE B:
With right sides facing sew the bust darts and press down.
With right sides facing sew the front and back shoulder seams together. Neaten with an overlocker/serger and press towards the back.
If using the guard, with right sides facing fold it in half lengthways and sew across each short end, clip the corners and turn out to the right side. Sew a stay stitch to the cut edges and neaten with an overlocker/serger.
With right sides facing sew the neatened edge of the guard to the front of the left front facing, see markings on the pattern.
With right sides together sew the front and back shoulder seams of the facings together and press the seams open. Neaten the outer edges of the facing with an overlocker/serger.

With right sides together sew the neck facing to the neck of the body, turn out to the right side and understitch close to the seam on the side of the facing. Stay stitch the base of the facing to the waist seam of the bodice to hold in place and sew a small hand stitch securing the facing to the shoulder seam. Pin the facing to the body ready for the ties to be sewn on. Note if sewing the tops do not stay stitch the facings to the bodice at the waist as the hem facing has to be attached.
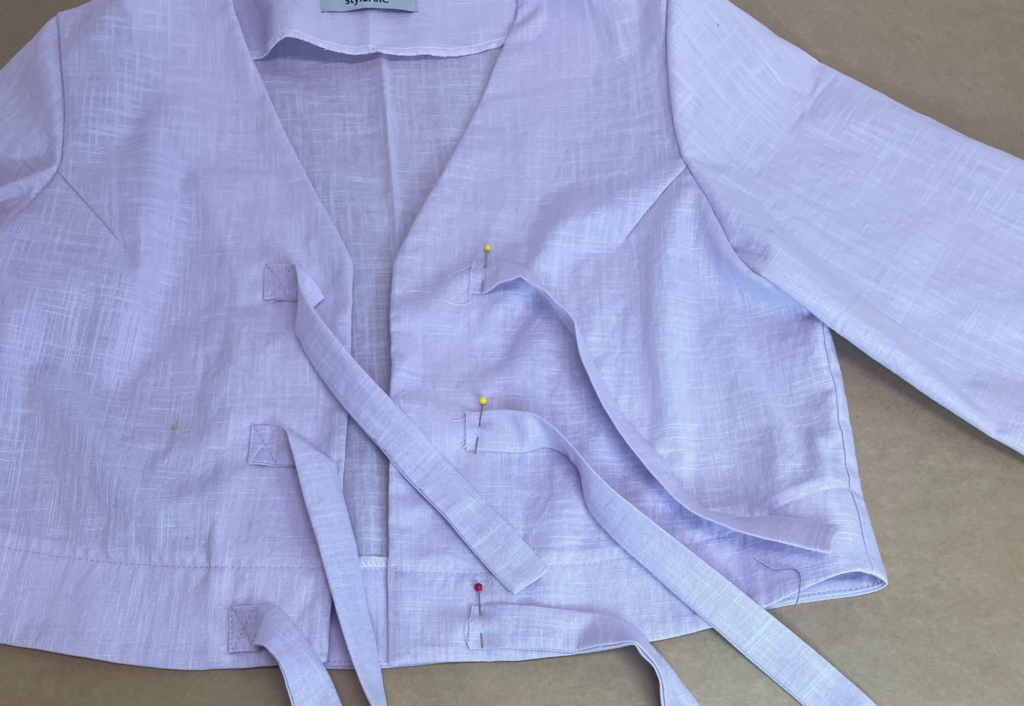
With right sides facing fold the 6 ties in half lengthways and sew one short end and the length of the ties. Clip the corners, turn out to the right side and press.
Press 0.6cm (1/4”) of the cut edge of the ties to the wrong side and pin the ties to the front bodice, using the template for positioning. Once in place sew around the ends of the tie making a square shape and a cross stitch through the centre.
If selecting the sleeveless style refer to the double bind details before sewing the next step.
With right sides facing sew the front and back side seams together. Neaten with an overlocker/serger and press towards the back.
Make up your sleeve of choice and with right sides facing sew the sleeve into the armholes, matching the notches and neaten with an overlocker/serger.
BODICE C:
With right sides facing sew the bust darts and press down.
With right sides facing sew the front and back shoulder seams together. Neaten with an overlocker/serger and press towards the back.
With right sides together sew the front and back shoulder seams of the neck facings together and press the seams open. Neaten the outer edges of the facing with an overlocker/serger.
With right sides together sew the neck facing to the neck of the body, turn to the right side and understitch close to the seam on the side of the facing. Stay stitch the base of the facing to the waist seam of the bodice to hold in place and sew a small hand stitch securing the facing to the shoulder seam. Wrap the waist of the bodice right over left, matching the centre front notches and stay stitch together.
Note if sewing the top do not secure the facings to the bodice at the waist as the hem facing has to be attached.
If selecting the sleeveless style refer to the double bind details before sewing the next step.
With right sides facing sew the front and back side seams together. Neaten with an overlocker/serger and press towards the back.
Make up your sleeve of choice and with right sides facing sew the sleeve into the armholes, matching the notches and neaten with an overlocker/serger.
BODICE D:
With right sides facing sew the bust darts and press down.
With right sides facing sew the front and back shoulder seams together. Neaten with an overlocker/serger and press towards the back.
With right sides together sew the front and back shoulder seams of the neck facings together and press the seams open. Neaten the outer edges of the facing with an overlocker/serger.
Sew the right side of the front tab to the wrong side of the body. Fold the front tab over to the right side of the bodice and press the seam allowance of the remaining long edge of the front tab to the inside. Pin the front tab to the front of the dress, once in place edge stitch the front tab to the dress and edge stitch along the front folded edge of the tab as well.
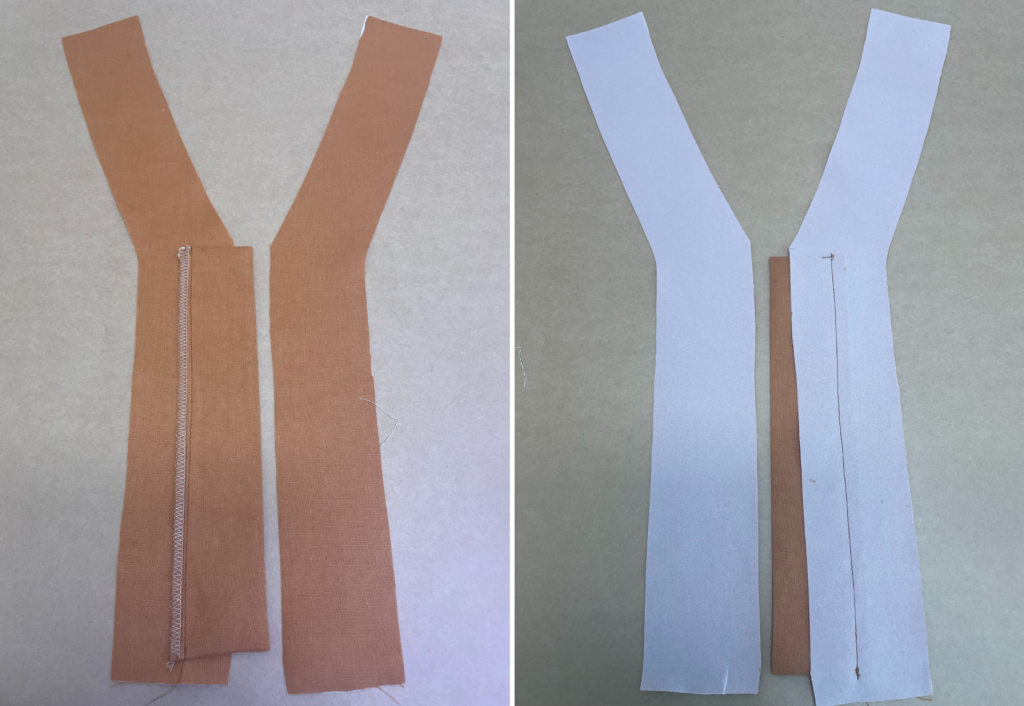
With right sides facing, sew the outer and side edges of the collar together. Clip the corners, turn out to the right side and press. Sew a stay stitch along the cut edges to hold in place.
Press the seam allowance of the lower edge of the outer collar stand to the inside. Place the collar between the right sides of the collar stands and stitch together and down the short ends, sandwiching the collar between the two collar stands. Turn out to the right side and understitch close to the seam along the inner collar stand and press.
Sew a stay stitch to the cut neckline to prevent stretching, then sew the inside collar stand to the neckline matching the notches. With the seam pressed under, pin the outer collar stand to the neckline, once in place stitch down with an edge stitch.
If selecting the sleeveless style refer to the double bind details before sewing the next step.
With right sides facing sew the front and back side seams together. Neaten with an overlocker/serger and press towards the back.
Make up your sleeve of choice and with right sides facing sew the sleeve into the armholes, matching the notches and neaten with an overlocker/serger.
TOP STYLES A, B and C:
Please note Bodice D is for the dress only and not a stand alone top. You can of course make it into a top if you prefer using your own hem finishing method.
Follow the bodice constructions A, B, C for the top you are sewing.
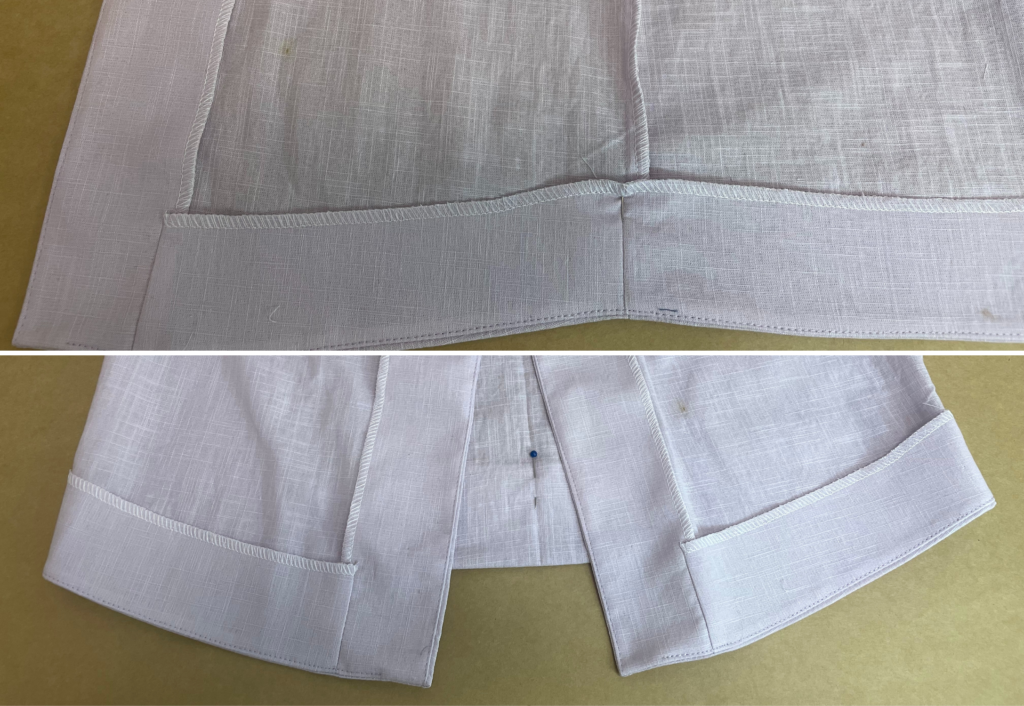
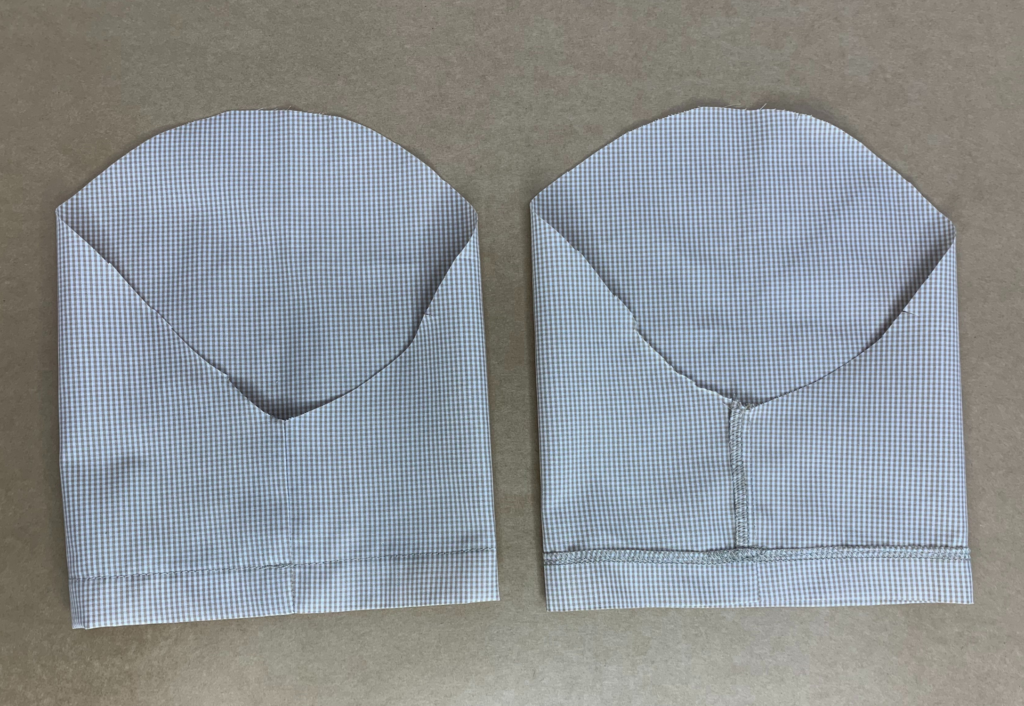
All the tops have matching hem facings: With right sides together sew the front and back hem facings together at the side seams and press open. Neaten the top edge of the facing with an overlocker/serger.
With right sides together sew each short end of the front hem facings to the lower outer edges of the front neck facing and press the seam towards the body.
With right sides together sew the hem of the body to the hem of the facing clip the corner and turn out to the right side. Understitch close to the seam on the side of the facing.
Pin the hem facing to the body and topstitch along the top edge of the hem facing.
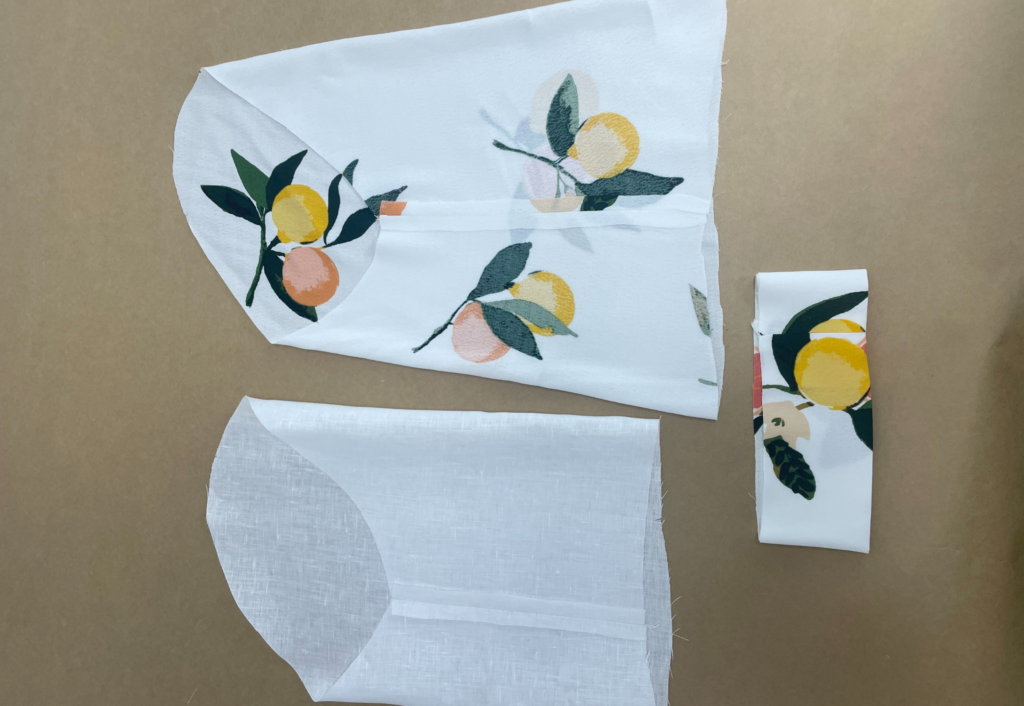
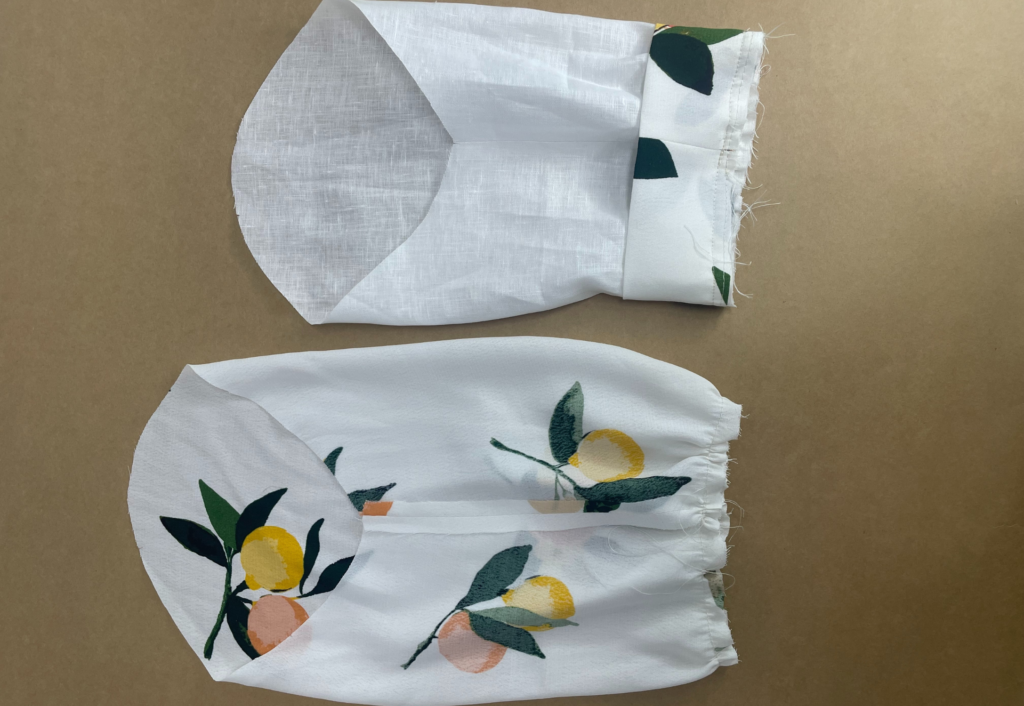
SLEEVE 1:

With right sides facing, fold the sleeve tab in half and sew around the outer edges and the short end, leave the top edge open to turn out the tab. Clip the corners and turn out to the right side and press. Neaten the top edge of the tab with an overlocker/serger, this is sewn to the inside of the sleeve. Stitch the top edge of the tab to the inside of the sleeve where marked on the pattern.
With right sides facing, sew the sleeves seams together. Neaten with an overlocker/serger and press towards the back. Fold and press 1cm (3/8”) of the sleeve opening to the inside followed by folding and pressing the sleeve opening to the inside again at the sleeve hem notch. Topstitch the sleeve hem to secure.
Sew a large stitch to the sleeve head and ease in to match the armhole circumference.
Continue with bodice construction.
SLEEVE 2:
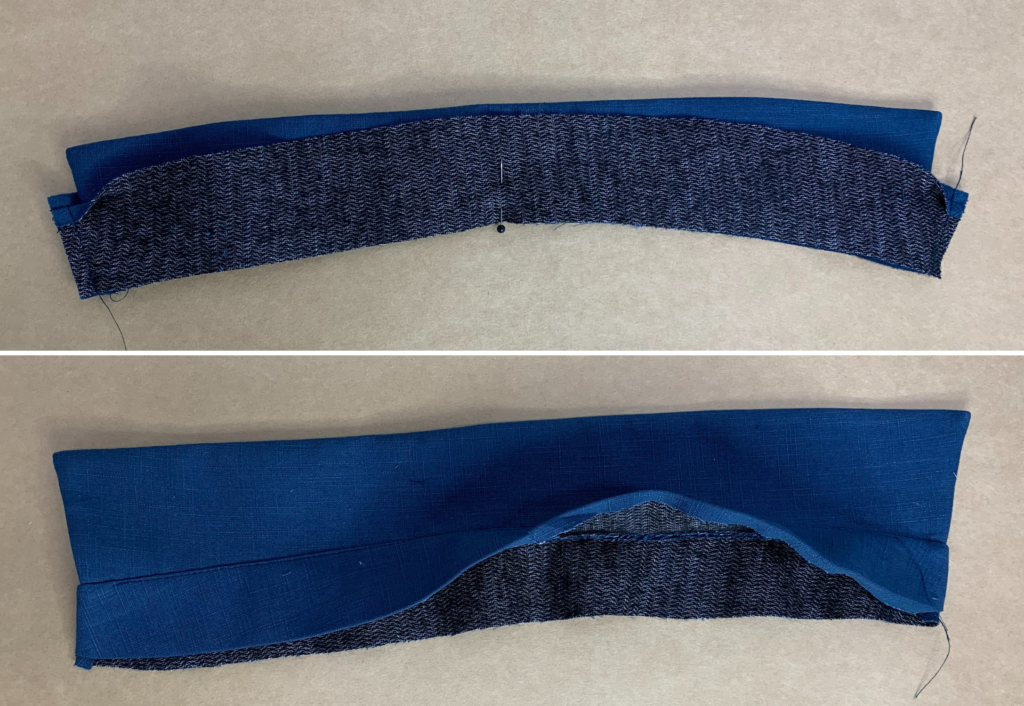
Cuffs: With right sides facing, sew the two shorts ends of the cuffs together. Press in half lengthways with wrong sides facing and staystitch the cut edges together to hold in place.
With right sides facing sew the sleeves seams of the under sleeves together, press the seam open. Repeat for the top sleeve.
Sew a large stitch to the base of the under sleeve and ease into the cuff circumference. With right sides facing stay stitch the base of the under sleeve to the cut edges of the cuff, matching the sleeve and cuff seams.
Sew a large stitch to the base of the top sleeve and gather in to match the cuff circumference.
With right sides facing sandwich the cuff between the base of both sleeves and stitch together, matching the sleeve and cuff seams and turn out to the right side.
Pin both sleeve heads together and secure with a stay stitch. Sew a large stitch to the sleeve head and ease in to match the armhole circumference.
Continue with the bodice constructions.
SLEEVE 3:
With right sides facing, sew the sleeves seams together. Neaten with an overlocker/serger and press towards the back.
Fold and press 1cm (3/8”) of the sleeve opening to the inside followed by folding and pressing the sleeve opening to the inside again at the sleeve hem notch (alternatively you can neaten the hem edge with an overlocker/serger and fold to the inside at the hemnotch as shown above). Topstitch the sleeve hem to secure.
Sew a large stitch to the sleeve head and ease in to match the armhole circumference.
Continue with bodice construction.
SLEEVE 4:

With right sides facing sew the underarm seams of the sleeves together. Neaten with an overlocker/serger and press towards the back.
Sew a large stitch to the head of the sleeves and slightly ease in, this makes it easier to sew the sleeves into the armholes
Cut elastic for the sleeves to your personal measurement, lay the ends on top of each other and stitch together securely.
Neaten the sleeve openings with an overlocker/serger, turn the seam allowance to the inside and encase the elastic as you sew the casing, be careful not to catch the elastic in your stitches.
Continue with bodice construction.
SLEEVELESS DOUBLE BIND:
With right sides on the outer fold the binding in half lengthways and sew a stay stitch to the two raw edges. With right sides together sew the binding to the armholes, turn to the right side and understitch close to the seam
on the side of the binding. Do not stitch the binding to the inside at this point.
With right sides together sew the front and back side seams together, sewing through the binding.
Overlock/serge the side seams and press toward the back.
Turn the armhole binding to the inside and stitch down with a top stitch.
POCKETS & SKIRT:
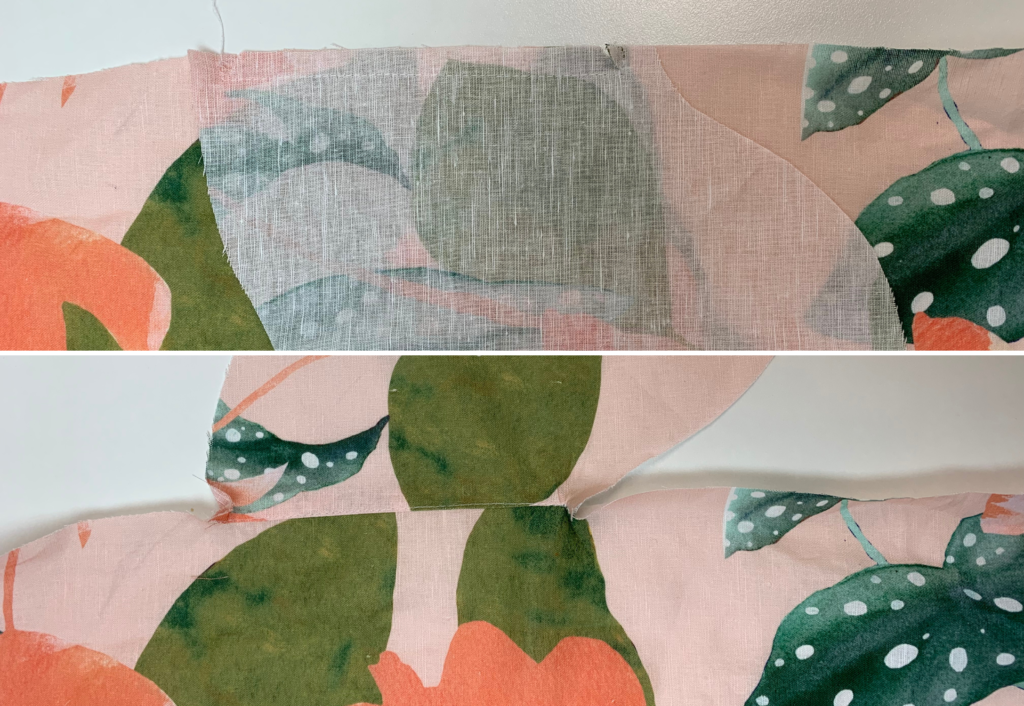
With right sides facing sew one set of the pockets marked “A” to the front side seam marked “A” on the pattern, clip at the notches and understitch close to the seam on the side of the pocket bag.
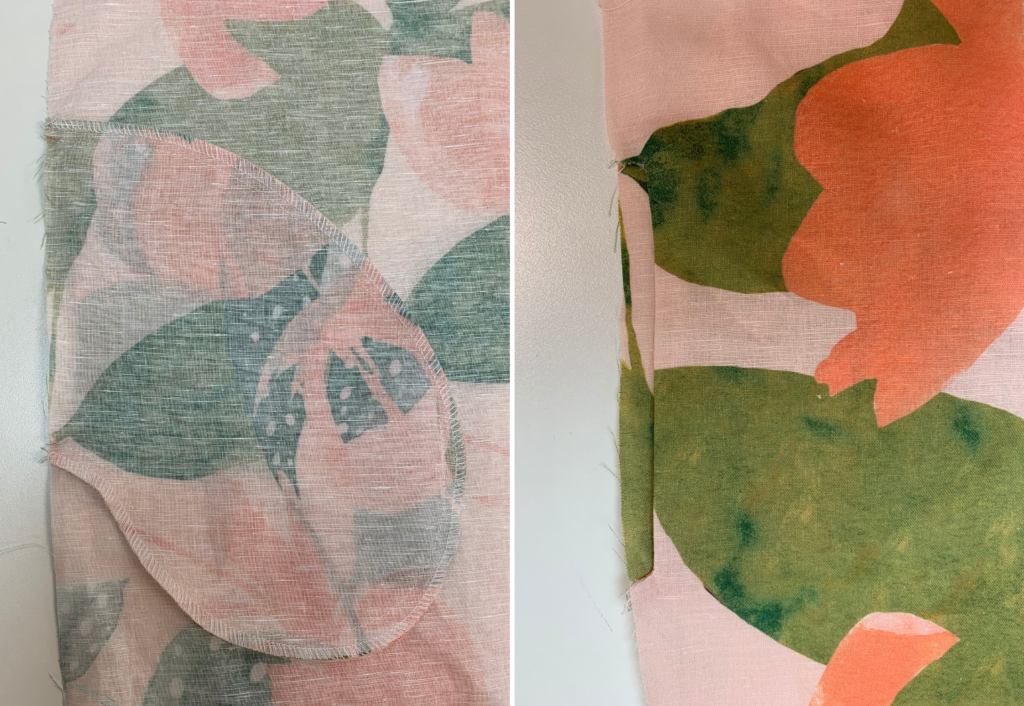
With right sides facing sew the second set of pockets to the pockets that are sewn to the front side seam, stitch the two pocket bags together creating a pocket “B” to “B”, note that the straight edge of the under pocket is left free to sew to the back-body’s side seam. Neaten the outer edges of the pockets with an overlocker/serger.
With right sides facing sew the front side seam to the to the back side seam. Start sewing at the waist, sew down the side seam stitching through the straight edge of the back pocket as you sew, be careful not to catch the front pocket opening. Neaten with an overlocker/serger and press towards the back.
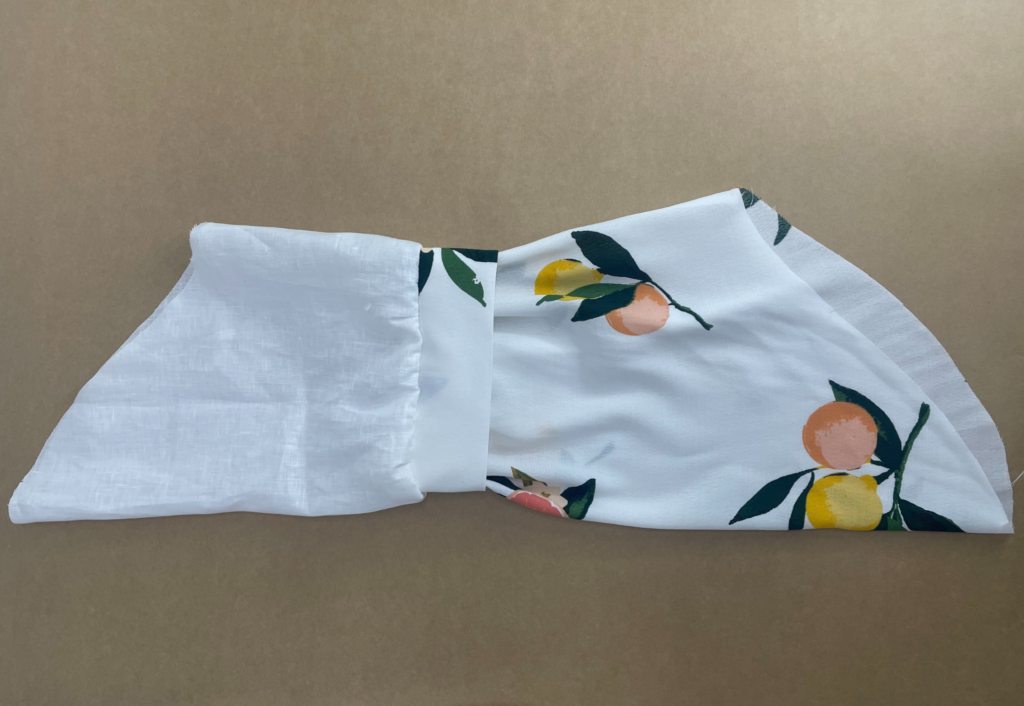
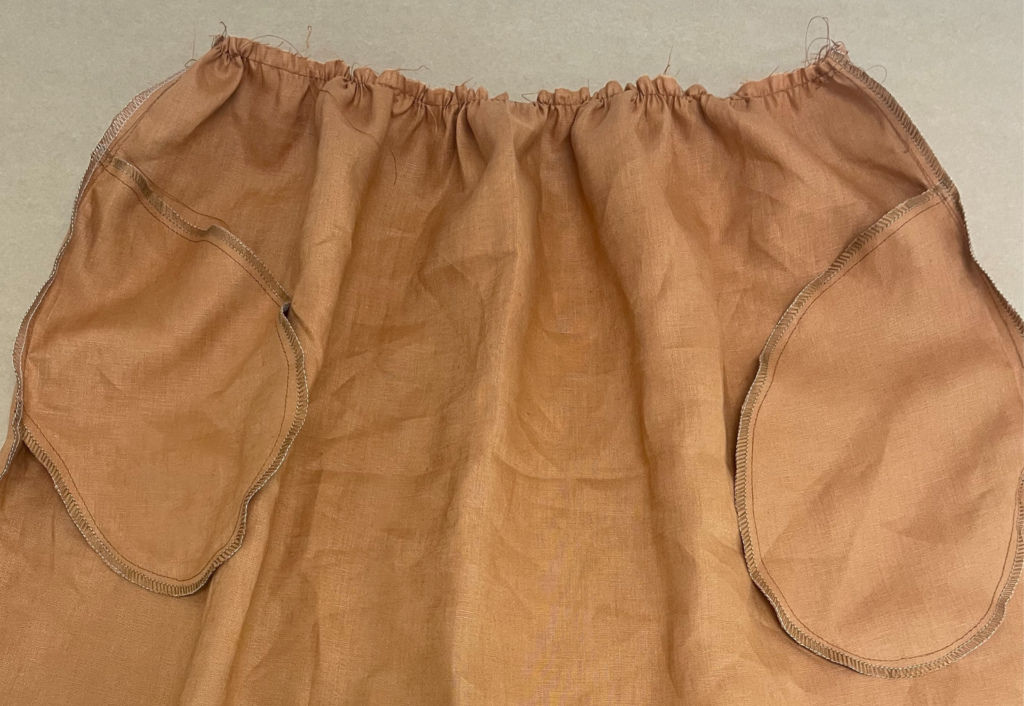
Sew two rows of a large gathering stitch to the waist of the skirt, draw in the gathering evenly to match the circumference of the bodice.
With right sides facing, pin the gathered edge of the skirt to the bodice matching the centre back, centre front and side seams, this is to ensure an even spread of gathering, once in place, sew together. Neaten with an overlocker/serger and press upwards.
COMPLETION:
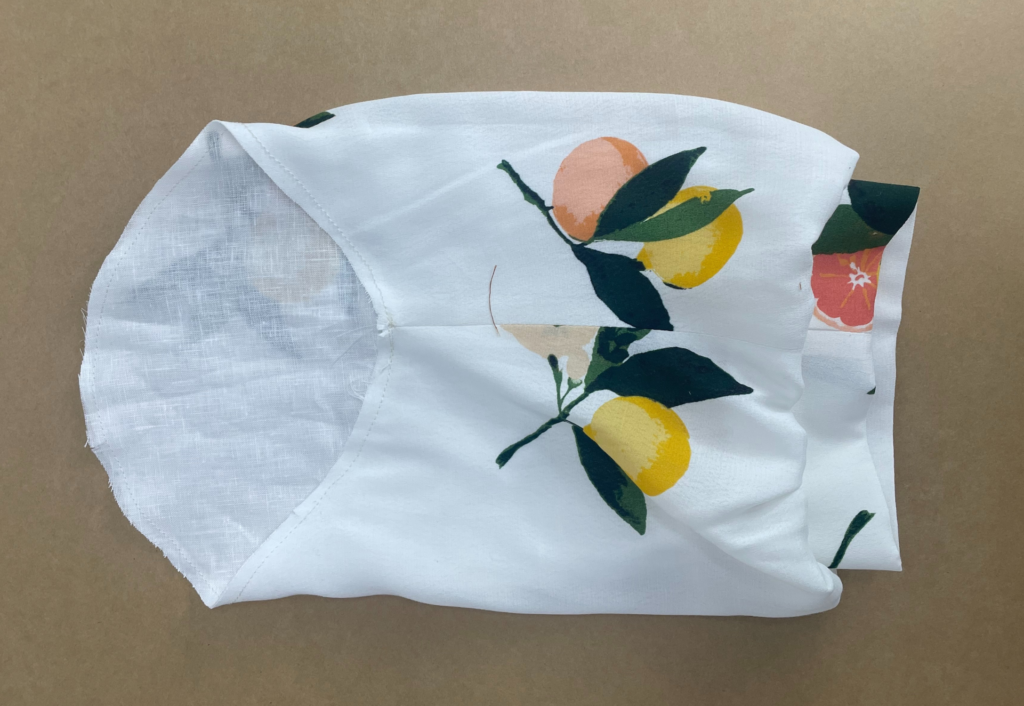
Neaten the skirt hem with an overlocker/serger. Turn the hem to the inside at the notch and topstitch.
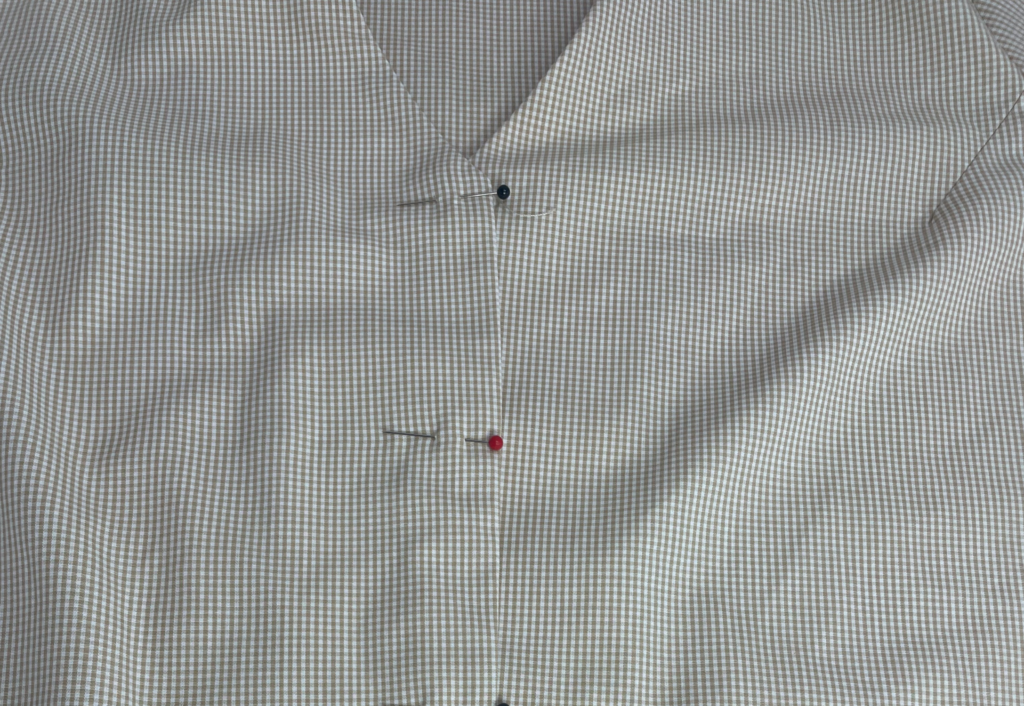
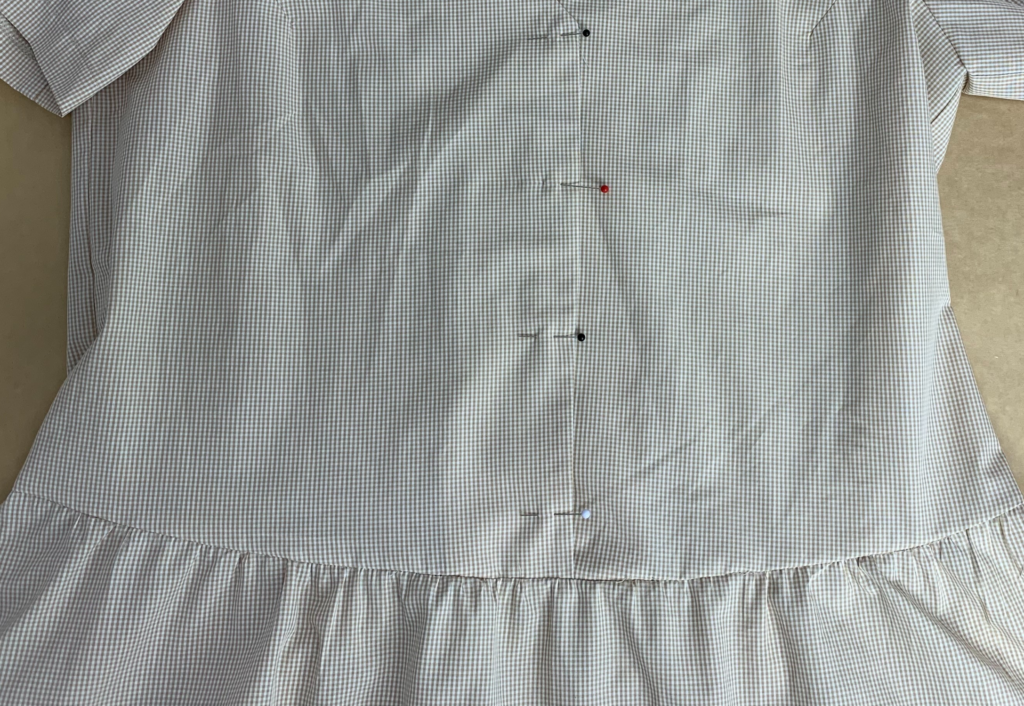
Sew the buttonholes to the styles that have buttonholes and sew corresponding buttons to the left bodice.
Press your new dress.