COLLAR:
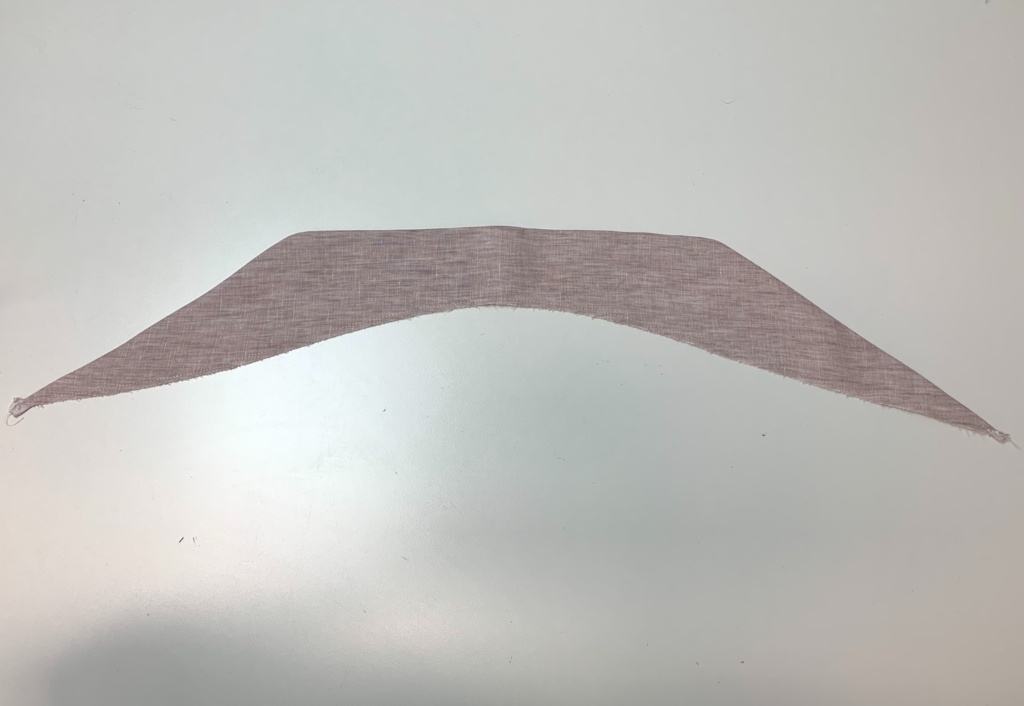
With RST sew the outer edges of the Collar (8) together, using a 6mm (1/4”) seam. Turn out to the right side and press. Stay stitch the raw edges of the collar together to hold in place, be careful not to stretch this edge. Press the collar and put aside.
Please note: the collar on this garment can be worn standing up to hug the neck or folded down. For this reason, understitching is not used, as it would be visible when the collar is worn upright.
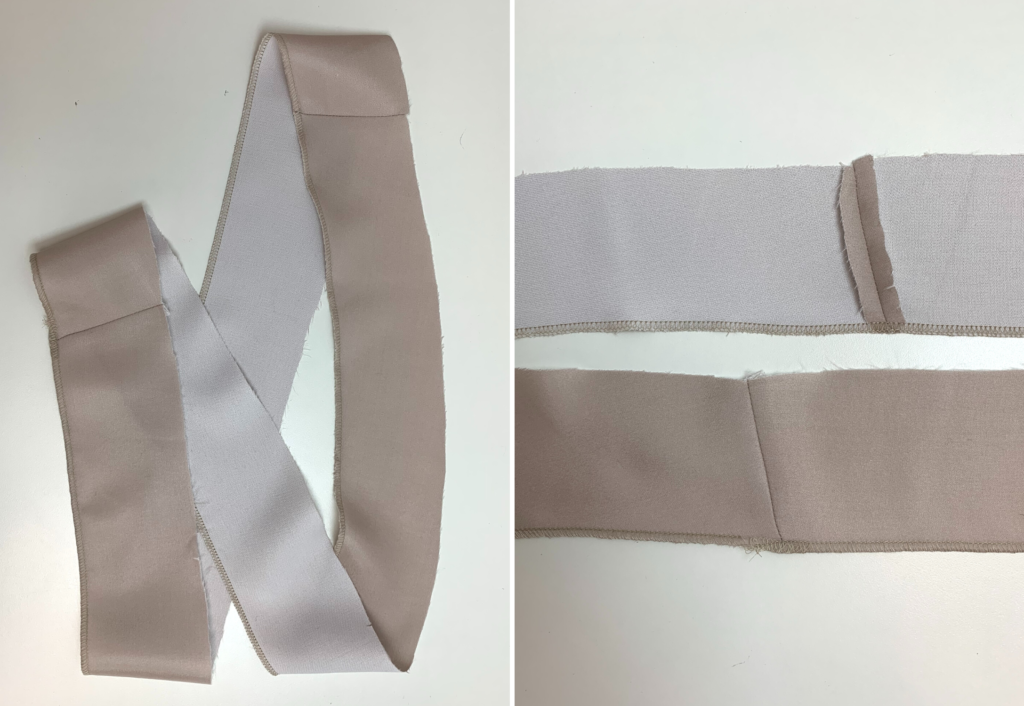
CUFFS:

With RST sew the two short ends of the Sleeve Cuff (6) together and press the seams open. Press in half lengthways with WST. Baste stitch the two raw edges together to hold in place. As the cuffs are on the bias grain be careful not to stretch. Put the cuffs aside.
FACINGS:
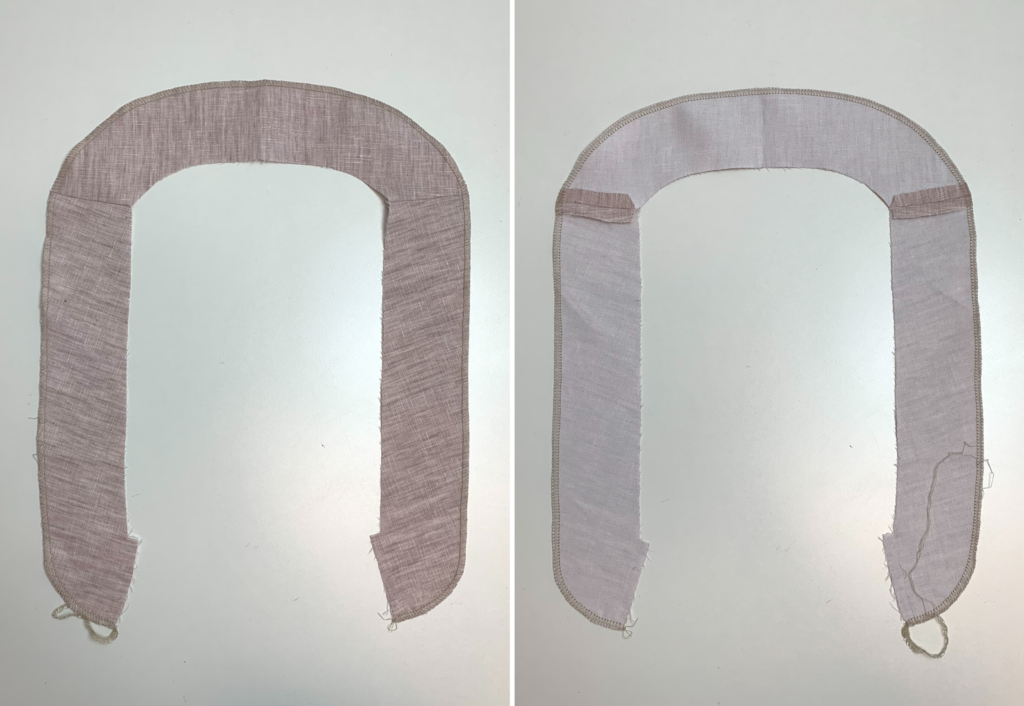
With RST, sew the Front Neck Facing (5) to the Back Neck Facing (7) at the shoulder seams, and press open.
With RST sew the centre front facing seam together. Press the seam open.
Neaten the outer edge of the facing with an overlocker/serger and put aside.
With RST, sew the Top Front Hem Facing (3) to the Top Back Hem Facing (4) OR the Tunic Back Hem Facing (11) to the Tunic Front Hem Facing (12) at the short ends. Press open.
Neaten the outer edge of the facing (edge without the notches) with an overlocker/serger.
BODY & COMPLETION:
With RST, sew the Top Front (1) to the Top Back (2) OR the Tunic Front (10) to the Tunic Back (9) at the shoulder seams. Neaten with an overlocker/serger and press toward the back.
Stay stitch around the neckline to prevent stretching
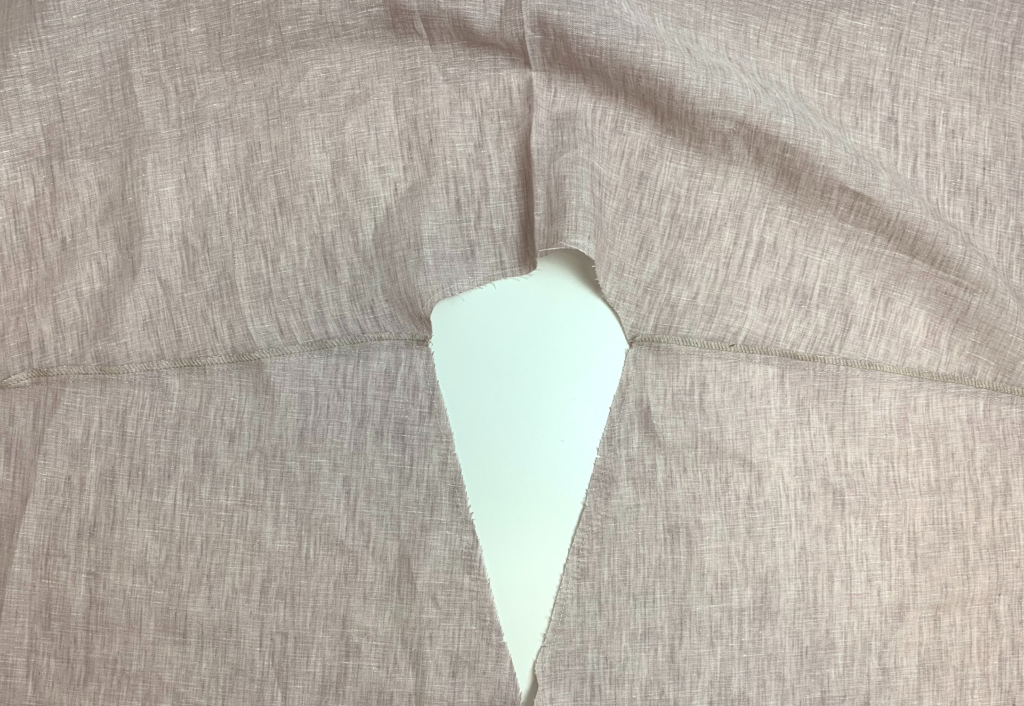
Neaten each centre front seam with an overlocker/serger. With RST, sew the centre front seam up to the notch marked on the pattern and press the seam open.
With RST, sew the front and back side seams together. Neaten with an overlocker/serger and press toward the back. (Not pictured).
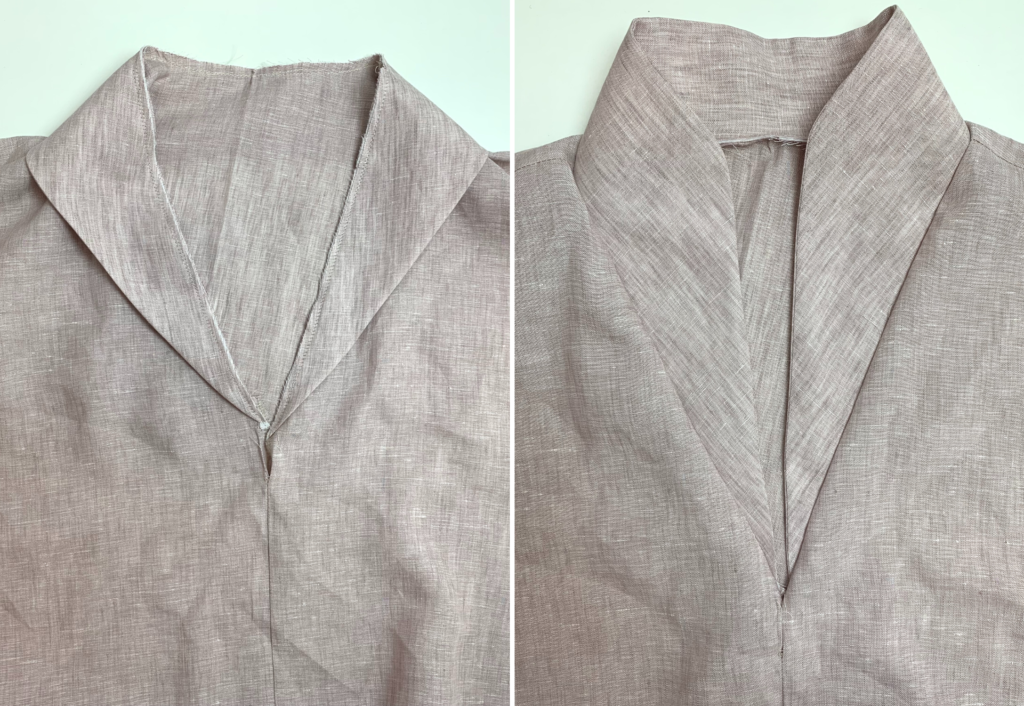
With RST and notched aligned, pin the collar to the neckline. The base of the collar is to finish at the notch marked on the centre front seam. Once in place stitch together using a 6mm (1/4”) seam.
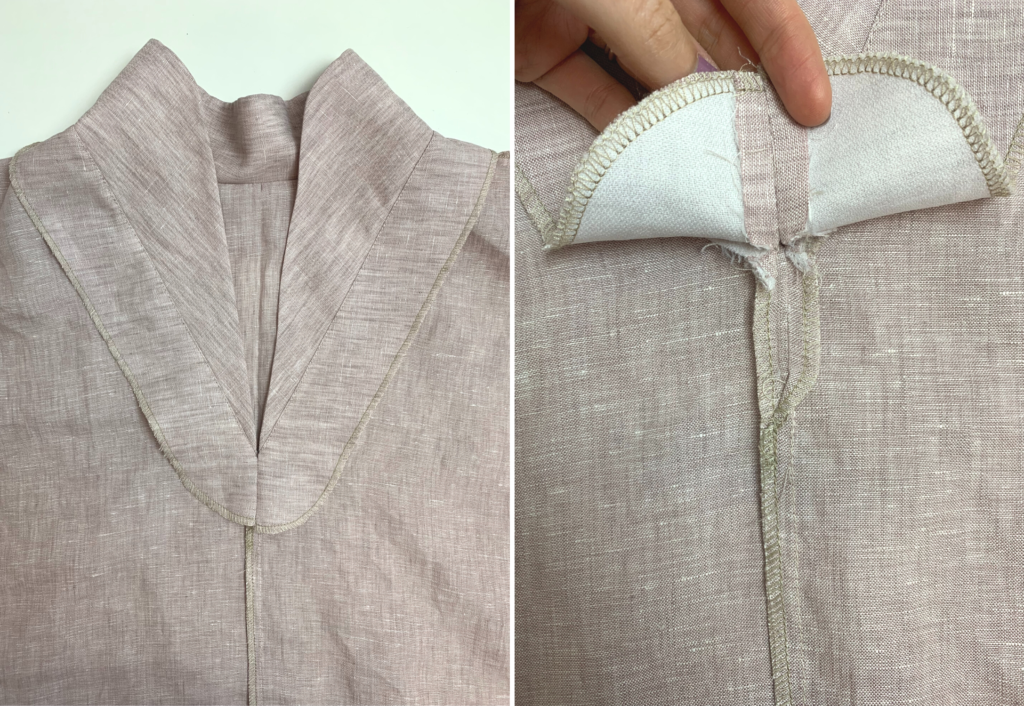
With RST pin the neck facing to the neckline sandwiching the collar in between. To obtain a perfect point at the V junction, place a pin through the junction, checking that you have all the seams in line at this point before sewing. Once in place stitch together. Take care at the centre front seam where it joins the ends of the collar.
Understitch the seam on the side of the facing. Press the facing to the inside and hand stitch the edge of the facing to the shoulder seams and centre front seam to hold the facing in place.
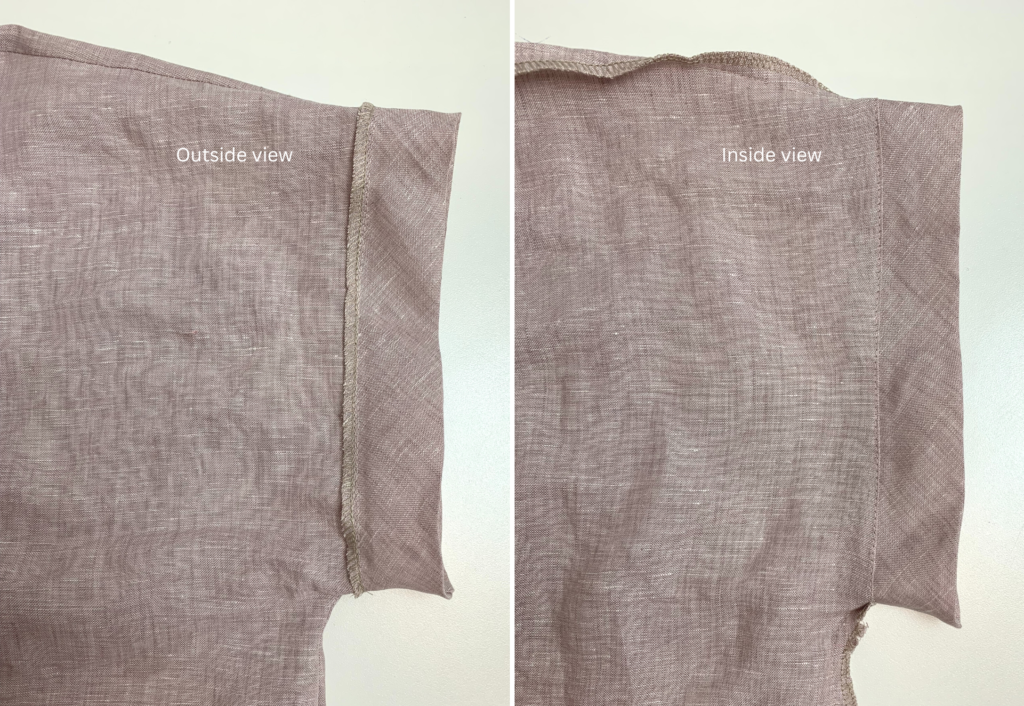
Pin the made-up cuffs to the wrong side of the armholes, aligning the notches. Sew together then neaten with an overlocker/serger. Note that the seam will be on the right side of the garment. Understitch the seam on the side of the body.

Once stitched, fold the cuffs over to the right side of the garment. Hand stitch the edge of the cuff to the shoulder seam and underarm seam to hold the cuff in place.
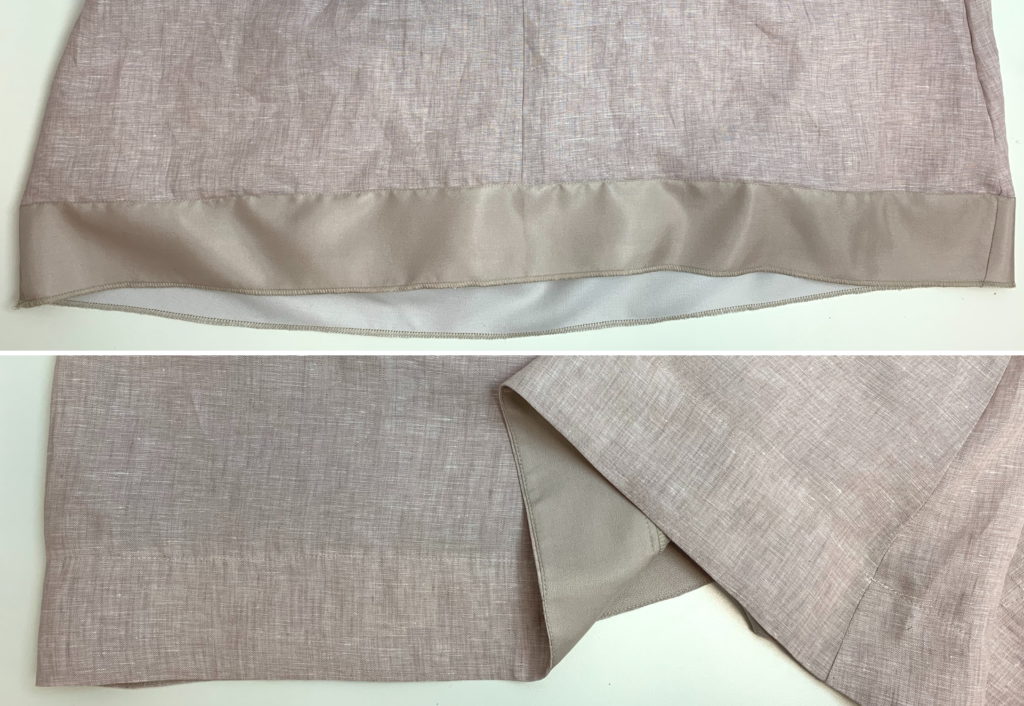
With RST and notches aligned, pin the hem band to the hem of the top, then stitch. Understitch the seam on the side of the facing. Press the facing to the inside of the body and pin in place.
Topstitch around the top edge of the hem facing, following the overlocking as a guide.
Press your new top.