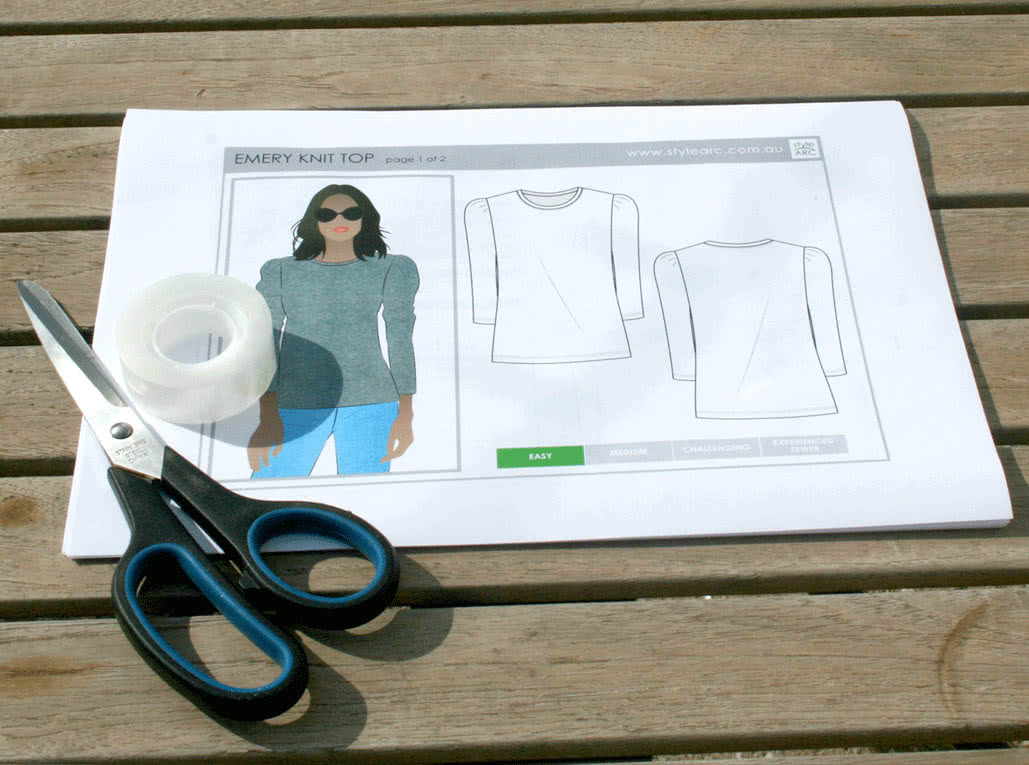
For many people, PDF patterns are a whole new world. We often have people get in touch with us to say that they have never used, and are daunted by the thought of using, a PDF print-at-home sewing pattern. It really doesn’t need to be scary or daunting! PDF patterns are a great way to get your sewing project underway quickly. You can buy your pattern here on the Style Arc website an receive the pattern files in your email immediately!
When you order a PDF pattern from our website you will receive both wide-format PDF files and tiled print-at-home files. The wide format files needs to be printed at a copy shop on 36″ wide (or wider) paper. Our Style Arc community has helped us build a list of their favourite copy-shops or printers around the world who can help print your wide-format copy-shop patterns from Style Arc. Check out the list here.
The tiled print-at-home pattern files essentially break the pattern down into smaller tiles so that each tile can be printed at home on either A4 or U.S. letter sized paper. After you’ve printed them, you stick the tiles together to create the complete pattern.
With both the wide-format and tiled PDF patterns the construction streets are included in the same file as the pattern.
Shortly after placing you order you will receive an email with the links to your purchased patterns. These links are valid for 14 days after purchase so please be prompt to download and save your patterns.
How to Print Your Pattern at Home
Open the PDF file. Before printing the whole document you may wish to just print the test square to make sure that your print settings are correct and there is no scaling. It’s important to make sure the test square prints out at the correct size, otherwise your garment will be too big or too small. Different people have different printers and different operating systems, so it is tricky to give a single instruction here.
On my computer I’m able to set “Custom Scale” to 100%. Some others are able to choose “Actual Size” or “no scaling” or set page scaling to “None”. You should also select “Auto portrait/landscape” in your print settings, otherwise the pattern tiles can sometimes get cut-off on the sides when printing.
Once you are sure the print settings are correct print the file on A4 or U.S. Letter sized paper.
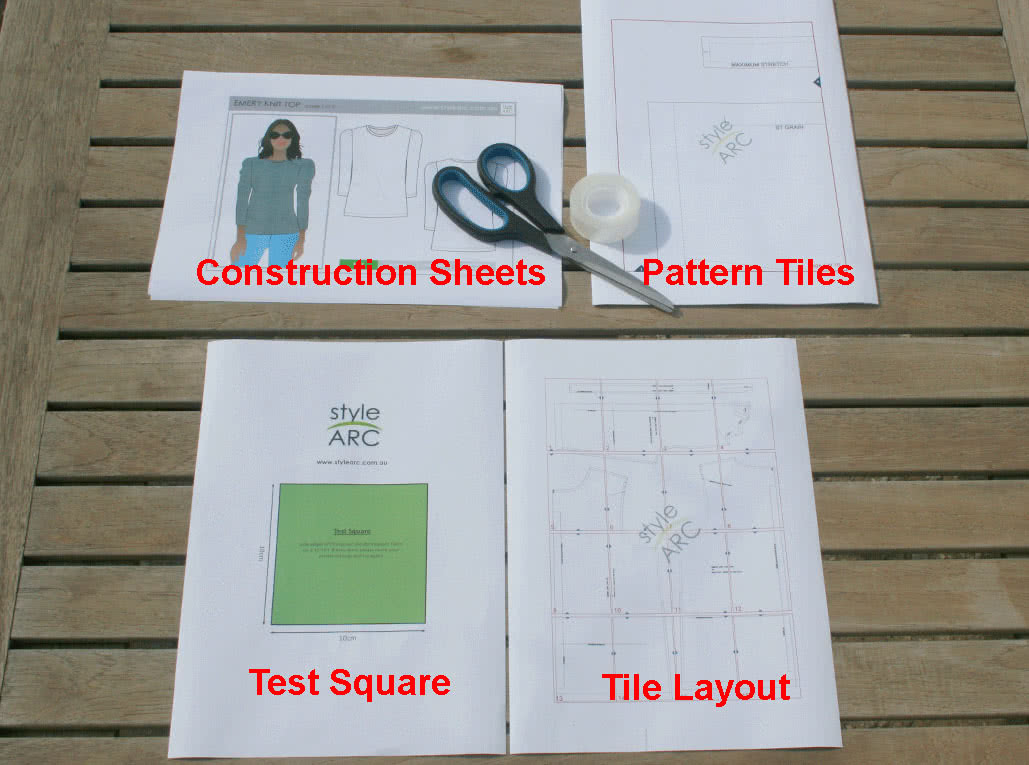
Set aside the construction sheets, these are usually the first 2-4 pages of the PDF file.
Take note of the pattern layout page. This schematic shows how the pattern tiles need to be joined together to form the complete pattern.
Cutting Out your Pattern Tiles
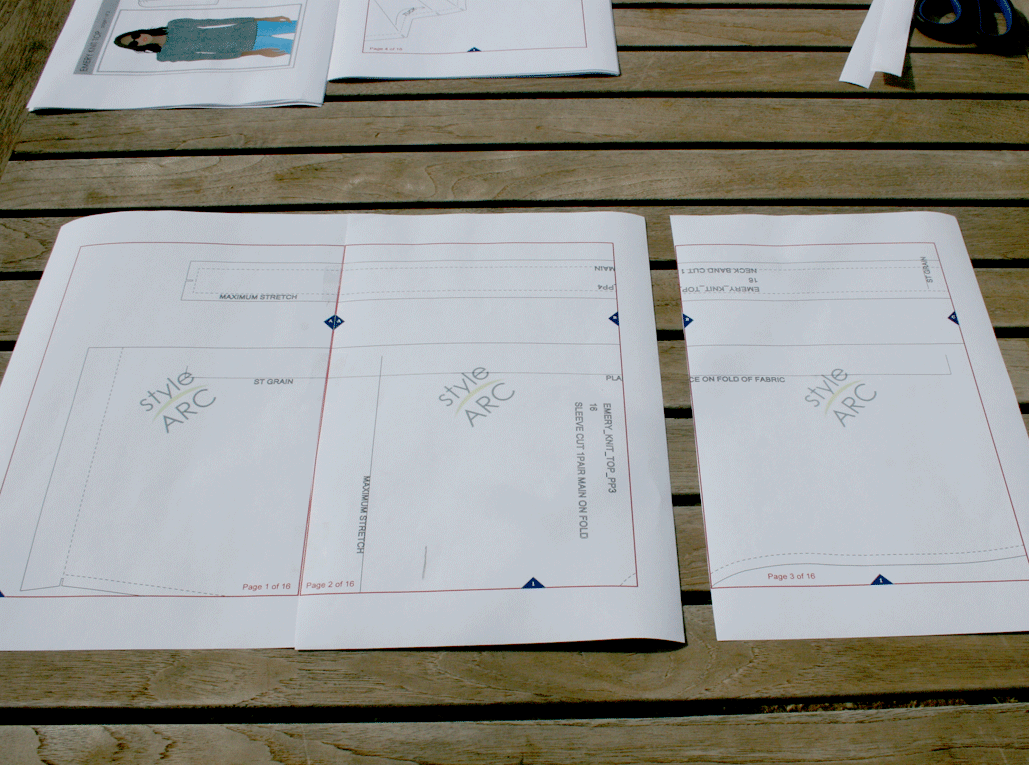
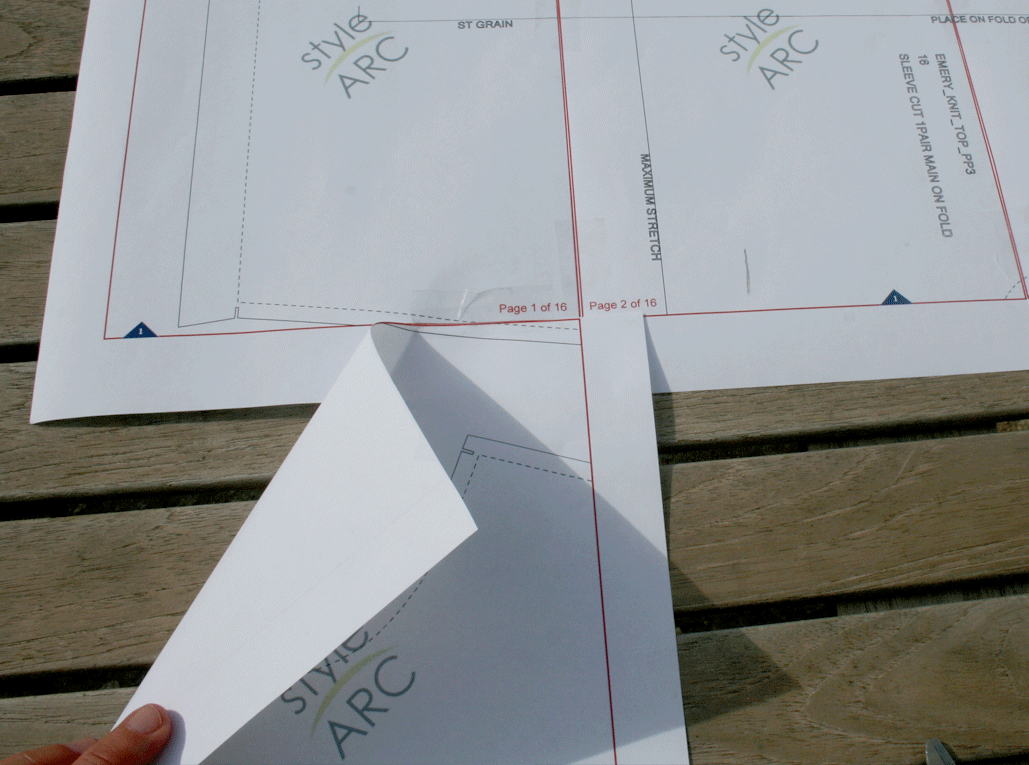
You will notice that the pattern tile is smaller than the full A4 / U.S/ Letter sized page. The extra space around the sides is to help make putting your pattern together a bit easier. When assembling your pattern do not cut all the edges away. It is much easier to assemble your pattern if you leave one horizontal edge and one vertical edge. When cutting my pattern tiles I have chosen to remove the left edge and top edge. Remove the same sides for each pattern tile. Have a look below at our progress photos to see what we mean.
Aligning the Pattern Tiles
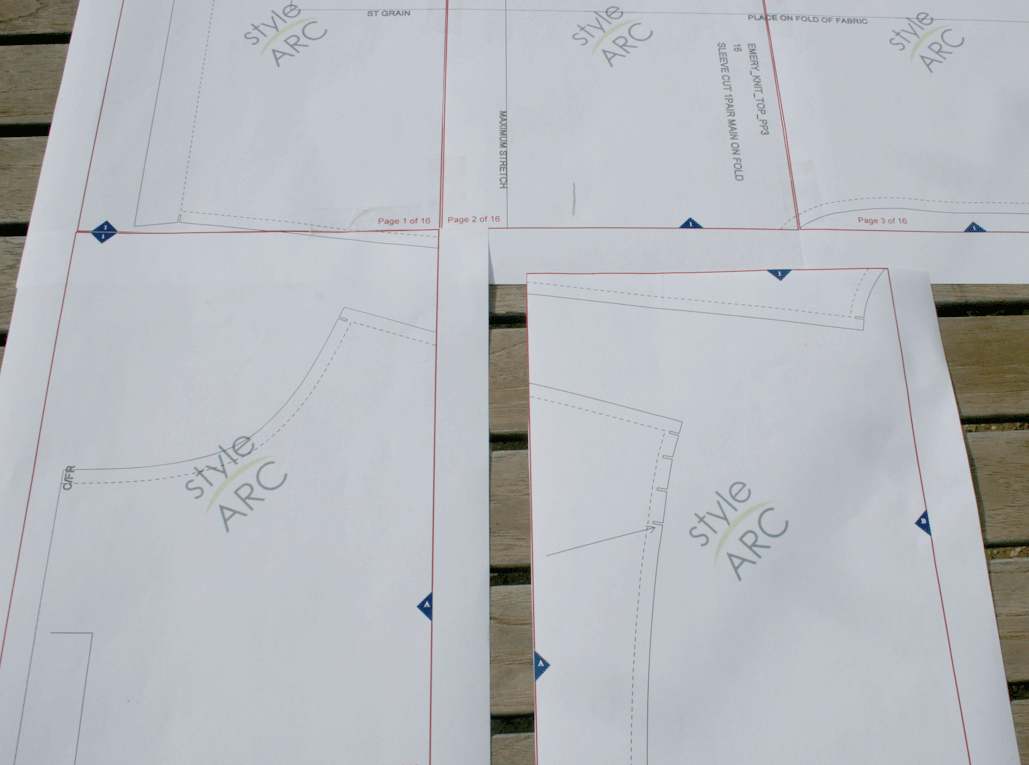
To get the correct alignment you just need to line up the small triangles on the tile edges. They are marked with letters and numbers. You just have to match the corresponding letters (“A” with “A”, “B” with “B”, etc) and numbers (eg “1” with “1”, “2” with “2”, etc). You’ll see that the pattern lines join up nicely across the pattern tiles. You can use the layout / schematic page to show which tiles go where.
Sticking the Pattern Tiles Together
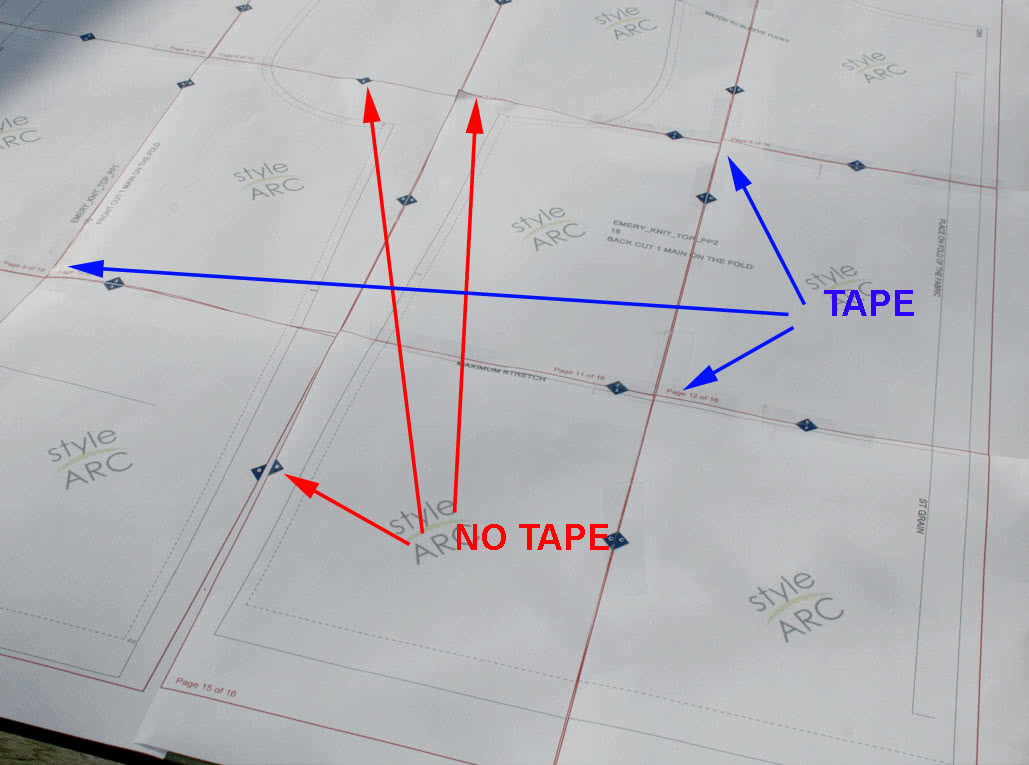
You can either glue or sticky tape your tiles together. I choose to use sticky tape and I only use the tape within, or along the edges of, the pattern pieces. I usually start out only securing the tiles together with a small piece of tape and then go back later and add more sticky tape to reinforce the pattern pieces if needed.
In the progress picture below you can see that I have only used tape inside the pattern pieces:
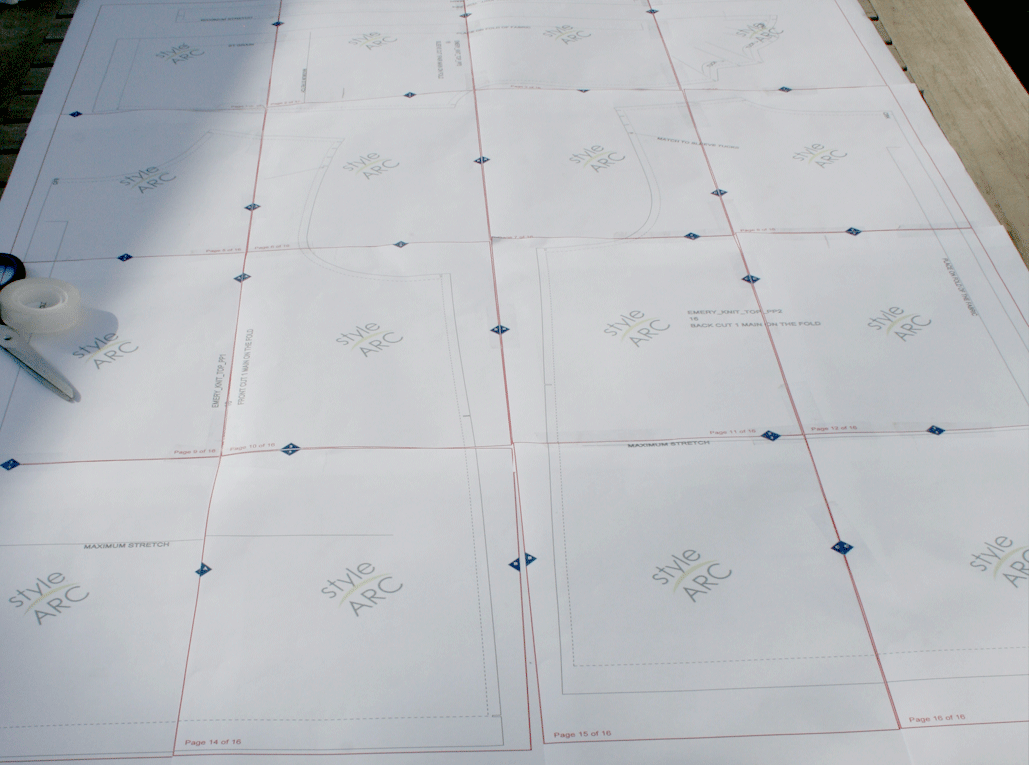
Here’s the finished product:
Your pattern is now ready for use! I have seen people who choose to trace off their pattern first on to tracing paper. You may wish to do this but it is not necessary.