Click to watch a Youtube video for how to sew the neckline and shoulder seams.

CONSTRUCTION:
With RST sew the centre back-neck of each bodice Front together with a 1cm (3/8”) seam and press open. See diagram 1.
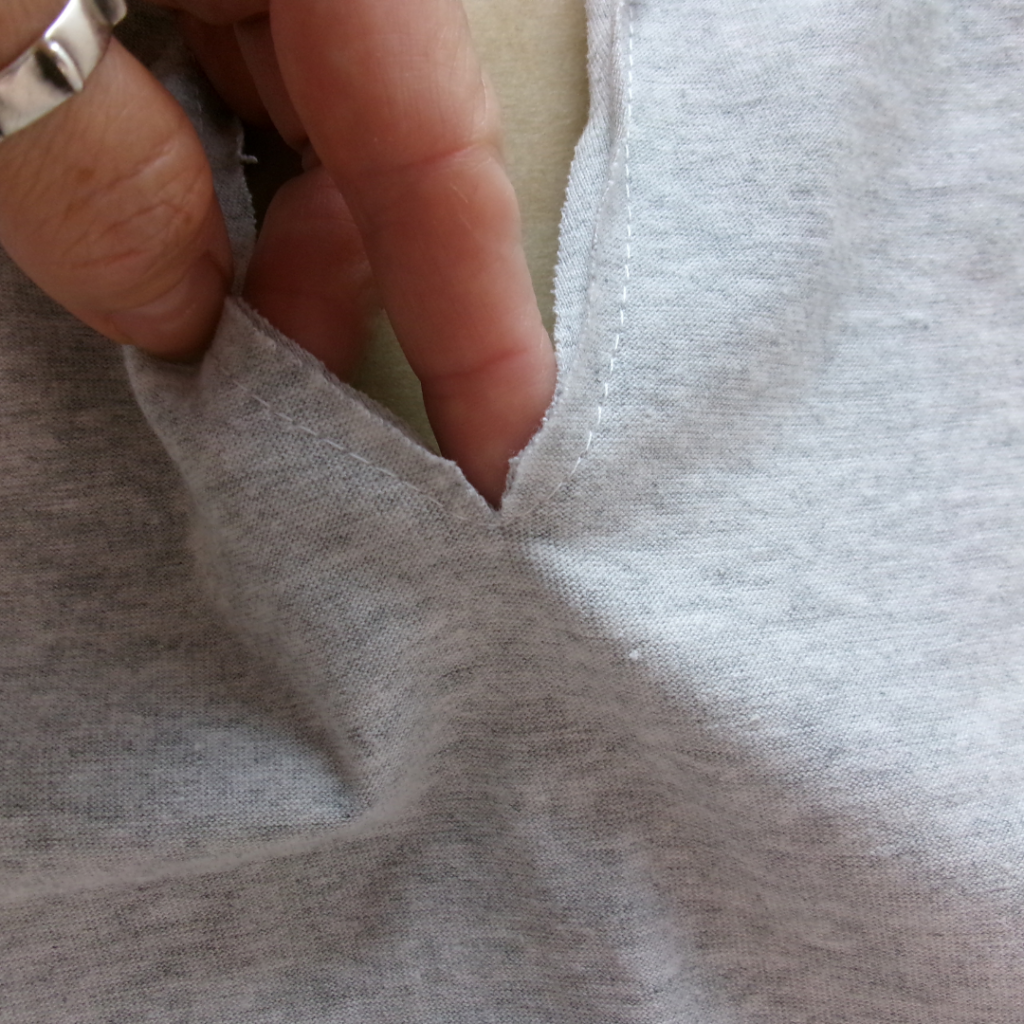
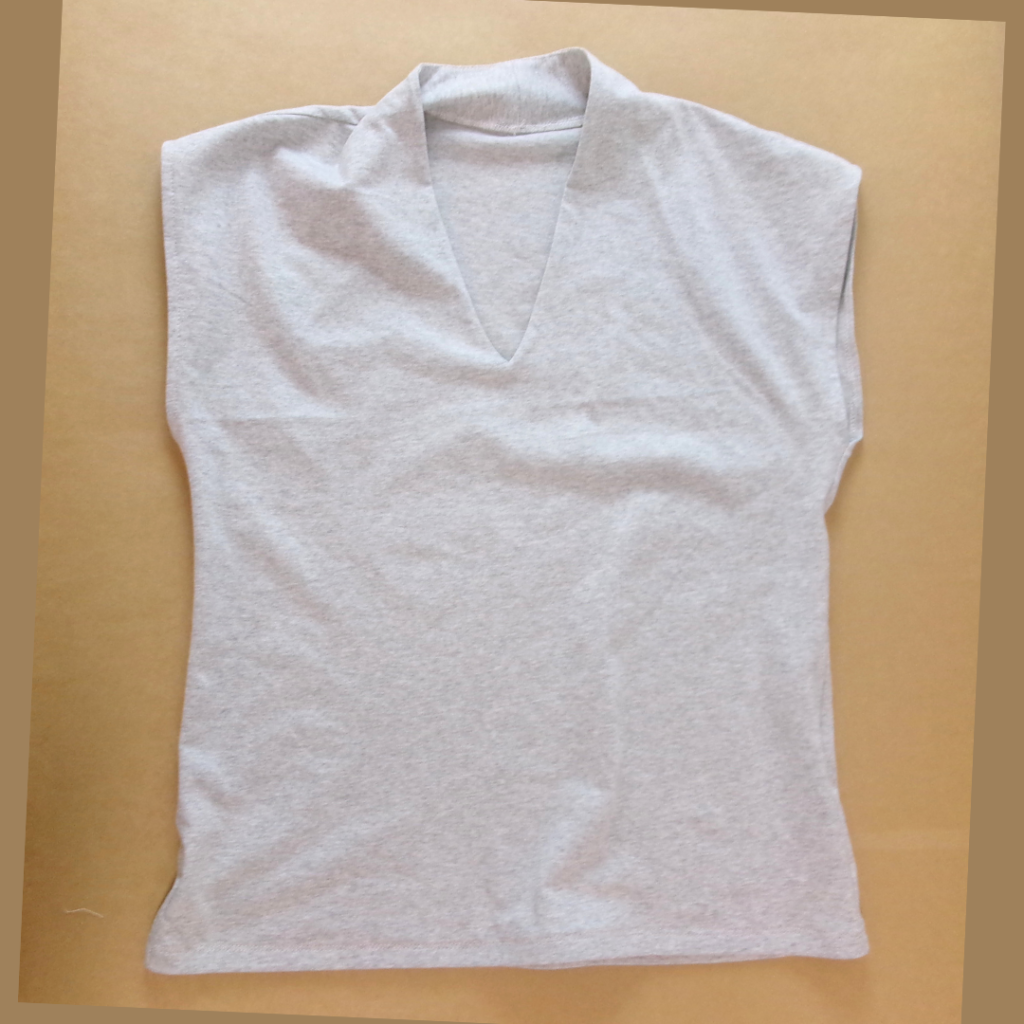
With RST sew both necklines together with a 6mm (¼”) seam, being careful not to stretch when sewing the “V”. Clip into the base of the “V” very carefully then turn out to the right side.
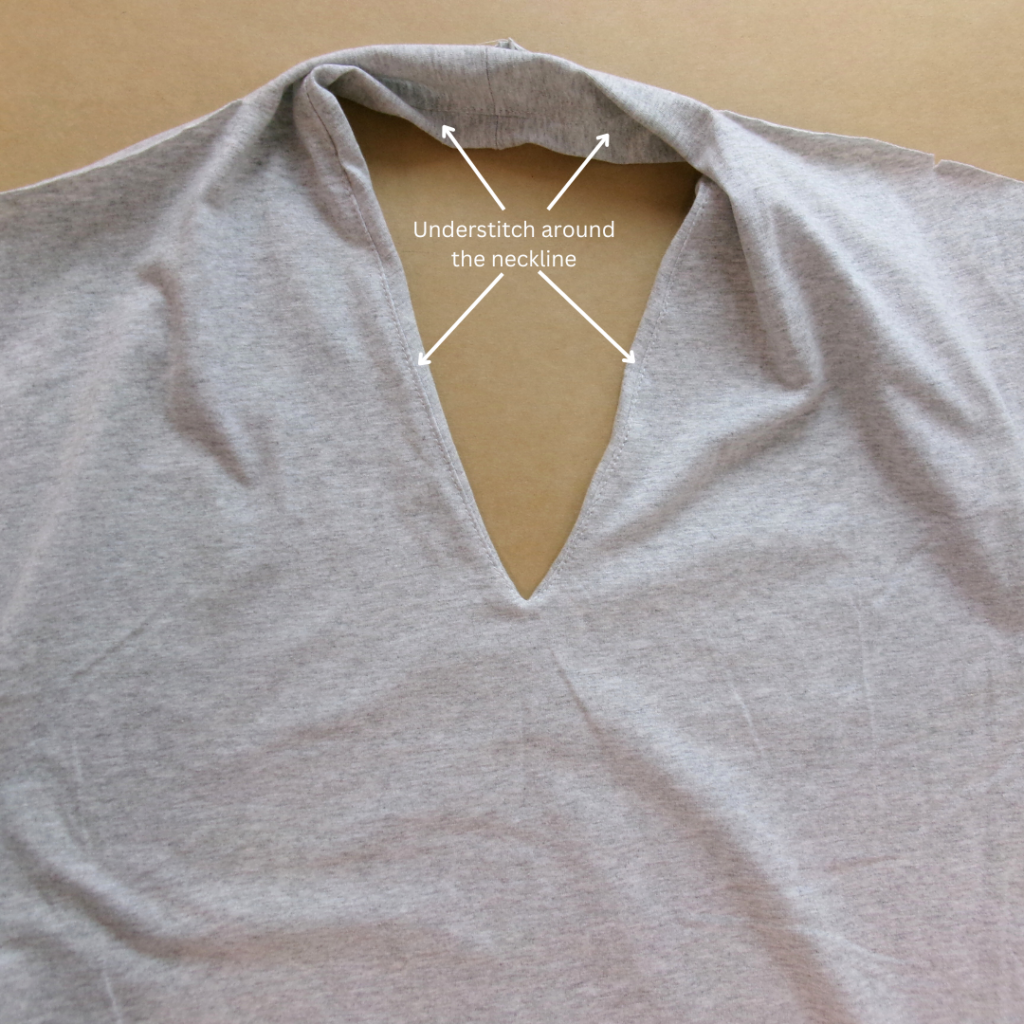
Understitch the neckline seam allowance on the side of the inside front. See diagram 2 & 3.
With WST sew a basting stitch to the shoulders and side seams of the double front, this is to hold the two fronts in place so as they don’t twist.
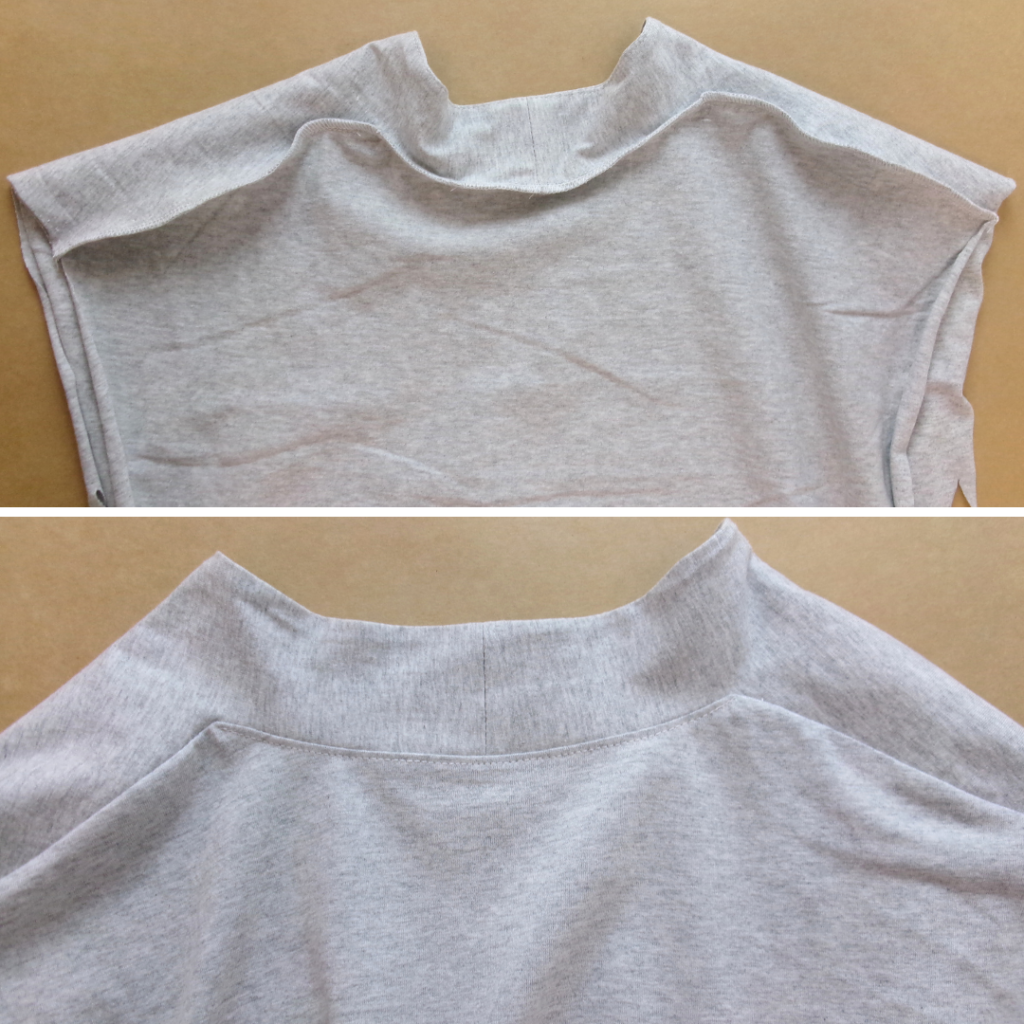
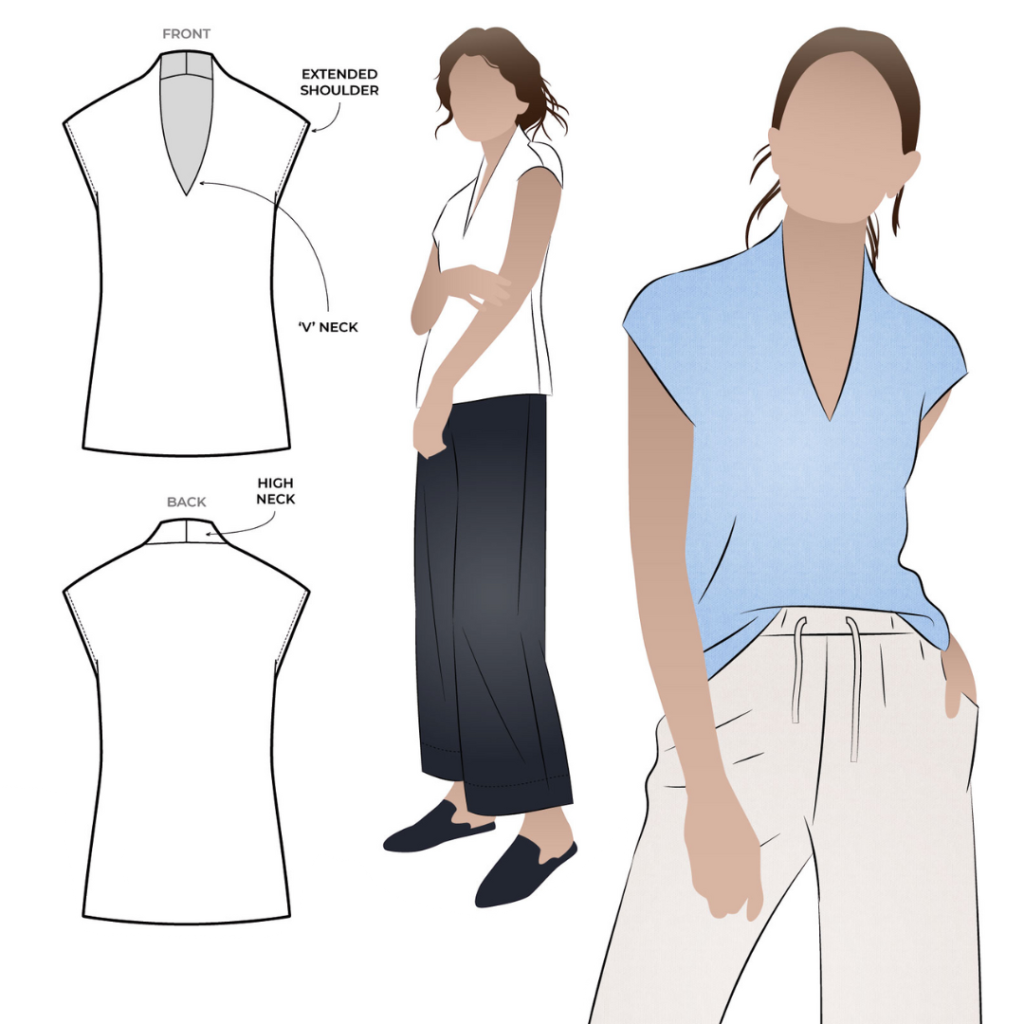
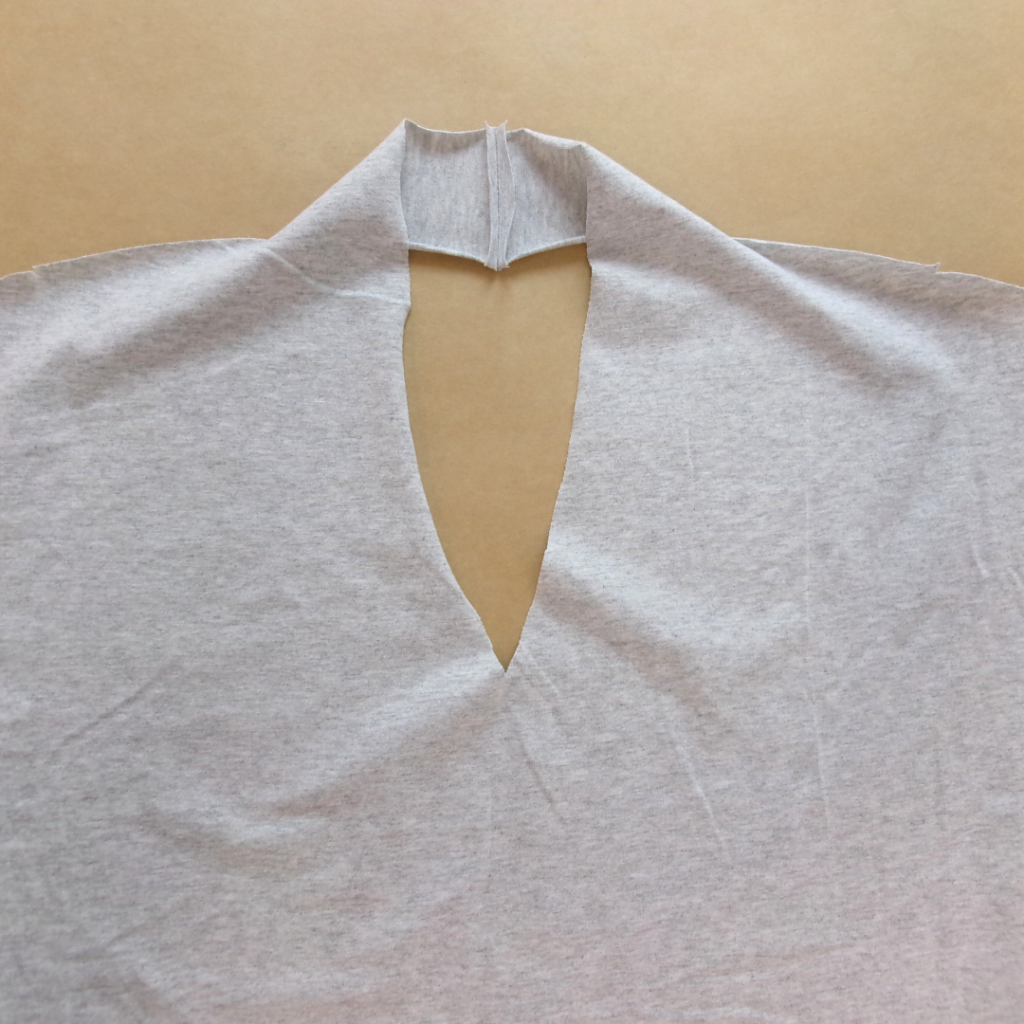
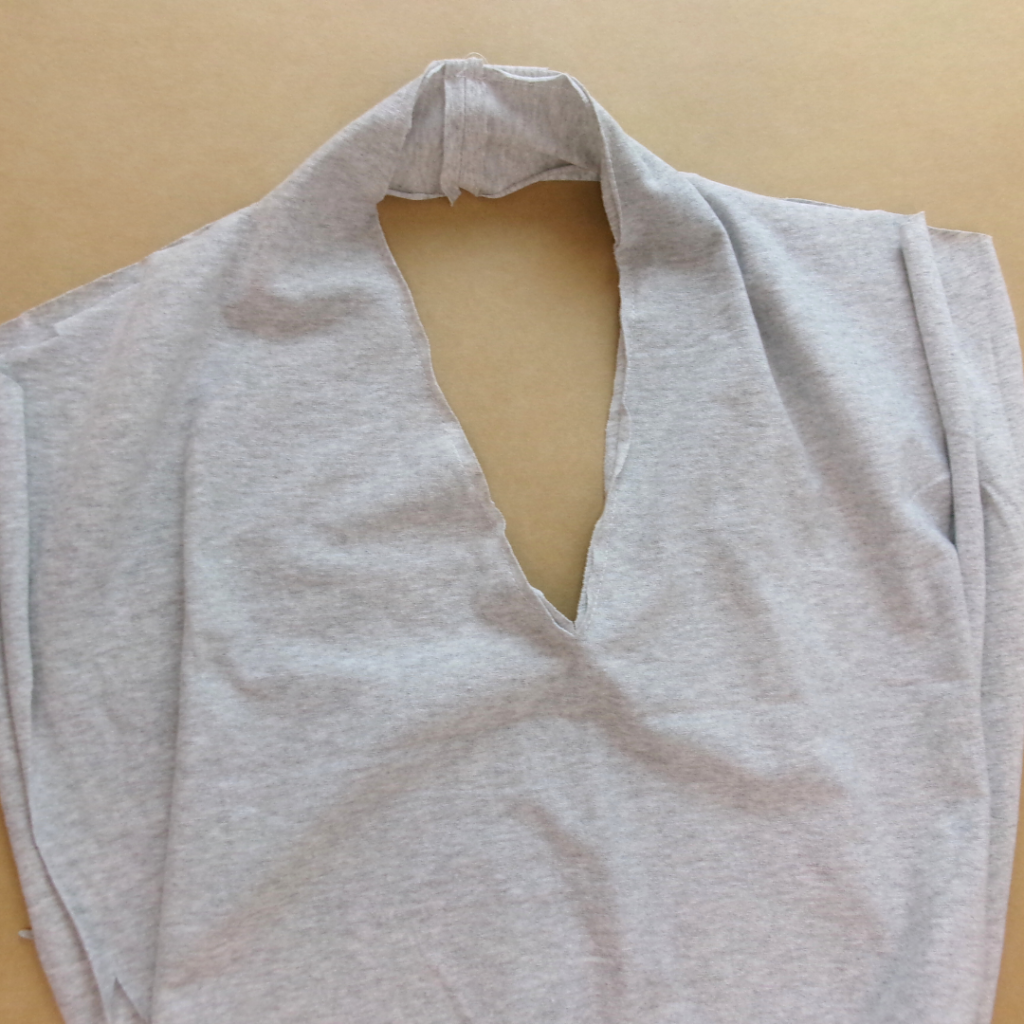
With RST and notches aligned, sew the Front and Back bodices together at the shoulder seam. Start sewing at the armhole, stitch toward the neck, carefully clip into the corner as marked on the pattern; keeping the needle down, pivot at the corner and sew the lower edge of the back collar to the back neckline, then continue along to the other side, finishing at the opposite armhole. See diagram 4.
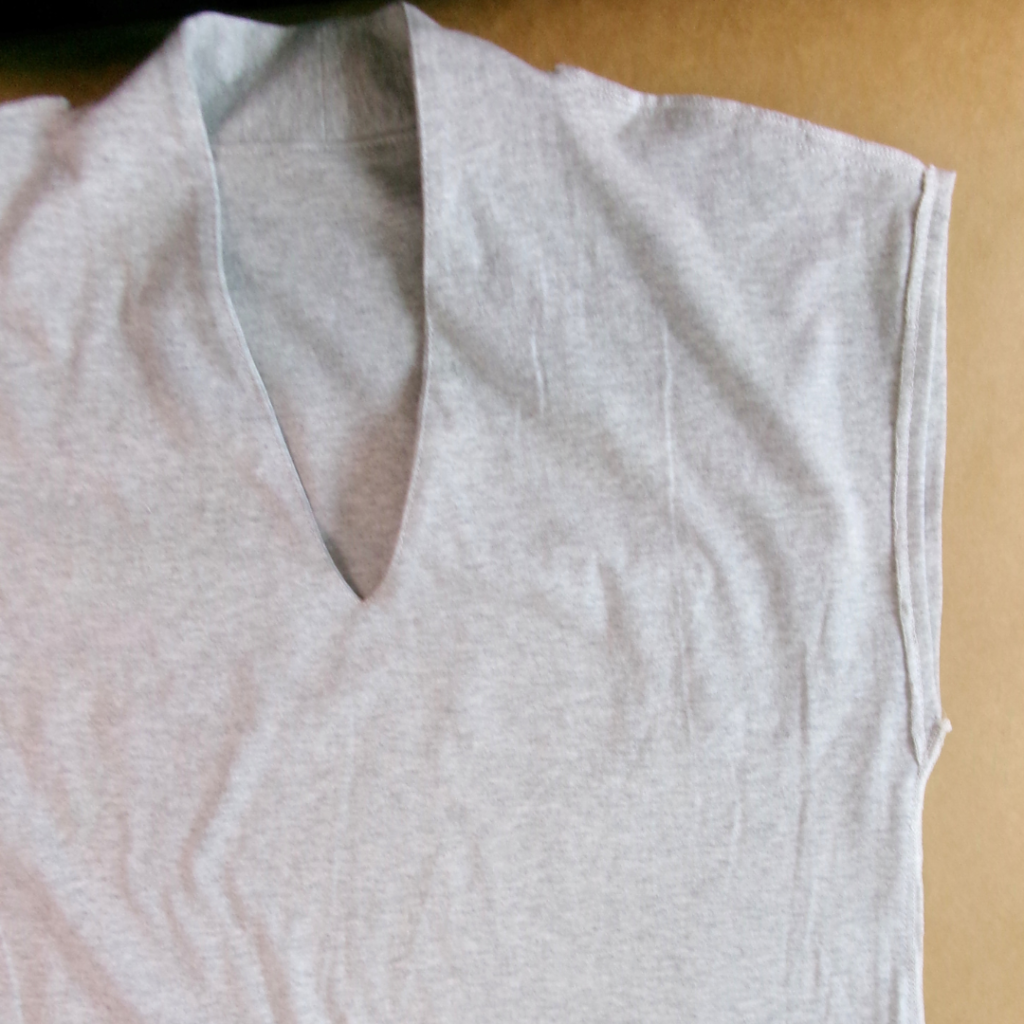
Neaten the shoulder/neckline seam with an overlocker/serger. You may need to complete this in two steps – first neaten the shoulder seams, and then neaten the back neck. You may choose to press the neck seam down and top stitch the back neck seam allowance down between the two corners; or you can use a binding on the back neck seam, for a professional finish.
Neaten the armholes with an overlocker/serger. Turn the armhole seams 1cm (3/8”) to the inside and stitch with a twin needle, cover stitch or plain machine topstitch. See diagram 5.

With RST sew the front and back side seams together. Sew from the hem line up to the under arm. Neaten the side seams with an overlocker/serger. Press toward the back and sew a bar tack at the under-arm seam to secure the seam down. See diagram 6.
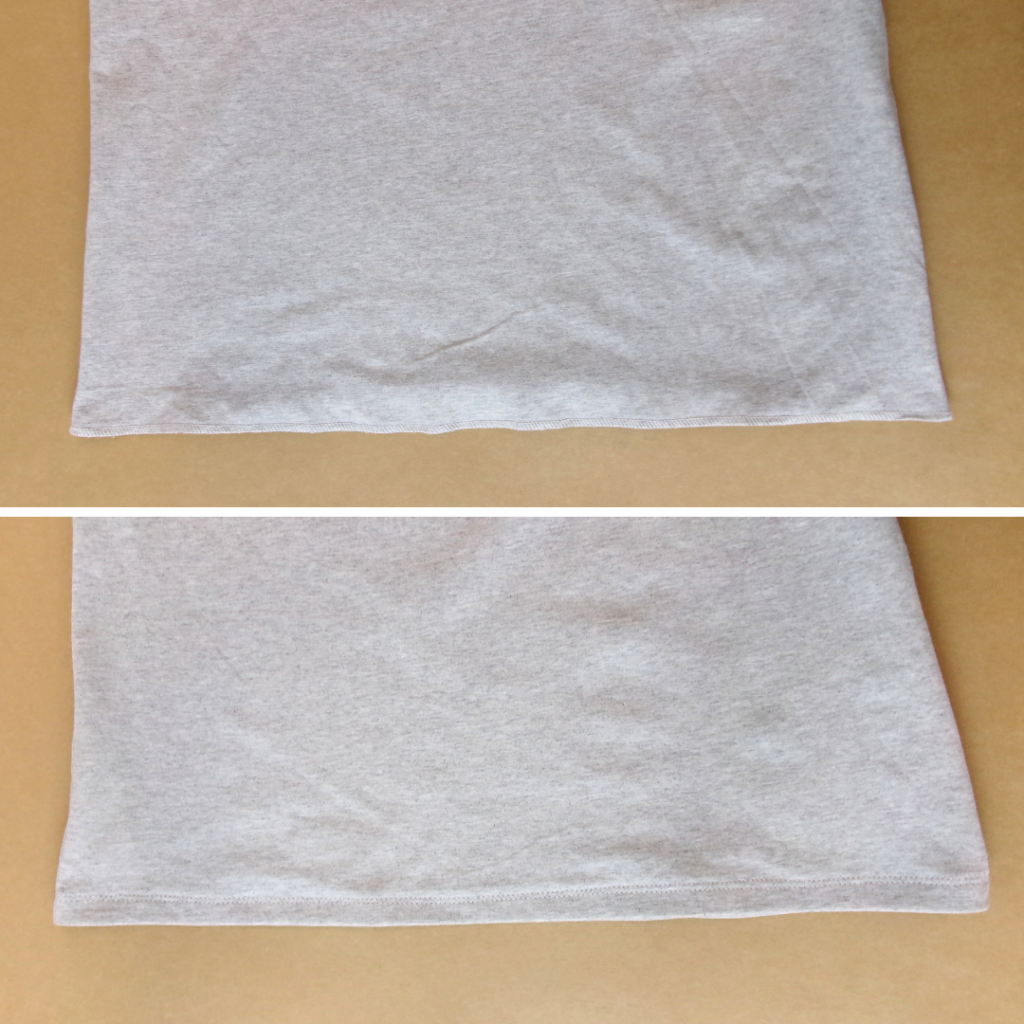
Neaten the hemline with an overlocker/serger, turn the hem to the inside at the notch and stitch with a twin needle, cover stitch or plain machine topstitch. Take care not to rope (twist) the hem whilst sewing.
Lightly press your new top.