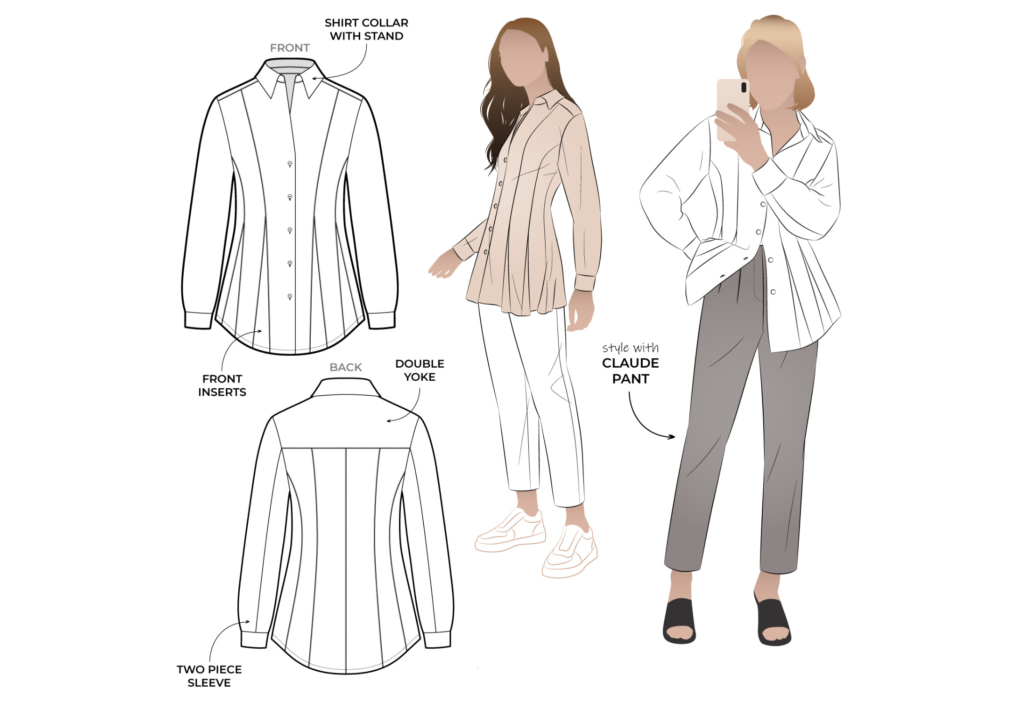
CONSTRUCTION:
COLLAR & STAND:
With right sides facing, sew the outer and side edges of the collar together. Clip the corners, turn out to the right side and press.
Press the seam allowance of the lower edge of the outer collar stand to the inside. Place the collar between the right sides of the collar stands and stitch together and down the short edges, sandwiching the collar between the two collar stands. Turn out to the right side and understitch close to the seam along the inner collar stand.
Press and put aside.
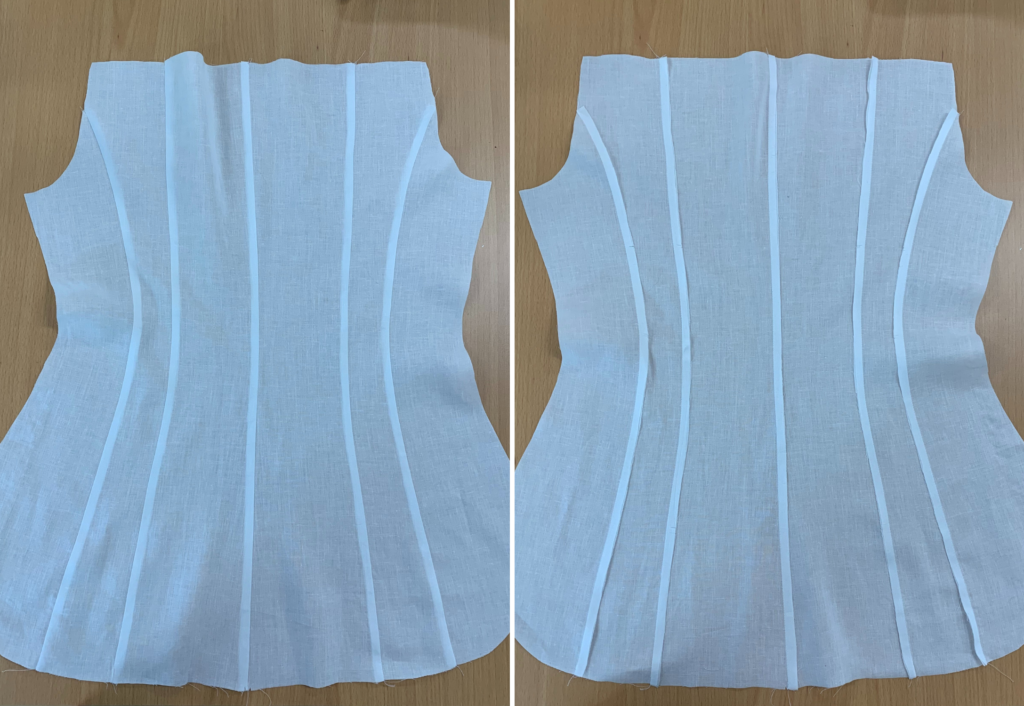
FRONT BODY:
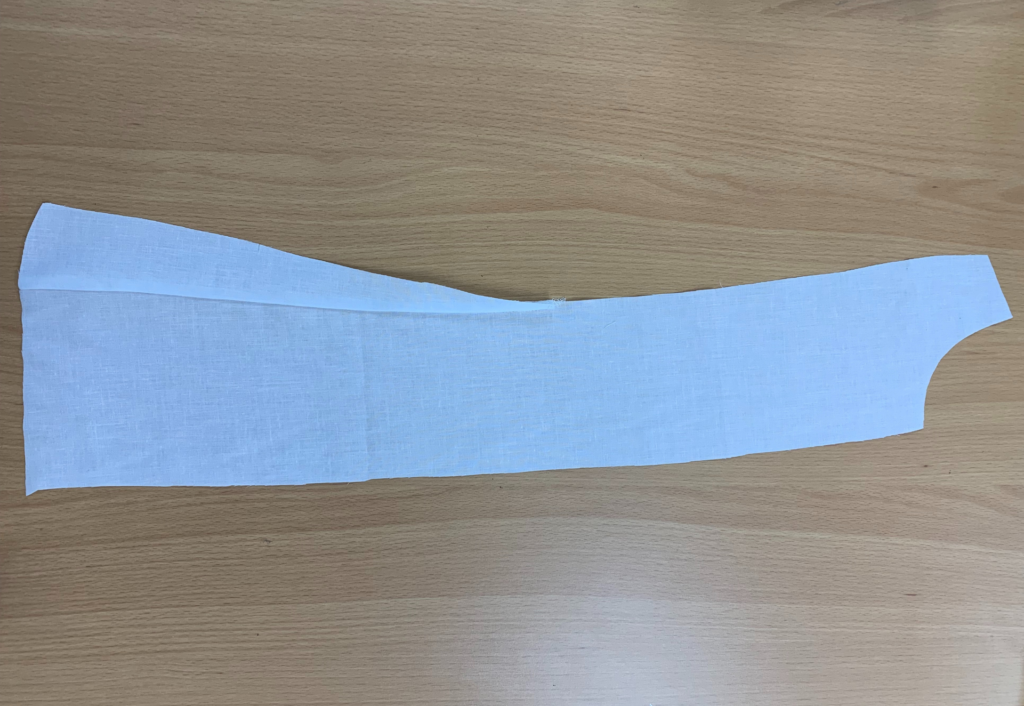
With right sides facing sew the centre front panel to front insert (1), neaten with an overlocker/serger and press the seam towards the centre front. From the right side, edge stitch close to the seam on the side of the centre front panel.
With right sides facing sew the mid front panel to the centre front panel and front insert (1) panel. Start sewing at the shoulder, stitch down to the top of the insert taking care to match the insert notches to the 3 panels, this is to obtain a sharp seam junction. Continue stitching down to the hemline, neaten with an overlocker/serger and press toward the mid panel. Edge stitch close to the seam on the side of the mid front panel.
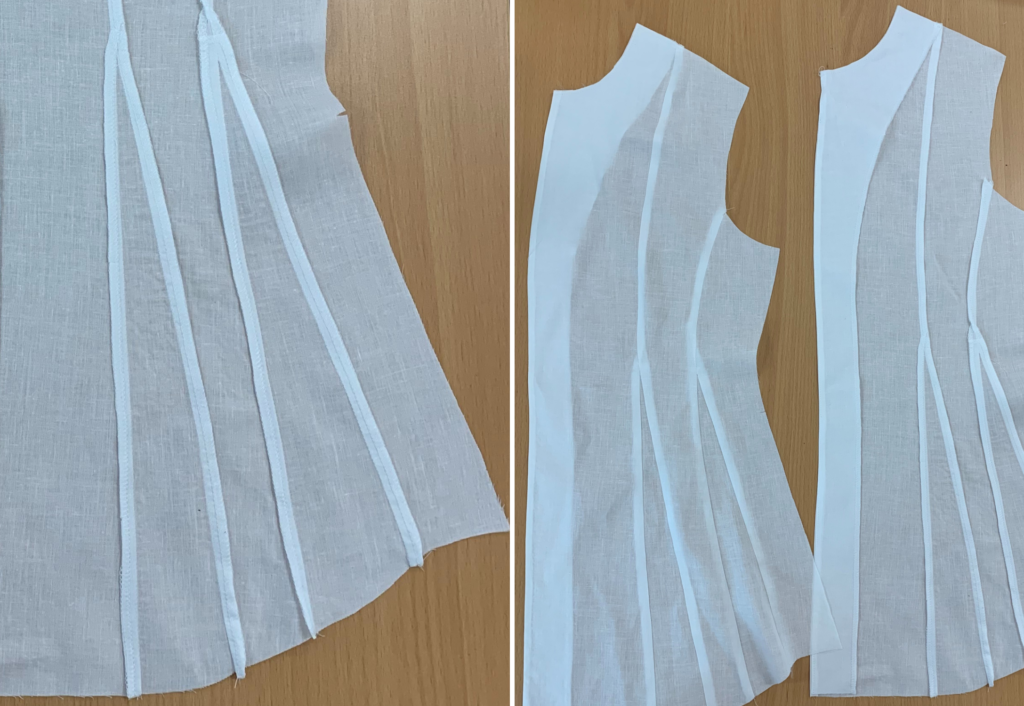
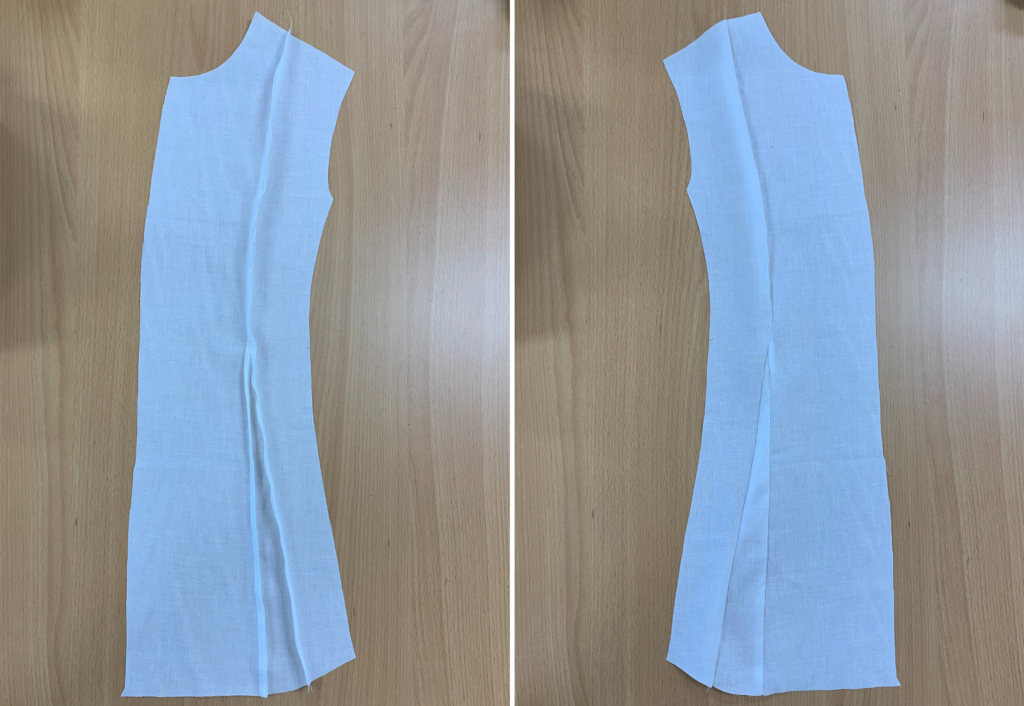
With right sides facing sew front insert (2) to the side front panel matching the notches as you sew. Neaten with an overlocker/serger and press towards the side seam. Sew an edge stitch close to the seam on the side of the side front.
With right sides facing sew the mid front panel to the side panel starting at the underarm. Stitch down to the insert, taking care to match the notches for a clean junction and continue stitching down to the hemline. Neaten with an overlocker/serger and press the seam towards the mid front panel. Sew an edge stitch close to the seam on the side of the side front panel.
With right sides together sew the front facing to the centre front panel. Turn out and understitch close to the seam on the side of the facing. Press and sew a stay stitch to the neck of the front and the front facing to hold it in place.
BACK BODY & YOKE:
With right sides facing sew the centre back seams together. Neaten with an overlocker/serger and press the seam towards the wearers left.
With right sides facing sew the mid back panels to the centre back panels. Neaten with an overlocker/serger and press toward the centre back.
With right sides facing sew the side back panel to the mid back panel. Neaten with an overlocker/serger and press towards the centre back.
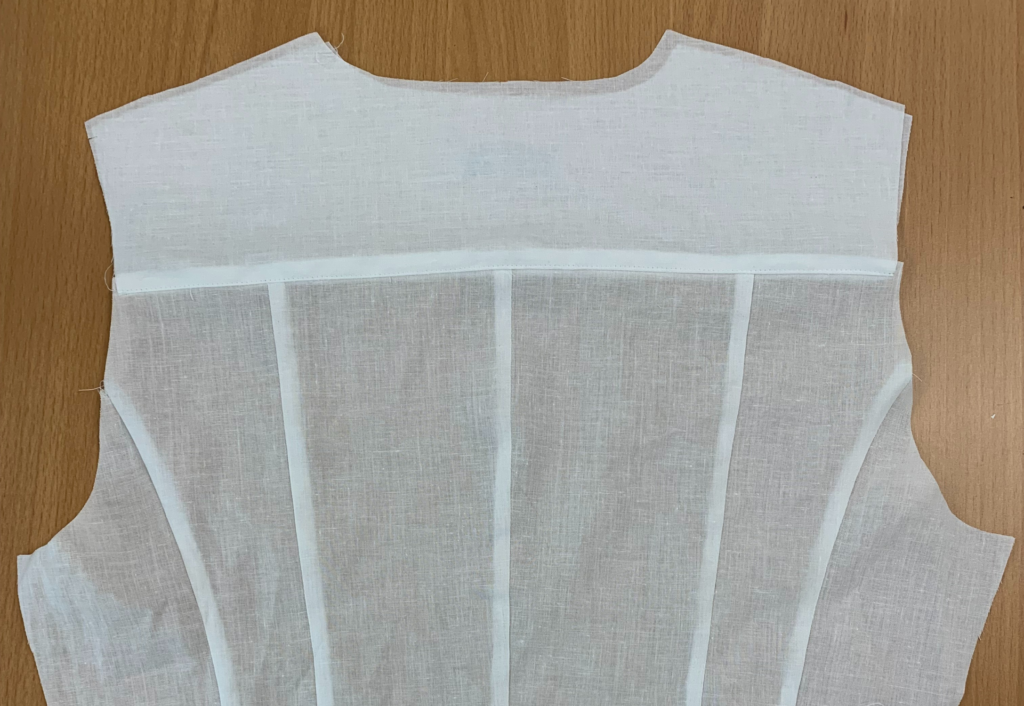
Sandwich the back bodice between the two back yokes and stitch together. Once sewn turn up the yokes, press the seam upwards and sew an edge stitch close to the seam.
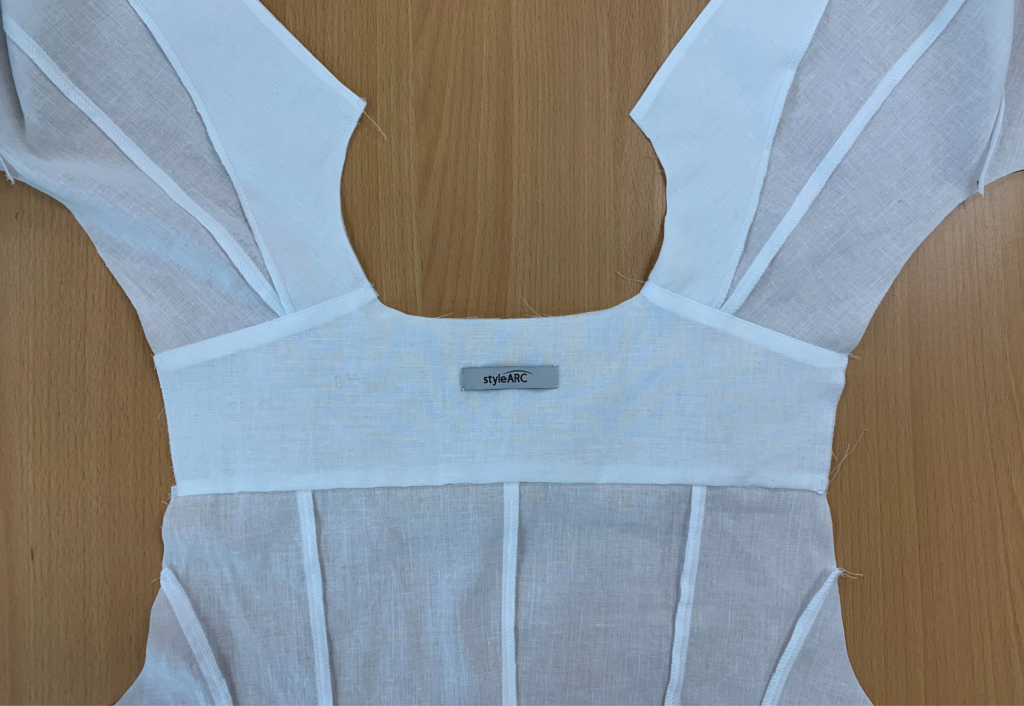
Roll the whole back body up with the right side on the inside then pin to keep it out of the way. With right sides facing pin the top yokes to the front body seam and sew. Roll with the wrong side on the inside and pin the fronts to keep out of the way.
Cover the rolled pieces with the under yoke, then sew the front yoke seams together. Pull through and turn out to the right side and sew an edge stitch on the side of the front yoke. Sew a stay stitch to the double back neck.
With right sides facing sew the front and back side seams together. Neaten with an overlocker/serger and press towards the back.
ATTACHING THE COLLAR TO THE NECK:
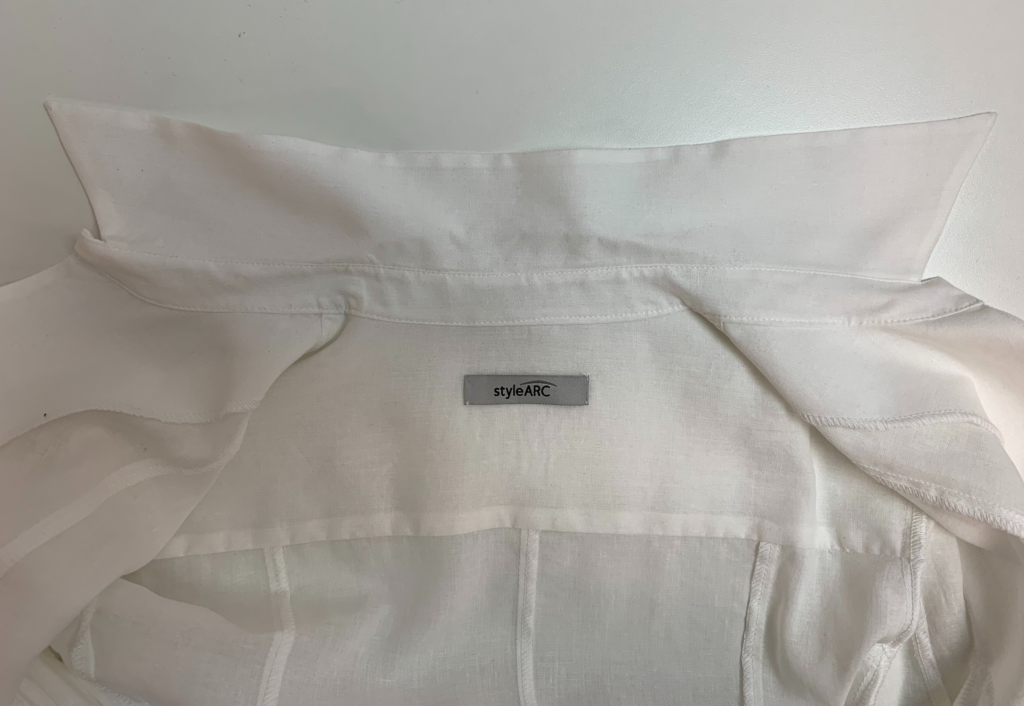
Sew the inside collar stand to the neckline matching the notches. Stitch the outer collar stand to the neckline with an edge stitch on the side of the collar stand.
SLEEVES & CUFFS:
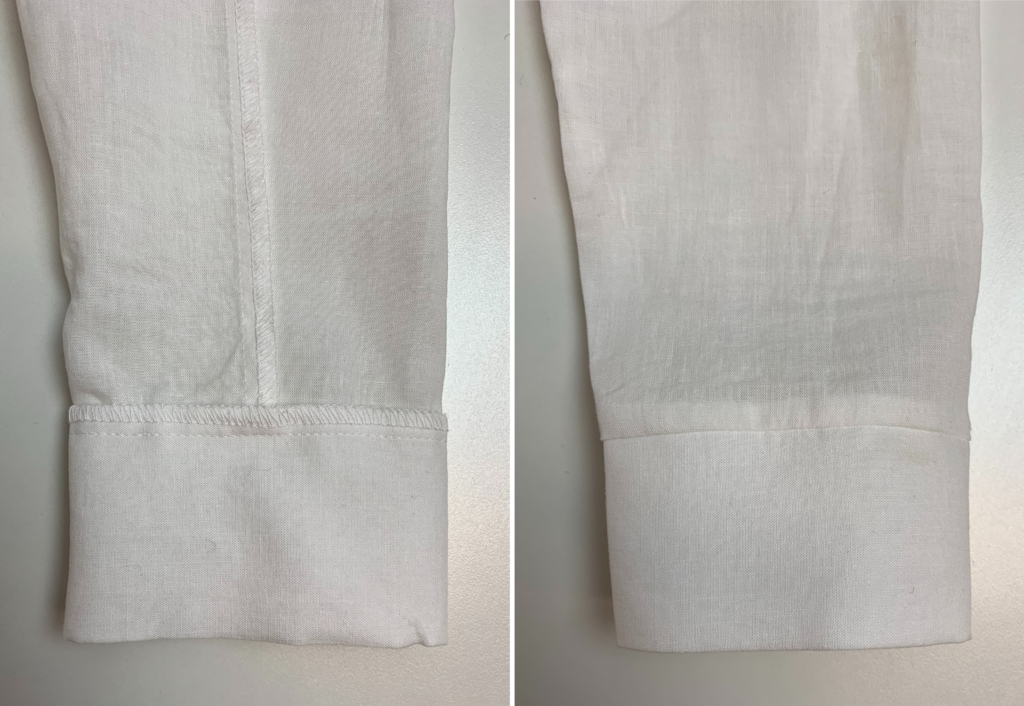
With right sides facing sew the under sleeve to the top sleeve. Neaten with an overlocker/serger and press the seam towards the top sleeve.
With right sides facing sew the under sleeve seams together. Neaten with an overlocker/serger and press towards the back.
With right sides facing sew the two short ends of the cuffs together and turn out to the right side. Press in half lengthways and sew a stay stitch along the two raw edges to hold in place.
With right sides facing, sew the cuff to the sleeve opening. Neaten with an overlocker/serger and press upwards.
Sew a large stitch to the head of the sleeve and slightly ease in, this makes it easier to sew the sleeve into the armhole.
With right sides facing sew the sleeve into the armhole matching the notches as you sew. Neaten with an overlocker/serger and press the seam towards the sleeve.
COMPLETION:
Neaten the hem with an overlocker/serger and turn to the inside at the notch and topstitch.
Buttonhole the right front as marked on the pattern and sew corresponding buttons to the left front.
Press your new shirt.