CONSTRUCTION
Watch a step by step video of how to sew the pockets:

POCKETS:
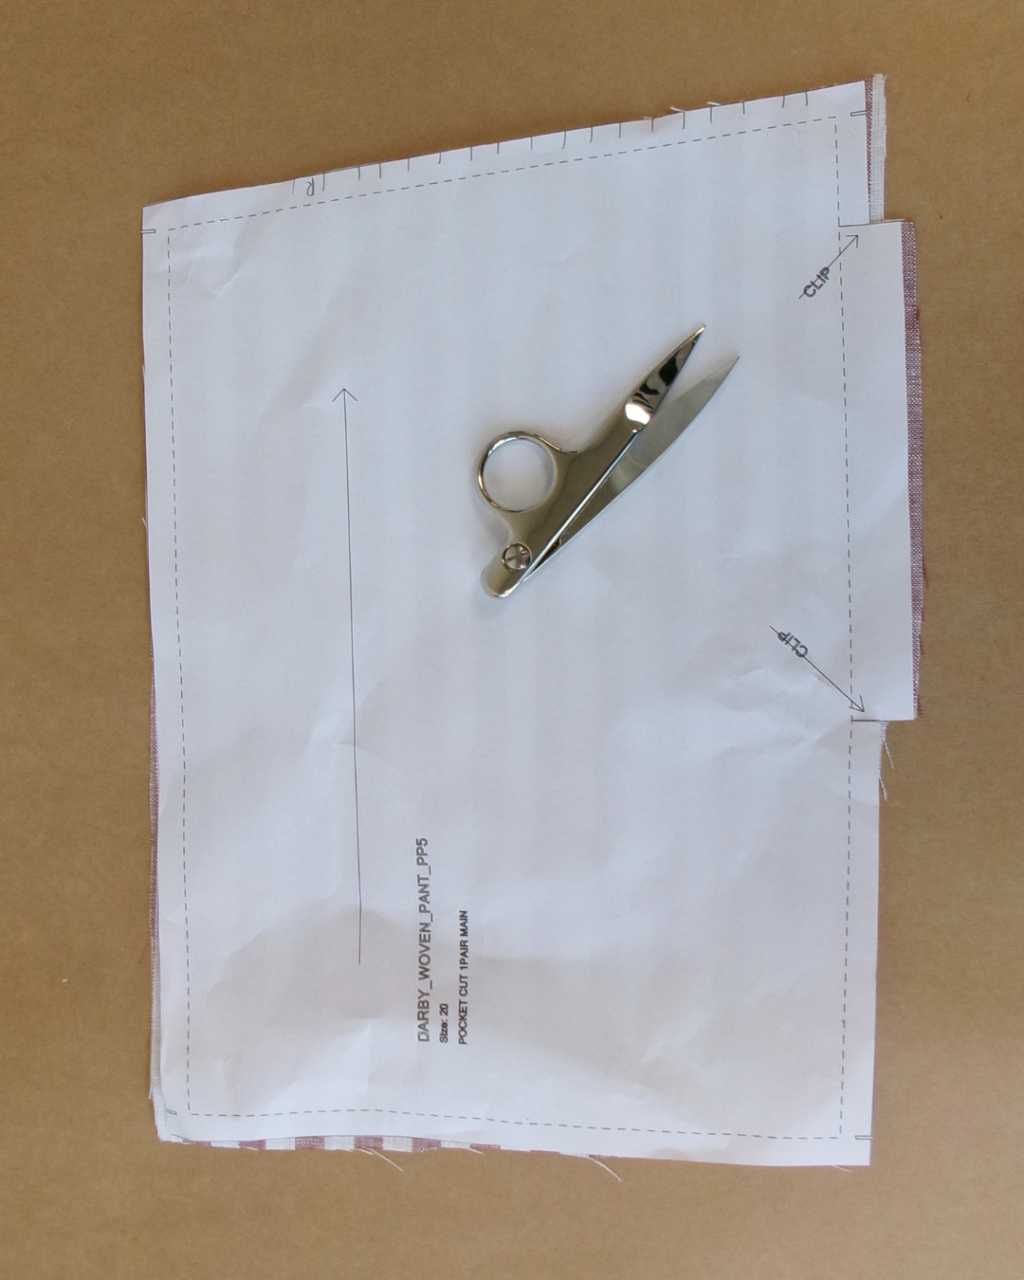
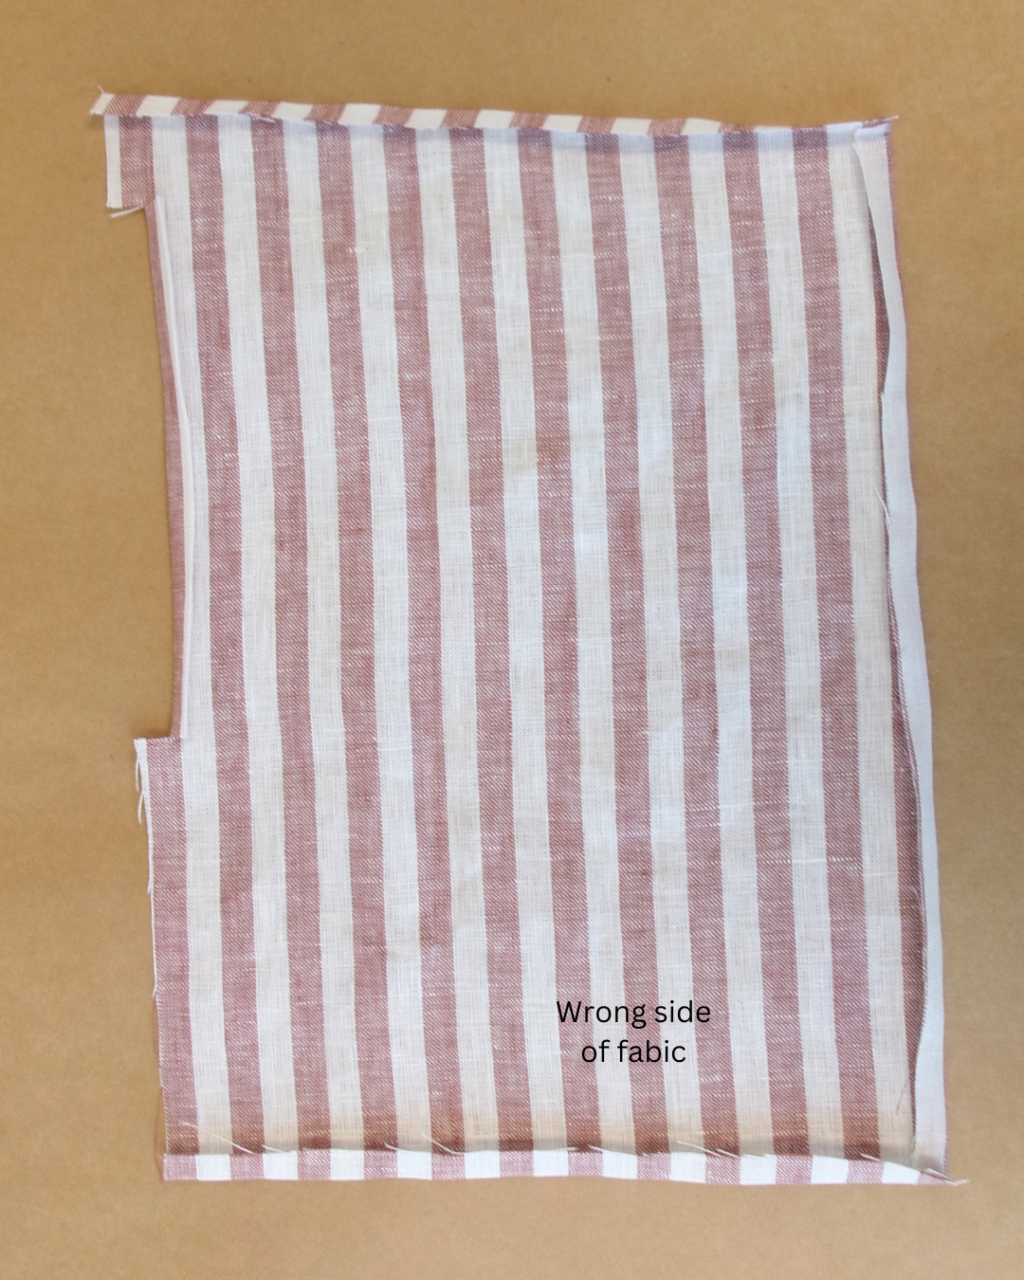
Press the three edges of the pocket to the inside (wrong side).

Clip and press the pocket opening turn-back to the inside (wrong side) of the pocket. Top stitch across the upper base, pivot and continue along the length, pivot again and continue across the lower base of the turn-back.
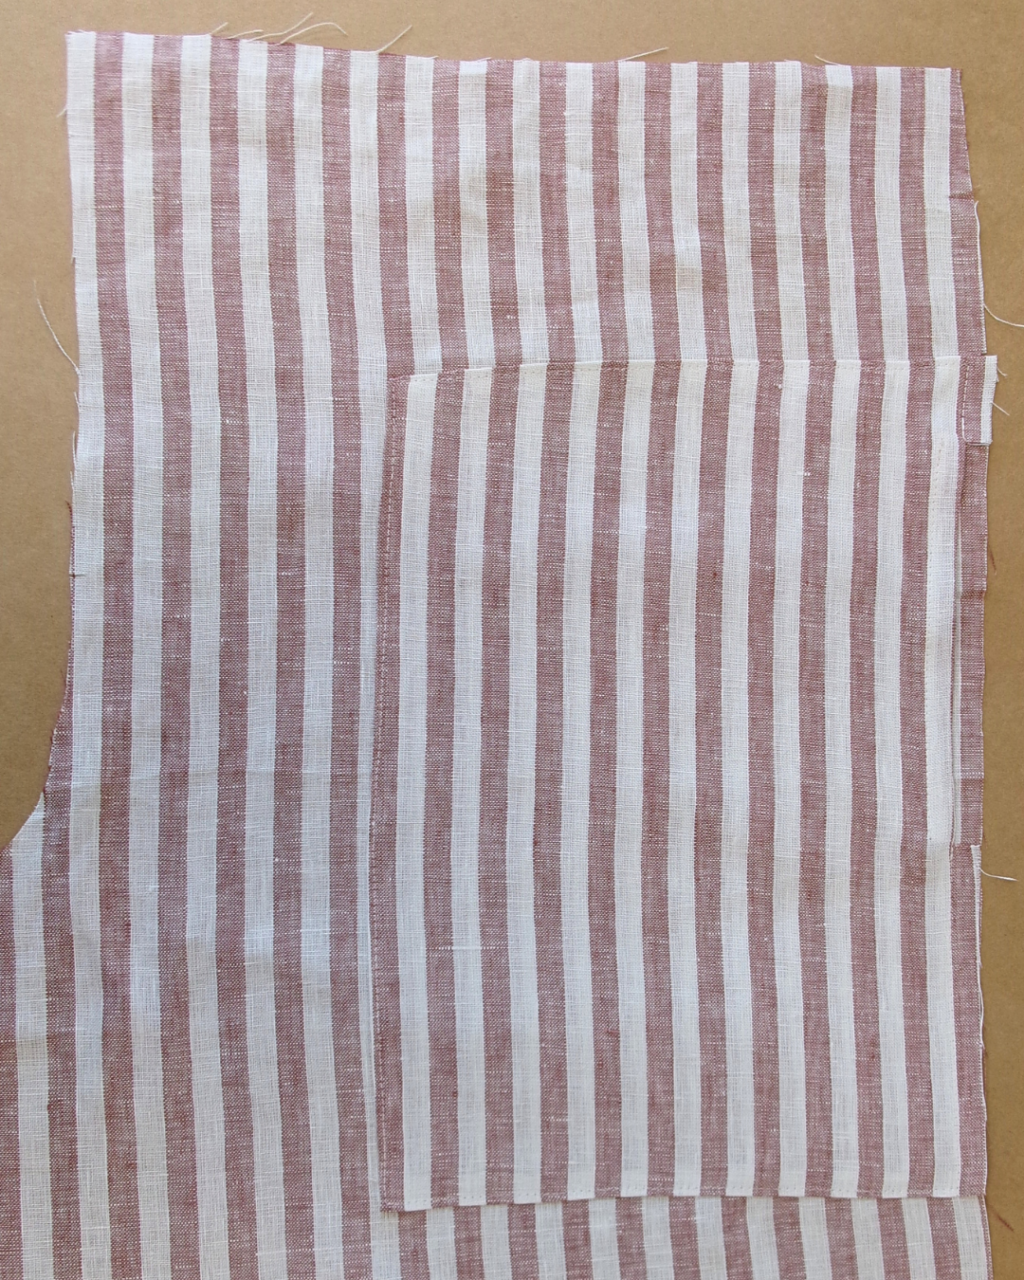
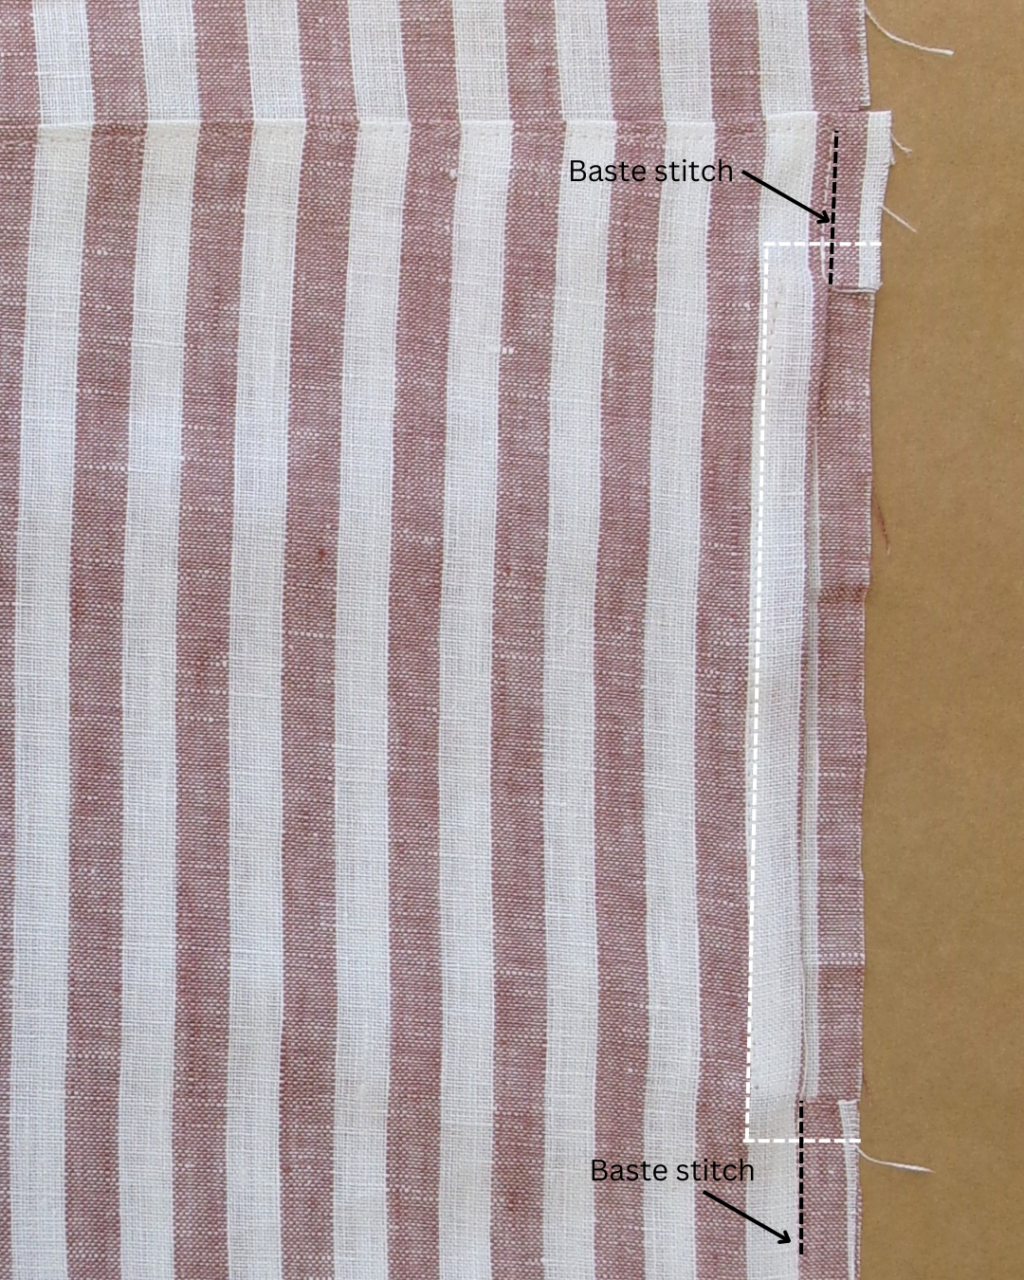
Pin the pocket to the front legs where marked on the pattern. The upper base and lower base of the pocket opening will be stitched into the side seam. Once in position edge stitch the pockets to the leg. Baste stitch at the side seam.
LEG CONSTRUCTION:
With right sides together sew the front and back in leg seams together. Neaten with an overlocker/serger and press toward the back.
With right sides together sew the crotch seams together. Start sewing at the back waistline, stitch down to the base of the crotch, continue sewing along the front crotch seam, finishing at the front waistline. Neaten using an overlocker/serger and press to one side.
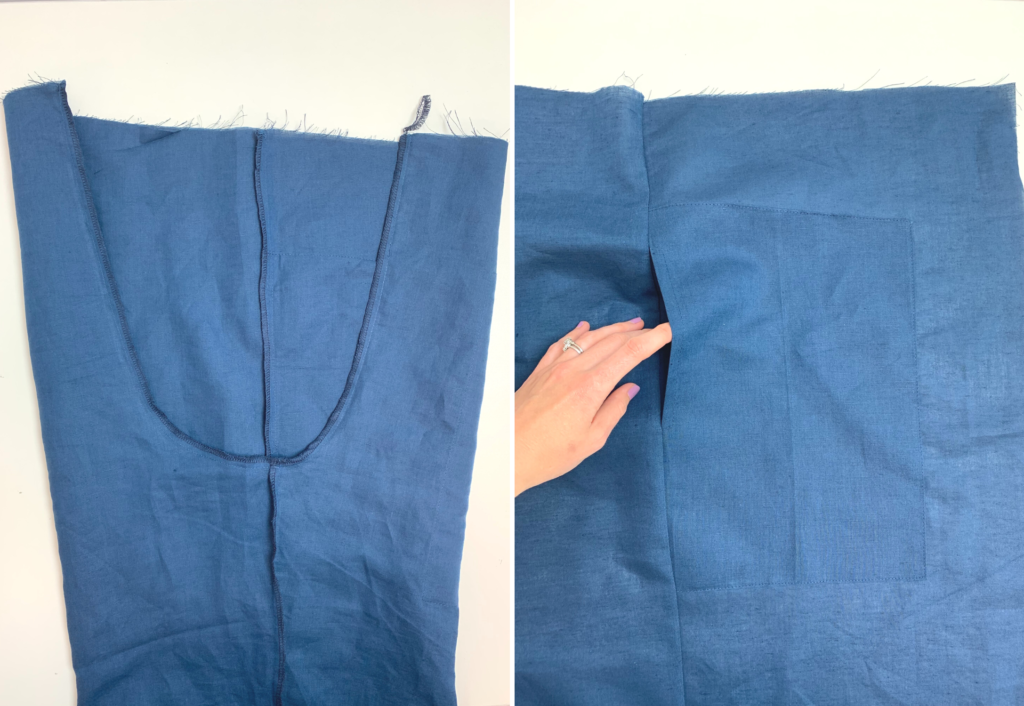
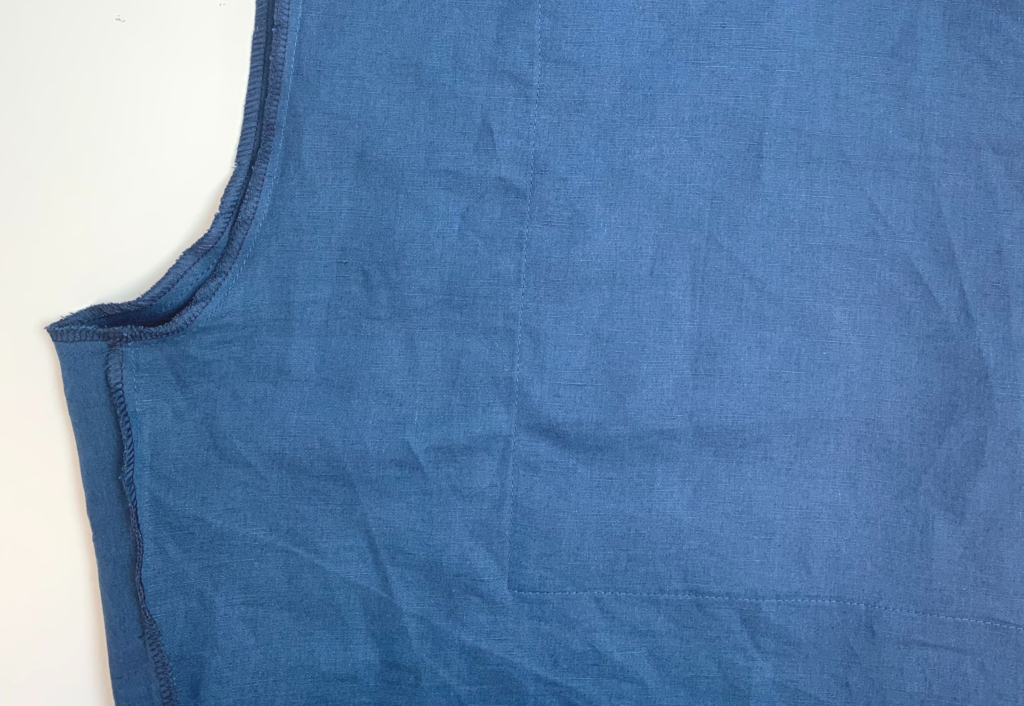
With right sides together, sew the front and back side seams together. Start sewing at the waistline, stitching through the straight edge of the back pocket, and taking care not to catch the front pocket opening in the side seam as you sew. Continue sewing the side seam finishing at the hemline. Neaten with an overlocker/serger and press towards the back.
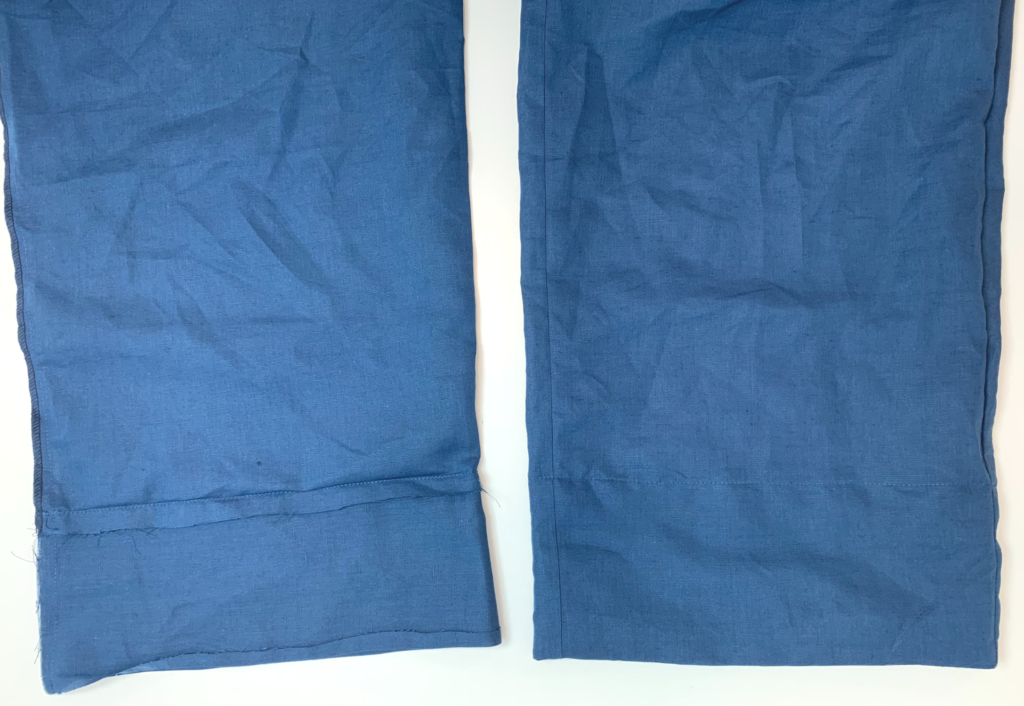
With right sides together sew the front and back hem facing seams together, press the seams open.
With right sides together sew the hem facings to the leg openings, turn to the right side and understitch the seam on the side of the facing.
Pin the hem facings to the legs, once in place topstitch top edge of the hem facings to the legs.
WAISTBAND:
Cut the elastic to your preferred personal length or refer to measurement chart. Overlap the ends 2cm (3/4”) and stitch together securely.
Mark the elastic with chalk in to quarters at the centre front, centre back and side seams to make aligning it with the waistband easier, and to ensure the elastic is evenly distributed.
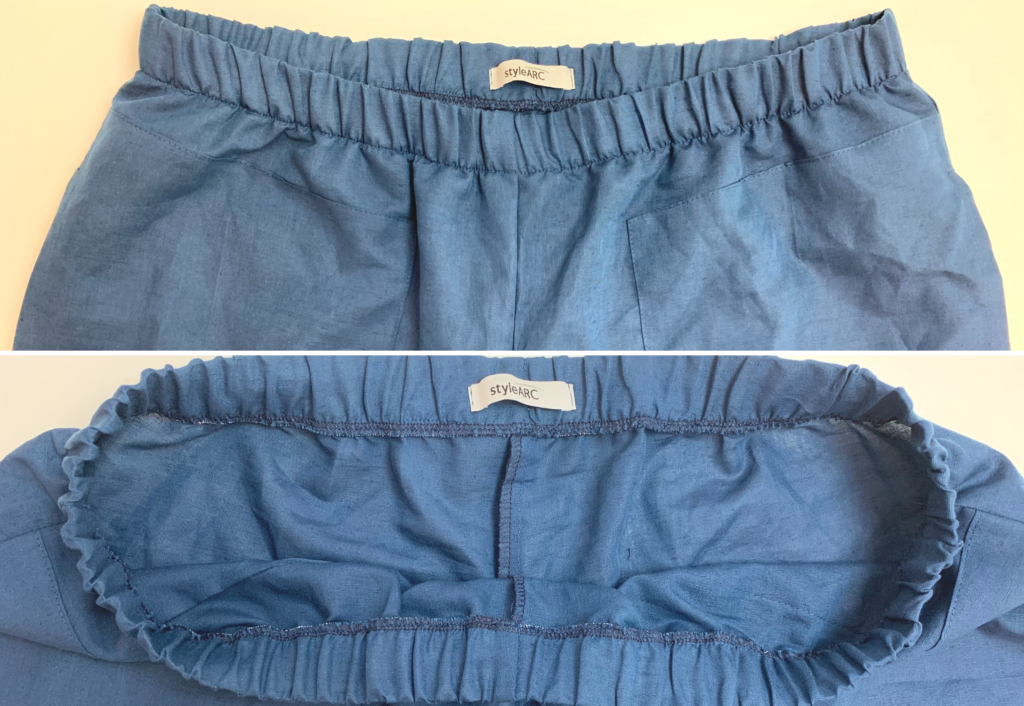
Overlock one edge of the elastic to the inside top edge of the waist of the pant, stretching the elastic as you sew. Turn the elastic over to the inside to encase it in the top of the pant, and pin into position. Sew a twin needle or single topstitch around the lower edge of the elastic, stretching the elastic as you sew.
Press your new pants!