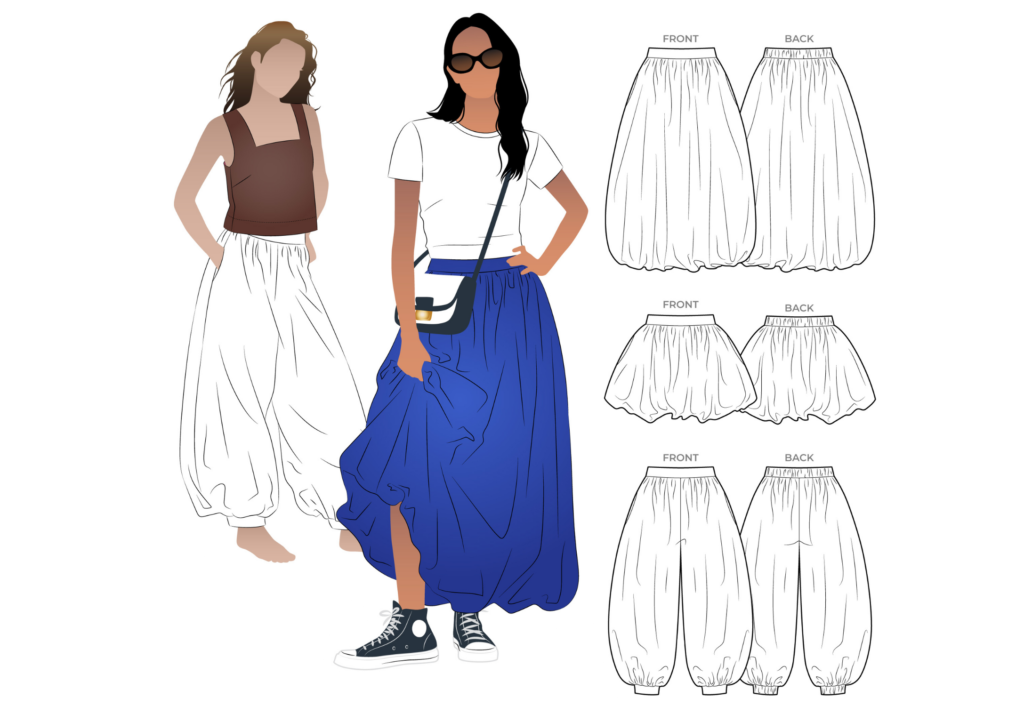
Shop the Sophia Woven Bubble Skirt and Pant
Watch the step by step video sewing tutorial on YouTube here:

CONSTRUCTION
POCKETS:
See our website tutorial and YouTube video for sewing inseam pockets.
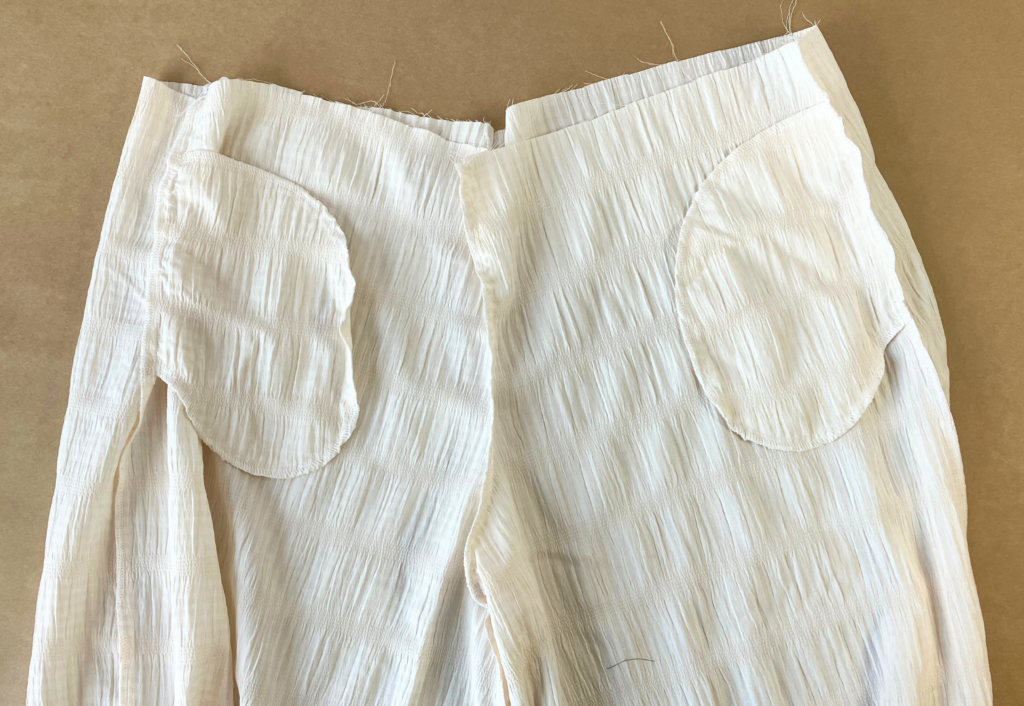
With RST and notches aligned, sew one set of Pockets (7) to the Front Maxi Skirt (3) OR Mini skirt (5) OR Front Pant (9) at the side seam (seamline marked ‘A’ on the pattern). Stitch only between the notches. Clip the seam at the notches and sew an understitch on the side of the pocket bag. This is pocket bag 1.
With RST, lay pocket bag 2 on top of pocket bag 1, align and sew both pocket bags together (seamline marked ‘B’ on the pattern). Note that the straight edge of pocket bag 2 is left free to sew to the back skirt/leg side seam. Neaten around the pockets using an overlocker/serger. Secure stitch each end of the pocket opening.
WAISTBAND:
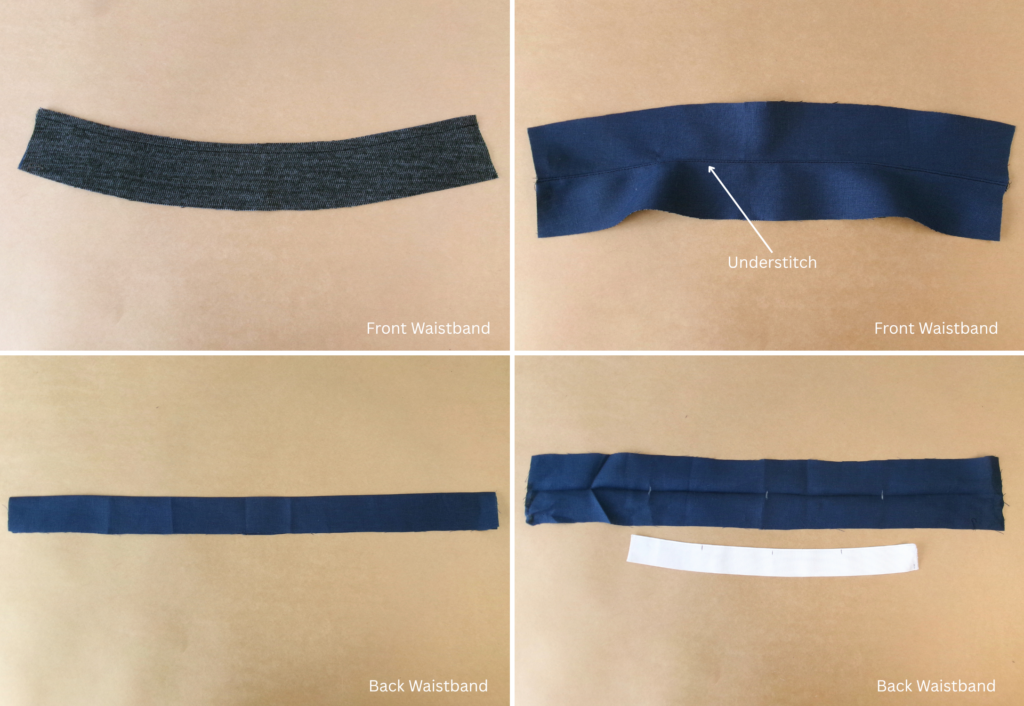
With RST, sew the pair of Front Waistbands (1) together along the top long edge. Understitch on one side, this is the inner waistband. Set aside.
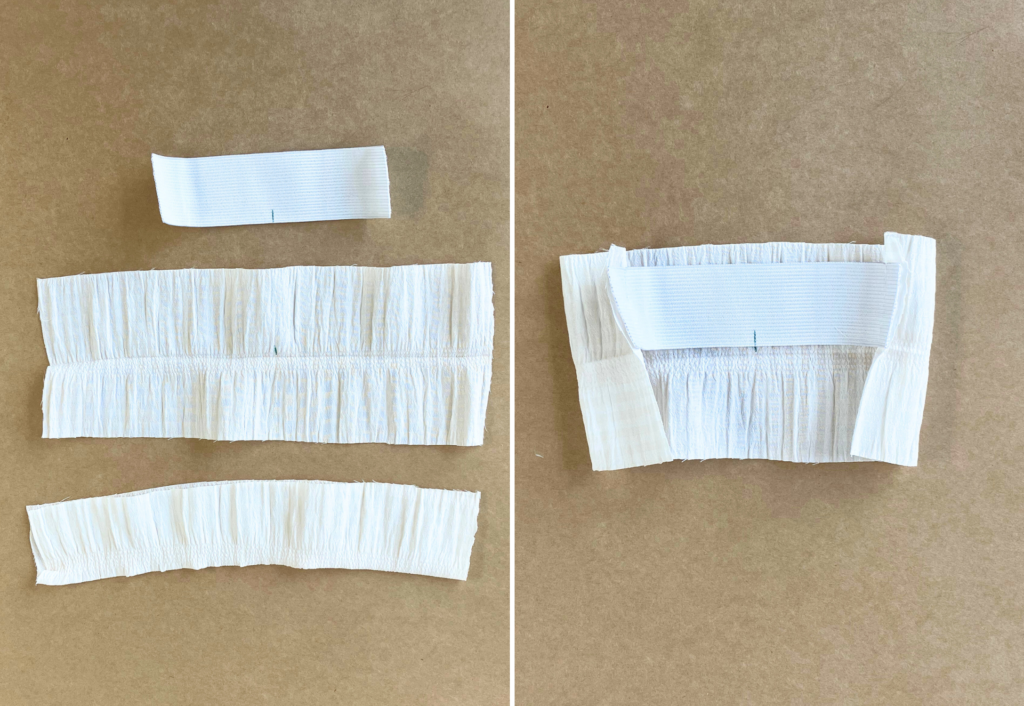
With WST, press the Back Waistband (2) in half lengthways. Fold the waistband into quarters and mark with chalk or erasable pen. Fold the cut elastic into quarters and mark with chalk or erasable pen.
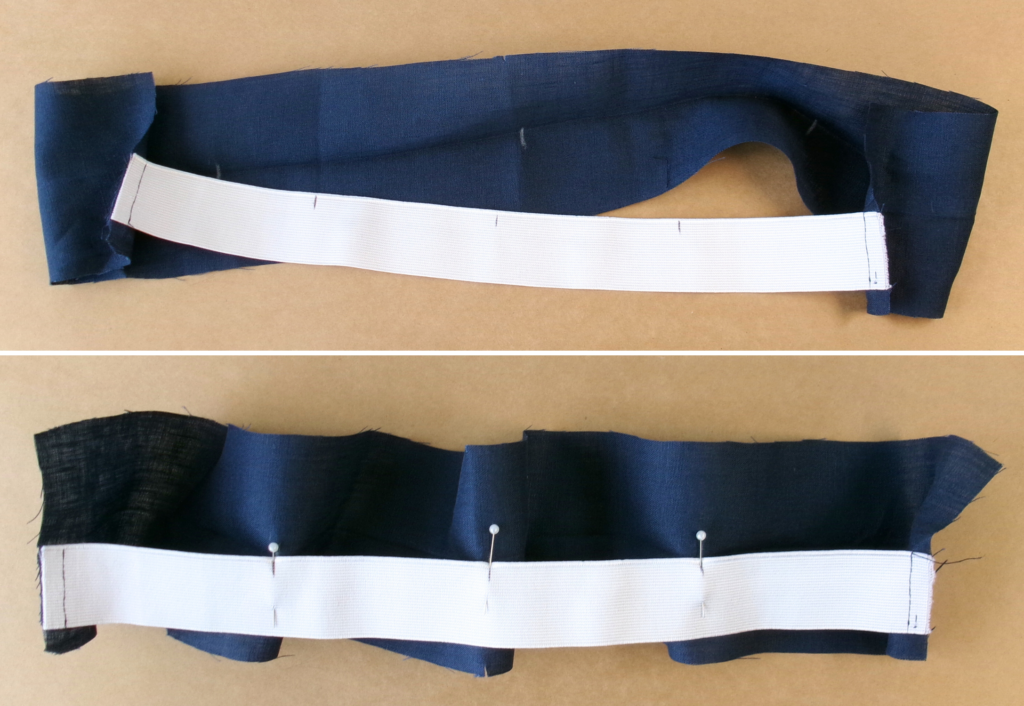
Stitch the cut ends of the elastic to each end of the back waistband, positioning them to just below one side of the fold line, and sew securely.
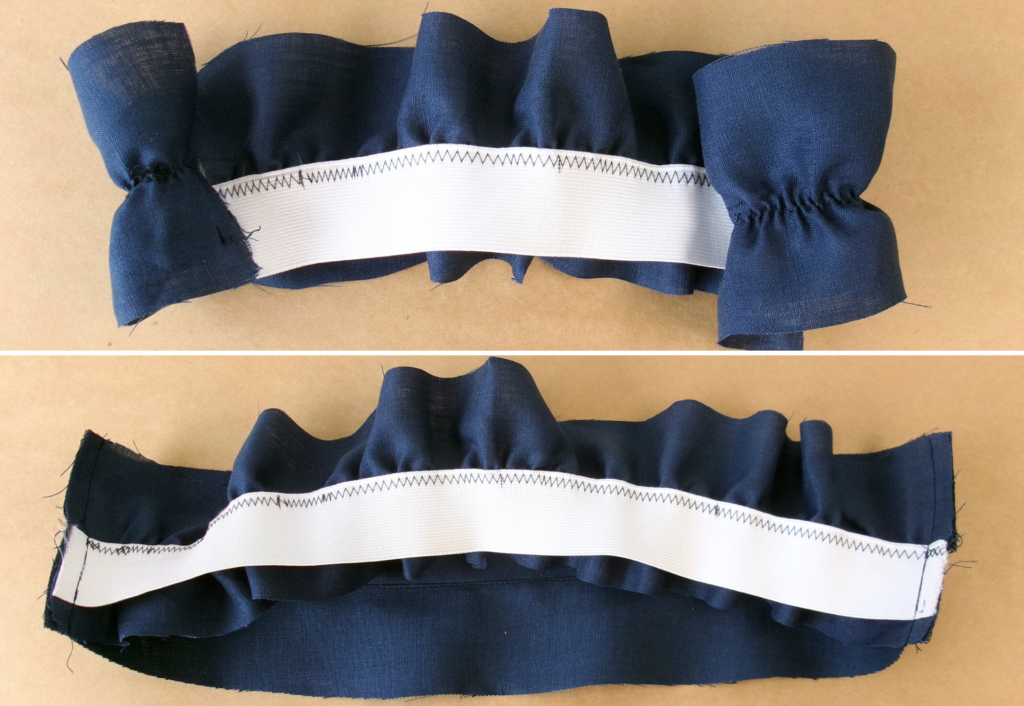
Align the quarter marks, pin and sew a zig zag stitch to the top of the elastic, stretching as you sew. This is the inner waistband.
With RST and inner waistbands aligned, sew the front waistband to the back waistband at the side seams. Press toward the front.
Fold the waistband in half encasing the elastic, pin and baste the raw edges together creating the waistband. You may choose to use a zipper foot to sew close to the elastic. Sew a vertical topstitch through the centre back and sides to prevent the elastic from rolling.
MAXI (3) AND MINI (5) SKIRT:
Optional tuck (for even more volume!) – with RST, align the notches indicating the tucks as shown on the pattern and pin into place. Baste stitch the tucks to secure.
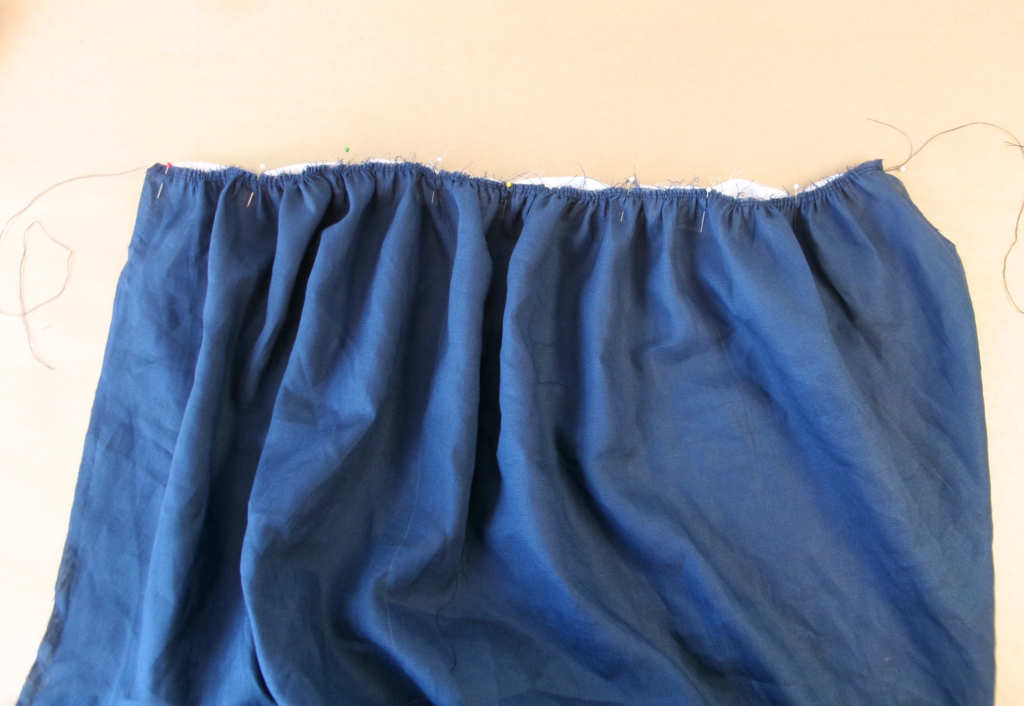
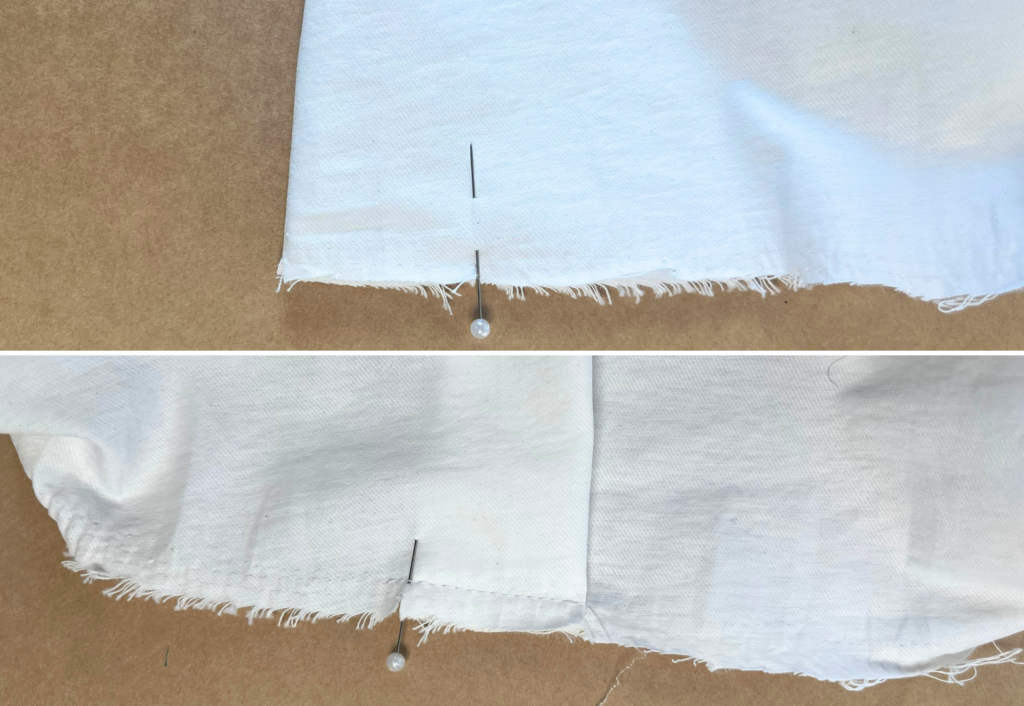
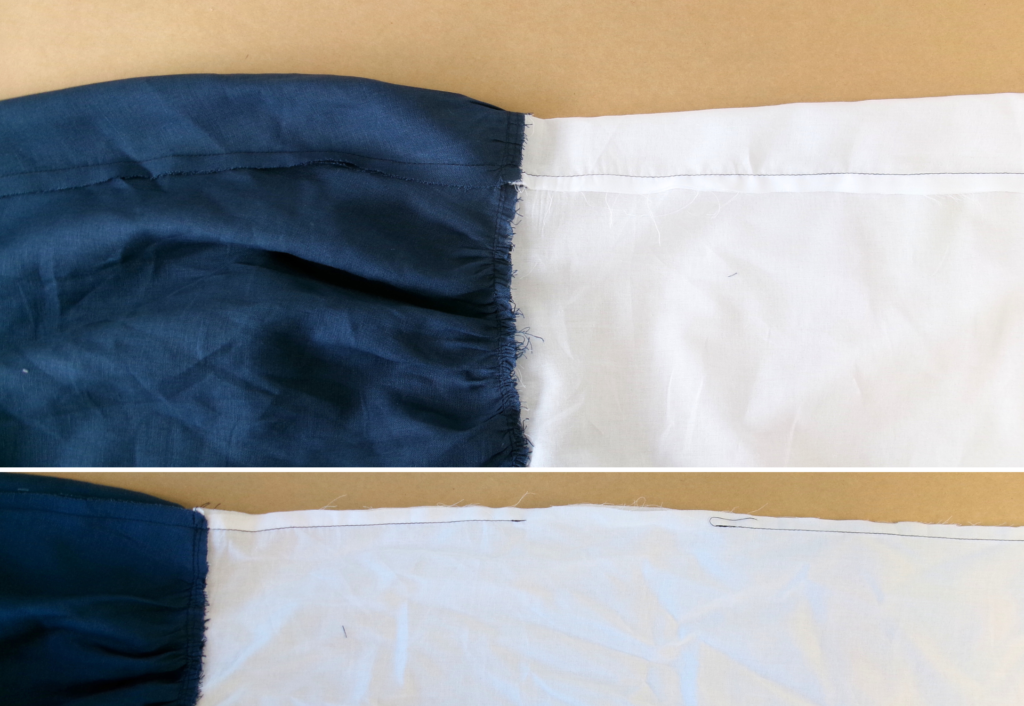
Using a long gathering stitch, sew two rows of stitching to the hem edge of the main skirt along the seamline, then gather in to match with Maxi Skirt Lining (4) OR Mini Skirt Lining (6) hemline. With RST sew the skirt to the lining at the hemline and press toward the lining.
With RST and seams aligned, sew the front to back at the side seams, taking care not to catch the back of the pocket as you sew (if using), and leaving a gap in the lining for turning out.
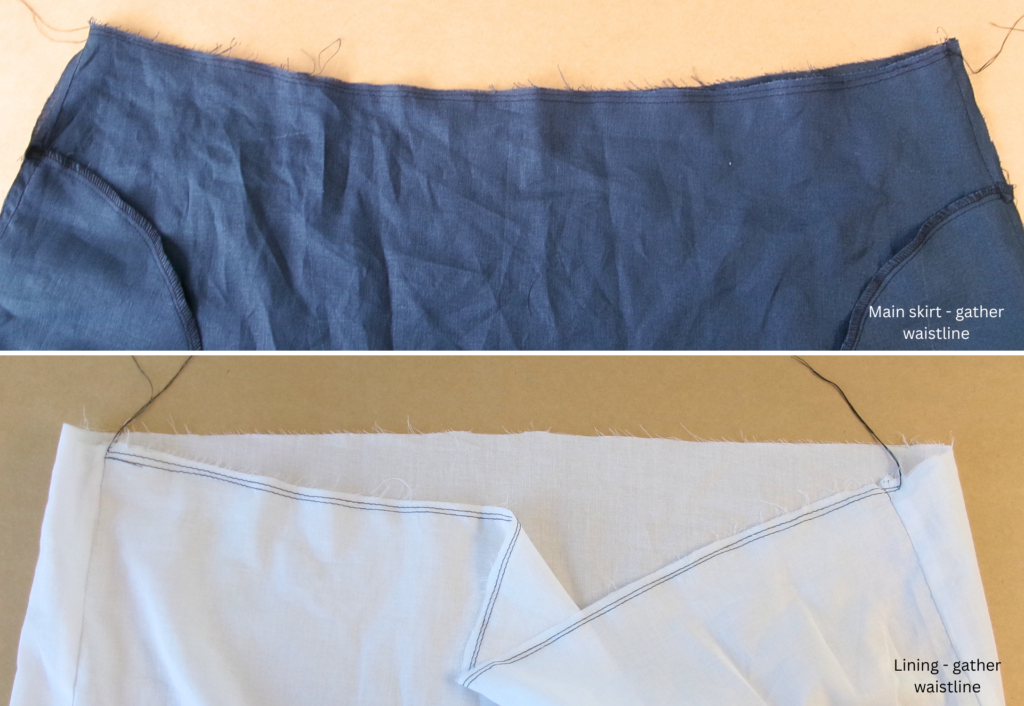
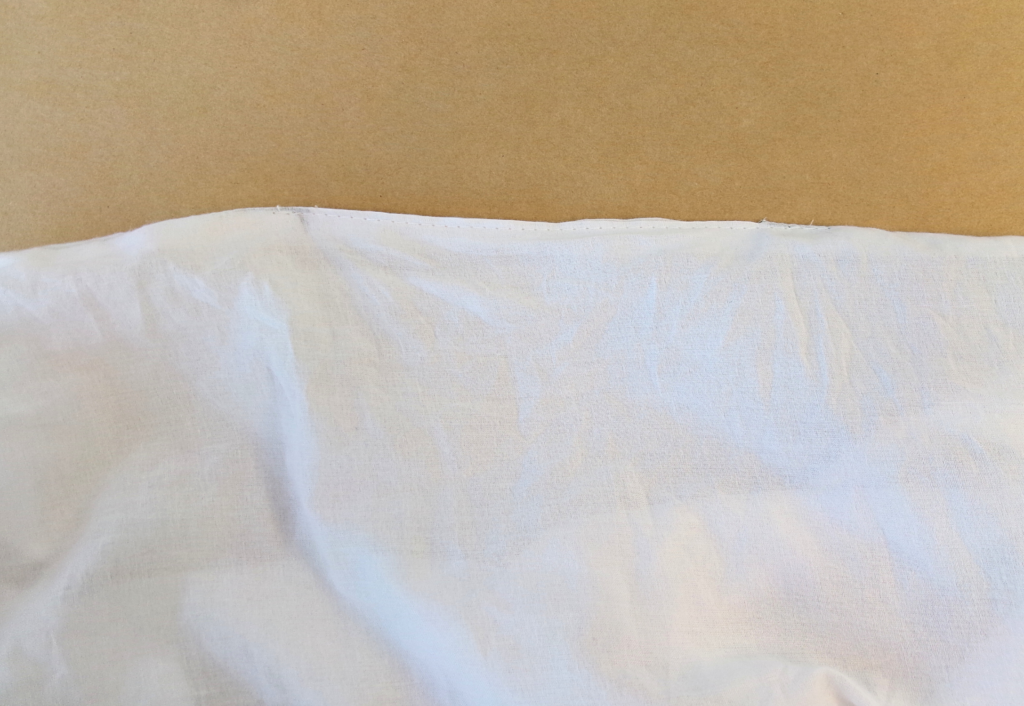
Using a long gathering stitch, sew two rows of stitching to the front waist of the main skirt and lining (separately), then gather in to match the length of the front waistband.
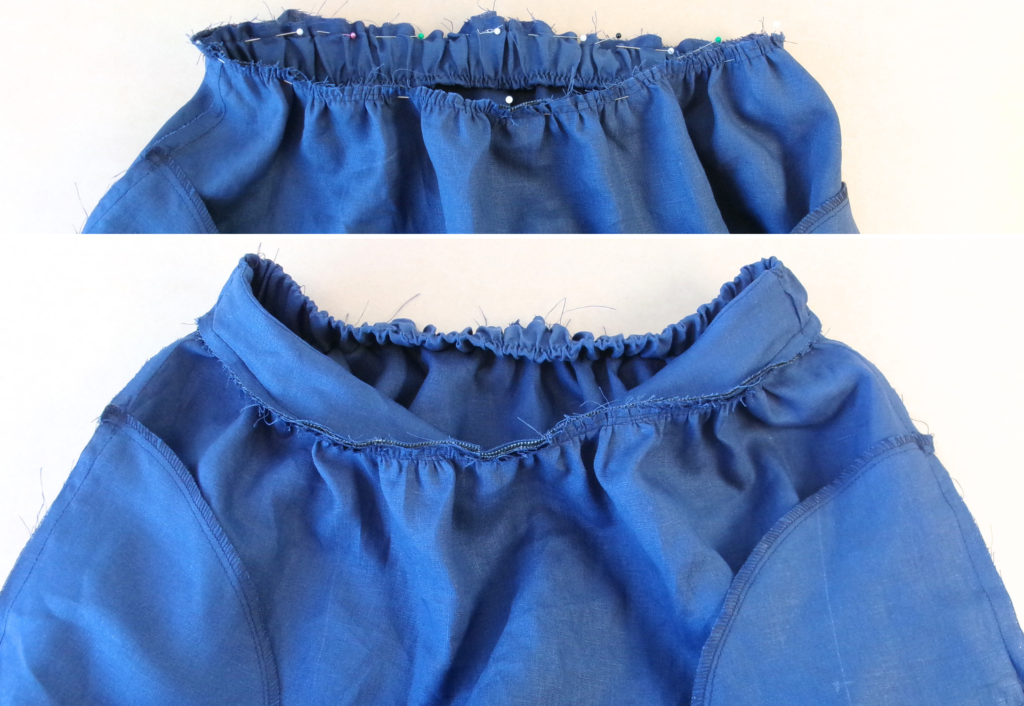
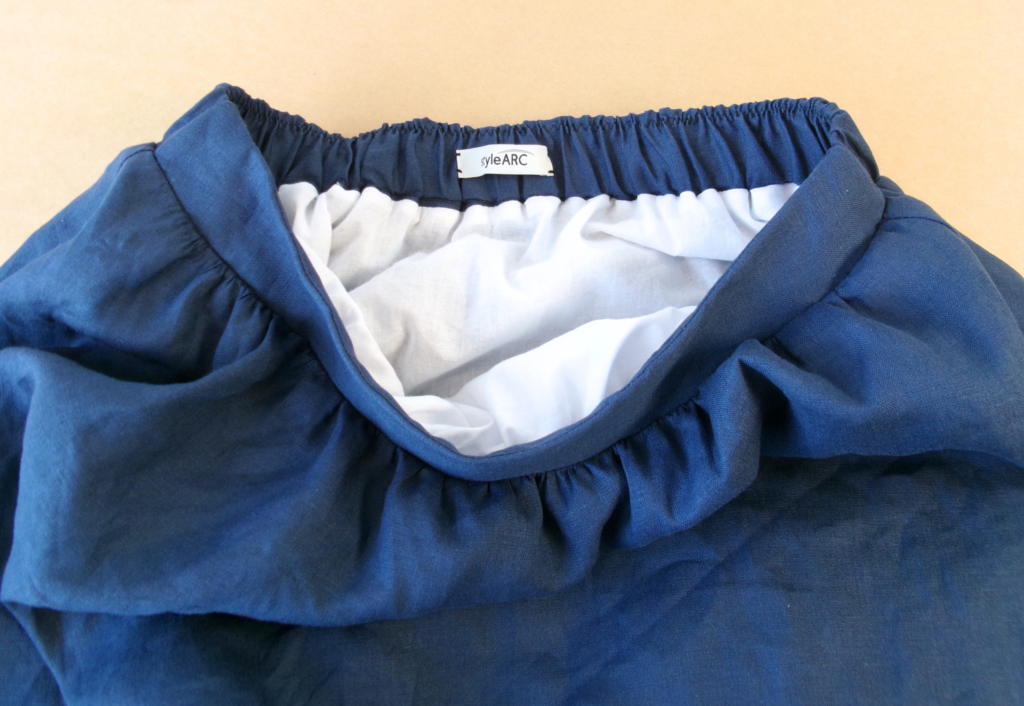
With RST and seams aligned, pin then sew the waistband to the main skirt. You will need to stretch the elastic as you sew. You may choose to use a zipper foot to sew close to the elastic.
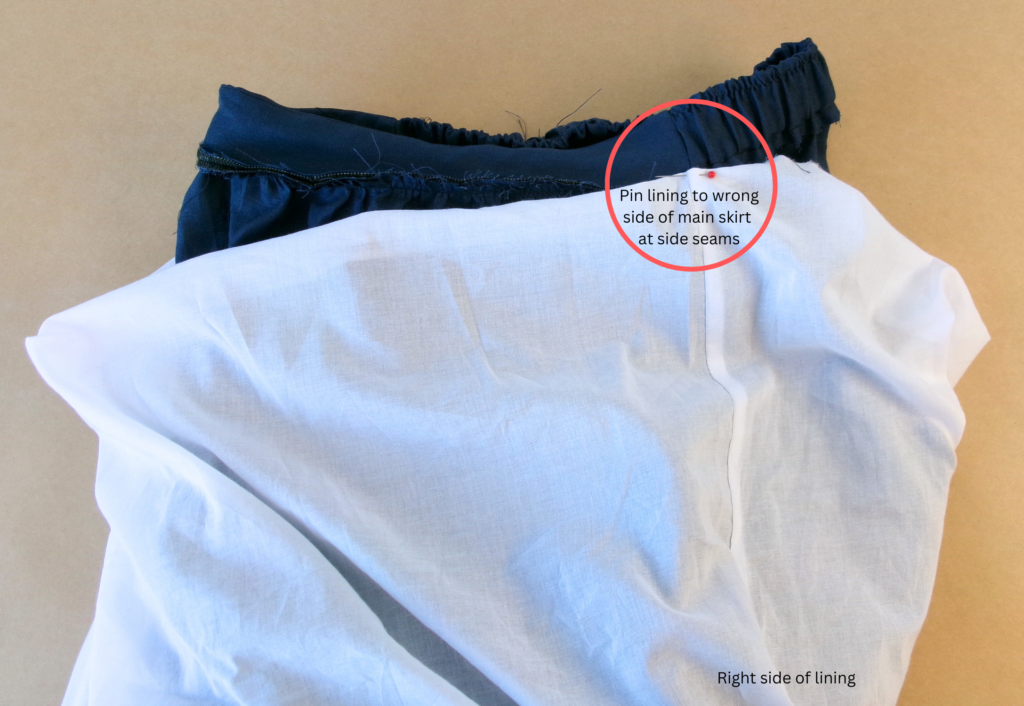
Fold the lining up so it’s right side out and pin to the waistband at the side seams. This is to ensure the lining is positioned correctly and not twisted. Carefully pull the skirt through the gap in the lining. It will be wrong side out.
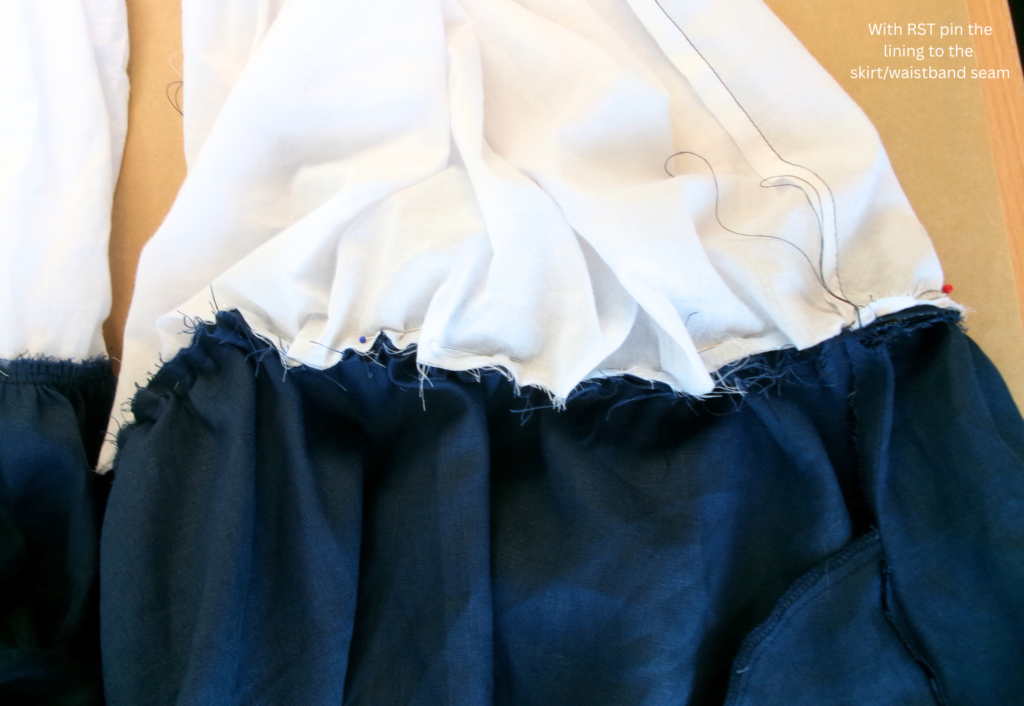
With RST and seams aligned, pin the lining to the waistline, sandwiching the waistband in between the main fabric and lining. Sew the lining to the waistband.
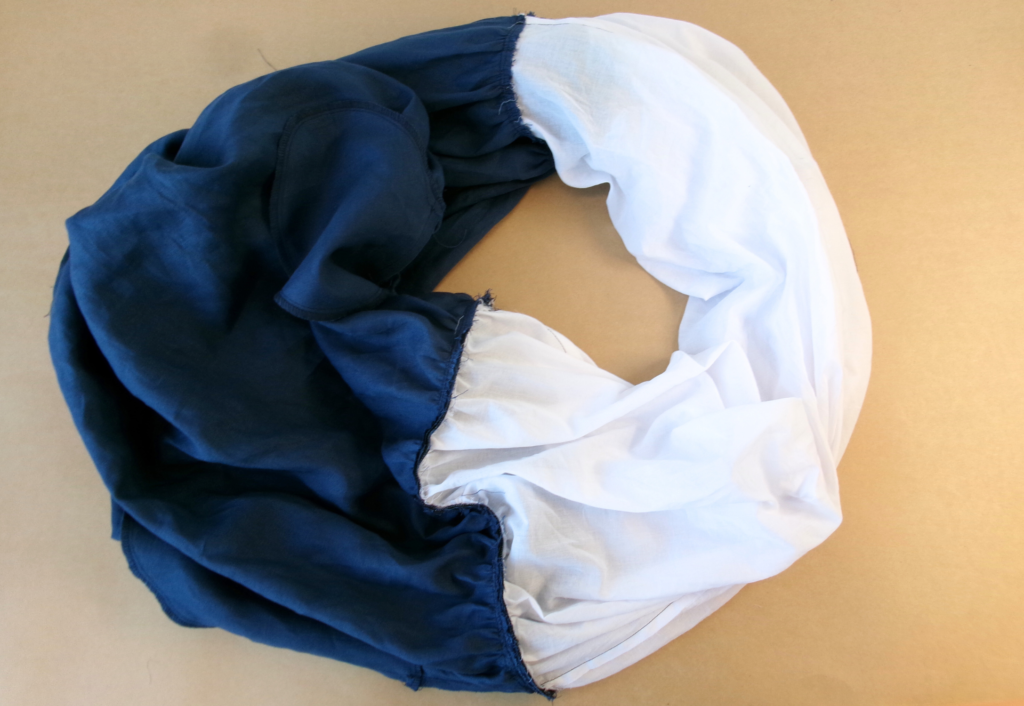
Carefully pull the skirt back through the gap and sew the gap closed by hand or machine.
Trim any loose threads and carefully press your new bubble skirt!
PANT:
Complete pockets (if using) and waistband following the instructions as given above for the Skirt.
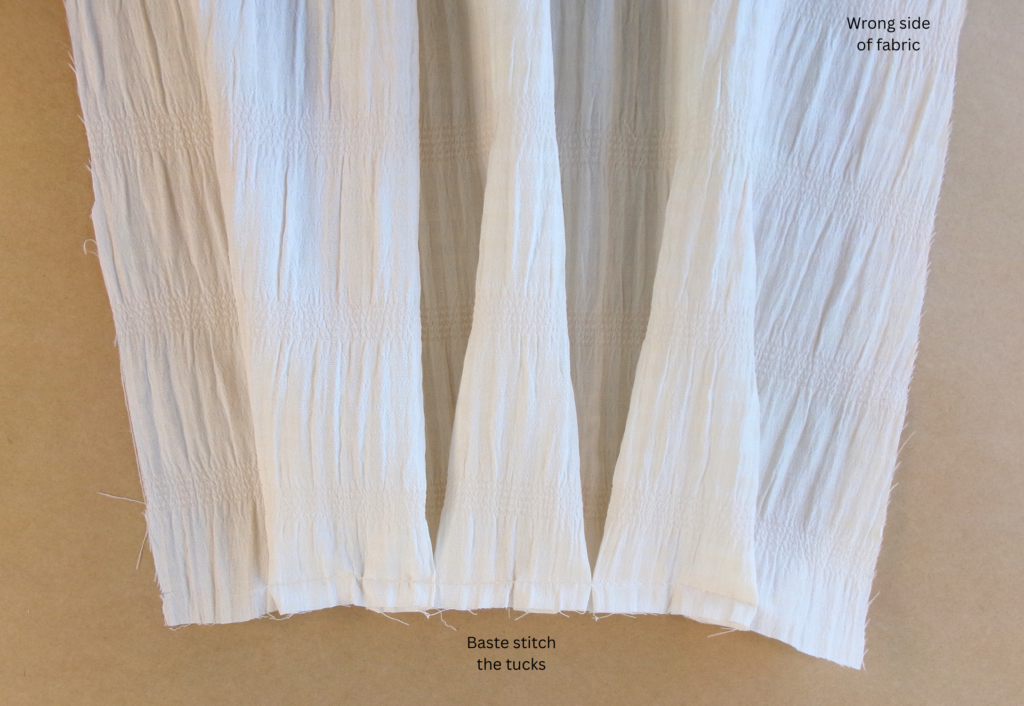
1. Optional tucks (for even more volume!) – With RST, align the notches indicating the tucks as shown on the pattern and pin into place. Baste stitch the tucks to secure.
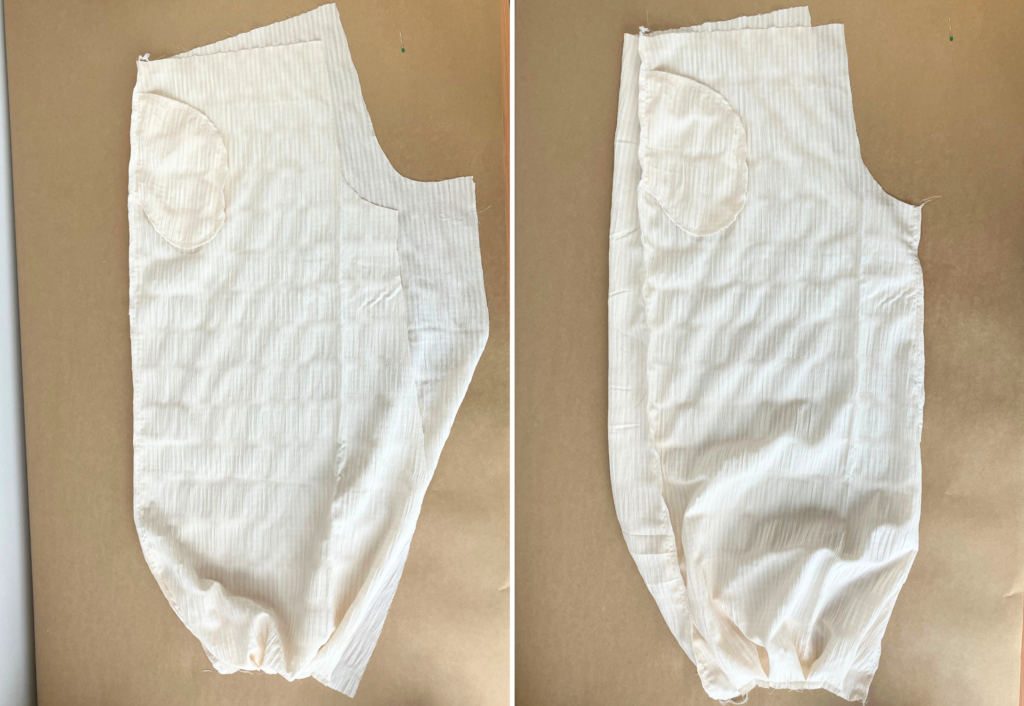
With RST sew the Back Pant (8) to Front Pant (9) at the side seams. Starting at the waist, sew along the outer leg seam, continuing through the straight edge of the back pocket, and finishing at the leg opening. Take care not to catch the front pocket opening as you sew (if using). Neaten using an overlocker/serger and press toward the back.
With RST, sew the front and back inleg seams together. Neaten using an overlocker/serger and press toward the back.
With RST sew the crotch seams together. Start at the back waist, sew down to the base of the crotch then continue sewing up the front crotch finishing at the front waist. Neaten using an overlocker/serger and press to one side.
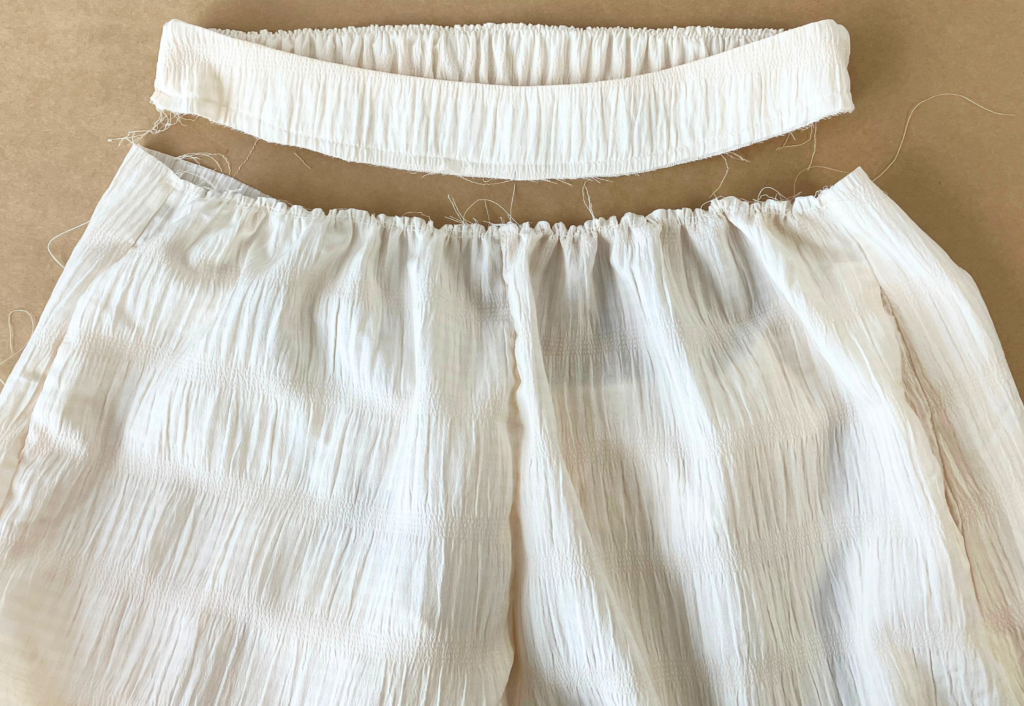
Using a long gathering stitch, sew two rows of stitching to the front waist, then gather up to align with the front waistband.
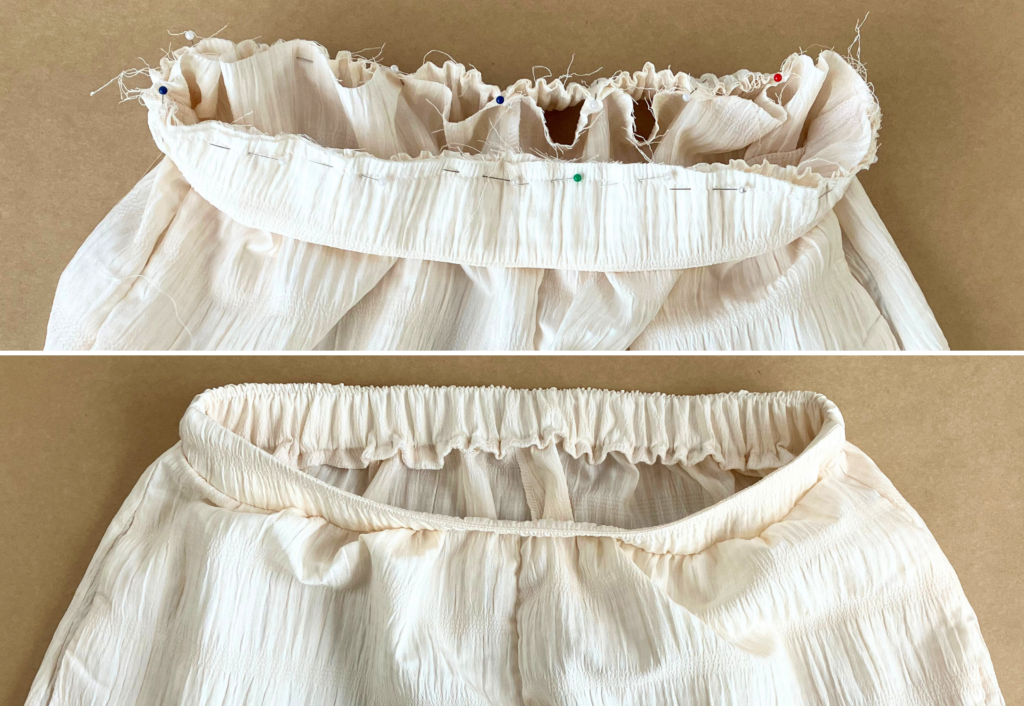
With RST and seams aligned, pin then sew the waistband to the pants. You will need to stretch the elastic as you sew. You may choose to use a zipper foot to sew close to the elastic. Neaten using an overlocker/serger and press downward.
CUFFS:
With RST, press the Back Cuff (10) in half lengthways. Mark the halfway point with chalk or erasable pen. Mark the halfway point in the cut elastic.
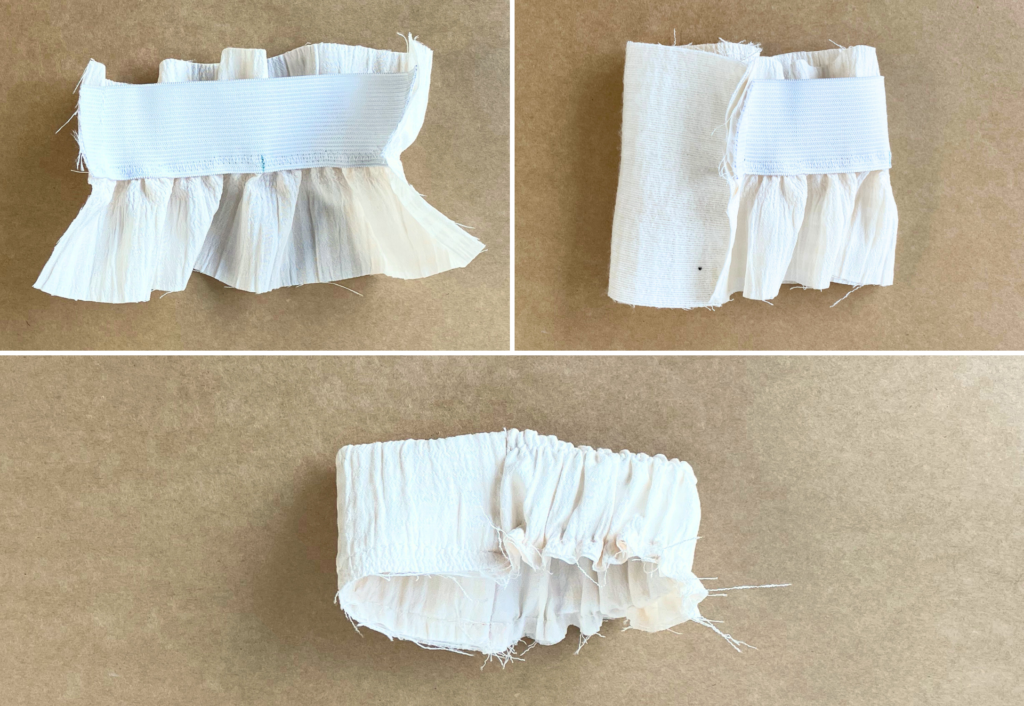
Stitch the cut ends of your elastic to the ends of the inner cuff, positioning them to just below one side of the fold line, and sew securely.
Align the halfway marks, pin and sew a zig zag stitch to the top of the elastic, stretching as you sew. This is the inner cuff.
With RST, sew the back cuff to the Front Cuff (11) at the short ends. Press toward the front.
Fold the cuff in half encasing the elastic, pin and baste the raw edges together creating the cuff. You may choose to use a zipper foot to sew close to the elastic. Sew a vertical topstitch through the centre back to prevent the elastic from rolling.
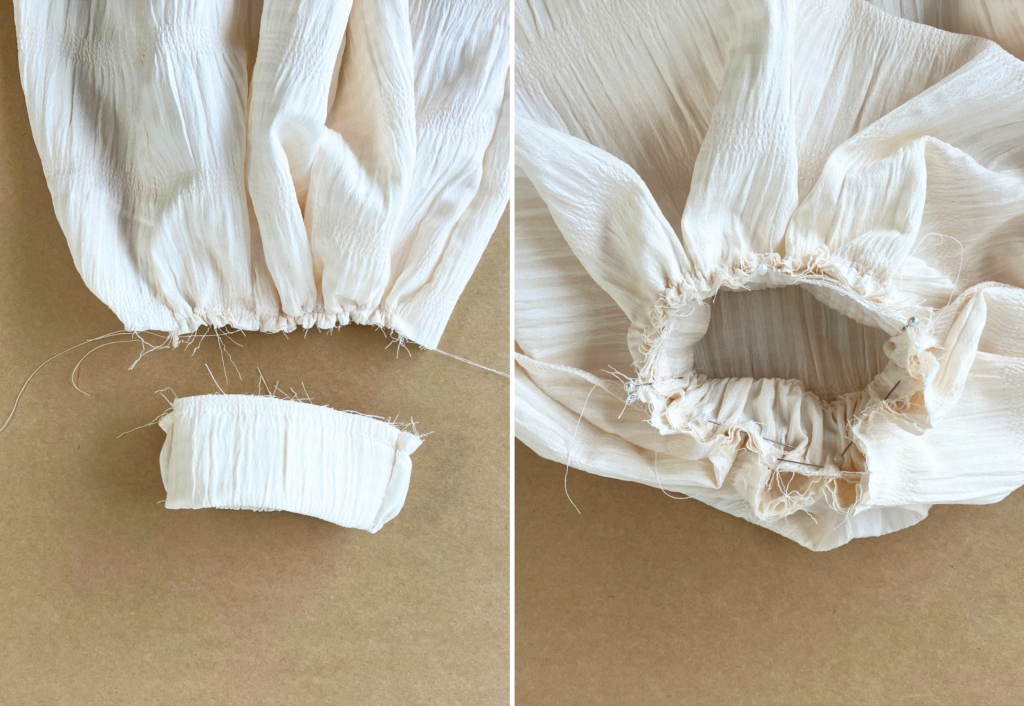
Using a long gathering stitch, sew two rows of stitching to the front leg opening, then gather in to align with the front cuff.
With RST and seams aligned, pin the cuff to the leg opening and sew, stretching the elastic as you sew. You may choose to use a zipper foot to sew close to the elastic. Neaten using an overlocker/serger and press upward.
Trim any loose threads and carefully press your new pants!